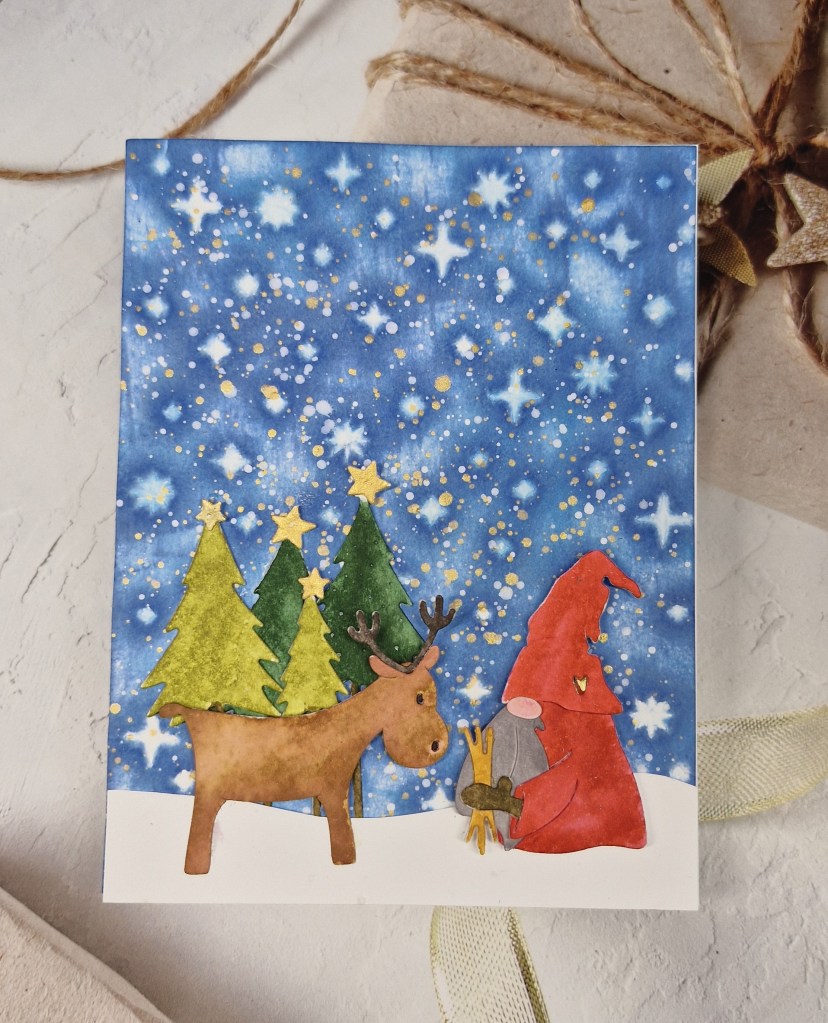
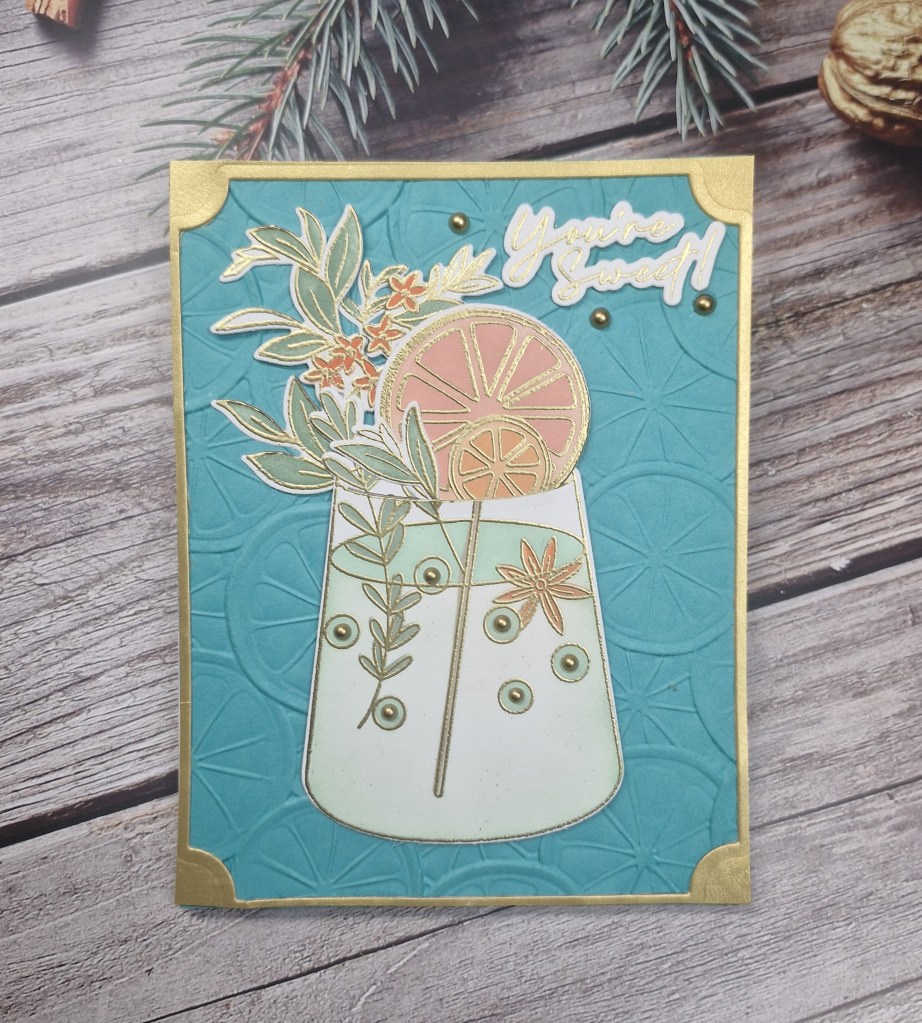
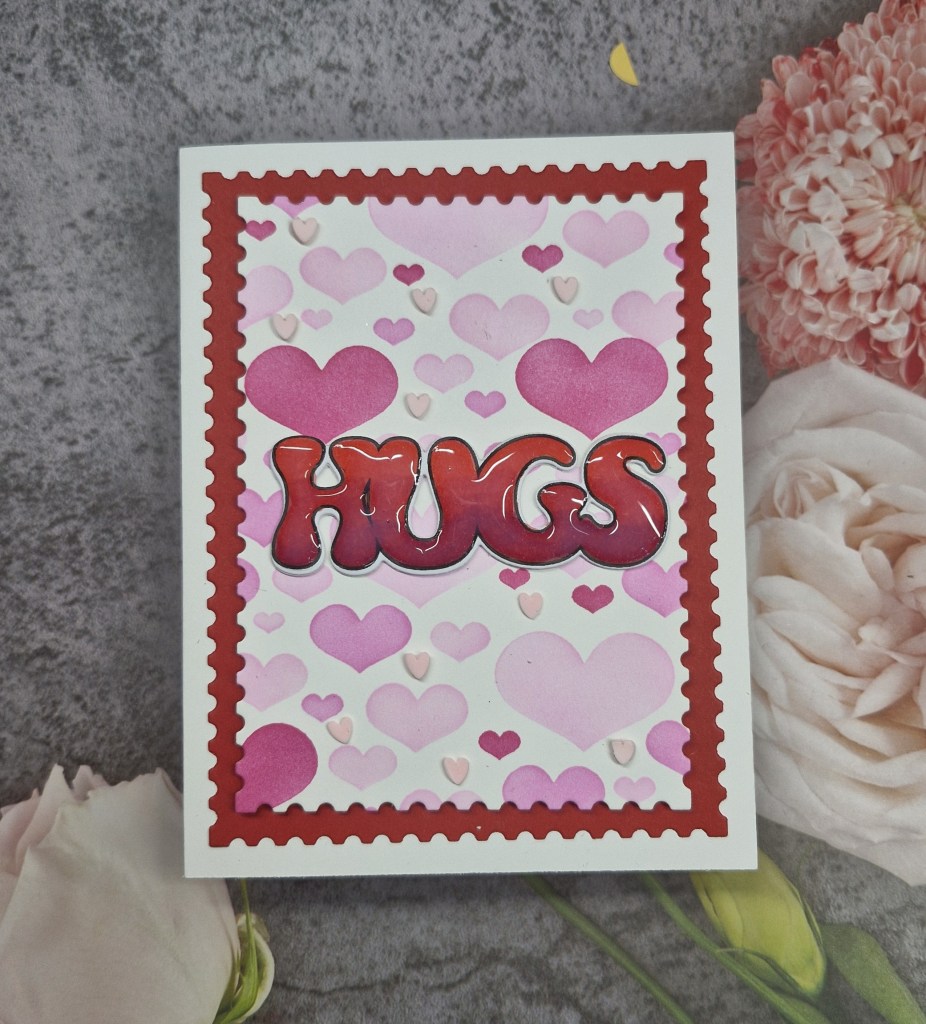
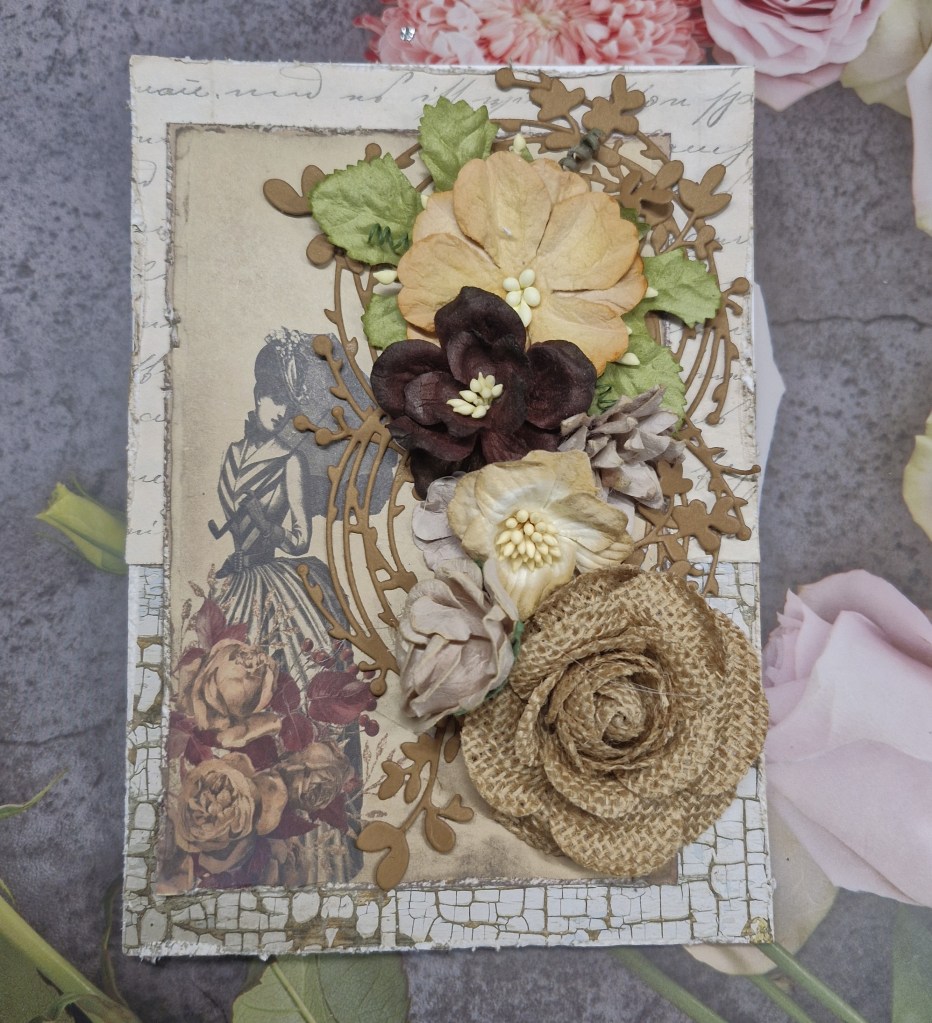
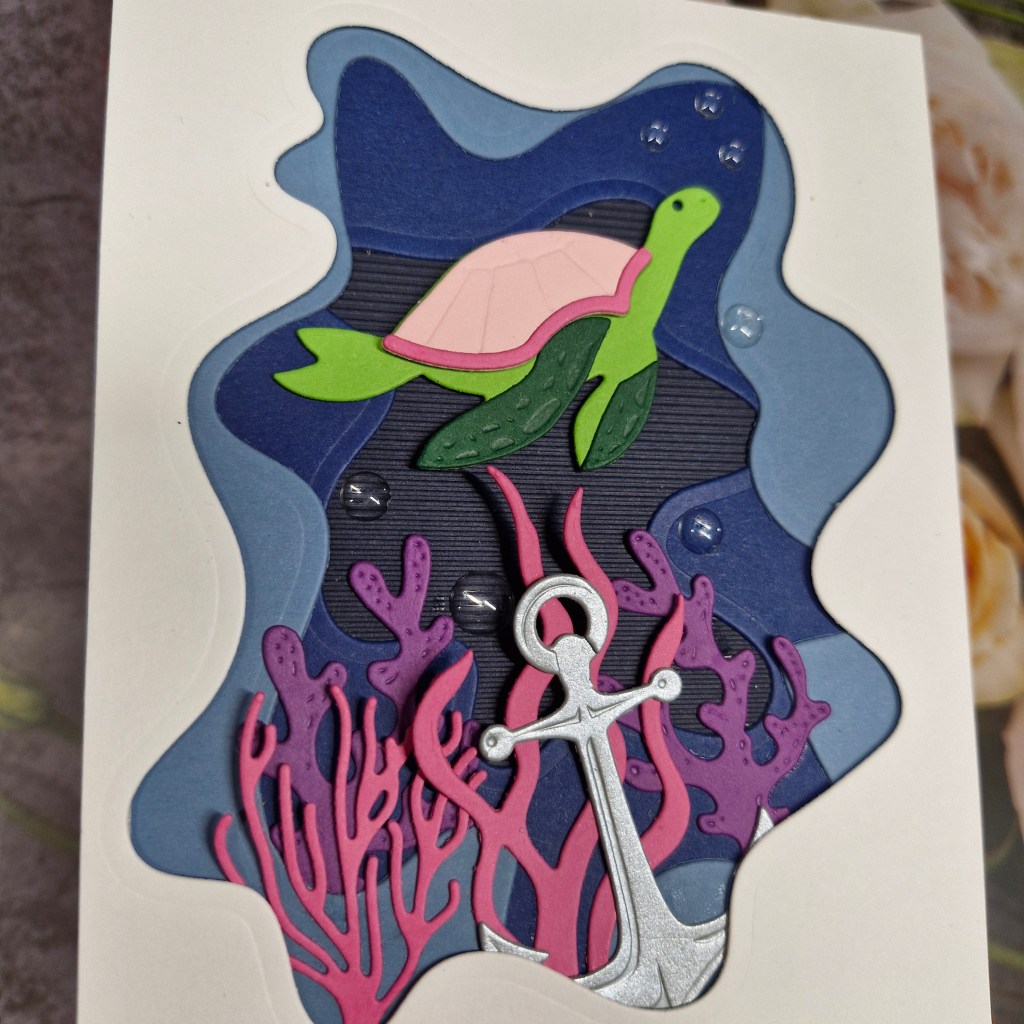
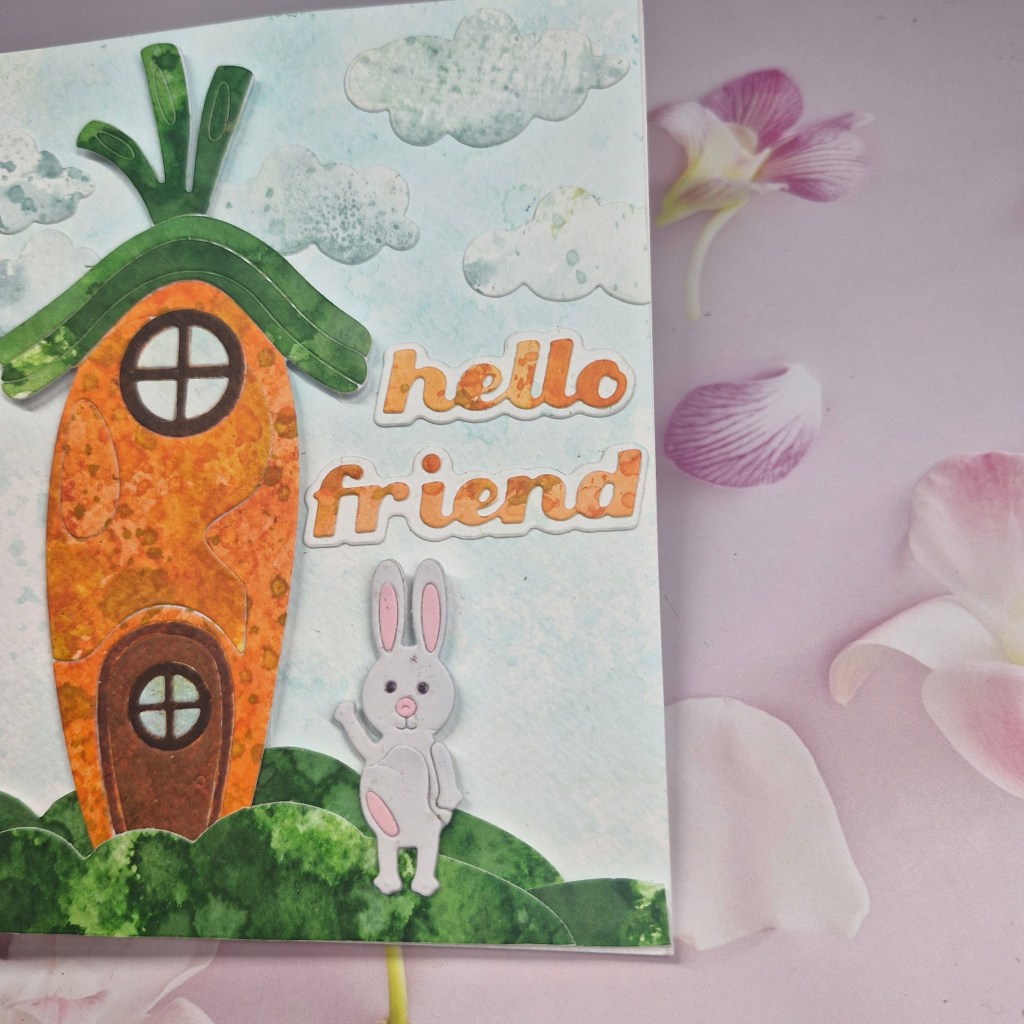
Hello everyone. I have a fun card to share with you made as Guest Designer for the new challenge at Ellibelle’s Corner I Spy challenge. The new theme is ‘no designer paper‘ Here is my card:
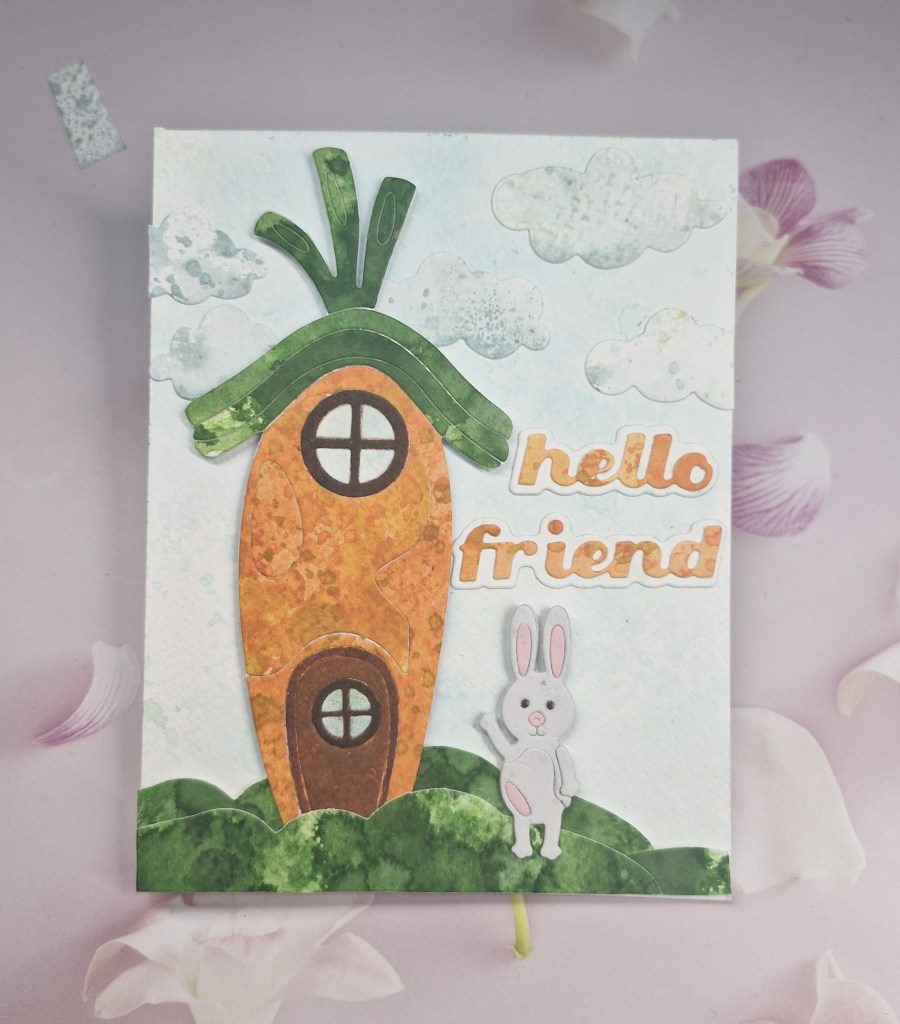
When I saw this carrot house and bunny from Picket Fence Studio – ‘Welcome Home Bun Bun‘ – I just had to have it. Such a fun and different die set.
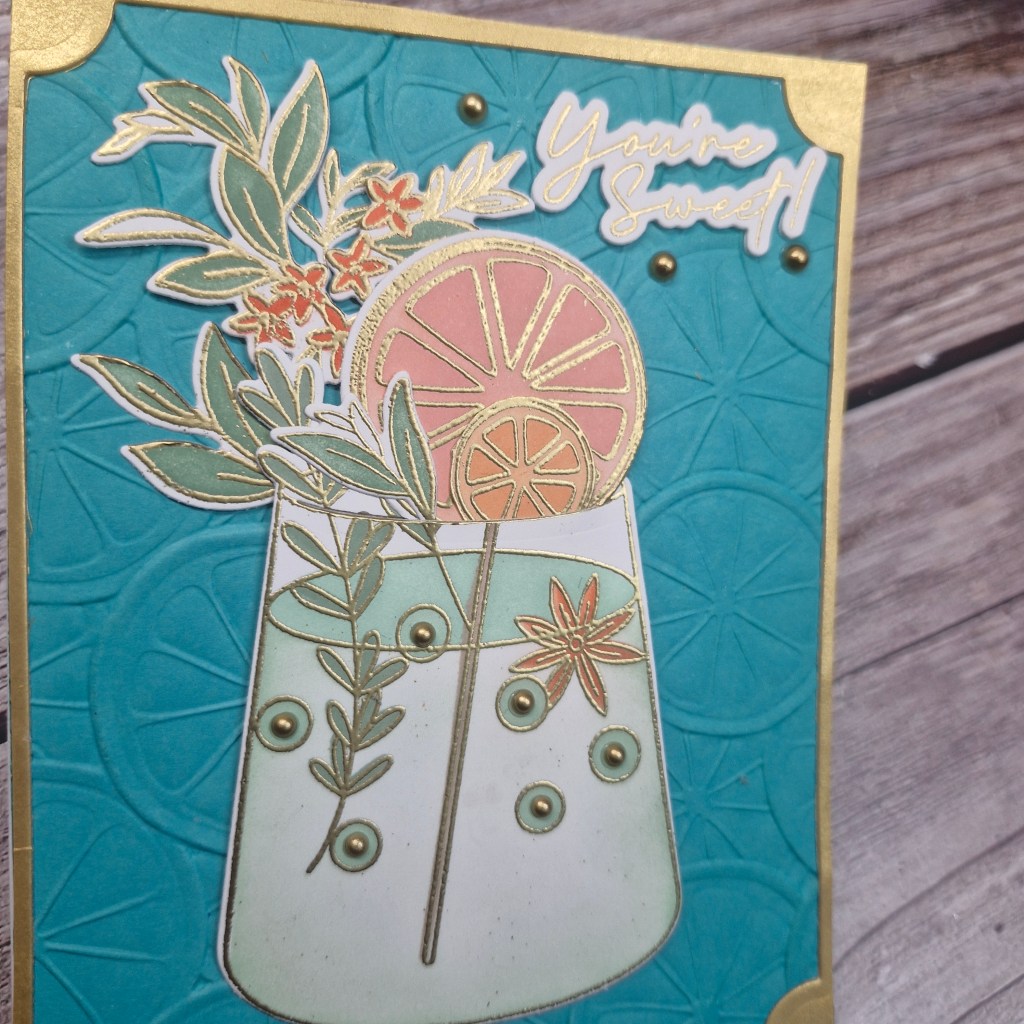
Rather than using different coloured card stock, I created some panels using Distress Inks and played with ink smooshing. I used a couple of orange and a couple of green ink pads, wanting the panels to have lots of texture, and lots of layers, also adding some brown to the orange panel, just for more interest and dimension.
Once these panels were dry, I used the dies for each section then used the back shadow layer to glue all the parts together. I am glad this back layer was added as it makes gluing all the layers so much easier.
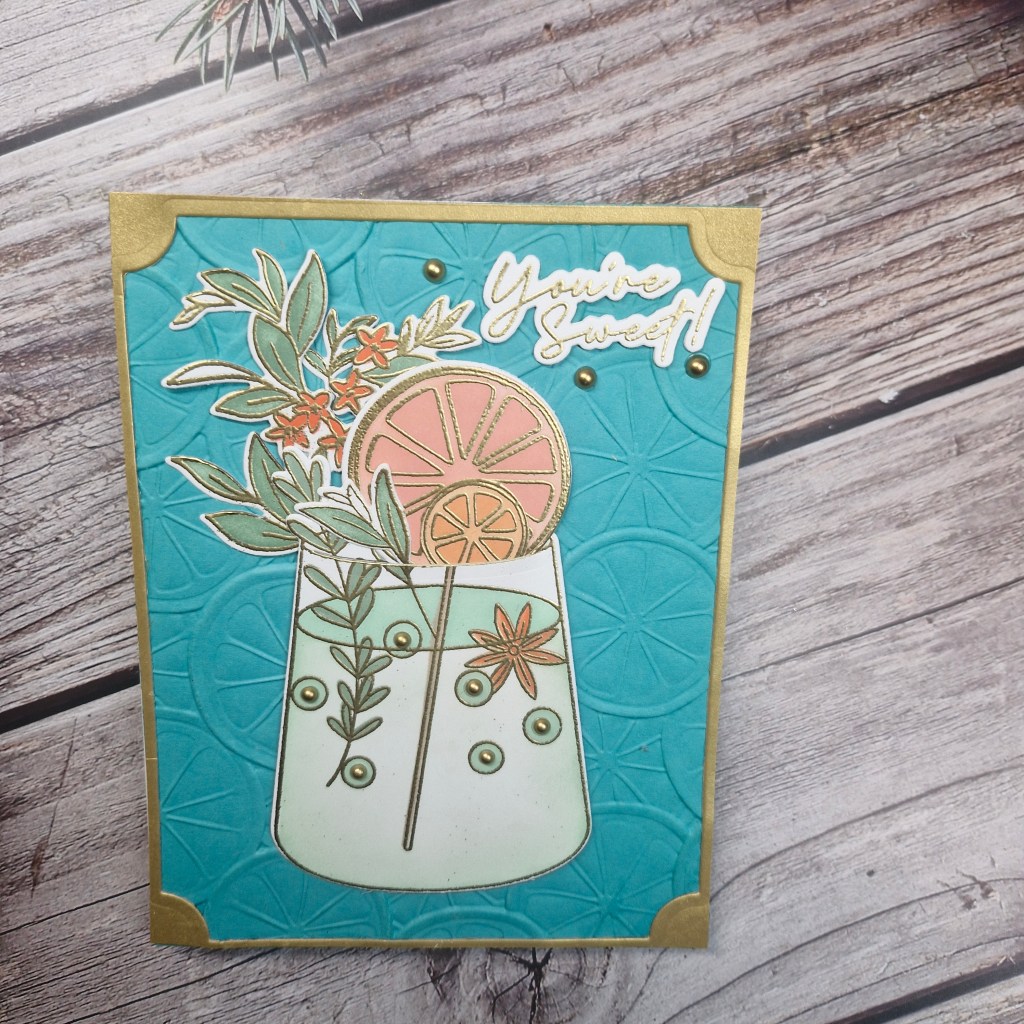
The background panel was created using Speckled Egg and again ink smooshing to give a soft pale blue sky, and the clouds were die cut from an ink smooshed panel using Salvaged Patina – or was it the other way round……?!
The window frames and door – die cut from the orange panel – were rubbed into some dark brown Distress Ink to make then stand out a little more. The windows were also die cut from the light blue piece of card and the ‘glass’ areas inlaid.
The bunny was die cut from a light grey card stock with the pink areas die cut and inlaid, and the sentiment from Spellbinders was created by using some left over spare orange and blue ink smooshed panels.
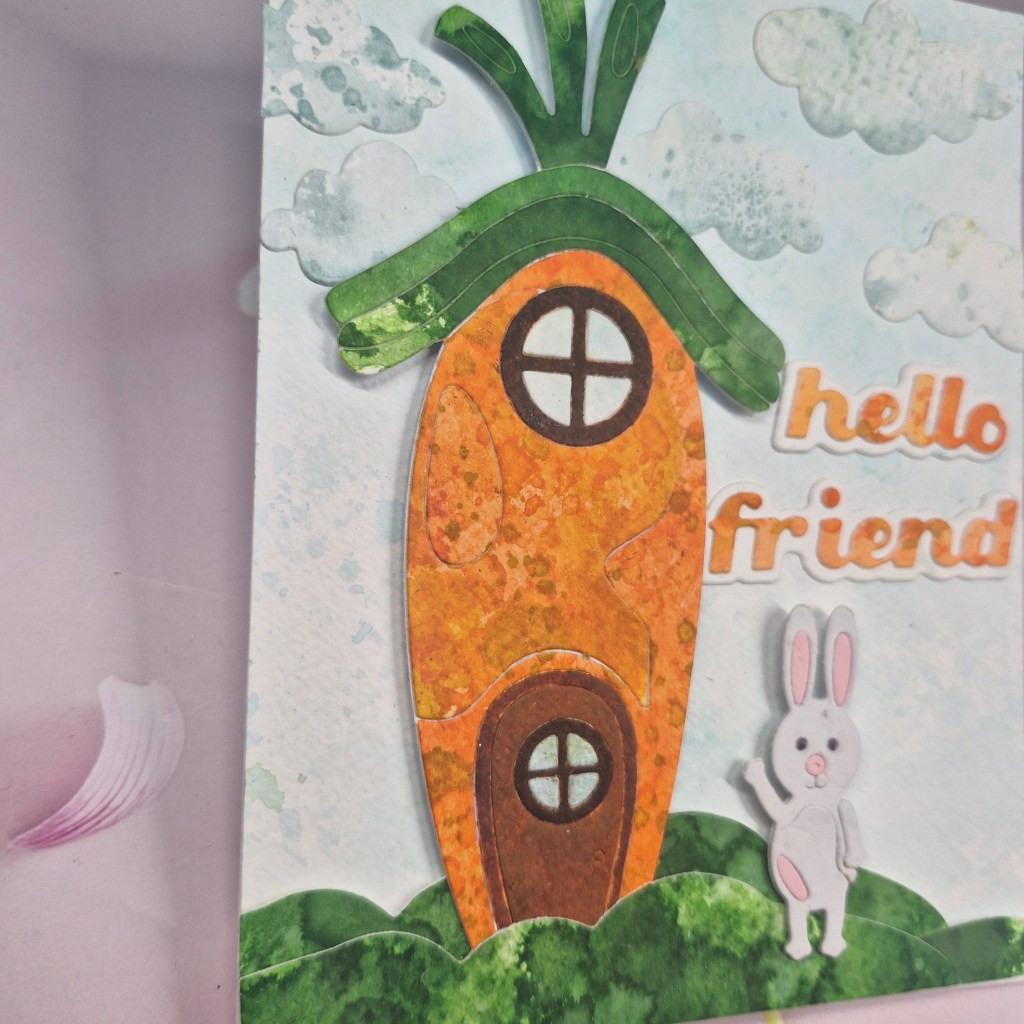
This was actually quite a fiddly card to make – you can see where all the die cuts are, and making them different colours, inlaying some of the die cuts – a little time consuming, but I must have been in a fiddly mood as I enjoyed the process,
I hope you can join us with your creation following the new theme. xx