Hello everyone. The Alphabet Challenge has started at the beginning of the alphabet again. Deborah is the host, and has chosen the theme of:
A is for Adventure
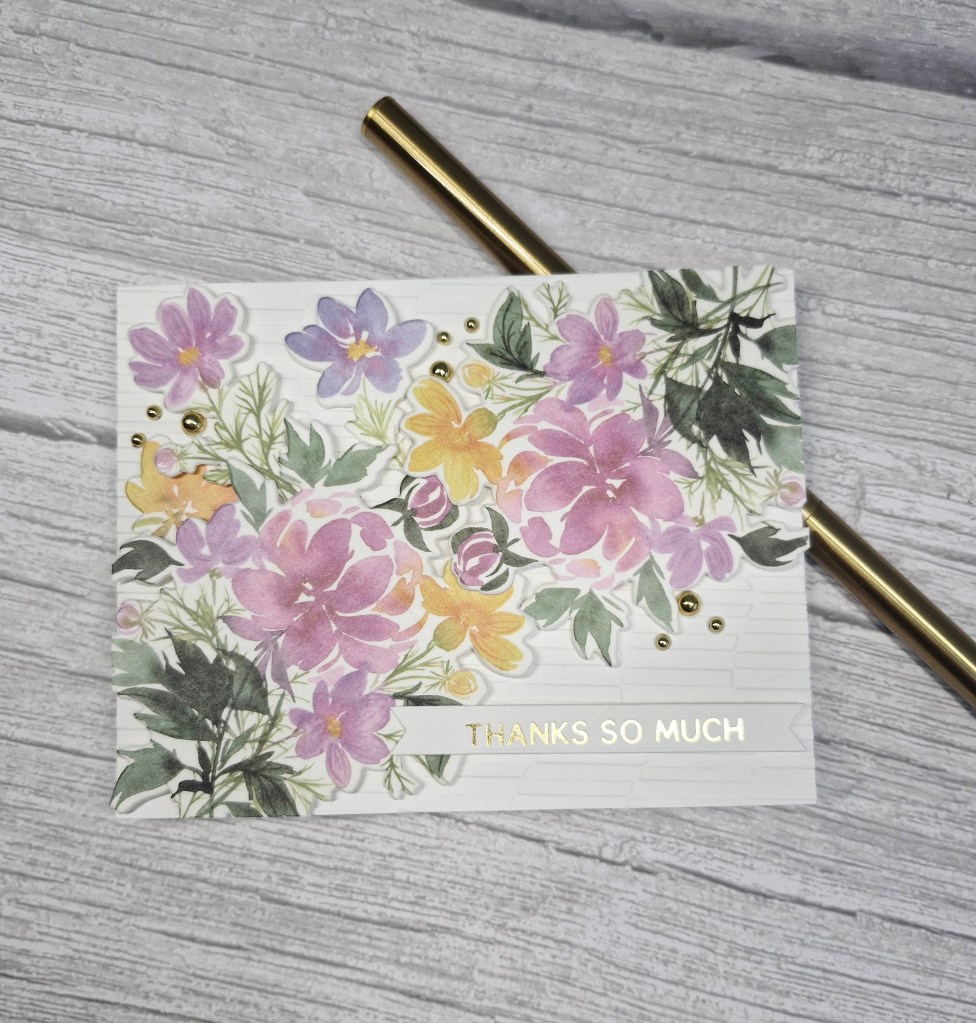
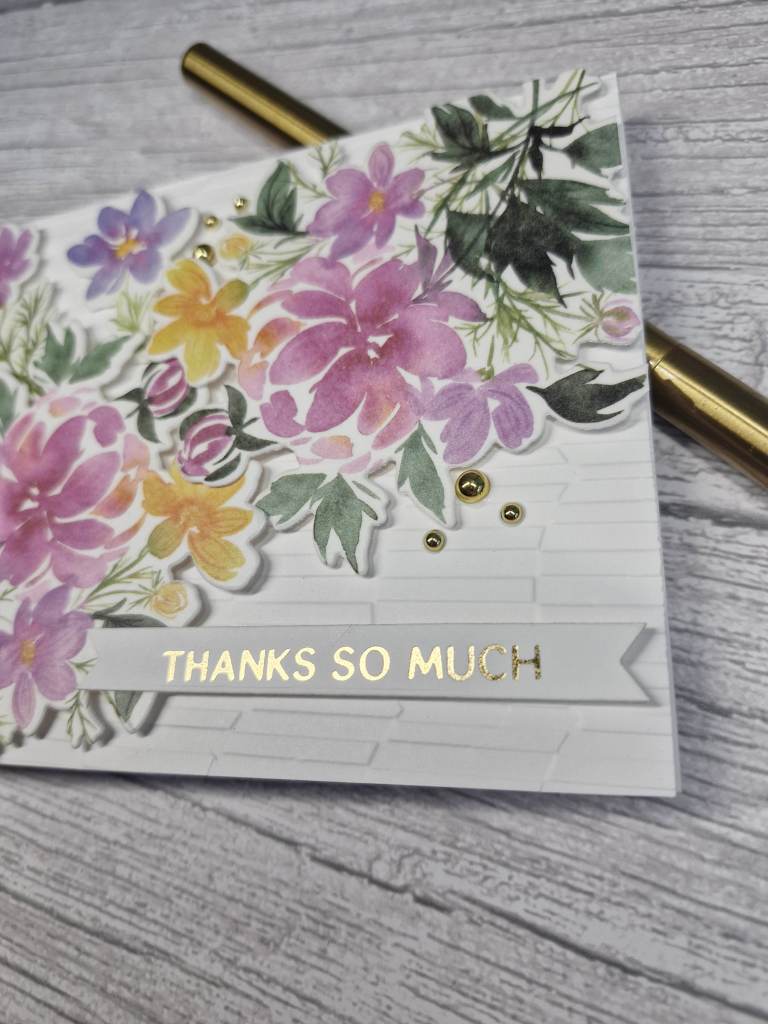
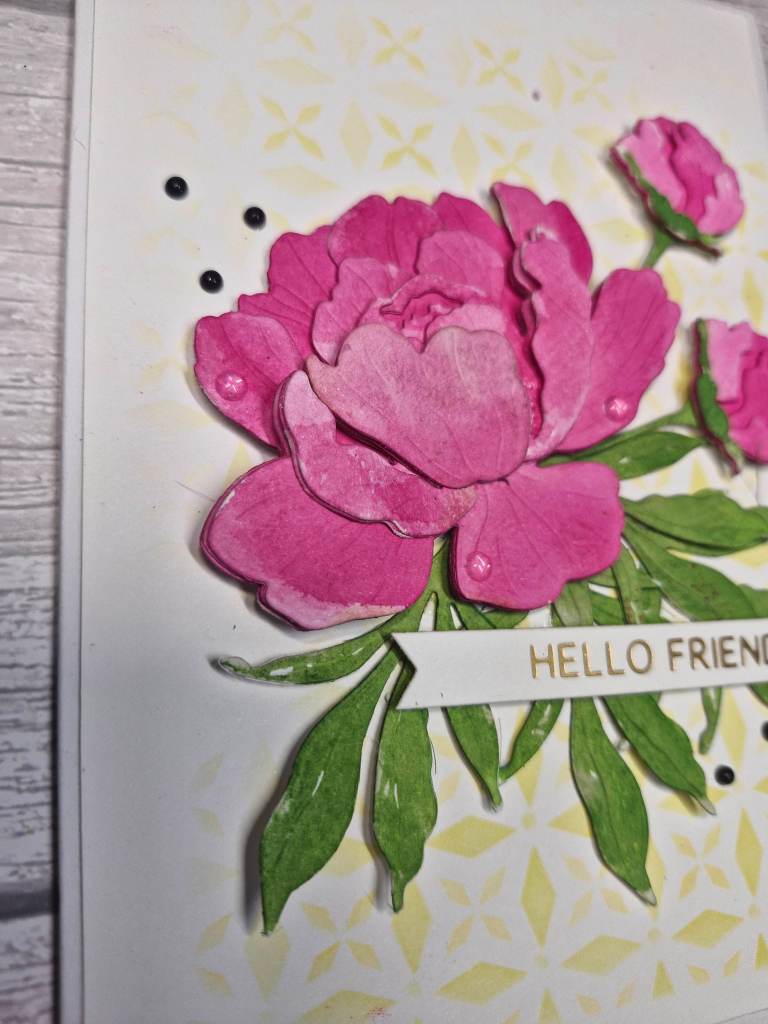
Here is my card:
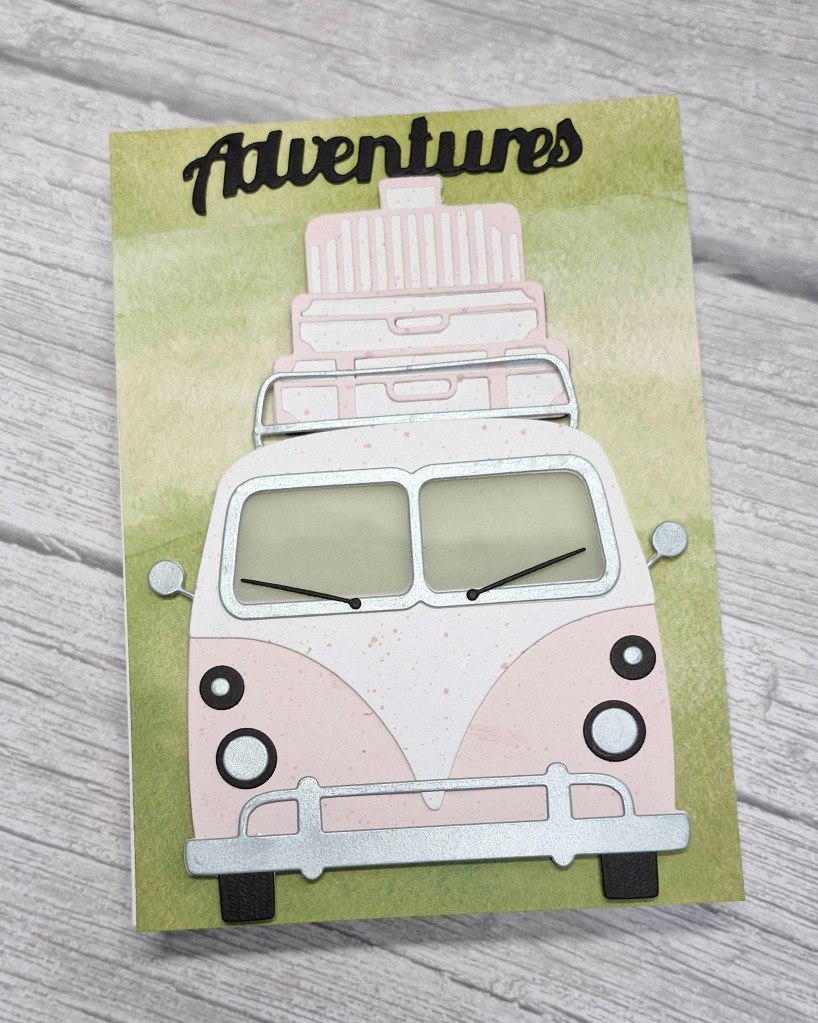
The camper van die set is from Elizabeth Craft Designs, and despite having it for quite a while – I have never used it. I decided this was the time…
All the elements were die cut from patterned paper from Lawn Fawn and odds and ends of metallic and black. I did have to watch the YouTube video on what little piece goes where, and which to add first to all the layers, but I am pleased with how it came out.
I added some vellum behind the windows to give a more realistic look.

The background paper is also from Lawn Fawn, and I had to use a larger card base – a 5 x 7 inches this time – to ensure I could adhere the camper van and all those suitcases – as well as the sentiment.
I hope you can come and join us with your ‘adventure’ themes projects – the design team has come up with some amazing ideas as inspiration. xx
I shall be entering the following challenges:
Crafty Gals Corner – anything goes
Ellibelle’s Corner – anything goes
A Perfect Time To Craft – anything goes
Crafts Galore – anything goes
Here Is A Place To Start – anything goes