Hello everyone. It seems the more time I have, the less time I spend crafting…..it seems I have been getting out and about more than usual, so I am glad I manage to keep well ahead in my DT duties.
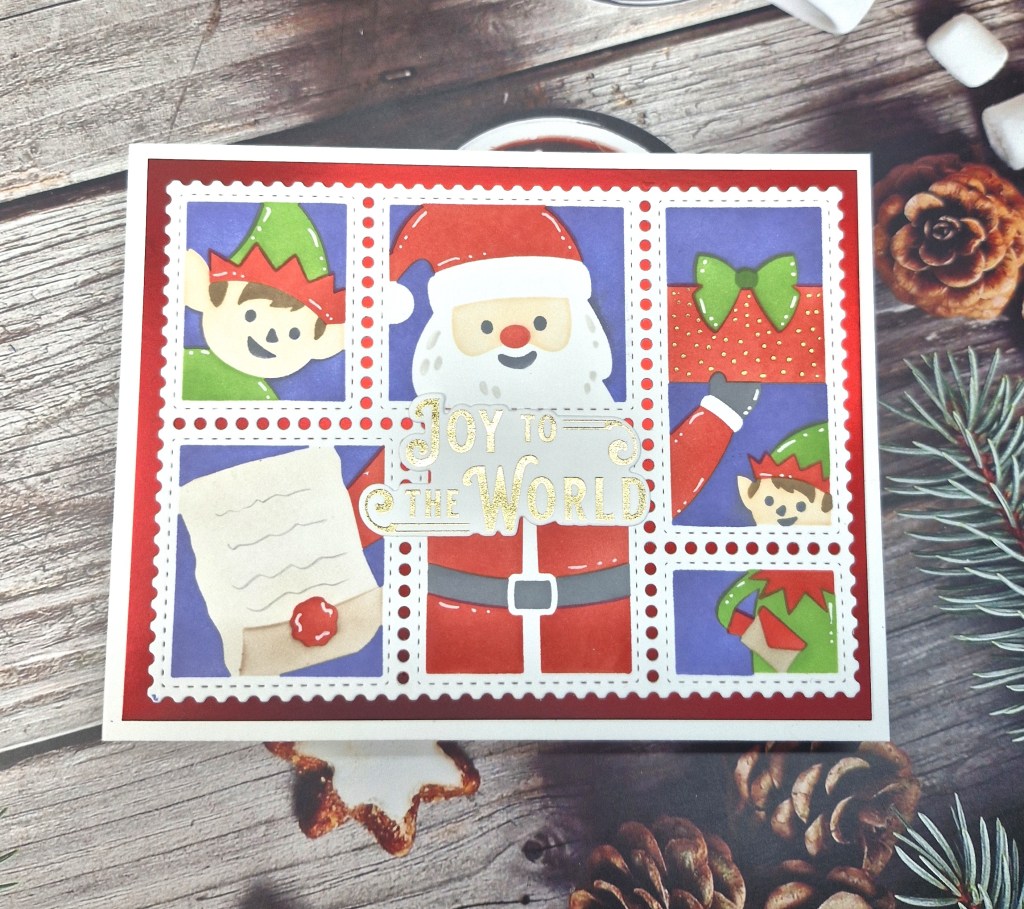
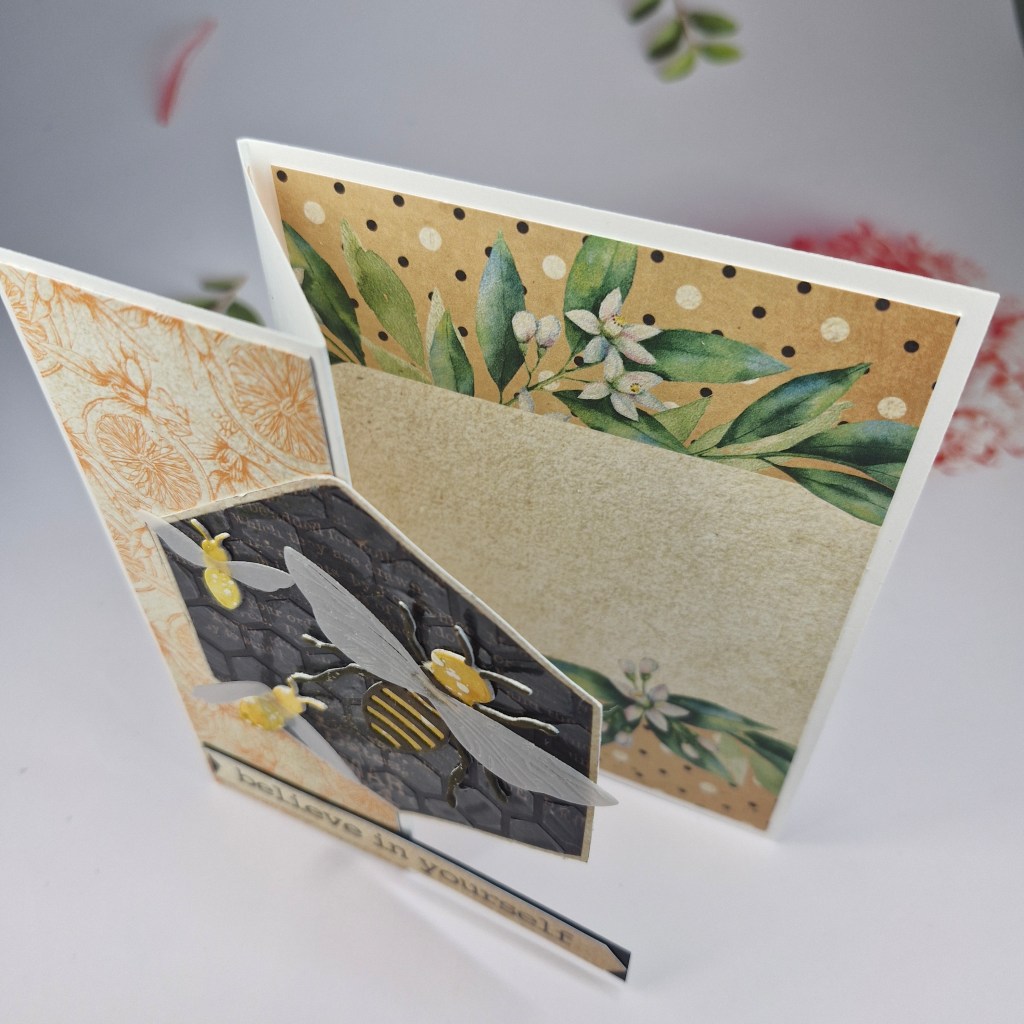
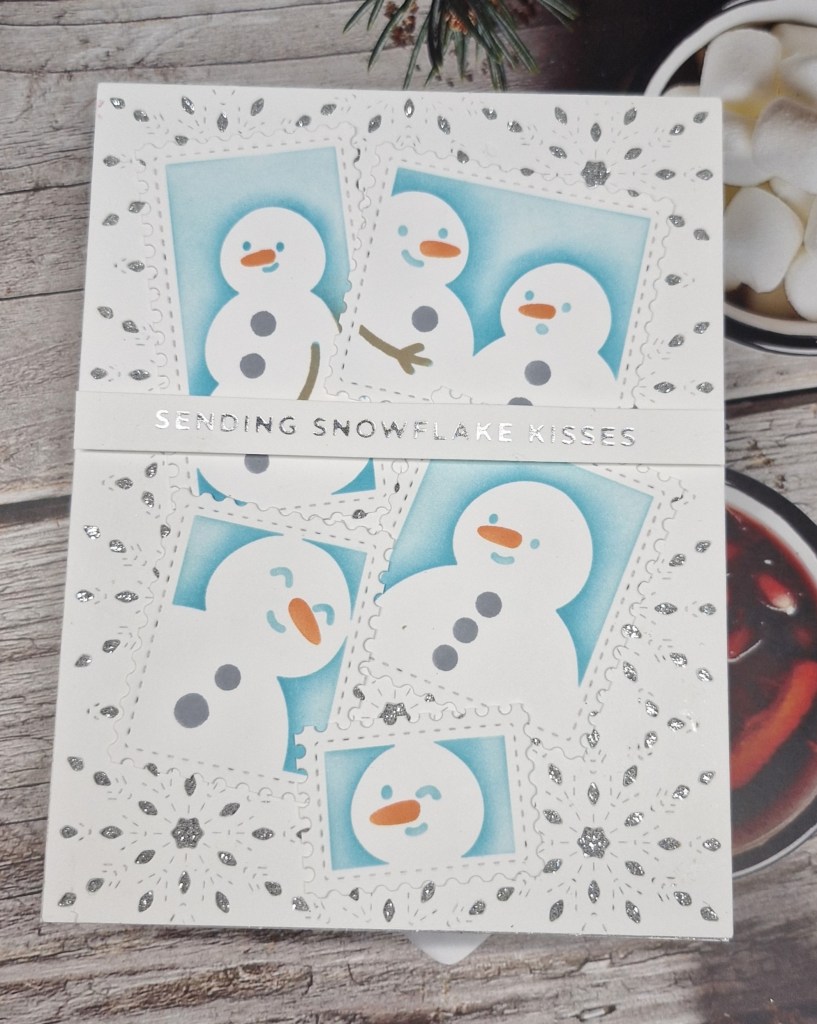
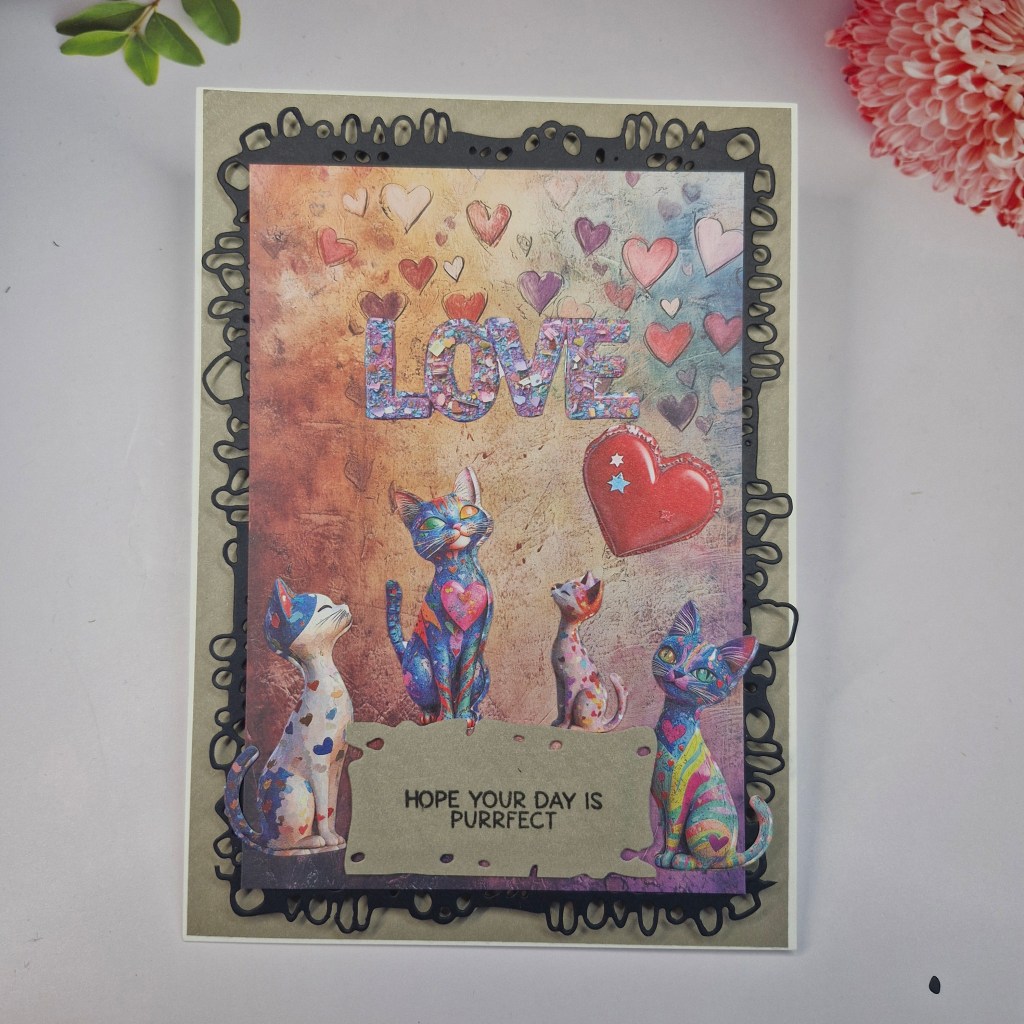
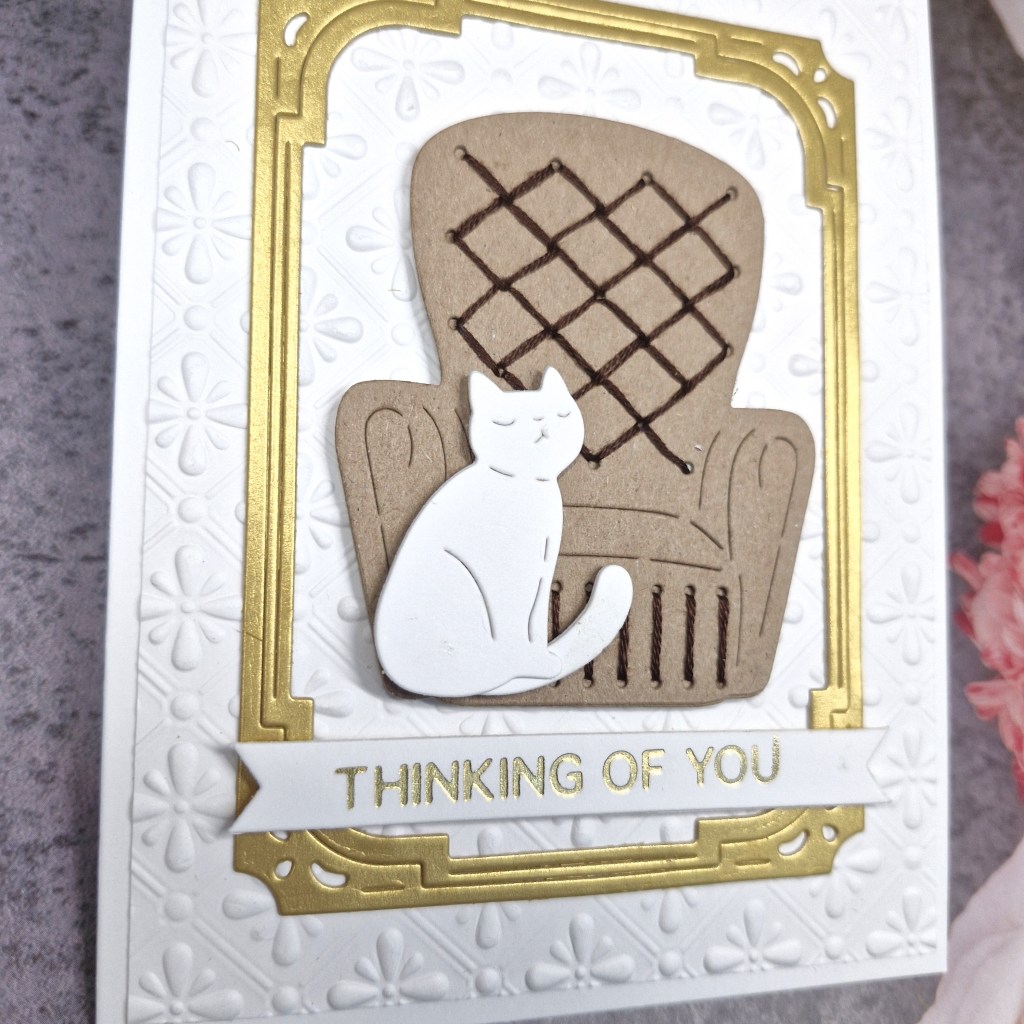
The new challenge has started at Cardz 4 Galz. Billie A has chosen the theme of ‘stitching – real or faux‘. Here is my card:

I wonder how many of you are like me and have some stitching dies, and yet rarely use them. This challenge theme gave me the opportunity to grab one from Spellbinders and have a go at it.
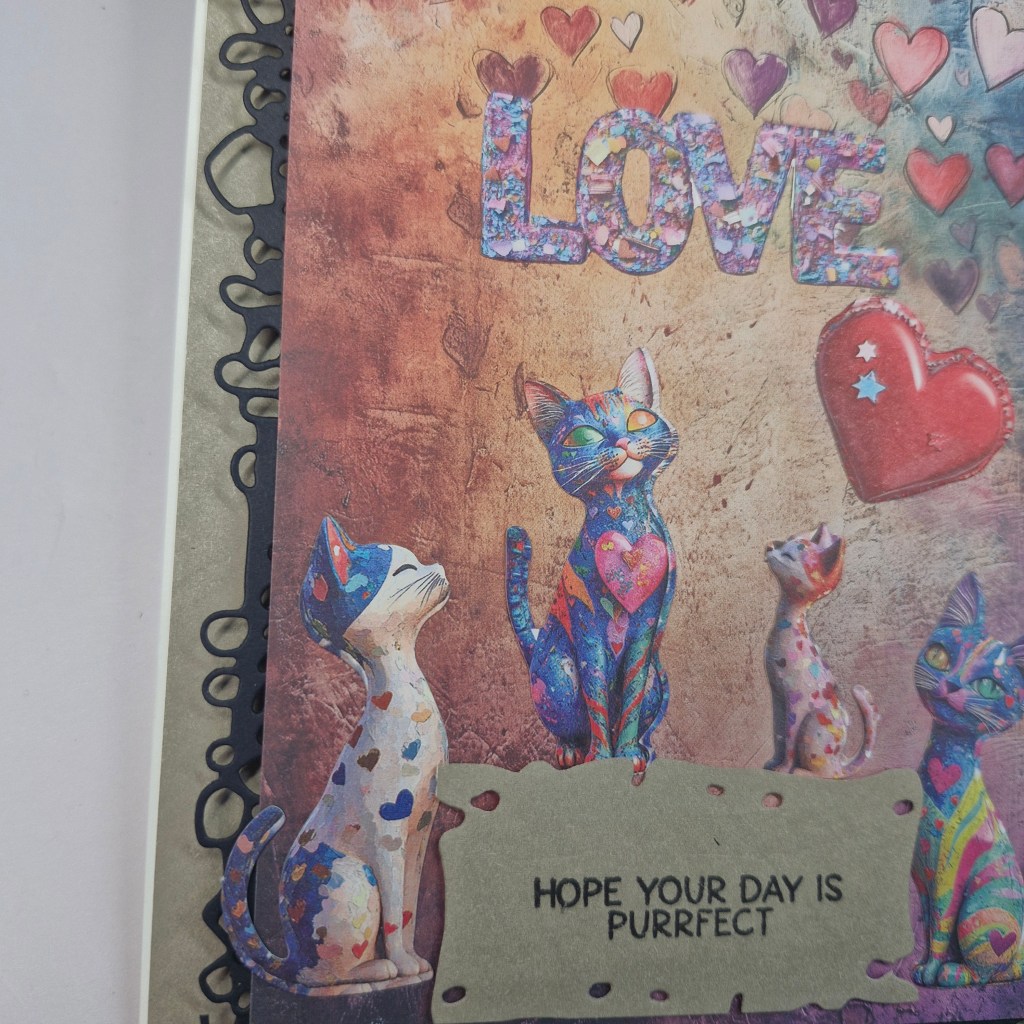
I first die cut the chair from Kraft card, then stitched with a darker brown thread. I wanted a more vintage look to the chair. I did try a red chair, and a darker brown chair – but once I started to stitch them, I didn’t like it.
The cat is also from the same die set, and die cut very simply from white card stock. This cat has certainly got that nose-in-the-air look, hasn’t it?
This is one colour of cat I have never had. Our first cats were two black brothers, and now we have two old black and white cats, one tabby, and one torty….but never a white cat….
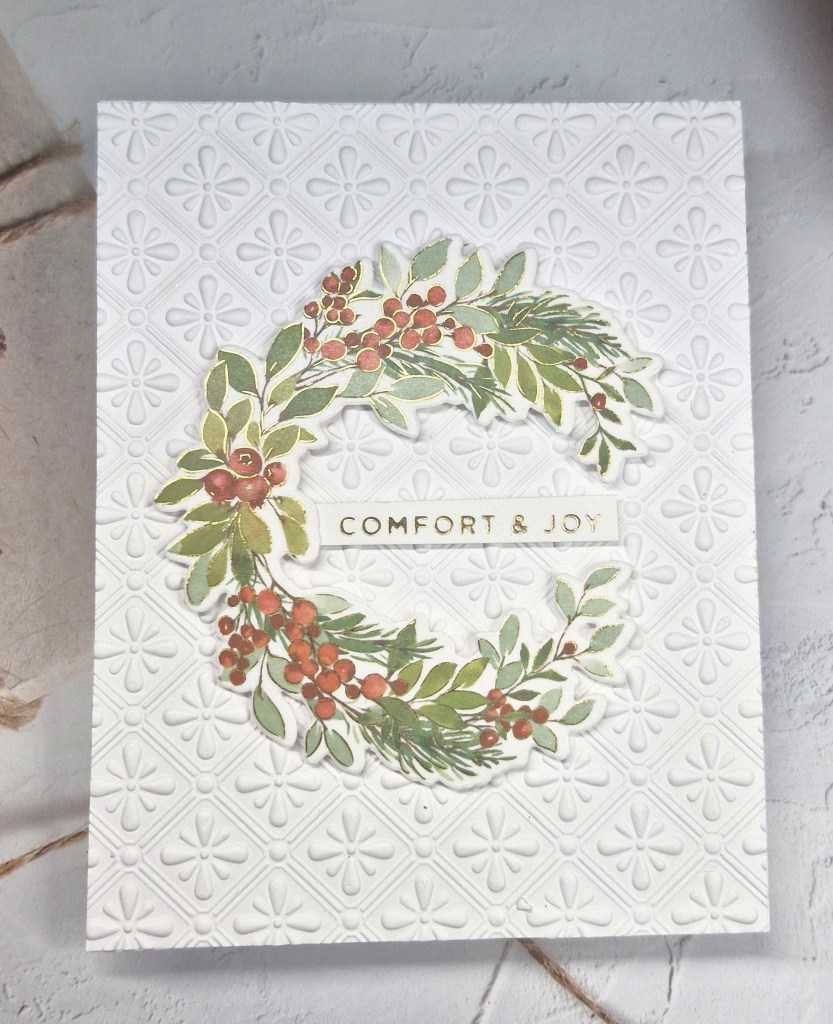
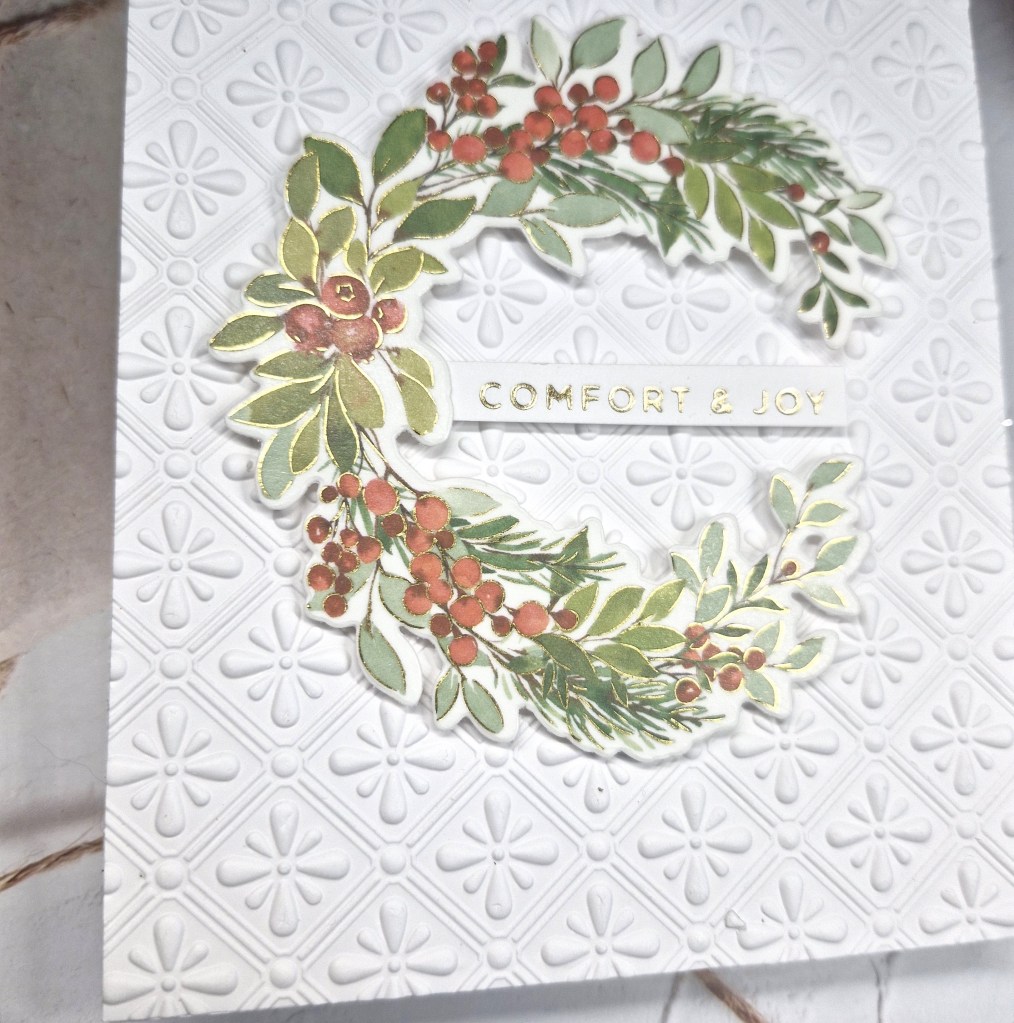
The background panel was created using a Spellbinders embossing folder, the gold frame was die cut from a Pinkfresh die set, and the sentiment is gold foiled.
I hope you can come and join us with your creations following our theme. xx
I shall be entering the following challenges:
Lil Patch Of Crafty Friends – anything goes
Everybody Art – anything goes
Addicted To Stamps & More – die cuts and/or stencils
CYHTP – embossing folder – option of balloons not taken
Crafty Animals – anything goes with an animal
Die Cut Divas – anything goes with die cuts