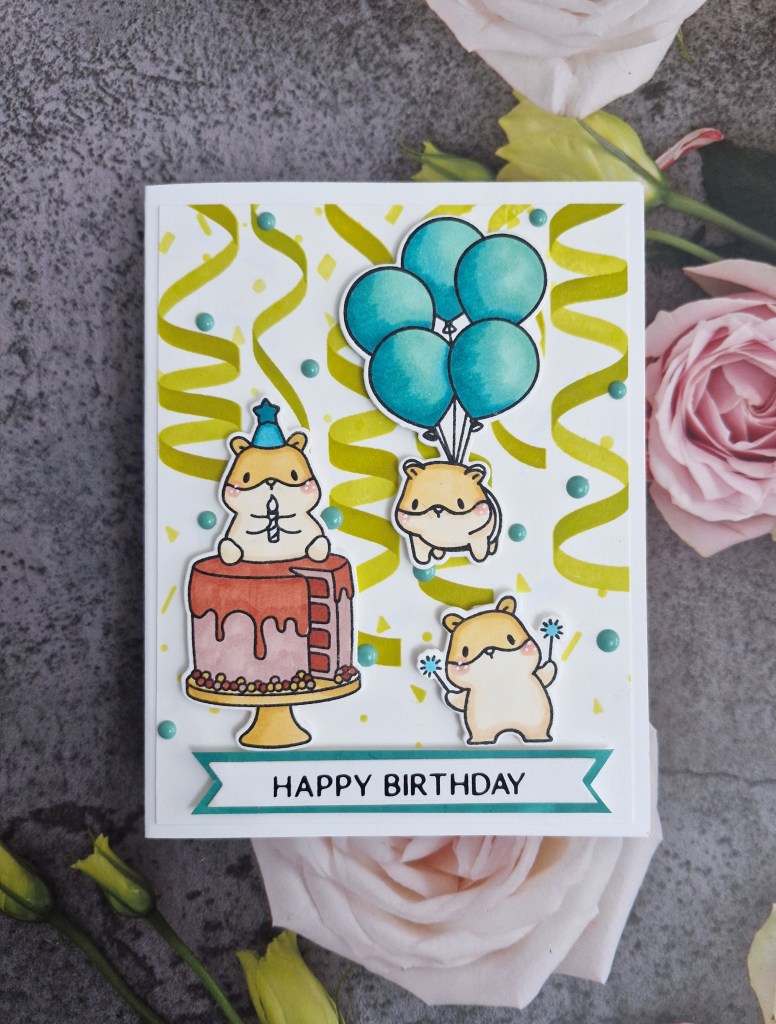
I have been further inspired by the items to choose from at Festive Friday, and a recent Jennifer McGuire video:
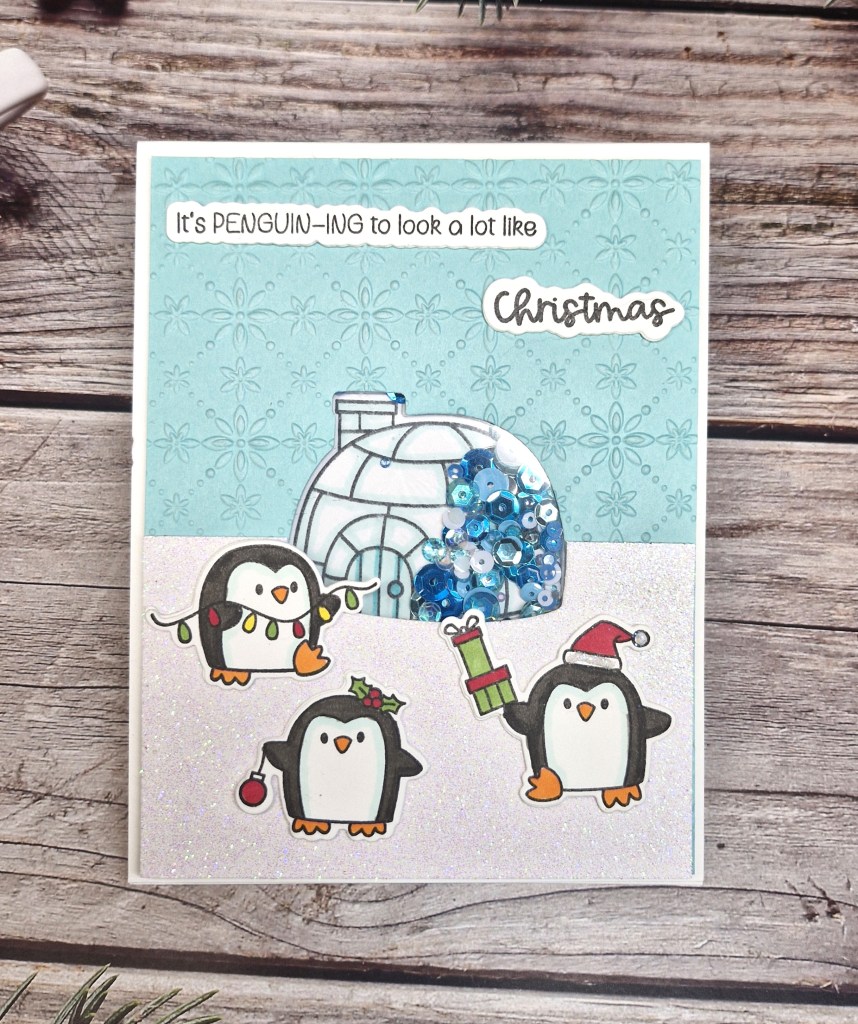
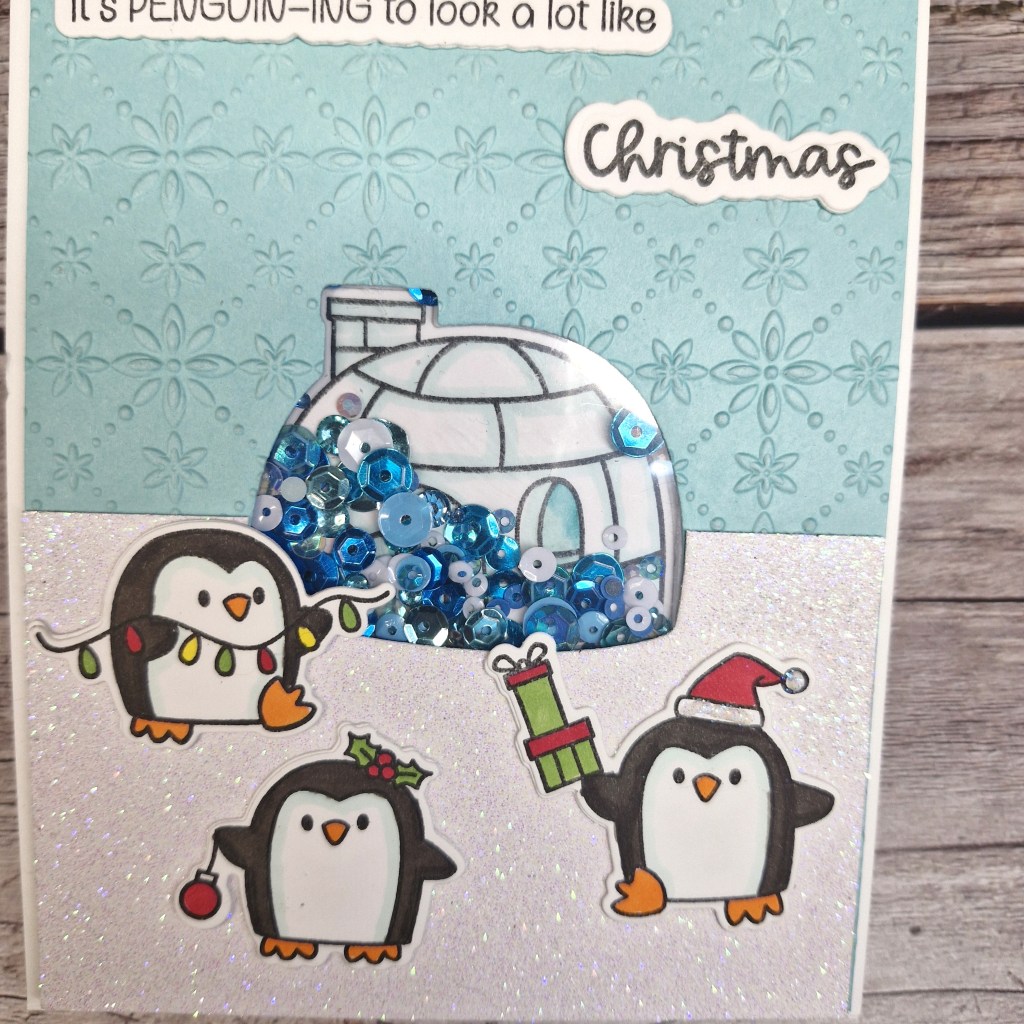
The stamp and die set is from Time For tea Designs, and I thought the igloo would be a good shape to create my shaker window.
Taking a light blue card panel, I die cut the igloo from where I wanted it to be, then ran that piece through an embossing folder from Spellbinders. I then attached a piece of acetate to create the window.
I took a piece of white glitter card from Pink Frog Designs – a shop local to me – and die cut the bottom of the igloo, so the snow would come up and around, trimming off to match the blue piece underneath.
Before assembling the shaker, I stamped and coloured all the images with Copics, die cut them out, then tried to figure out how I could place the igloo behind the window, in just the right spot, so it showed through……I managed by putting a small piece of low tack tape on the front of the igloo die cut, placing it against the acetate on the back of the window, applying glue tape to the back of the igloo, placing it down on my card base. When I removed the acetate panel, the igloo was left behind in the correct spot….
3D foam tape was adhered all over the back of the window piece, sequins added to the igloo area, another piece of acetate placed on the back of the sequins, trapping all the sequins. I learnt this trick a few years ago when going to Time For tea Designs craft day, that way no fiddling or faffing trying the line up the front shaker panel.
I then applied some Pritt Stick to all the 3D foam pieces – allows a little time to ensure the panel is on the right place – then attach.
I die cut another of each of the images out of white card for more stability, glued them together, glued them down to create the scene, added the sentiment, also added a little bit of Lawn Fawn Prisma glitter to the hat of the penguin holding the presents.
I shall be entering the following challenges:
CYHTP – embossing folder – option of thanks not taken
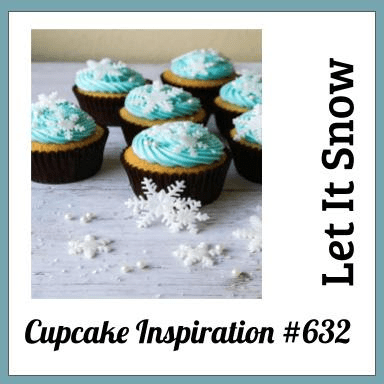
Cupcake Inspirations – let it snow
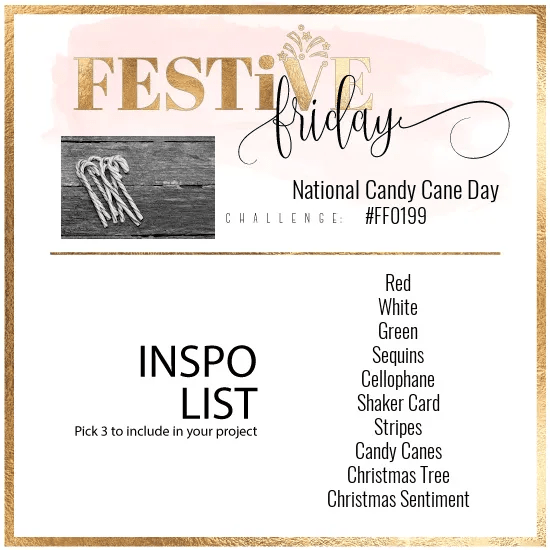
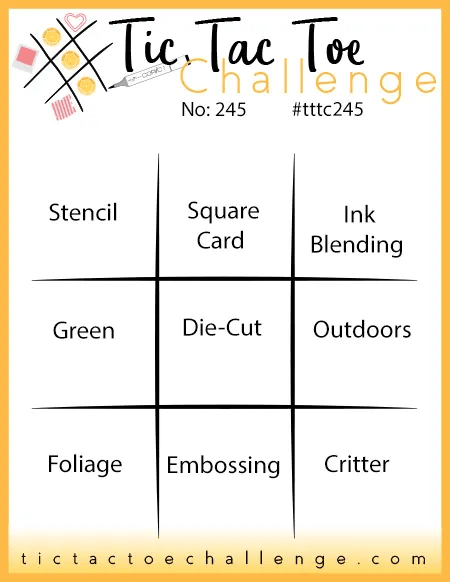
Festive Friday – use at least 3 elements – Christmas sentiment/shaker/sequins
2 Crafty Critter Crazies – anything goes with a critter