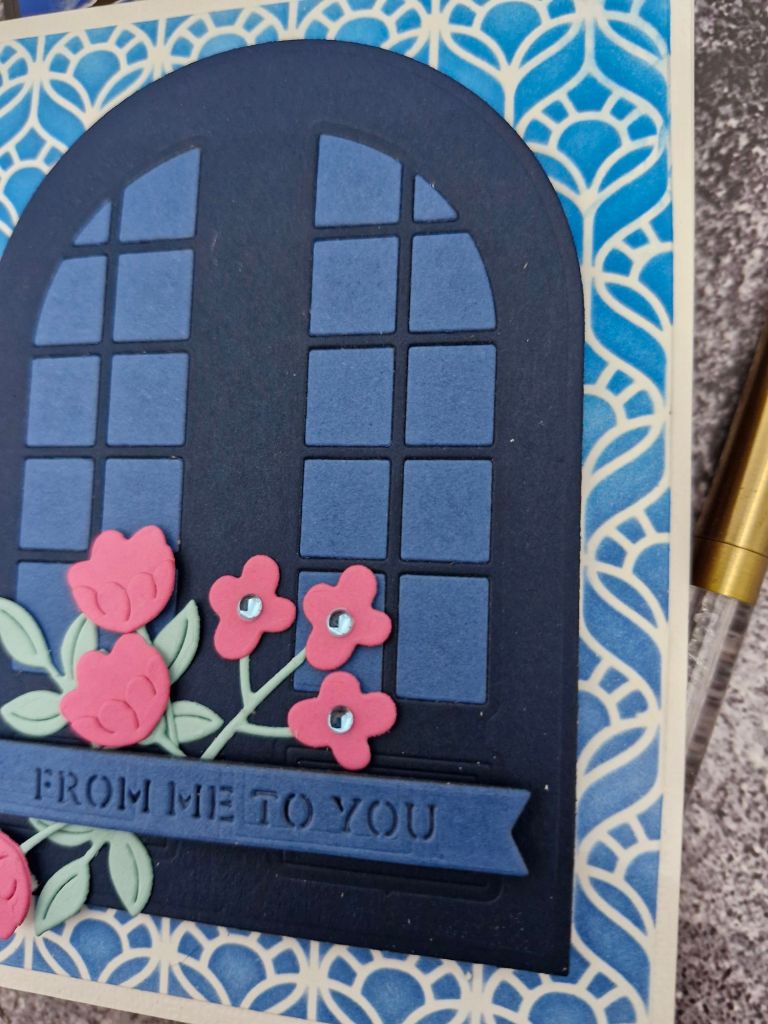
Hello there. I have had a little of a crafty funk this week, finding it difficult to create anything. I decided to sort out some of my craft room, add some new products to the CML app so I can keep track of them – which led me to find the wax seal kit my sister bought for me for Christmas 2022……that’s right, Christmas 2022 – and I have never played with it.
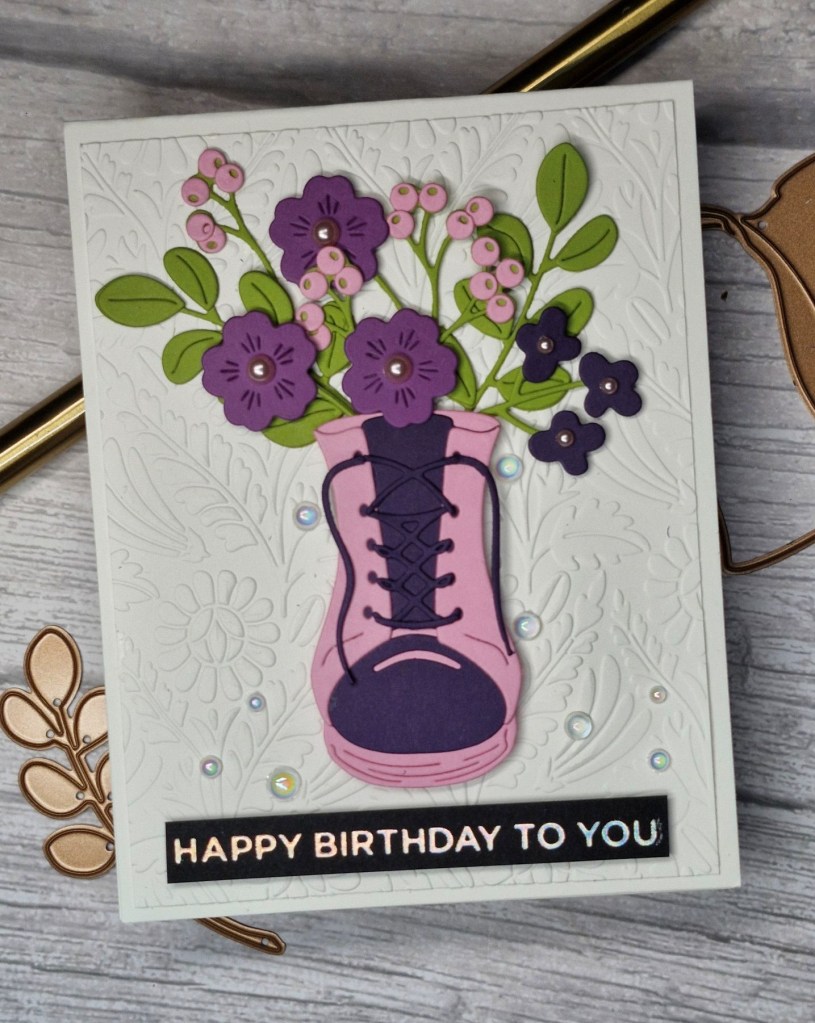
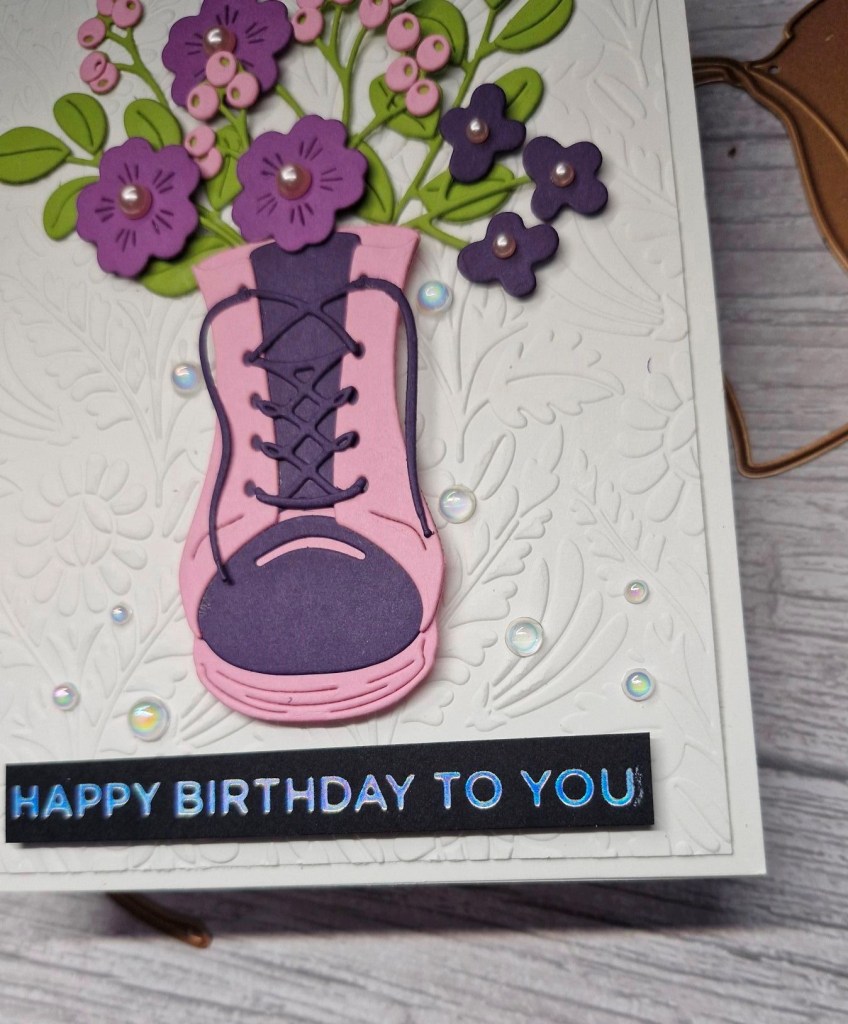
I decided the time was right, so I had a play – and it is very addictive I must say. I think I created at least 15 wax seals, and I used a couple on this card:

I created some wax seals, then remembered a Yana Smakula video where she added the seals to some die cuts, so this is the result of my experiment with that technique.
I die cut some bluebells and other foliage from a couple of The Greetery die sets, and created the blooms, then placed them on the mat ready for the seal, added the wax, then the seal – and waited.
Once the wax had cooled, I removed the seal, and though the seal had trapped the die cuts quite well, you could see the stems through the seal. I was considering just adding more wax and sealing again, but instead I added another seal on top.
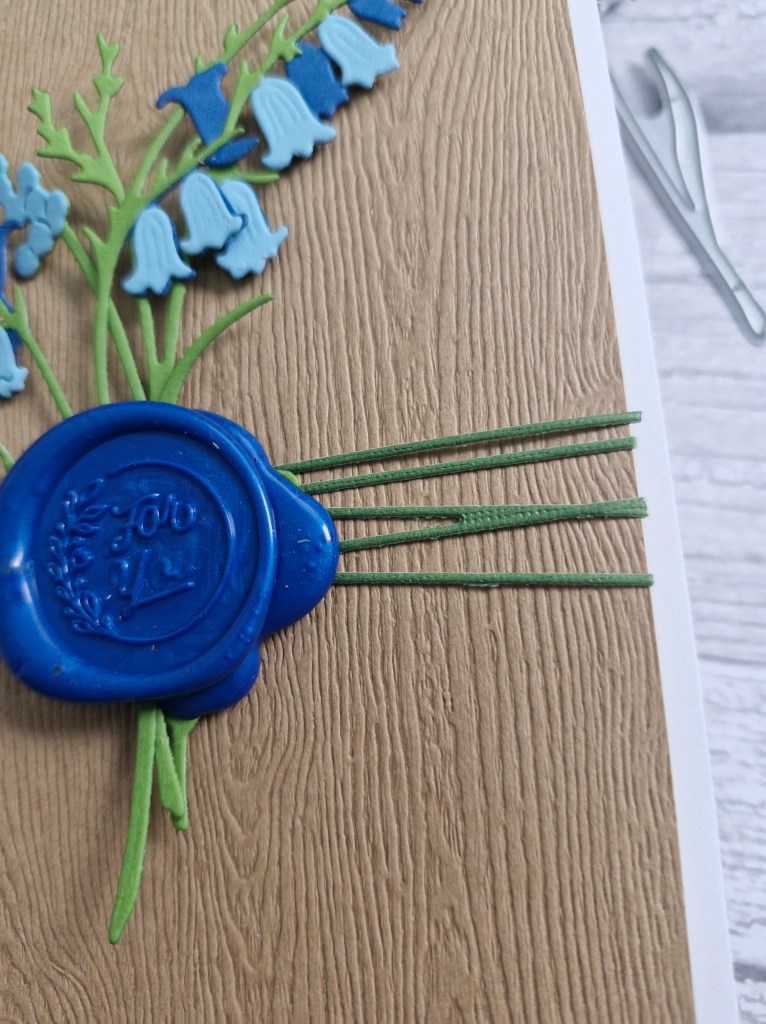
I knew I had the wax seal ribbon die so I hunted that out, die cut that in green, and added to the rear of the wax seal and flowers. The woodgrain card stock is from Lawn Fawn which I’ve had for ages, so that was used for the panel which the ribbon die could wrap around, then added to the white card base.

I find I am always a little late to try new ways of adding to my card making, but – like the hot foiling – this wax seal technique is going to be one of my favourites I think.
I shall be entering the following challenges:
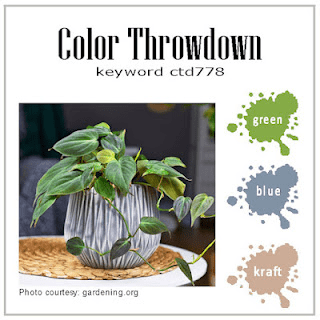
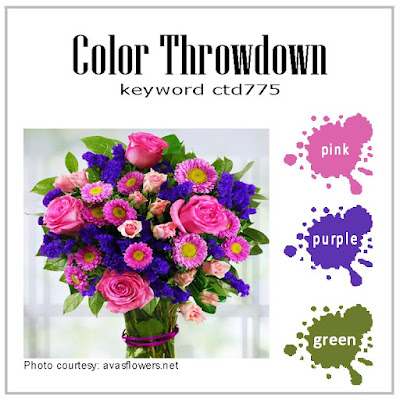
Color Throwdown – green, Kraft, blue
Simon Says Stamp Wednesday Challenge – anything goes
Ally’s Angels – anything goes
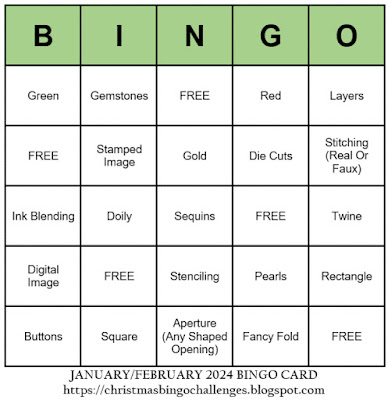
Allsorts – anything goes – option of the Bingo board not taken
Beautiful Blossoms – flowers
Love To Craft – anything goes