Hi there. I have another card to share inspired by the current challenge at Sparkles Christmas:
This stamp, die, and stencil set is from Pinkfresh Studio – another virtual event from last year and not used yet.
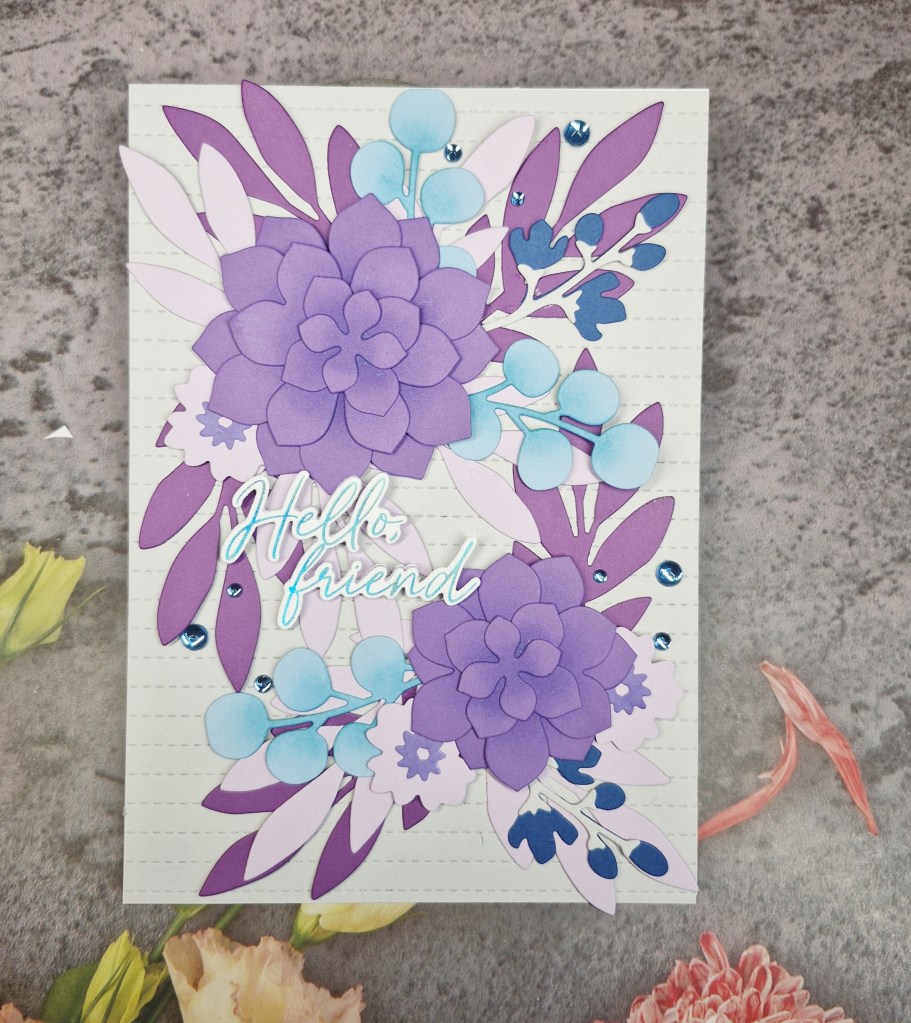
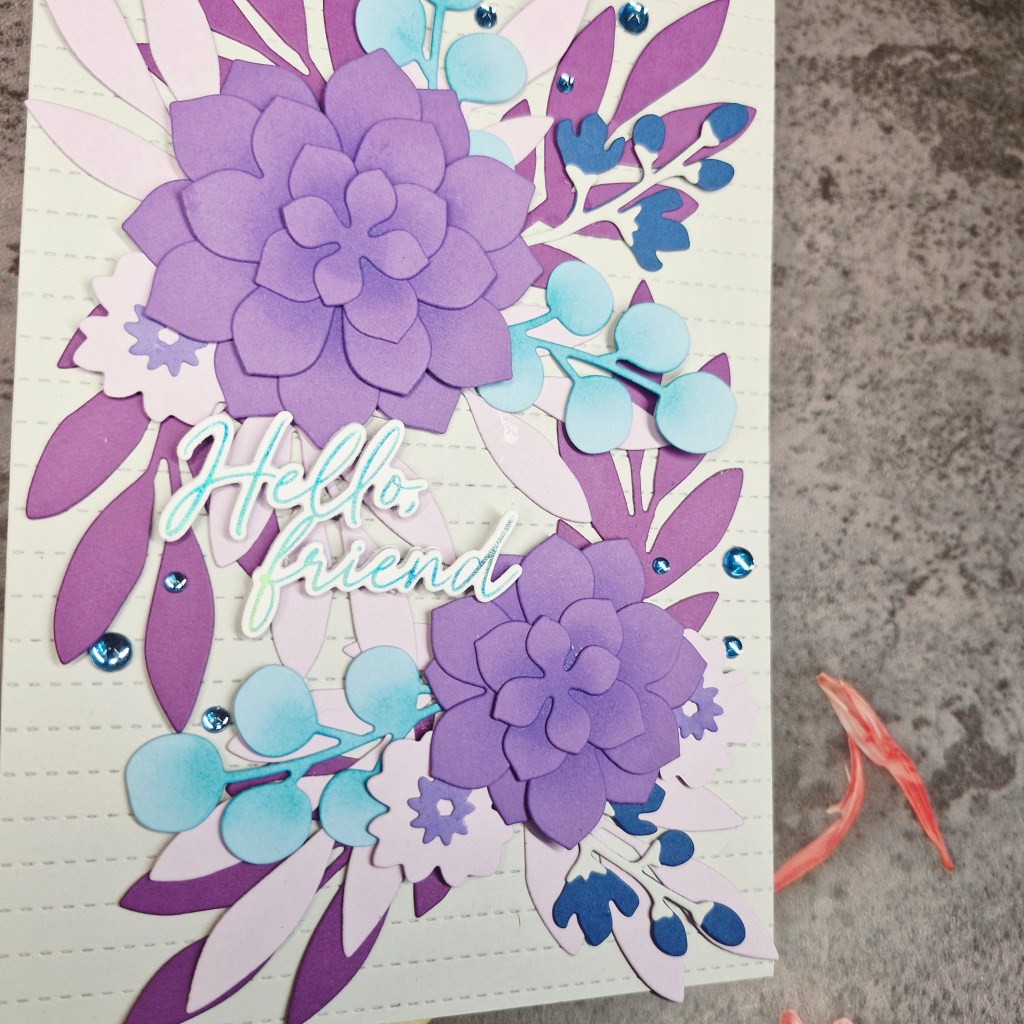
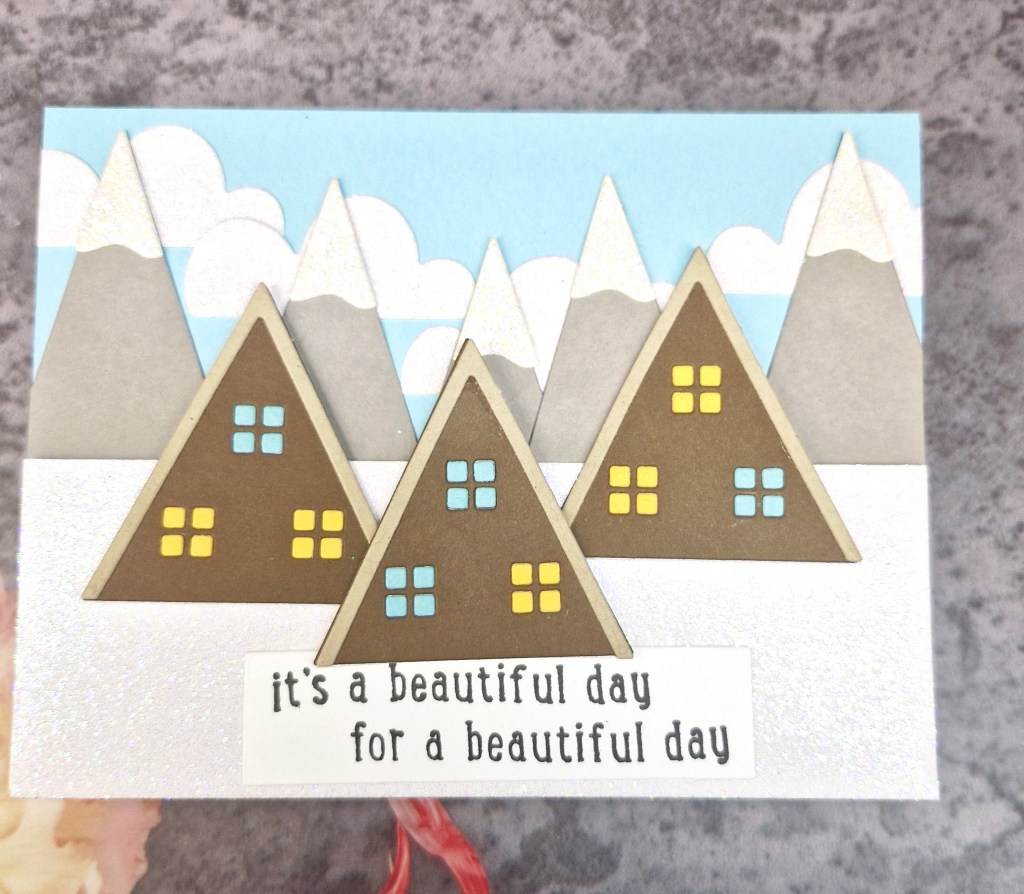
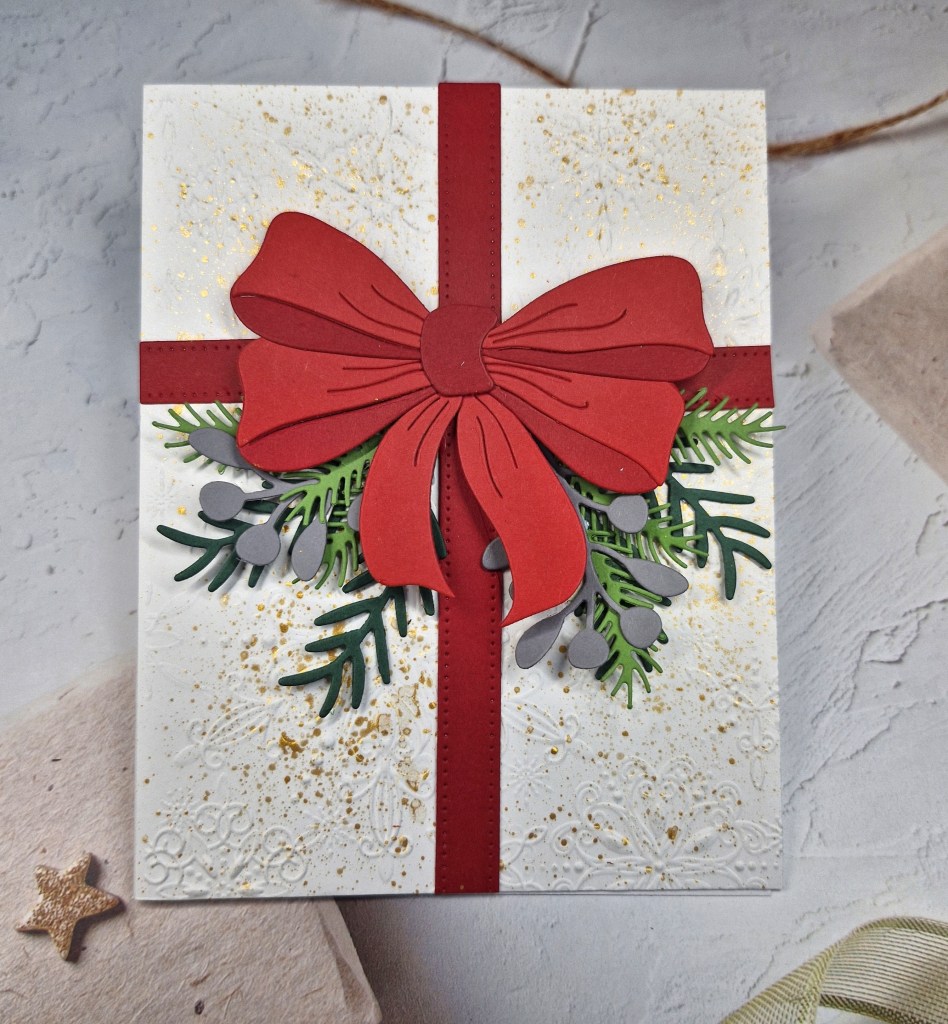
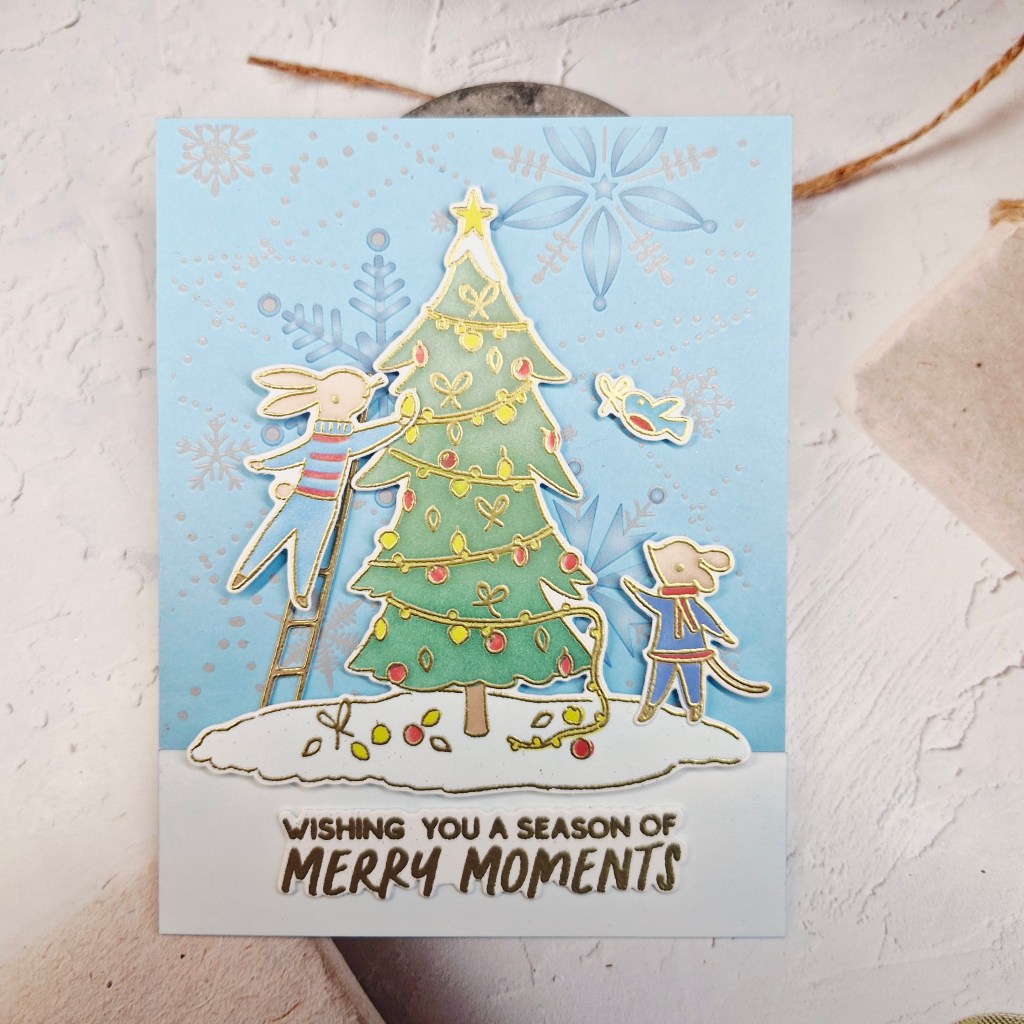
I began by gold heat embossing all the images, then used the matching layering stencils to colour them in. This was then die cut – one stamped image and one die to cut out all the elements – which were set aside whilst I considered the background.
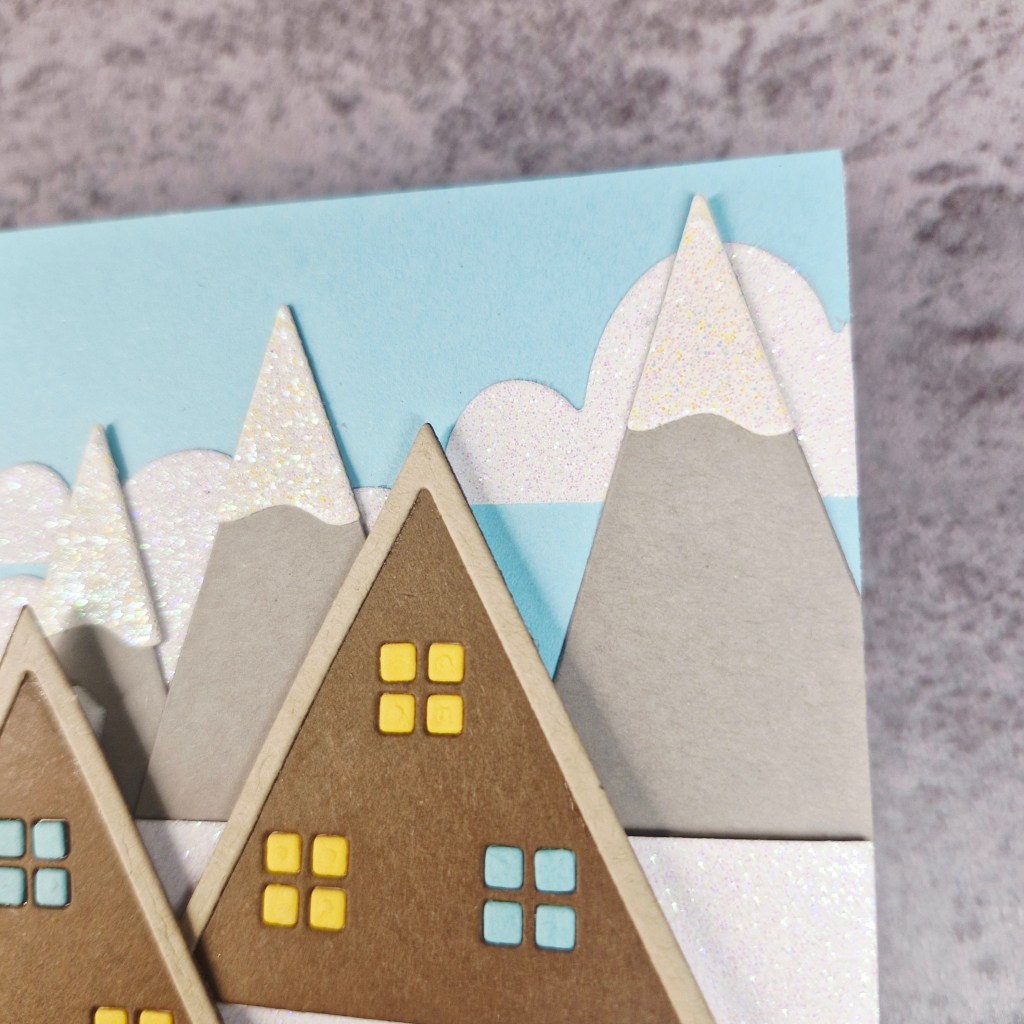
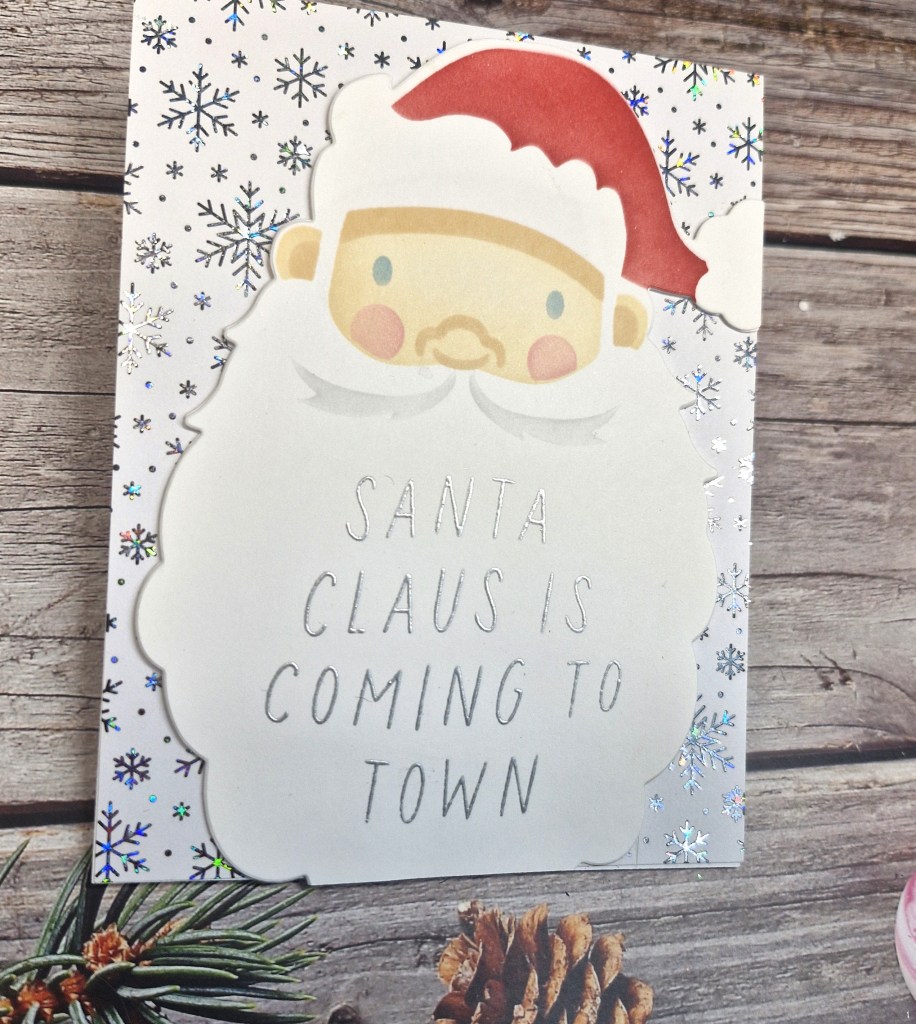
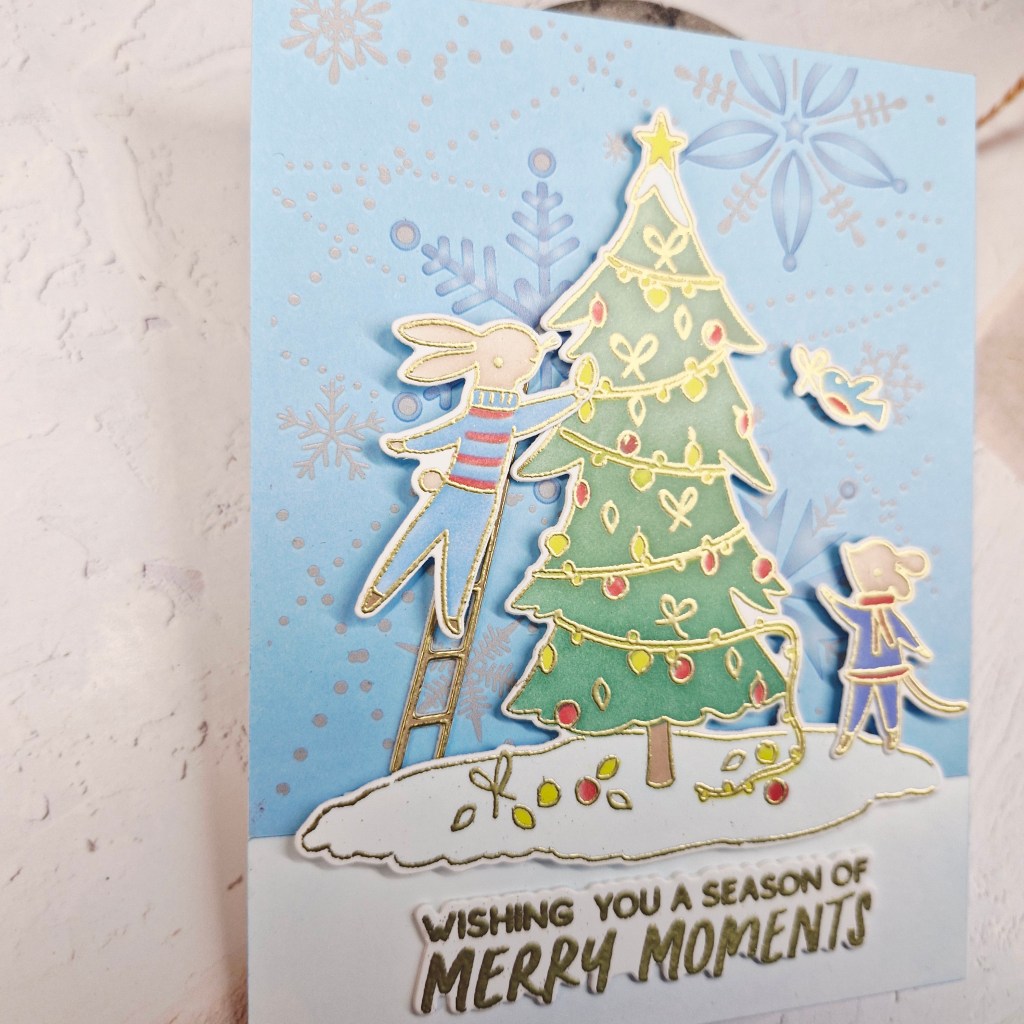
I found some Hero Arts snowflakes transfers and rubbed part of the sheet down onto a light blue piece of card stock.
The bottom piece of a white card with a little light blue ink blending – the same as I used for the snowy areas on the main image.
The blue and white panel were glued down to a white card base, and the tree adhered with 3D foam, as were the critters – but the ladder was glued flat, but was layered a couple of times for stability.
The sentiment was also gold heat embossed, die cut with the matching die – layered a couple of times – then glued to the bottom.

These snowflakes are lovely, and so easy to rub them onto a piece of card – I can see I will be using all of them at some point in the near future…
I shall be entering the following challenges:
Sparkles Forum Christmas Challenge – Christmas with an animal and a tree
Critter Crazy Challenge – anything goes with a critter
Crafty Animals – anything goes with an animal