Birthday Sheep

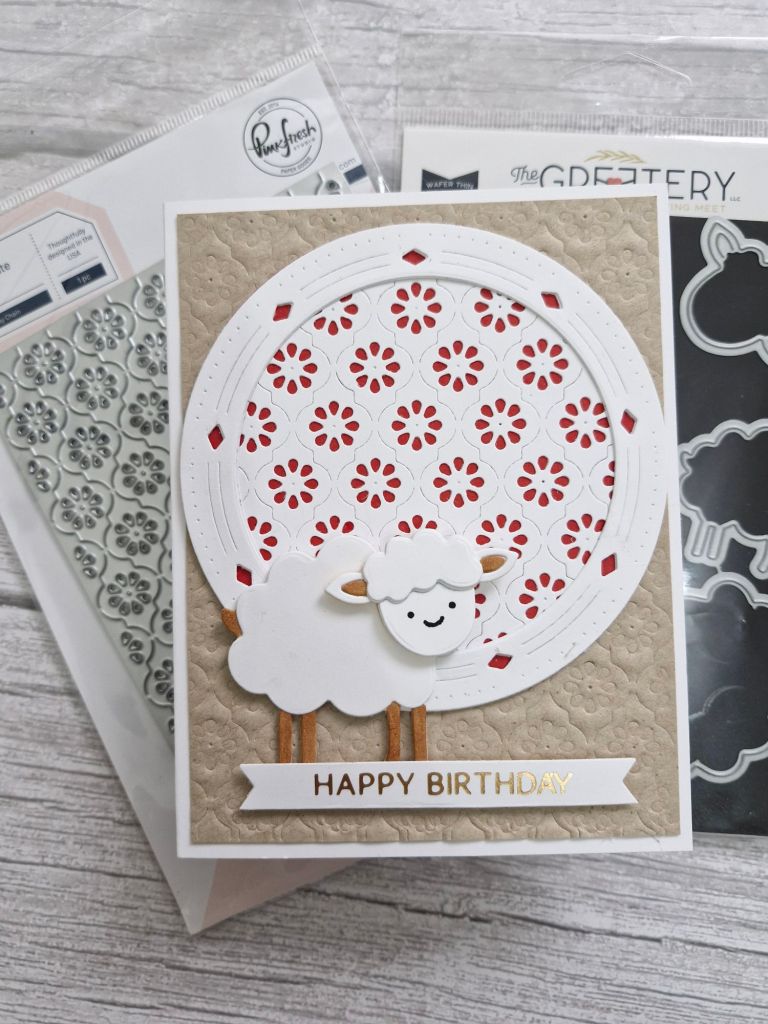
Hello. A little crafty time to create this card:

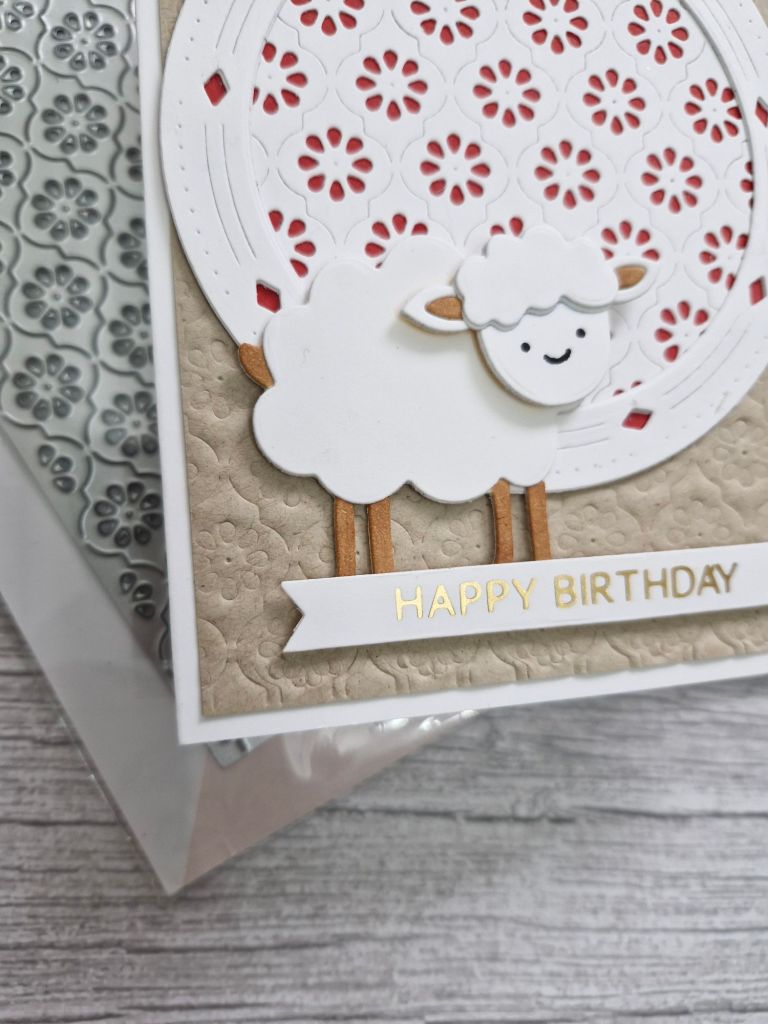
As soon as I saw this sheep die from the Greetery I was hooked. I love the cute little sheep – there are two in the die set, one smaller than the other, but I just used the larger sheep for this card.

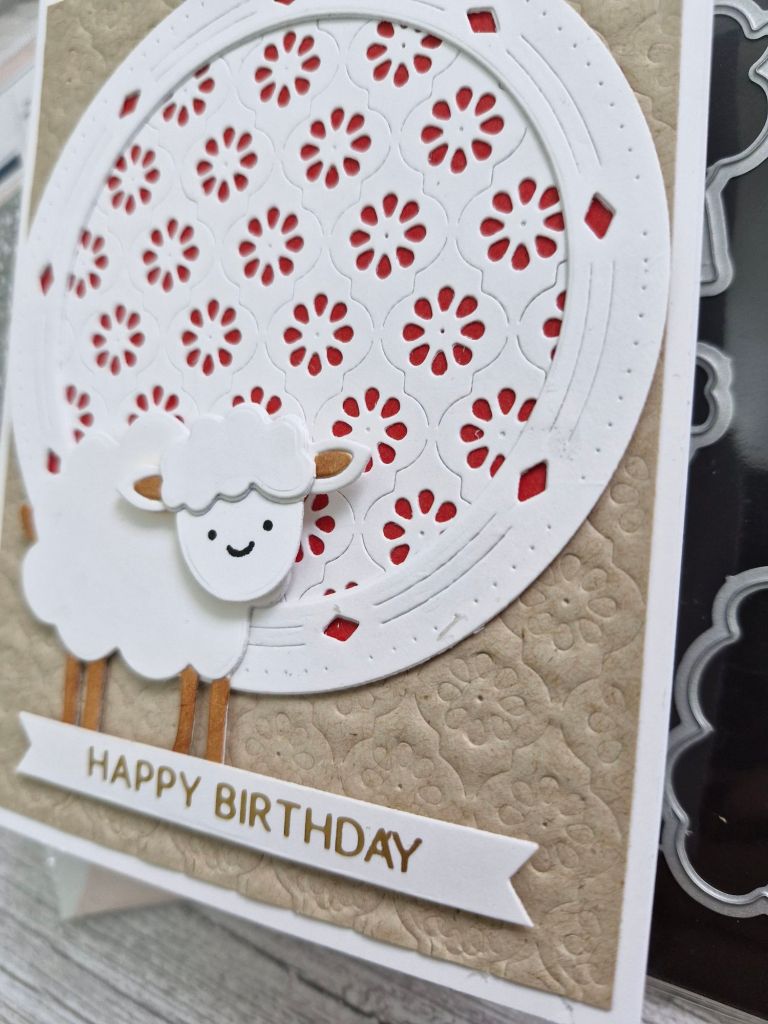
I started by die cutting the sheep out of white card stock, coloured the legs, tail, and ears with a light brown Copic, and started to glue the layers together. When I got to the face, I realised there are no features in there, so I searched the CML app to see what little face features I had. There are several from Lawn Fawn stamp sets, and I used one of the faces from their ‘All The Clouds’ stamp set – that way I didn’t make a mess when I tried to draw them!

The circle die cut is from Pinkfresh Studio. as is the ‘Daisy Chain‘ cover plate. I die cut the cover plate out of white a couple of times and layered together, then used some circle nesting dies to cut the cover plate panel, and a circle of red as backing.

The background Kraft was dry embossed using the cover plater die – it worked first time! I usually put the layers down wrong for embossing dies and end up with a mess, but this time it worked straight away.

All the elements glued onto the white card base, and a foiled sentiment added.

I shall be entering the following challenges:

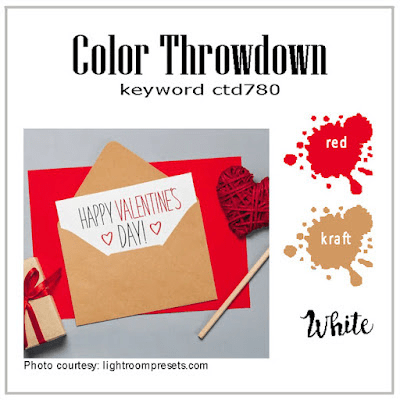
Color Throwdown – red, Kraft, white

Seize The Birthday – birthday – option of splatters not taken

Crafty Animals – anything goes with an animal

2 Crafty Critter Crazies – anything goes with a critter

Craft Rocket – birthday

W is for Weddings

Hello. The Alphabet Challenge has started a new challenge. We have reached the letter ‘W’ and Dawn has chosen the theme of ‘Weddings‘. Here is my card:

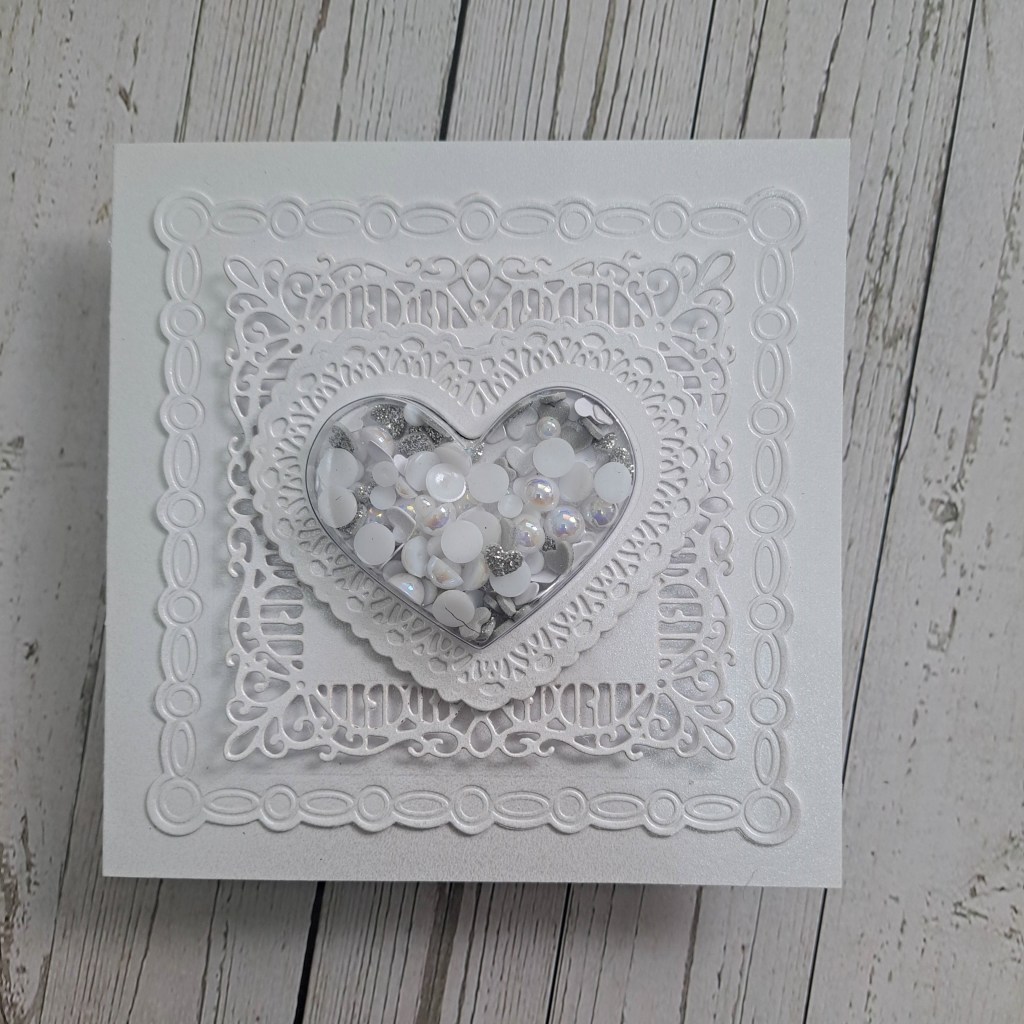
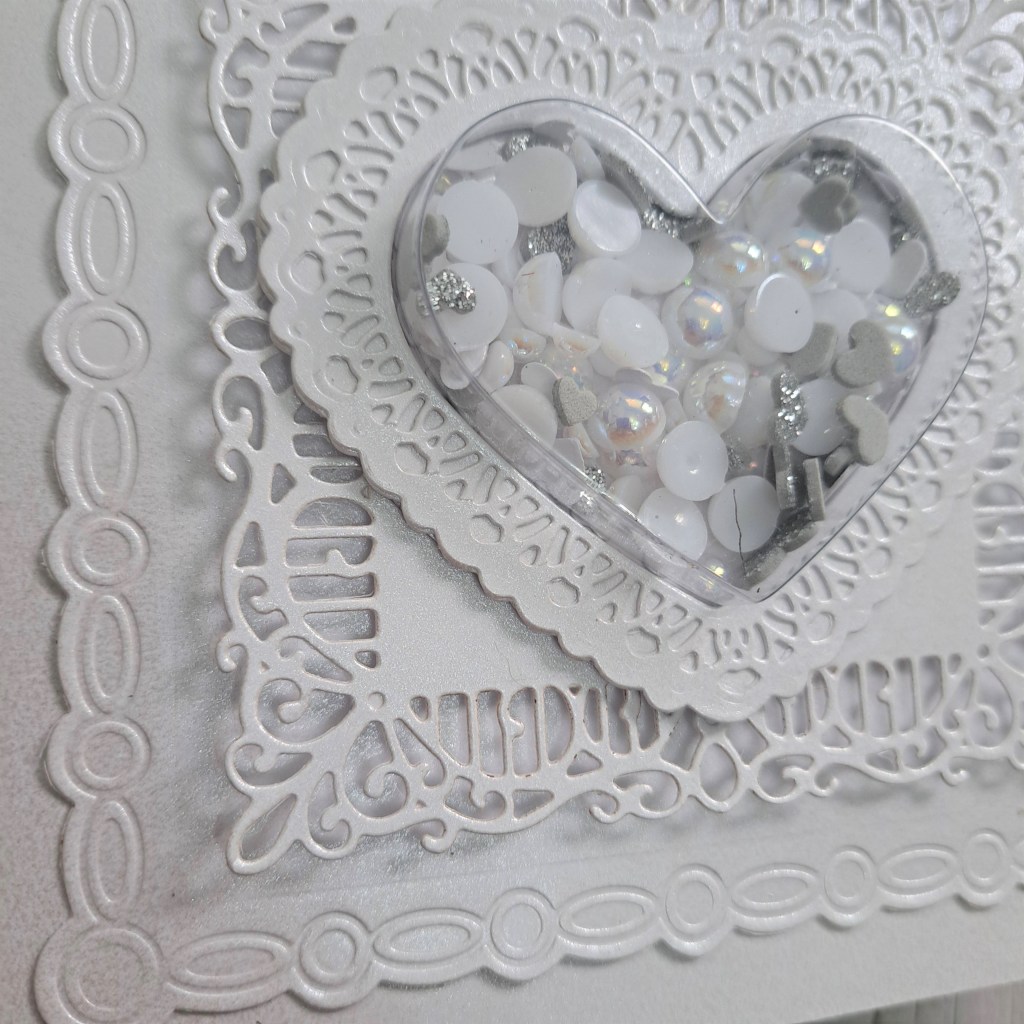
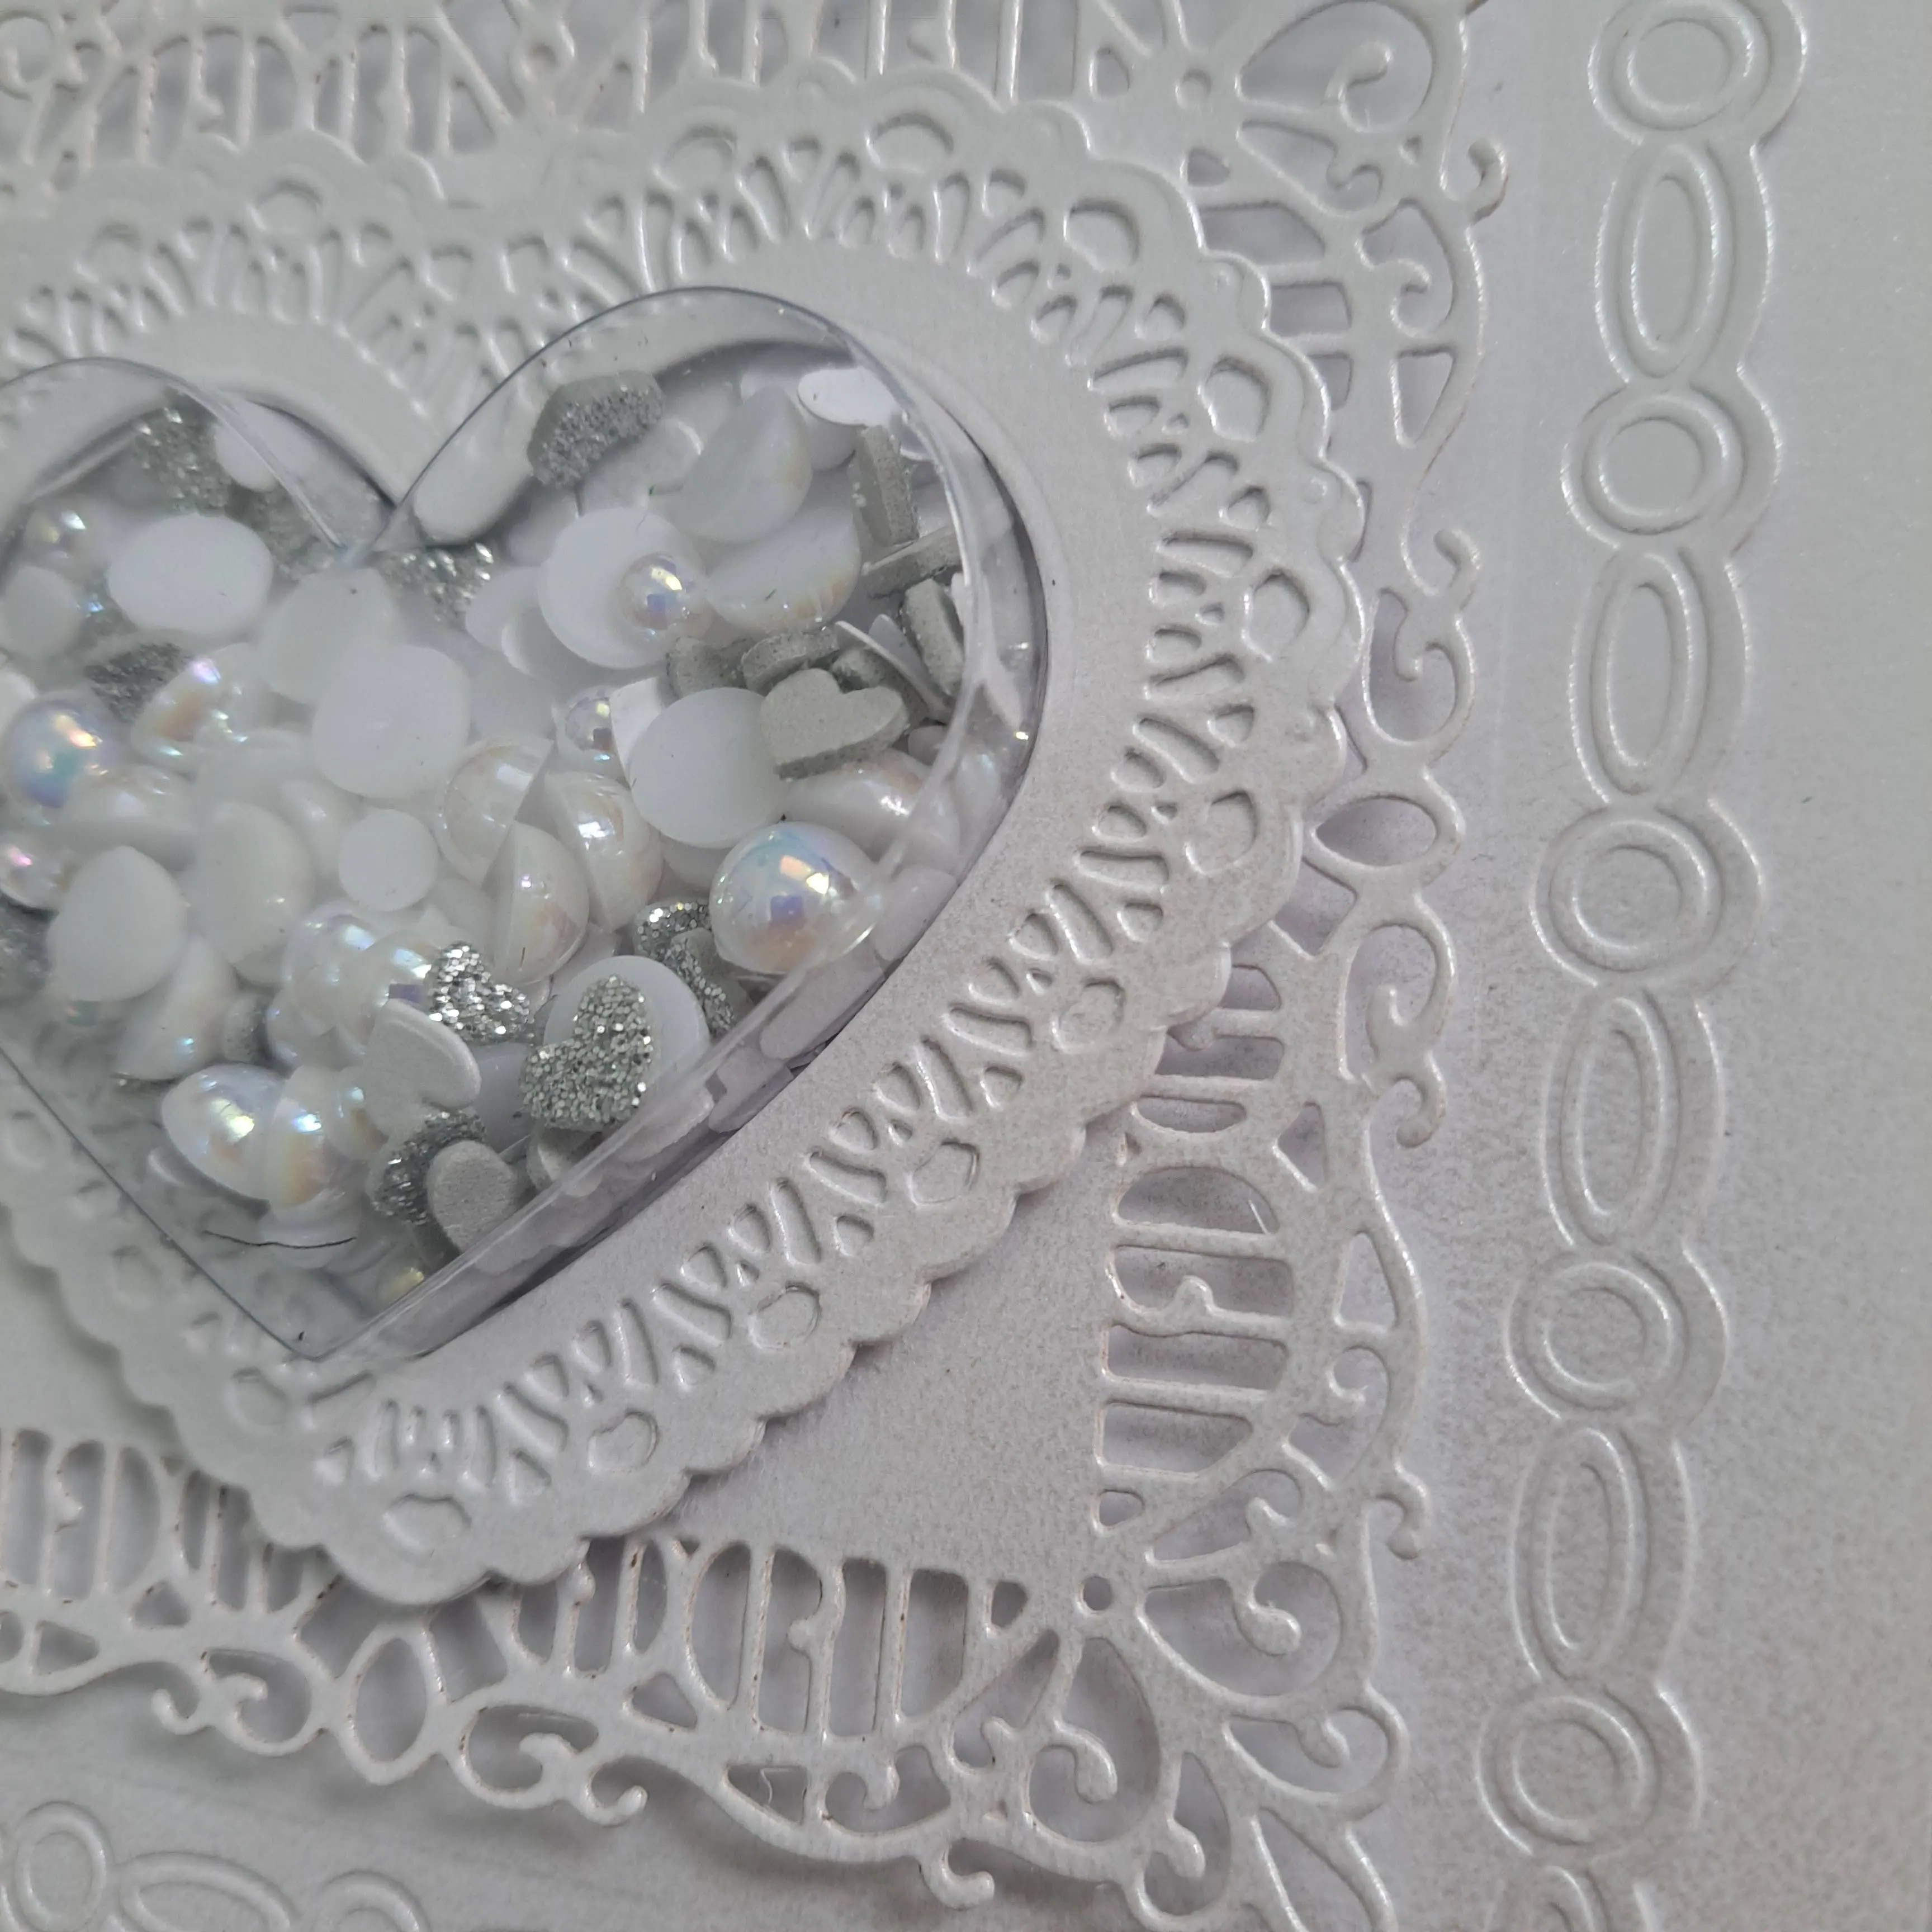
I wanted to go with a white-on-white card, and it has turned out to be another shaker card, using some older Sue Wilson/Creative Expressions dies. I found this heart shaker cup and made the card and layers around that/

A white square card base, with a couple of layers die cut using a shimmery white card stock.

I used a couple of heart shaped dies – they were brought out at the same time as the heart shaped cups – to create the back and the surround for the heart – filling it with white, glittery and pearl gems and heart shaped die cuts.

The glittery hearts were die cut from Spellbinders silver glitter foam, and I already had the gems in my stash.

I hope you can come and join us with your ‘wedding’ themedprojects. xx

I shall be entering the following challenges:

Shopping Our Stash – winter landscapes or white on white

Love To Craft – anything goes

Ellibelle’s Corner I Spy – hearts and/or roses

Try It On Tuesday – hearts and/or flowers

Creative Inspiration Challenge – anything goes

A Perfect Time To Craft – anything goes

MAWTT – love hearts

Crafty Calendar – add a heart

Shaker Hello

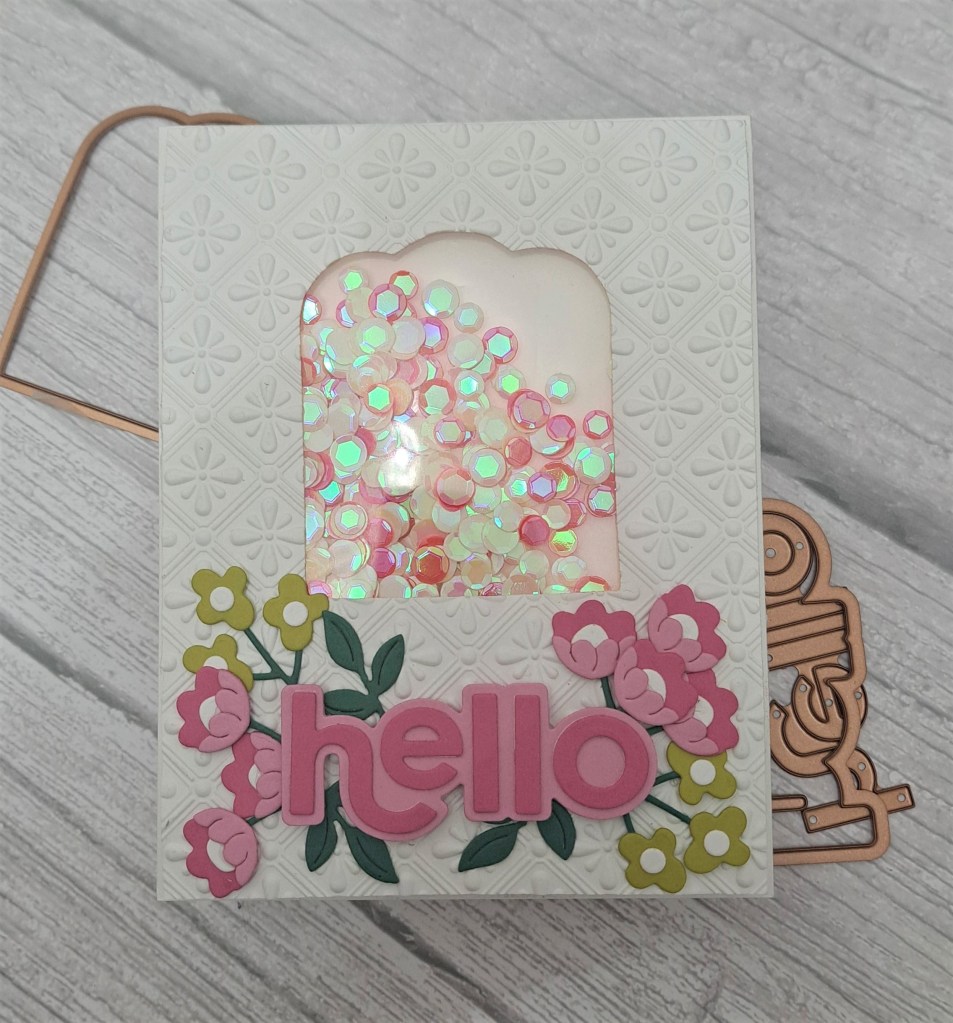
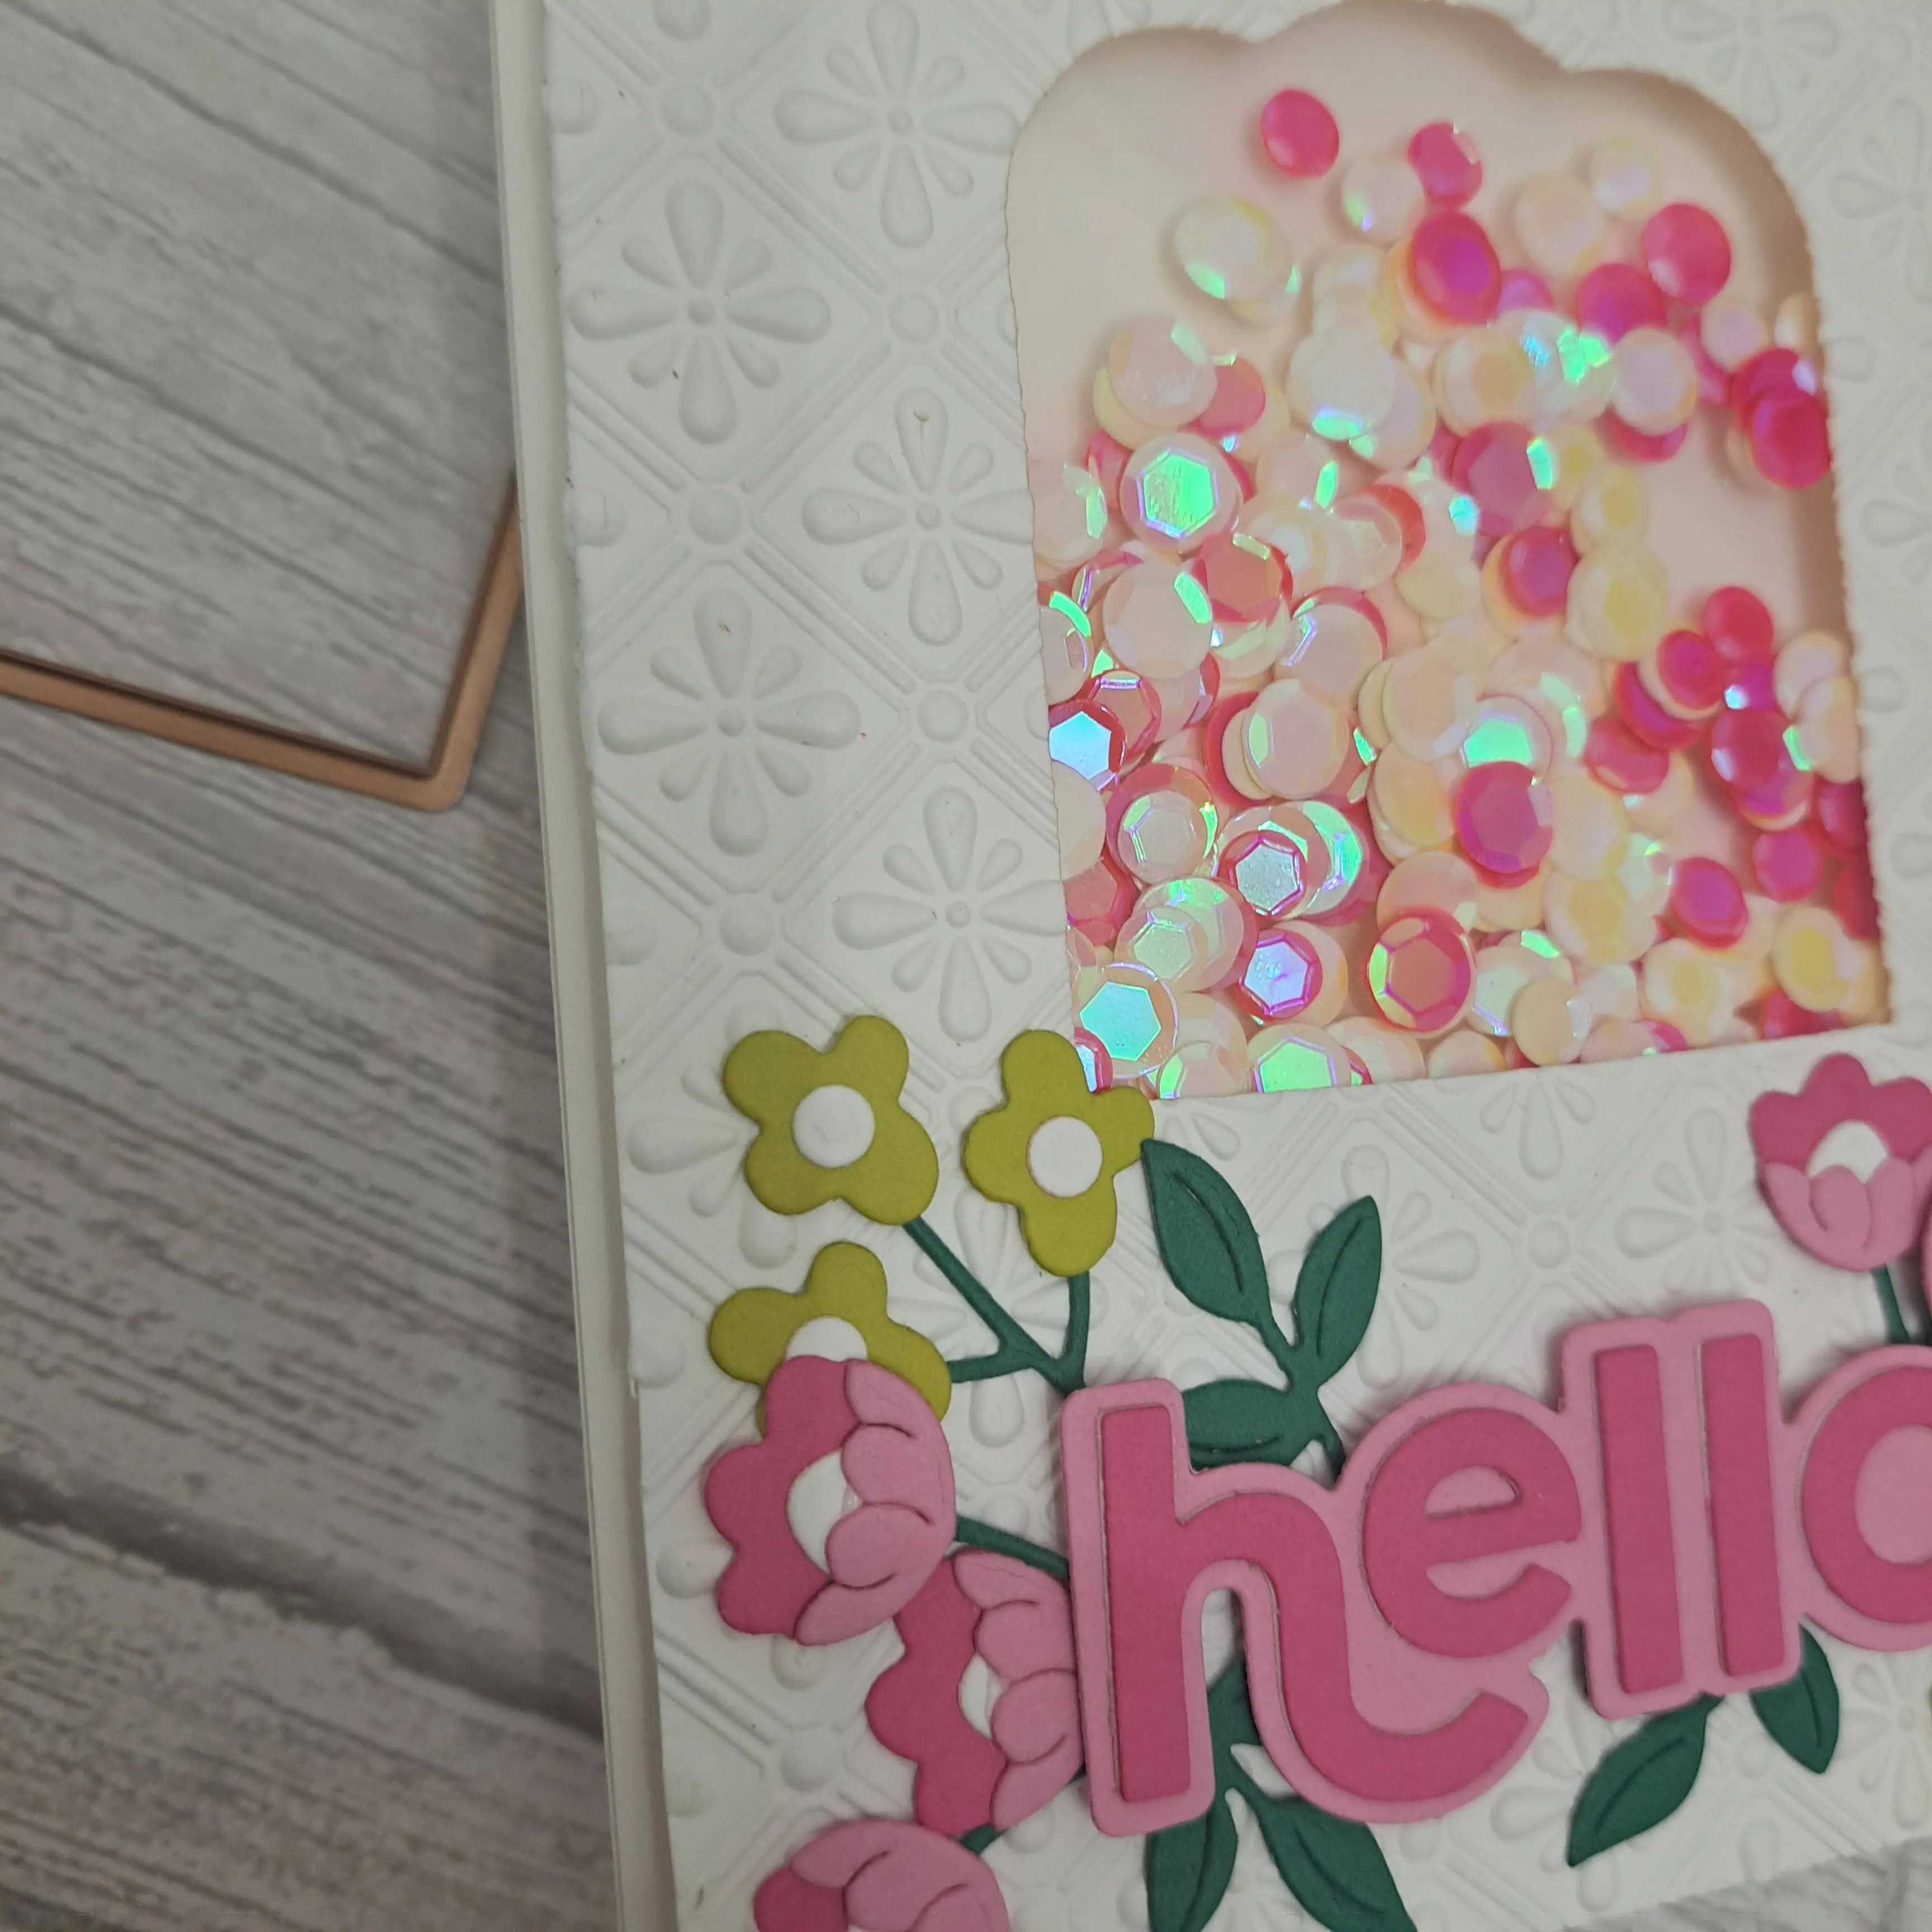
Cardz 4 Galz has started a new challenge, and Dawn has chosen the theme of ‘sequins’. I went with a shaker card:

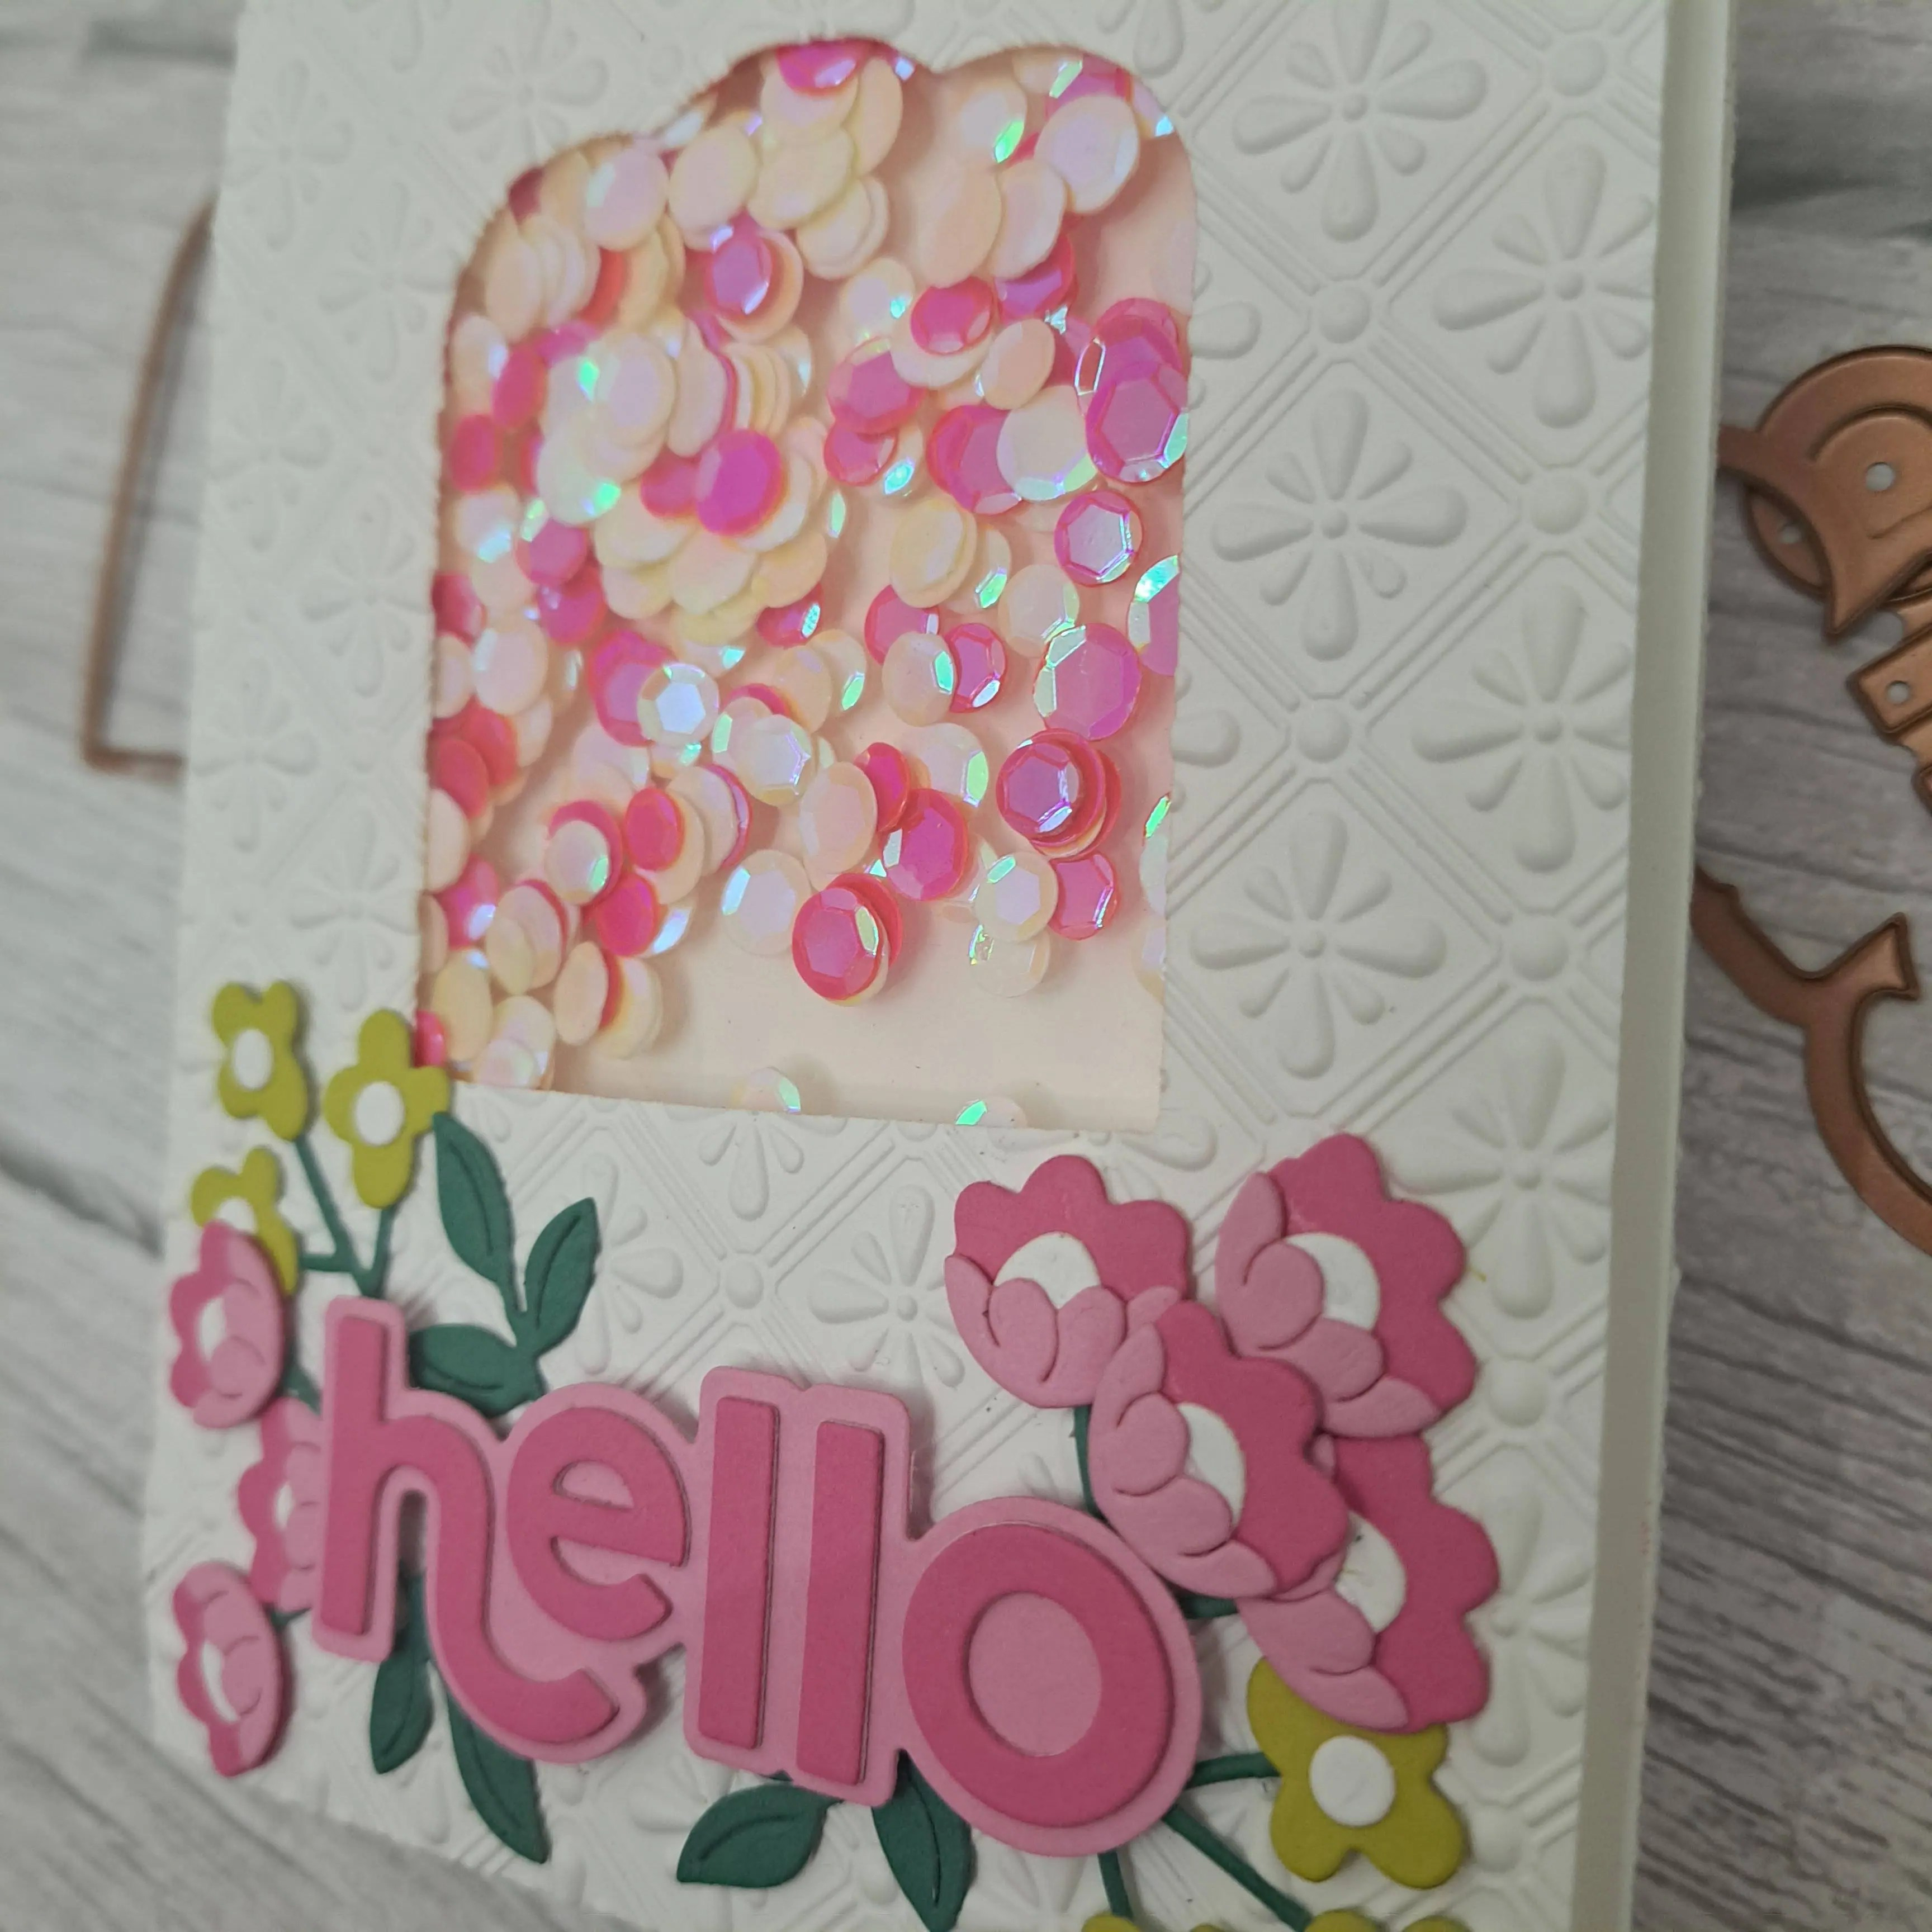
For the shaker window, I used the largest nesting die from a set from the Spellbinders 2023 Advent Calendar, Once that was die cut, I dry embossed the panel using a Spellbinders embossing folder.

The acetate was adhered to the back of this panel, 3D foam strips applied all over, added some sequins from my stash, then adhered to the card base.

The ‘hello’ sentiment is also from that Advent calendar, and the florals and foliage are from some other Spellbinders die sets, and using a mix of Concord & 9th and Spellbinders card stock.

I hope you can come and join us with your creations using sequins – the Design Team has come up with a wide range of inspiration for using them. xx

I shall be entering the following challenges:

Ally’s Angels – anything goes

Allsorts – anything goes – Bingo board option not taken

Beautiful Blossoms – flowers

Lil Patch Of Crafty Friends – anything goes

Creative Inspiration Challenge – anything goes

A Perfect Time To Craft – anything goes


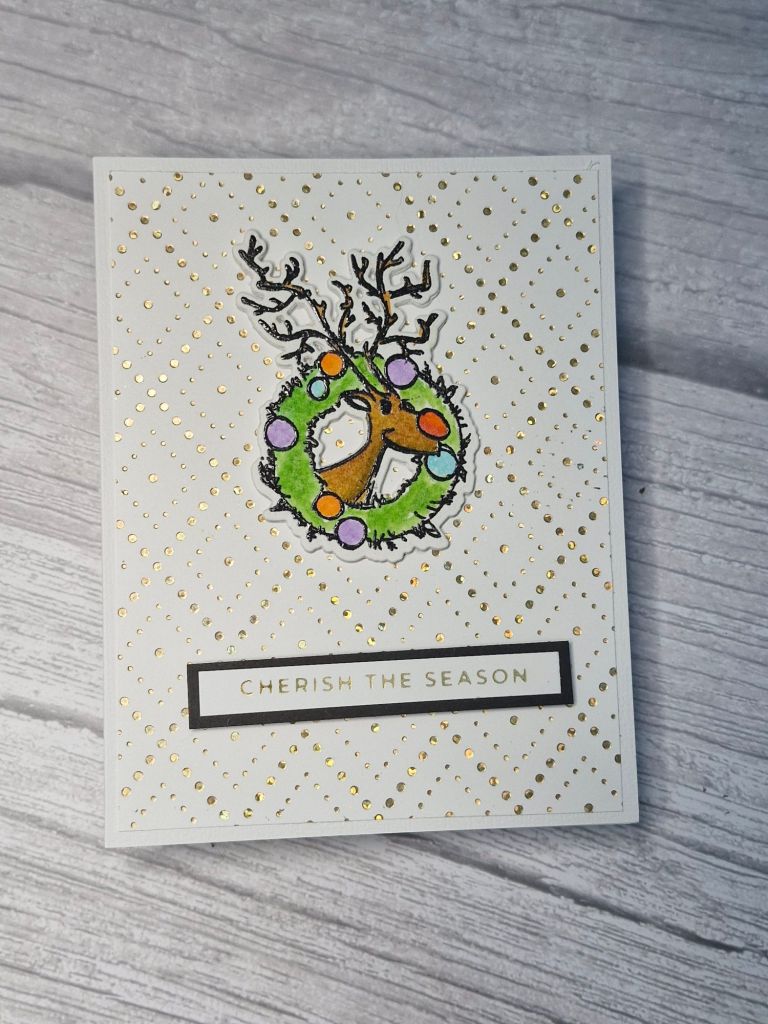
Cherish The Season

Hello everyone. The Holly and Ivy Christmas Challenge has started a new challenge – the theme is anything goes Christmas. Here is my card:

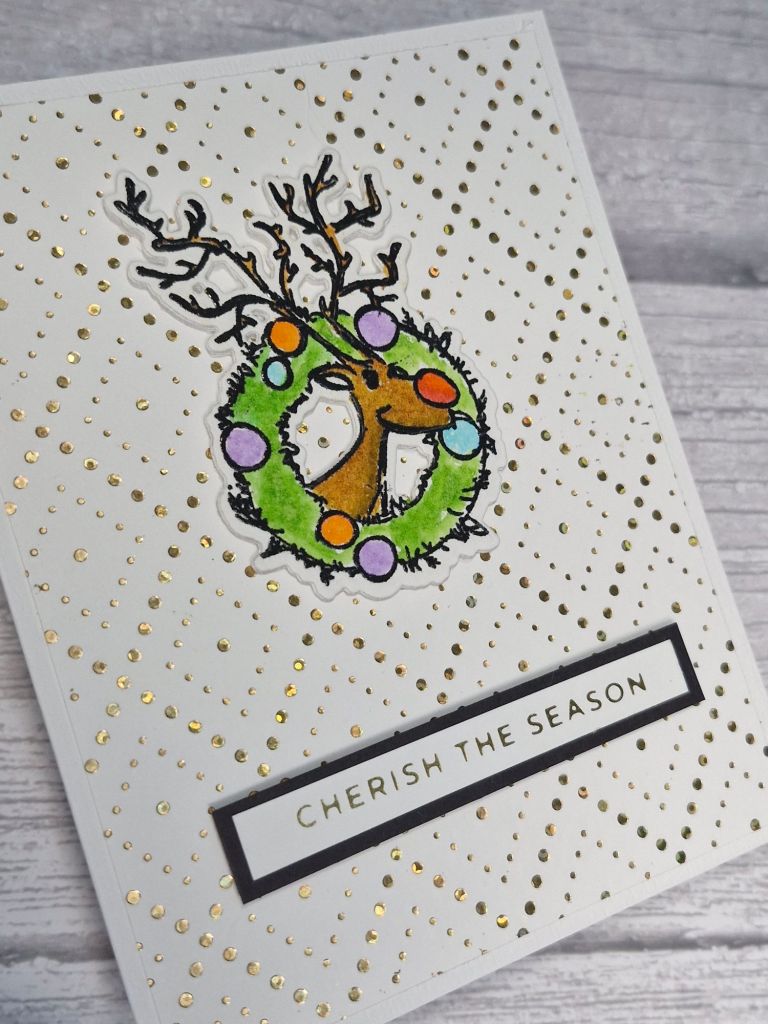
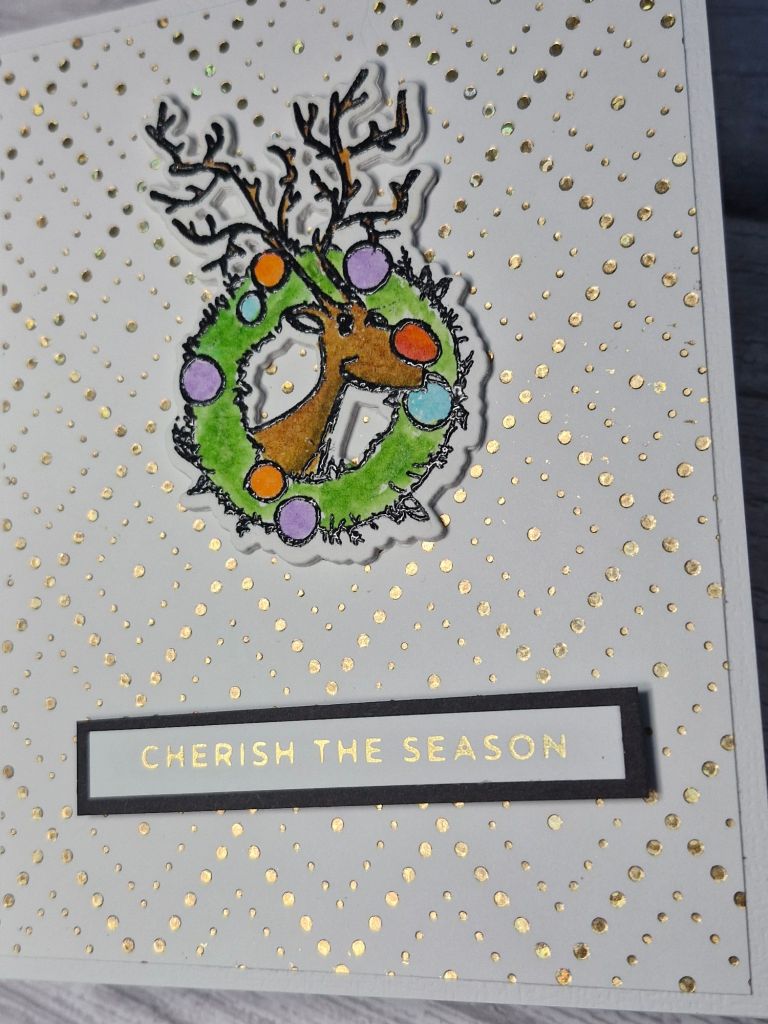
I used a stamp set from Tim Holtz and picked this cute little reindeer and wreath. The image was stamped in black onto water colour card stock, then heat embossed in clear.

I then took out my Zig markers for a change and coloured the image, then used the matching die set to cut him out.

I decided to take this card a little more simply, but just adding a hot foiled panel behind him, and then a hot foiled sentiment. He certainly needs to take centre stage.

I hope you can come and join us, and I look forward to seeing you in our gallery. xx

I shall be entering the following challenges:

Krafty Chicks – use stamps

Merry Little Christmas Challenge – anything goes Christmas

Mix It Up Challenge – anything goes mixed media – use more than one medium (ink, embossing powder, water colour, foil)

Peace On Earth Challenge – Christmas

Crafty Animals – anything goes with an animal

2 Crafty Critter Crazies – anything goes with a critter

A Perfect Time To Craft – anything goes

Thinking Of You….

After my crafty funk last week, I seem to be on a roll. Here is a card I created for a few challenges:

I used the ‘Lovestruck Colorize‘ dies from Tim Holtz/Sizzix for this. The red and pink card stock is from Concord & 9th – three different tones of each. I did have to watch the Sizzix YouTube video to ensure I got the layers correct though…

Once the two hearts were layered and glued together, I dry embossed a white panel using a Spellbinders embossing folder – also with hearts – and arranged the red and pink hearts in a jaunty manner with 3D foam.

The foiled sentiment was added, and then some little sparkly sequins.

I shall be entering the following challenges:

Simon says Stamp Wednesday Challenge – anything goes

CYHTP – embossing folder – option of birthday not taken

Crafting Happiness – red and pink

Colour Hues – red and pink

Ellibelle’s Corner – I Spy – hearts and/or roses

MAWTT – love hearts

Crafty Calendar – add a heart

For You…..

Hello there. I have had a little of a crafty funk this week, finding it difficult to create anything. I decided to sort out some of my craft room, add some new products to the CML app so I can keep track of them – which led me to find the wax seal kit my sister bought for me for Christmas 2022……that’s right, Christmas 2022 – and I have never played with it.
I decided the time was right, so I had a play – and it is very addictive I must say. I think I created at least 15 wax seals, and I used a couple on this card:

I created some wax seals, then remembered a Yana Smakula video where she added the seals to some die cuts, so this is the result of my experiment with that technique.

I die cut some bluebells and other foliage from a couple of The Greetery die sets, and created the blooms, then placed them on the mat ready for the seal, added the wax, then the seal – and waited.

Once the wax had cooled, I removed the seal, and though the seal had trapped the die cuts quite well, you could see the stems through the seal. I was considering just adding more wax and sealing again, but instead I added another seal on top.
I knew I had the wax seal ribbon die so I hunted that out, die cut that in green, and added to the rear of the wax seal and flowers. The woodgrain card stock is from Lawn Fawn which I’ve had for ages, so that was used for the panel which the ribbon die could wrap around, then added to the white card base.

I find I am always a little late to try new ways of adding to my card making, but – like the hot foiling – this wax seal technique is going to be one of my favourites I think.

I shall be entering the following challenges:

Color Throwdown – green, Kraft, blue

Simon Says Stamp Wednesday Challenge – anything goes

Ally’s Angels – anything goes

Allsorts – anything goes – option of the Bingo board not taken

Beautiful Blossoms – flowers

Love To Craft – anything goes

Get Well Wishes

Hello everyone. I created this card and finally managed to use the matching stencils for this background I had in my stash from a previous foiling session:

I have this foil plate and matching stencils for a while, and had foiled the panel quite a few months ago, but hadn’t got around to using it. I used the opportunity with the current colours for The Color Throwdown.

Onto the silver foiled panel, I used all the layering stencils, and the three Distress Ink pads you see in the photo. I set this aside and die cut the arch from another white panel, then used a Stampin’ Up embossing folder to create the texture on it.

I wanted it to be almost like a stained glass window.

I then adhered the ink blended panel behind the arch aperture, using 3D foam to stick them to a card base.

The sentiment is also from a previous foiling session.

The ink blending took most of the time creating this card, but the choosing of the colours to use was easier as I have just finished swatching all my Distress Inks and Distress Oxides, so I can easily flip through the swatches to choose the colours.

I also realised there are 3 colours of Distress Inks I don’t currently have – that will be amended in the next couple of days….!

I shall be entering the following challenges:

Color Throwdown – blush, dusty blue, pink

Inkspirational – more than one stencil

Crafts Galore – anything goes

Avenue 613 Create – anything goes – option of new beginnings – not taken

Stencil Fun – stencils – option of birds/birdhouses/bird feeders – not taken

Ally’s Angels – anything goes

Windows of Blue

Hello again. I have created a card I would like to share with you:

I was inspired by the blue and the window/shutters of the Inspired By challenge, and used the arch window die from The Greetery. I wanted the window pane section to be separate from the arch itself, so I first die cut the arch using a Simon Says Stamp arch die set, then die cut the window panes inside that. I then die cut the panes again in a lighter blue and pieced them back in. All the card stock is from Concord & 9th.

The background was created using a Spellbinders stencil and ink blending the two Distress Inks you see in the photo, keeping the darker blue towards the bottom.

Once this was adhered to the card base, I added the window with 3D foam, die cut the flowers, and added them for a pop of colour.

The flowers and sentiment strip are both from Spellbinders.

I also added some glittery gems from Pinkfresh Studio to the centre of the smaller cluster of flowers.

I shall be entering the following challenges:

Inspired By – photo Inspiration

A Perfect Time To Craft – anything goes

Daisy Chain Challenge – no designer paper

The Crafty Addicts – anything goes

Ally’s Angels – anything goes

Warm Winter Wishes

Hello once again. I had some messy and inky play yesterday to create this card:

I first created the panel for the mug. I used a Simon Says Stamp snowflake stencil, and through that I put some Altenew paste onto water colour card. Whist that was drying, I took some Distress Heavy Kraft card stock, stamped and heat embossed the sentiment in white, then sprayed with Distress Oxides in two purple colours. Again – this was set aside to dry.

Once the white snowflake panel was dry, I took purple Distress Inks, and ink blended over the top. I wanted the snowflakes to catch the ink, but also to have some purple on the background for an almost grungy look, and to be able to see the pattern from the water colour card itself. I then die cut the mug shape using a Heffy Doodle die set.

The sentiment cup holder was wiped with a dry cloth to try and get the white sentiment back, then die cut. The top of the mug was also using some of the left-over pieces from the die cutting of the mug and the holder piece.

I wanted a snowflake background, so took a Simon Says Stamp embossing folder, and as I didn’t want it stark white, I ink blended the lighter purple Ditress Ink around the edges.

The background panel was glued directly onto the card base, and the mug attached with 3D foam.

I found some purple sequins and dotted them around as you see.

I shall be entering the following challenges:

Allsorts – anything goes, option to make your own background taken

The Four Seasons Challenge – anything goes winter

Give A Crafter A Cookie – photo Inspiration

Ally’s Angels – anything goes

Mix It Up – anything goes – option to use more than one medium taken

Floral Boot Birthday

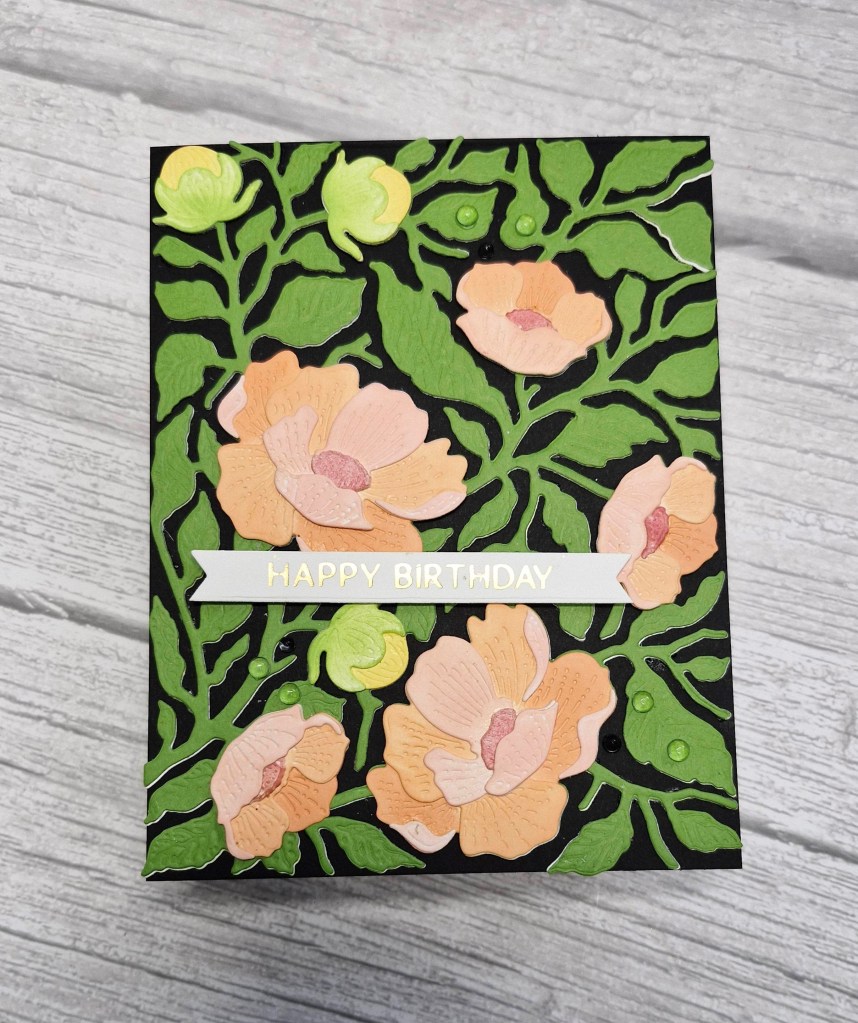
Hello. A chance to play today to create this card:

The die cuts on this card are from Spellbinder – a mix of different die sets – with card stock from Concord & 9th.


I used an embossing folder on a panel for the background, and adhered that flat to the card base.

I then took some purple and pink Concord & 9th card colours, and a green Spellbinders card for all the floral and foliage and set to the die cutting. Once everything was die cut, I assembled the layers, then arranged – finally – as you see. This usually takes me a while, but once I am happy, I take a snap shot, then use glue or foam dots to stick them all down.
I have tried using Press’n’seal to pick everything up once arranged, but that never works out for me……

The sentiment is a foiled strip from a previous foiling session.

To finish the flowers, I added some gems to the centre, then also added some clear/iridescent gems near the bottom.

I shall be entering the following challenges:

Double D – birthday or anniversary

Color Throwdown – pink, purple, green

Lil Patch Of Crafty Friends – anything goes

Aud Sentiments – make your own background and/or birthday and a sentiment

Unicorn Challenge – birthday

Daisy Chain Challenge – no designer paper

Triple B – birds and/or butterflies and/or blooms

Ally’s Angels – anything goes

Christmas (or not) Bingo Challenge – Column G – pearls, die cuts, free