Hello everyone. I have a card to share for the new challenge at The Holly & Ivy Christmas Challenge.
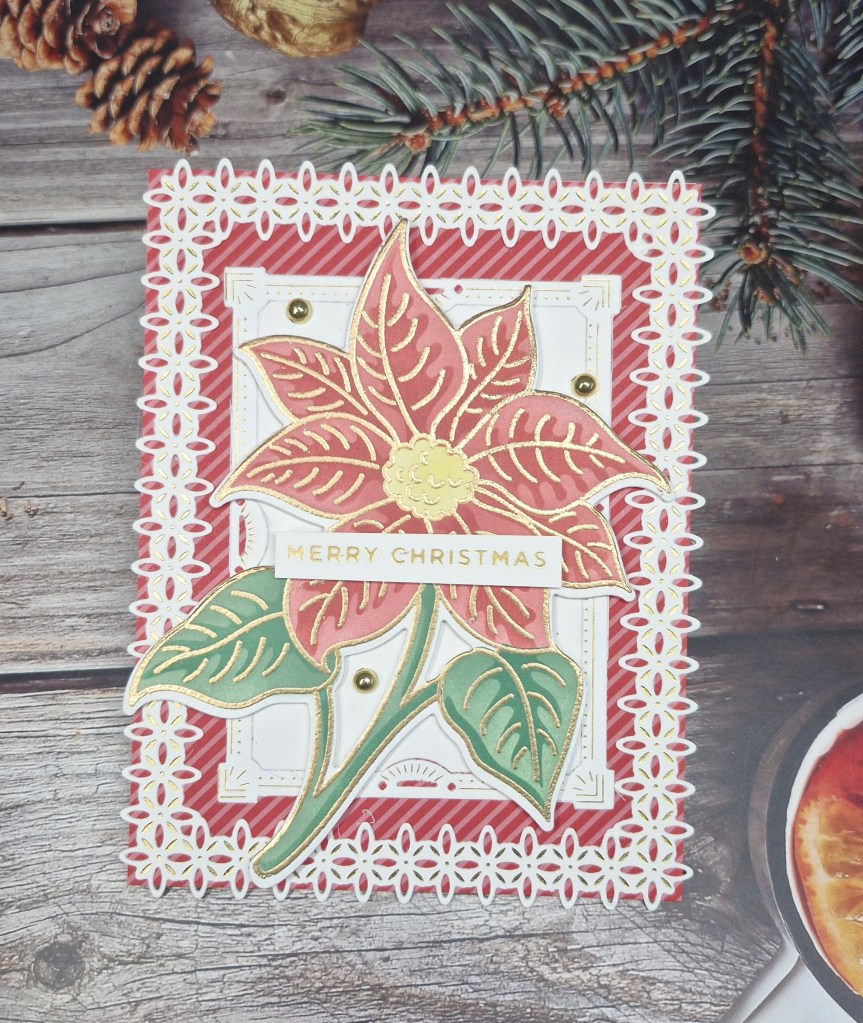
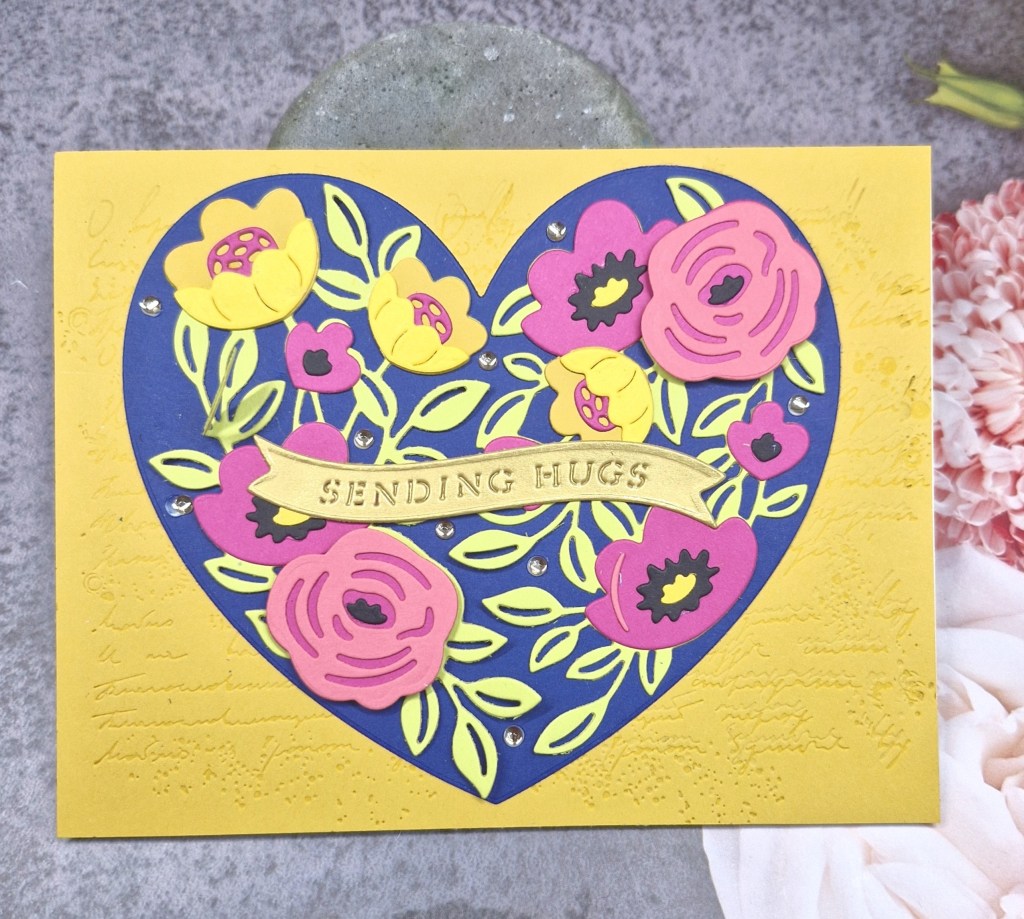
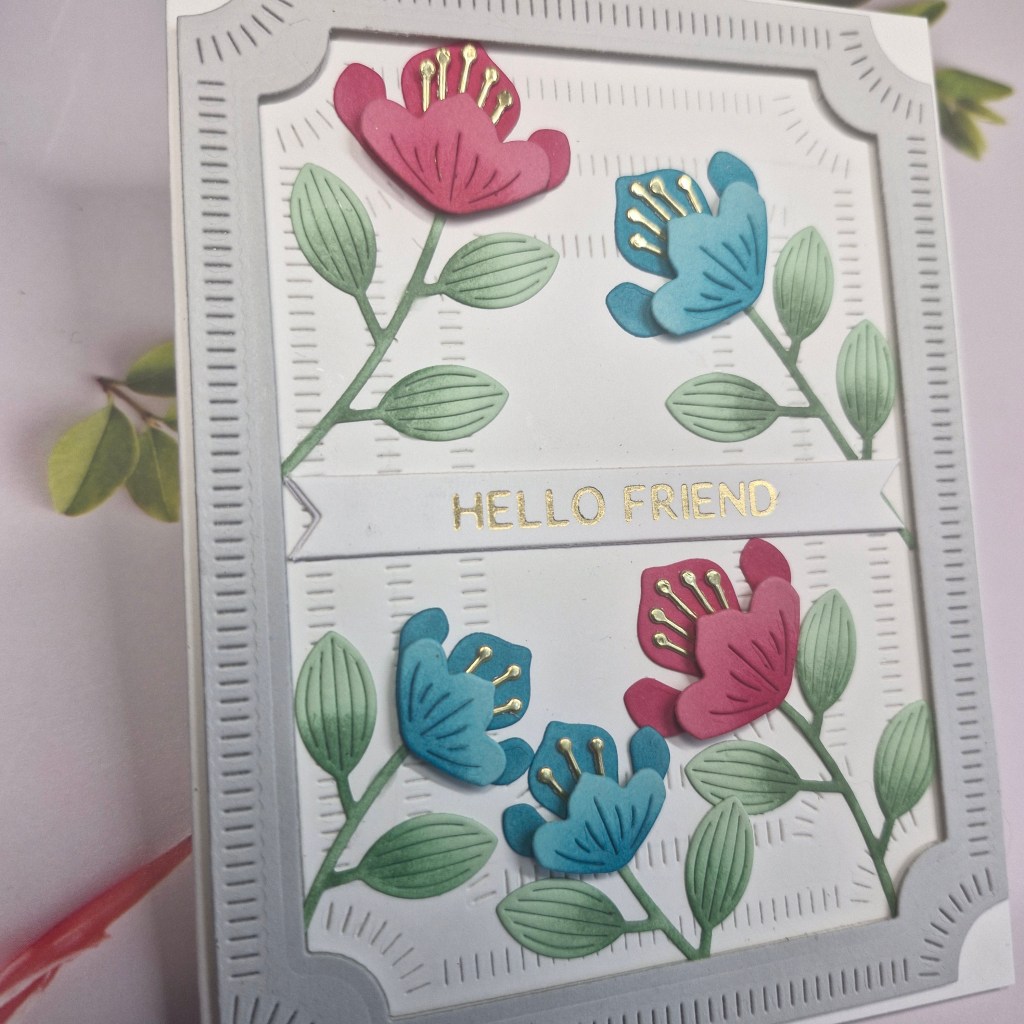
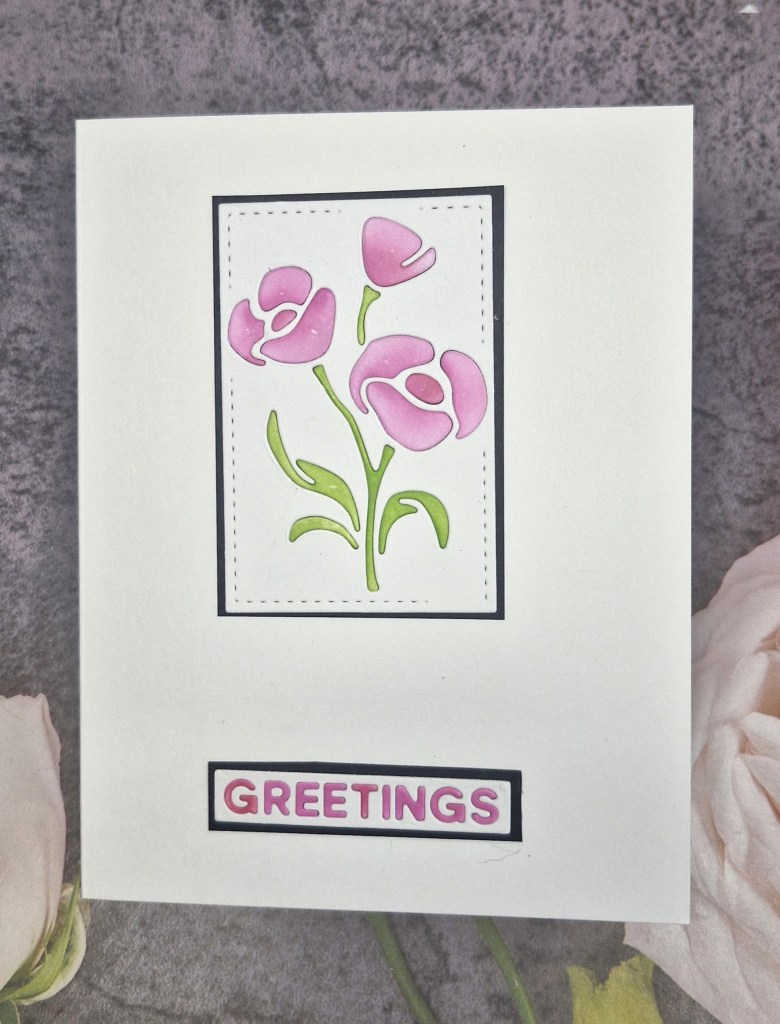
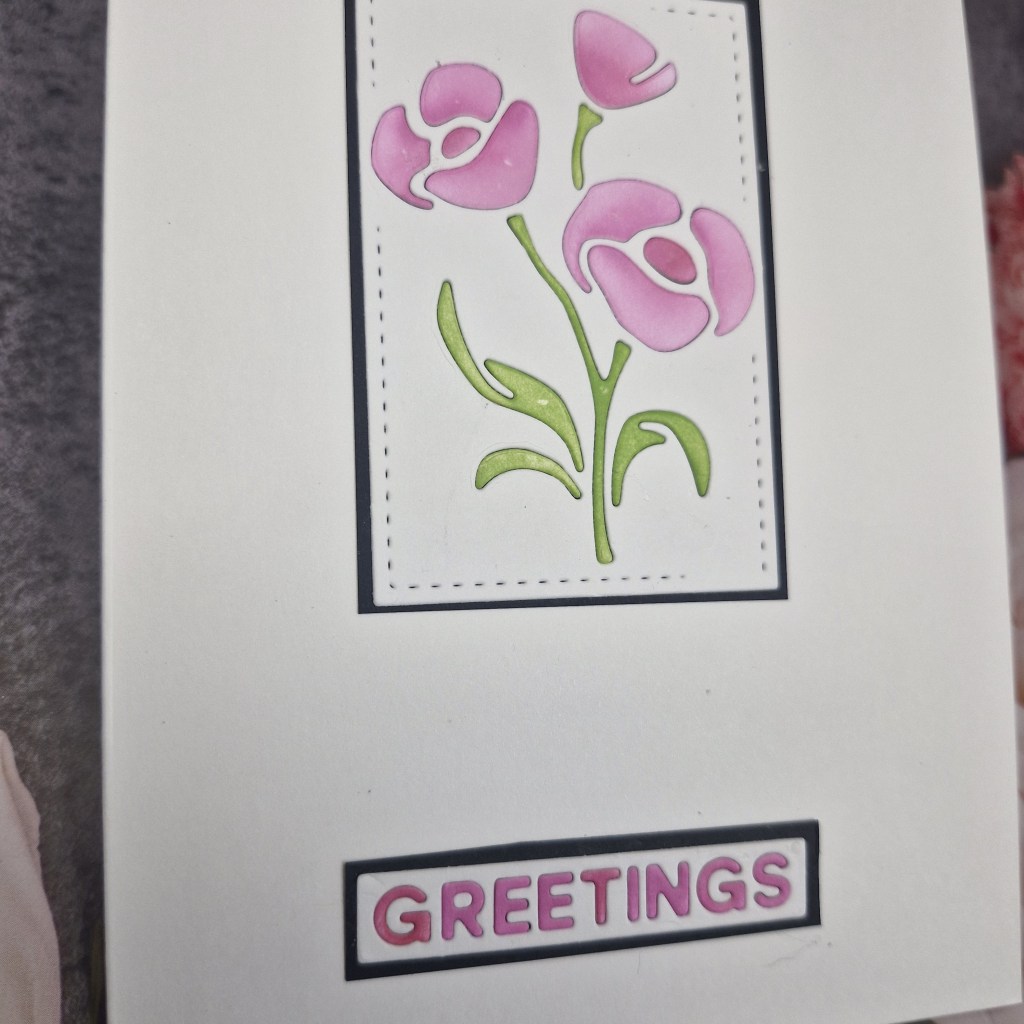
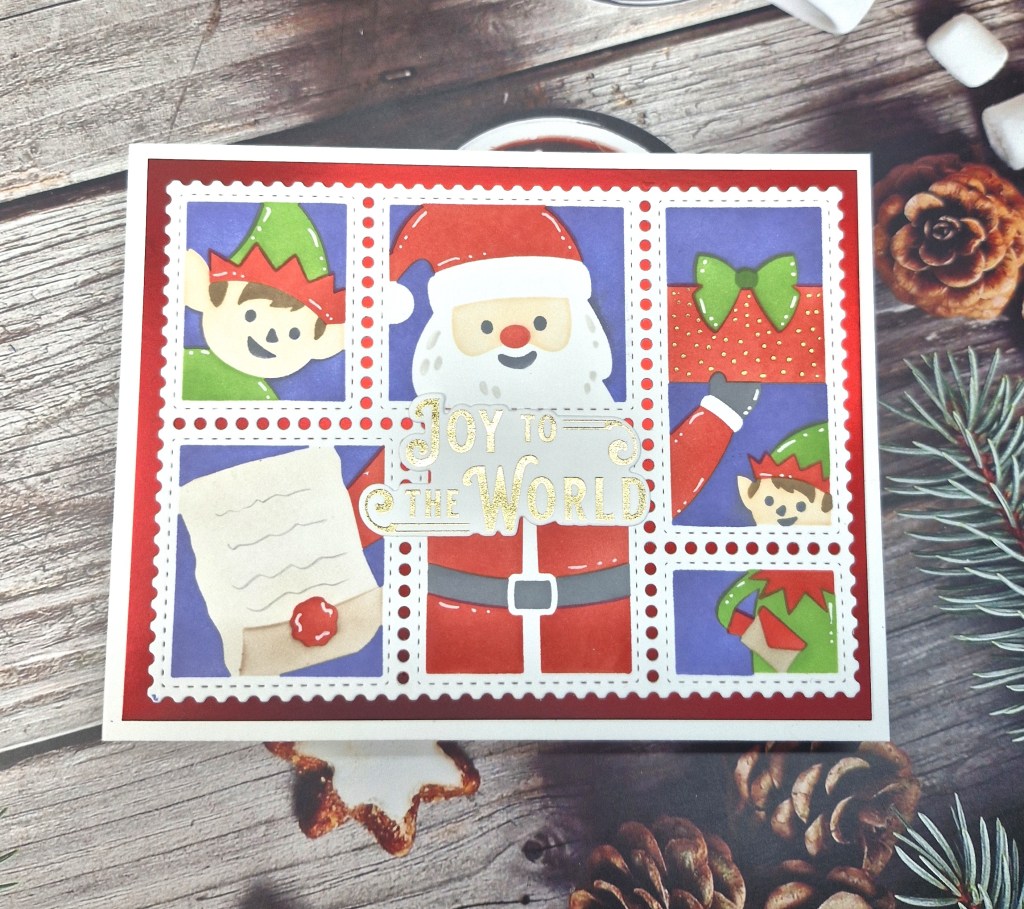
I again used the ‘Sketched Poinsettia’ from Waffle Flowers Crafts, but this time I used more traditional bold colours.
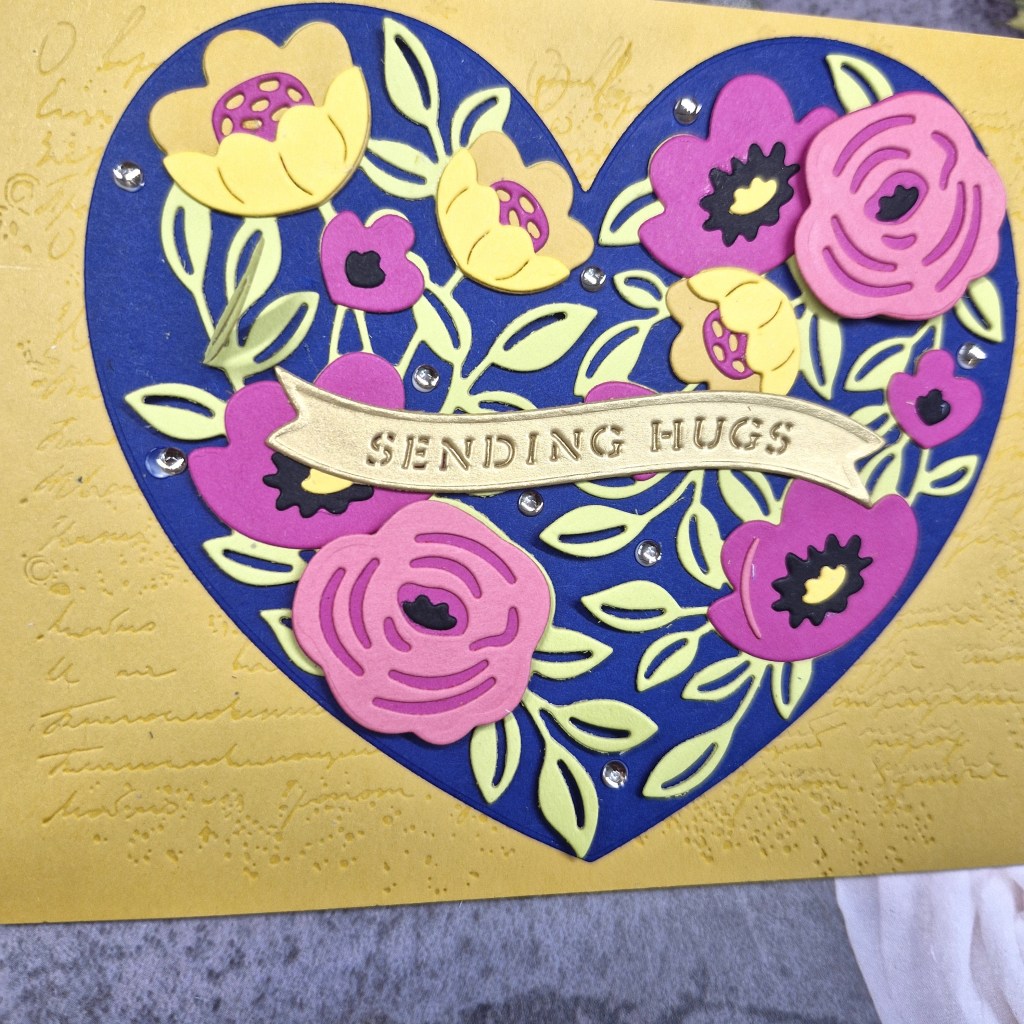
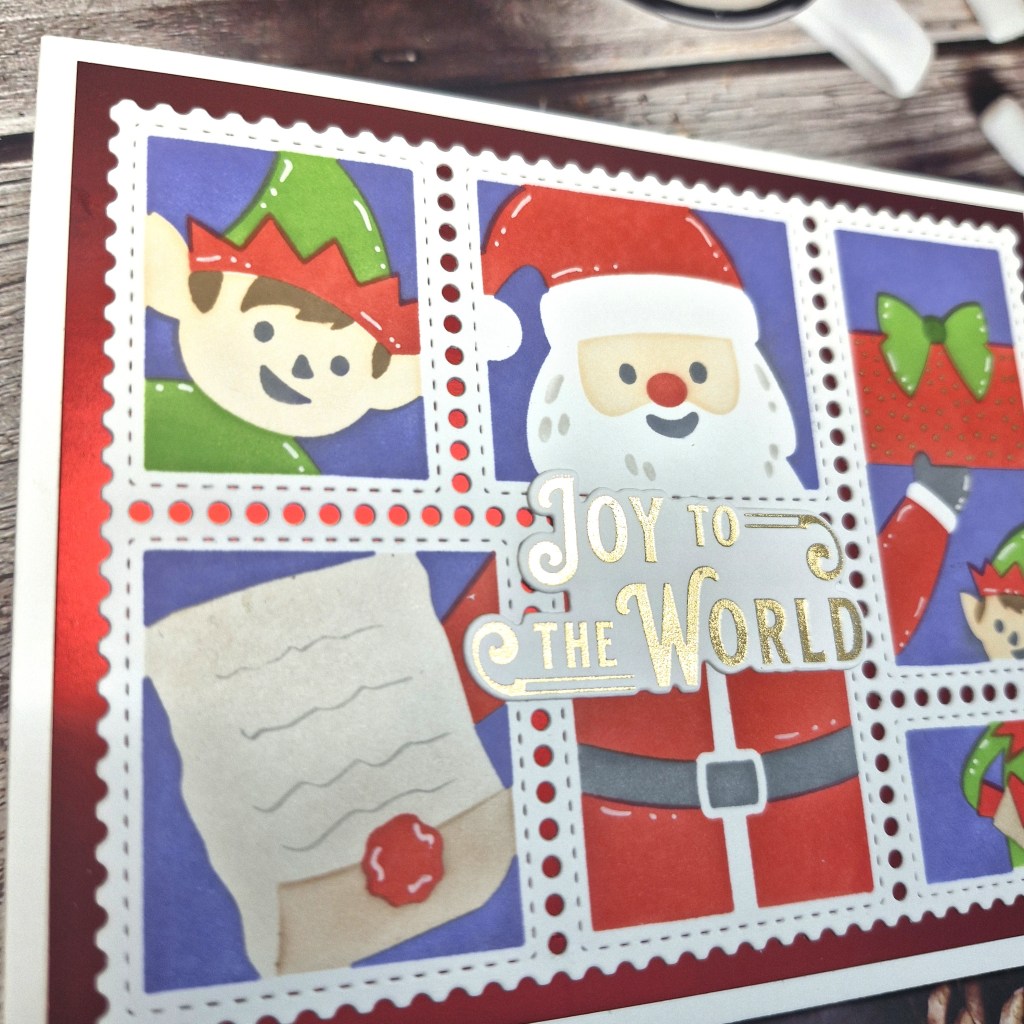
I first stamped then gold heat embossed the image, then used the layering stencils to colour it in. This was then die cut with the matching die, and put to one side whilst I thought about the background.
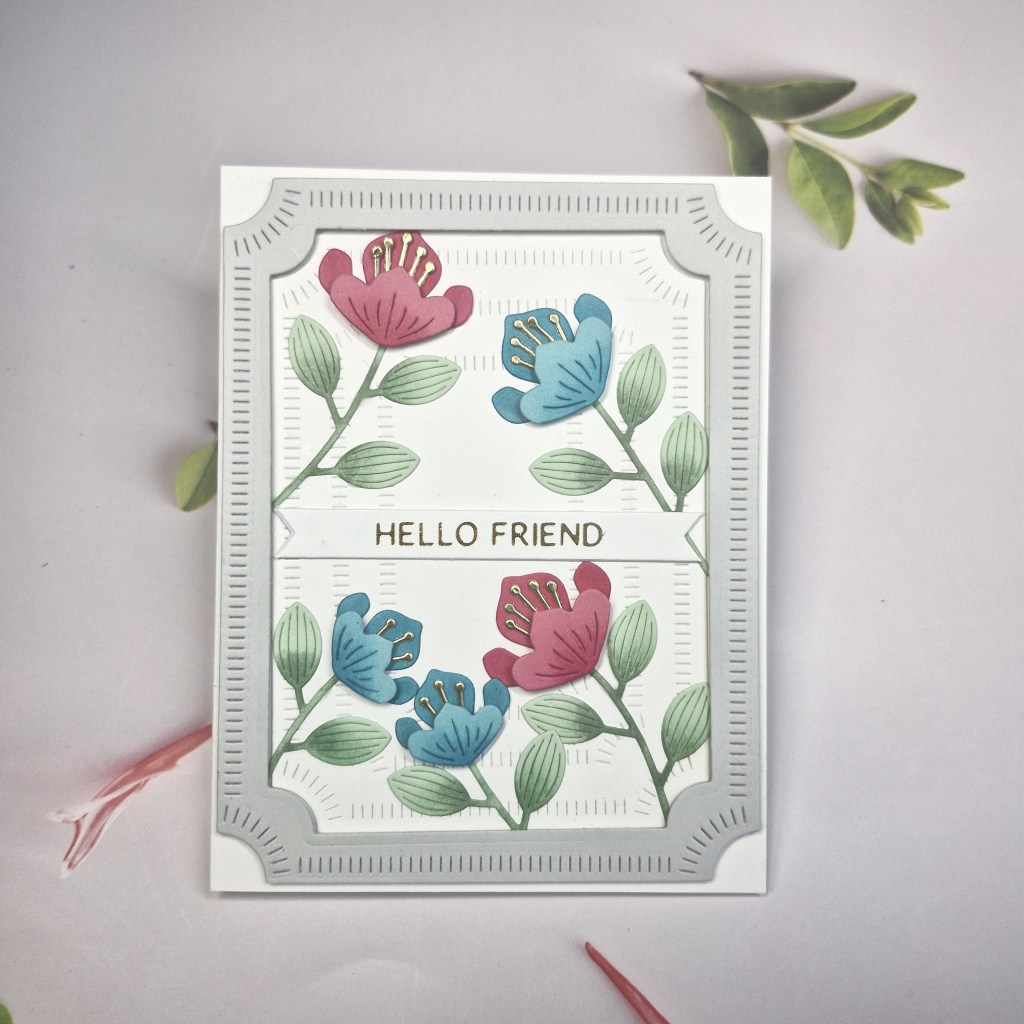
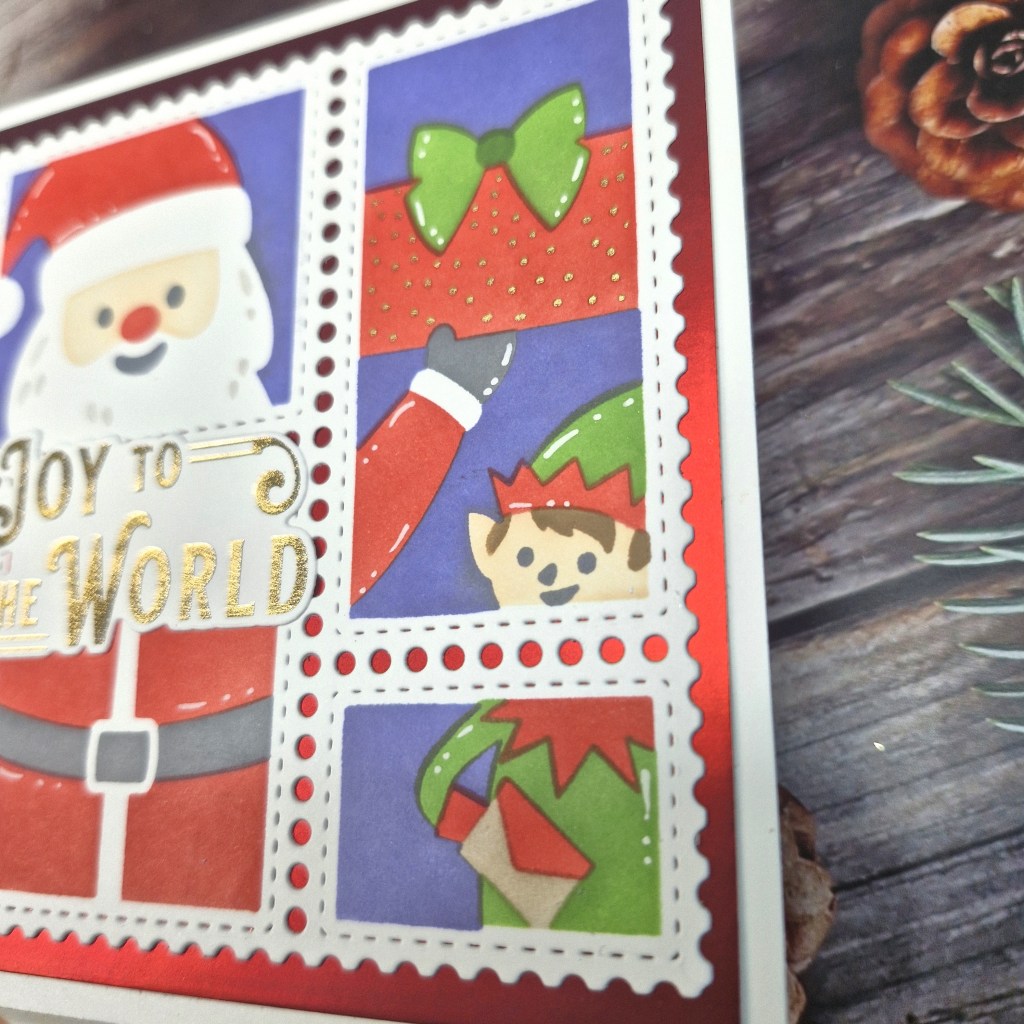
The striped red paper was cut to the size of an A2 card, and I then used some letter press plates from Pinkfresh Studio to hot foil the frame and the inner rectangular piece, cutting them out with the matching dies. This gave some subtle gold highlights to certain places of the die cuts.
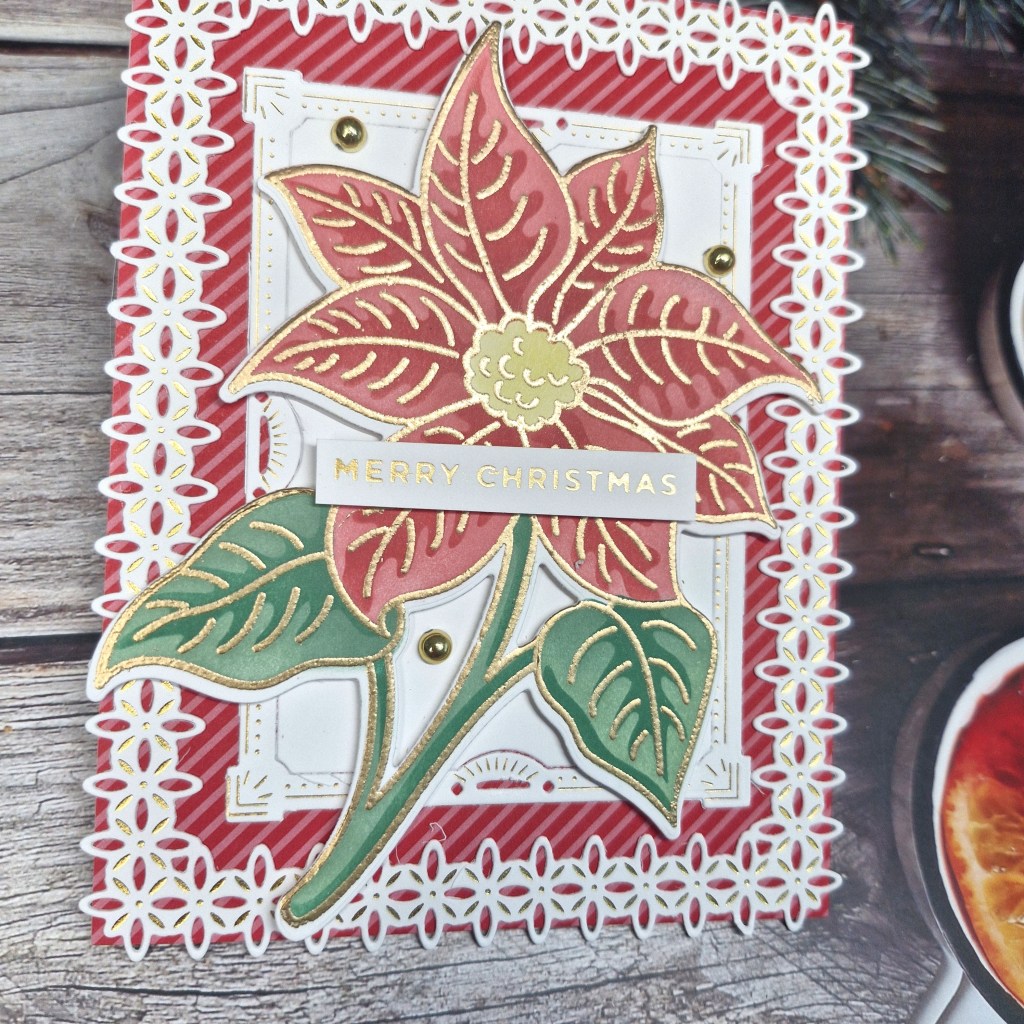
The poinsettia was added, and then a hot foiled sentiment on the top. The final touch were some gold gems.
I hope you can come and join us in our challenge, and I look forward to seeing you in our gallery.
I shall be entering the following challenges:
Colourful Options – any colour, any theme, any combination
Crafts Galore – anything goes
12 Months Of Christmas Link-up – anything goes Christmas – option of circles & squares not taken
Crafters Café – flowers
Beautiful Blossoms – anything florals
Merry Little Christmas Challenge – anything goes Christmas