ABC L & M

Hello everyone. We are starting a new challenge at ABC Christmas Challenge. Our challenge is all about Christmas, and getting your stash ready for the end of the year, and we always have themes to follow for each of the letters. This time, our themes for the two letters are:

L is for Let It Snow

&

M is for Mice

Here are my cards:
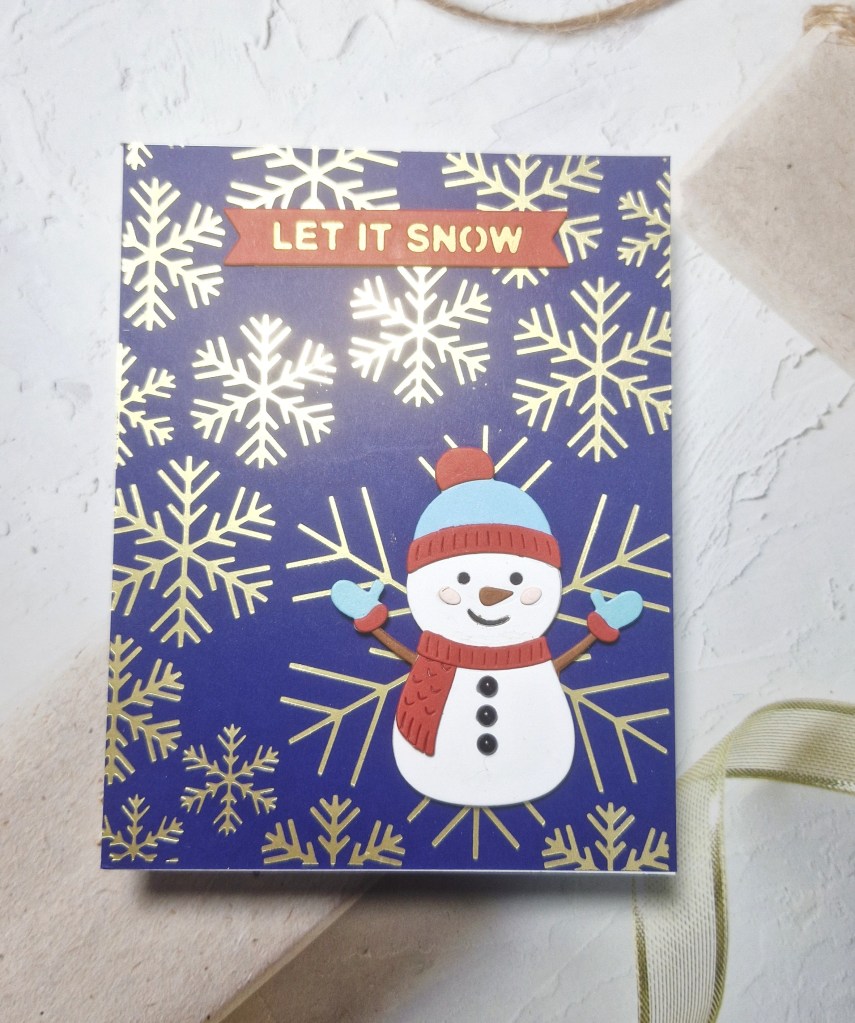
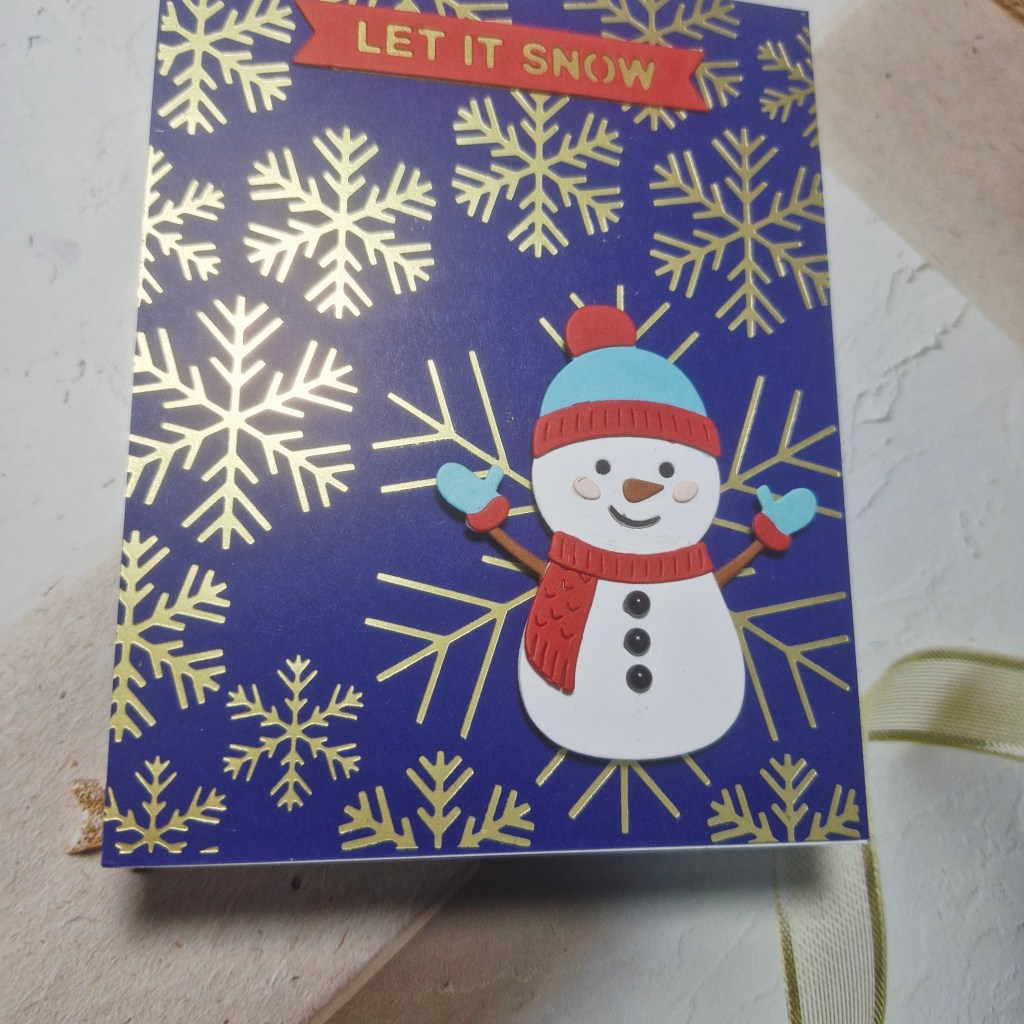
L is for Let It Snow

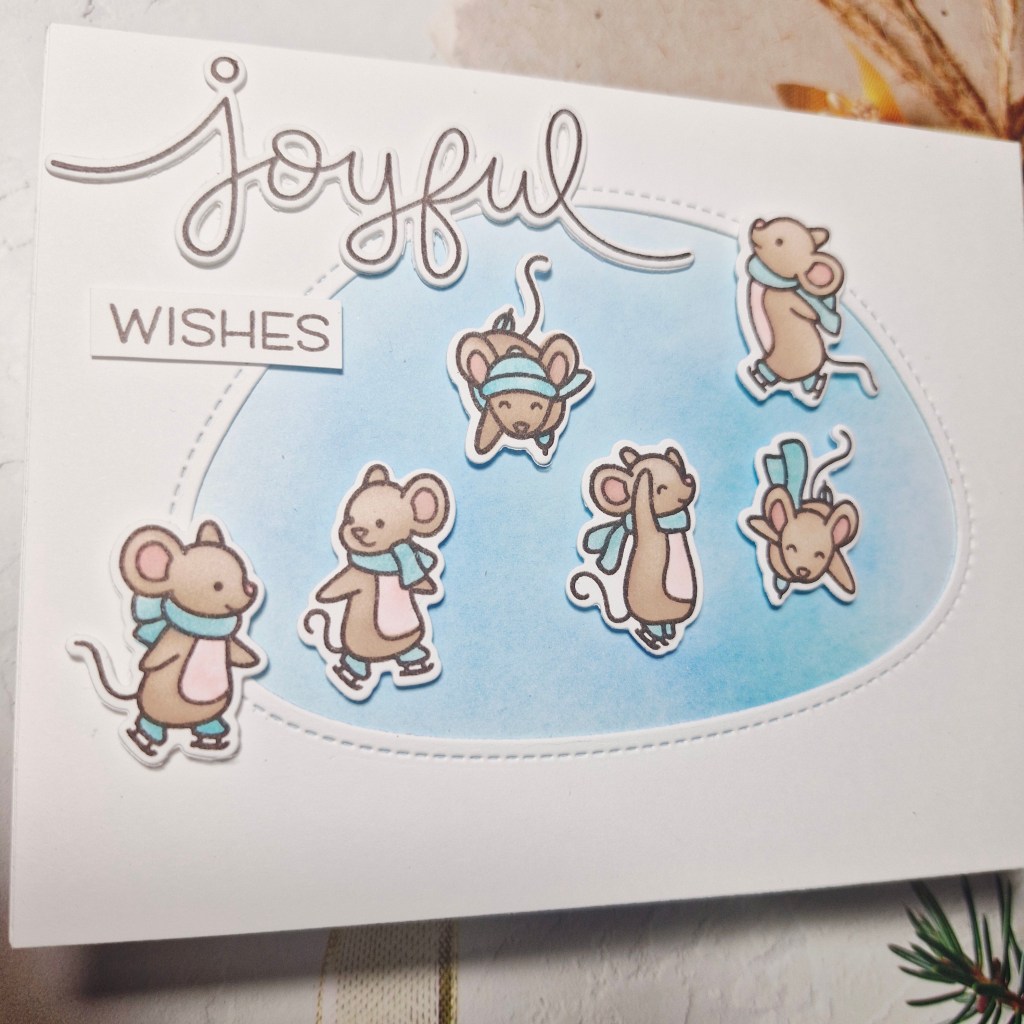
M is for Mice

For my first card, I used a Spellbinders hot foil plate and gold foil onto a dark blue panel. I also went around the edges of the panel after foiling with a lightly darker blue to create a halo effect.

The snowman is from a Simon Hurley/Spellbinders die set, and Concord & 9th card stock. The sentiment is also from the same die set, and backed with a piece of gold. Little black gems were added for the buttons on the snowman.
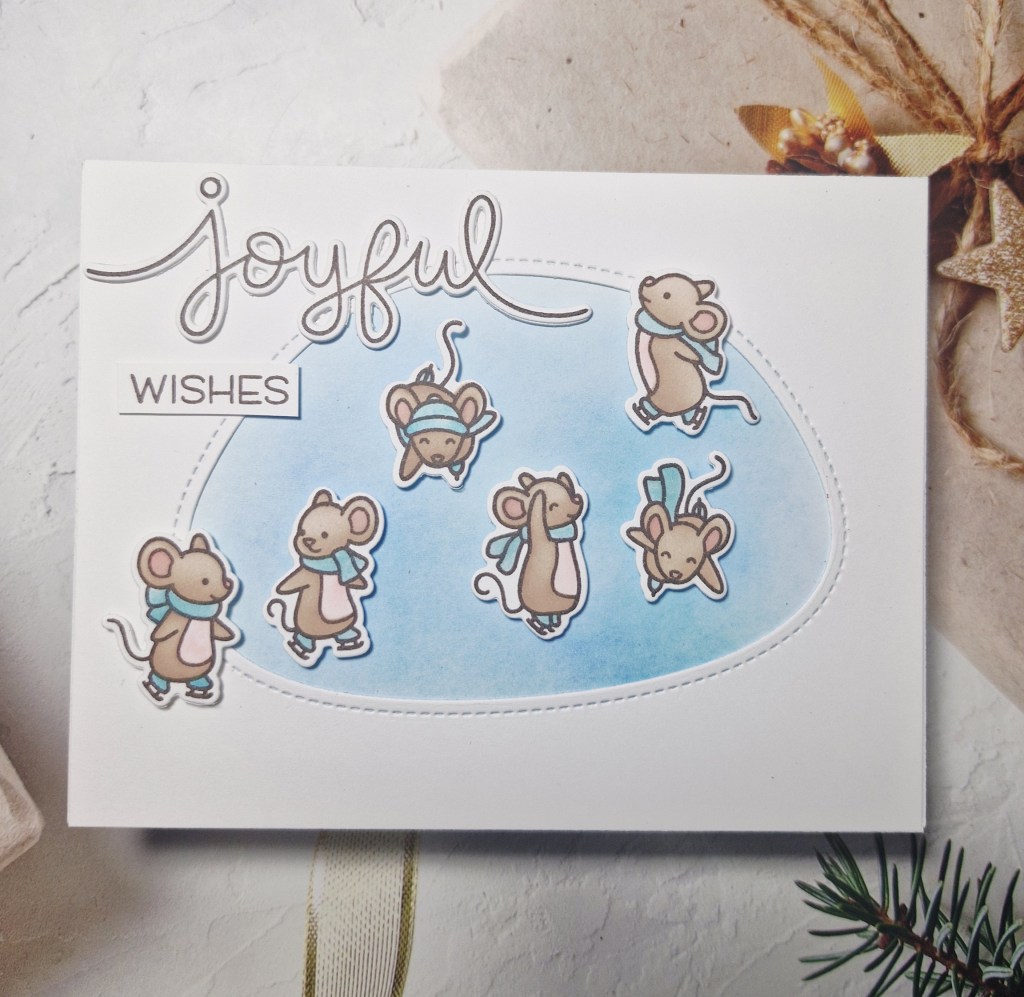
For my second card, I absolutely had to go with some Lawn Fawn mice and the stamp, die and layering colouring stencils called ‘Mice On Ice‘.

The images were stamped, then the stencils used to ink blend their colouring, then the matching dies to cut them out.

I also used one of their ‘Stitched Den‘ dies to create the opening in the white panel to represent iced lake, and backed that with a piece of light blue card stock which I ink blended slightly with a light blue ink.

The blue panel was adhered to the card base, the white layer added on top, then I played around with the placement of the mice until I was happy, adding them with 3D foam.

The sentiment was stamped and die cut then added as you see.
I hope you can come and join us with your Christmas creations following one of both of our themes. xx

I shall be entering the following challenges:

Snowman card:

Girlz Creative Christmas – anything goes Christmas

Merry Little Christmas Challenge – anything goes Christmas

Peace On Earth – anything goes Christmas

12 Months of Christmas Link-Up – anything goes Christmas, option of marble background not taken

Mice card:

Critter Crazy Challenge – anything goes with a critter

Crafty Animals – anything goes with an animal

Crafts Galore – anything goes
Lots of Thanks

Hello there. I had the need for quite a few ‘thank you’ cards. Having recently retired from the NHS after over 40 years, I had a small leaving meal last Saturday. There was the nurse practitioner team I first started 26 years ago – now a team of 8 people. There were consultants there who I did clinics with up until my final day – who actually paid for the whole thing…….to say I was emotional is putting it lightly. Such a lovely gesture….

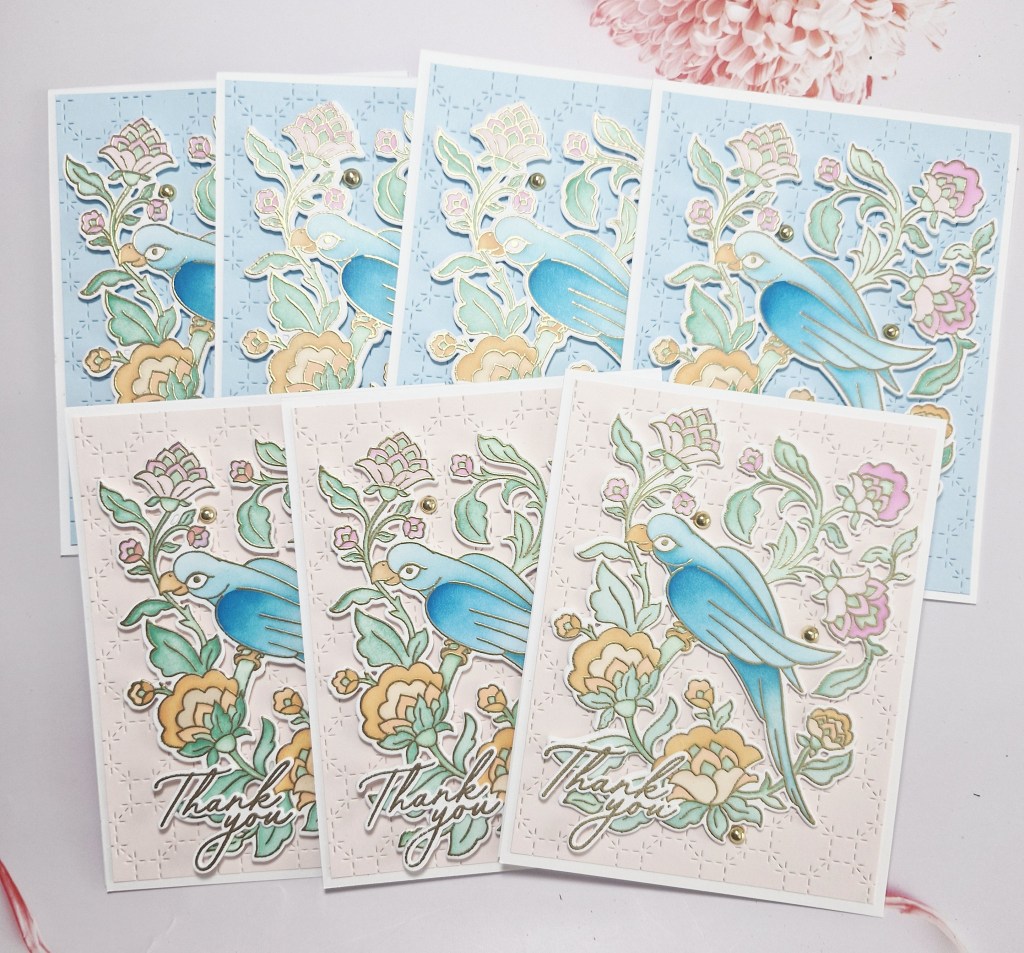
Anyhoo – I wanted to batch make some thank you cards for them, and decided to go down the route of complicated. These cards actually took me over 3 hours to make – why did I go with heat embossing and ink blending? Well – I enjoyed the process – but I don’t usually like to make the same card more than once. Here are the cards:


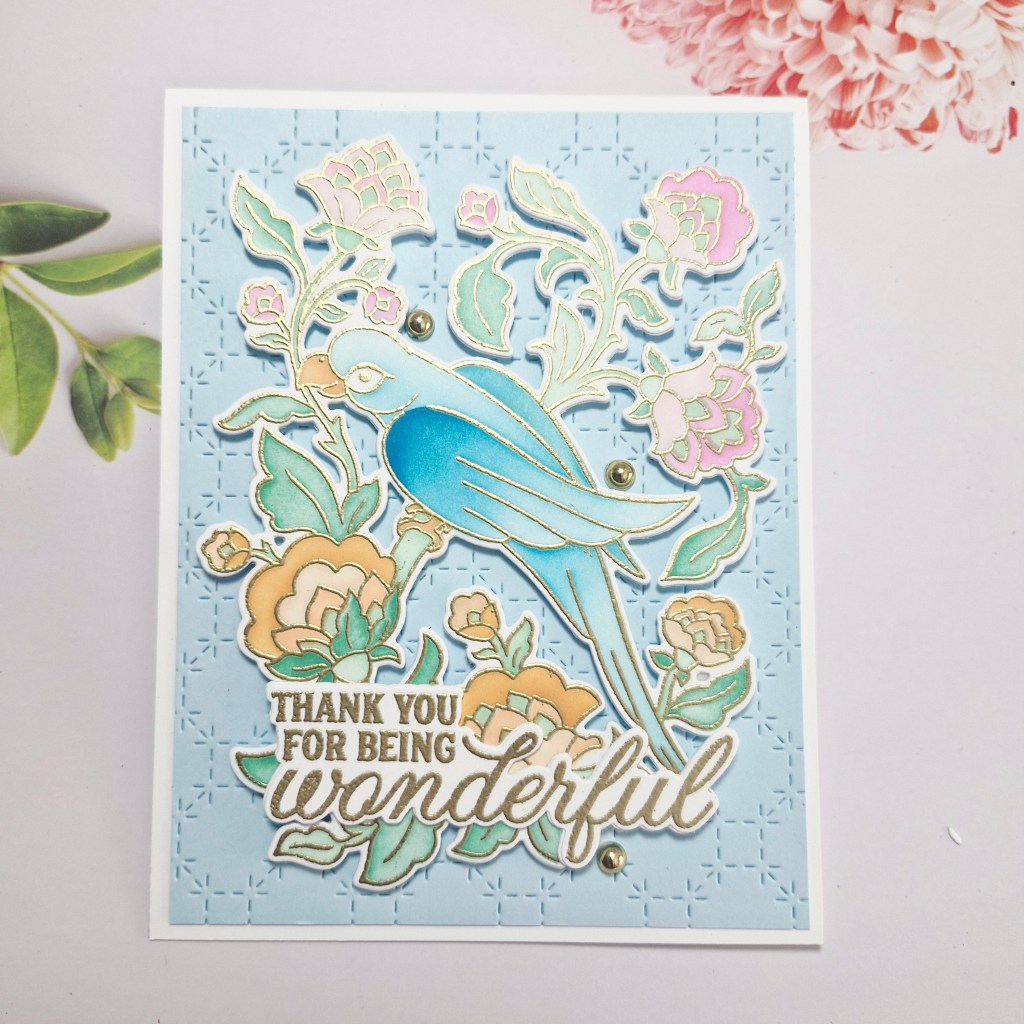
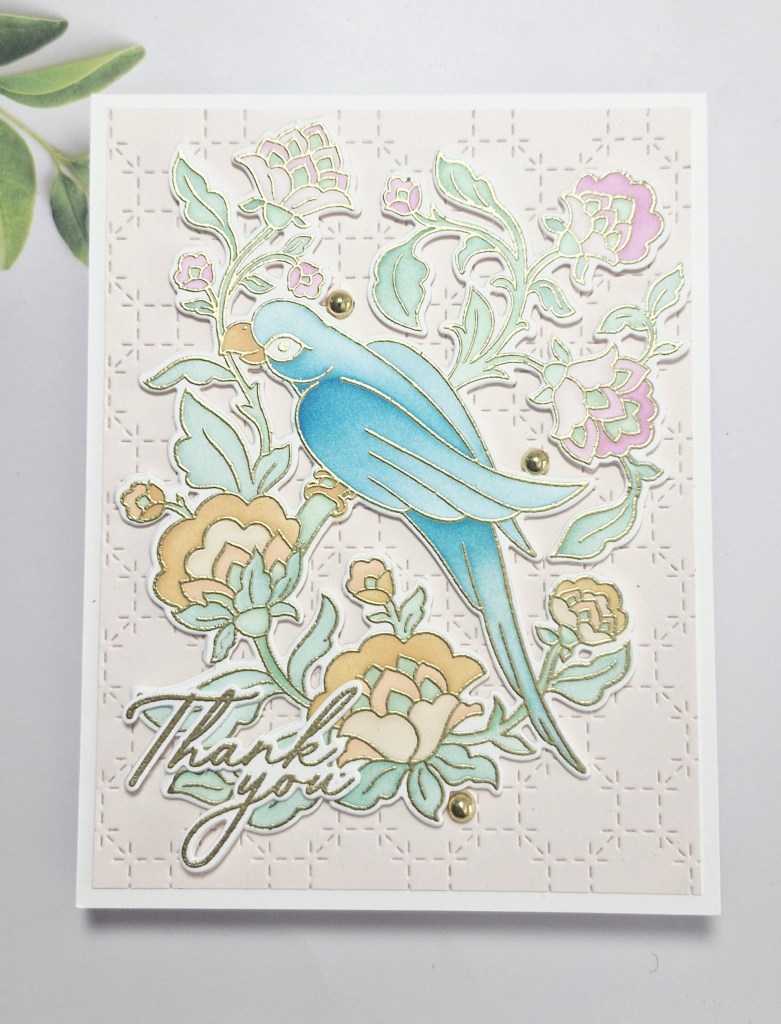
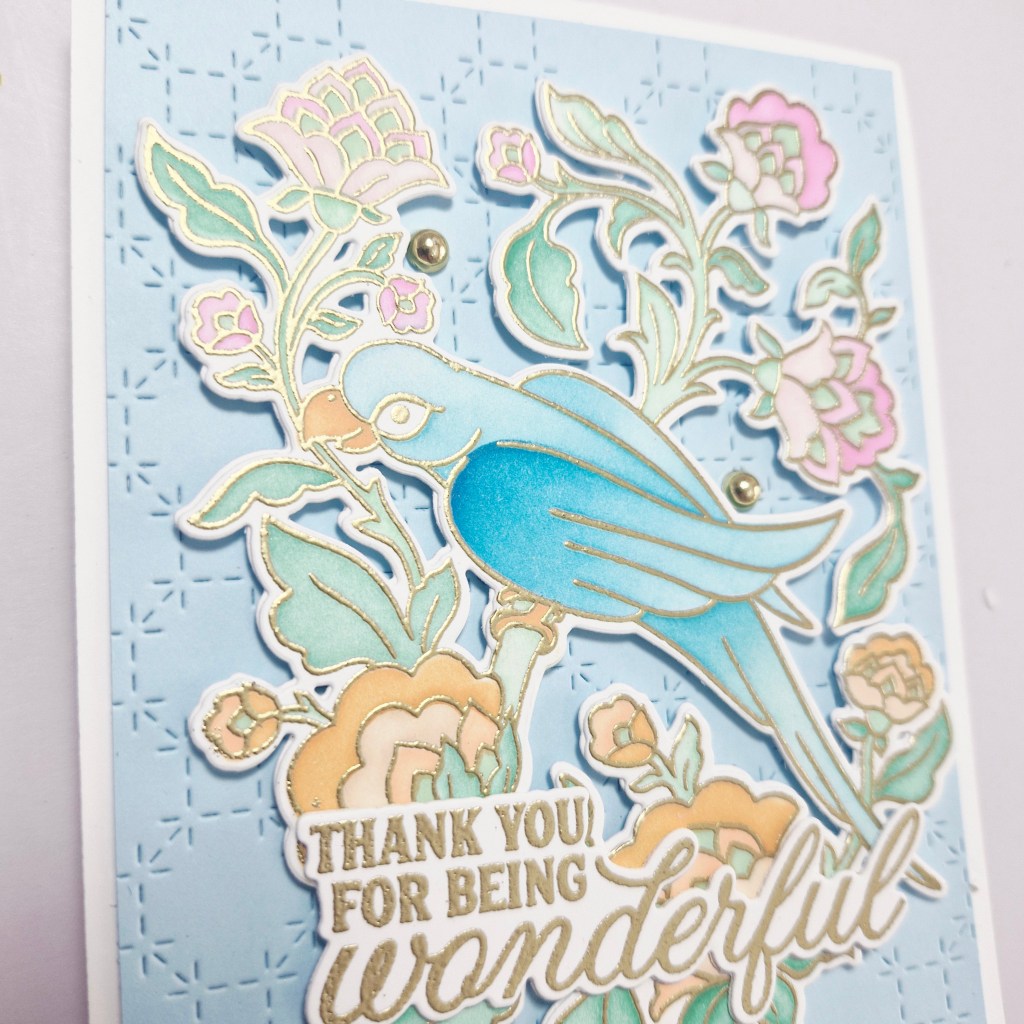
The stamp, die, and stencil set called ‘Chirpy Mithu‘, is from Pinkfresh Studio, and was part of their Create & Connect event in February this year. I hadn’t played with them yet, so I though it was time to bring them out.

I began by stamping and heat embossing the image in gold, then colouring with the provided layering stencils. Pinkfresh Studio inks were used for this. As there were seven images, and there were 6 stencil layers – this took quite a while, especially as I used different ink colours on some of the stencils.

Once coloured, I then used the die to cut them out, cutting out an extra white layer to make the image a little more sturdy.

I then used a couple of the sentiments from that same event, heat embossed those in gold, then die cut them, also adding an extra white layer.

For the background, I used a over plate to create the stitch details in two colours of card stock – just for a little variety.

The background was adhered directly onto the card base, after cutting down slightly to create a white edge. The image was added with 3D foam – another fiddly job of cutting pieces to fit – and then the sentiment was glued down.

The final touch was to add some gold gems.

I shall probably pop in and give them out one day this week.

I shall be entering the following challenges:

Ally’s Angels – anything goes
Make My Monday – add texture with dry or het embossing

Love To Craft – anything goes
Ellibelle’s Corner Garden Party – anything in or from the garden

Allsorts – anything goes from the garden
Triple B – birds and/or butterflies and/or blooms

Stencil Fun – use stencils – option of butterflies not taken

Make A Splash

Hi there. Today’s card was inspired by the colours at Color Hues – Pink & Turquoise:

The two colours made me think of a nautical theme, and I remembered their recent ‘Under The Sea‘ release. I actually had bought quite a bit of the release, so gathered all the products to see what I could do with those and the two inspiration colours – certain neutrals and metallics are allowed.

The first job was the background. I took a teal/turquoise piece of card and used the ‘Under The Sea Background stencil‘ and a Pinkfresh Studio turquoise ink. The stencil is in two layers and also has fish and turtles, but I only wanted the water details, so a little masking was needed.

Then I looked at the dies in this collection. As I wanted the coral to be like a silhouette, it was die cut out of black, as well as the fishes – cutting some pink and turquoise fishes at the same time. I didn’t know how many fishes and out of which colour I needed, so I cut quite a few.

The submarine and divers helmet were die cut, and both assembled, then came the playing with placement.

Once all was arranged to my satisfaction, I adhered the elements using glue or 3D foam. There was some over-hang of the black coral, so this was trimmed with some large scissors.

The sentiment is from Spellbinders, and I added some clear drops for a bubble effect, as well as glossy accents to the two windows on the submarine:

Color Hues – Pink & Turquoise

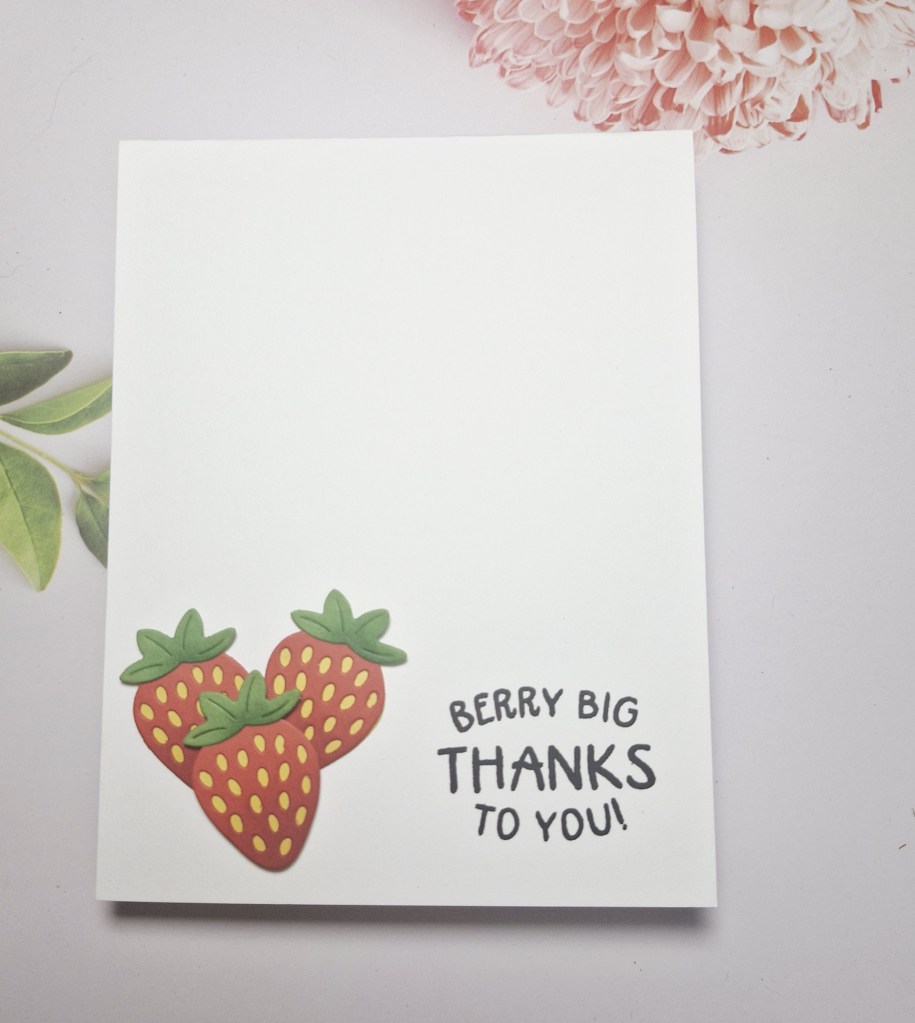
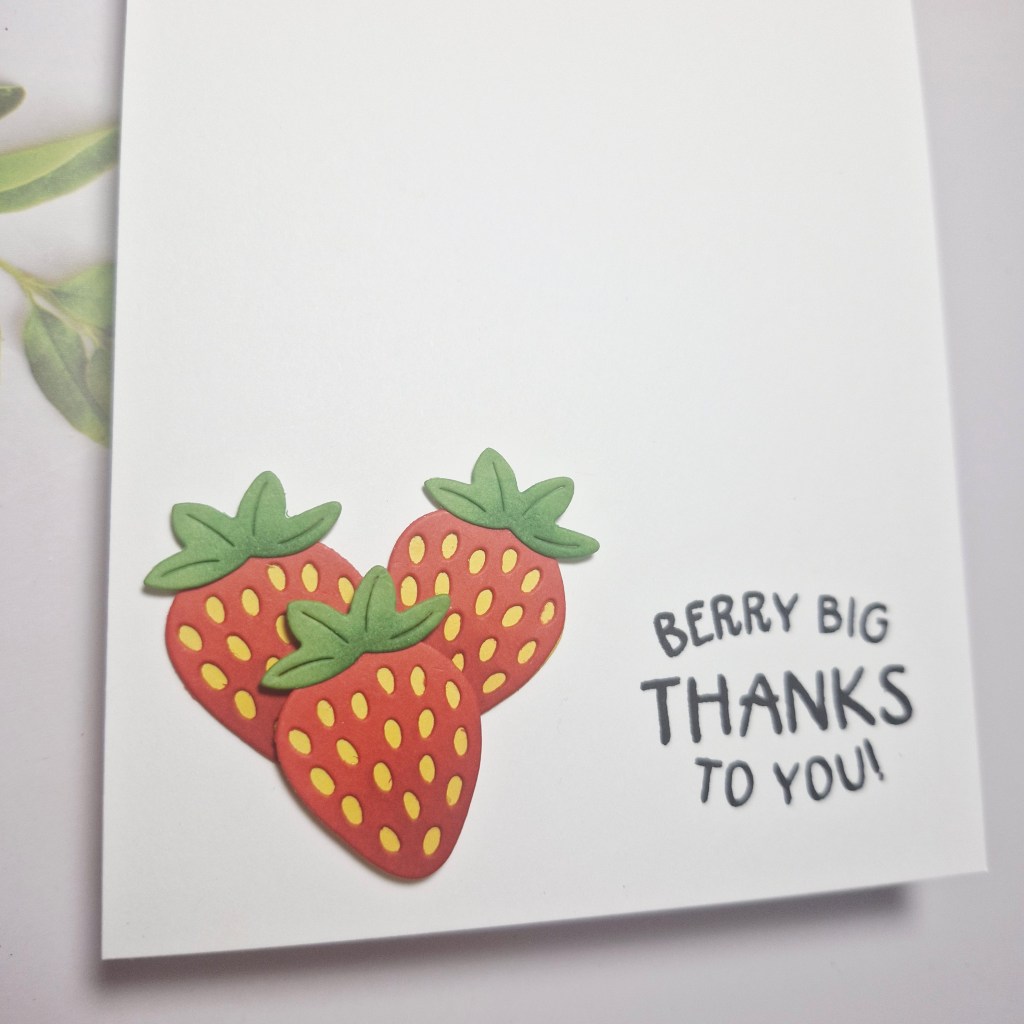
Berry Big Thanks

Hello again. I have another CAS card to share. I must be in the zone for these cards at the moment.

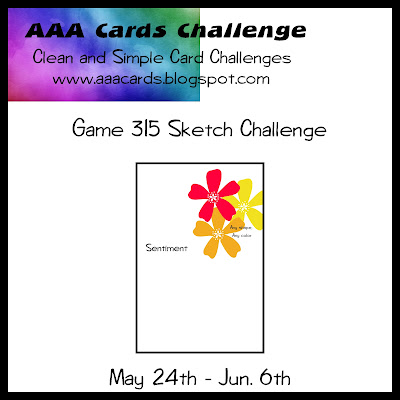
For this card, I took inspiration from the current challenge at AAA cards. The sketch is here:

As you can see, I used Strawberries instead of the flowers in the sketch and rotated it.

The strawberries were die cut from a Spellbinders die set, with some ink blending on the bottom of each of the top layers of the berries.

The sentiment was stamped directly onto the card base, then the strawberries attached.

AAA Cards – CAS sketch

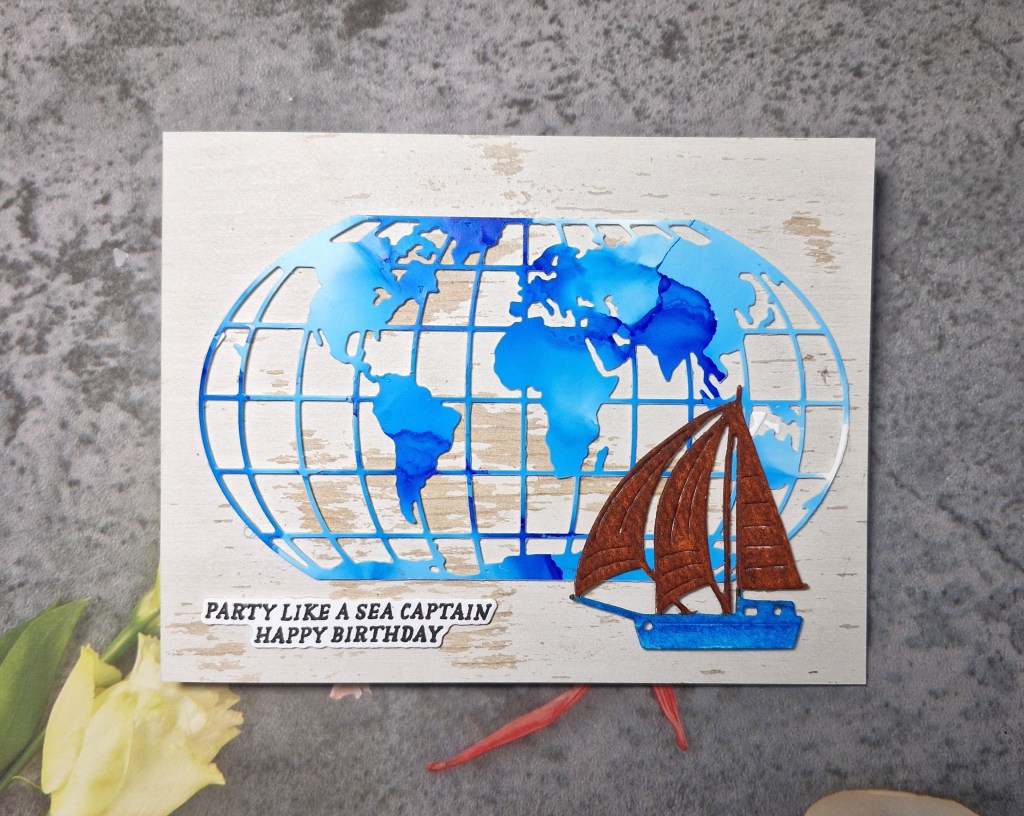
Party Like A Sea Captain

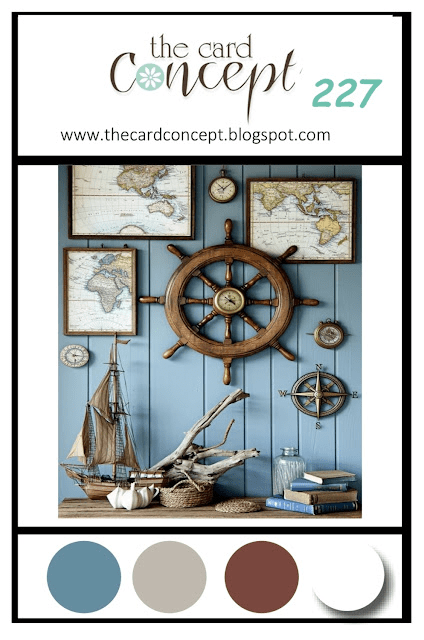
Hello. This card was inspired by the current challenge at The Card Concept:

Here is the challenge inspiration picture:

The nautical theme and the ship caught my eye, as well as the maps on the wall behind.

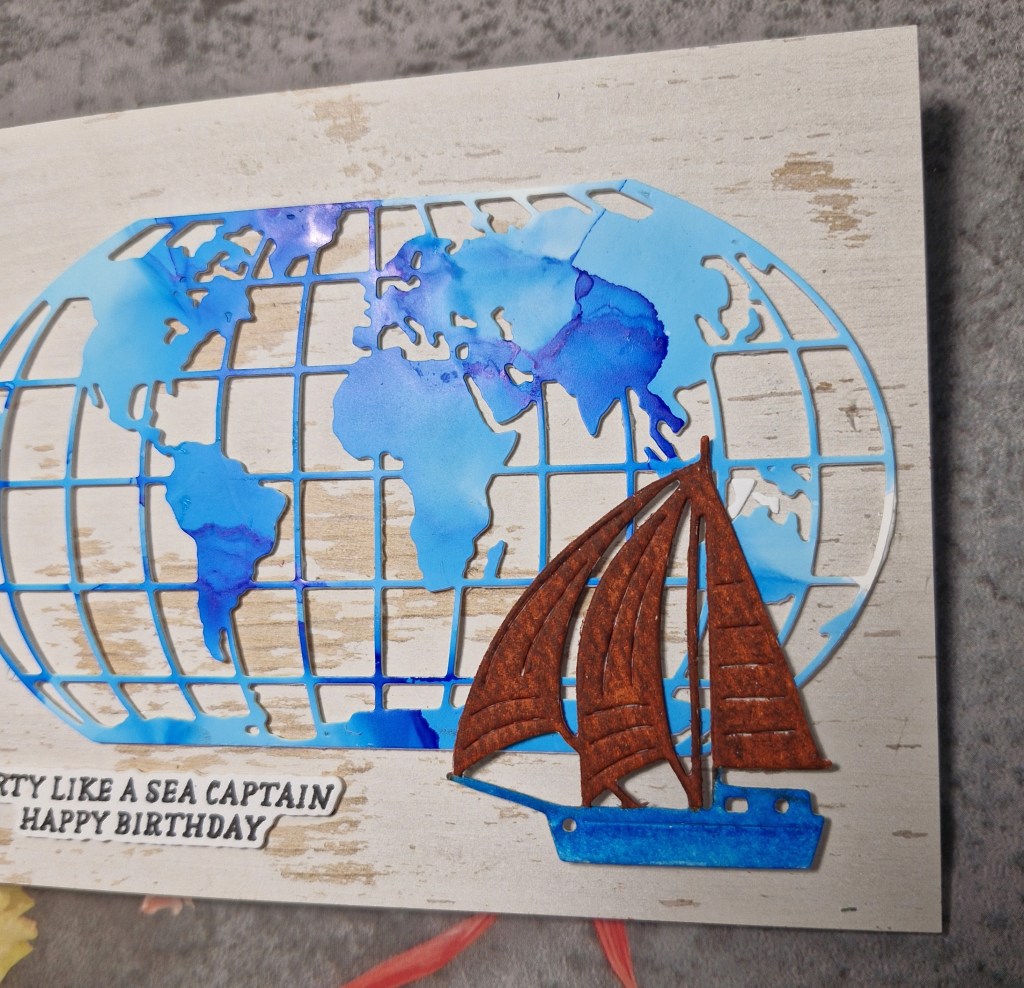
I searched through my CML app for ‘map’, and this die from Tim Holtz/Sizzix called ‘Destination’ popped up, so I die cut with a previously created alcohol ink and Yupo paper background panel. I had a couple of blue panels – some lighter, some darker, but I loved the vivid blue of this panel.

Once die cut, I layered it a couple of times with white card, as the Yupo paper itself is quite thin and flimsy.

I searched again in the CML app for ‘boat’ and one of the items which came up was this die from Gummiapan, which I die cut it several times out of Distress water-colour card stock. I snipped the sails off, and coloured them with Zigs, adding on top of the base die cut, choosing a colour which would stand out from the blue map die cut, then coloured with boat hull with another Zig marker in a similar blue to the map.

I found this sentiment from Spellbinders, stamped then die cut.

For the distressed wooden background panel, I used a Stampin’ Up piece of patterned paper, cut to the size of the A2 card base, then added all the elements on top.

As mentioned, I shall be entering the challenge at The Card Concept.


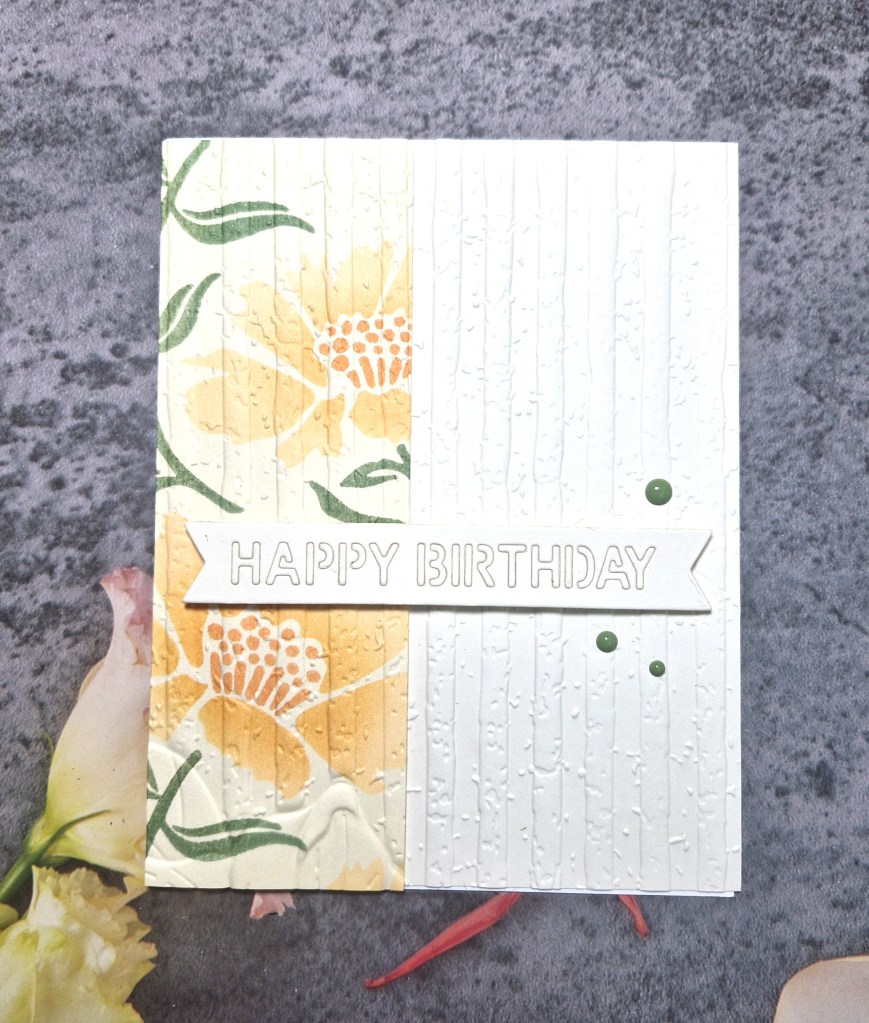
Floral Birthday

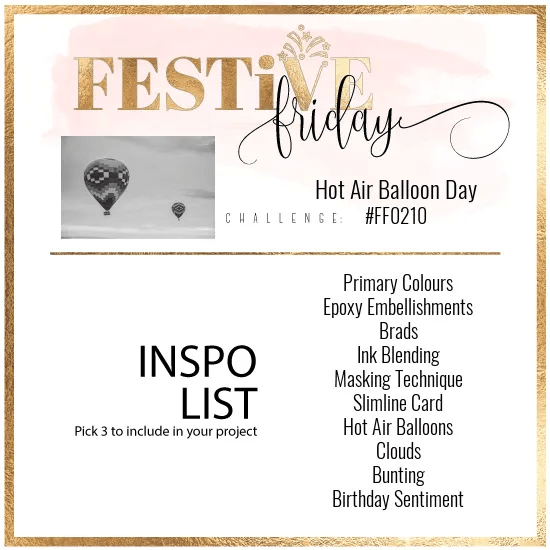
Hello there. I have a card to share inspired by the current challenge at Festive Friday:

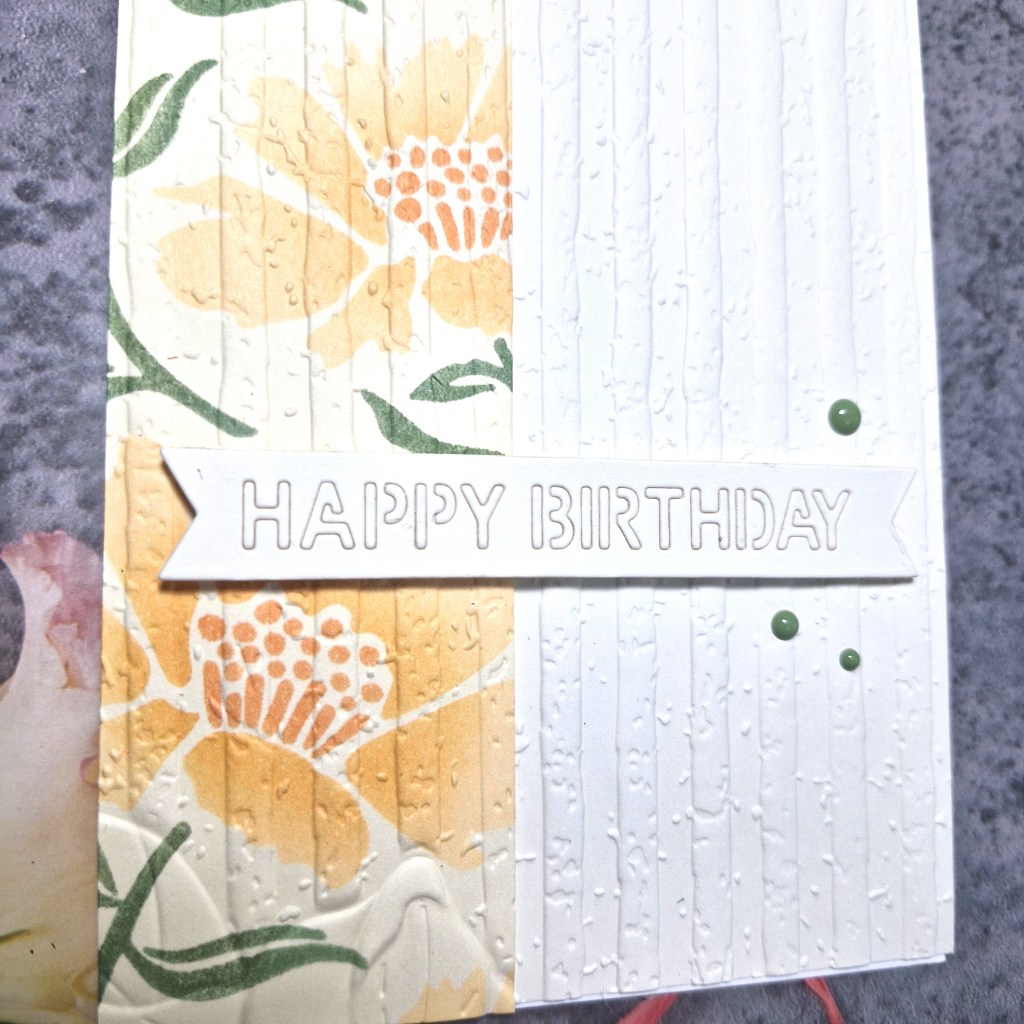
This floral strip is an off-cut from a previous card I ink blended, using a Kristina Werner layering stencil set (Aubrey Blooms). I thought these florals looked too good to be thrown away, so came up with this layout.

I took a white panel and ran it through my machine with a Spellbinders embossing folder. I then aligned the floral strip with that panel, and ran that through too.

I then took a sentiment die from a Simon Hurley/Spellbinders set. Usually the letters would fall out – but they stayed in – so I stuck them in more securely at the back with sticky tape, then added another sentiment banner die.

This was then adhered to the card, and three green gems from Concord & 9th added to complete the requirements of the challenge.

Festive Friday – 3 items from list – ink blending + epoxy embellishment + birthday sentiment

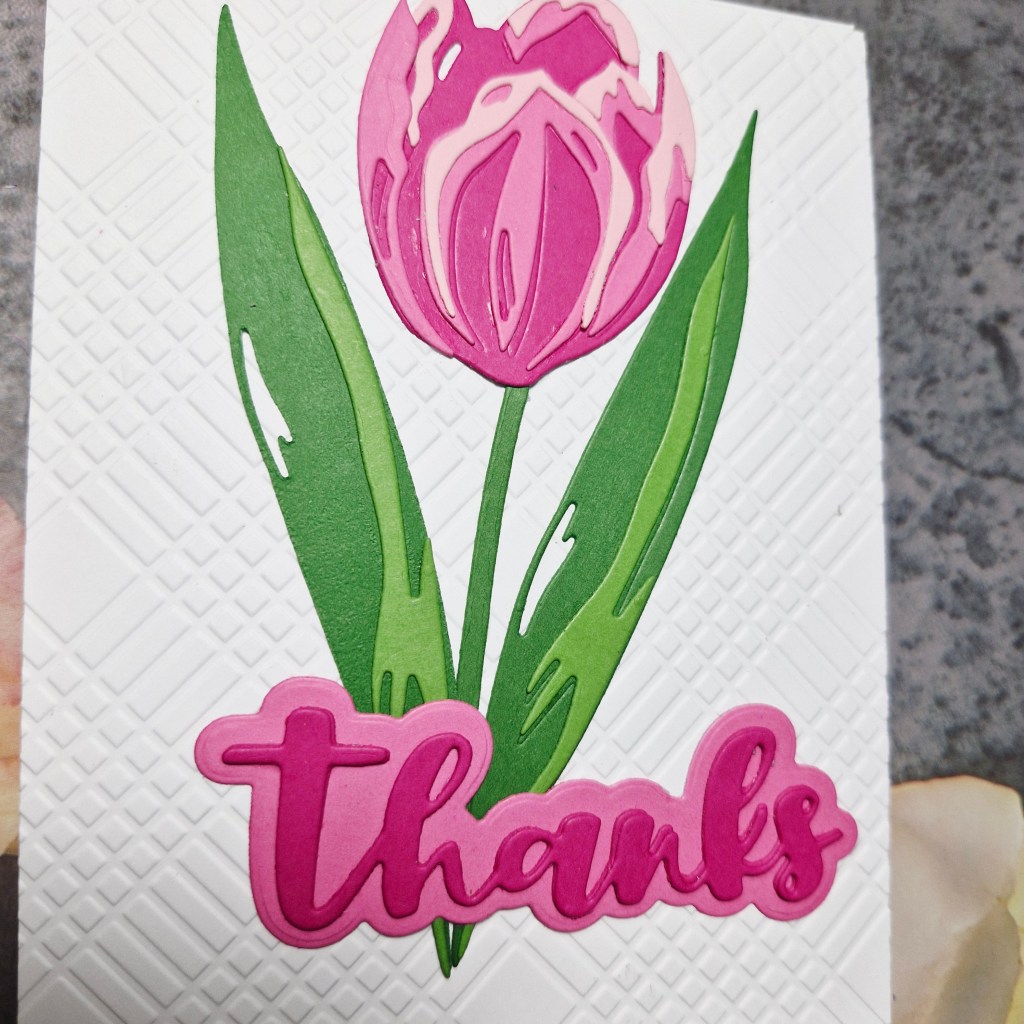
Speedy Tulips

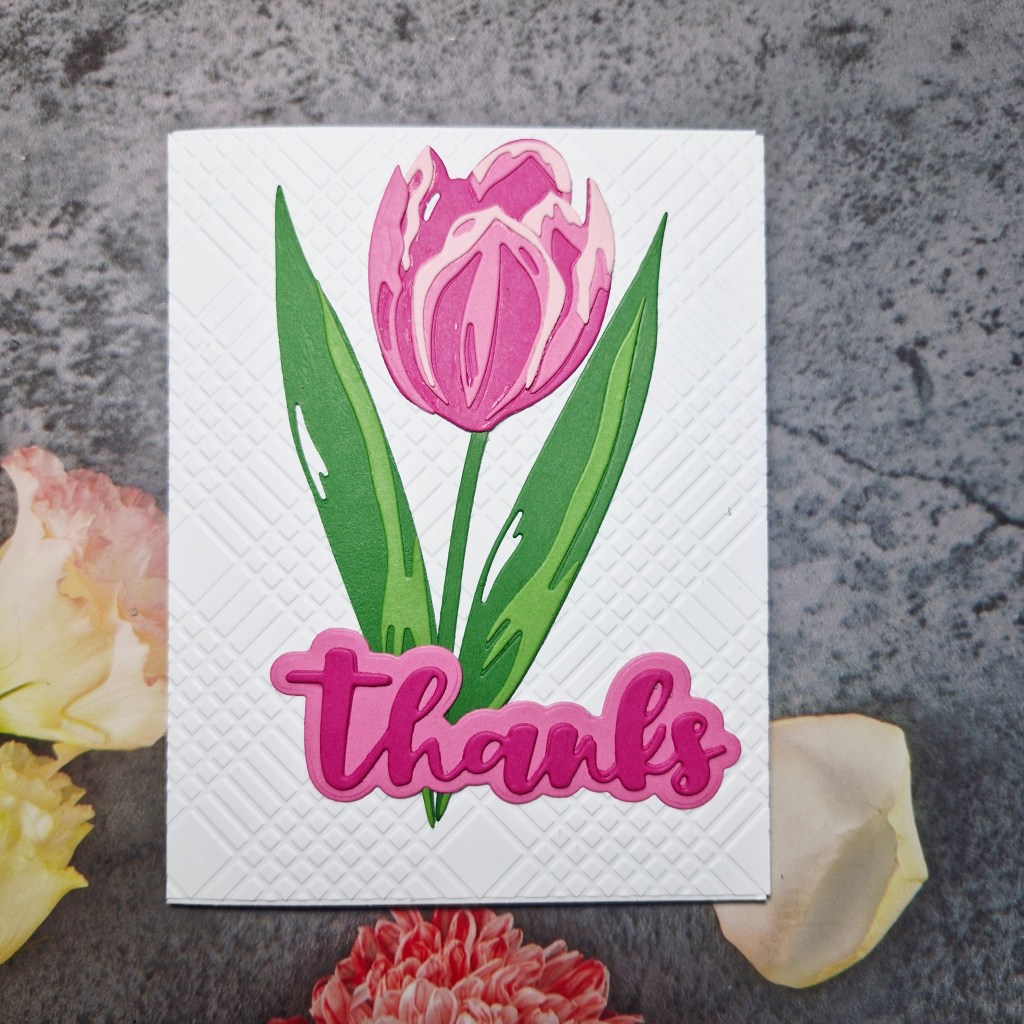
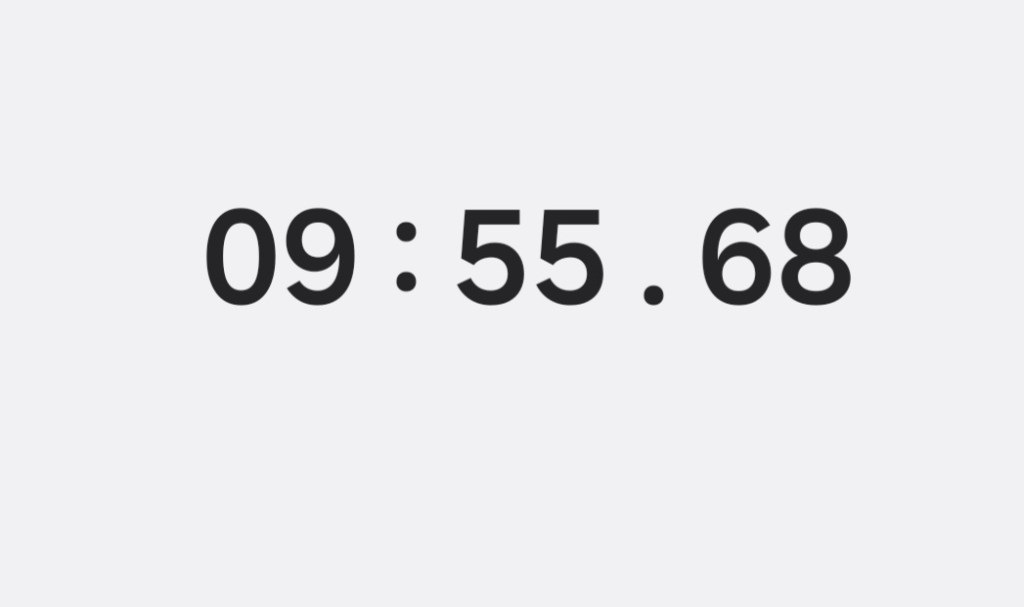
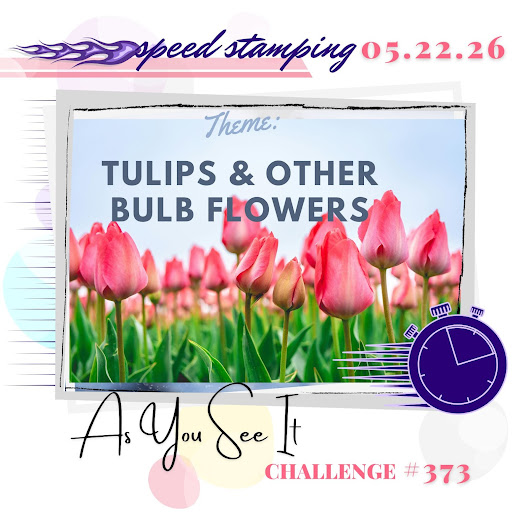
Hi there. I decided to have a go at the current challenge at As You See It. This time, it is a speed challenge – make a card within 10 minutes, and the theme is ‘tulips, or other spring bulbs‘.

This is the second attempt at this challenge, as my first attempt – I dropped a die into my machine, my glue was blocked – and I hadn’t figures out where each die cut piece went – so the time went over, hence the second attempt:

I used an older Sizzix die set, then all the Concord & 9th card stock I wanted to use for the flower and the leaves, got out my Spellbinders embossing folder and a white panel, my card base, and the sentiment die from Time 4 Tea Designs.

Off we go. The panel was embossed first and taped to the card base.

The layers for the flowers and leaves were die cut – several pieces through at once – then the sentiment with it’s shadow. That took over 6 minutes…..

I then assembled all the layers with glue, stuck them down onto the panel, added the sentiment – done – phew!

Only just though – it was tight:

A couple of errors found whilst speedily gluing – the left hand leaf has the lighter green attached to the back……and I missed off one of the mid pink layers on the tulip – so added it anyway on top……but it still looks pretty, I think.

On a previous speed challenge I did stamping and (bad) colouring, which is why I thought die cutting would be a better way to go……..perhaps not such an intricate one – not realising until I did the first card how many little pieces there were – but I was going to get it done, no matter how many times I had to try…

I shall be entering the following challenges:

As You See It – speed challenge and tulips or other bulb flowers

Make My Monday – say it with flowers

Blow Bubbles

Hello. It is my turn to host at The Alphabet Challenge. We have reached the letter ‘C‘, and I have chosen the theme of:

C is for Circles

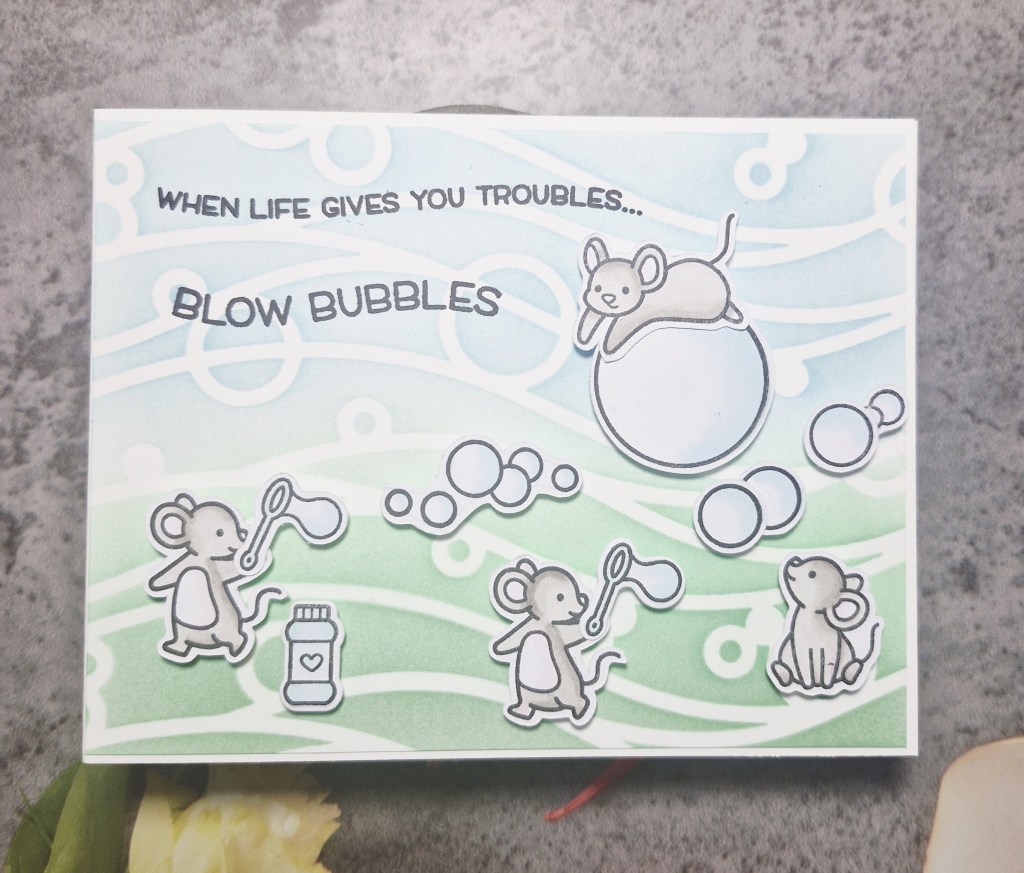
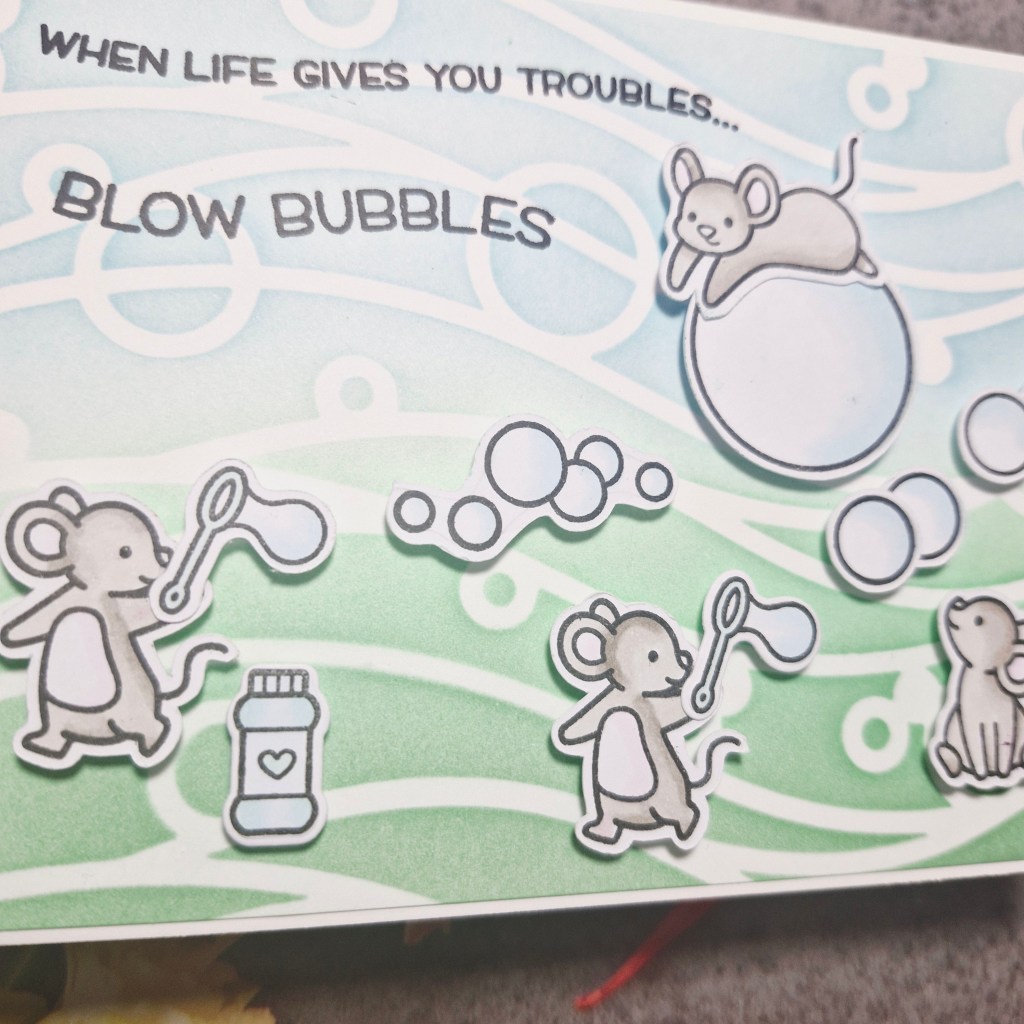
Here is my card:

I remember having a Lawn Fawn stamp and die set with bubbles, so I hunted it out, stamped all the images, then coloured with Copics. These were then die cut and set to one side.

I wanted a grass and sky background, but not the traditional way of doing it, so I searched through the CML app for ‘circle’ and this fun stencil popped up from Heffy Doodle.

Onto a white panel, I laid the stencil, then ink blended in two colo0urs of blue and then two colours of green, darker at the edge of each colour, then lighter where the two colours met.

This was then glued onto a card base, and then I spent quite a bit of time placing the images, and the bubbles until I was happy, then used 3D foam pieces to attach them.

The sentiment is from the same Lawn Fawn stamp set, and stamped onto the background panel – very, very carefully and using my Misti……Maybe it should have been stamped before adding the images……

I hope you can come and join us with your creations following our theme. I look forward to seeing you in our gallery. xx

I shall be entering the following challenges:

Stencil Fun – use stencils – option of see through it not taken

Allsorts – anything goes
Love To Craft – anything goes
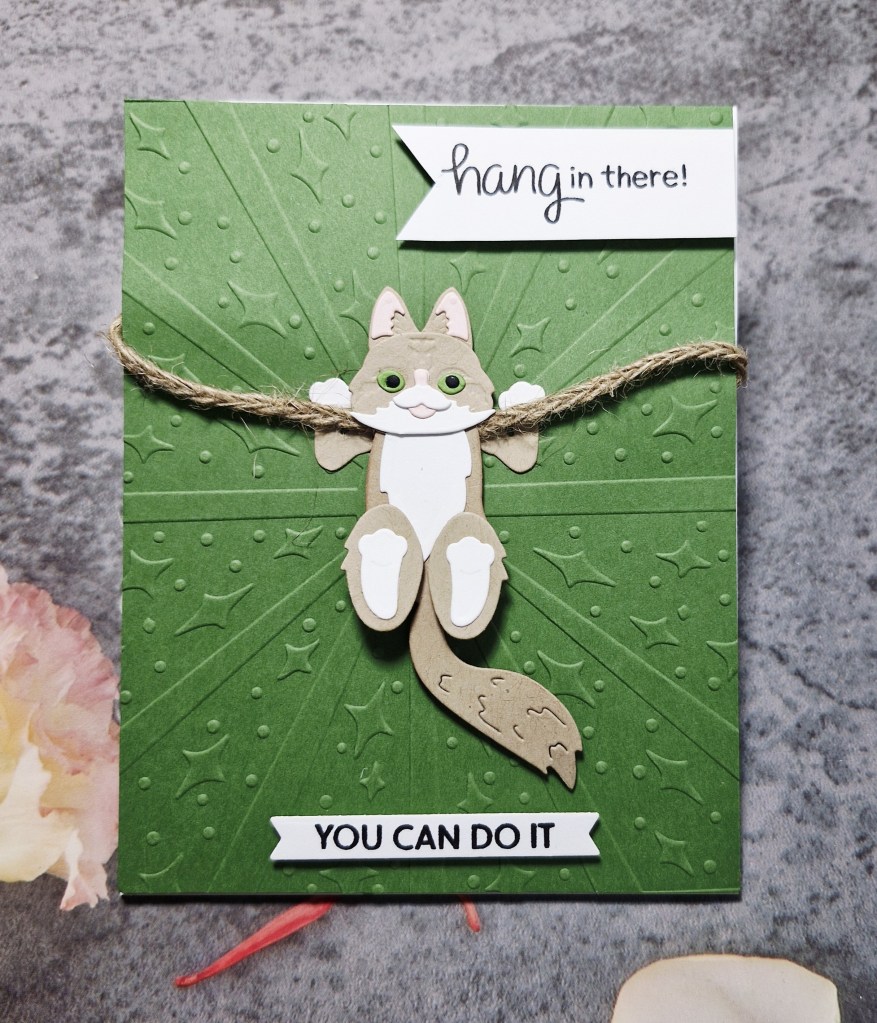
Hang In There – You Can Do It

Hello once again. I am here with a card for the new challenge starting at Cardz 4 Galz. Billie A is hosting, and she has chosen the theme of:

Brown & Green, with twine/ribbon

Here is my card:

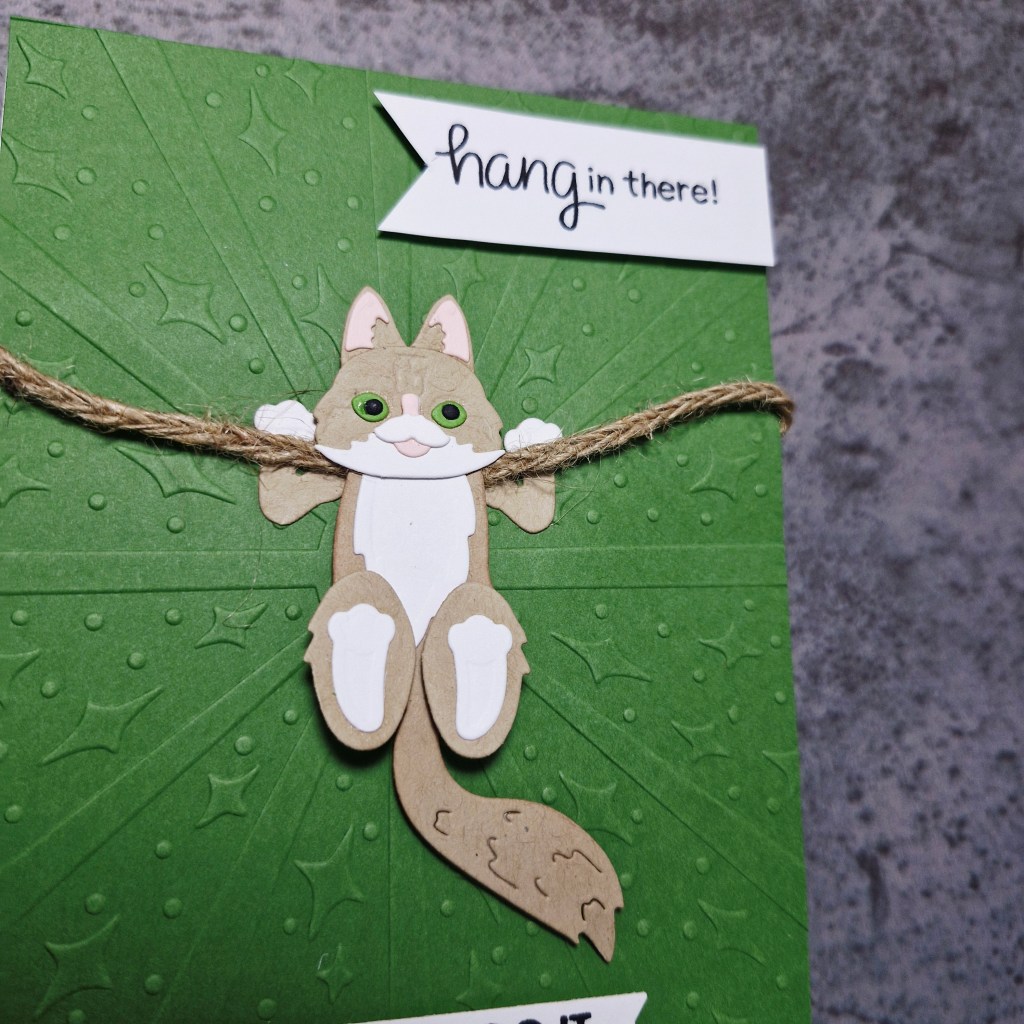
I started with die cutting all the layers of the cat (Spellbinders/Bibi Cameron) in Kraft and white – some pink for the ears and tongue, as well as green for the eyes.

Before layering together, I thought about how I could ‘hang’ the cat, so I knew where to place his paws, and found some twine I had in the drawer in my kitchen (who doesn’t?) and grabbed a piece.

Starting with the green background panel, and a Spellbinders embossing folder, I attached the twine to the back, then glued to the card base.

The cat was assembled, then attached with 3D foam, making sure it was over the twine where needed, and where it looked right.

The sentiments were stamped and then die cut to create the banners you see, and attached with 3D foam.

I hope you can come and join us following the theme set by Billie A – I look forward to seeing you in our gallery. xx

I shall be entering the following challenges:

Allsorts – anything goes
CYHTP – embossing folder, option of embellishments not taken

Love To Craft – anything goes
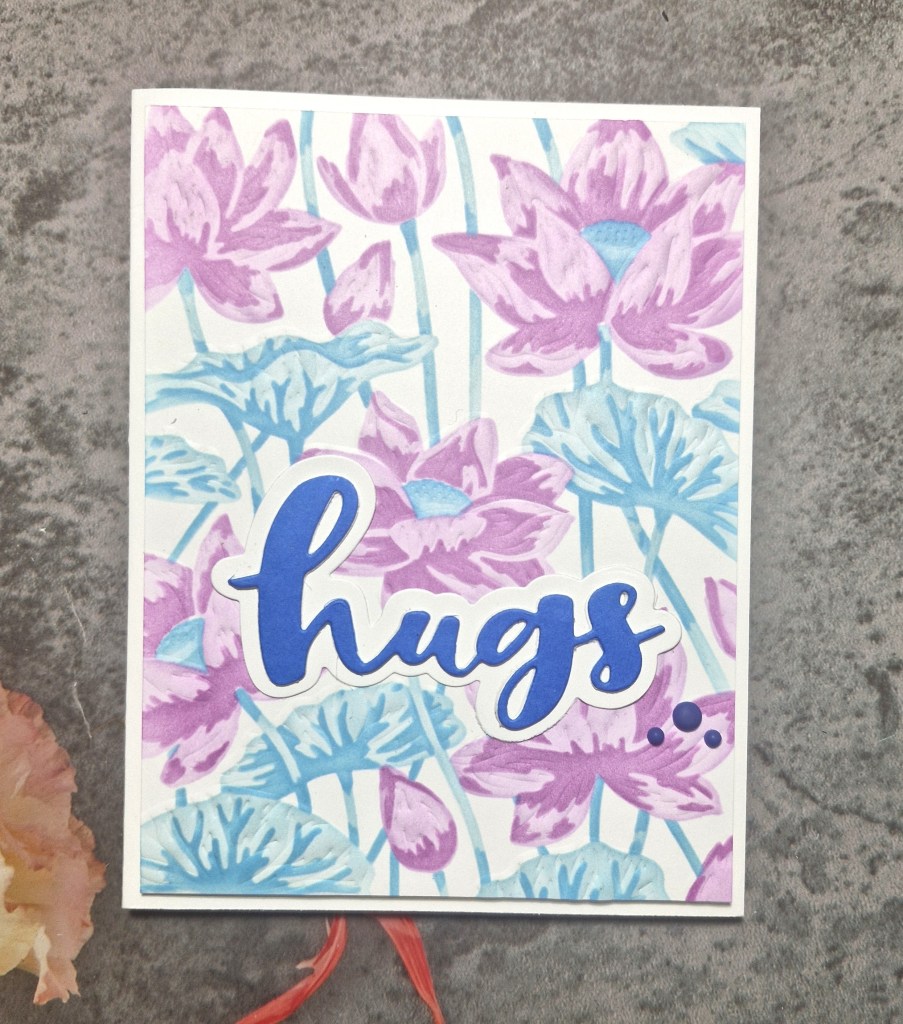
Lotus Hugs

Hello again. I have been crafting a lot these past few days, mainly because it has been so hot in the UK, and my craft room has air con…..Here is a card created following inspiration from the colour board at AAA Colourful:

For this card I used a new product suite – to me, anyway – from Hero Arts. This couple of items includes a Letterpress Plate and ;layering stencil set.
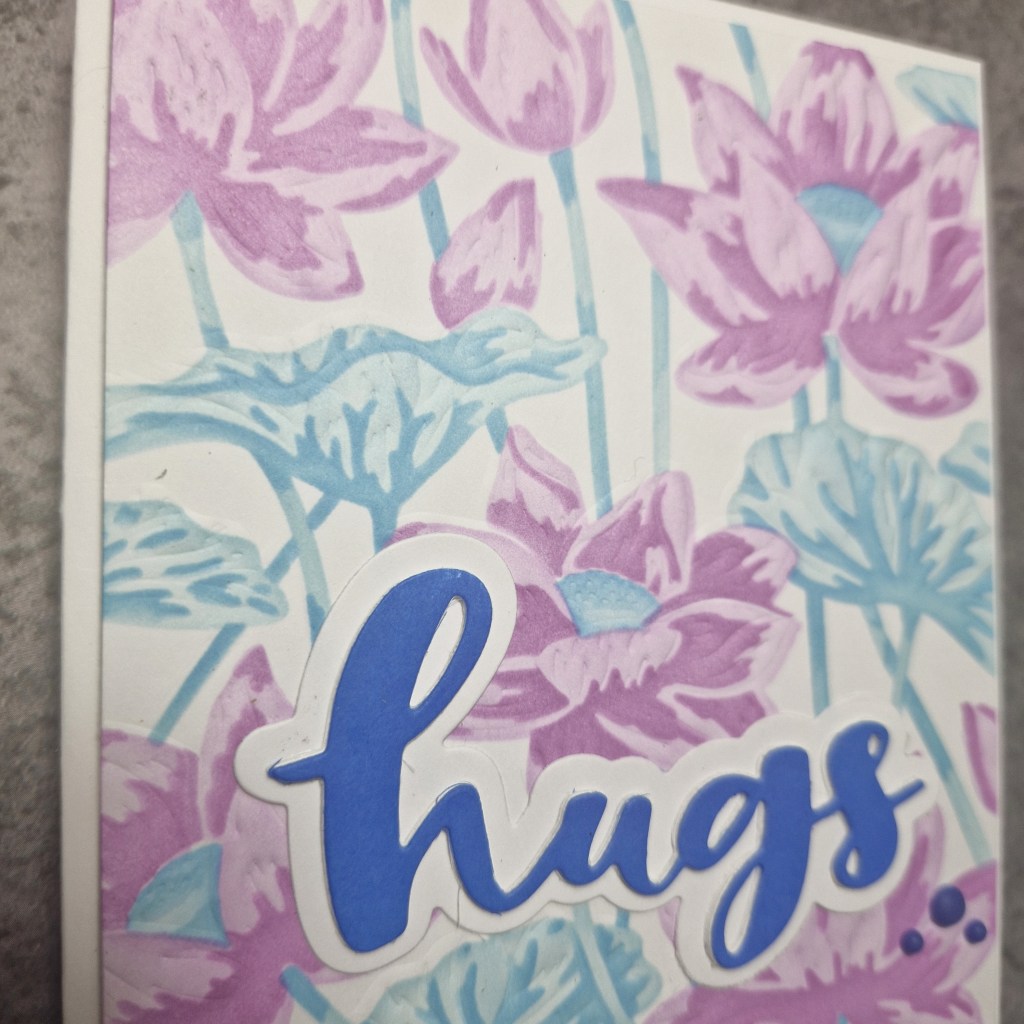
I first used the press plate to dry emboss the image onto white card stock, then used the layering stencils and Pinkfresh Studio inks to ink blend.

This panel was then cut down slightly and adhered with 3D foam to a card base.

For the sentiment, I used a Time 4 Tea Designs die, the shadow being cut out of white, and the word die cut once I had used an ink pad to colour a piece of white card, as I wanted a blue from the same colour family as the two other blue tones used on the background.

This was adhered, then some blue gems added for interest.

I shall be entering the following challenges:

AAA Colourful – inspiration colour board

Aud Sentiments – embossing wet or dry and/or flowers and a sentiment (dry embossed the letterpress plate)

Triple B – birds and/or butterflies and/or blooms