Color Throwdown Pink, Mint, Grey

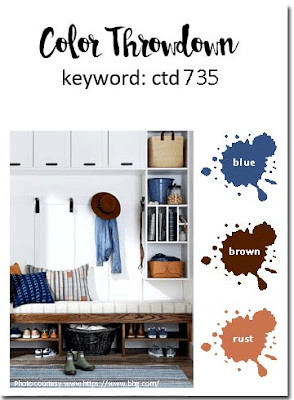
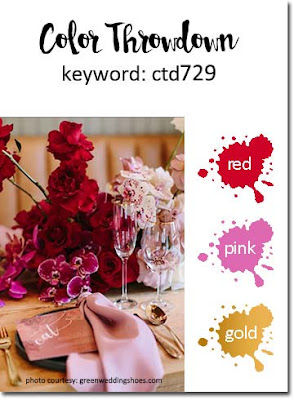
Hello there. I was lucky enough to be the winner for a recent challenge at The Color Throwdown, and as such invited to be a guest for an upcoming challenge.

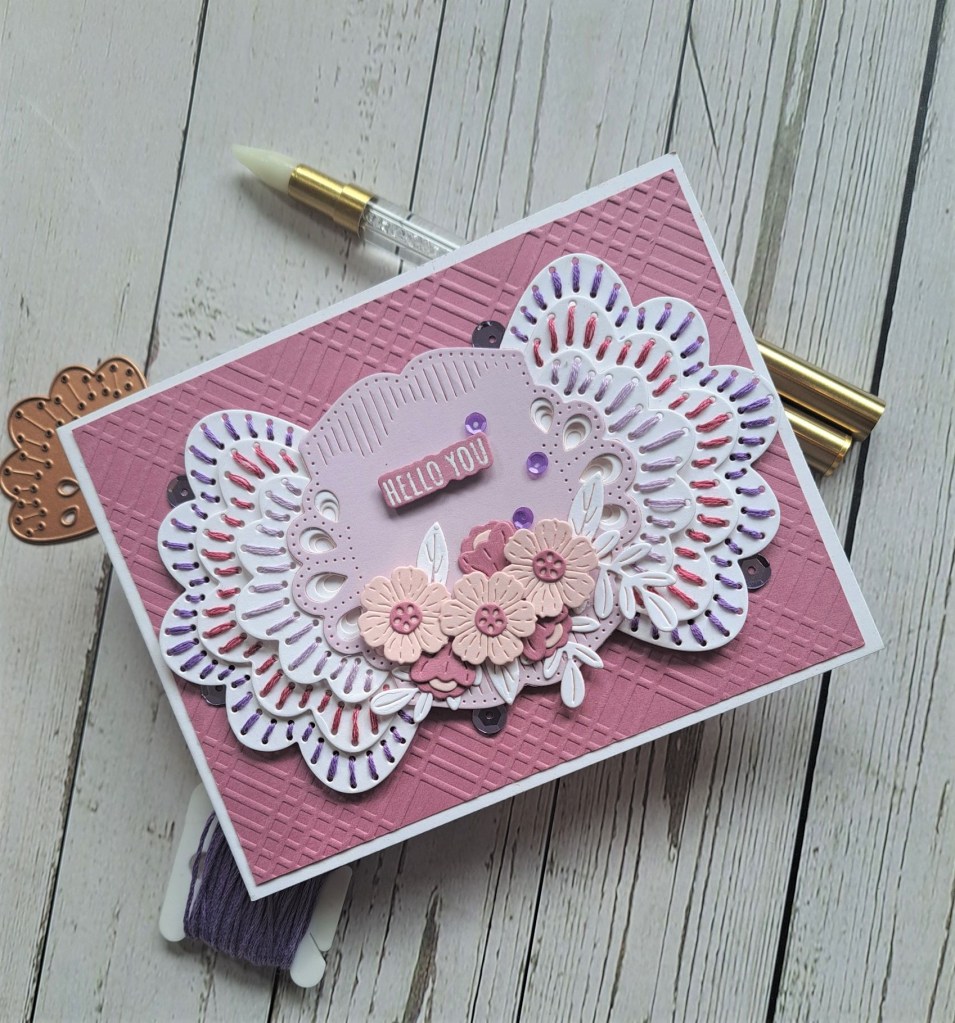
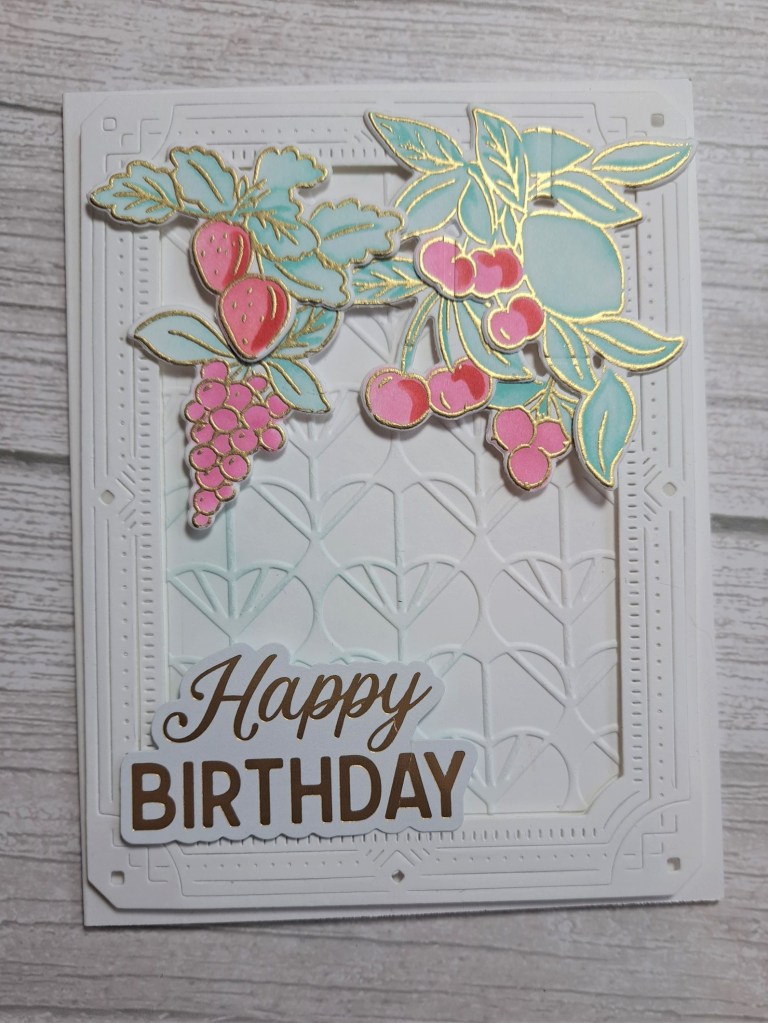
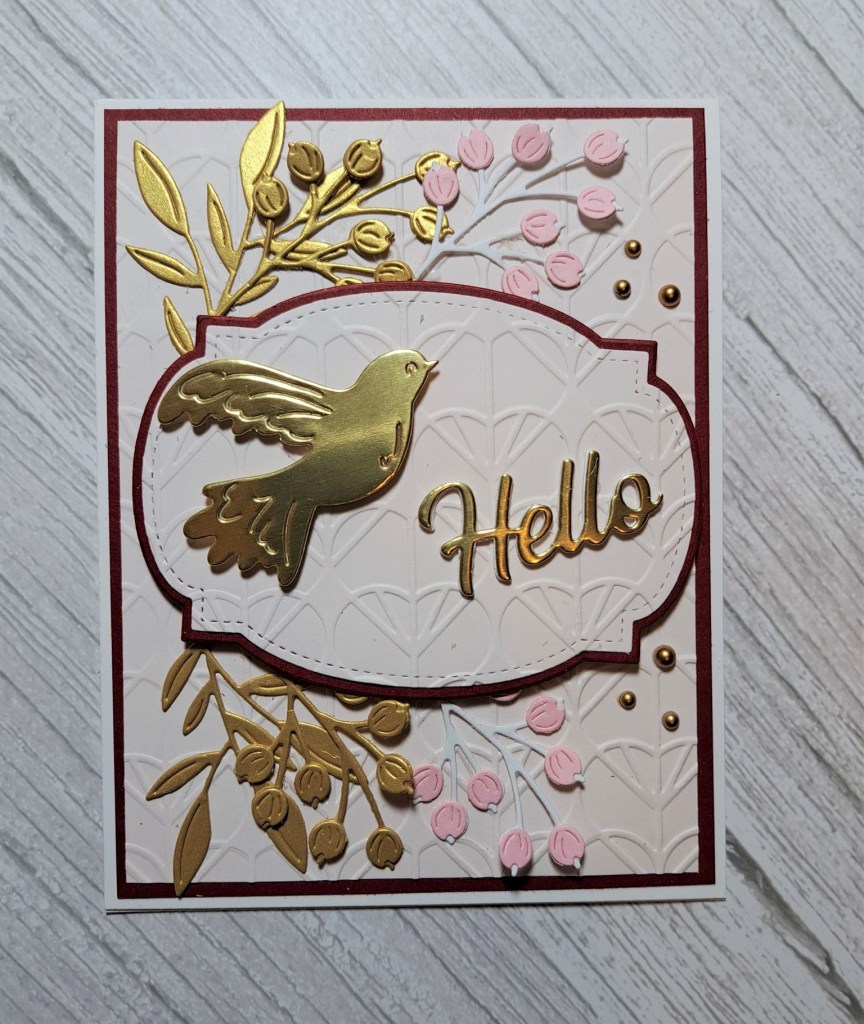
As you can see, the colours this time round are Pink, Mint, and Grey. Here is my card:

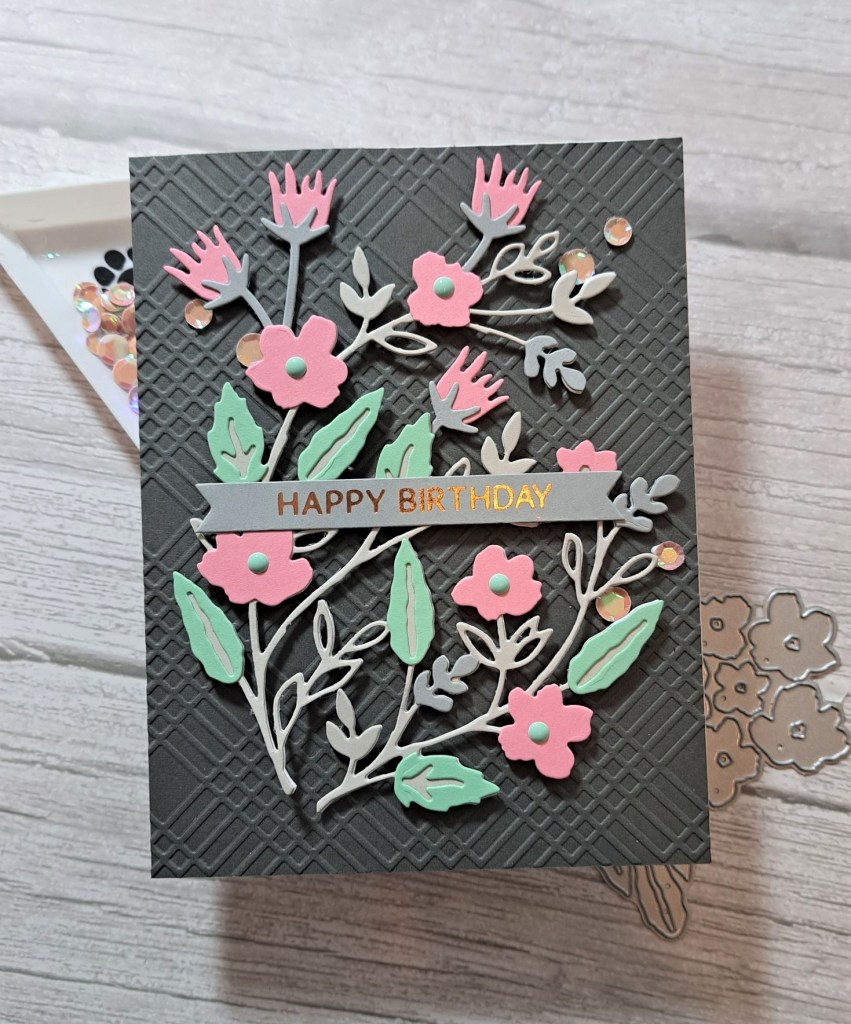
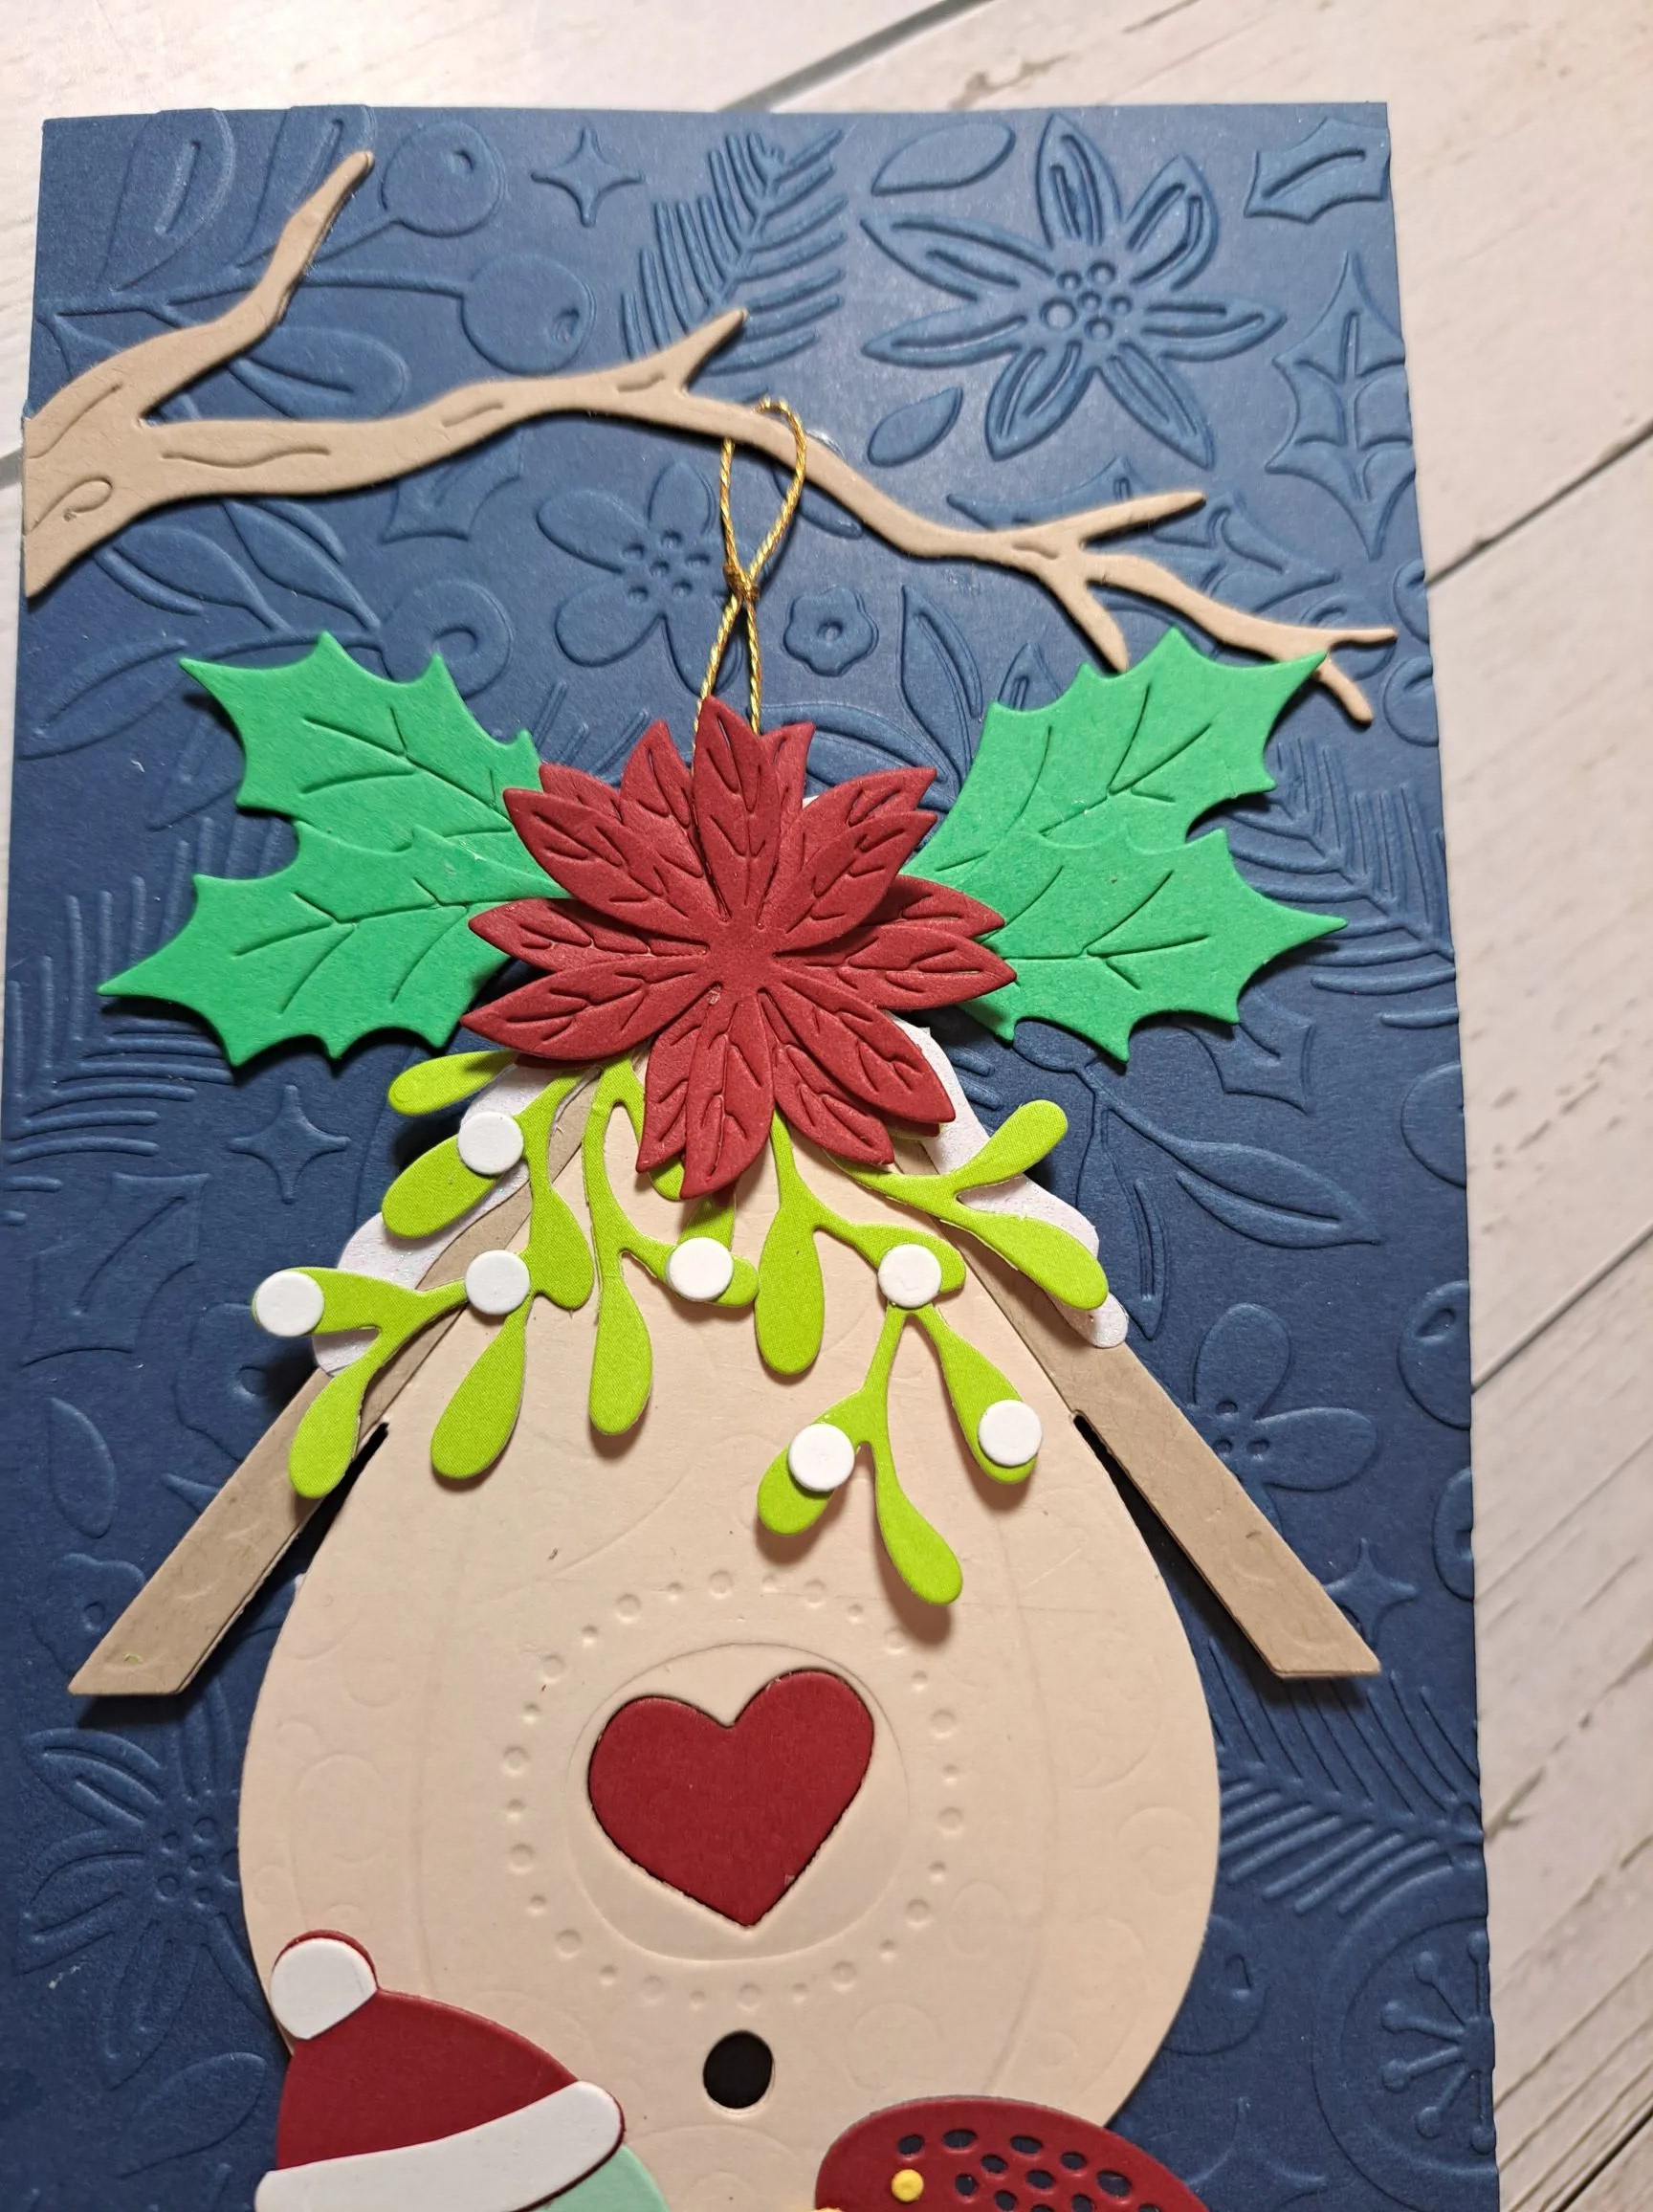
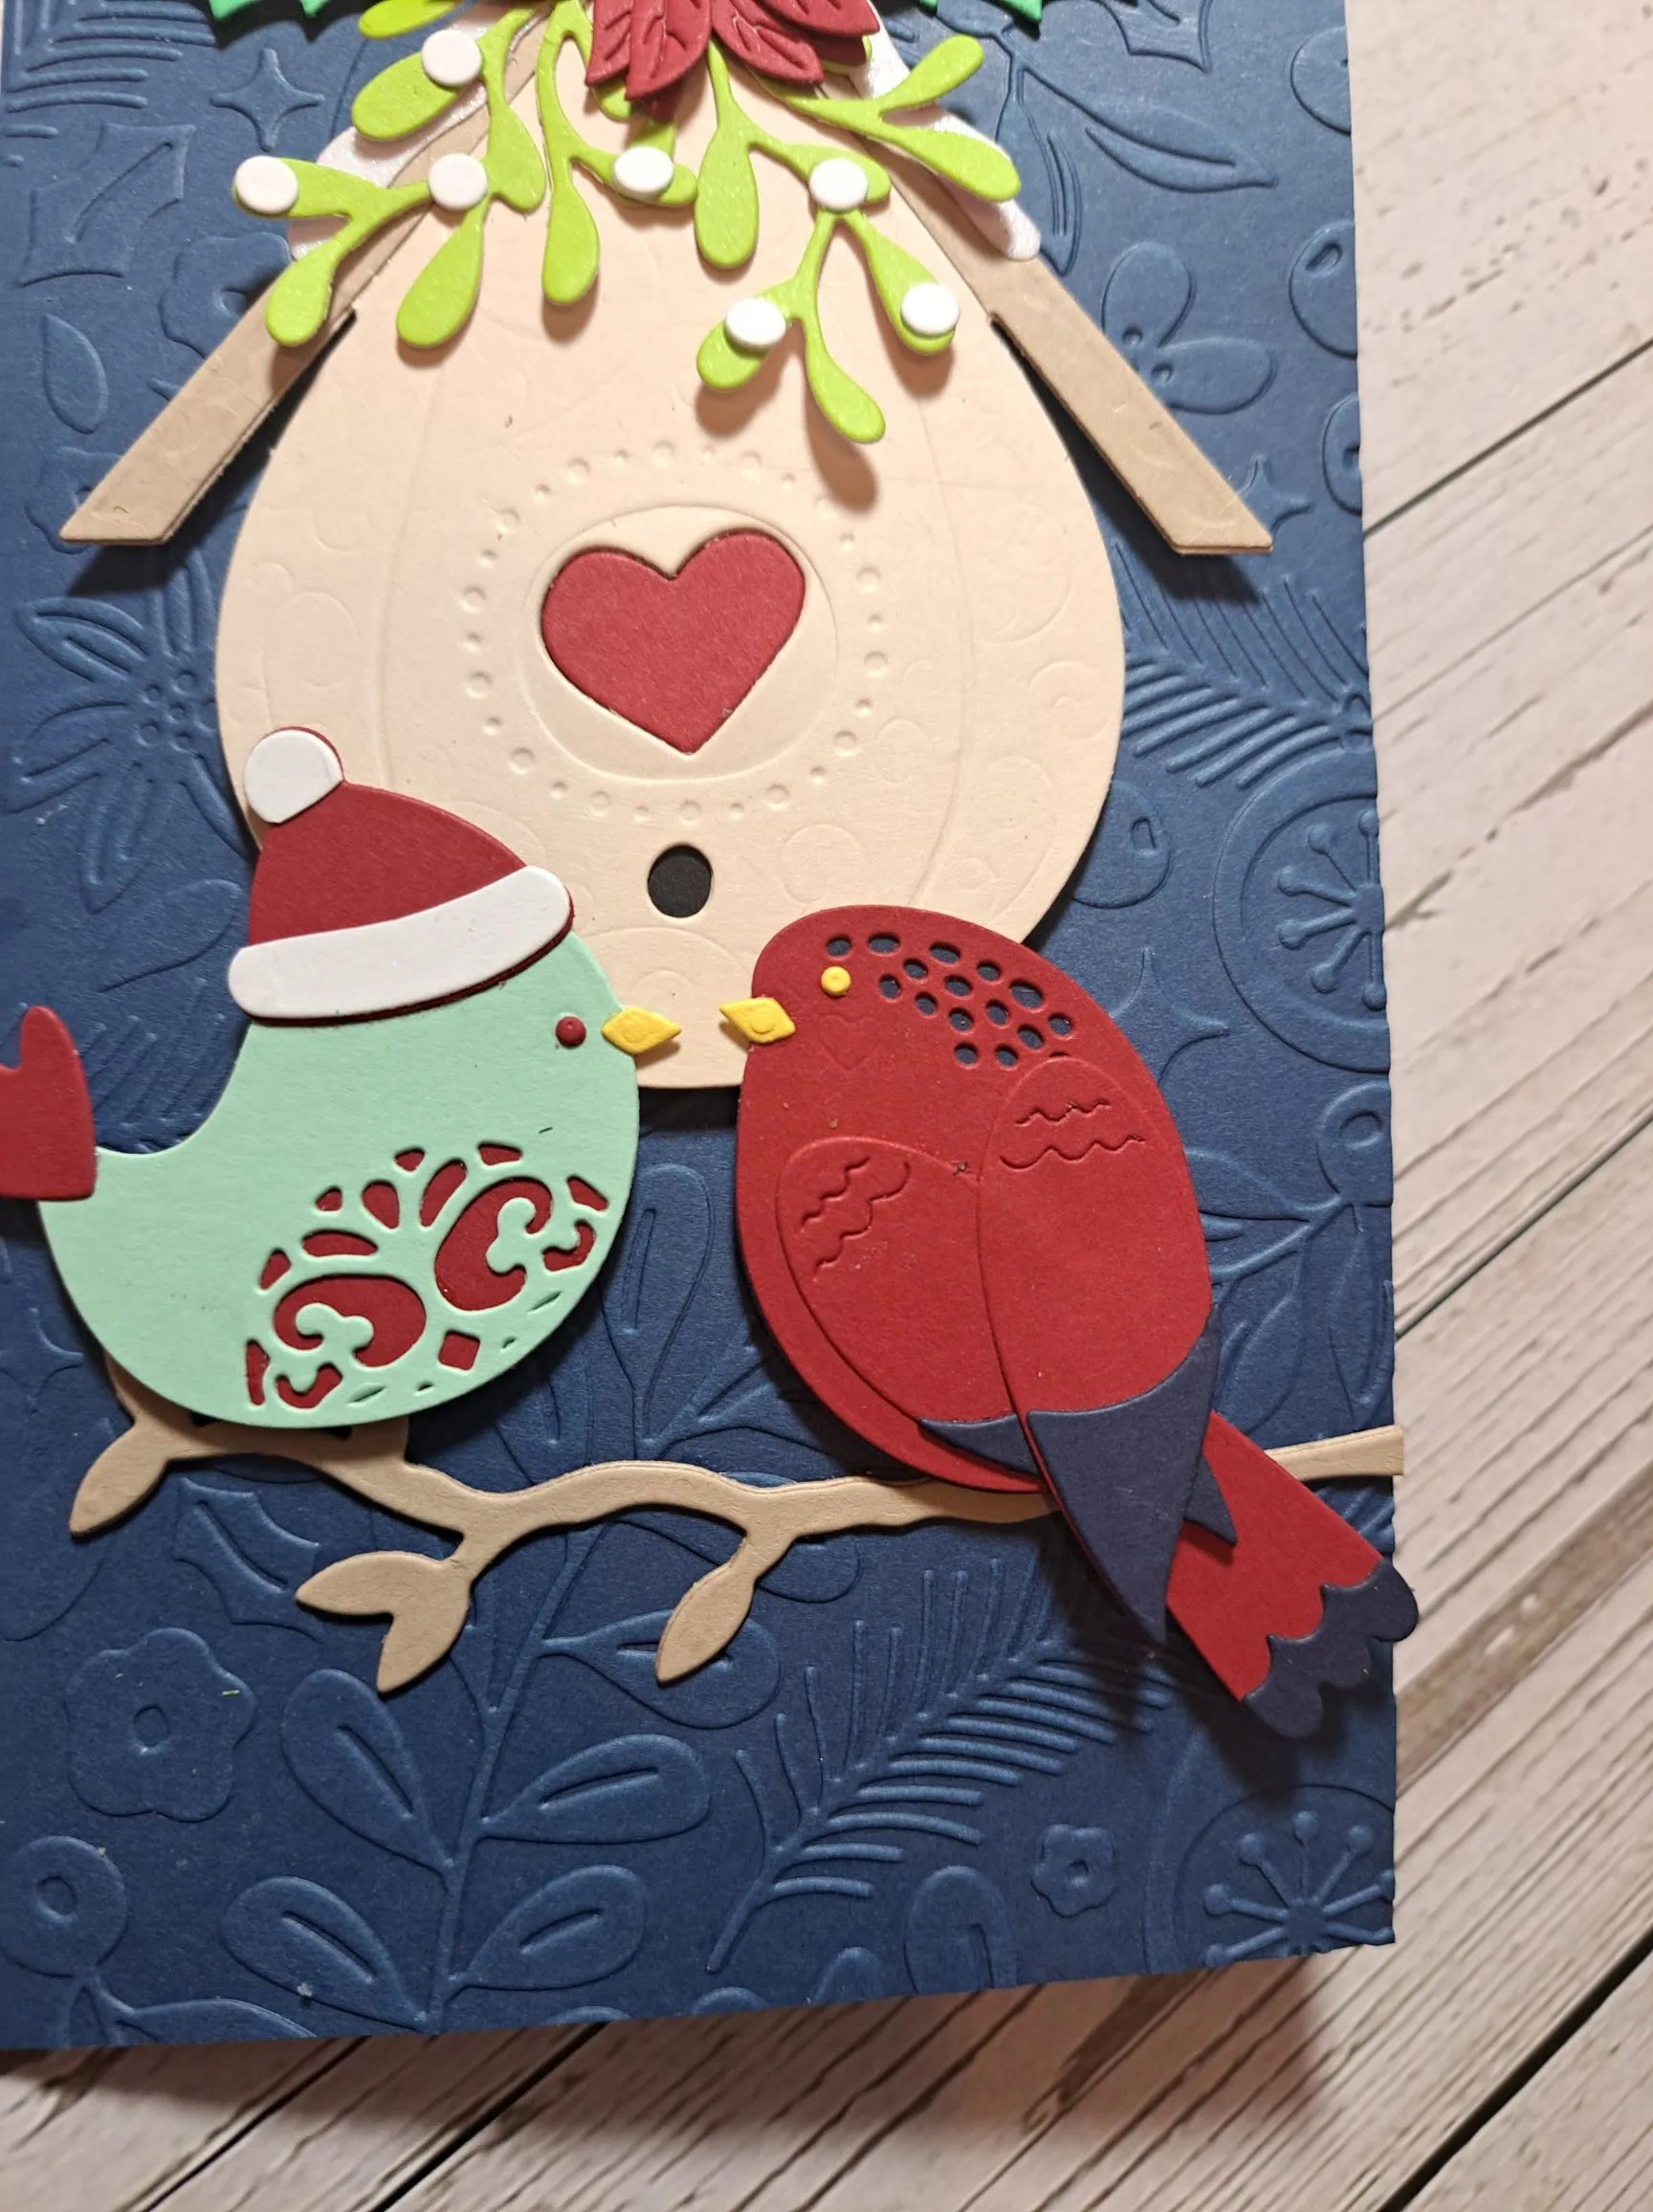
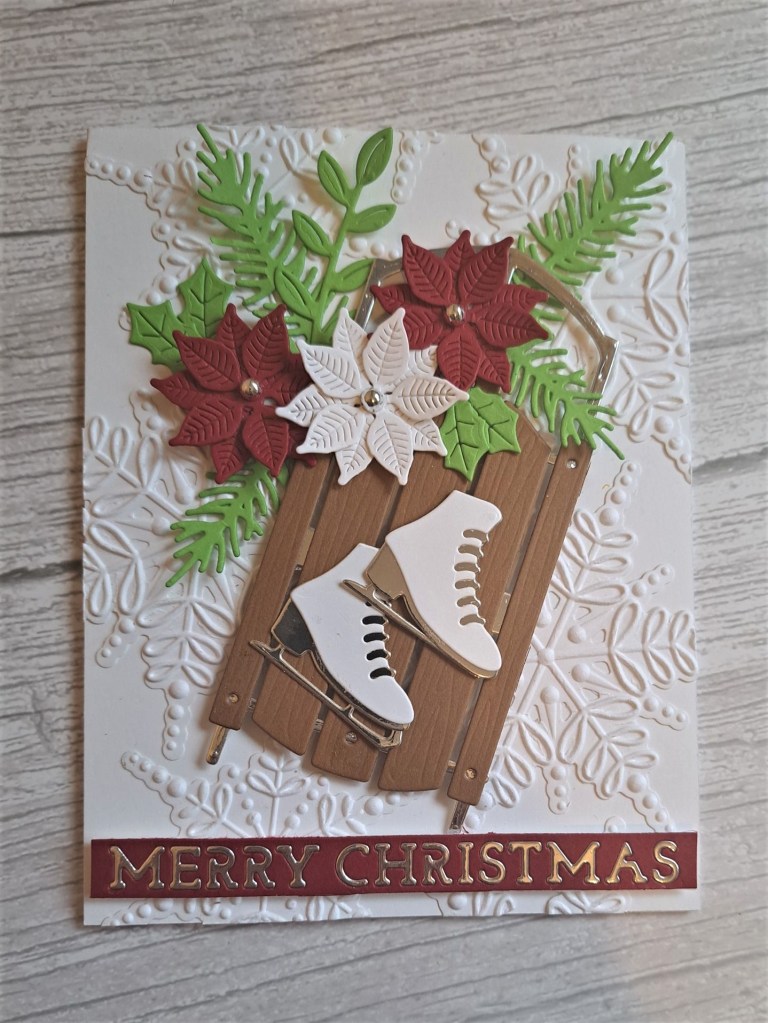
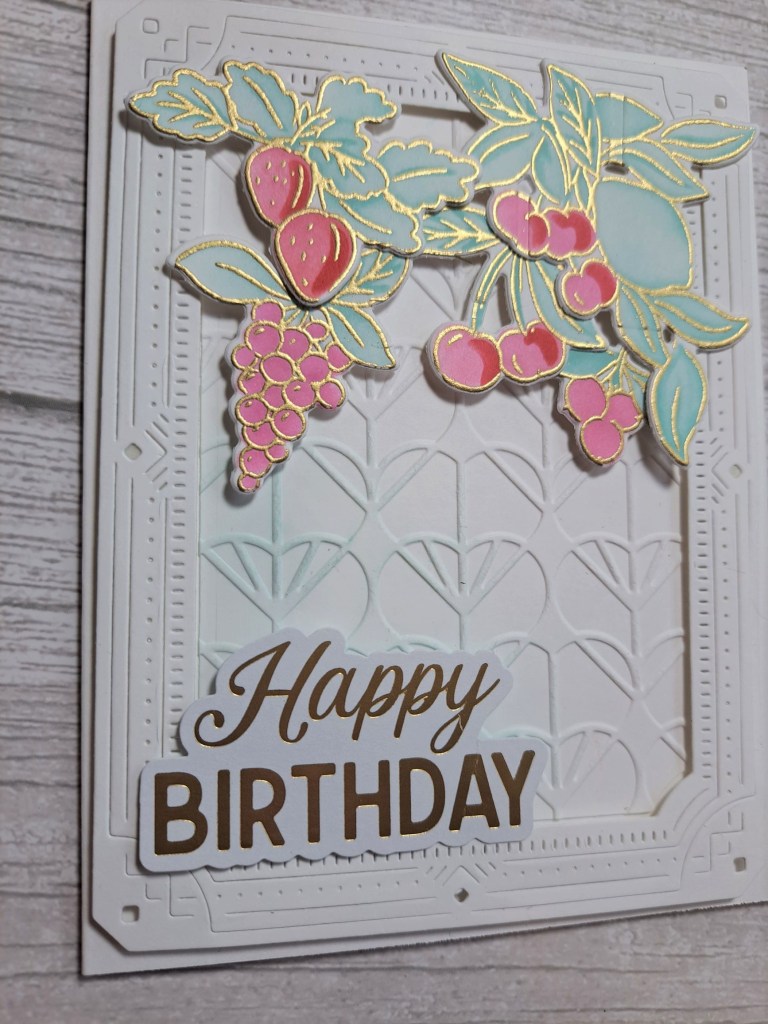
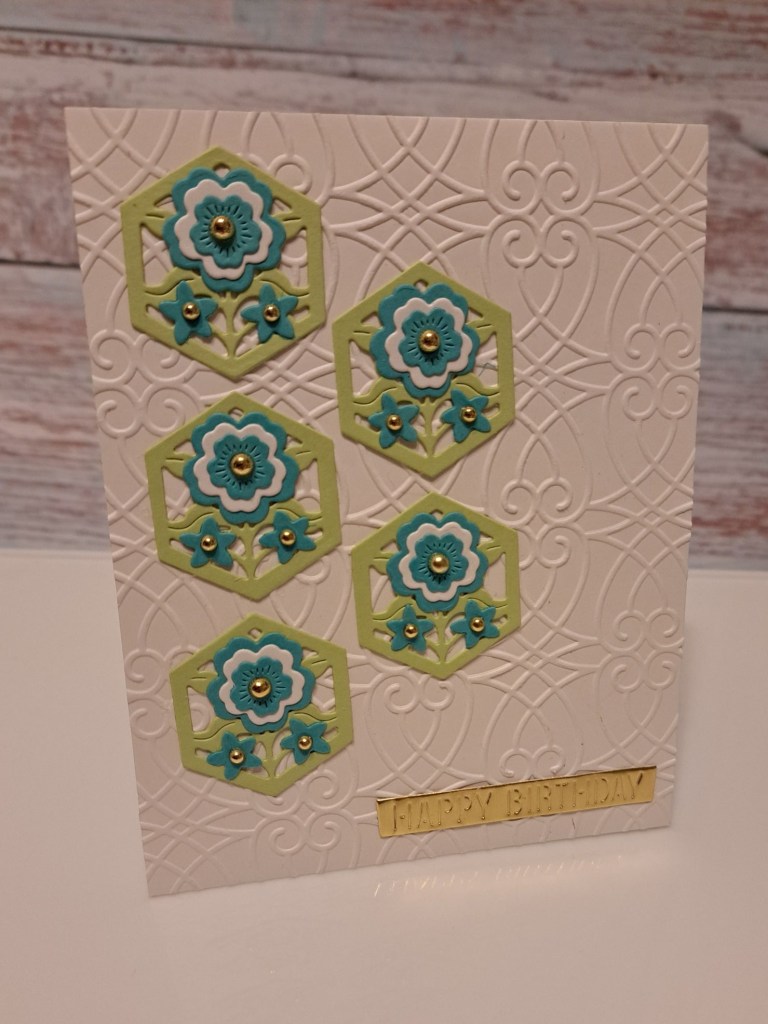
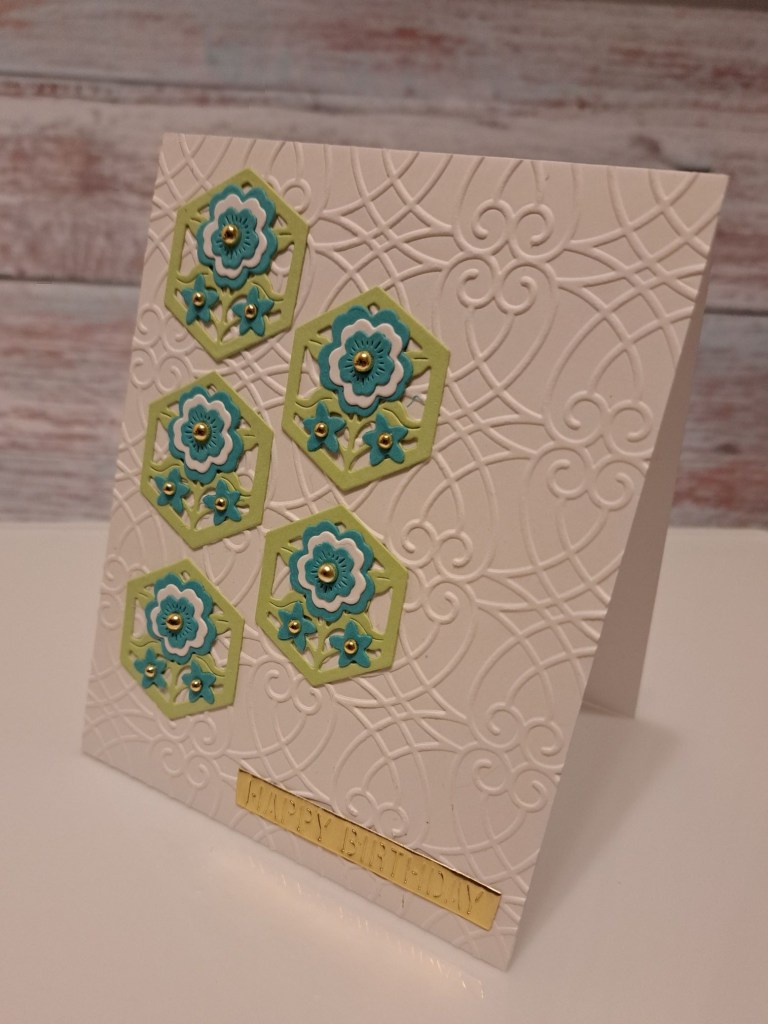
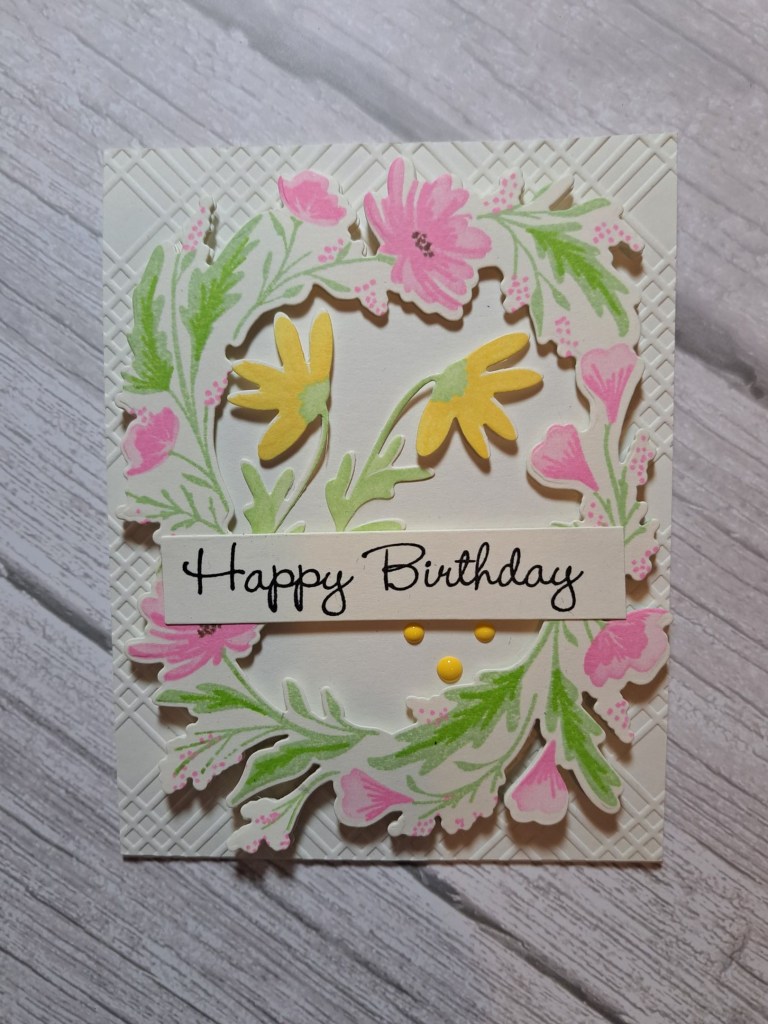
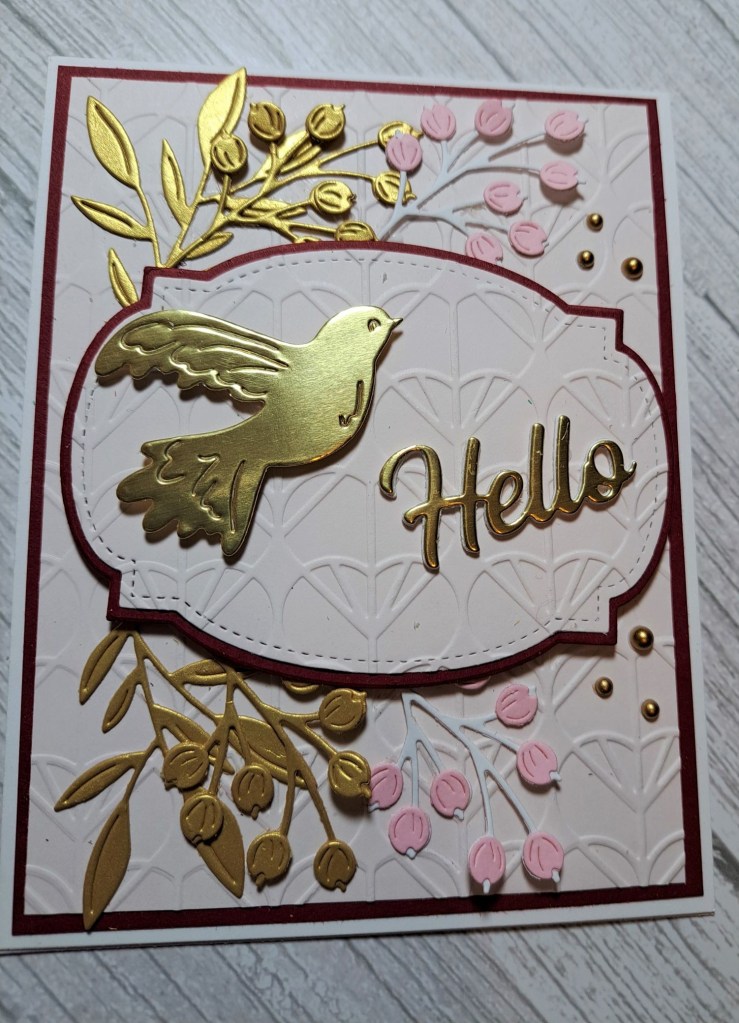
The flowers and foliage were created using a couple of die sets from Concord & 9th, along with some of their card stock, and some card stock from Heffy Doodle.

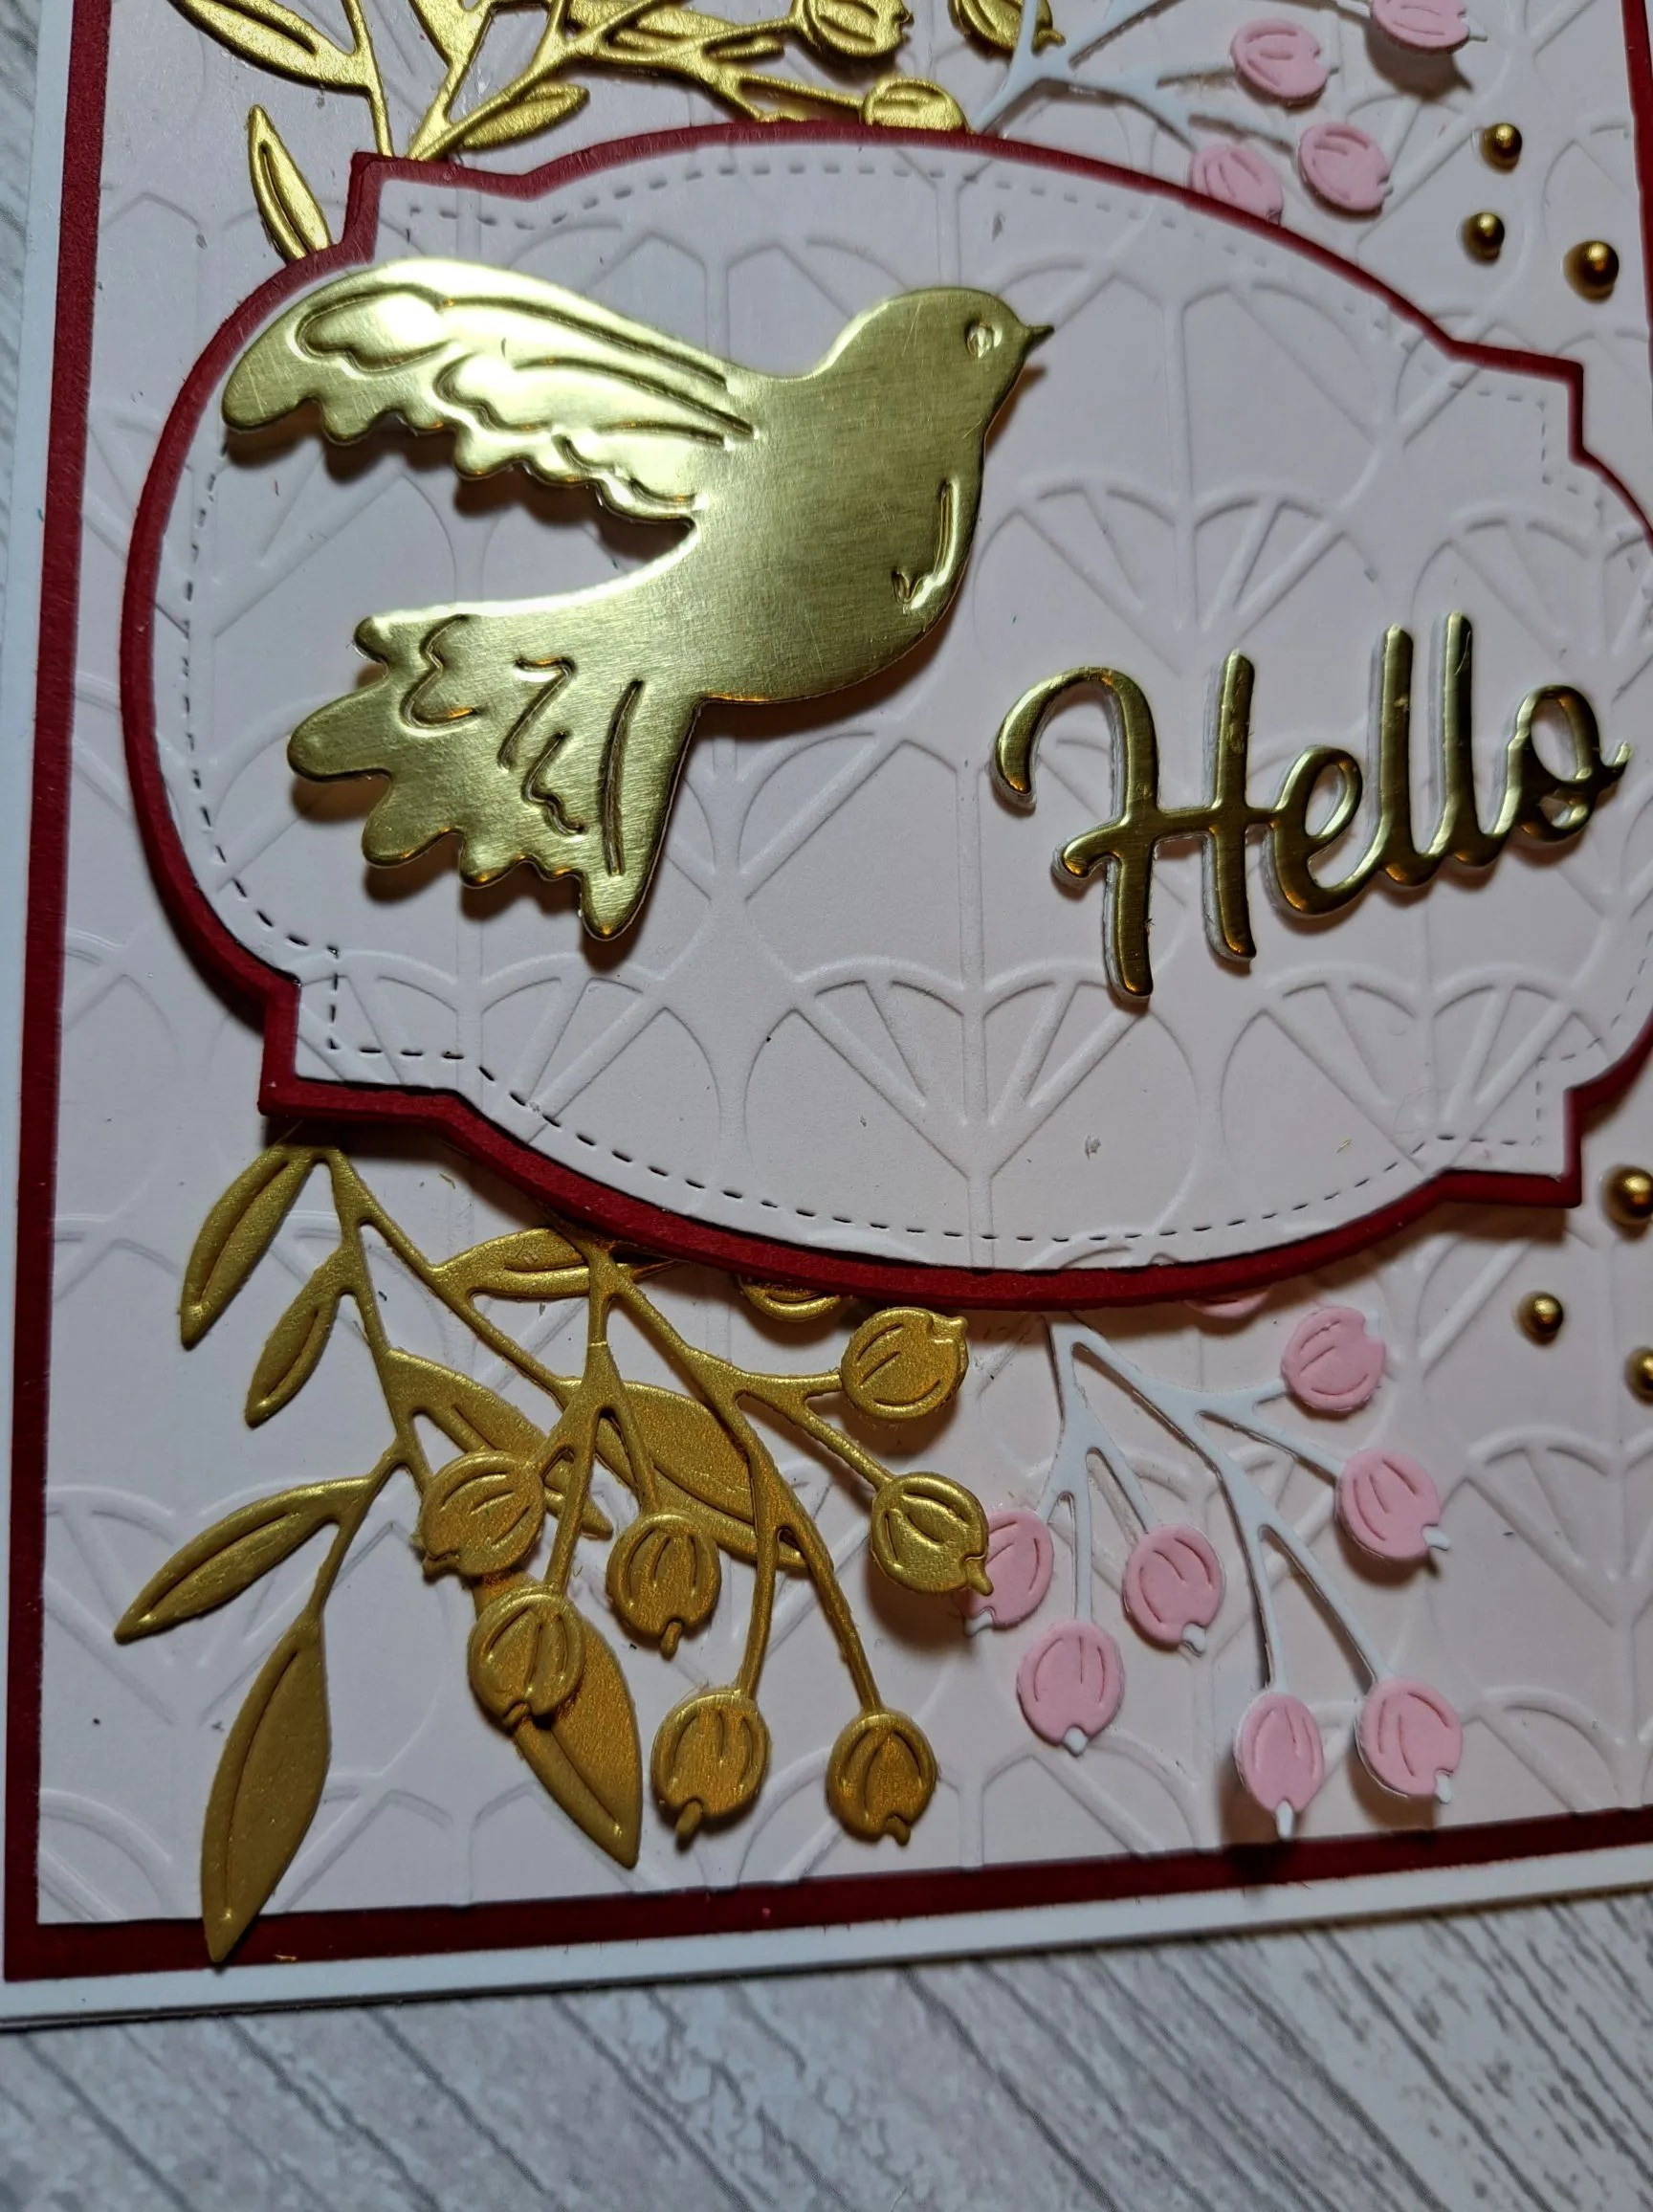
A light grey for the branched of the main spray, with a slightly darker grey for the smaller sprigs.

I stuck the layers together on the main spray, then popped in some other florals here and there.

I added some gems to the centre of the flowers.

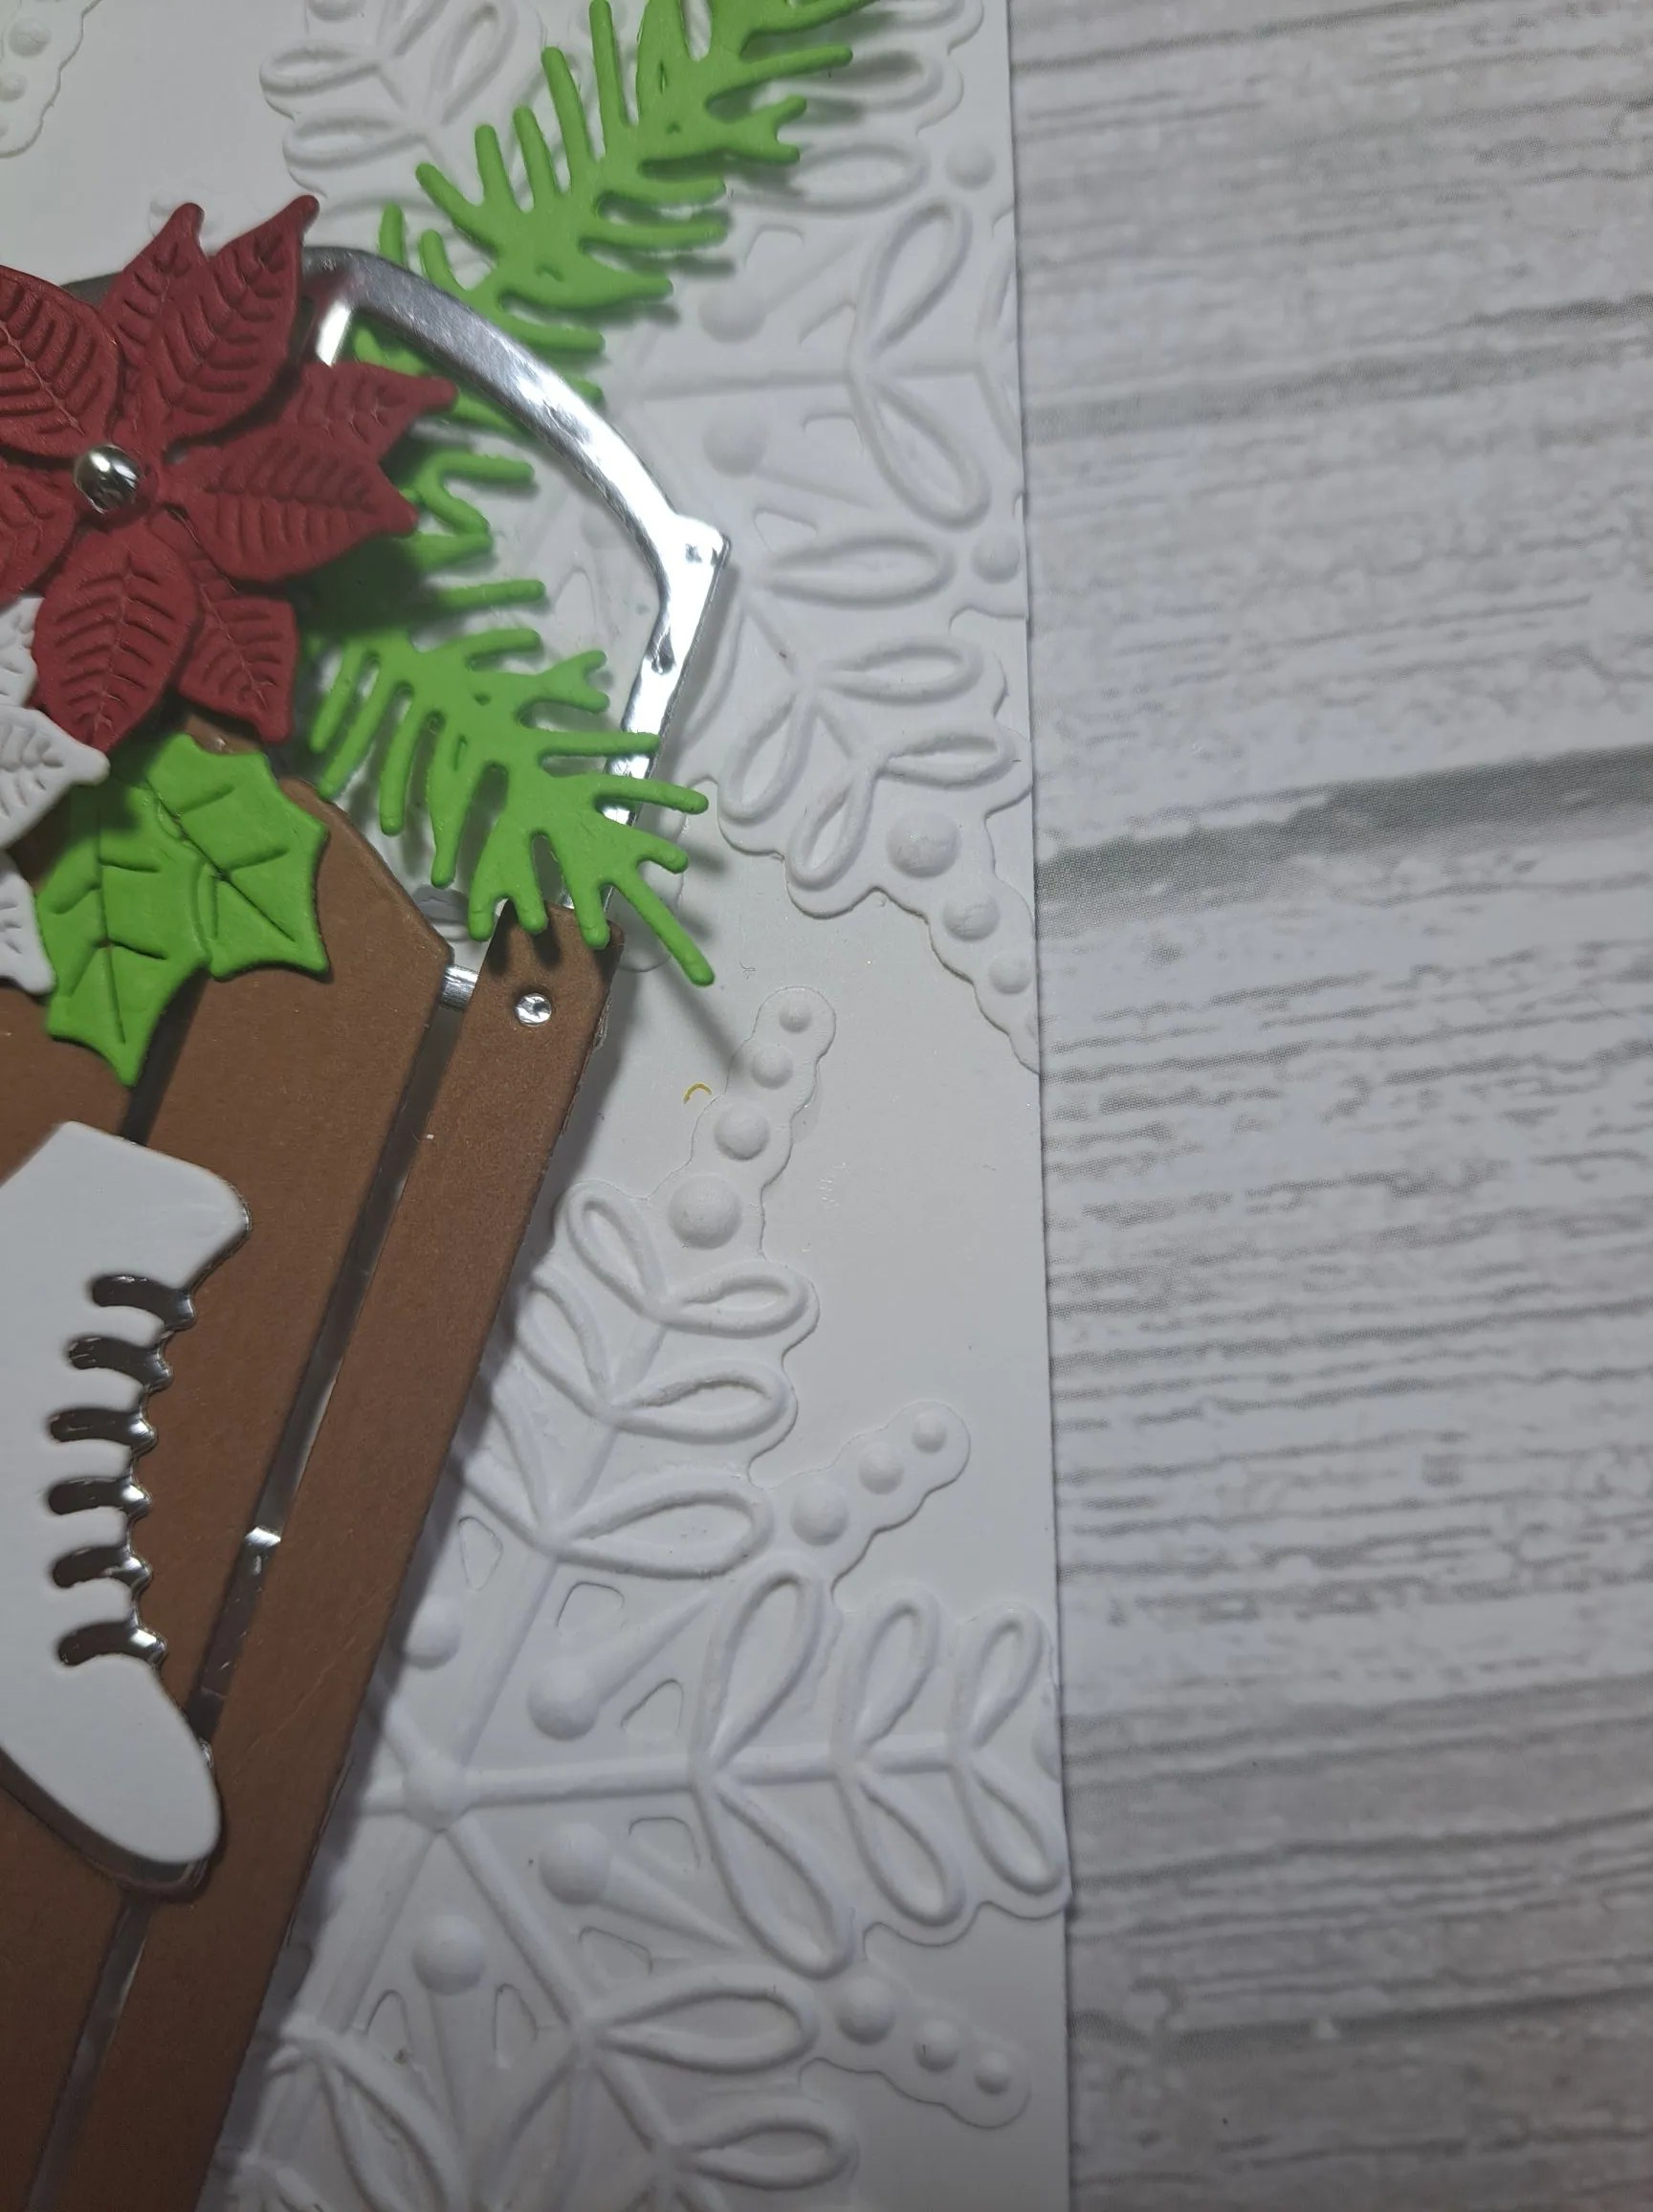
When I came to adhere to the card base – I couldn’t make it work. The arrangement seemed lost against the white, despite trying a couple of embossing folders. I was going to ink smoosh onto a background panel, but tried this dark grey card stock from Lawn Fawn – and this worked much better.

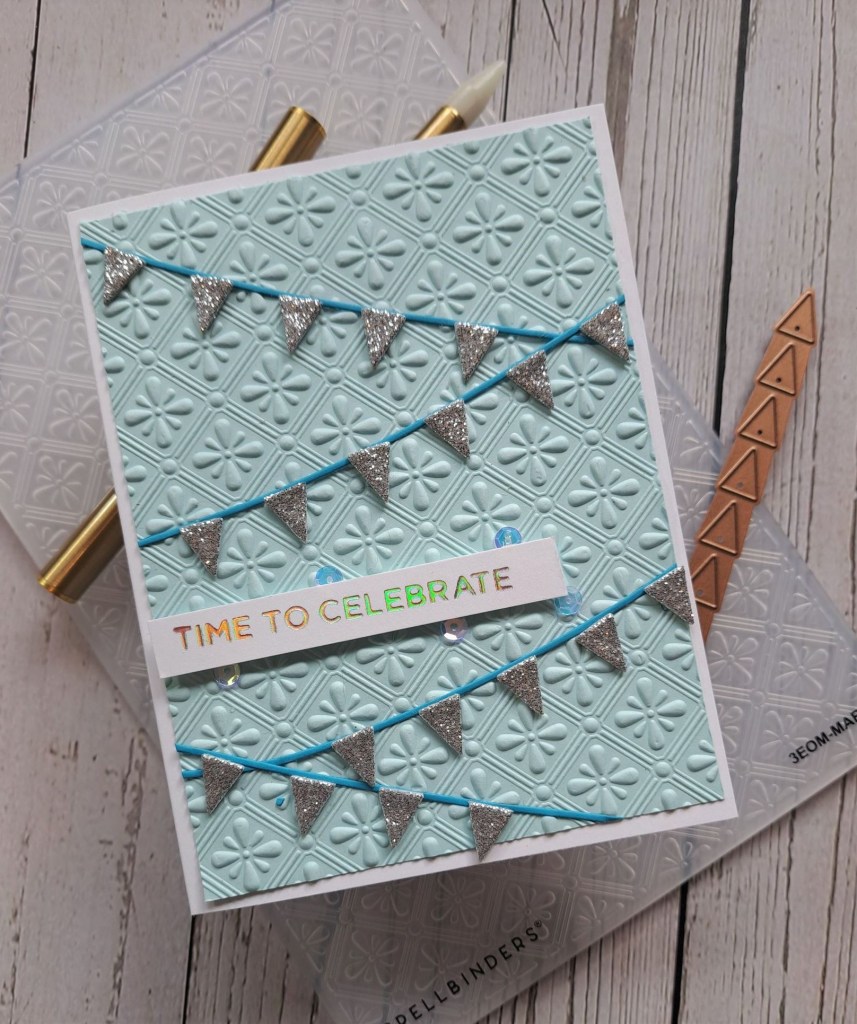
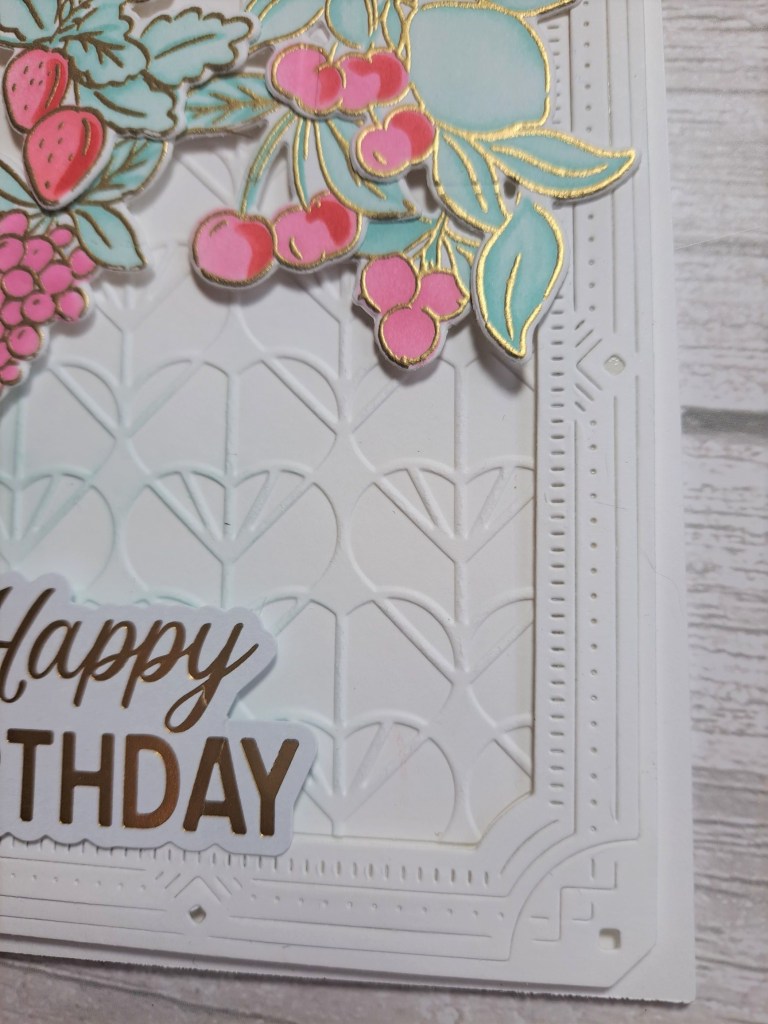
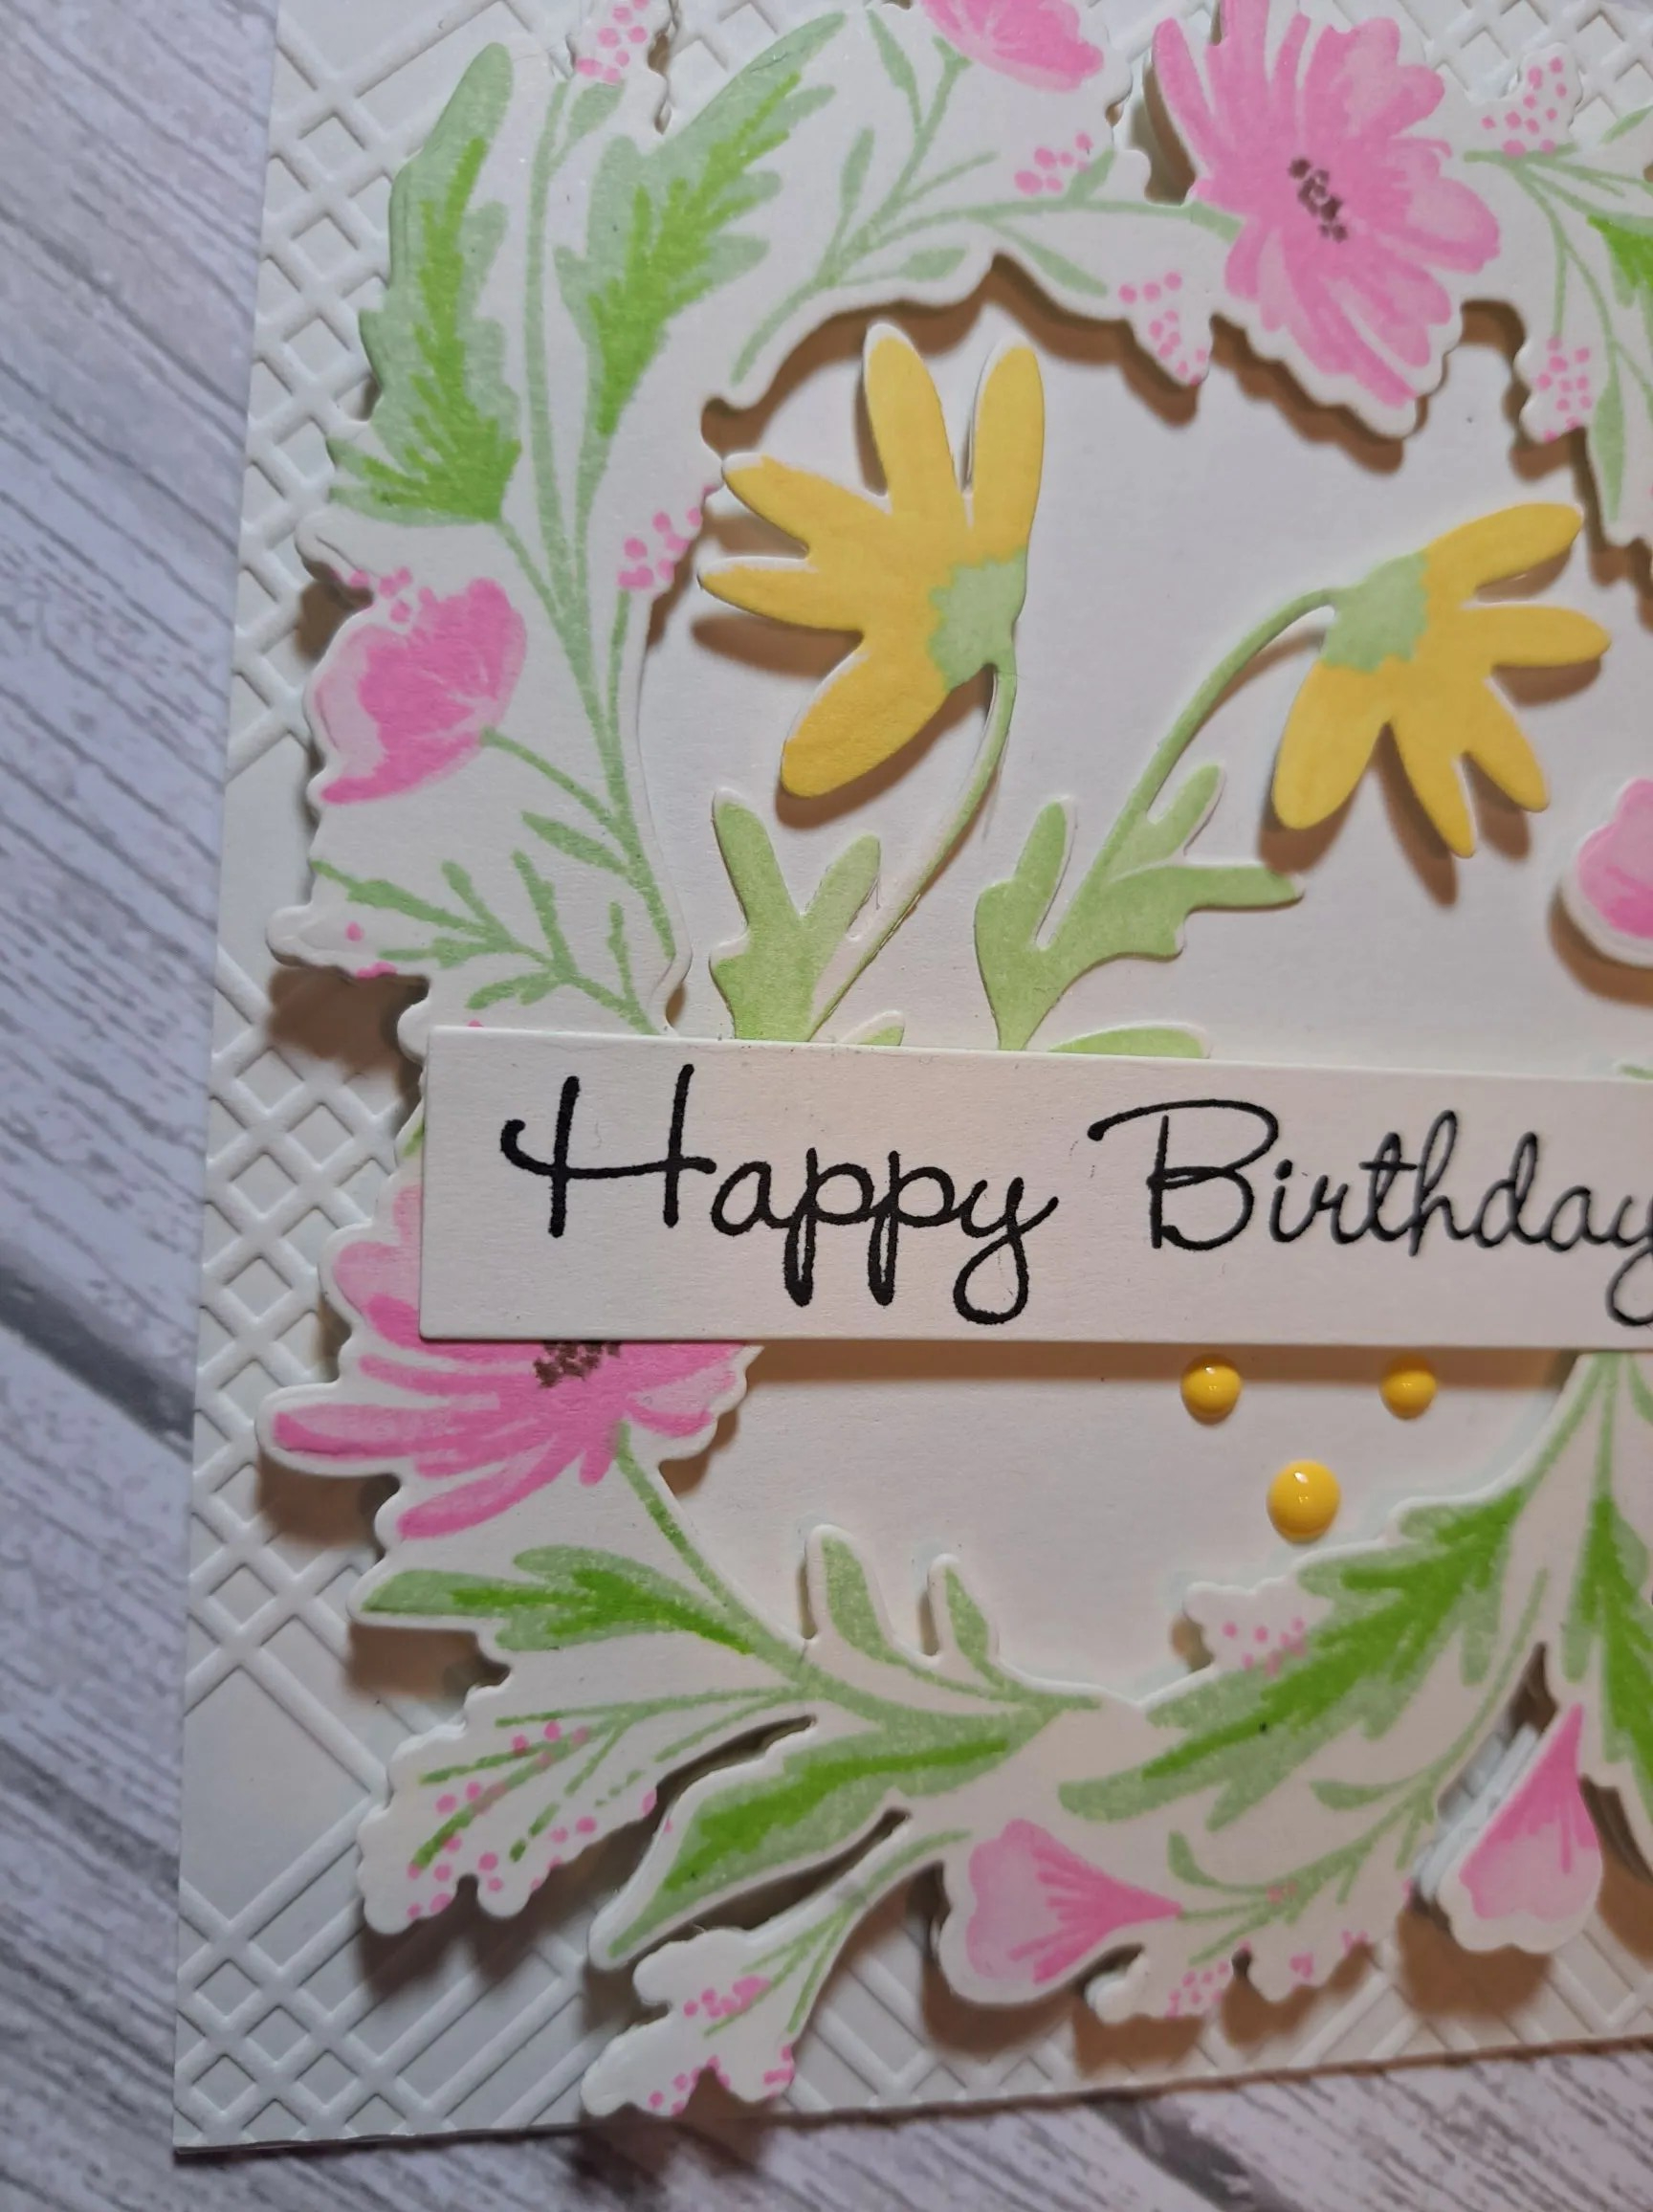
I dry embossed that dark grey panel with a Spellbinders embossing folder, adhered the floral spray with 3D foam – some very, very tiny bits in parts – and added some sequins. I’m not quite sure what colour the sequins are, but they do give off the pink and grey vibe……

As for the sentiment – it’s a recently foiled strip created when taking part in the Spellbinders Glimmer class a few weeks ago – and on grey card too…..

What a great colour combination for this week – I hope I get you see you in their gallery. xx

I shall be entering the following challenges:

Allsortsuse dies

Beautiful Blossoms flowers

Creative Fingersanything goes

Craft Rocketuse dies

Daisy Chain no designer paper

Crafting Happiness anything goes

Birthday Banners

Hello and welcome. My second post of the day as the June Happy Little Stampersanything goes birthday‘ has started.

Here is my card:

I dry embossed a light blue panel and cut it down slightly to create the border from the card base.

The banner was die cut with blue card, and the triangle from the Spellbinders silver glitter foam – this is o very easy to die cut.

Once I decided on where I wanted each string and each triangle, I glued them down – and I even measured between each little triangle to make them even – did someone say OCD…….?

The sentiment was attached with 3D foam.

I hope you can come and join us with your birthday makes. xx

I shall be entering the following challenges:

Simon Says Stamp Wednesday Challengeanything goes

CYHTPembossing folder – option bird/bird houses not taken

Ally’s Angels anything goes

Cupcake Inspirationsanything goes

Mistletoe Kisses

Hello there. ABC Christmas Challenge has reached the letters ‘J‘ and ‘K‘, and we want to see your Christmas/Festive creations with ‘J’ for Jingle Bells, and/or ‘K’ for Kisses (under the mistletoe)’. Here is my card:

I have some slimline card bases in this gorgeous dark blue and never think to use them – so I grabbed one, and embossed the front half with a Spellbinders embossing folder.

The birds, bird house, and all the floral elements were die cut and assembled, and the hardest part was deciding on where each of the elements were to go. Thank goodness I went for slimline so I could get everything on there.

I’m looking forward to seeing your Christmas/Festive makes following our themes. xx

I shall be entering the following challenges:

Beautiful Blossoms – anything goes flowers/florals

Sparkles Forum emboss it

Fab’n’Funkythings with wings

Creative Fingers anything goes

2 Crafty Critter Craziesanything goes with a critter

Most Magical Time Of The Year anything goes Christmas or Halloween

12 Months of Christmas anything goes Christmas – option Christmas Decorations not taken

Merry Little Christmas Challenge anything goes Christmas

Stitched Hello You……

The same friend that gave me the idea of using peonies for the last post, gave me some threads to stitch some of my stitching dies. I used to cross-stitch and sew tapestry many years ago, but when I started to need glasses and a spotlight to sew, I gave all my stuff away.

Here is what I came up with:

The stitching die is from Spellbinders, and the layers die cut out of white card stock. I wanted the embroidery to stand out.

All the coloured card stock is from Concord & 9th, using some of their new colours. Once the three layers were die cut and stitched with a lilac, a pink, and a darker purple, I die cut the centre panel, and attached the three elements together.

A Briar Rose panel was dry embossed using a Spellbinders embossing folder, attached to the white card base, and the three die cut and sewn elements were added with 3D foam.

I then die cut some florals and leaves, layered them together and added to the centre panel. I decided to go with a landscape orientation, as I felt it suited the floral dies better.

The small sentiment is white heat embossed, and die cut with it’s matching die.

I added some purple sequins around the larger sewn piece, and three smaller purple onto the centre panel.

I shall be entering the following challenges:

Simon Says Stamp Wednesday Challengeanything goes

Lil Patch Of Crafty Friendsanything goes

Ally’s Angelsanything goes

Beautiful Blossomsanything goes flowers/florals

Ellibelle’s I Spy Challenge April showers or May Flowers

Christmas Skates and Greenery

Hello. The new Holly and Ivy Christmas challenge has started. Here is my card:

I have used a collection of die cuts from several companies to create this card. Lots of die cutting and assembling, but I enjoyed the process.

The card base and the snowflake design was created using die cuts and matching embossing folder from Simon Says Stamp (Refined Snowflakes) – die cutting and embossing the snowflakes, and adding them randomly around the background panel with wet glue to give dimension.

The sledge, ice skates, flowers and greenery are from Spellbinders – die cut, layered, and added as you see.

The sentiment was die cut into the banner, then die cut again with silver, and the letters pieced back into the banner.

I hope you can come and join us with your Christmas/festive creations. xx

I shall be entering the following challenges:

Krafty ChicksChristmas

CYHTP embossing folder option clouds not taken

Craft Rocketlayer it up

Aud Sentimentsembossing and/or flowers and a sentiment

12 Months of ChristmasChristmas – option favourite colour combination

Triple BBirds and/or butterflies and/or blooms

Thinking of you

Hello there. I created this card using the colour scheme from the Color Throwdown Challenge:

I stamped the Pinkfresh Studio image, dried the ink a little, then used the matching layering stencils. I used several blue inks, a couple of brown inks, and Rusty Hinge for the rust colour.

Once coloured, I used the matching die set and adhered it with 3D foam to a background panel which was dry embossed using a Spellbinders embossing folder.

I stamped the sentiment, die cut that with a label die, then searched my stash for some gems or sequins which would match the colours.

I shall be entering the following nchallenges:

Color Throwdown blue, brown, rust

Allsorts – anything goes – option of rain not taken

Stencil funanything goes with a stencil – option of CAS not taken

Lil Patch Of Crafty Friends – anything goes

CYHTPembossing folder – option of Easter not taken

Creative Fingers anything goes

Happy Fruity Birthday

Having just been a part of the Pinkfresh Create and Connect event this weekend, and being able to do two classes, I did watched a third class this morning and whilst the instructor was using more realistic colours, I decided to use the colours for one of the challenges I will be entering (sky blue, pink, red):

I gold heat embossed the stamp – a huge slimline stamp – then used the matching die to cut out all the elements. Before choosing which of the elements to use, I die cut the frame – also from Pinkfresh and a previous event – and die cut the inner piece but then dry embossed that inner piece with a Spellbinders embossing folder, and ink blended just a little of the light blue in the bottom corner – to try and ‘connect’ the images and the sentiment.

I inserted that piece then played with which elements to use, where to use them, how to arrange them. I chose a sentiment from this recent event, then adhered all the elements with a mixture of 3D foam and wet glue.

This stamp, die and stencil set also comes with the matching washi tape – another huge roll – and the die cuts out all the elements – playtime for another day…..

I shall be entering the following challenges:

Krafty Chicks – occasions

Here Is A Place To Startanything goes

Beyond The Blueuse one or more stencils – (at least 6 layering stencils with this stamp set)

Cupcake Inspirations – sky blue, pink, red

CYHTP – embossing folder – (option of things with wings not taken)

Birthday Wishes

I had a chance to play with some new products from Spellbinders:

I cut a white panel and used a Spellbinders embossing folder to create the background, layered onto a white card base.

I then did some die-cutting – when I say ‘some’ die-cutting I really mean quite a bit. I was using the colours from the current challenge at Color Hues, and die cut the hexagons, flowers, and all the layers from white, teal, and lime green card stock. I had no idea when I began which colour I was going to use for which layer, so I played around until I found the layers that I wanted, then glued them all together.

I then played with the positioning of the hexagons until I was happy with the layout above, glued the floral images down, added some small gold gems to the flowers then thought about the sentiment.

I used a debossing sentiment – also from Spellbinders – and some of their gold card stock to match with the centre of the flowers.

I’m getting quite used to the small fiddly layering dies, and instead of dreading them I embrace them wholeheartedly….and the only thing I get just a little worried about are the colours for each layer, but with a colour challenge that is taken care of……

I shall be entering the following challenges:

Allsorts – anything goes – option of wings not taken

Color Hues – lime green and cyan

Creative Knockouts – birthday

Time Out – birthday

Everybody Art – birthday

Lil Patch Of Crafty Friends – anything goes

Floral Frame Birthday

After a busy week, I was able to create a card over the past couple of days, and completed today:

The base colour is cream from my stash, a Creative Expressions cream coloured card stock. I first took an A2 panel and dry embossed it with a Spellbinders embossing folder. I then attached this to the card base.

I then took another cream panel, and ink blended the floral frame (The Greetery) using the layering stencils. I used a light pink for all the flowers, stamping them twice for the base layer, and then for the added detail layer – using the same light pink – stamped three times to create a darker pink. I then used the outer and inner edge dies to cut the frame out.

I then took another stencil set from The Greetery and ink blended the two yellow flowers, using the die panel to cut those out.

I was going to attach the frame straight onto the embossed panel, but I thought the centre looked too busy with the dry embossing behind it, so I die cut the outer edge of the frame from another piece of cream card stock and attached it to the back using 3D foam tape – to create a more solid centre, and create some dimension and shadow behind the frame.

The yellow flowers were inserted, the sentiment stamped and the sentiment strip adhered with glue on the edges, and 3D foam on the centre.

I added some yellow dots to balance the yellow above the sentiment strip.

I shall be entering the following challenges:

Color Throwdownyellow, light pink, cream, green

CYHTPembossing folder option of hearts not taken)

Inkspirationaluse stencils

AAA Birthday birthday and use stencils

Unicorn Challenge birthday

Stencil Funstencils – option of hearts not taken

Beautiful Blossoms flowers and mood board

A Golden Hello

Hello there. It seems I have a thing about creating cards with birds at the moment. My two previous posts are with swans, and now I have a card with a golden dove:

Onto a white card base I adhered a red layer, then a blush pink dry embossed panel,. using a Spellbinders embossing folder. I die cut the central label shape using a Gina K Designs ‘Master Layouts‘ set, the same blush card, and layered with the same red card. I fiddled around to ensure that the central label embossing matched the background embossing – a little fiddly but I achieved what I wanted to do.

I then began die cutting……..

I used Spellbinders floral dies, and die cut them all in the blush card and white card, then decided to cut them again in a brushed gold from Spellbinders, played around with which colour for which layer, and then decided I needed a darker pink card for some of the buds on the floral pieces – and you can see what I ended up with. There was a lot of die-cutting and assembling the different colours and the different layers until I was happy.

The bird is from The Greetery, die cut using the shiny gold card from Spellbinders, and I also used the shiny gold for the sentiment, but also added three layers of white behind it to make it more substantial.

Using two different types of gold, and two different pink tones seems to work quite well – the bird still stands out as it is shiny…..

I even added some more bling using Trinity Stamps gold embellishments….

I shall be entering the following challenges:

Color Throwdown red, pink, gold

Simon Says Stamp Wednesday Challenge – fun with dies

Lil Patch Of Crafty Friends anything goes

Creative Fingersanything goes

Die Cut Divas die cuts and add some gold

Ally’s Angels anything goes