Hello again. The Alphabet Challenge has reached the letter ‘X’ and Dawn has chosen the theme of;
XOXO – hugs & Kisses
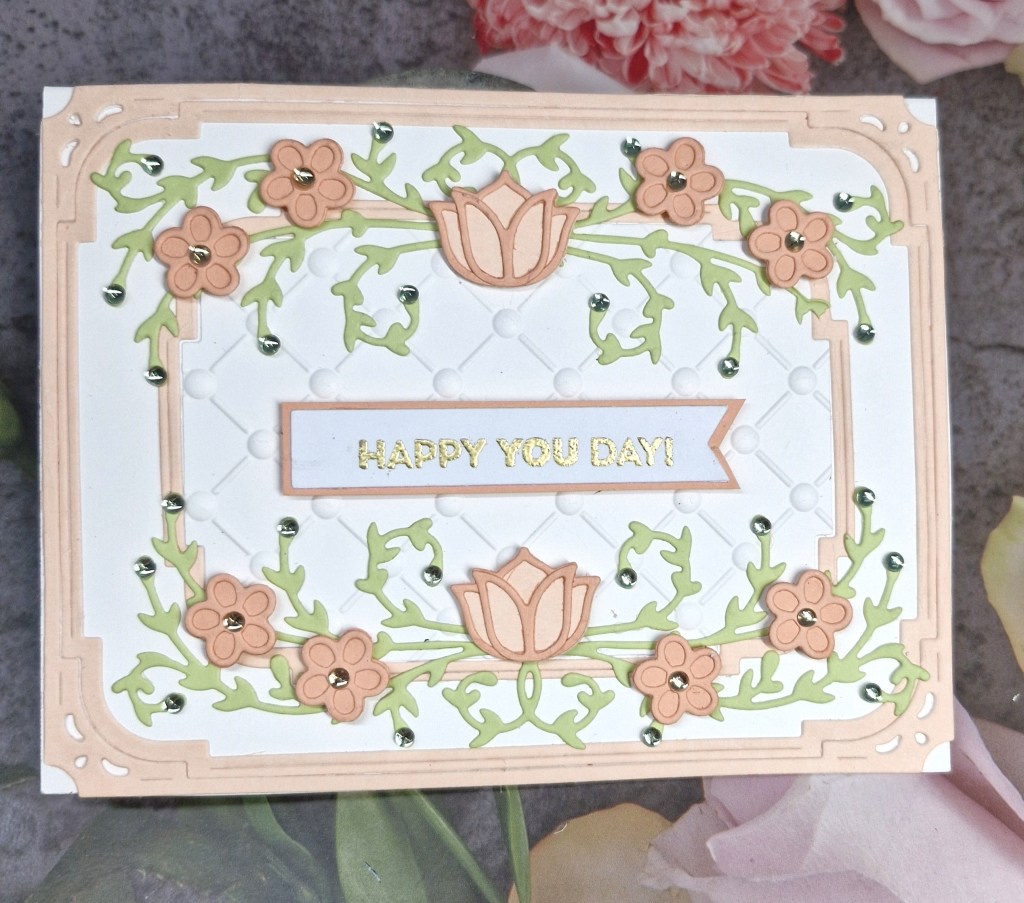
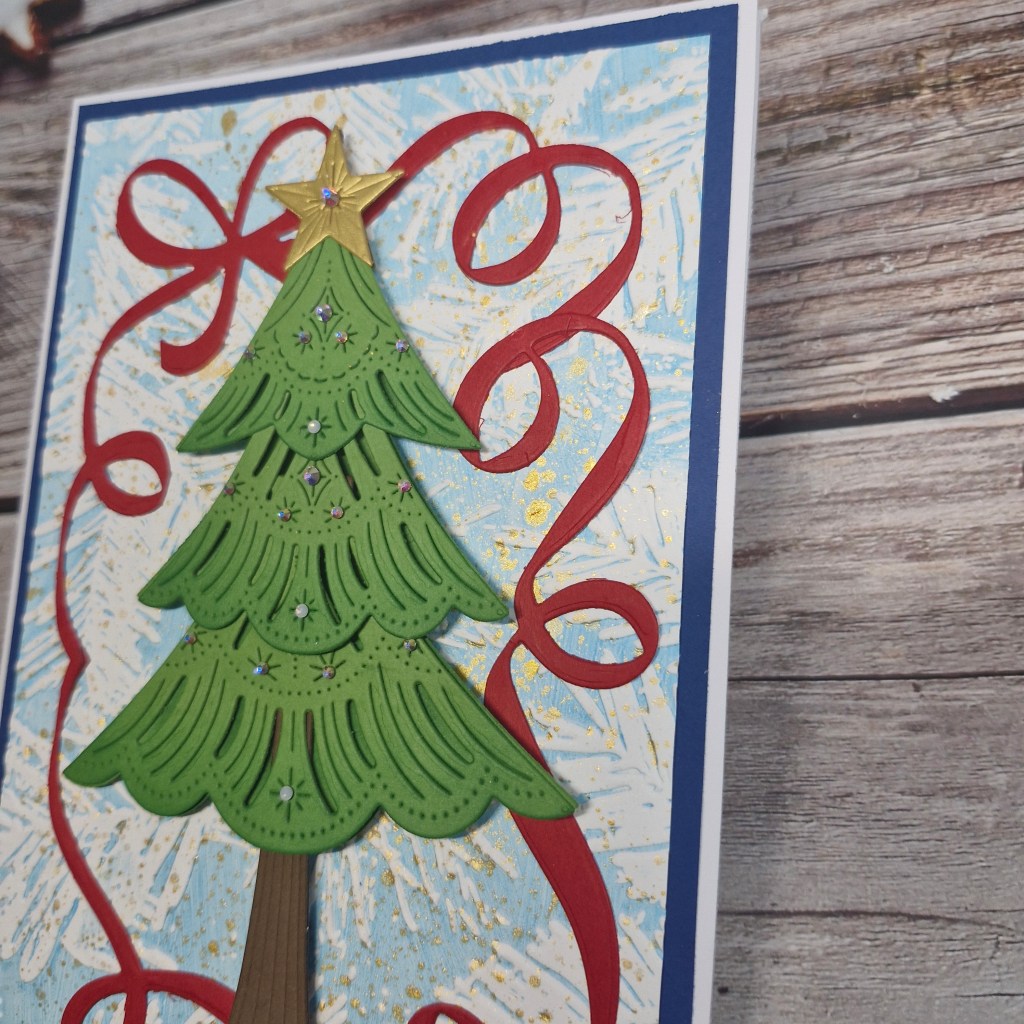
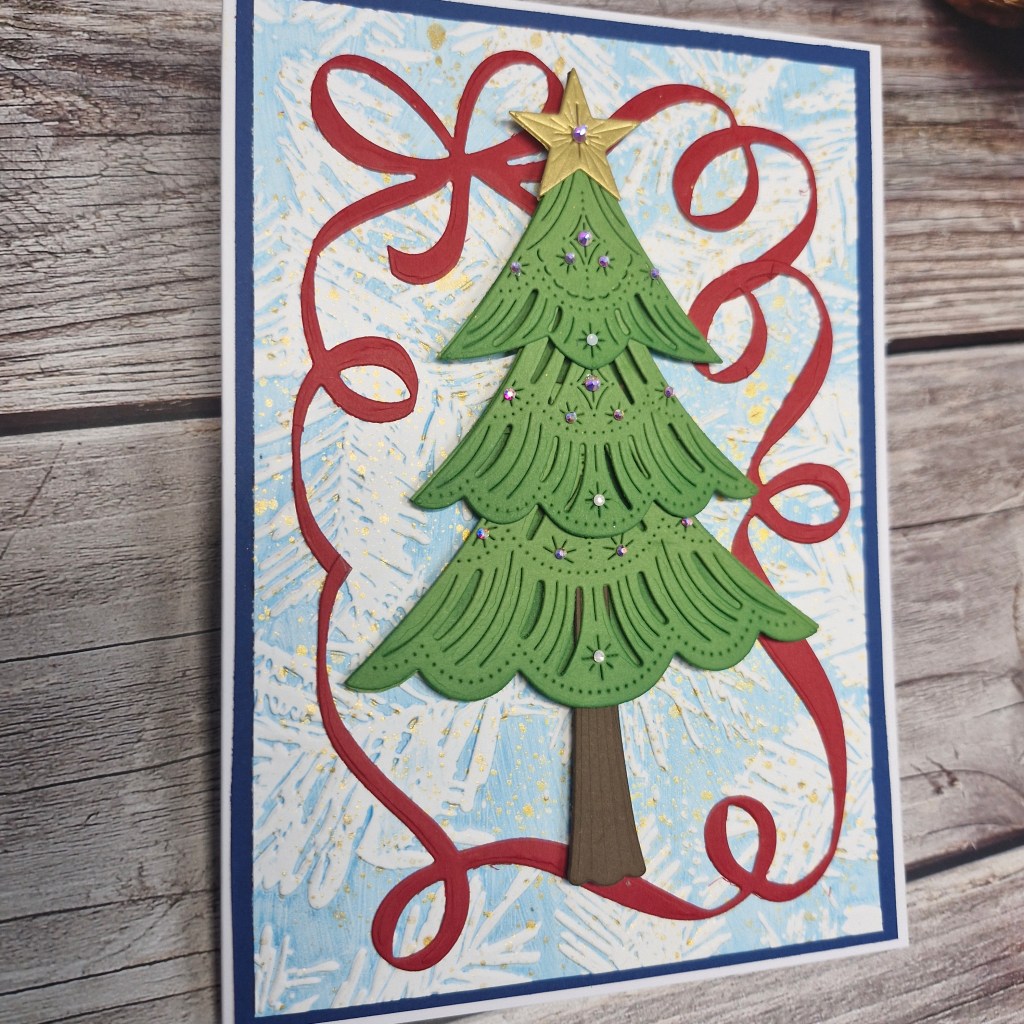
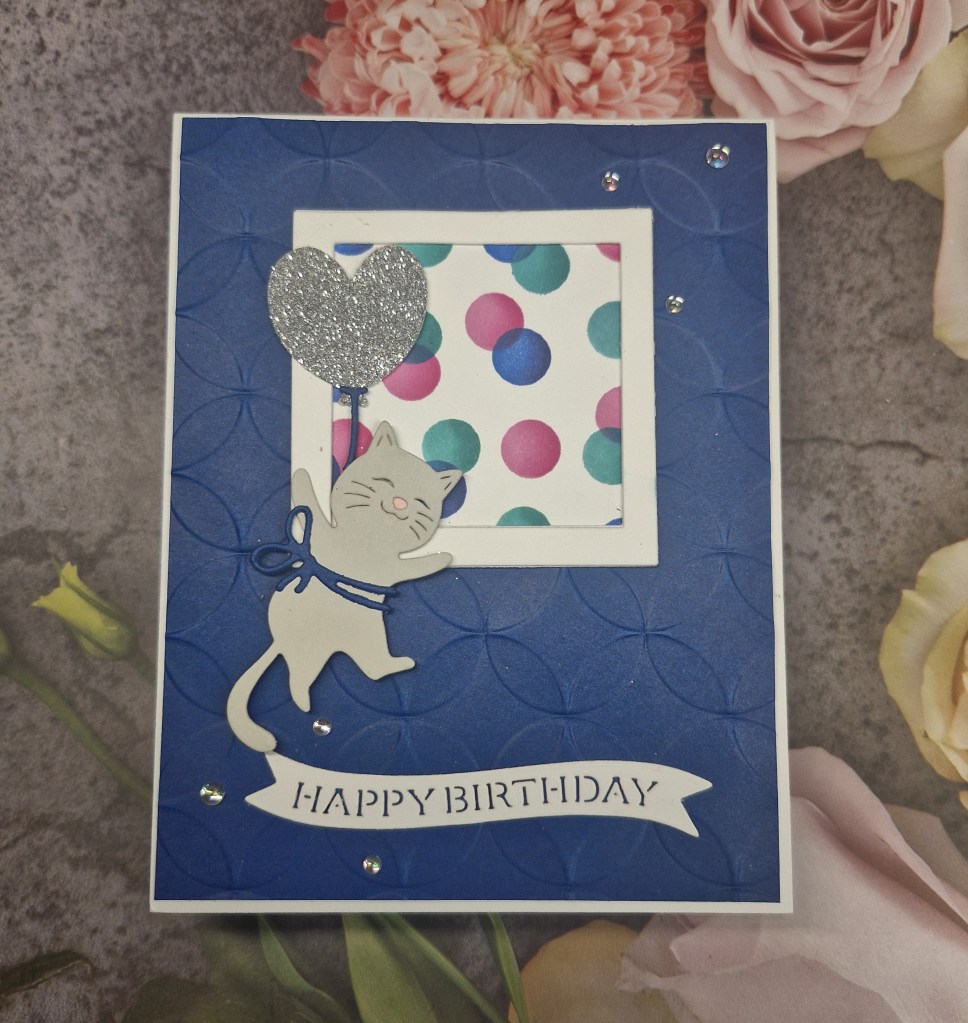
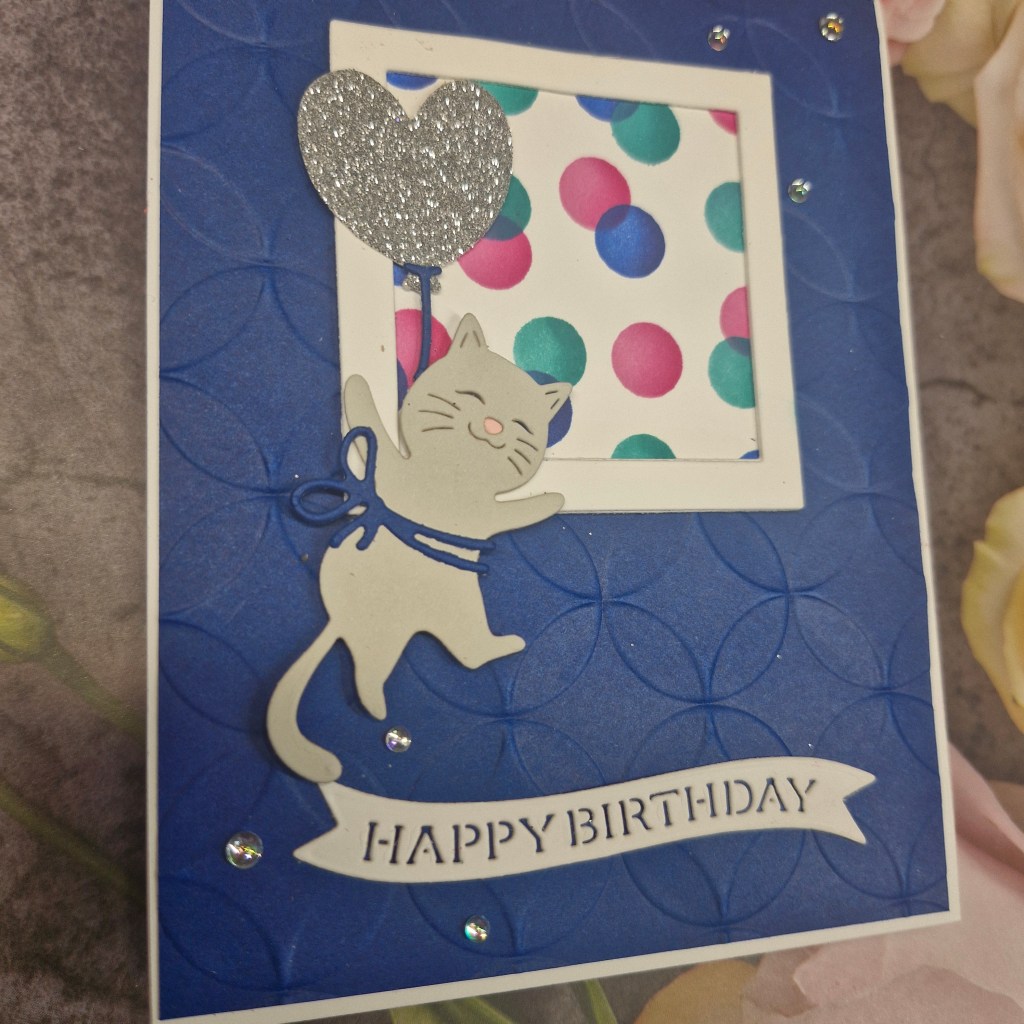
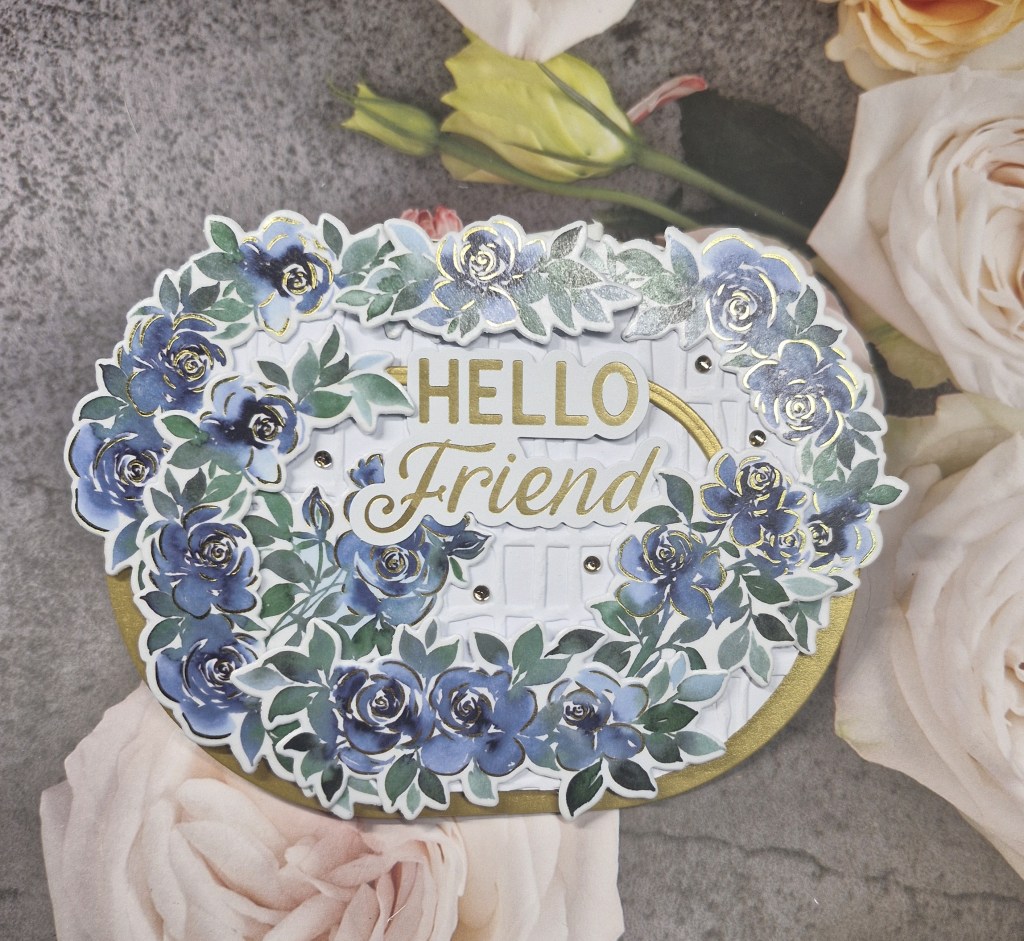
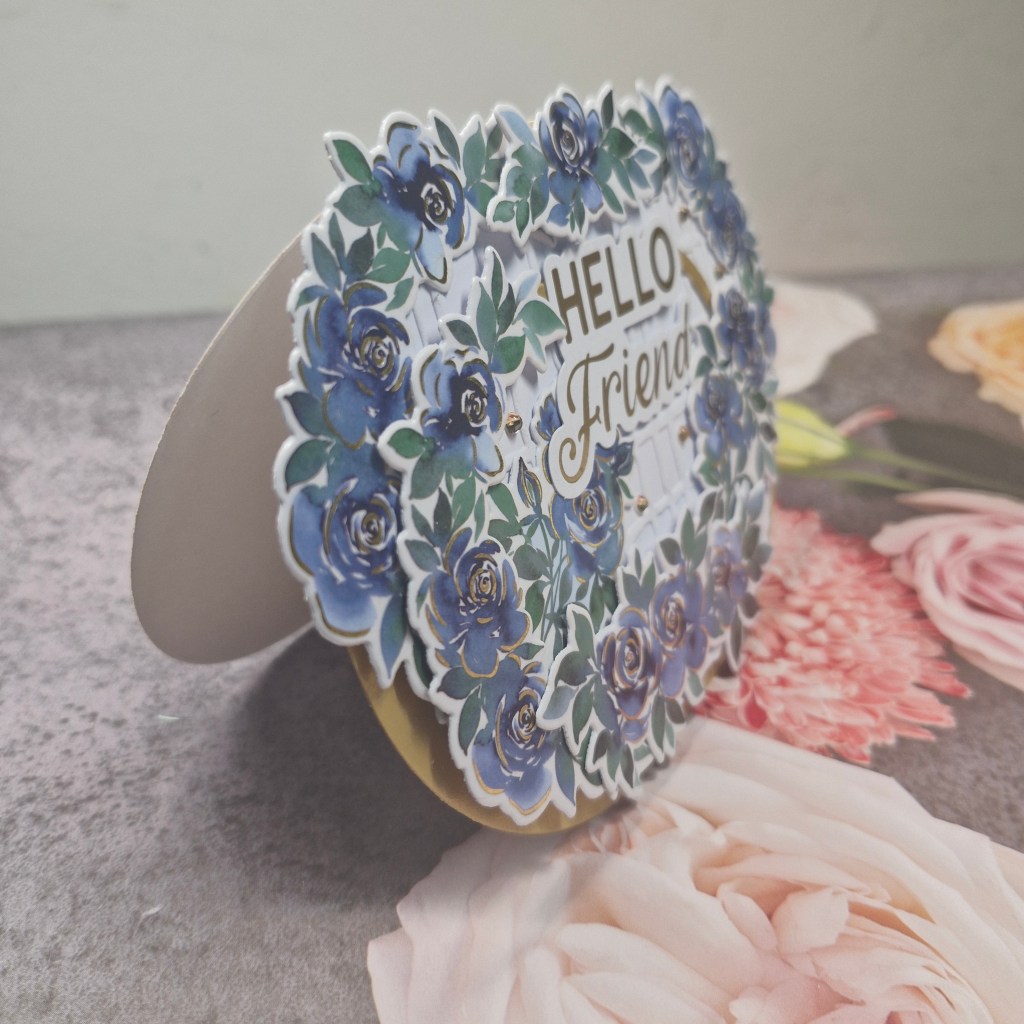
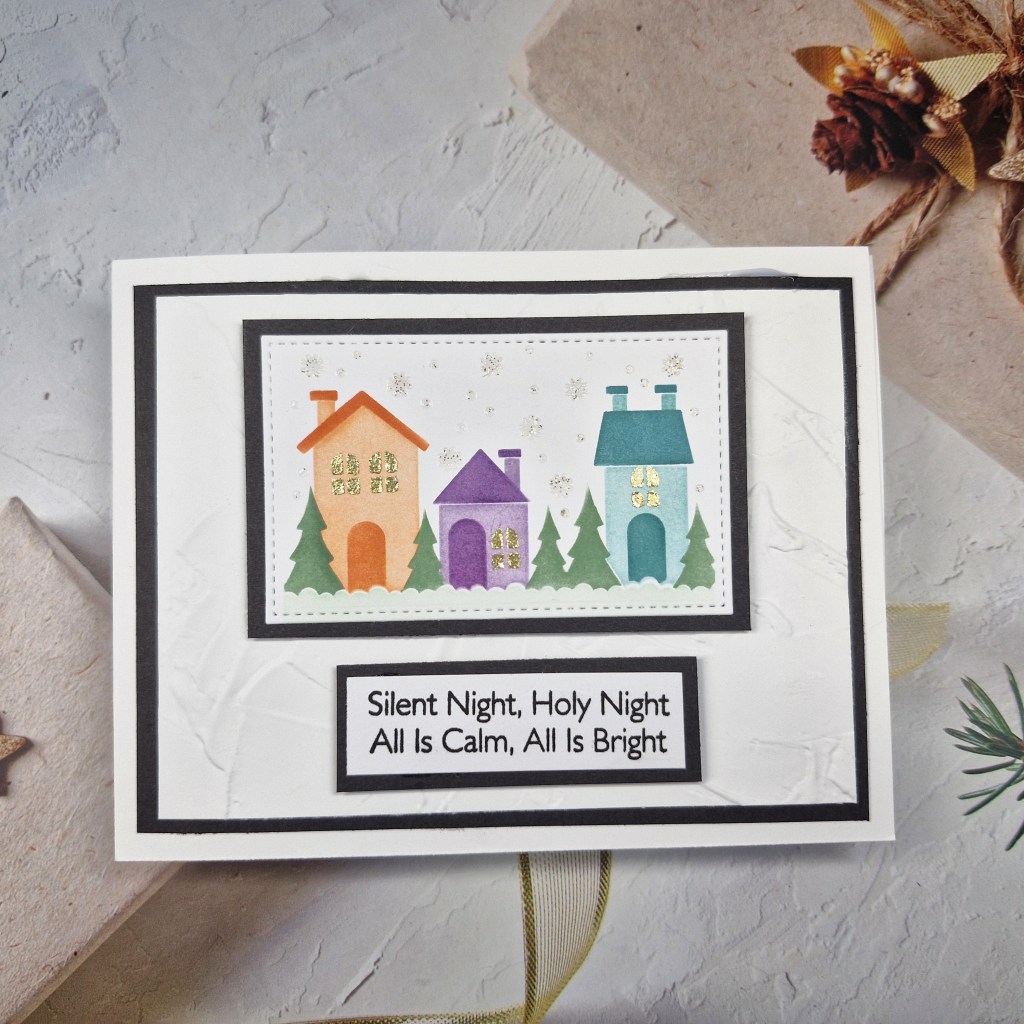
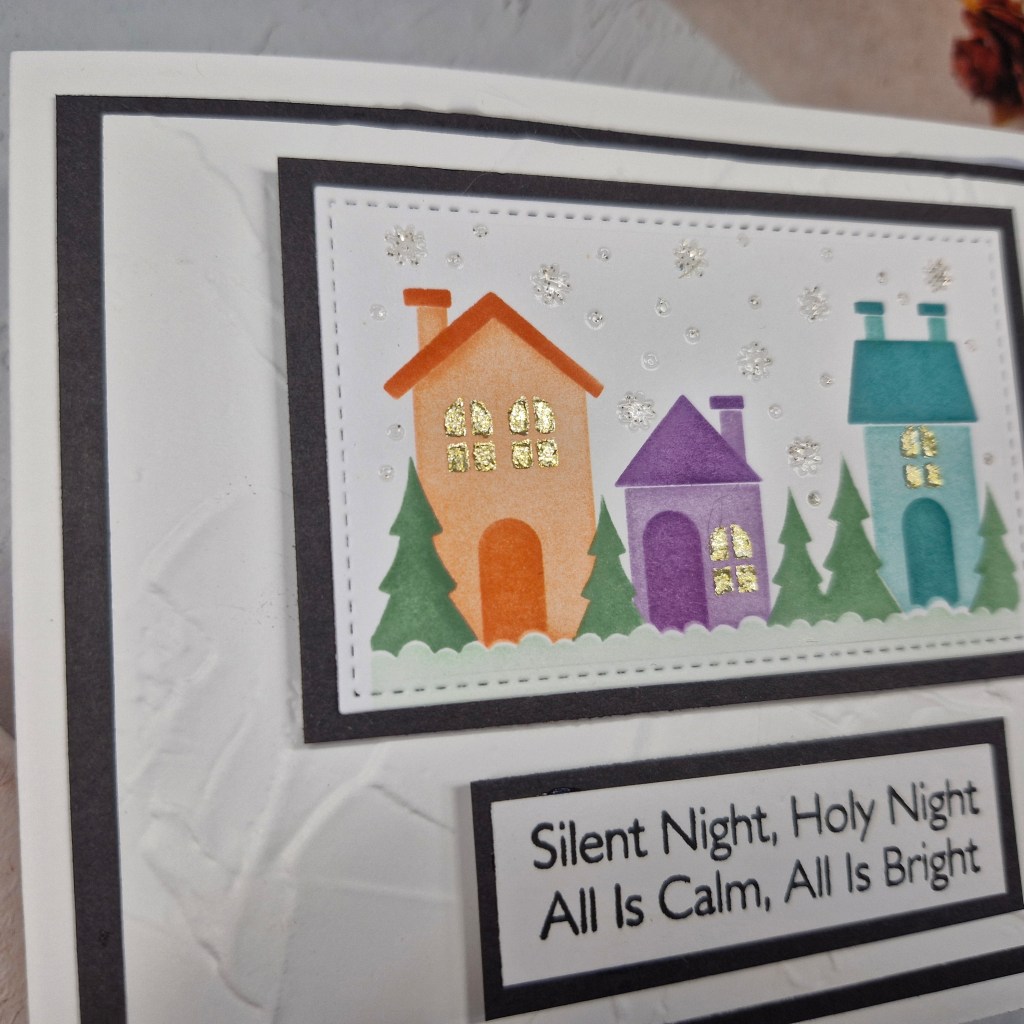
Here is my card:

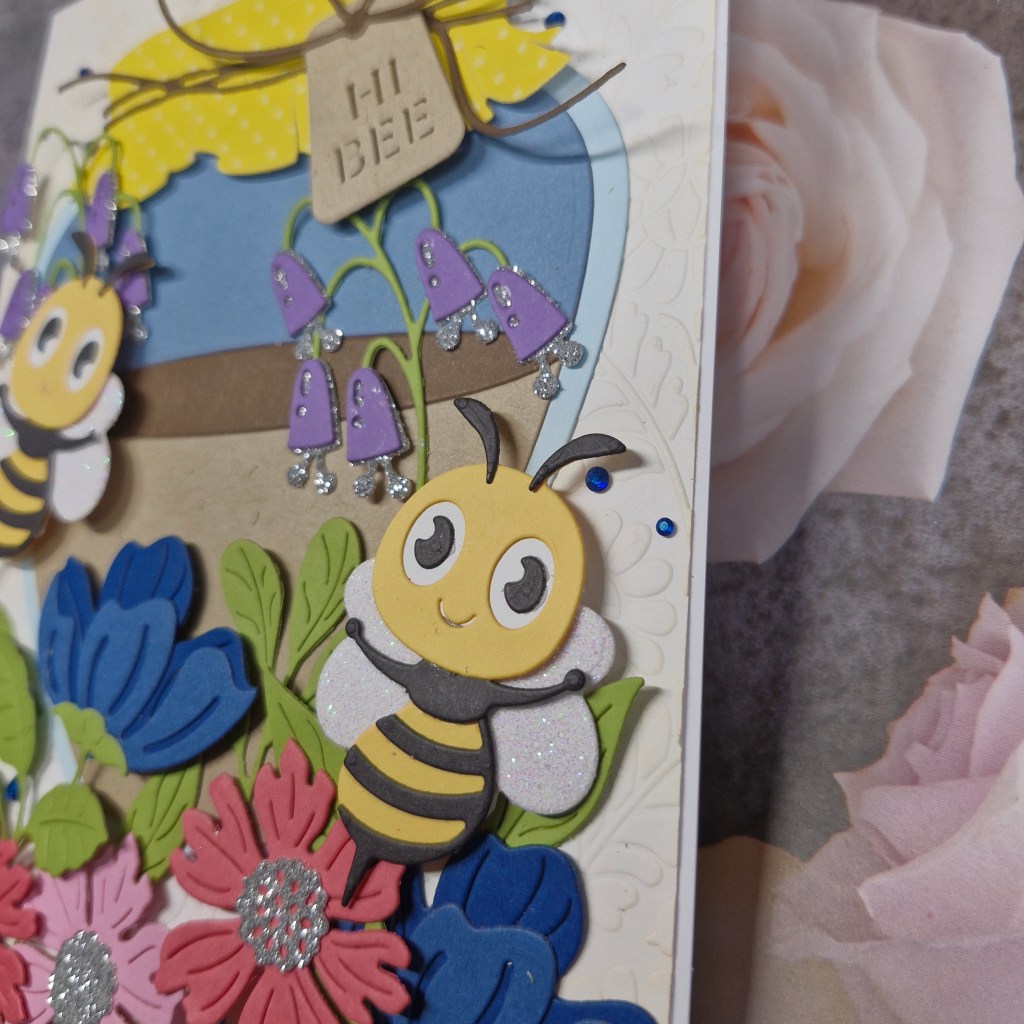
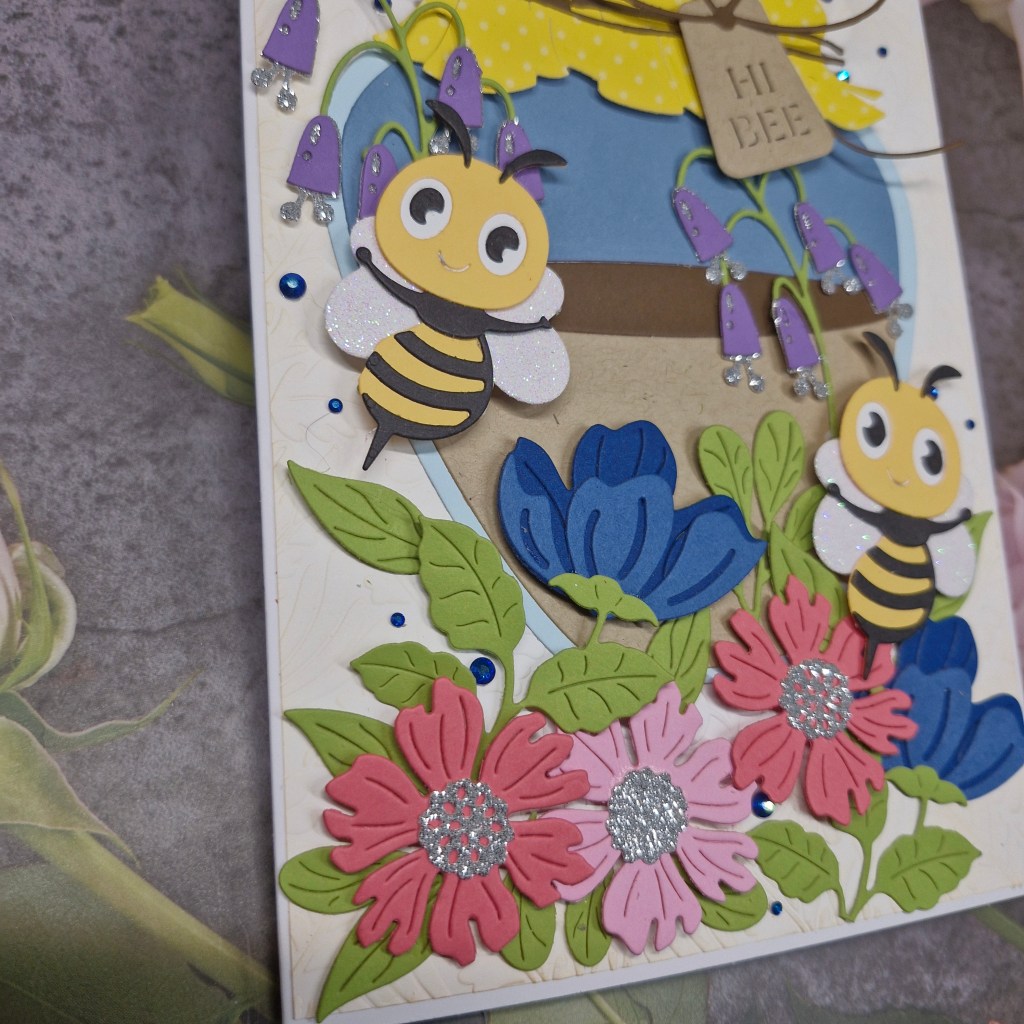
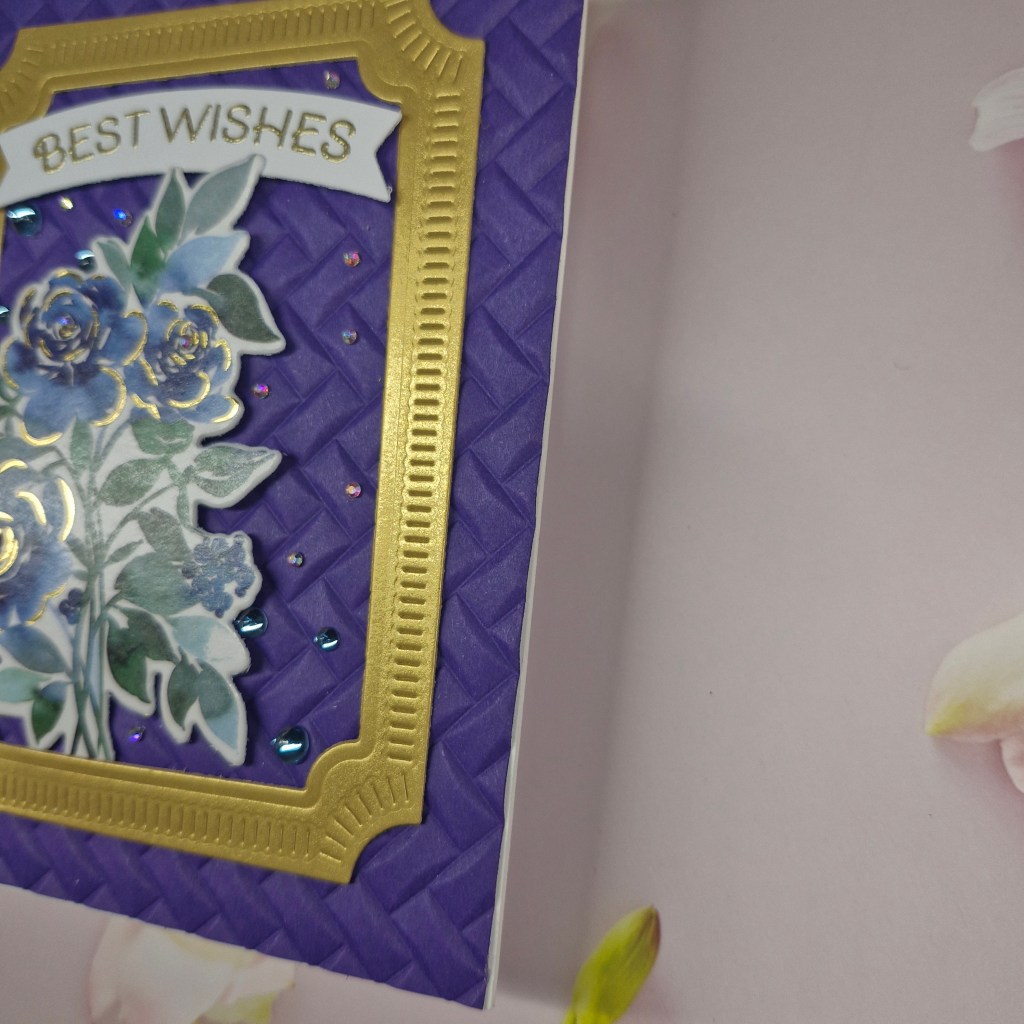
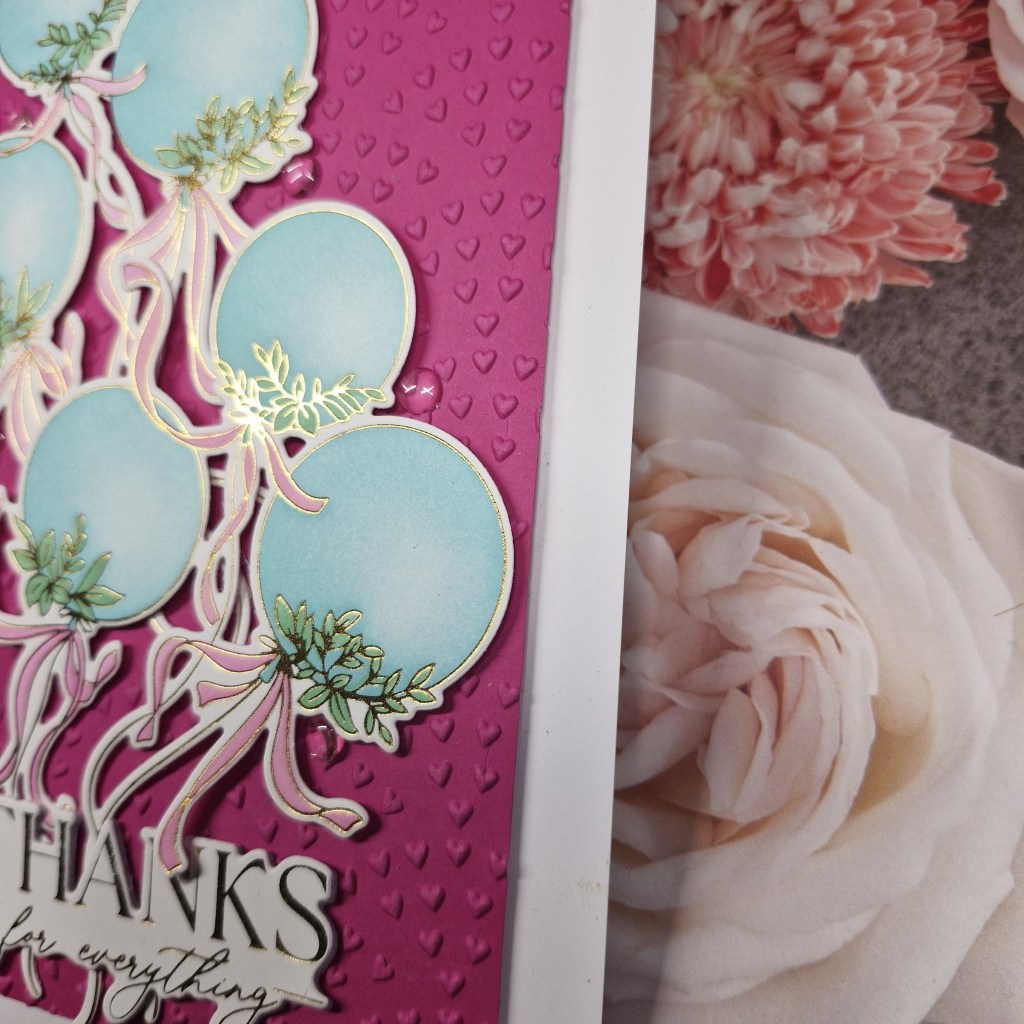
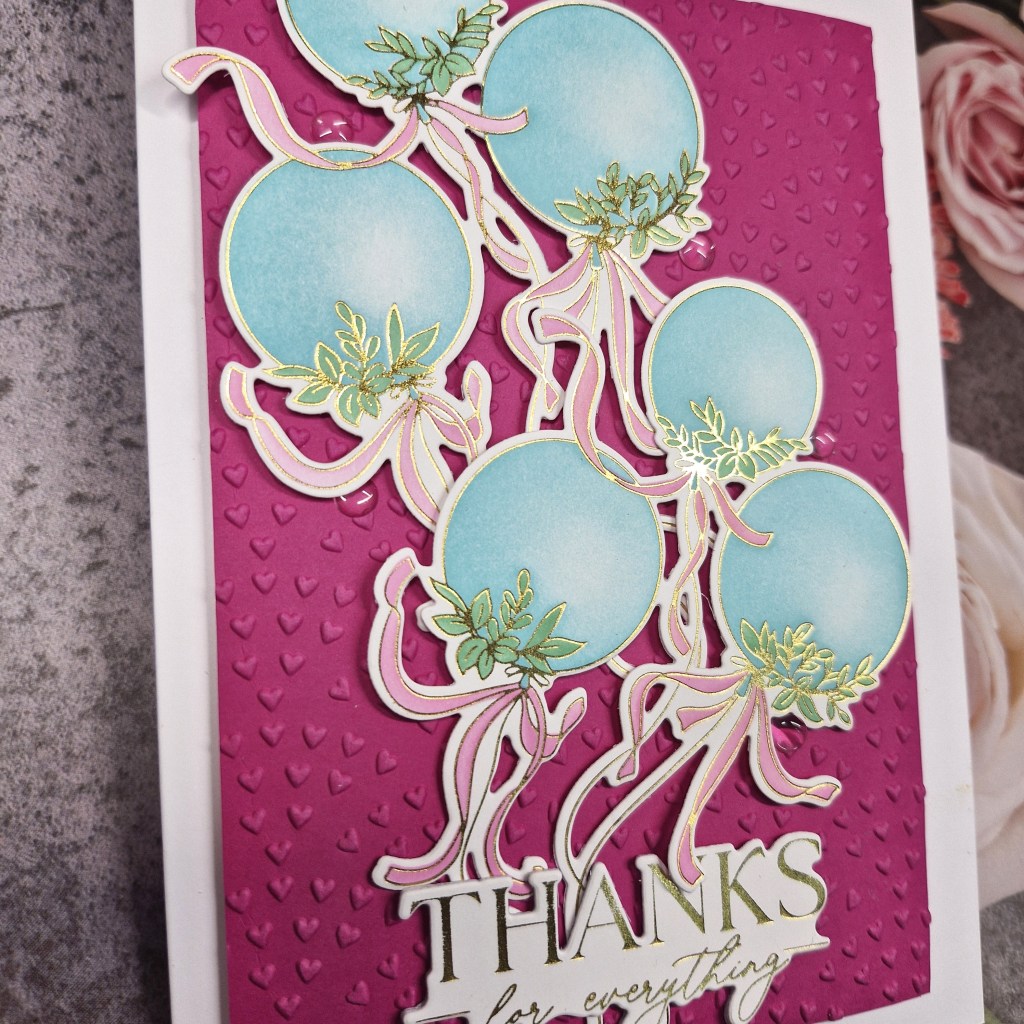
I went with a little drama for this card by using a black background to highlight the soft and sketchy floral images.
The background panel was embossed using a Spellbinders embossing folder which has little hearts on it.
The floral images are from The Greetery and have a sketchy look which I quite like. This way, even if the layers of colour are slightly out – it doesn’t really matter. It just added to the overall effect,
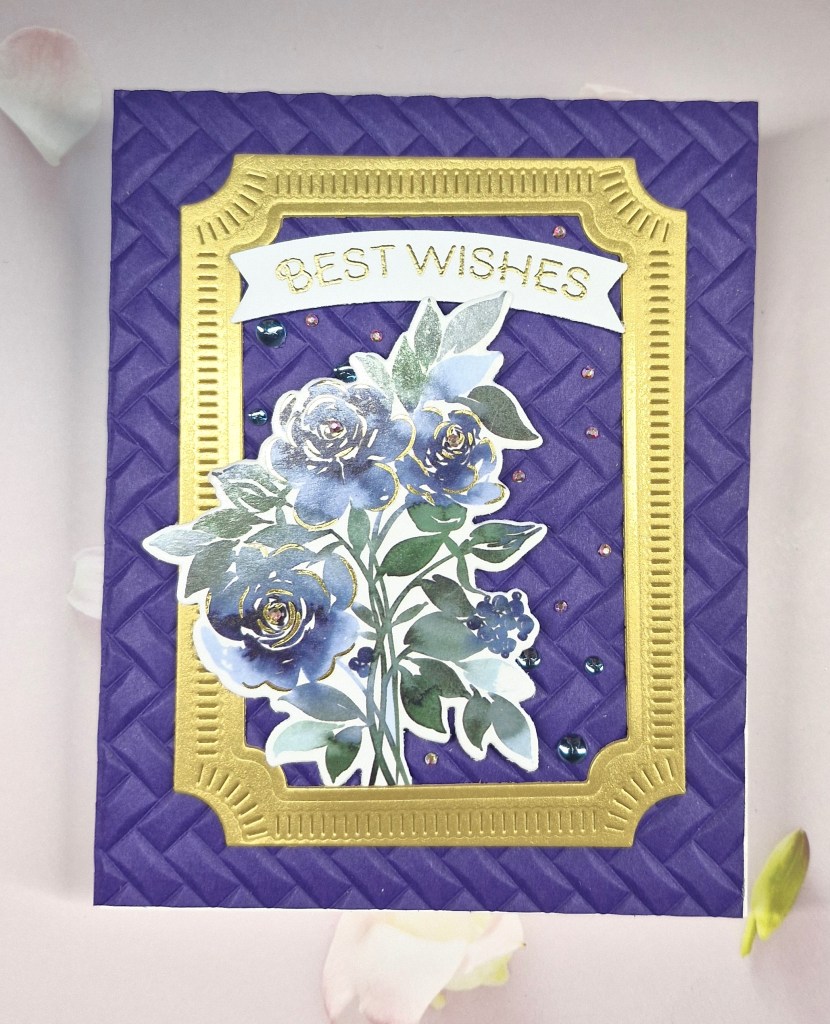
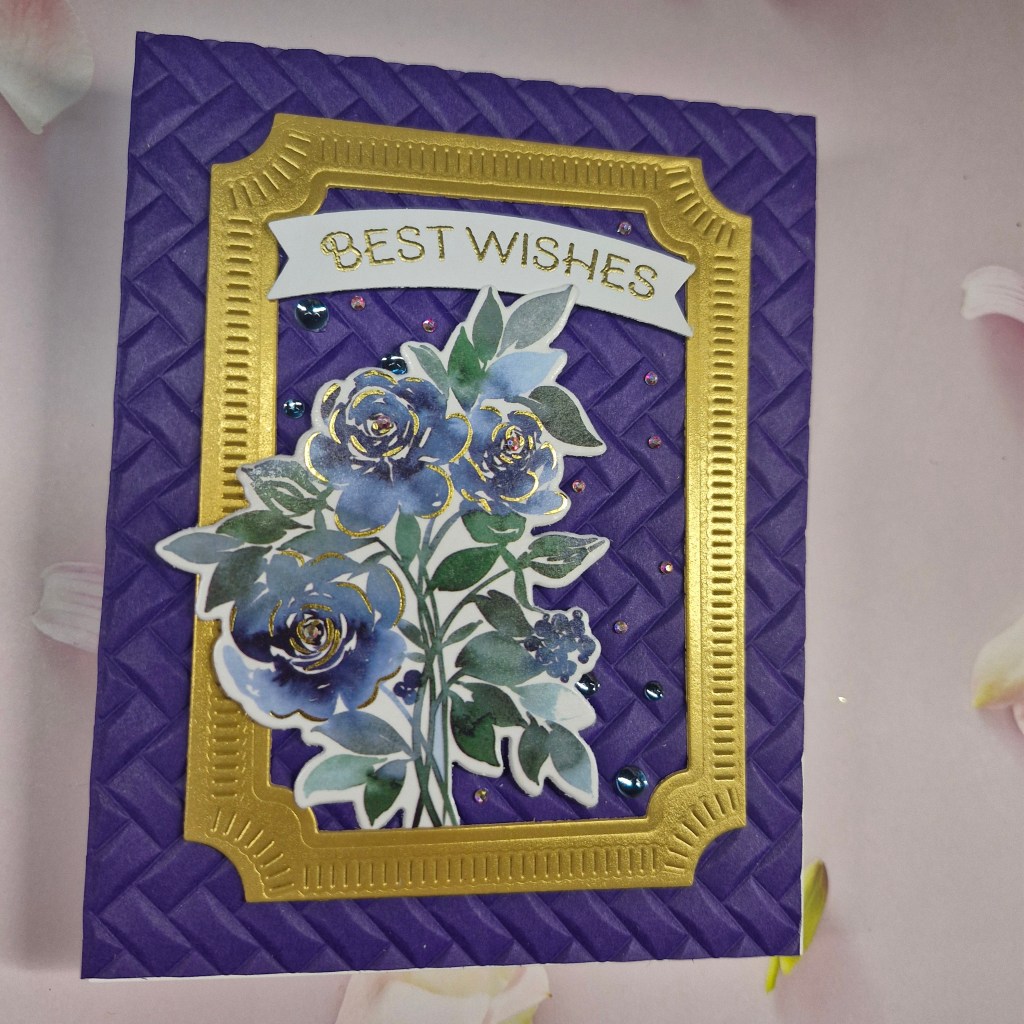
I stamped the outline and then lined up the other layers as instructed, then used the matching die set to cut them out. I arranged them on the background, leaving a little space in the centre whilst I decided on which sentiment to use – of course – this foiled sentiment was perfect for the challenge theme.

As this was a silver foiled sentiment, I added some silver sequins – you know I like my added embellishments – then adhered the sentiment across the width of the card.
I hope you can come and join us with your projects following our theme. xx
I shall be entering the following challenges:
Beautiful Blossoms – flowers and optional mood board
Lil Patch Of Crafty Friends – anything goes
A Cut Above – anything goes with die cuts
Mix It Up – anything goes- option of layers taken
Love To Craft – anything goes