Jolly Cow Greetings

Hello. A little crafty fun and playing with the cow dies from Elizabeth Craft Designs:
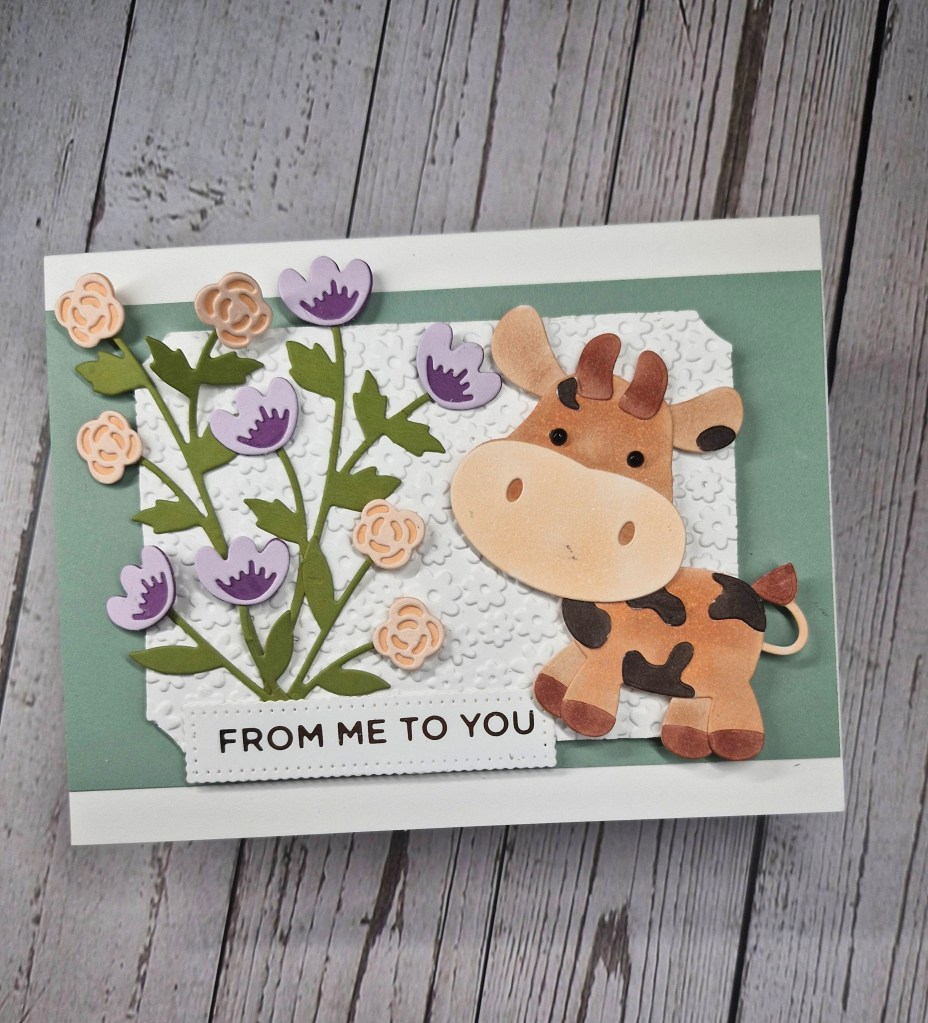
The theme at ‘Everybody Art Challenge‘ is Farm Animals. I knew I had a cow die and decided to have a play.

I die cut all the layers out of white card stock and coloured them with Copics. I wanted a brown cow with darker brown splotches so this is what I created. The hooves and the splotches are individual die cuts, coloured and glued on. The eyes are small black gems from Spellbinders.
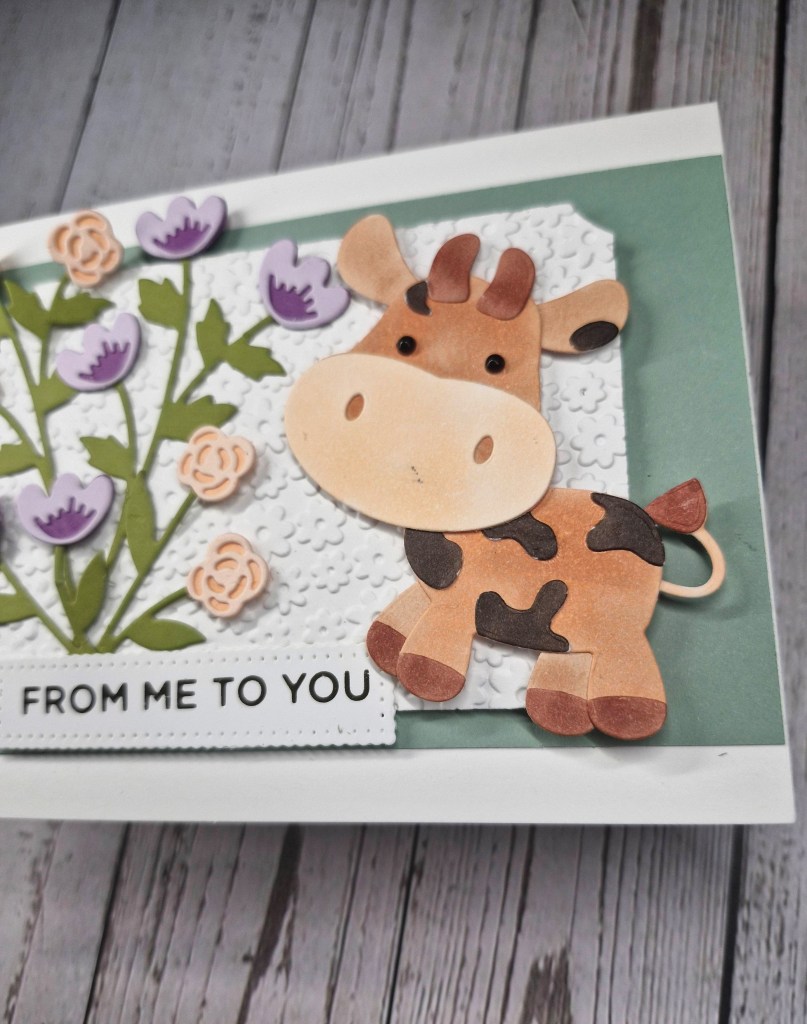
The background is a stripe of sage card stock from Spellbinders, and the middle white panel was a fall-out from a previous die cutting session, dry embossed with an old Darice embossing folder, and adhered with 3D foam.

The flowers were created using dies from the recent Concord & 9th ‘In The Classroom – Spring Edition‘, layered and assembled.
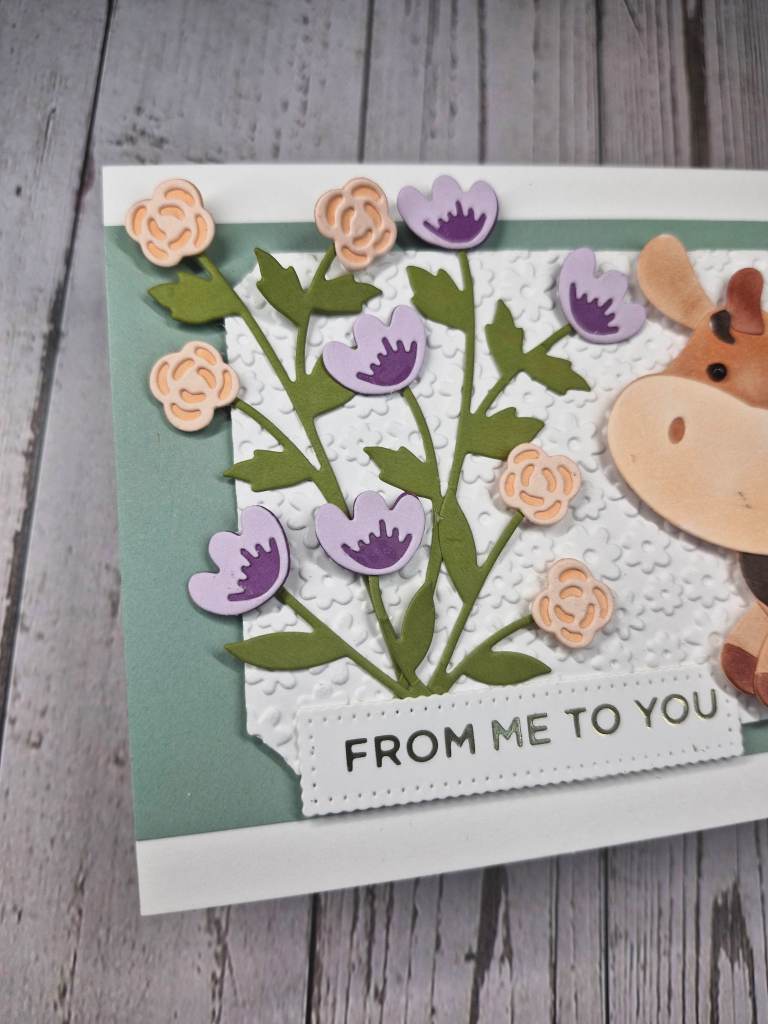
Once I decided on the layout, I attached each piece with a combination of glue and 3D foam squares, then added the previously foiled sentiment.

I may have to play with this cow die a little more, maybe create a whole herd of different coloured cows – maybe even rainbow cows…..hmmm……brain working overtime now….

I shall be entering the following challenges:

Everybody Art Challenge – farm animals

Here Is A Place To Start – anything goes

Simon Says Stamp Monday Challenge – emboss it

Lil Red Wagon – animal antics

Simon Says Stamp Wednesday Challenge – anything goes

Creative Fingers – anything goes

Crafty Gals Corner – anything goes
Thanks So Much…..

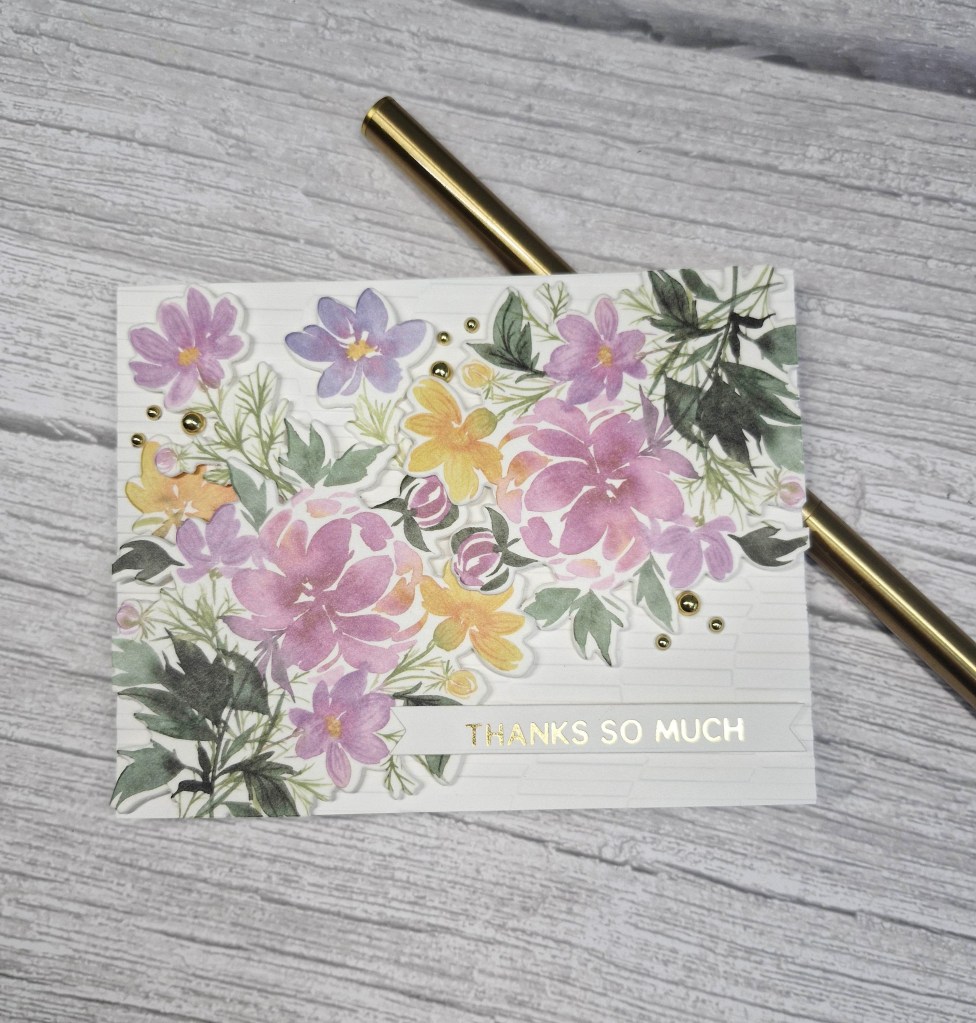
Hello again. This card was created using the rest of the left-over pieces of the Washi tape from Pinkfresh Studio:

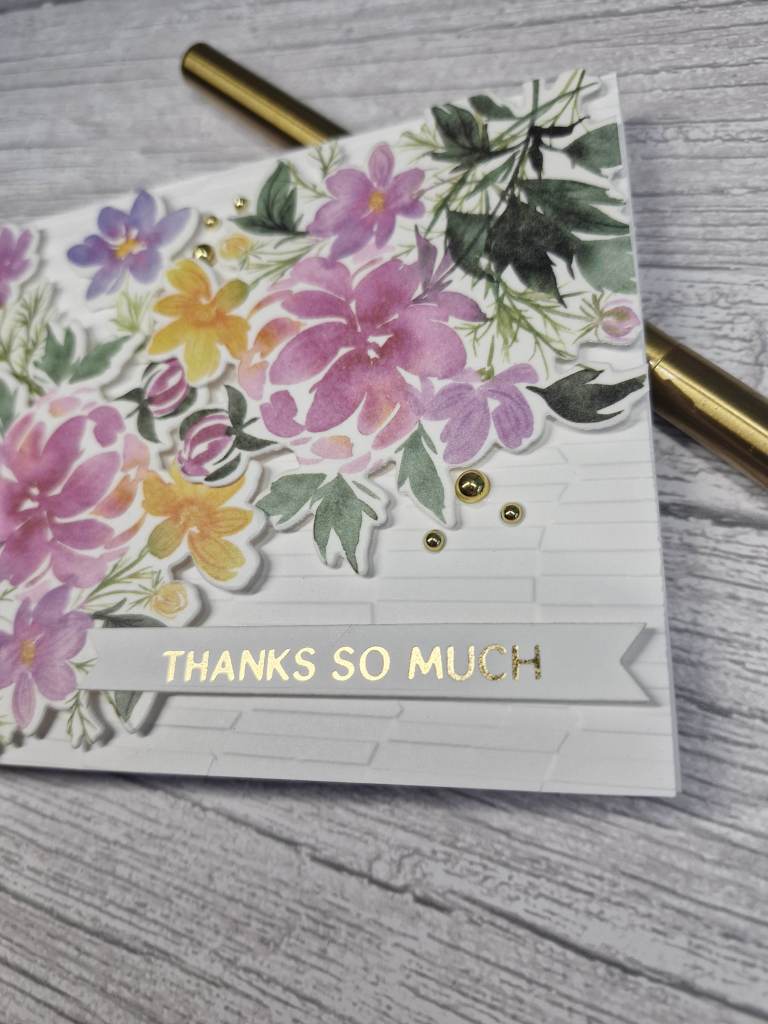
I dry embossed a white panel using a Spellbinders embossing folder, then attached that with glue.

There are two large floral bouquets added with 3D foam to the bottom left and top right corners, then three more floral images attached in the top left corner. The bottom corner was left for the foiled sentiment.

I also added some gold gems around the arrangement.

I shall be entering the following challenges:

Here Is A Place To Start – anything goes
Simon Says Stamp Monday Challenge – emboss it

Crafty Catz – anything goes – option to use an embossing folder taken

Allsorts – anything goes

Creative Fingers – anything goes
Ally’s Angels – anything goes
CYHTP – embossing folder – option of birds not taken

Beautiful Blossoms – flowers

CAS Bouquet

Hello. This time I created a CAS card for several challenges using a left-over piece of the Pinkfresh Studio Washi tape from a couple of days ago when I entered the speed card challenge.

I ink blended some blue in the bottom left corner – only what was left on my blue blending brush, then adhered the bouquet with glue.

The foiled sentiment was added to overlap the bottom of the bouquet.

I shall be entering the following challenges:

SCS Cards – CAS

Tic Tac Toe – middle row – pastel colours – CAS – flowers

Allsorts – anything goes – option of CAS taken

Cherry Blossom Birthday

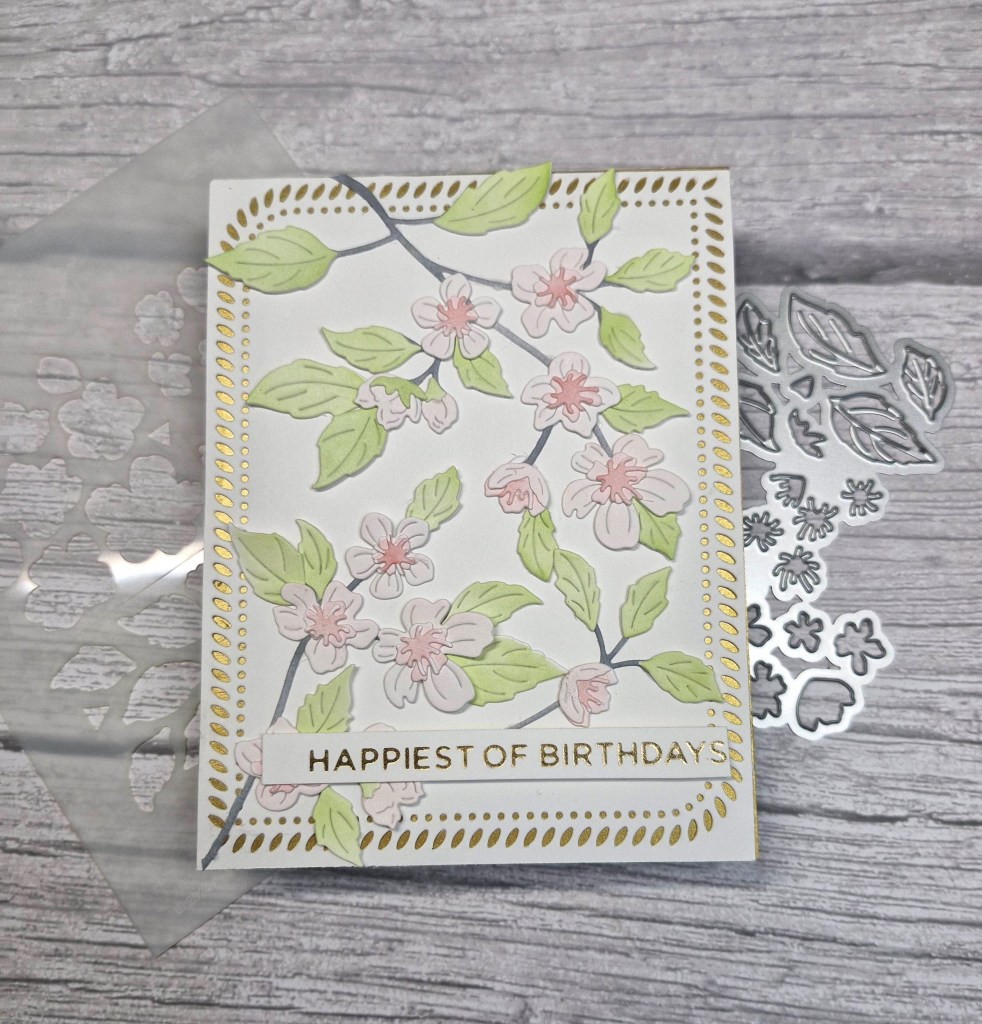
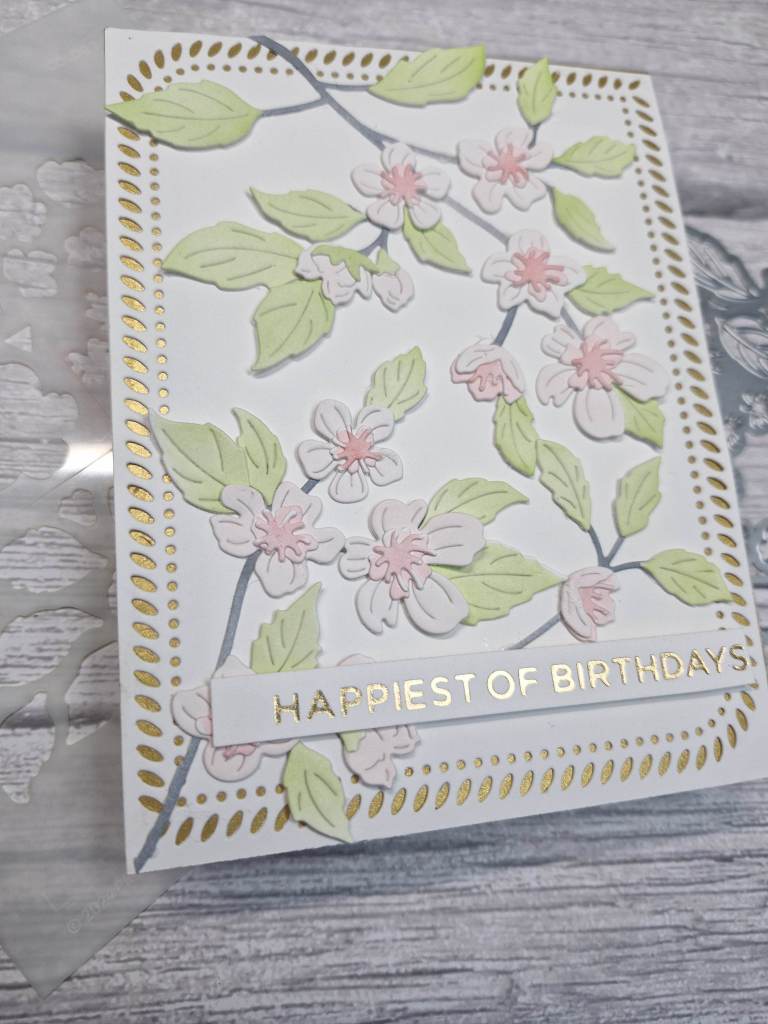
Hello there. I have another floral card today, created by using some layering dies from Pinkfresh Studio:

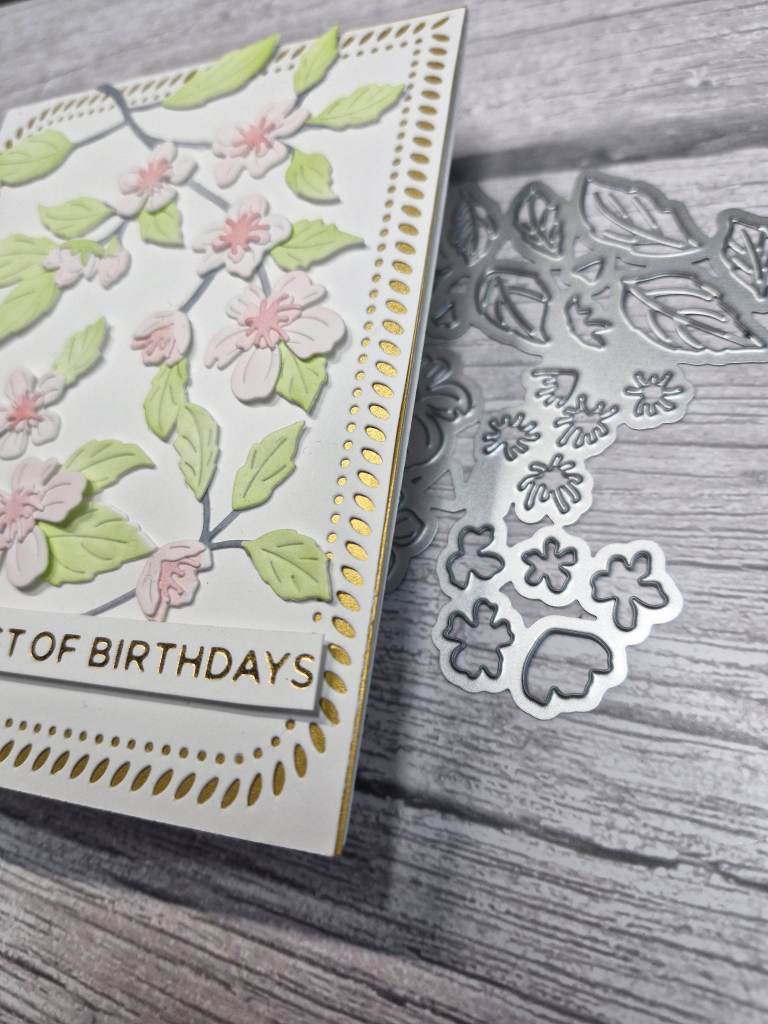
This set consists of layering stencils and dies. All the flowers and leaves are on one stencil with the different layers labeled and segmented. The die is one piece to cut the whole of the images out.

I used some pink and green inks, with grey for the branch. After die cutting the panel, I decided to do another so I had more images to play with and cover the card panel.

The background is a die cut with matt gold layered behind.

Once the flowers were arranged, I snipped any that were hanging over the edge, and added them also into some more open areas.

The sentiment was added – a previously prepared foiled strip.

I shall be entering the following challenges:

Here Is A Place To Start – anything goes
Addicted To Stamps – any occasion

Cut It Up – die cuts and Happy Birthday

Lil Patch Of Crafty Friends – anything goes
Ally’s Angels – anything goes
Beautiful Blossoms – flowers

Peony Friend

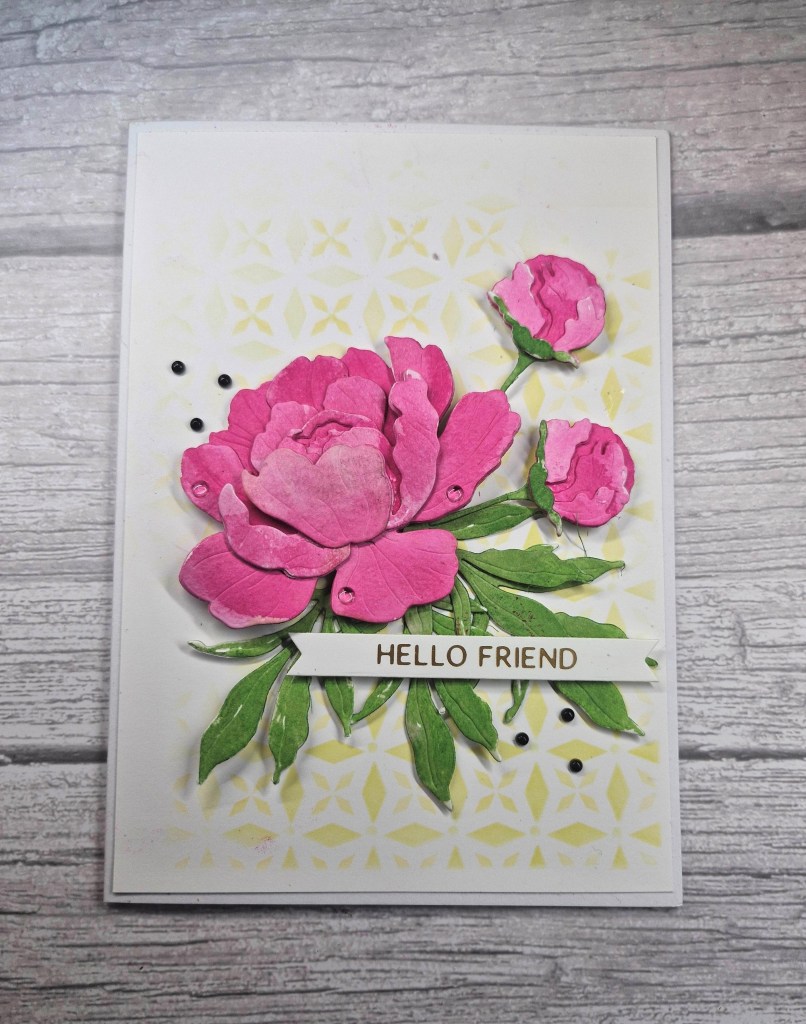
Hello again. A little messy play to create this card:

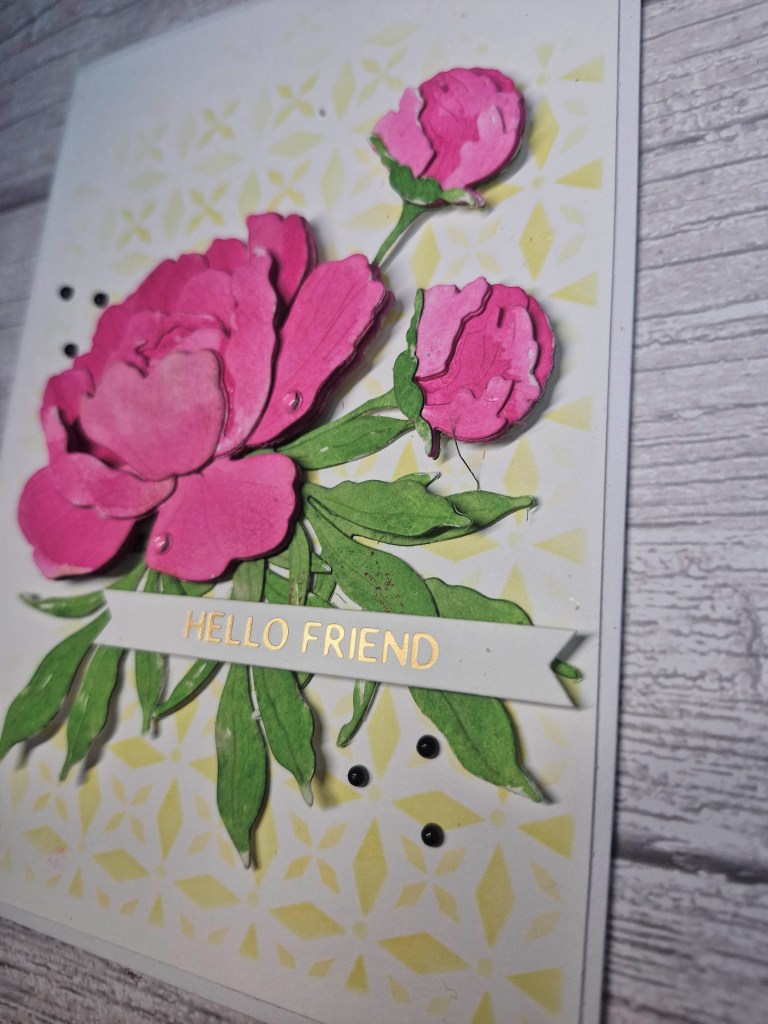
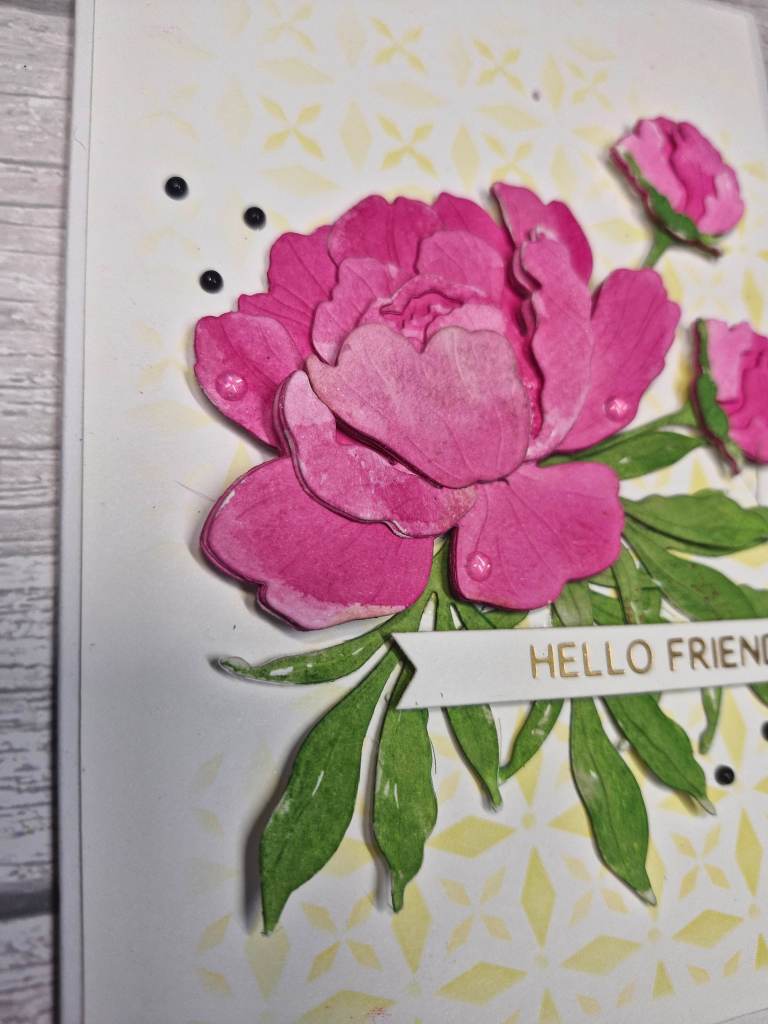
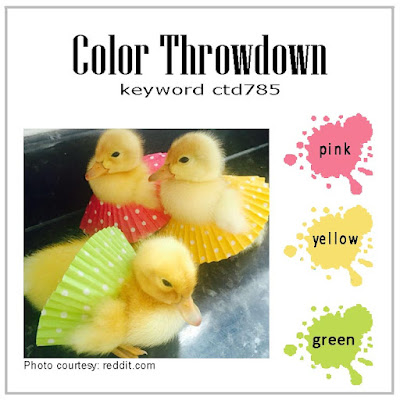
The peony was created using the ‘Lovely Layers: Peony‘ from Honey Bee Stamps, and the colour scheme from the current Color Throwdown challenge.

My first job was to die cut each of the layers for the flower, buds, and leaves from water colour card stock. I used Crafters Companion water-colour card, not one I would normally for water-colouring, but for this flower I was going with messy and imperfect.

I used Picked Raspberry Distress Ink, smooshed onto my glass mat, spritz of water, then just dolloped and swiped it onto the die cuts. I tried to keep the lower die cuts darker, and added a little more colour into the back areas I knew were going to come through and be seen.

I did the same with the leaves, a couple of shades of green – only because my first green wasn’t dark enough for me so I went darker – and even messier. I didn’t get full coverage, but that is what I was aiming for – just a dollop and a swipe of colour.

Whilst the die cuts were drying, I used a large panel of white card stock – this card is 5 x 7 inches – and used a Hero Arts layering stencil and some yellow Distress Ink to create the subtle background. I used all three layers, but the same colour.

I wasn’t concerned about getting full coverage with the stencil either – some areas softer than others, and an uneven edge.

Once that stenciled panel was adhered to the card base, I glued all the floral and bud layers – rolling the edges of the leaves round a pen to create more dimension in the leaves – and played around with the layout until I was satisfied.

The sentiment was added – a hot foiled strip – and I added some black enamel dots instead of splatters – and some clear dots onto some of the petals of the peony.

Every now and again I get into a messy playing mood, and just create backgrounds, use paste, and generally get my hands inky. That way I have panels I can use in the future, especially when I want to die cut for backgrounds, or die cut elements to add to a card.

I shall be entering the following challenges:

Color Throwdown – pink, yellow, green

Try It On Tuesday – use a stencil

Lil red Wagon – florals

Lil Patch Of Crafty Friends – anything goes
Ally’s Angels – anything goes
Beautiful Blossoms – flowers

X for Xtra Love Hearts

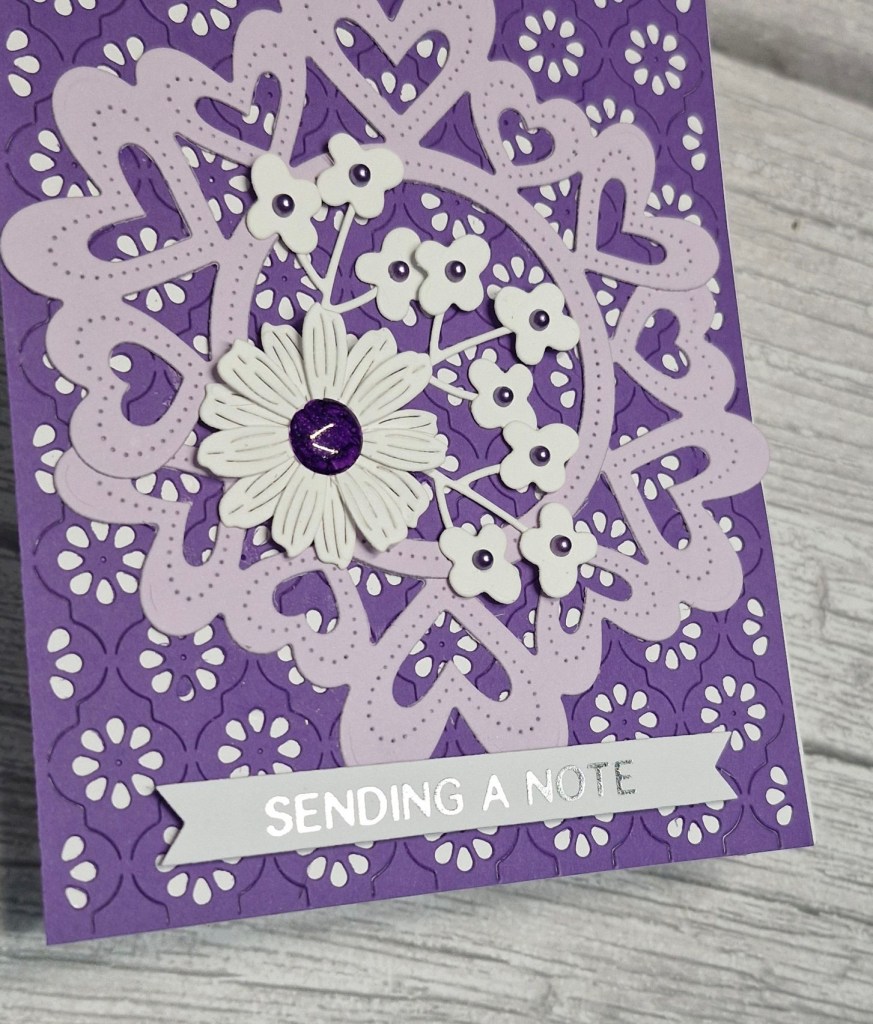
Hello. Caz is hosting the new challenge at The Alphabet Challenge, and for the letter ‘X‘ she has chosen the theme of ‘Xtra Love Hearts‘. Here is my card:

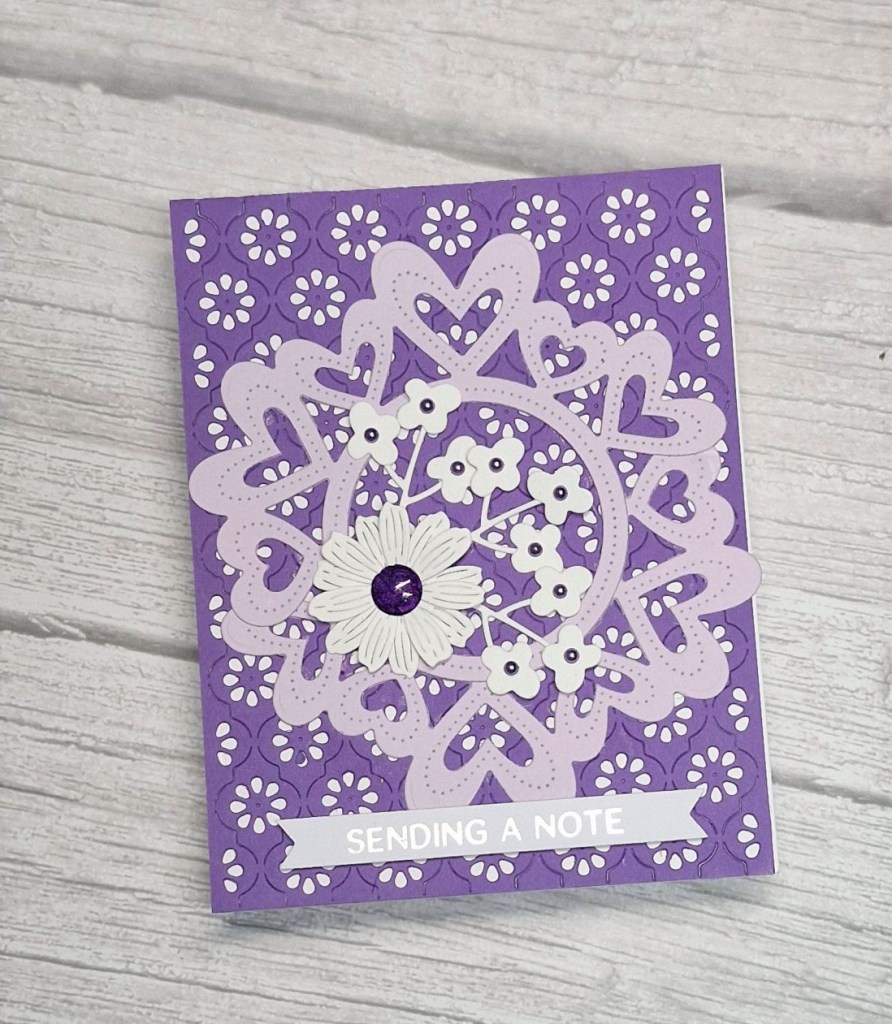
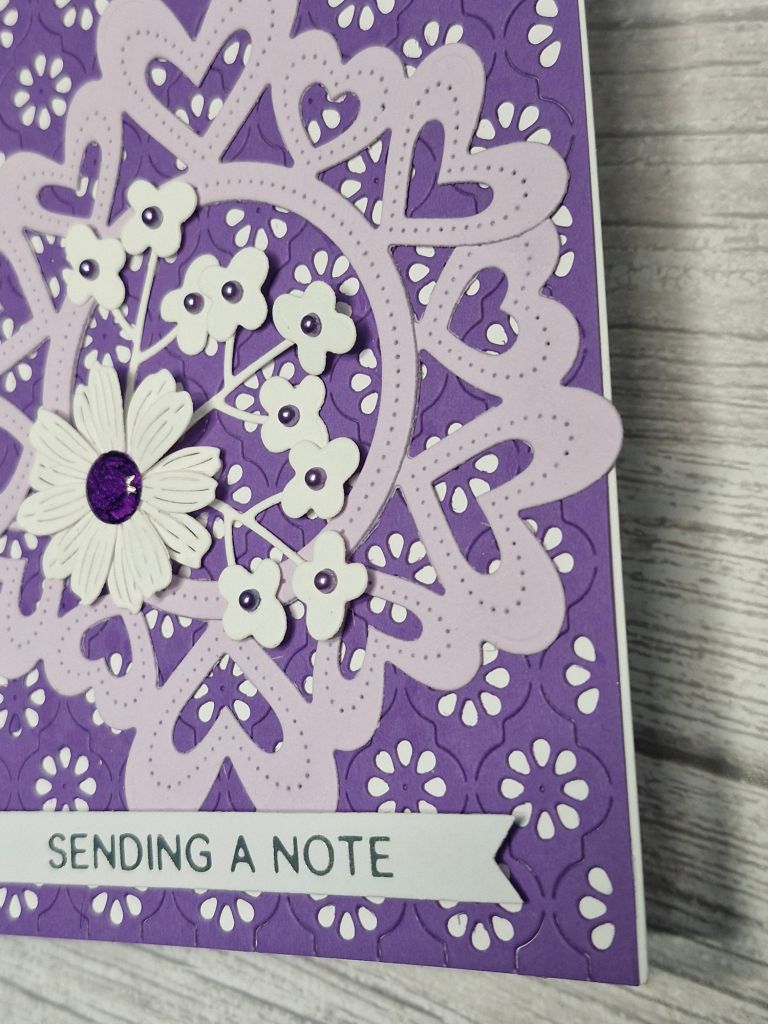
I chose to go with a tone-on-tone look with purple. The background panel was die cut using the ‘Daisy Chain’ cover plate from Pinkfresh studio, and layered onto a white card base.

The Greetery ’round about hearts’ die was die cut twice, and layered to create the circle of hearts, and flowers added as you see. The centre of the flowers are all tiny little gems, but I didn’t have one big enough for the large flower, so I coloured a white one with one of my Copics.

The sentiment was from a previous hot foiling session, added with 3D foam.

I hope you can come and join us with your creations featuring ‘Xtra hearts’. xx

I shall be entering the following challenges:

A Perfect Time To Craft – anything goes
Crafts Galore – anything goes
MAWTT – love hearts

Crafty Calendar – add a heart

Avenue 613 – anything goes – option love letters

Aud Sentiments – use dies and/or love/anniversary and a sentiment
Dragonfly Dreams – hearts
Crafty Gals Corner – add a heart

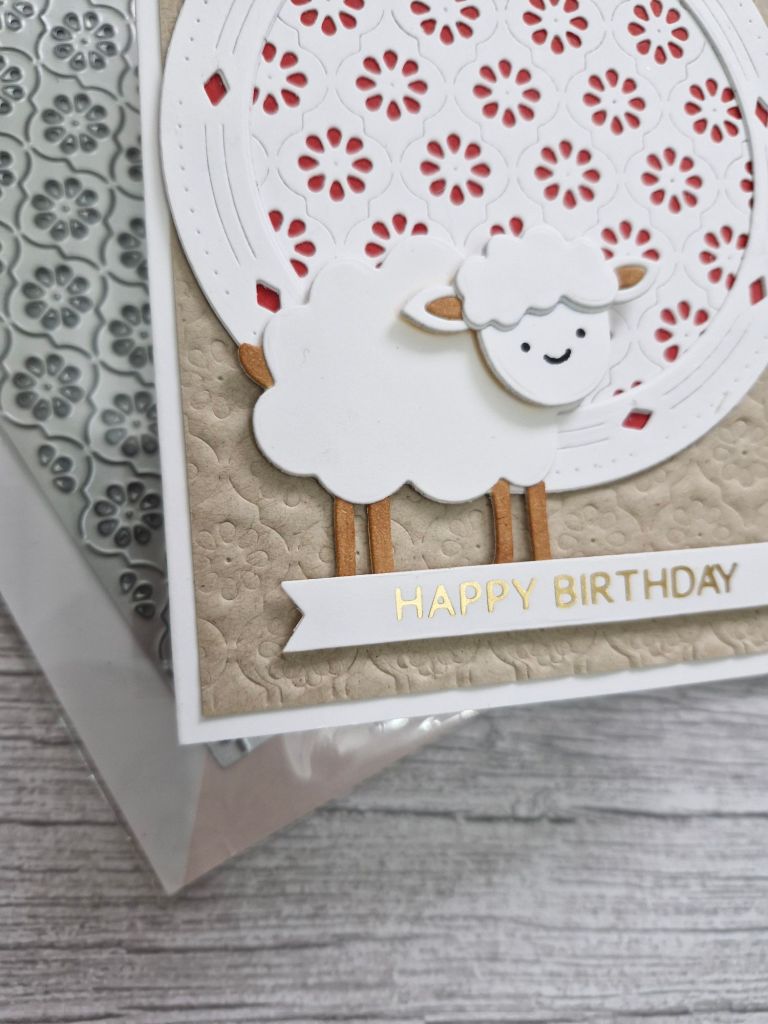
Birthday Sheep

Hello. A little crafty time to create this card:

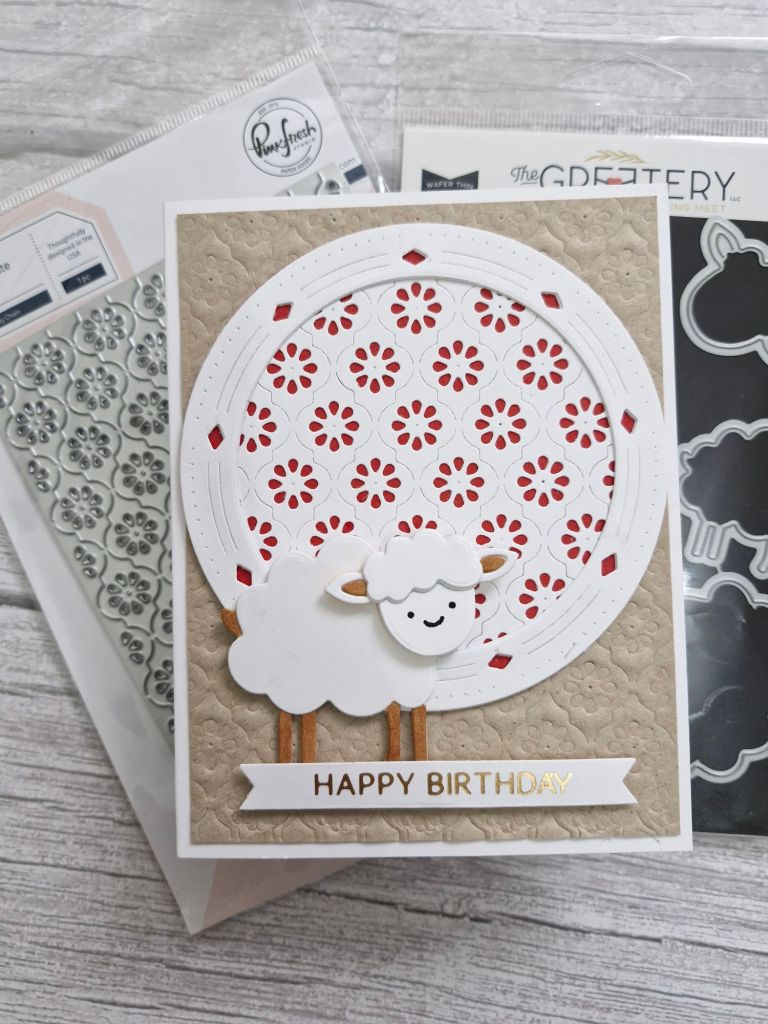
As soon as I saw this sheep die from the Greetery I was hooked. I love the cute little sheep – there are two in the die set, one smaller than the other, but I just used the larger sheep for this card.

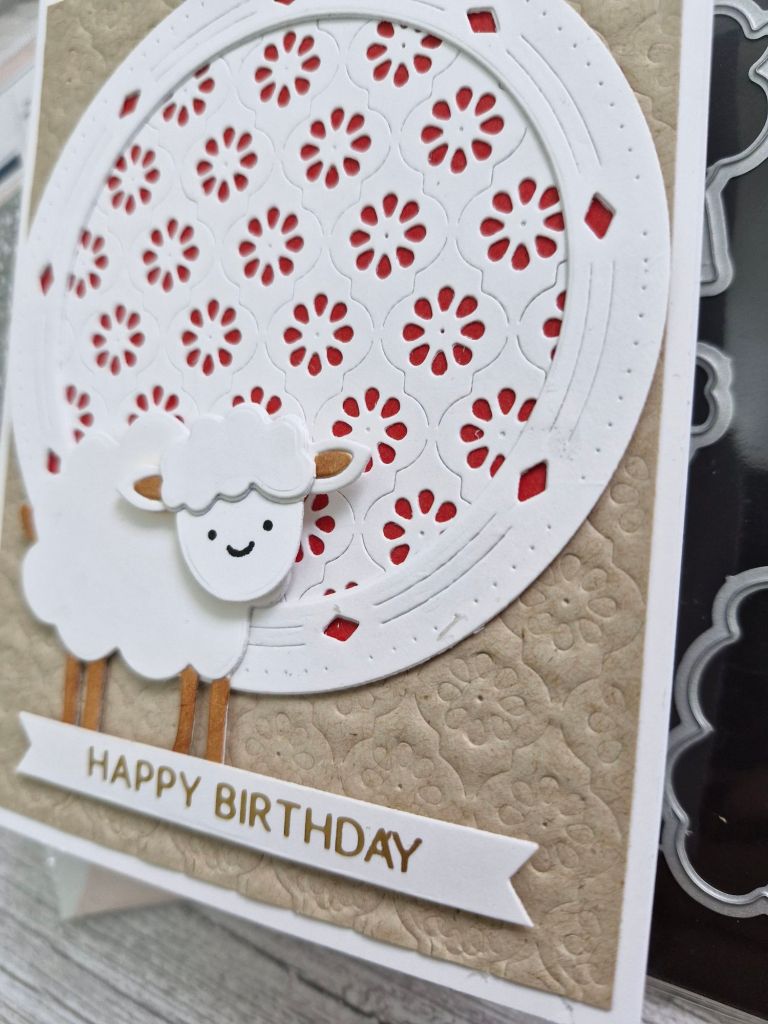
I started by die cutting the sheep out of white card stock, coloured the legs, tail, and ears with a light brown Copic, and started to glue the layers together. When I got to the face, I realised there are no features in there, so I searched the CML app to see what little face features I had. There are several from Lawn Fawn stamp sets, and I used one of the faces from their ‘All The Clouds’ stamp set – that way I didn’t make a mess when I tried to draw them!

The circle die cut is from Pinkfresh Studio. as is the ‘Daisy Chain‘ cover plate. I die cut the cover plate out of white a couple of times and layered together, then used some circle nesting dies to cut the cover plate panel, and a circle of red as backing.

The background Kraft was dry embossed using the cover plater die – it worked first time! I usually put the layers down wrong for embossing dies and end up with a mess, but this time it worked straight away.

All the elements glued onto the white card base, and a foiled sentiment added.

I shall be entering the following challenges:

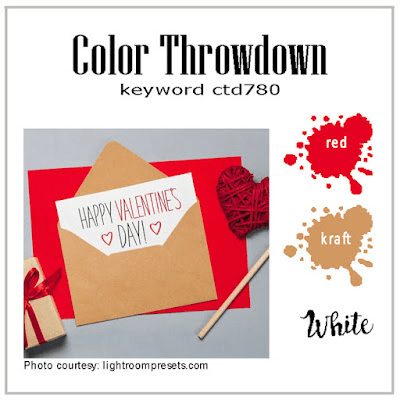
Color Throwdown – red, Kraft, white

Seize The Birthday – birthday – option of splatters not taken

Crafty Animals – anything goes with an animal

2 Crafty Critter Crazies – anything goes with a critter

Craft Rocket – birthday

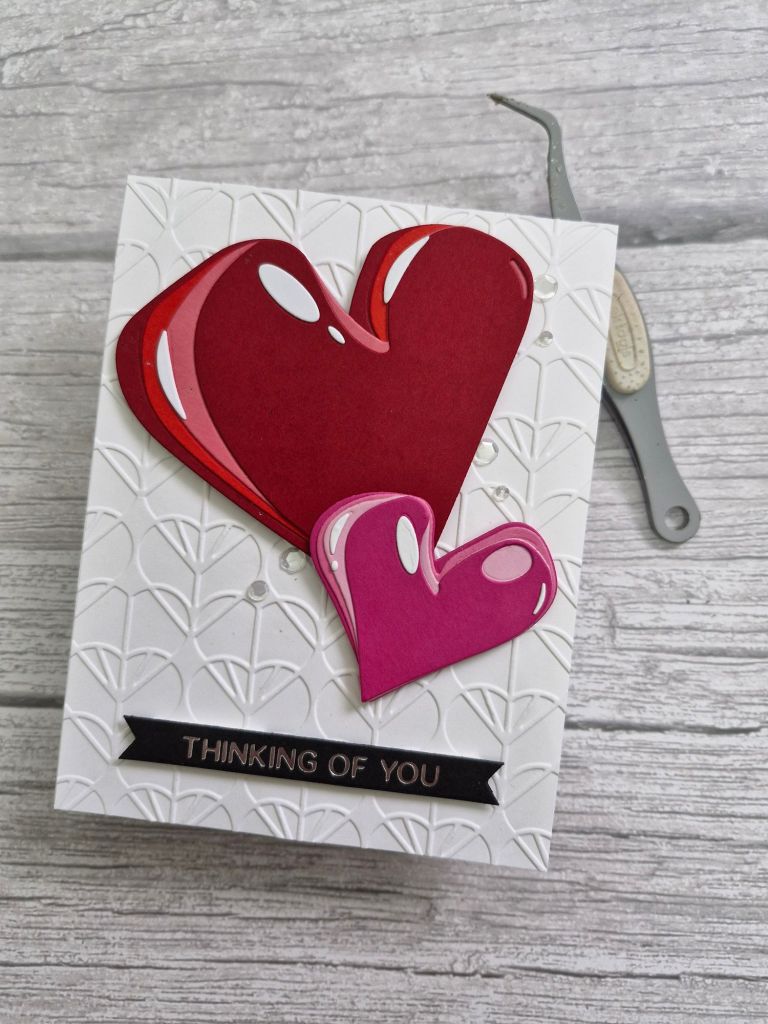
Thinking Of You….

After my crafty funk last week, I seem to be on a roll. Here is a card I created for a few challenges:

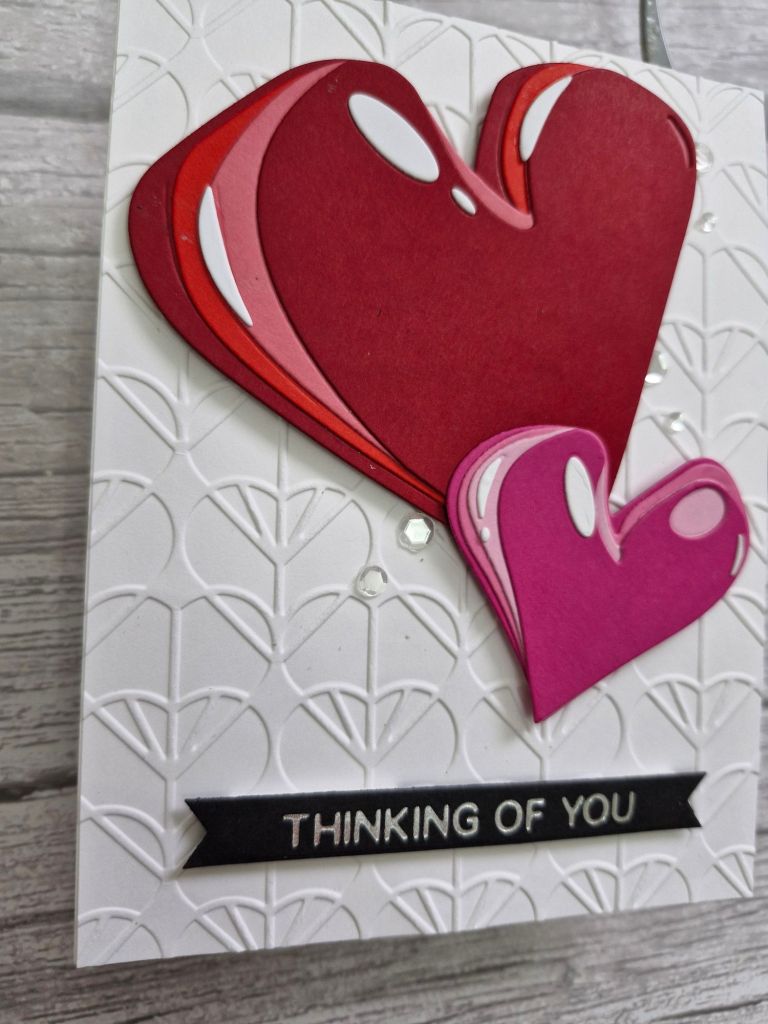
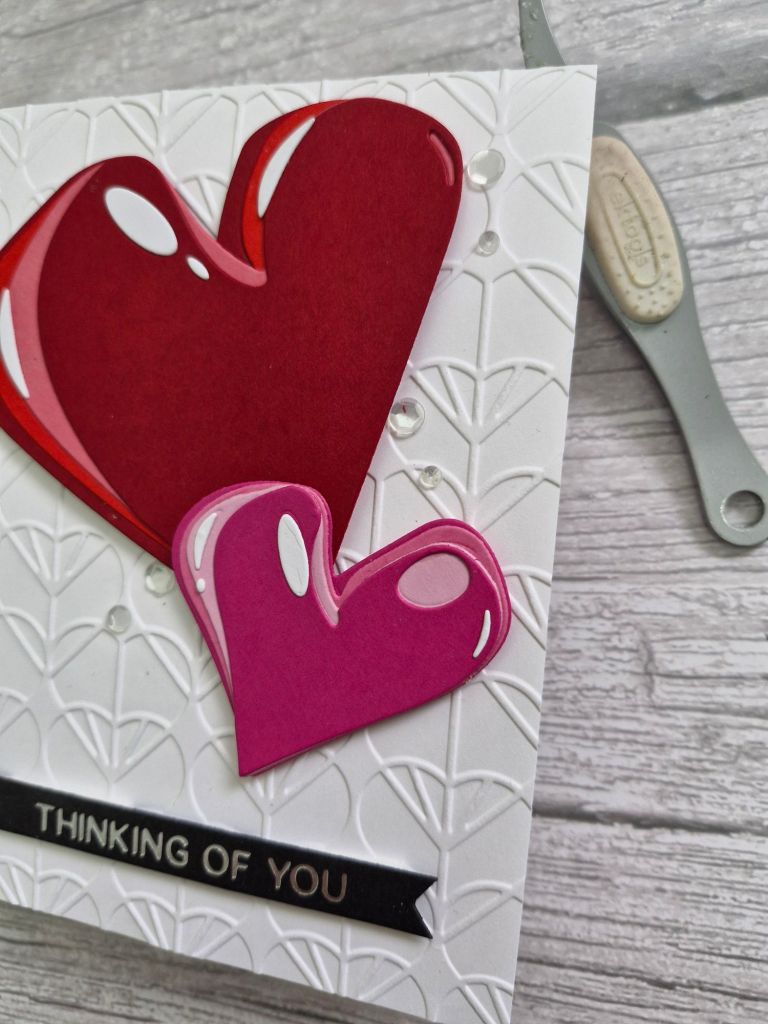
I used the ‘Lovestruck Colorize‘ dies from Tim Holtz/Sizzix for this. The red and pink card stock is from Concord & 9th – three different tones of each. I did have to watch the Sizzix YouTube video to ensure I got the layers correct though…

Once the two hearts were layered and glued together, I dry embossed a white panel using a Spellbinders embossing folder – also with hearts – and arranged the red and pink hearts in a jaunty manner with 3D foam.

The foiled sentiment was added, and then some little sparkly sequins.

I shall be entering the following challenges:

Simon says Stamp Wednesday Challenge – anything goes

CYHTP – embossing folder – option of birthday not taken

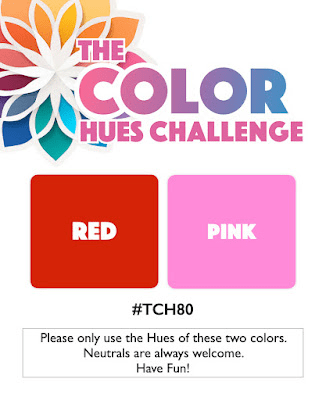
Crafting Happiness – red and pink

Colour Hues – red and pink

Ellibelle’s Corner – I Spy – hearts and/or roses

MAWTT – love hearts

Crafty Calendar – add a heart

Get Well Wishes

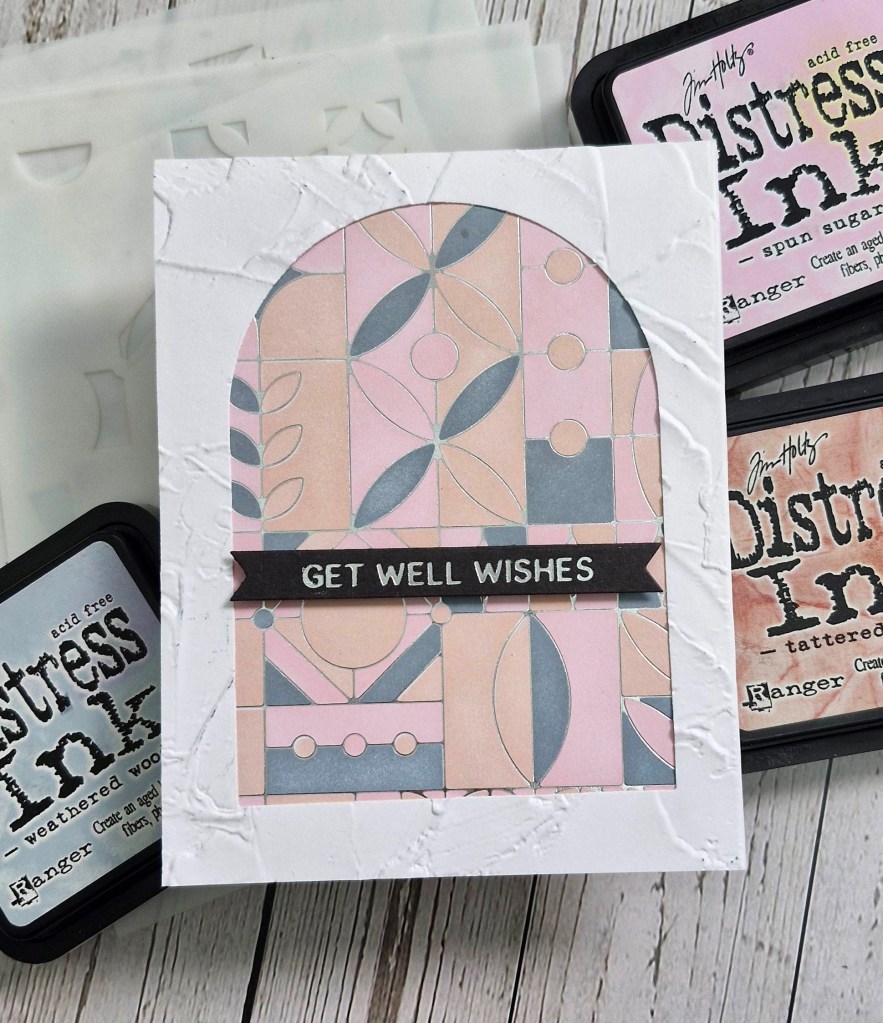
Hello everyone. I created this card and finally managed to use the matching stencils for this background I had in my stash from a previous foiling session:

I have this foil plate and matching stencils for a while, and had foiled the panel quite a few months ago, but hadn’t got around to using it. I used the opportunity with the current colours for The Color Throwdown.

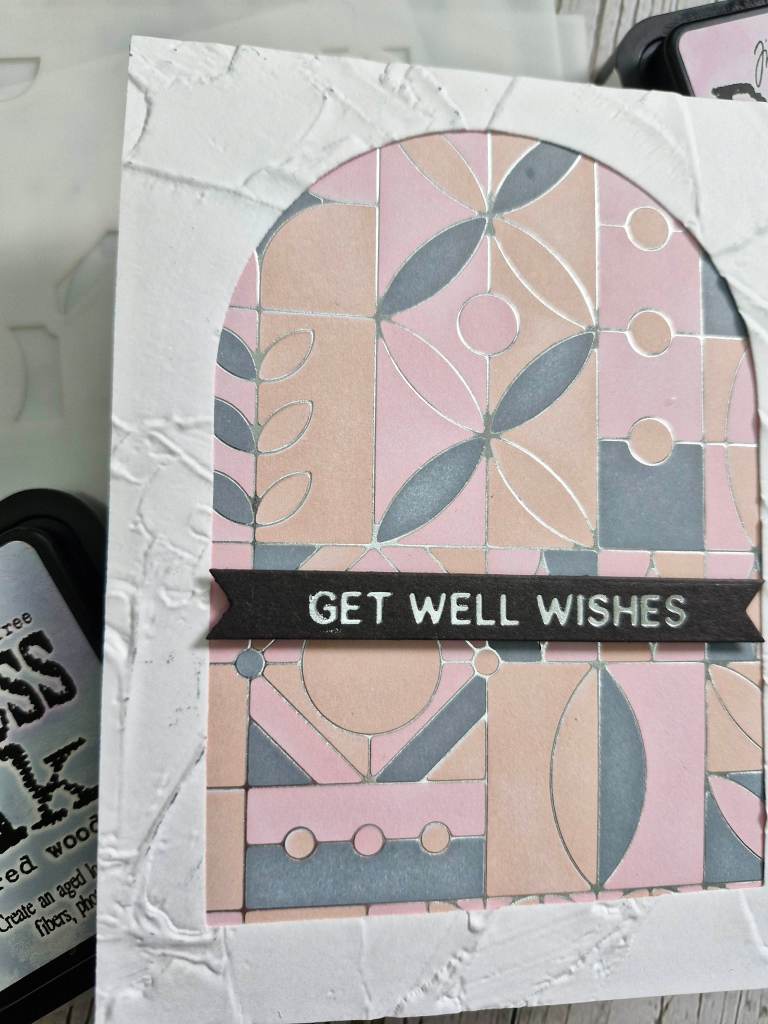
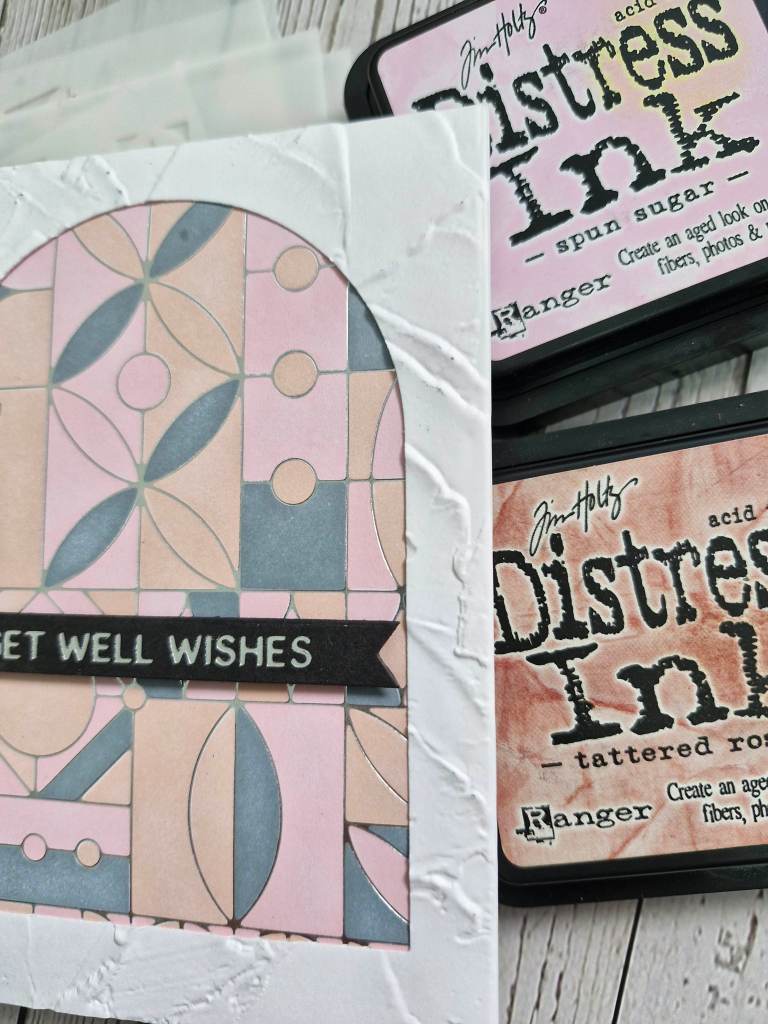
Onto the silver foiled panel, I used all the layering stencils, and the three Distress Ink pads you see in the photo. I set this aside and die cut the arch from another white panel, then used a Stampin’ Up embossing folder to create the texture on it.

I wanted it to be almost like a stained glass window.

I then adhered the ink blended panel behind the arch aperture, using 3D foam to stick them to a card base.

The sentiment is also from a previous foiling session.

The ink blending took most of the time creating this card, but the choosing of the colours to use was easier as I have just finished swatching all my Distress Inks and Distress Oxides, so I can easily flip through the swatches to choose the colours.

I also realised there are 3 colours of Distress Inks I don’t currently have – that will be amended in the next couple of days….!

I shall be entering the following challenges:

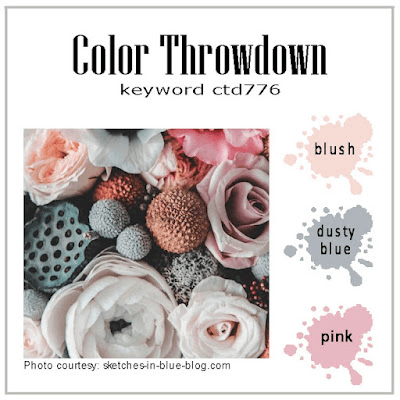
Color Throwdown – blush, dusty blue, pink

Inkspirational – more than one stencil

Crafts Galore – anything goes

Avenue 613 Create – anything goes – option of new beginnings – not taken

Stencil Fun – stencils – option of birds/birdhouses/bird feeders – not taken

Ally’s Angels – anything goes

Floral Boot Birthday

Hello. A chance to play today to create this card:

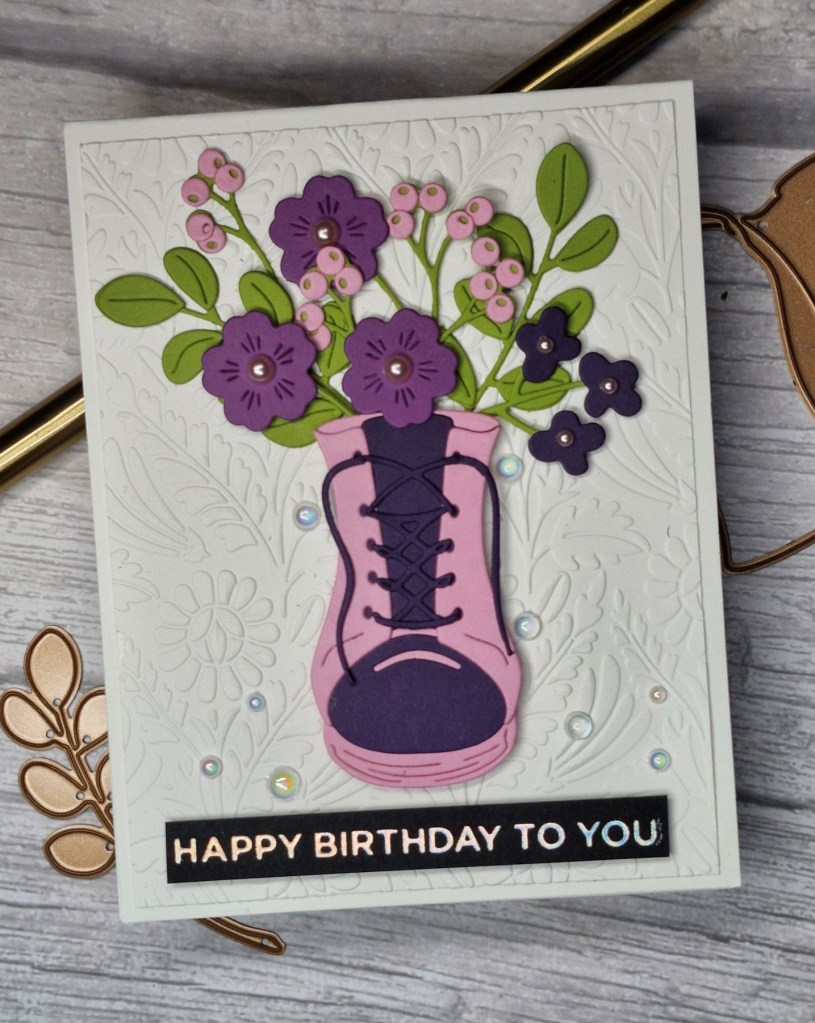
The die cuts on this card are from Spellbinder – a mix of different die sets – with card stock from Concord & 9th.

I used an embossing folder on a panel for the background, and adhered that flat to the card base.

I then took some purple and pink Concord & 9th card colours, and a green Spellbinders card for all the floral and foliage and set to the die cutting. Once everything was die cut, I assembled the layers, then arranged – finally – as you see. This usually takes me a while, but once I am happy, I take a snap shot, then use glue or foam dots to stick them all down.

I have tried using Press’n’seal to pick everything up once arranged, but that never works out for me……

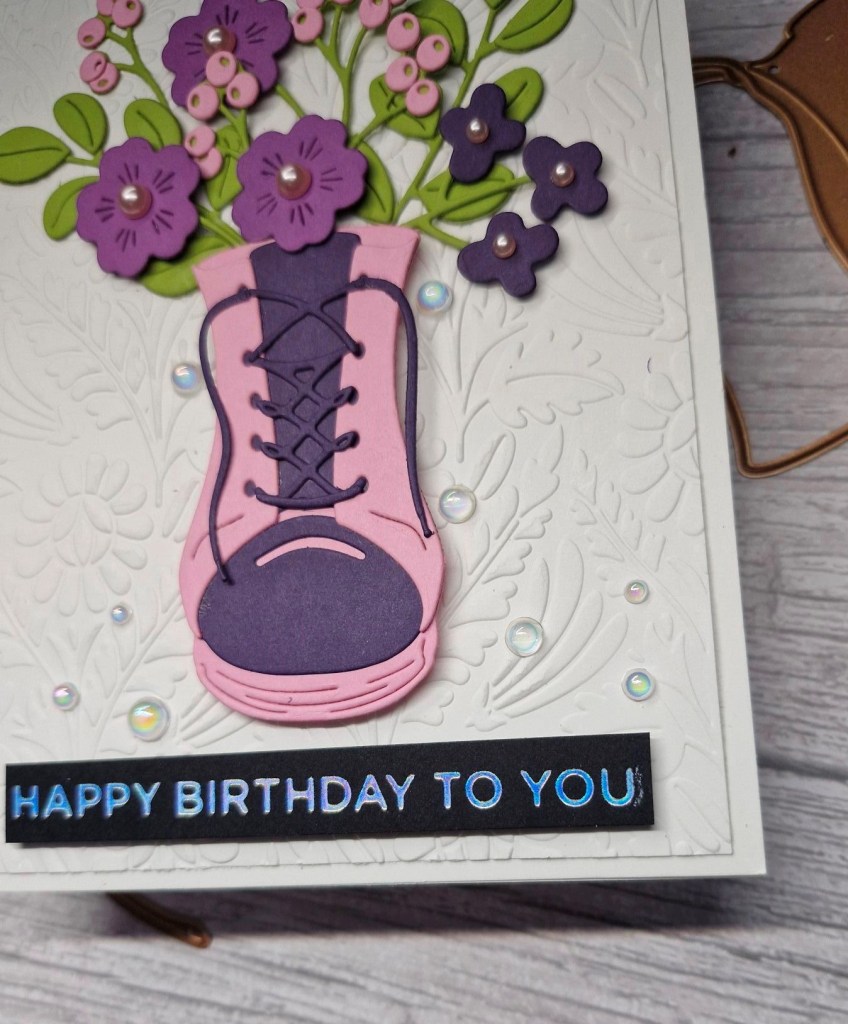
The sentiment is a foiled strip from a previous foiling session.

To finish the flowers, I added some gems to the centre, then also added some clear/iridescent gems near the bottom.

I shall be entering the following challenges:

Double D – birthday or anniversary

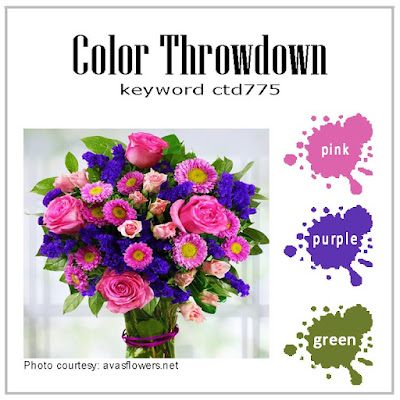
Color Throwdown – pink, purple, green

Lil Patch Of Crafty Friends – anything goes

Aud Sentiments – make your own background and/or birthday and a sentiment

Unicorn Challenge – birthday

Daisy Chain Challenge – no designer paper

Triple B – birds and/or butterflies and/or blooms

Ally’s Angels – anything goes

Christmas (or not) Bingo Challenge – Column G – pearls, die cuts, free