Snowy Scene

A little more crafty time created this card:
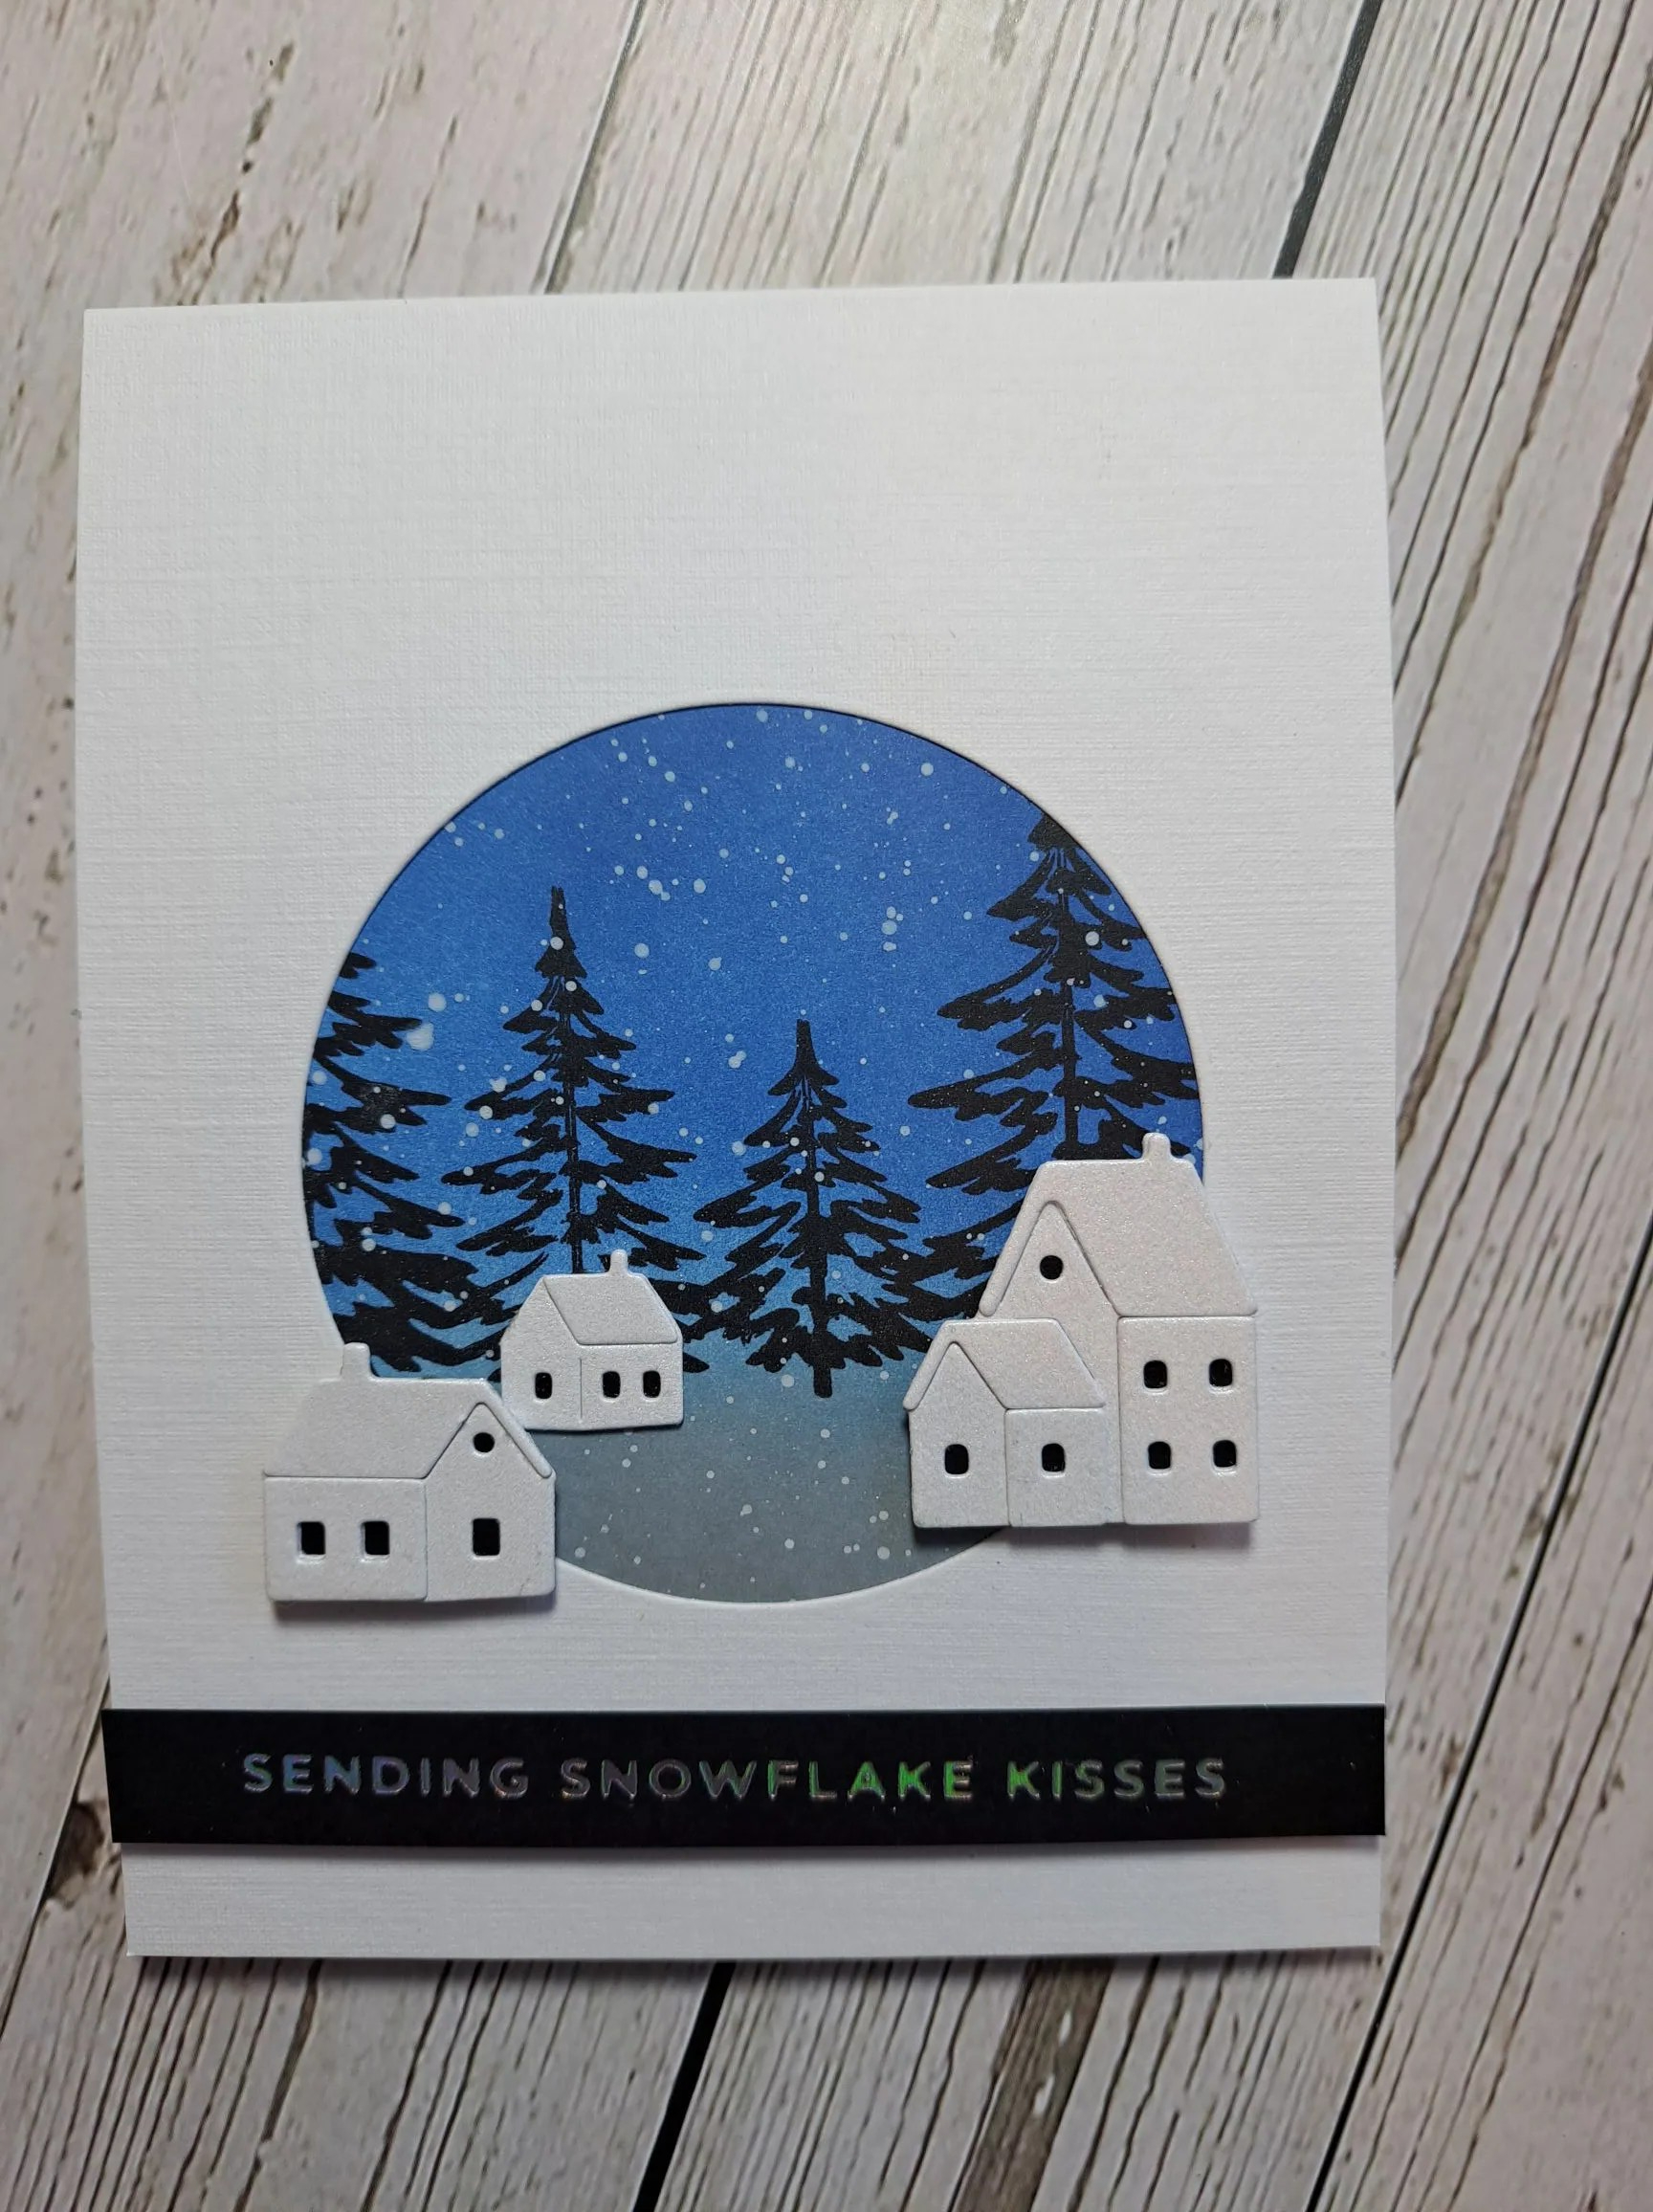
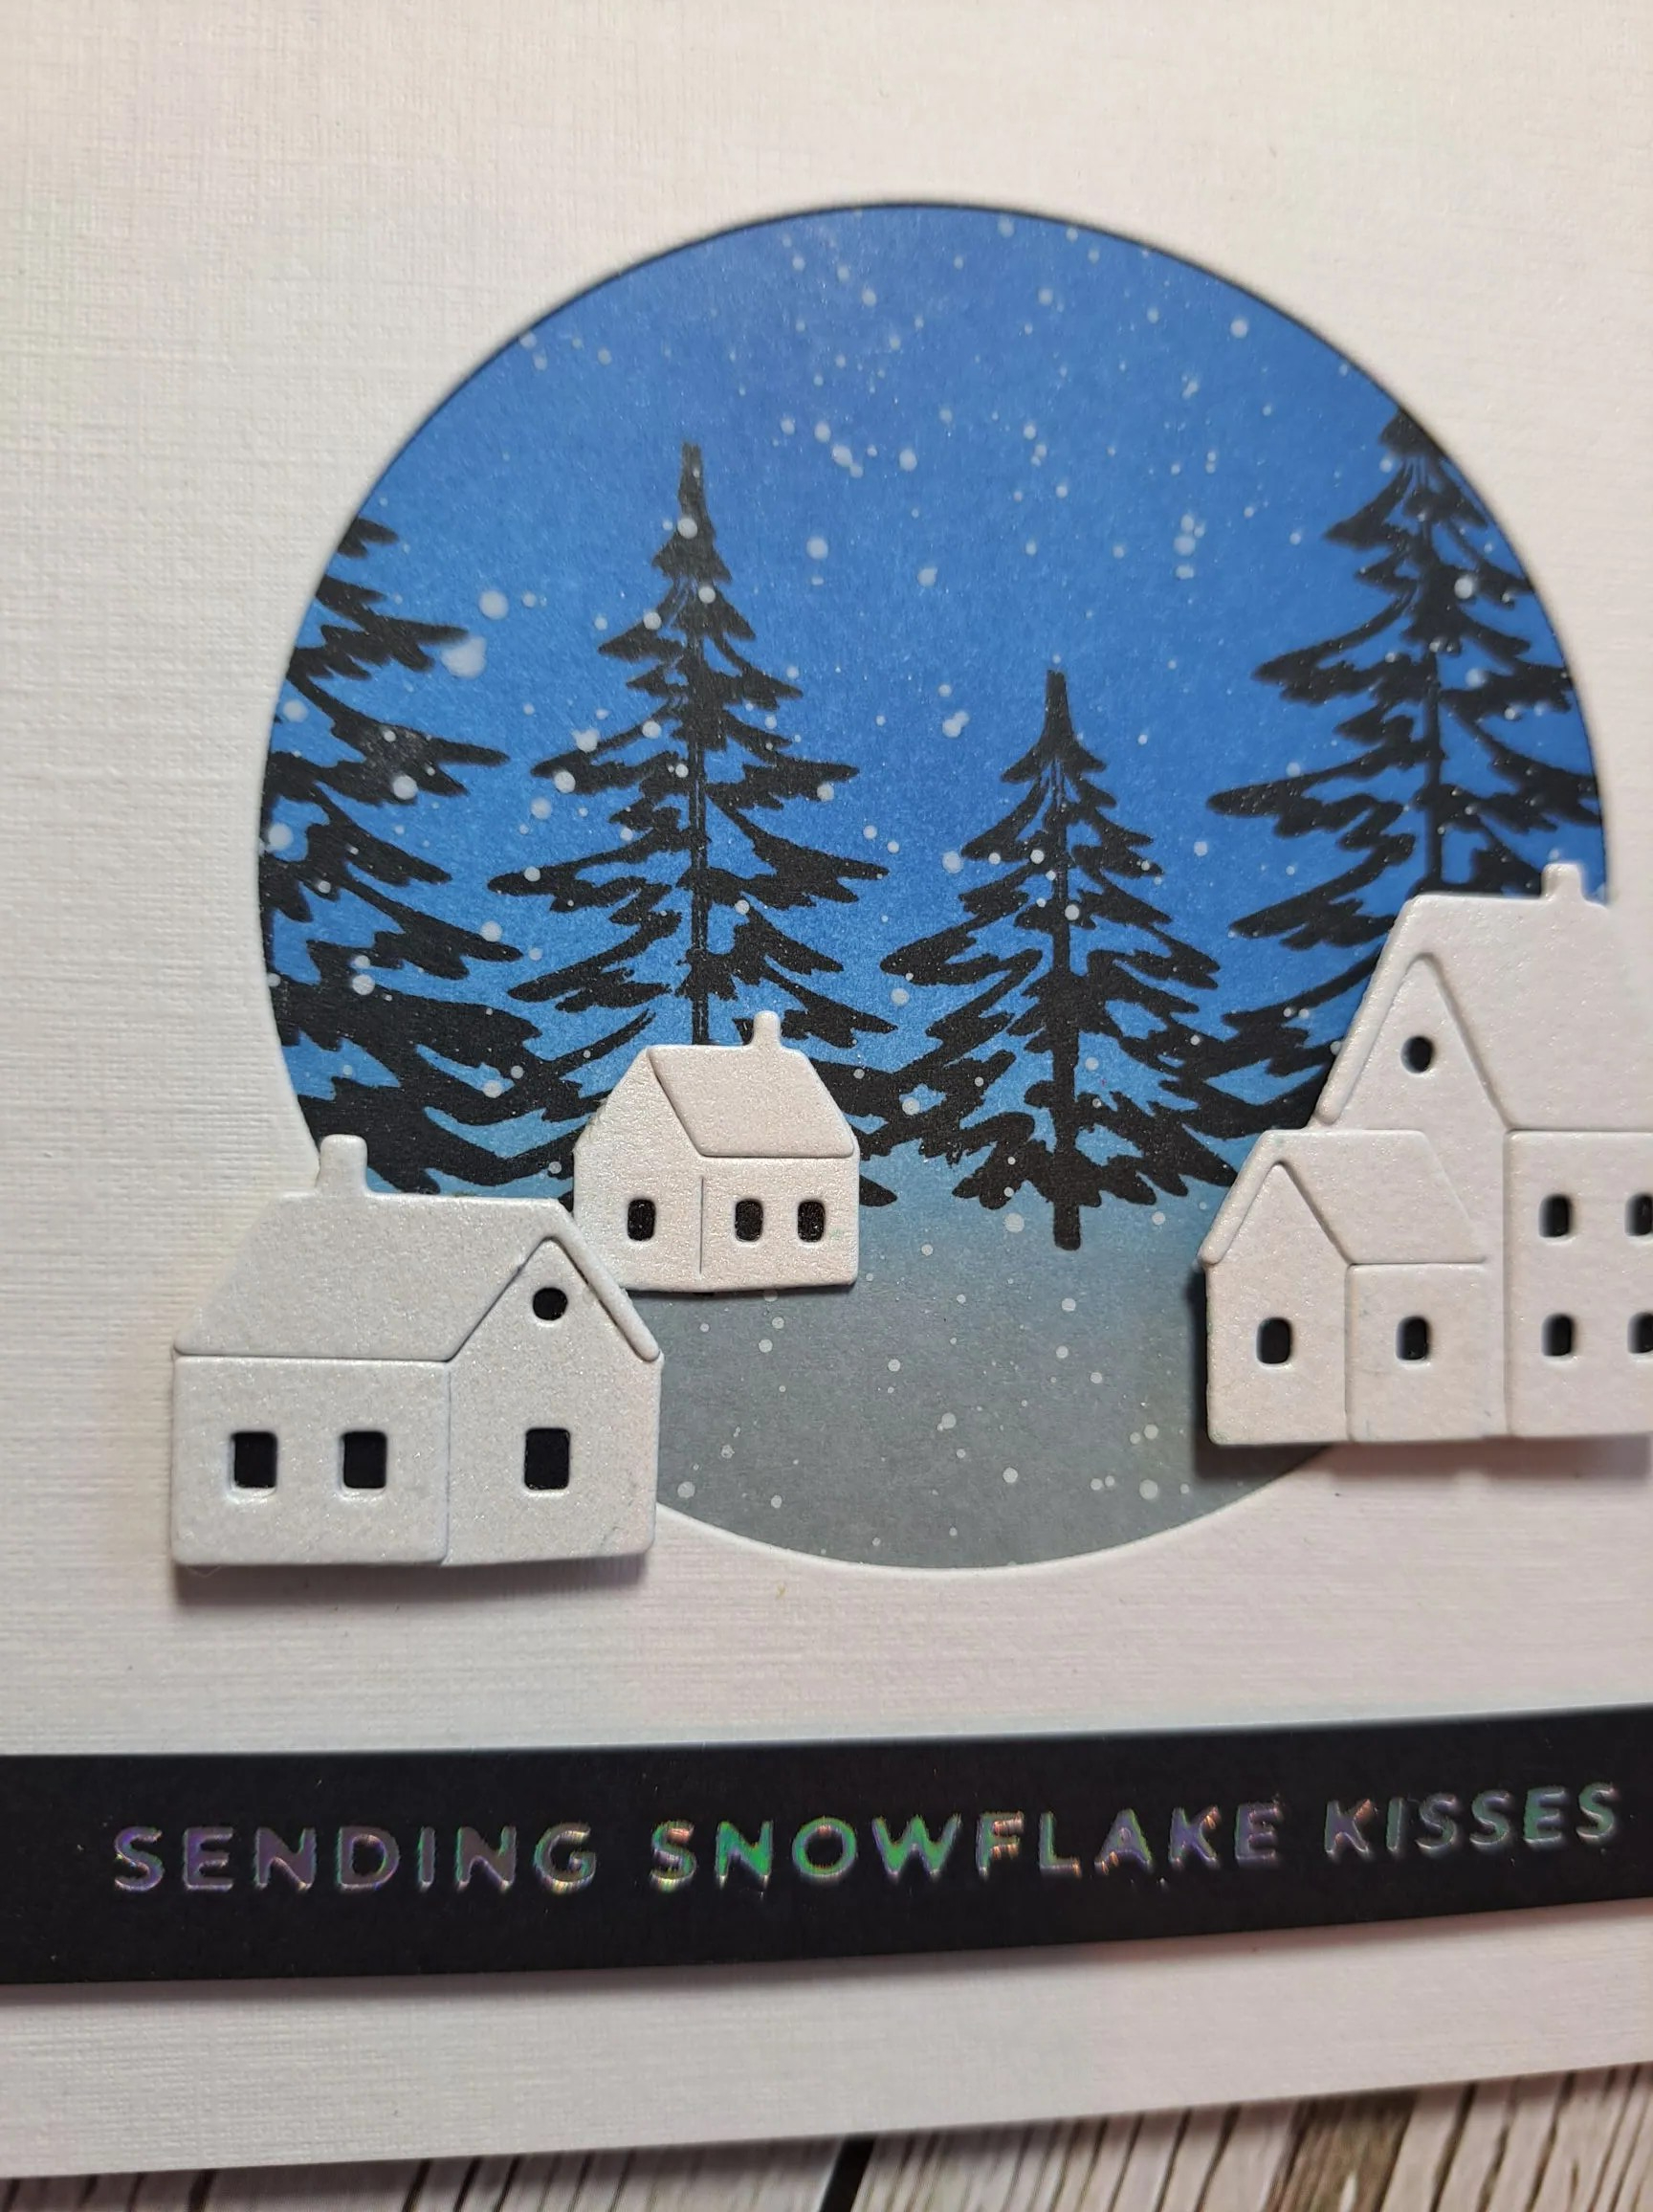
This card took a little planning, some drying time – and patience…..

I started by ink blending a piece of card with Distress Inks – Prize Ribbon and Hickory Smoke. Once dry, I stamped the trees in Versafine Black Onyx – and waited for it to dry again. Then splattered with white acrylic paint – and waited yet again.

Whilst waiting for all the drying to happen, I die cut the houses from The Greetery from ‘Ice White’ card stock from Pink frog Crafts here in the UK, pieced all the layers together – not a major issue – then stuck some black card stock on the back of the houses to fill in the windows.

I then die cut a circle from the front of the card base, die cut a larger circle from the ink blended panel – deciding which part I wanted to show through the aperture, glued that to the back of the card front – adding a white panel on the back to cover the mess. Sorry – the creative process……

I then placed the houses as you see – the smallest one with glue, and the other two with 3D foam squares, added a foiled sentiment – and done….

I shall be entering the following challenges:

Allsorts – anything goes option winter blues

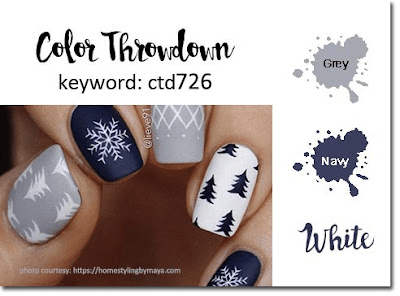
Color Throwdown – grey, navy, white

Paper Funday – anything goes, option starry night

Peace On Earth – anything goes Christmas

Lil Patch Of Crafty Friends – anything goes

Ally’s Angels – anything goes

Sending Snowflake Kisses

Hello there. I have been playing with different media over the weekend, and trying some new techniques. One of those I want to share on a card:

This card took quite a bit of thinking about – and a few changes along the way.

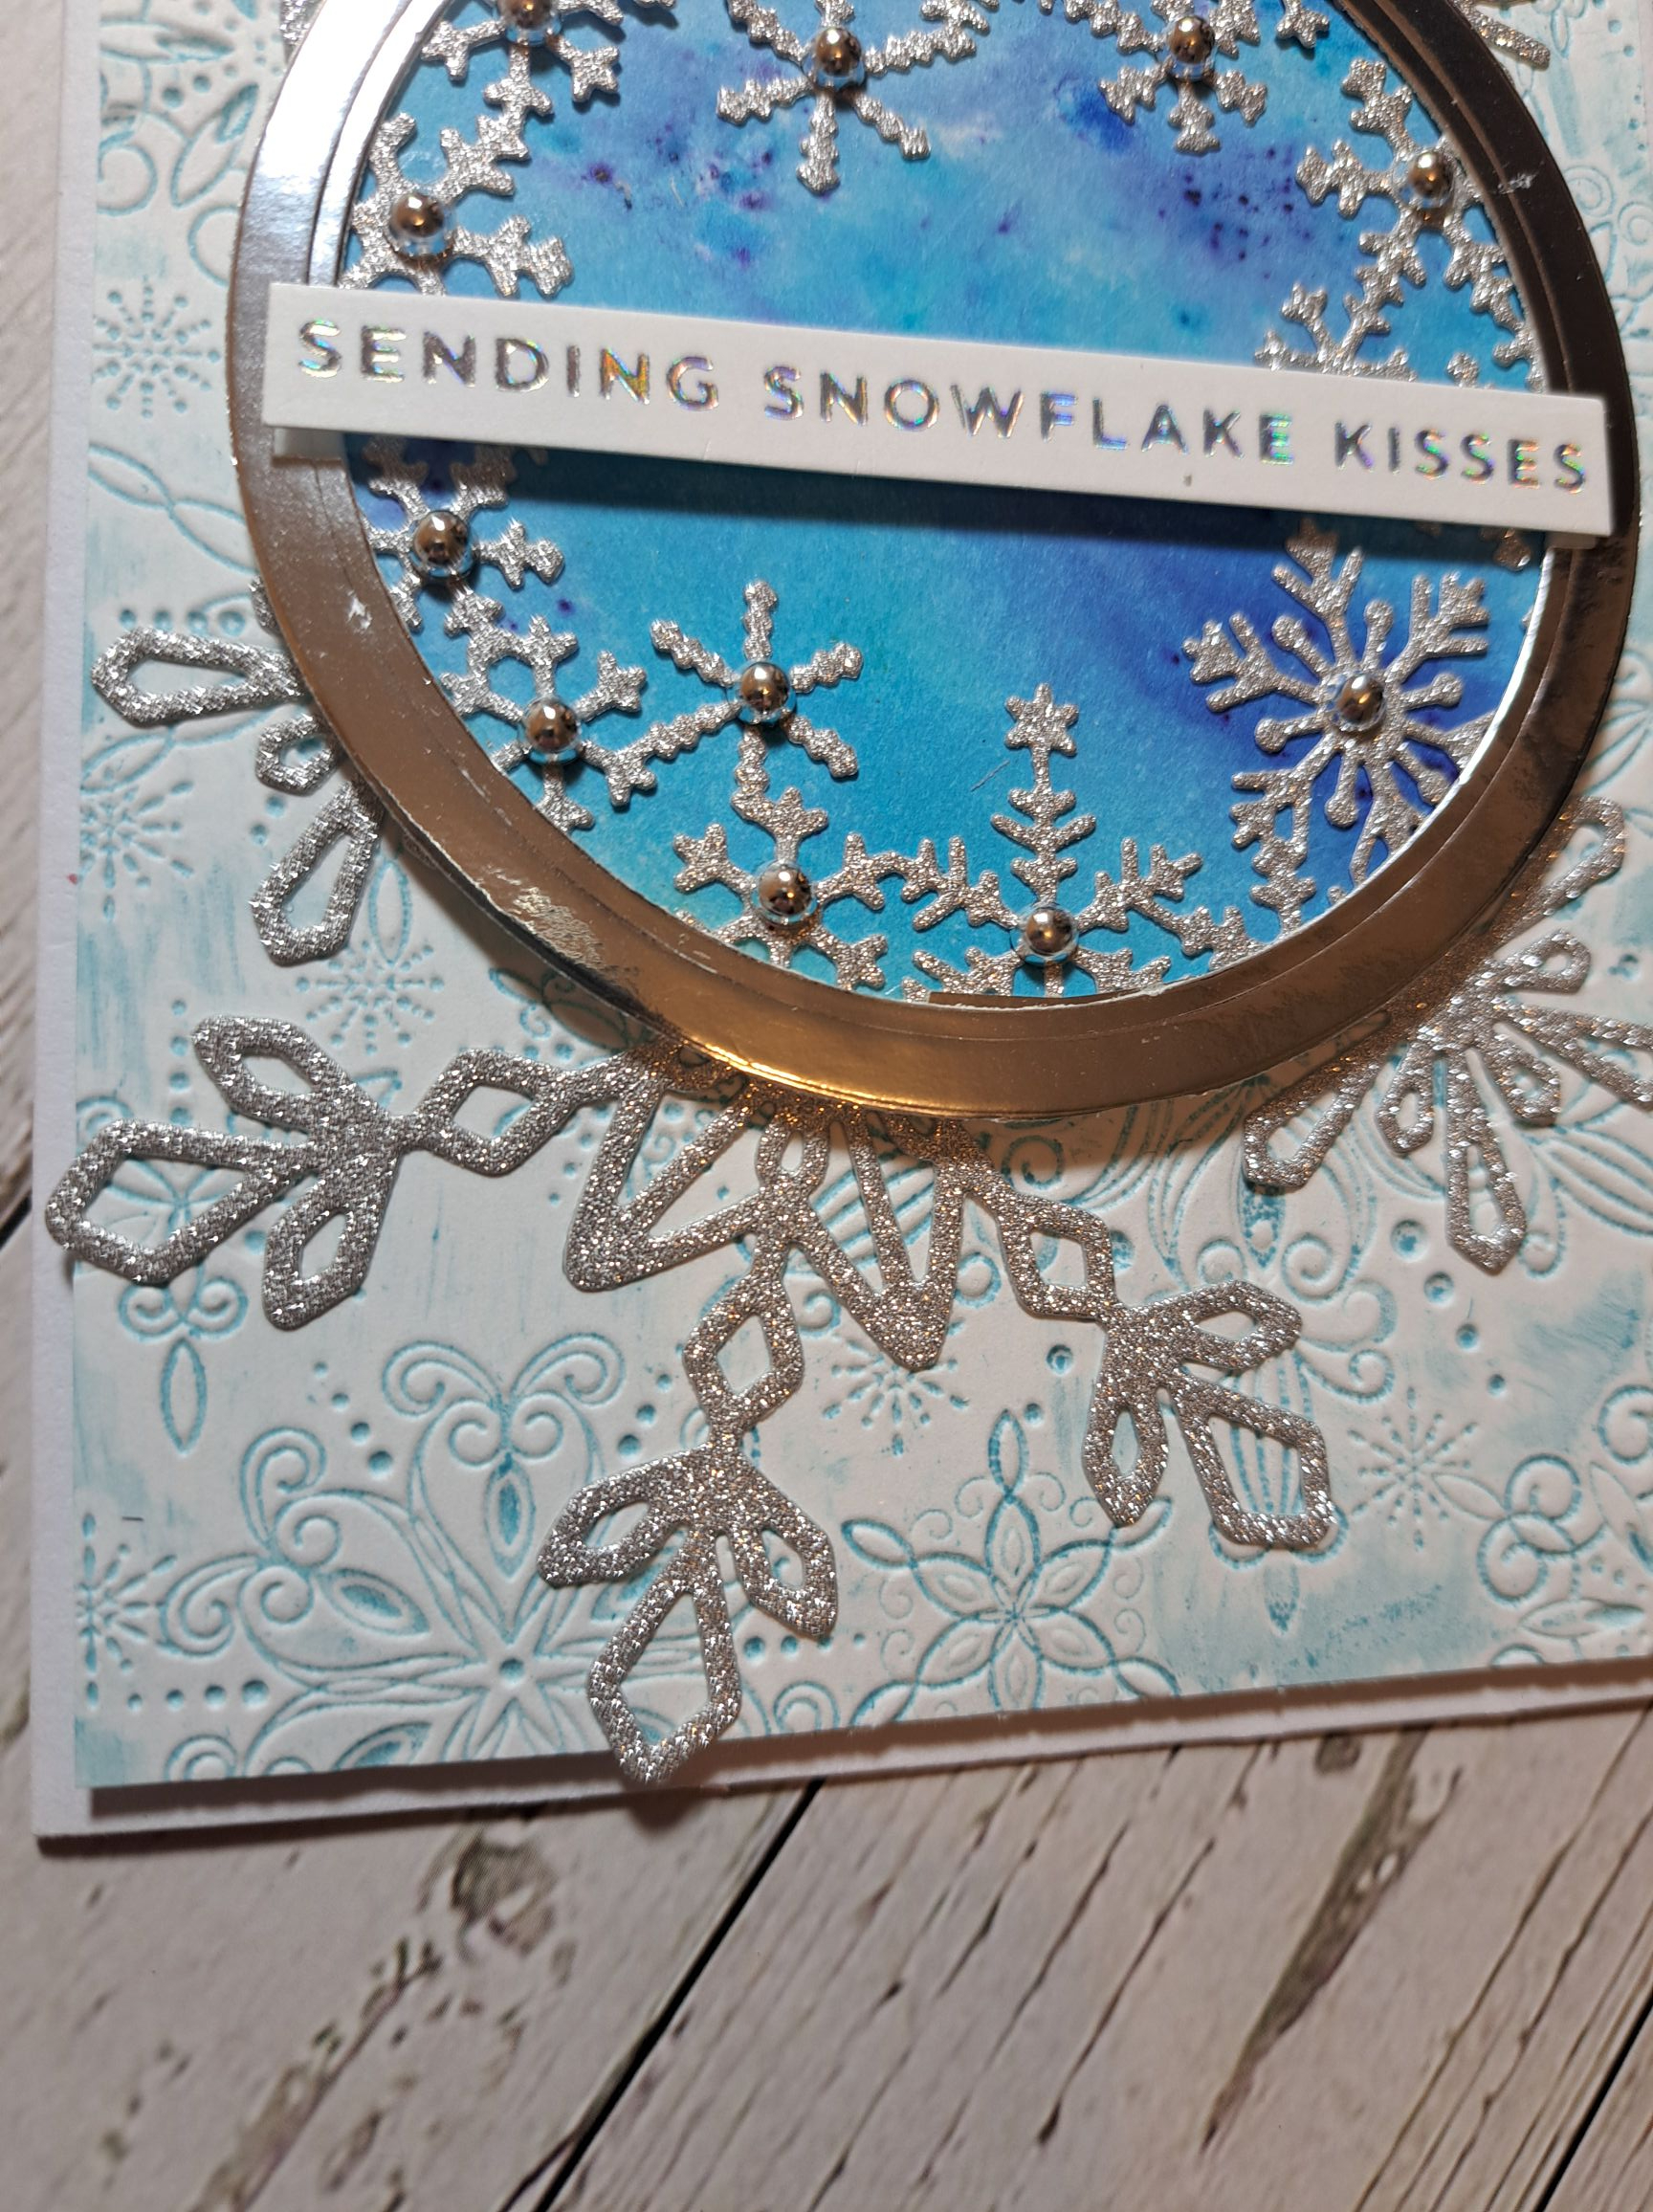
I started by die cutting the Hero Arts snowflakes ornament die out of silver glitter card stock, cutting off the ornament topper to create a circle. I then die cut a silver circle frame using a couple of different sized circle dies, and layered on top.

The blue background to the circle, which was previously created using Brushos, again die cut with a circle die and adhered to the back of the snowflakes.

For the background panel, I tried the ink pad to embossing folder technique – on both sides – debossed and embossed, to see what happened. I tried this several times, with different blue Distress inks, and liked this debossed panel the best. I adhered that to the white card base using 3D foam, then stuck down the snowflakes circle.

I wanted a little more bling, so I added some separate snowflakes die cut in the same silver glitter card, from a Pinkfresh Studio set, snipping and placing as you see – of course – this would have been easier had I done this prior to adhering the circle – but there we are……

I added the foiled sentiment – and then decided to add more shine by adding a little silver gem to each of the little snowflakes in the circle…….who knew there were many of them in there?

I shall be entering the following challenges:

CYHTP – embossing folder – option Christmas

We Love 2 Create – anything goes mixed media

Beyond The Blue – snowflakes

Peace On Earth Christmas – anything goes Christmas
Lil Patch Of Crafty Friends – anything goes
Joyeux Noel

Hello – I have a card to share using the Honey Bee Stamps cardinal die set again:

I first put together the cardinal using reds and blacks – and a little white gel pen for the eye. I then put him to one side whilst I stenciled the mistletoe arches, using the three layers for the leave and the red berries, and used the matching die to cut it out.

I white dry embossed a panel for the background, adhered the arches, and added the cardinal.

I thought I would die cut the feet again and prop him onto the sentiment strip – almost like he is perching there.

I added the red gems to each of the berries – you know when you start something and then realise just exactly how many of those berries there are? Well – it took me a little while – but I like the effect. I also added a couple of larger gems to the sentiment strip because- well – why not?

I think I’ll have a go with the other bird in the die set at some point this week – watch this space……

I shall be entering the following challenges:

Simon Says Stamp Monday Challenge – holiday cheer

Krafty Chicks – Christmas

Crafty Catz Weekly Challenge – anything goes
Allsorts Challenge – anything goes – option of ‘let it snow’ not taken

Crafty Friends Challenge – traditional Christmas Colours

Stencil fun – anything goes with stencils
As You Like It – anything goes Christmas
Floral Framed Birthday

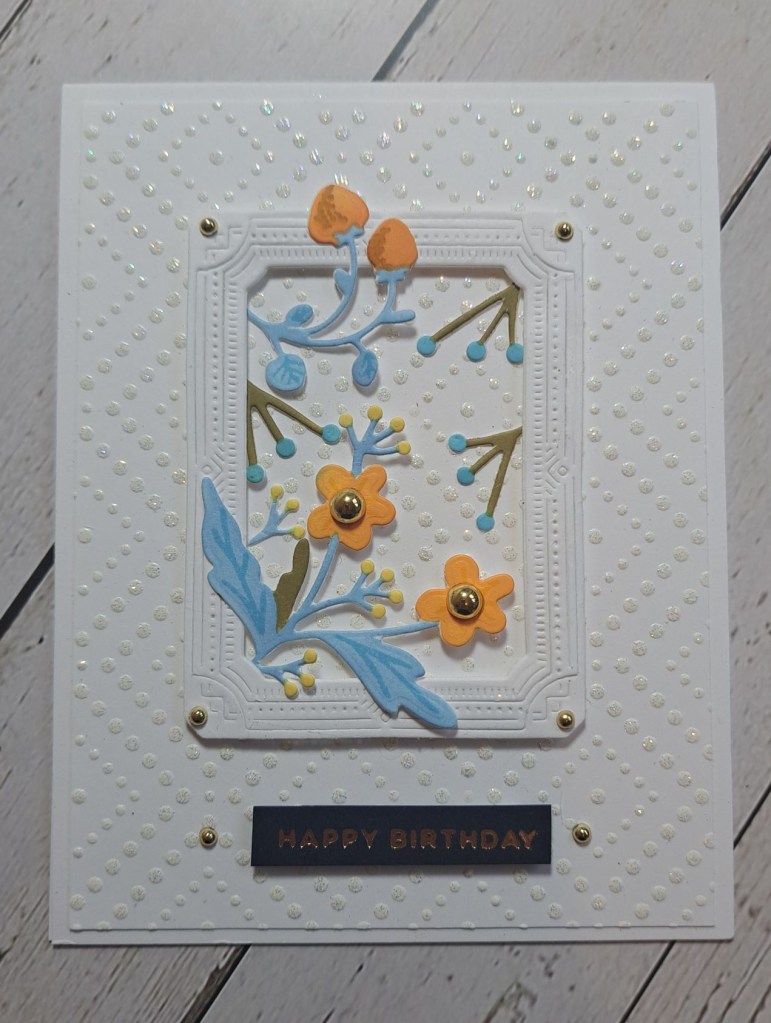
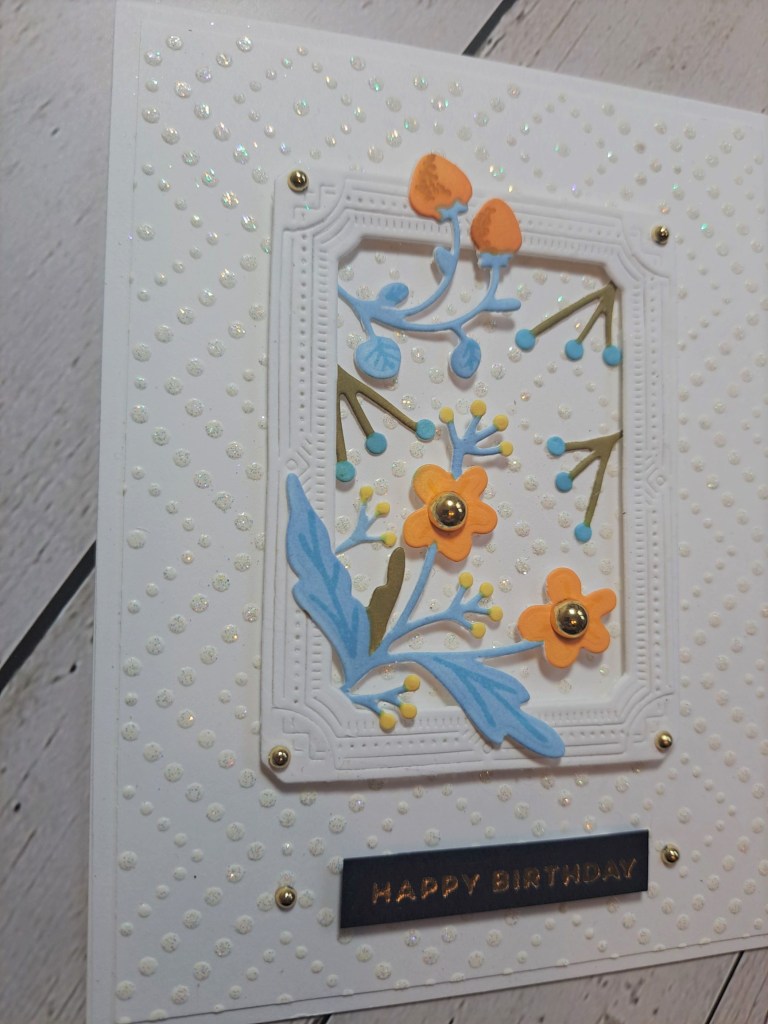
Hello yet again. Happy Little Stampers anything goes birthday has started a new challenge – and we’ll be taking a break for a couple of months after this. Here is my card:
The background was created using a Spellbinders stencil, paste, and then sprinkling glitter over the paste and let it dry.

I added A Pinkfresh Studio deco frame, and layered the flowers and twigs around the edge.

I added some gold gems to the flowers, the corners of the frame, and each end of the foiled sentiment.

I’ve forgotten which die and stamp set I used for the floral and leaves elements, and with the Color My Life app having some issues at the moment I couldn’t search it – and didn’t fancy trawling through my stash – when the app works again I’ll edit the post to let you know.

I hope you can come and join us for our last challenge of the year – it would be great to see you in our gallery. xx

I shall be entering the following challenges:

Simon Says Stamp Wednesday Challenge – anything goes

Dream Valley Challenge – lots of layers

Crafters Café – use dies/punches

Mix It Up Challenge – anything goes – option to use a technique – stencil, paste, glitter
A Robin Christmas

Hello there. A little playing in my craft room yesterday created this card:

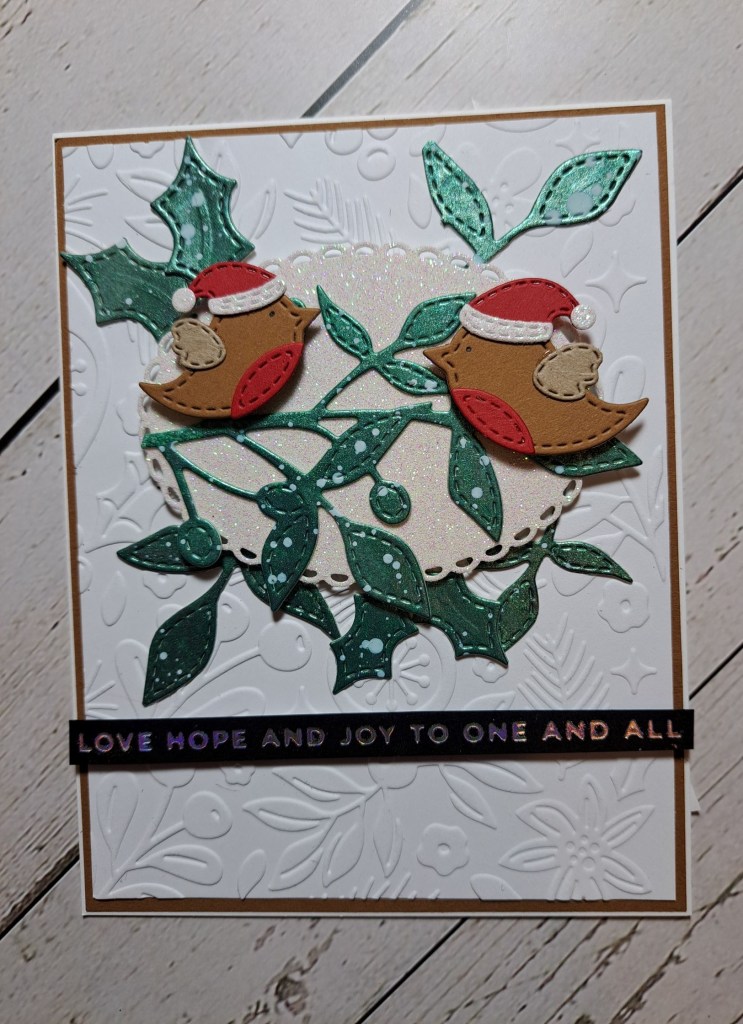
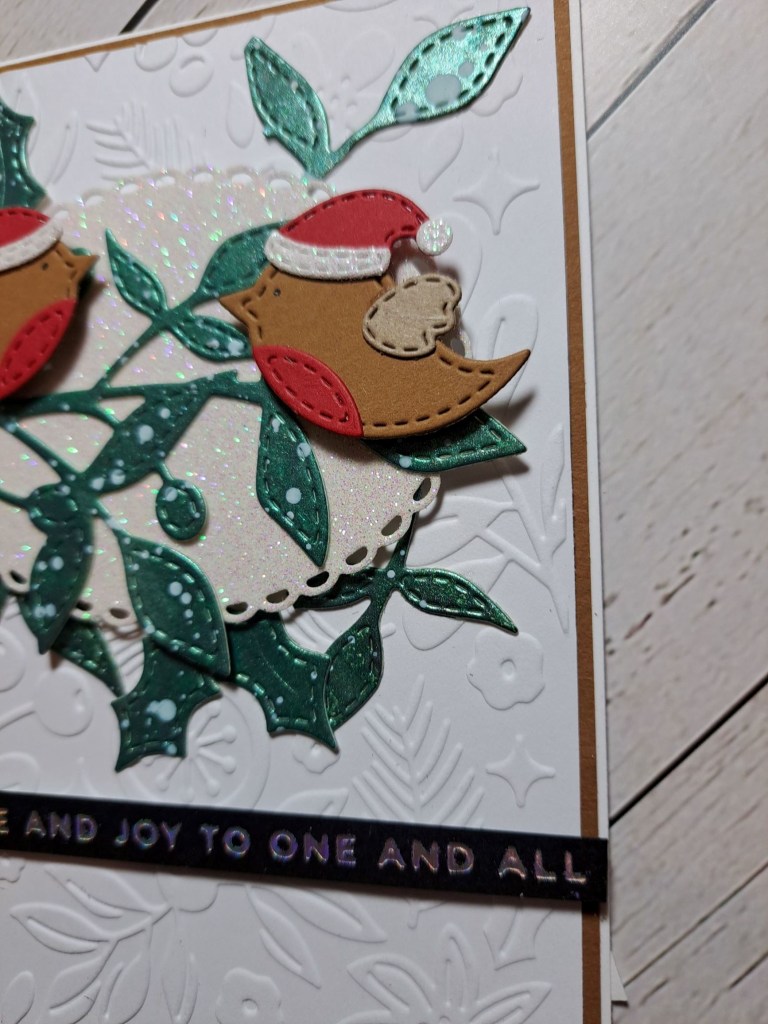
I searched through the Color My Life app for a die set I knew I had which contained Robins – but couldn’t remember the make and where I had stored it. I found it was a Creative Expressions die set from Lisa Horton – and an old one as the date on the back was 2017 – but at least I had remembered I had it somewhere.

I first die cut the robins using brown, Kraft and red card stock. I added their little hats – red and a white glittery card stock, then set aside.

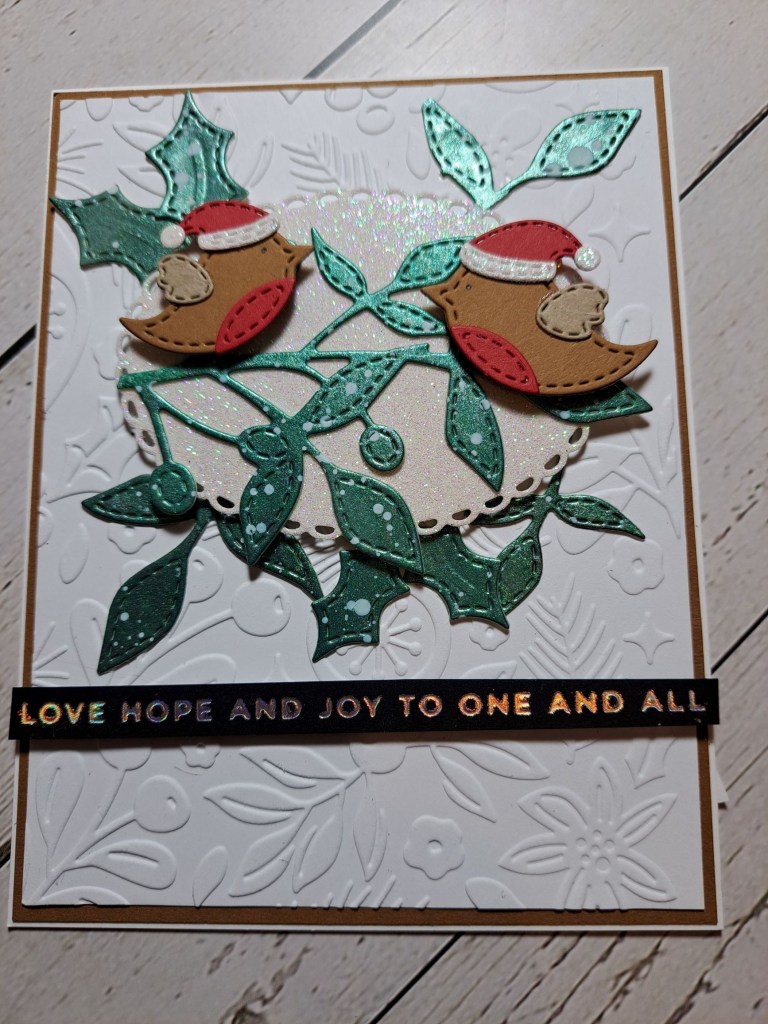
The leaves and holly were die cut from a previous created mica sprayed piece of card, which I had also splattered with white Liquitex acrylic paint. The white glittery oval is die cut from a Gina K master Layout’s die set.

I then turned to the card base, added a brown layer, and a white dry embossed panel – a Spellbinders embossing folder – and then played with the layout of all my elements until I was happy, adding a previously foiled sentiment.

Here is a look at all the glitter and shine:

I shall be entering the following challenges:

Sparkles Forum Christmas – festive things with wings

Daisy Chain Challenge – Christmas is coming

Winter Wonderland – Christmas and Robin Red Breast

Allsorts Challenge – wings and/or tails

Make My Monday Challenge – things with wings

CYHTP – embossing folder – twist of thanks not taken

Rainbow Christmas Lights

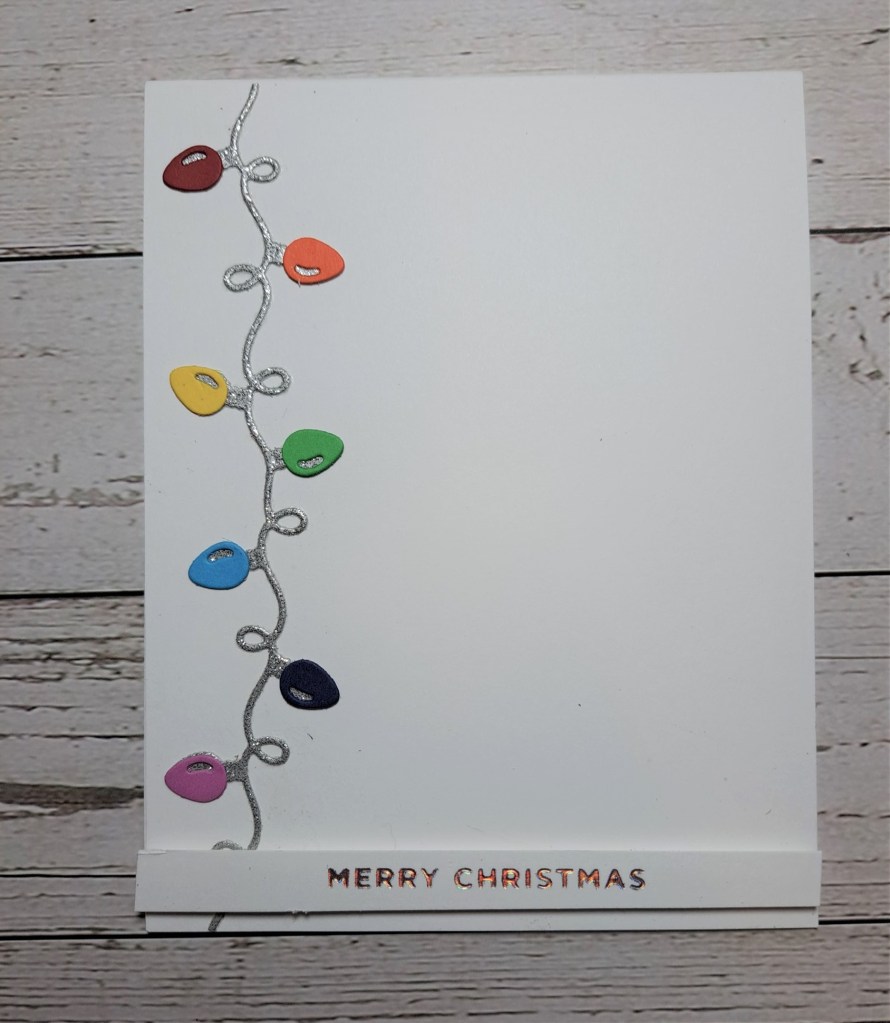
Hello. I’m quickly popping along to share a card created an older die set from Lawn Fawn:

I used the ‘mini string of lights’ and die cut out of silver glitter card stock, then die cut each light out of the rainbow card stock I had – a mixture of Heffydoodle card stock and an unknown brand from my stash.

The coloured pieces were glued onto the silver string and attached to the edge of the card.

The sentiment is a previously foiled strip from my stash.

I shall be entering the following challenges:

Clean and Simple on Friday – CAS Sparkle

AAA Cards – CAS – along the edge and rainbows

ABC Christmas Challenge – W and X

ABC Christmas Challenge has reached the letters ‘W’ and ‘X‘. The themes for the Christmas creations should be ‘White’ and/or ‘Xtra Special‘. Here are my cards:

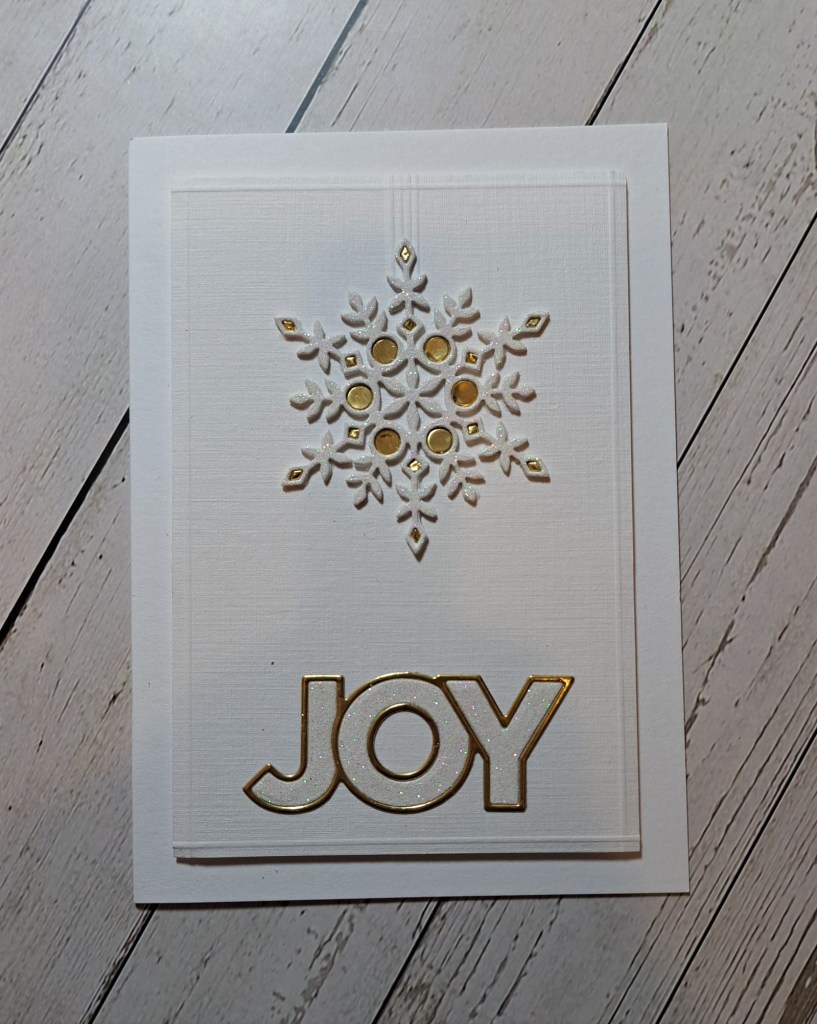
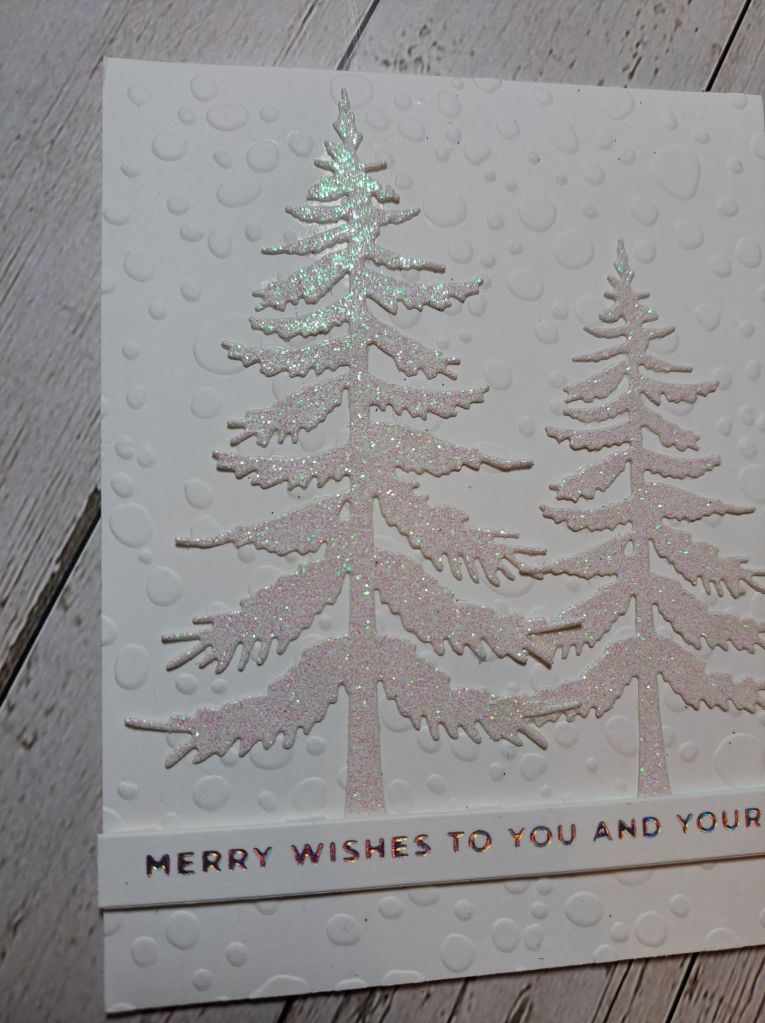
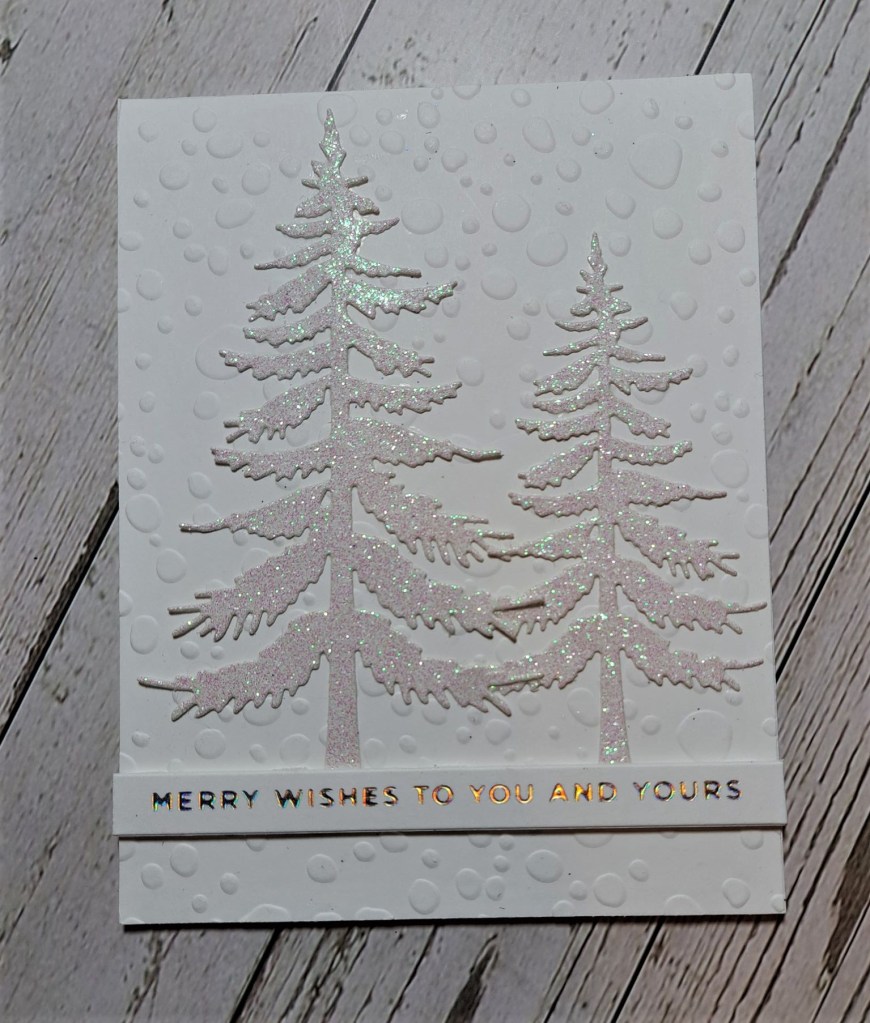
As you can see – I had a ‘white’ moment for both cards. I think white on white gives a touch of elegance,especially with a pop of gold.

For the trees card, I dry embossed a dotty pattern onto a white panel – I think it should be rain drops – but also looks like snow to me……

The trees from Elizabeth Craft Designs were die cut out of white glitter card stock, and the sentiment is from a previous foiling session.

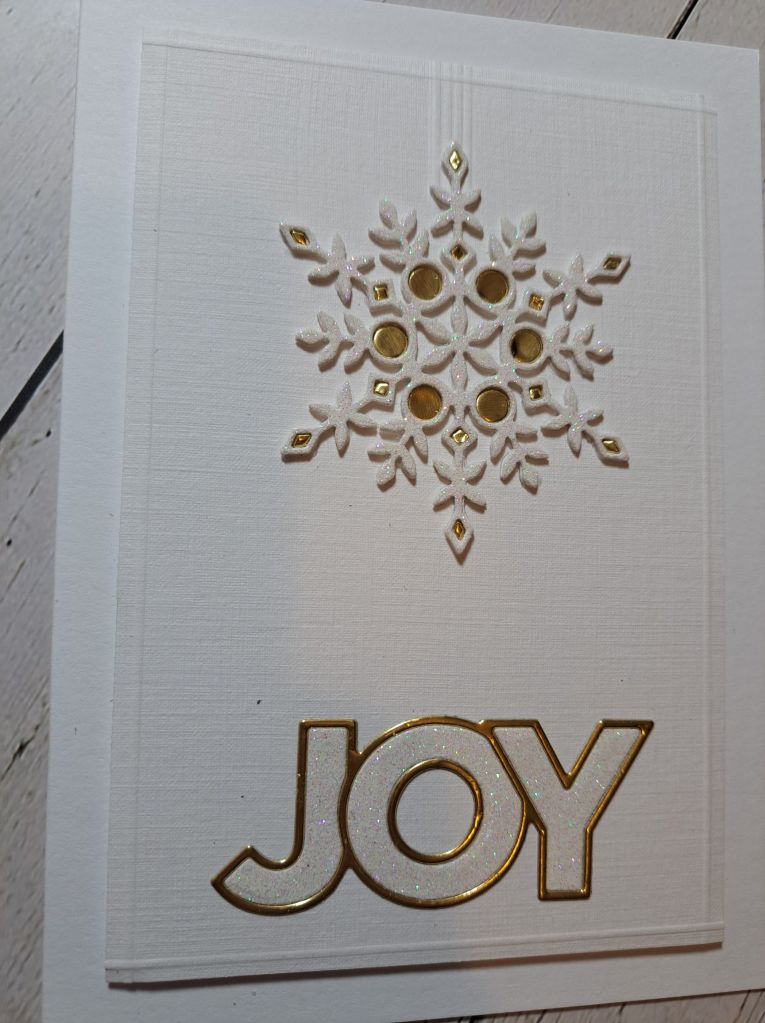
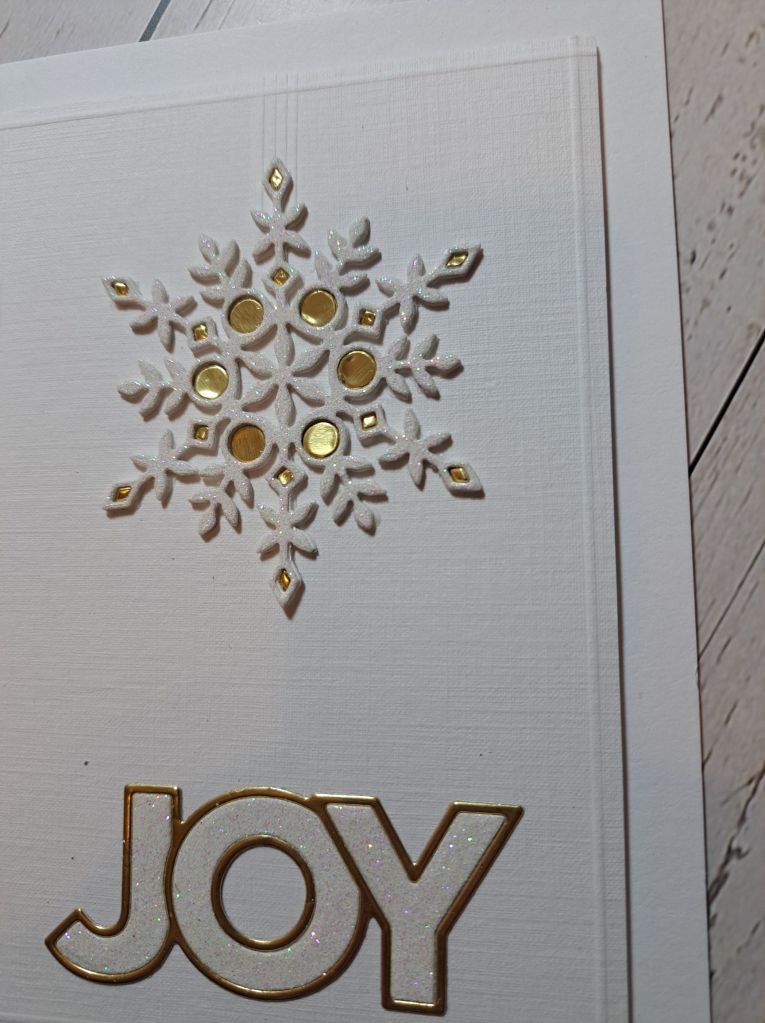
For the more involved snowflake card, I created a panel of white linen card smaller than the base, then used my bone folder and scoreboard to create a frame around the edge, and a few lines at the top of the ornament- almost a hanging thread or string.

The snowflake was die cut from white card stock and white glitter card – a new card for me from Pink Frog Crafts here in the UK – and adhered to the bottom of the dry embossed lines.

The sentiment is also from Simon Says Stamp – the outline in Spellbinders gold cardstock and the inner parts of the words from the same glitter card stock. I didn’t use the shadow layer.

As I had used gold for the outline of the words, I had the ‘bright’ idea of inlaying some gold back into the snowflake. I say ‘bright’ ‘cos that was fiddly as fiddly as could be – but I’m glad I didn’t give up as I like the result.

I hope you can come and jpoin with your Christmas/Festive creations following our theme – I look forward to seeing a White and Xtra Special gallery. xx

I shall be entering the following challenges:

Tree card:

Allsorts Challenge – sparkle and shine

Creative Fingers Challenge – anything goes

Crafty Friends Challenge – Christmas

Unicorn Challenge – Christmas is coming

Merry Little Christmas Challenge – anything goes Christmas

Snowflake card:

AAA Cards – CAS anything goes
Craft Rocket Challenge – Christmas/Winter

Crafts Galore – anything goes
Die Cut Divas – die cuts anything goes
Dragonfly Dreams – Christmas

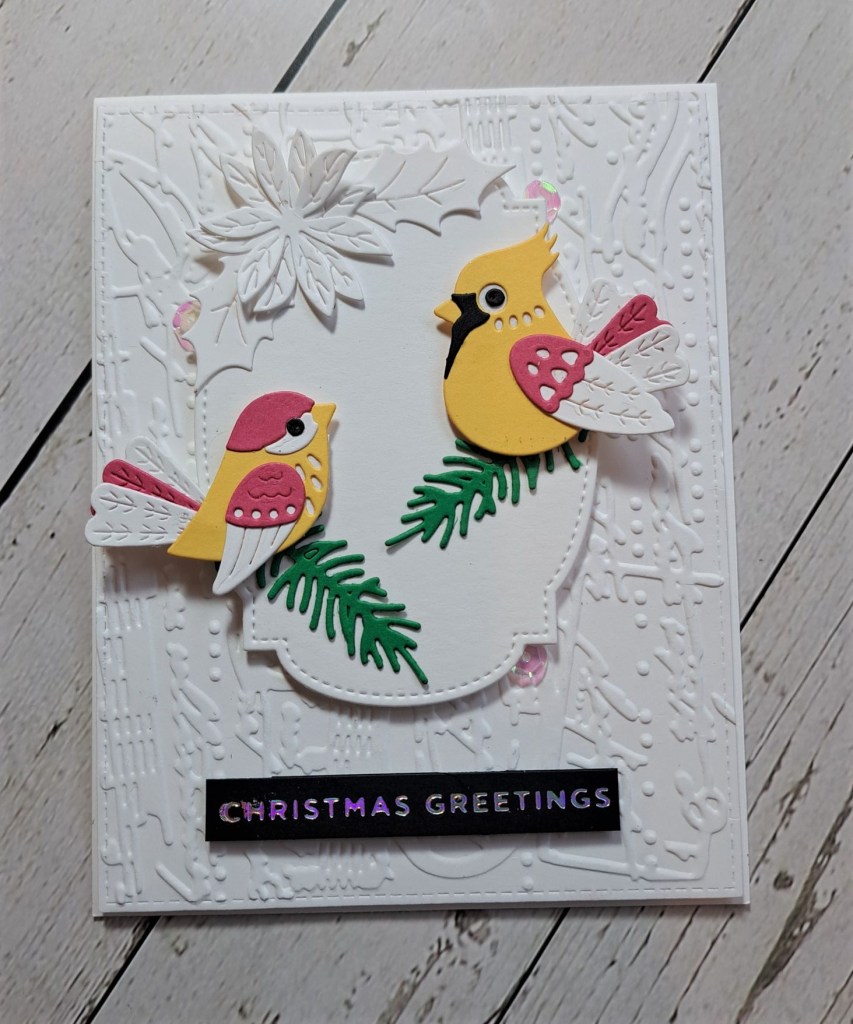
Birdie Christmas Greetings

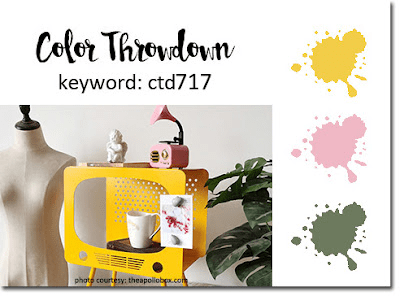
Hello. I have a card to share inspired by the current colours at Color Throwdown:

I decided to make a Christmas card with those colours, and used a few Spellbinders die sets I have.

The background is embossed using an older embossing folder from Sizzix – not a Christmas design by any means, but I liked that it add some interest.

The central die is from Gina K designs and one of her Master Layouts, raised and adhered with foam.

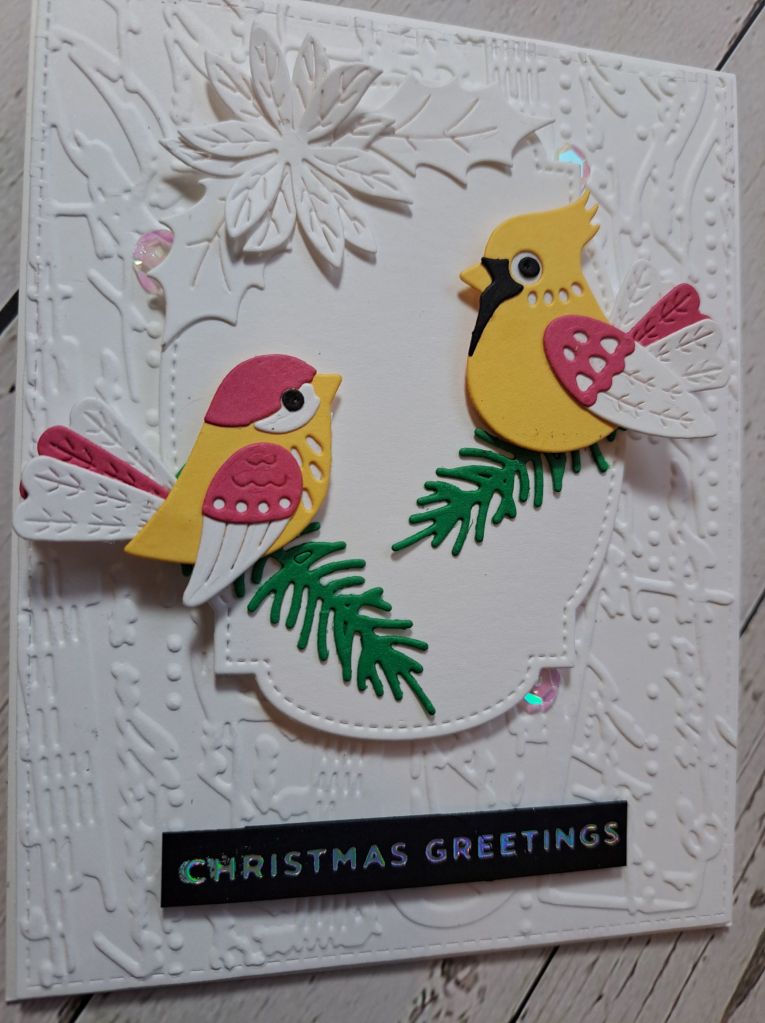
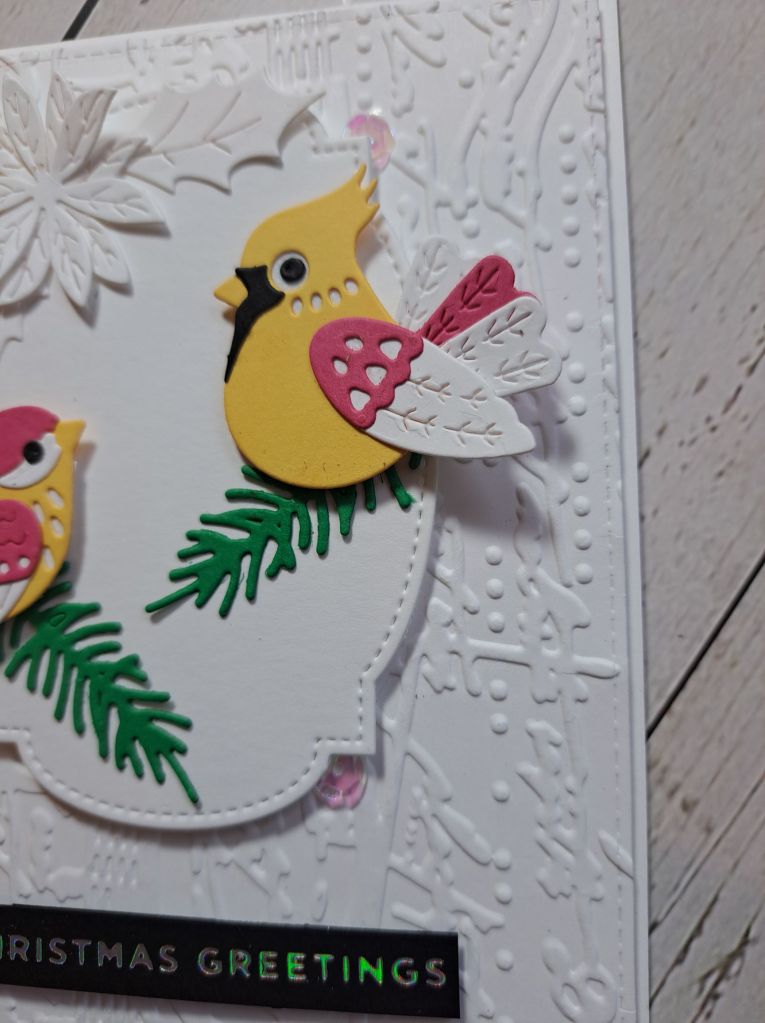
The birds were put together using all the layers in each die set, but for the bird which is supposed to be a cardinal, I changed his/her tail feathers to the smaller ones from the other bird.

The floral elements and ferns are also from Spellbinders.

I played with the layout a little, stuck the elements down when I was happy with a mixture of 3D foam and glue, then added some sequins – I restrained myself to only adding three – and found that the sequins actually shine a little pink – so matches the colours perfectly.

I added the previously foiled sentiment for a total contrast so there is no mistake that this is a Christmas card……! Despit the colours…..!

I shall be entering the following challenges:

Color Throwdown – mustard, pink, green

CYHTP – embossing folder – option pumpkins not taken

Christmas With The Cuties – anything goes Christmas – option food/drinks not taken

Sparkles Forum – festive and things with wings
Die Cut Divas – anything goes with die cuts

Merry Little Christmas Challenge – anything goes Christmas

Believe In The Magic

Hello there. I have a card to share created using some new products, and some older card stock and gems, using traditional Christmas colours:

I’ve spent quite a bit of time in my craft room these past few days – I had a ‘little’ accident when cycling – hit some mud and boom – was suddenly on the floor! My goodness that hurt – but also thank goodness for my cycle helmet – I banged my head – it could have been worse. A grazed and bloody knee, a bruised elbow, and a lot of pain around right side of chest – maybe cracked rib – painkillers helping to some extent – but it means I can’t do very much else except craft – a rainbow behind the cloud!

Anyhoo – this card was also quite fiddly with all the elements, but as soon as I saw the Spellbinders Christmas collection, and what Yana Smakula in particular did with it – straight into me basket and delivered very quickly.

I mixed a few die sets to create this – lots of die cutting, lots of arranging, and re-arranging until I was happy with the result. Another bonus is my electronic die cutting machine, as even cranking the handle on a manual one hurt….

The post box was created using two different shades of red, with a gold handle. I used gold for the skates and gold gems in the middle of the poinsettias and added to the bottom left.

The flowers, holly, mistletoe and ferns using plain white with red accents – lots of die cutting and fiddly assembling – I really do seem to have my fiddly and fussy head on at the moment.

The card base had some black splatters for added interest.

The foiled sentiment is from a batch previously created and it didn’t foil absolutely perfectly – but it still shines and it is still readable.

I shall be entering the following challenges:

The Flower Challenge – flowers and use a sentiment

Use Your Stuff – die cuts

Crafty Friends Challenge – use more than one die

Most Magical Time Of The Year – anything Christmas or Halloween

Sparkles Forum – Christmas with Holly and/or Ivy

Christmas Crafts All year Round – Christmas with winter sports/recreation (skating)

Fab ‘n’ Funky – season’s greetings

Black and White and Gold Christmas

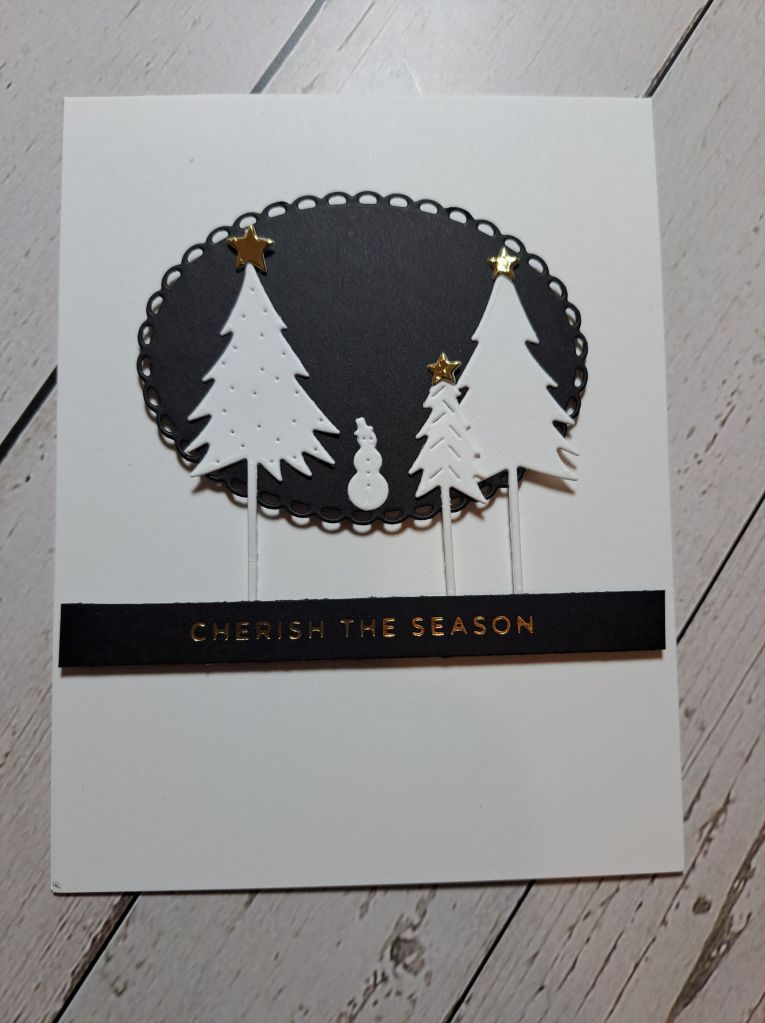
I have a CAS Christmas card to share today:

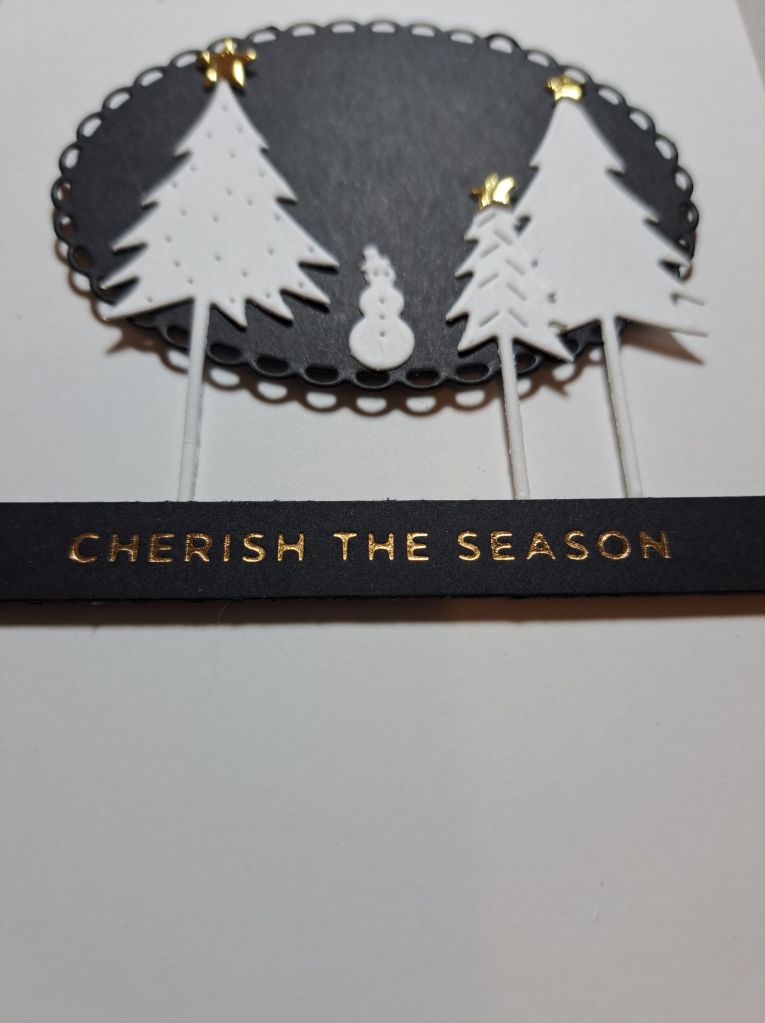
Onto a white card base I attached a scalloped oval from one of the Gina K Designs Master Layouts.

The sentiment – a previously created foiled sentiment – was attached and used as a ‘grounding’ for the trees.

The trees and little snowman are from a die set from Charlie and Paulchen, and little gold stars added – gold to match the foiling on the sentiment.

I shall be entering the following challenges:

Krafty Chicks – CAS

Clean and Simple on Friday – CAS – black, white, and one colour

Crafty Hazelnuts Christmas Challenge – anything goes Christmas

Crafty Friends Challenges – use more than one die