Merry Wishes To You And Yours

Hello there. I have been playing with a new-to-me die set from Tim Holtz:

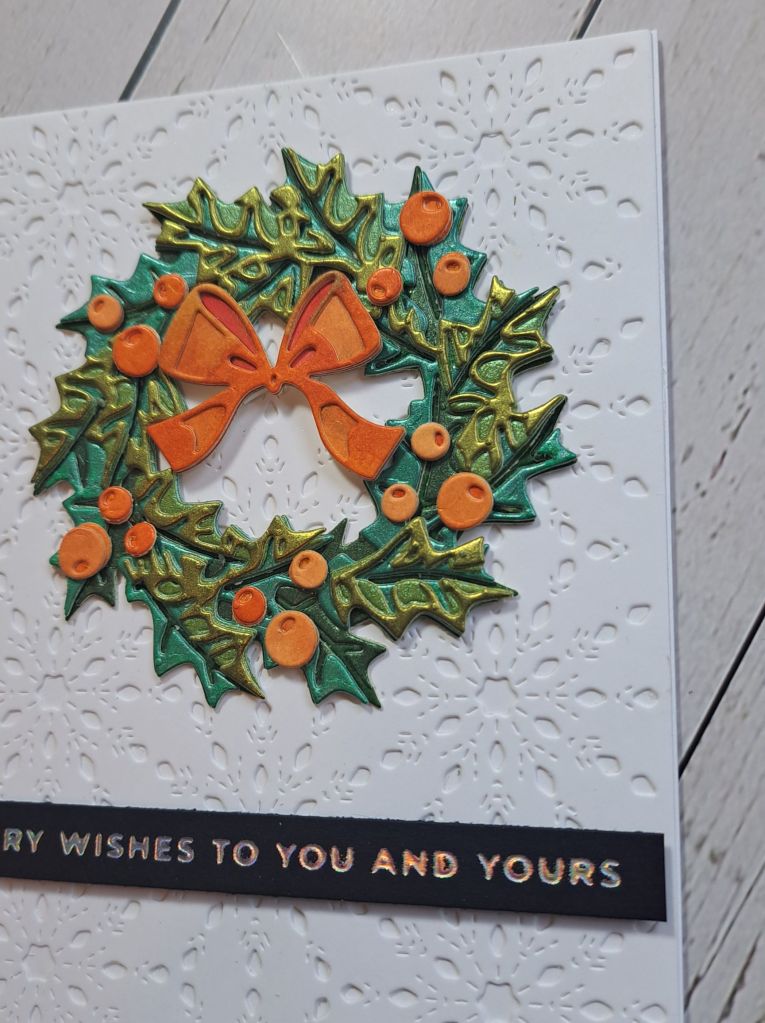
I first created some panels of green shimmery card using Tim Holtz mica sprays in varying shades of green and one panel of orange. I let them dry overnight, as I had used Distress Mixed Media Heavystock, which would need a couple of passes through my machine – that card stock is indeed ‘heavy’.

I then die cut the wreath layers and stuck them together. Now – that sounds simple – but it took some figuring out – it’s a good job I was in a fiddly and fussy kinda mood! I then die cut the berries and used only two layers – my fiddly and fussy mood didn’t extend to the small, very small, outer berry circles!

I also used the remainder of the orange mica card to die cut the bow.

Once the wreath layers and berries were glued down, I turned to the background, and die cut this snowflake panel – again – for a white-on-white background. I thought this added interest without taking away from the wreath.

I then searched through my previously foiled Christmas sentiment stash and used the one you see.

I shall be entering the following challenges:

Color Throwdown – orange, green, white

Crafty Catz Challenge – anything goes – option ribbon or twine not taken

Use Your Stuff – use some die cuts

Sparkles Forum – Christmas with Holly and/or Ivy

Fab’N’Funky – Season’s Greetings

Peace On earth Christmas – anything goes Christmas

ABC Christmas Challenge – U and V

The new themes for ABC Christmas Challenge are ‘U for Unusual Colours‘ and ‘V for Velvet‘. I chose to go with unusual colours. Here is my card:

The two Hero Arts holly branches were created from a playtime I had in my craft room. I have done this technique before, and love how it turns out every time.

Onto piece of white card, apply PVA glue all over, add tissue paper – wrinkle it as laying it down. Then spray with water and add colour with powder – Brushos for instance. More water to let the colour soread – then leave to dry.

You end up with a very crispy and colour piece of card. I then add gilding wax to pick up all the wrinkles – then put to one side for future use.

As you can see, the top branch is using purples and browns with gold gilding wax, and the second is using different greens with gold gilding wax. You are best adding the gilding wax before die cutting as you may squash some of the texture putting it through your machine.

For the card, I dry embossed a very old Sue Wilson embossing folder, cut a panel for the card base, adhered the branches, and added a foiled sentiment – from another play session with my foiling machine.

I was going for a cleaner look this time – so ne gems – shocker!

I hope you can come and join with your Christmas/festive creations using our themes. xx

I shall be entering the following challenges:

Peace On Earth Christmas Challenge – anything goes Christmas

QKR Stampede – anything goes

Merry Little Christmas Challenge – anything goes Christmas

CYHTP – embossing folder – option orange and black not taken

Arty Divas – anything goes

Creative Artiste Mixed Media Challenge – anything goes Mixed Media

Sparkles Forum Christmas Challenge – Christmas with Holly and/or Ivy

Grateful For All You Do…..

It is my turn to host the new challenge at The Alphabet Challenge. As we have reached the letter ‘N‘, I chose the theme of ‘Nature’. Here is my card:

Onto w white card panel I splattered gold and black Liquitex acrylic. Whilst that was drying, I stamped, coloured, then die cut the leaf images.

Once I had decided where to put each leaf – and cut/trim accordingly – I attached with 3D foam, then added the foiled sentiment.

The white panel layered with a black panel, some gold facetted gems added – and the card is ready to go to a dear friend.

I hope you can come and join us with your ‘nature’ themed creations – I look forward to seeing your creations. xx

I shall be entering the following challenges:

Shopping Our Stash – leaf/leaves

TTCRD – anything goes

Mix It Up – anything goes – option smooshing

Lil Patch Of Crafty Friends – anything goes

Creatalicious – anything goes – option for a friend

Crafts Galore – anything goes

Rockin’ Holidays

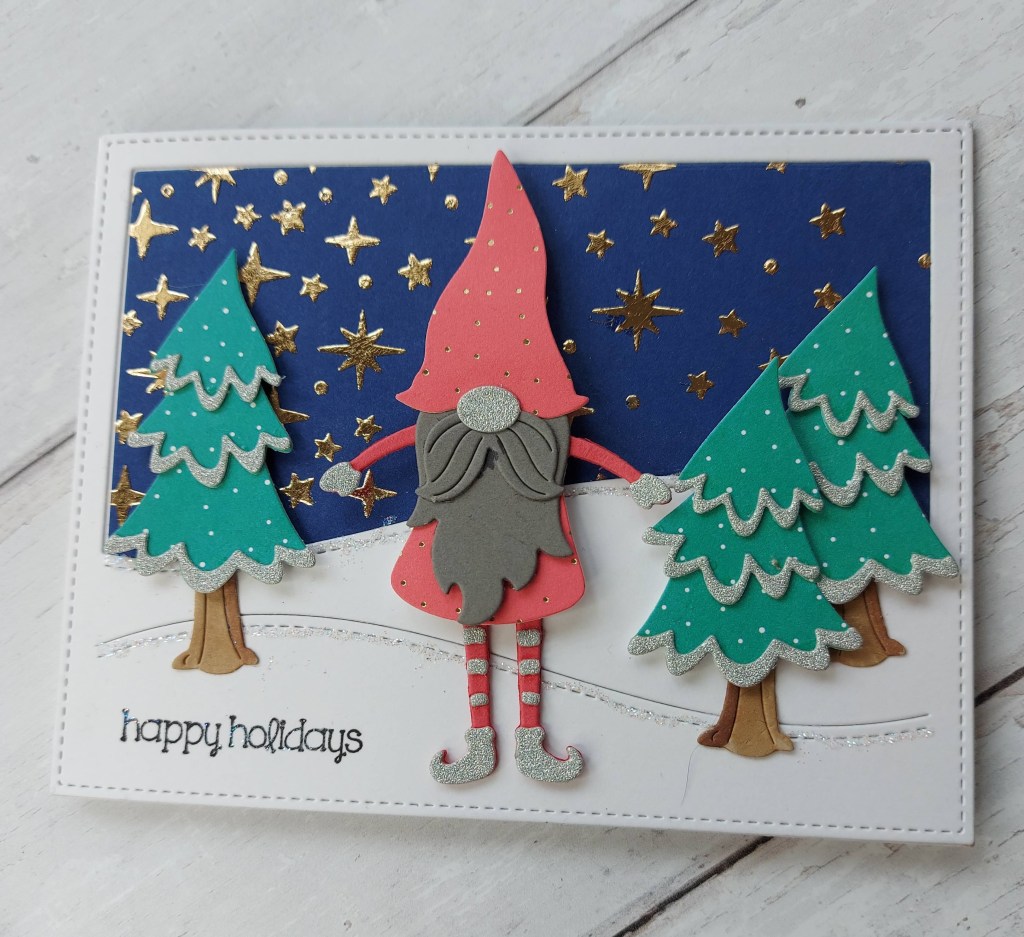
Hello there. A new challenge has started at Cardz 4 Galz, and this time the theme is ‘Christmas In July’. Here is my card:

The background with gold foil stars was created using Thermoweb Duo Gel, a star stencil, and then running through my die-cutting machine with Decofoil.

I used the Lawn Fawn backdrop for the white, and then die-cut the blue foiled star panel to get the evening sky. The hills were glittered using Lawn Fawn Prisma Glitter.

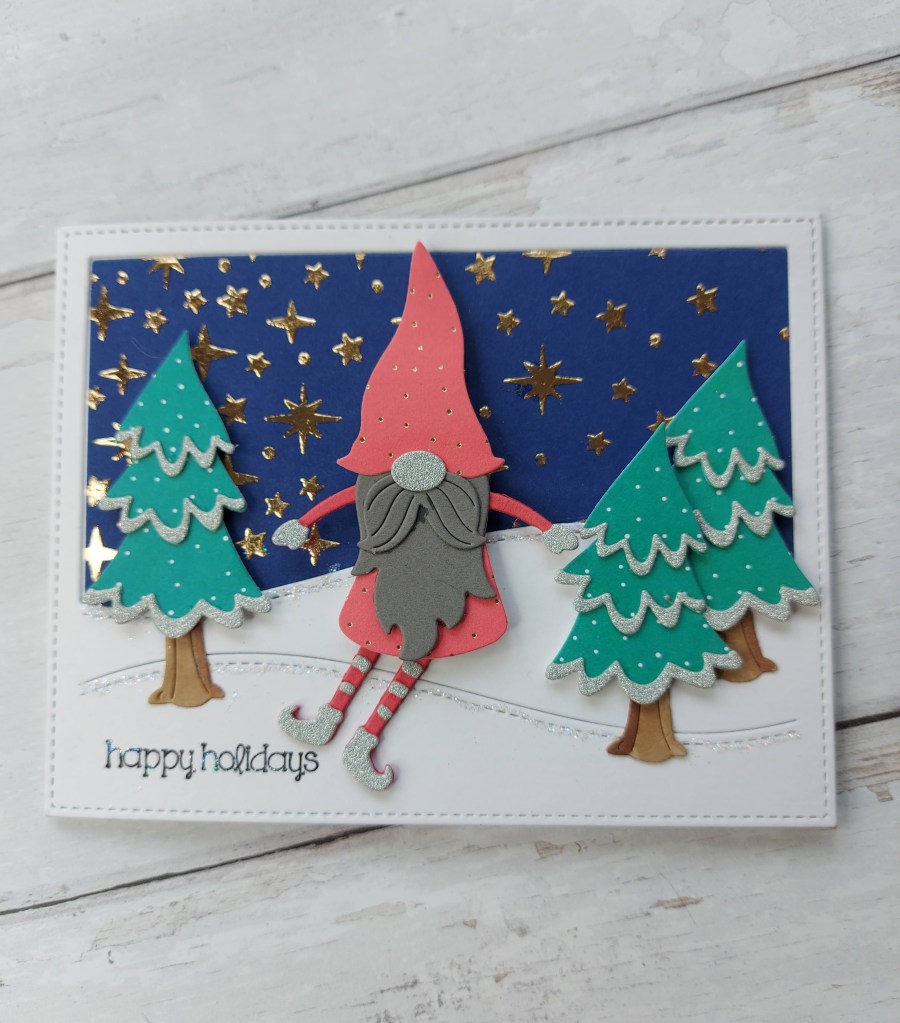
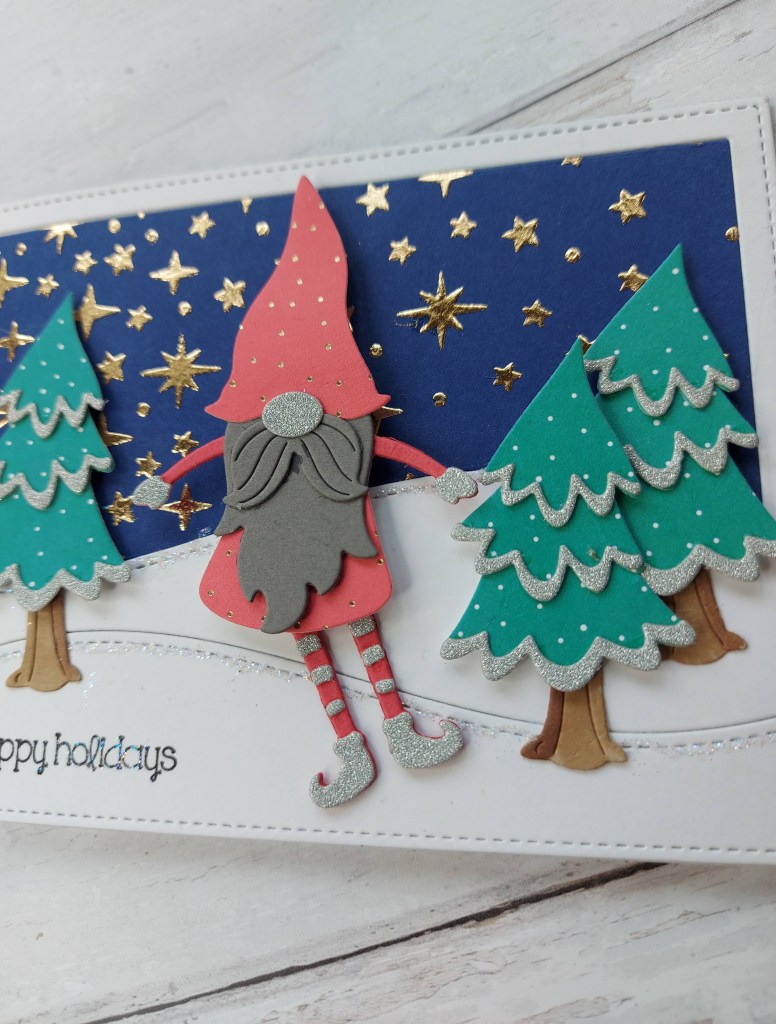
The trees and gnome are from Spellbinders, a little Copic shading on the tree stumps, and the trees themselves cut out of Lawn Fawn paper with little dots on – just to mimic some snow…….maybe…..and the edges of the tree layers die cut out of some white glitter card.

The gnome – now his legs move – rocking from side-to-side:

It was quite fun creating this little scene – I did have to watch a couple of videos on how to piece the gnome together – so many little pieces. I usually don’t like little fiddly die-cutting and assembling – but this was fun.

I hope you can come and join us with your creations matching our current them – I look forward to seeing what you create. xx

I shall be entering the following challenges:

Crafty Hazelnuts Christmas Challenge – anything goes Christmas

Creative Moments Challenge – anything goes

Merry Little Christmas Challenge – anything goes Christmas

Creative Craft Cottage – Christmas in July
Daisy Chain Challenge – use dies and/or stencils

Winners - please take this to share on your blog
Creative Moment Blog Badge
SPREAD THE MERRY LITTLE LOVE AND GRAB A BADGE!
Grab Our Badge
Grab our Badge!!

Foiled greeting

Hello everyone. This may look like a clean and simple card, but it took me absolutely ages to figure out how I was going do some foiling, and for it to look respectable. I was trying to get some inspiration for the current CASology Challenge, and after making the card yesterday, I still had the stamps and dies out and I decided to foil the ‘friend‘ sentiment.

I don’t have a foiling machine, so I hunted for my packets of foil. Then I had to decide how to do it.

The first 2 or 3 times didn’t work. I took some double sided sticky sheets, and stuck it to card, then die cut the letters. I then took the foil and lay it on top, smoothed it out, took away the foil – messy and uneven. I tried again, but it still looked messy and uneven, I couldn’t – initially – think of a way to put down even pressure to make the foil stick.

I went to get a coffee, watched a Real Housewives episode (addicted to a couple of them), and it came to me. Why not put them through my die cutting machine……so I took the sticky letters, added the foil, sandwiched them between a couple of sheets of paper, (my cutting plates are a little ‘tired‘) sent it through my machine……..and this is what I came up with.

Whilst I was faffing with the foiling, I was also thinking about layout. The current challenge from AAA Cards is to only use one third of your card. So that’s what I did!

Now – how to get the letters straight? How to spell it right? We can’t have ‘fiend’ or ‘frend’ now can we? :)

I used the card I had die-cut the letters from and just lay that over the bottom of my card, and inlaid the foiled letters – then removed the unwanted piece of card. That took some figuring out, too, let me tell you.