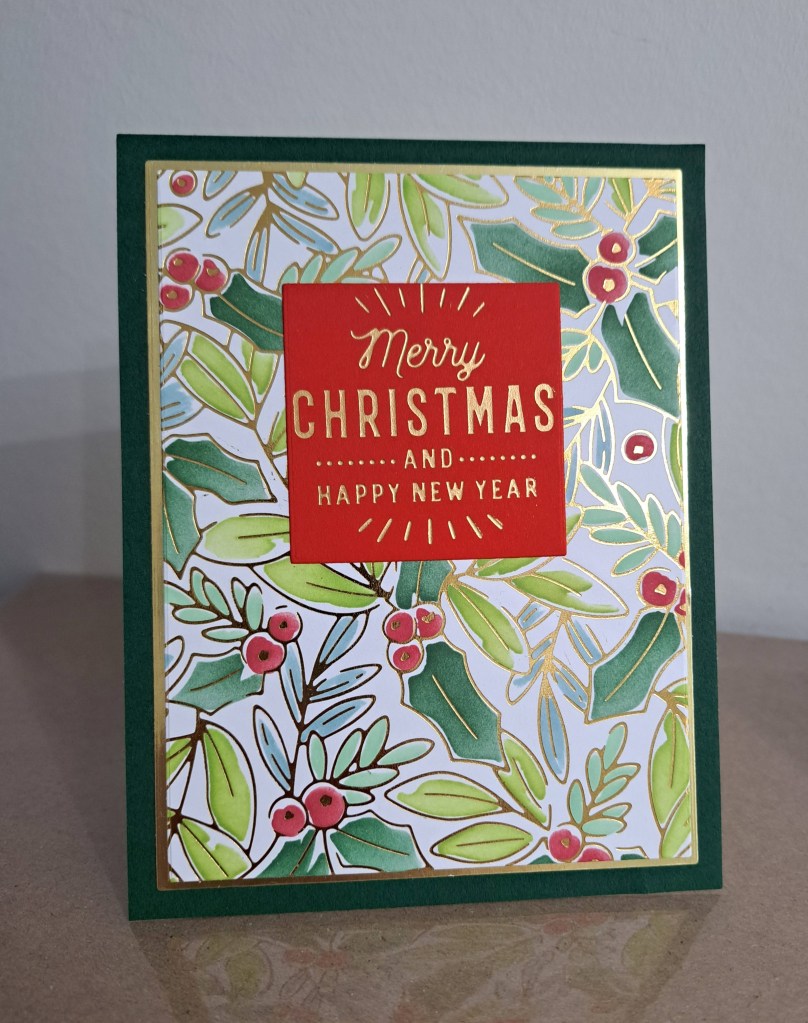
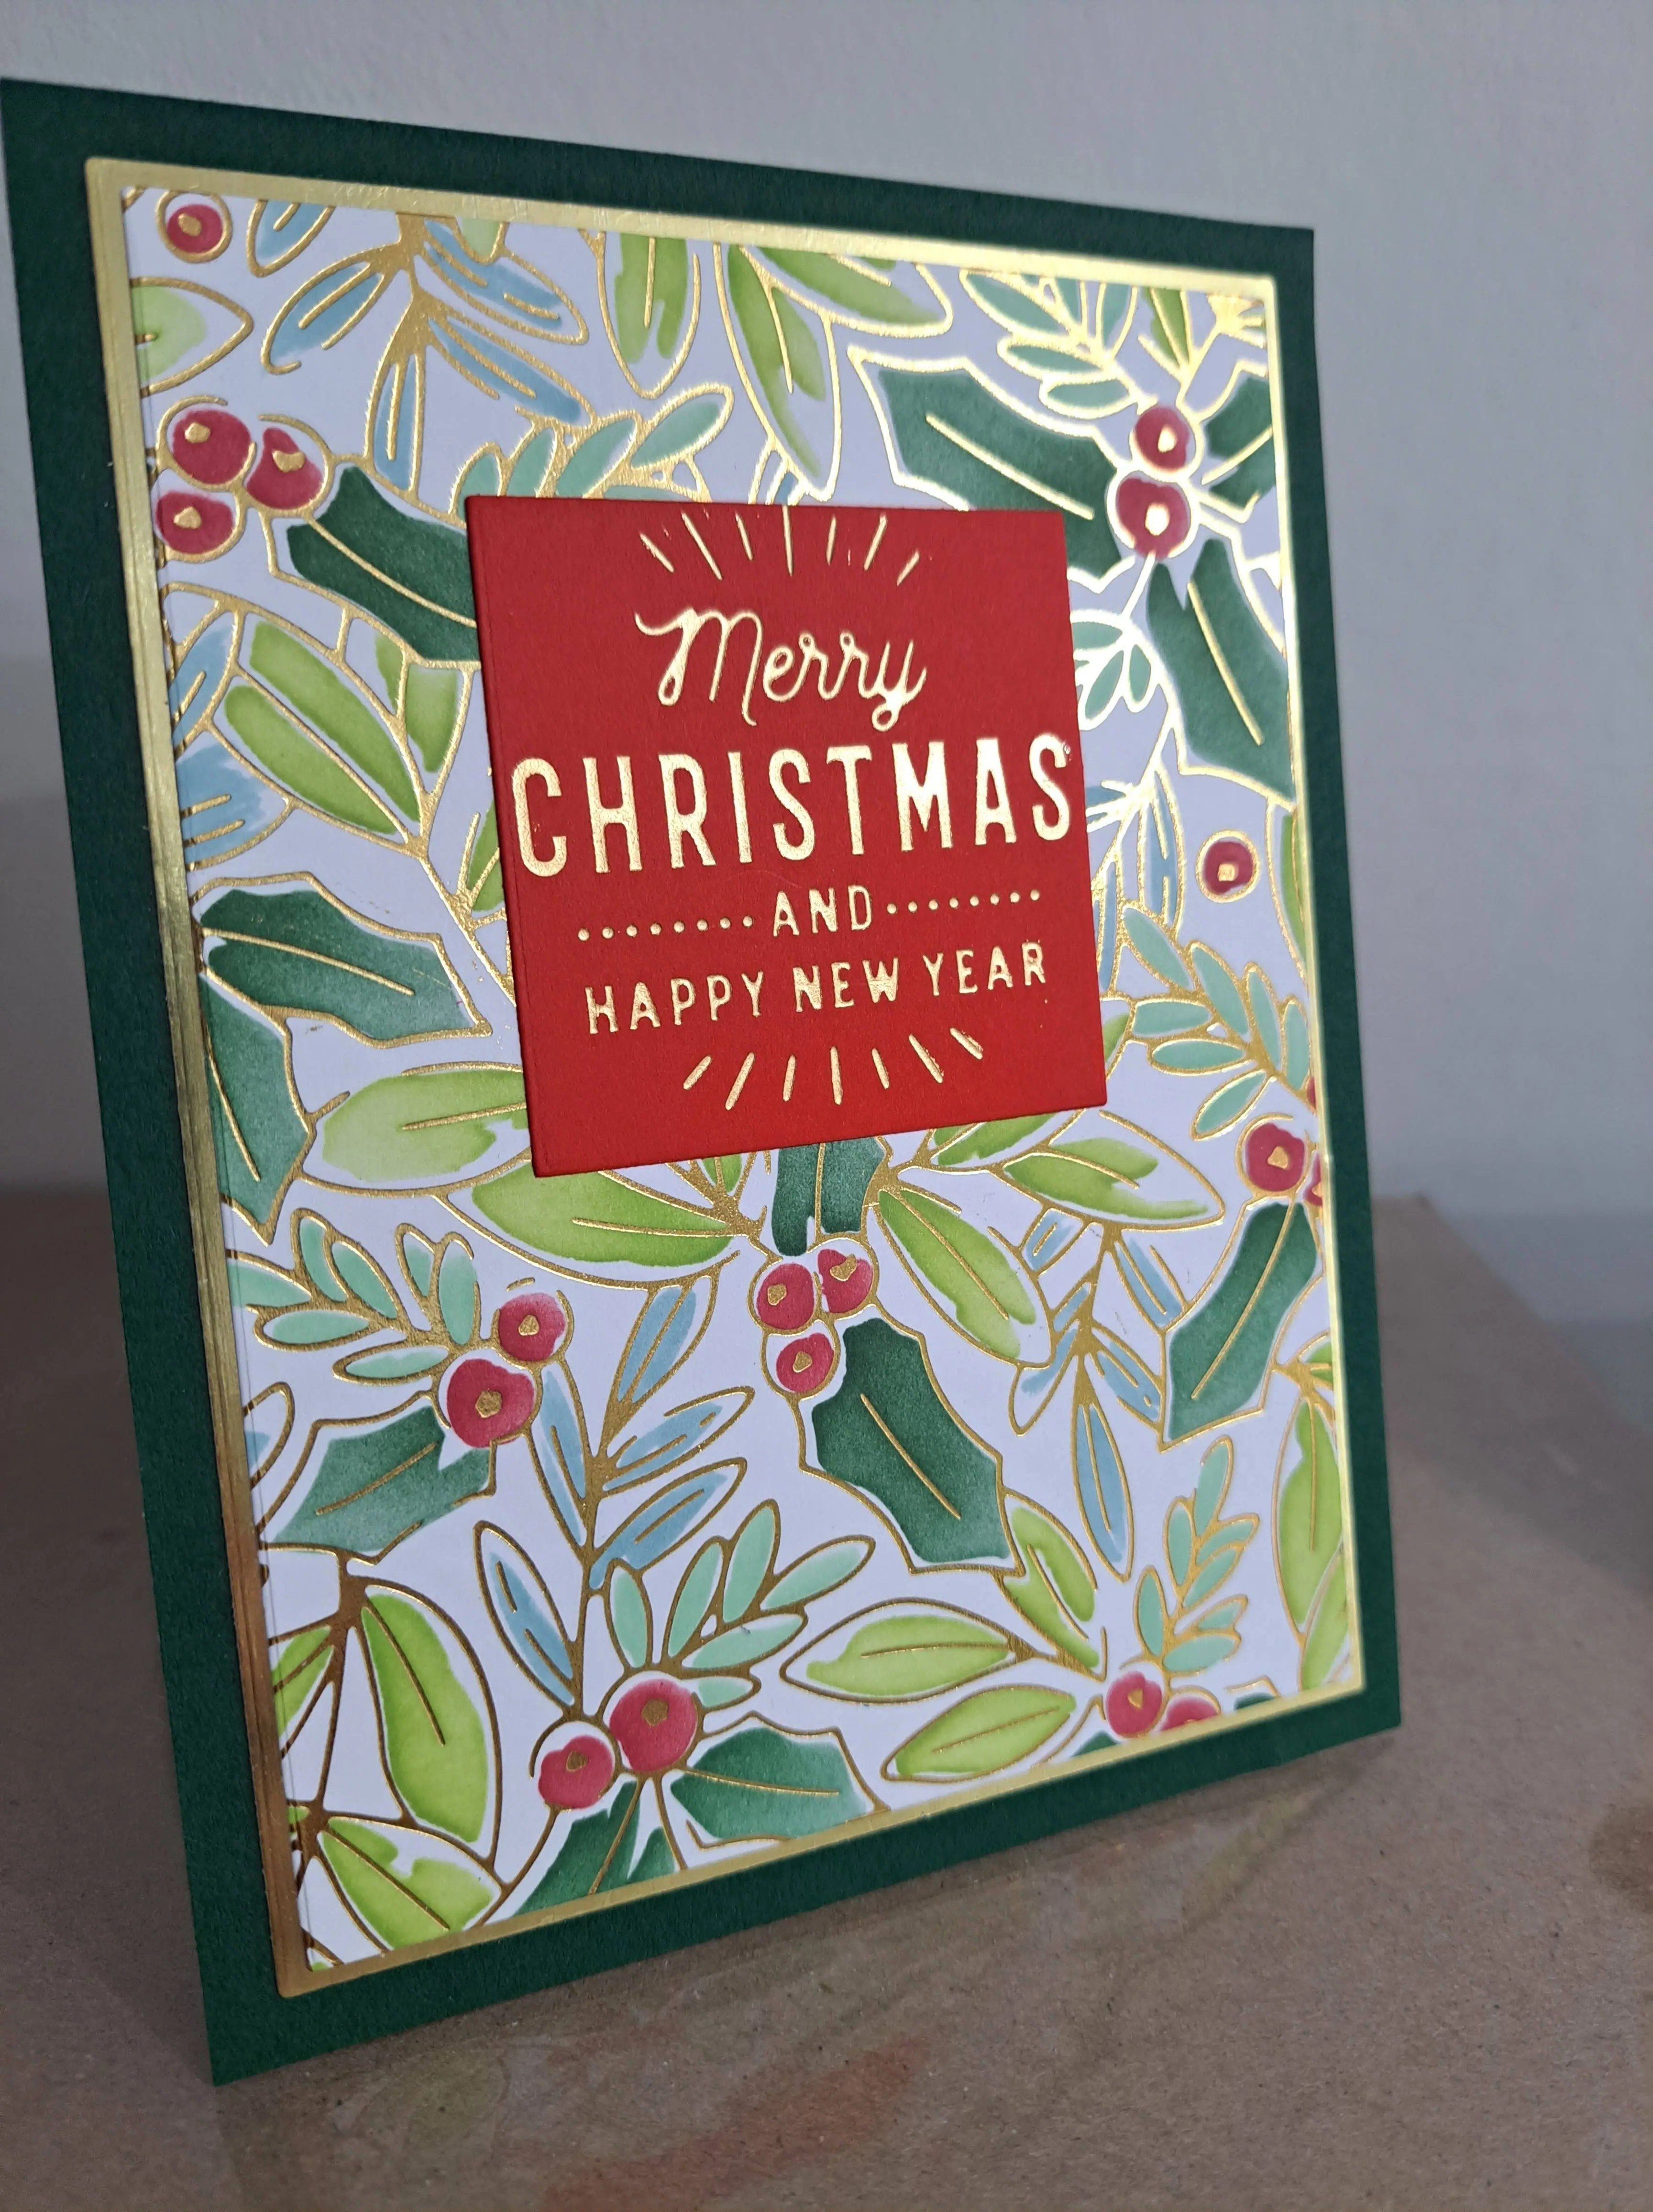
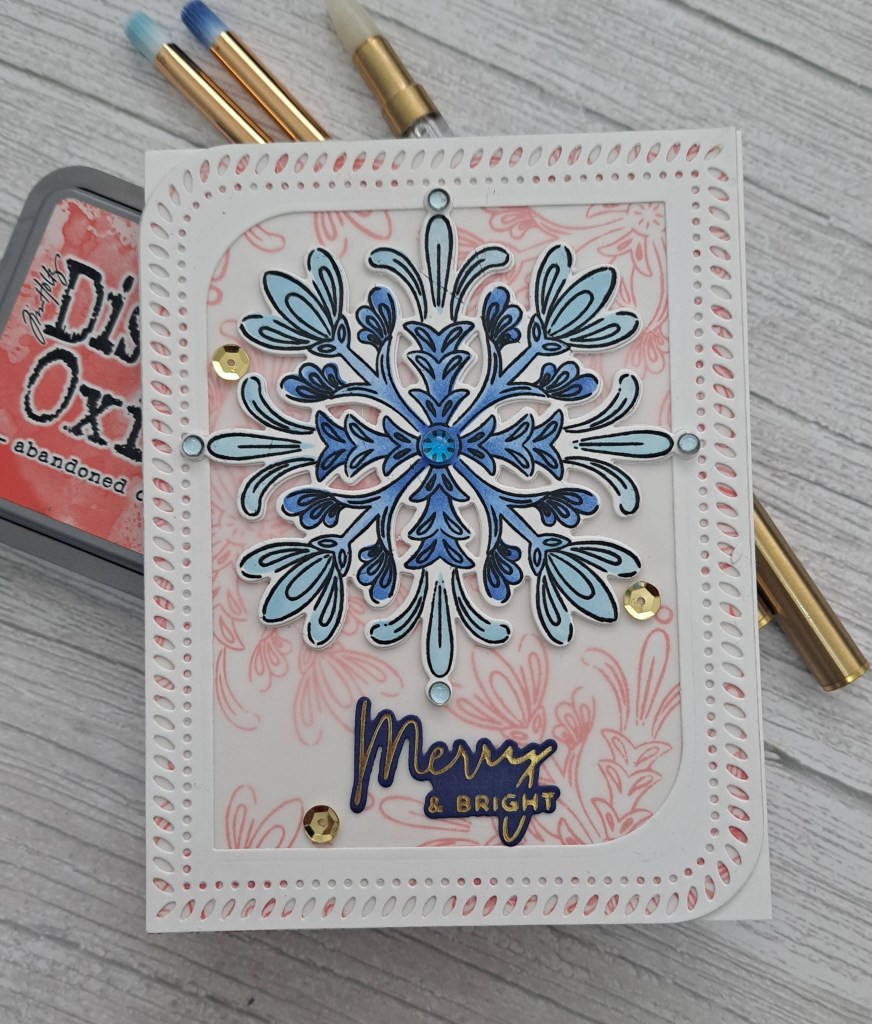
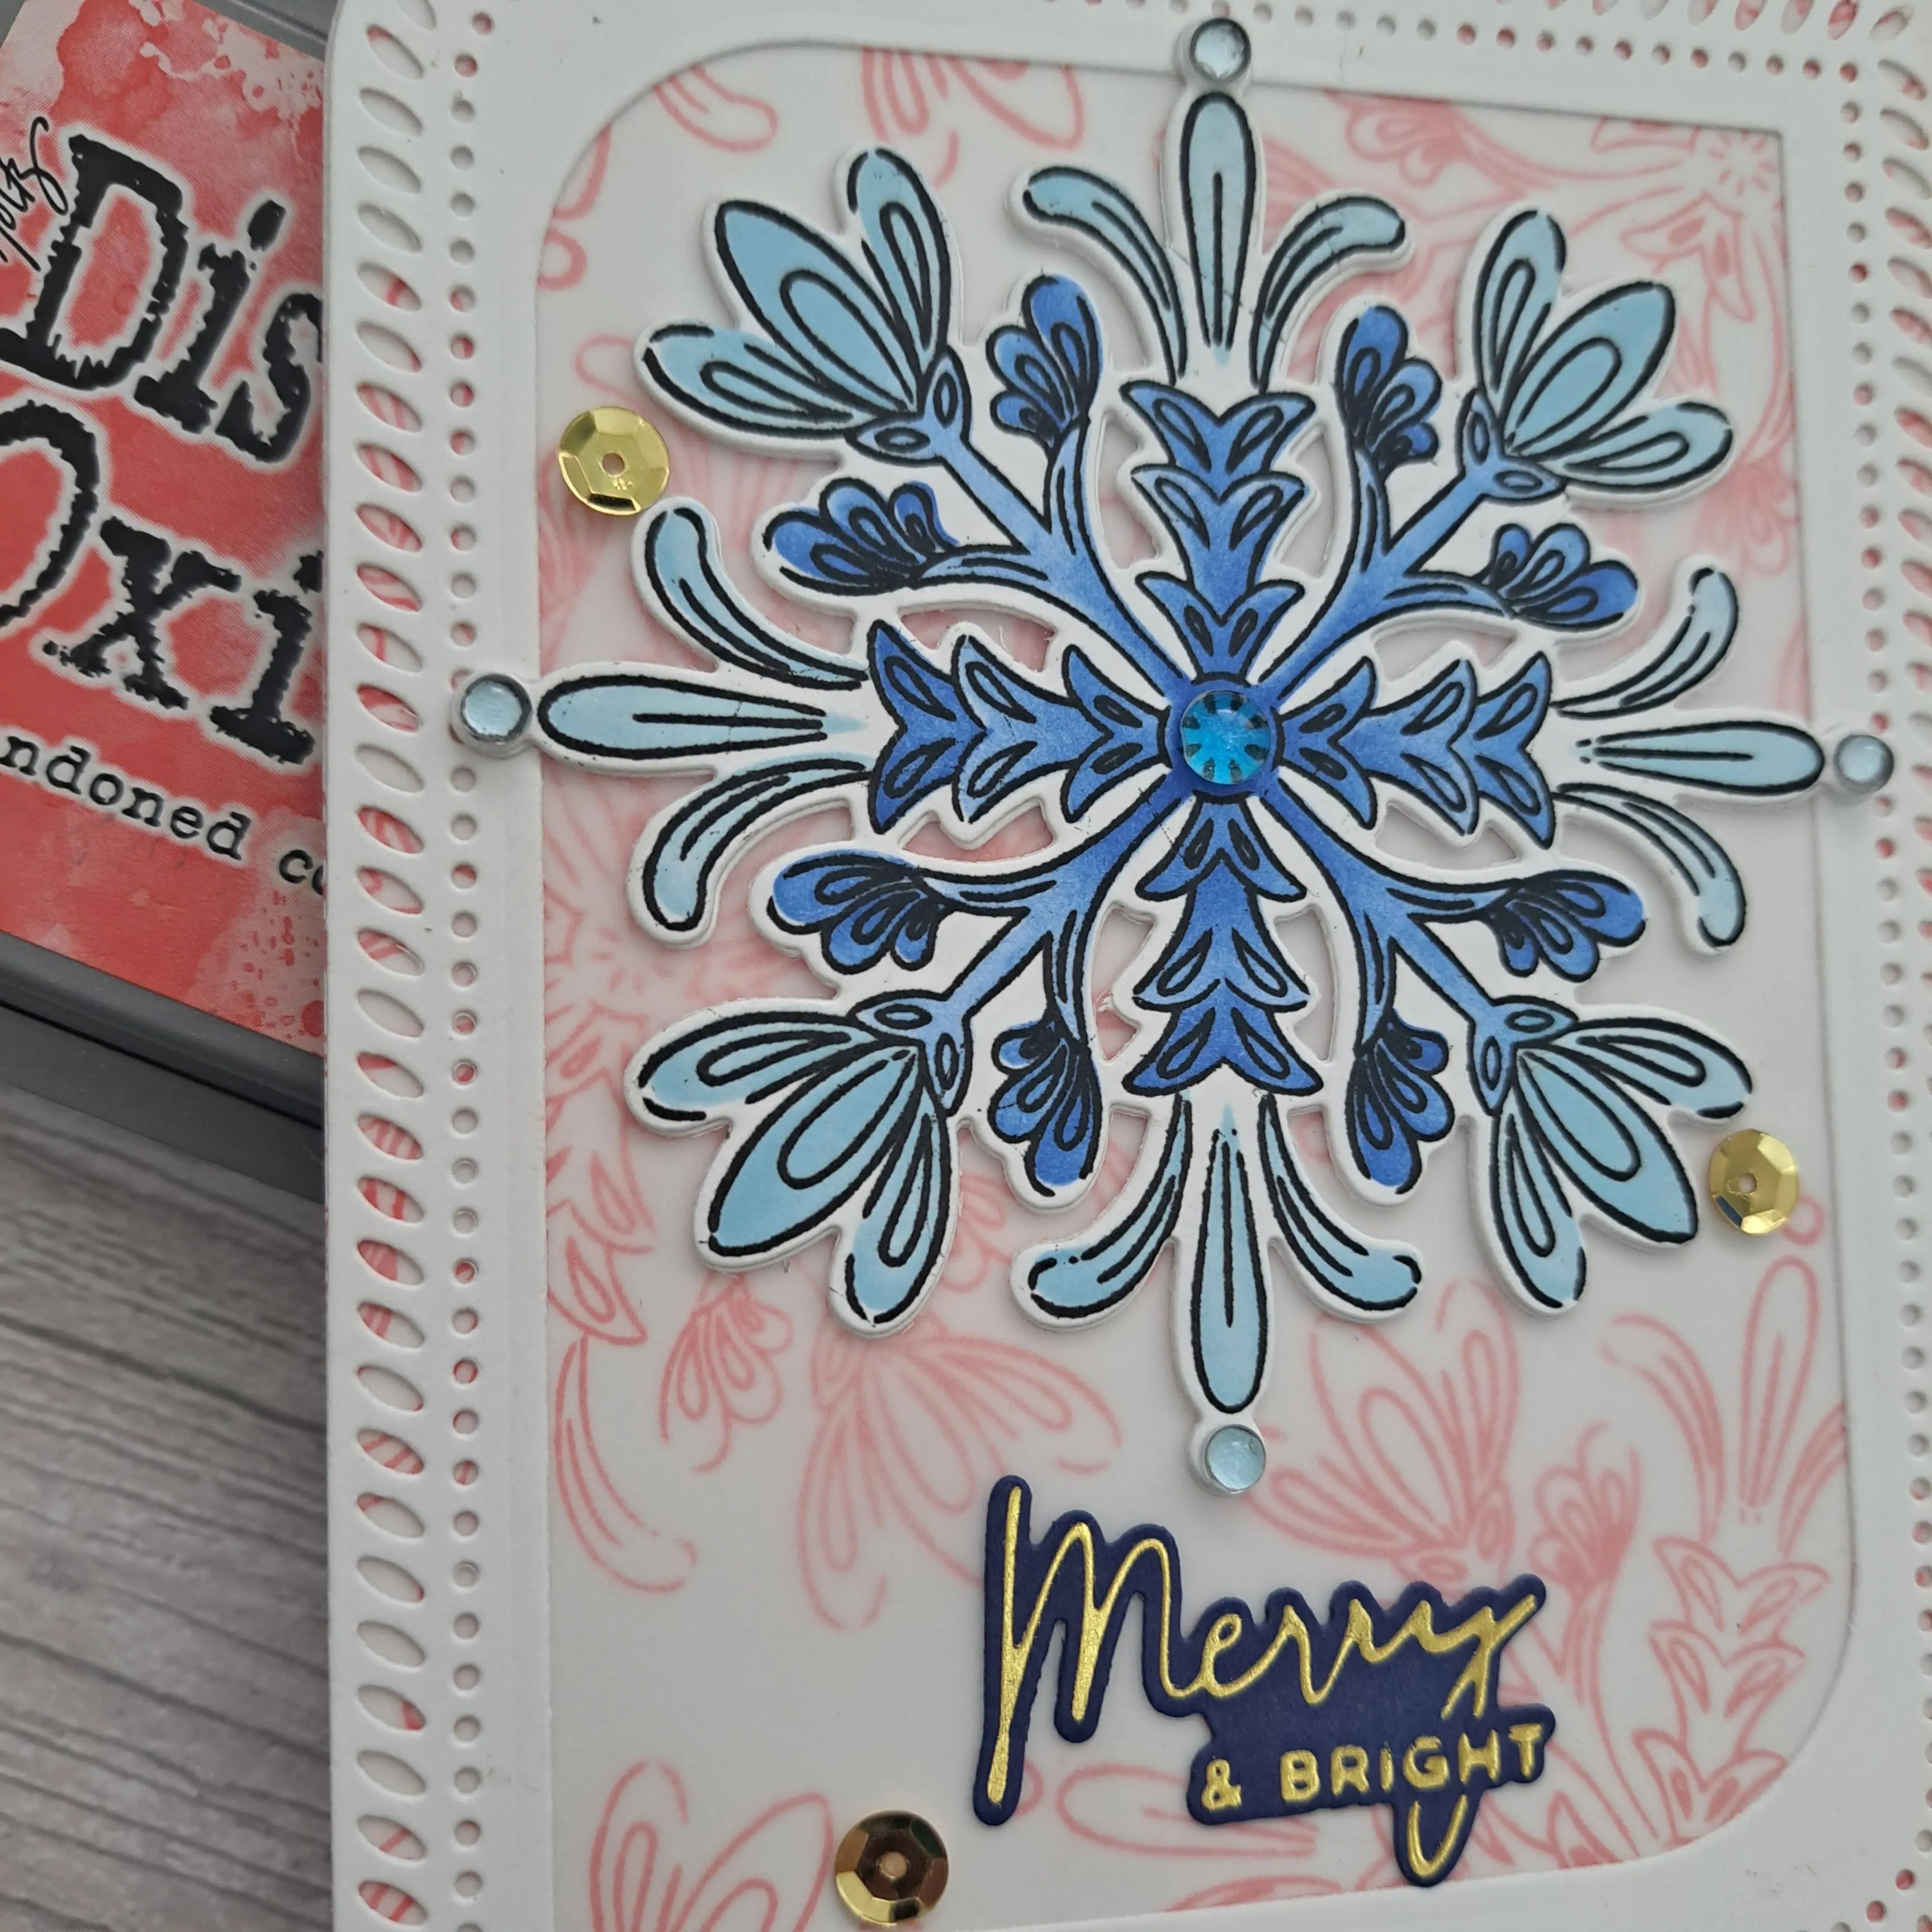
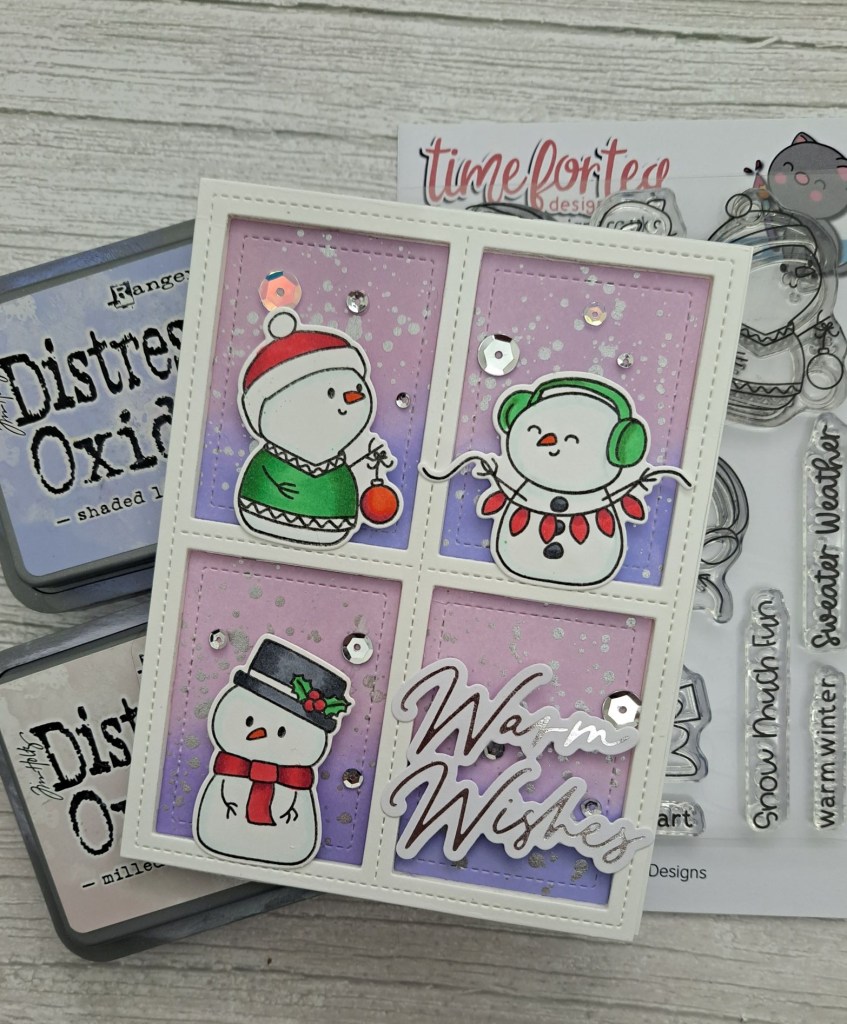
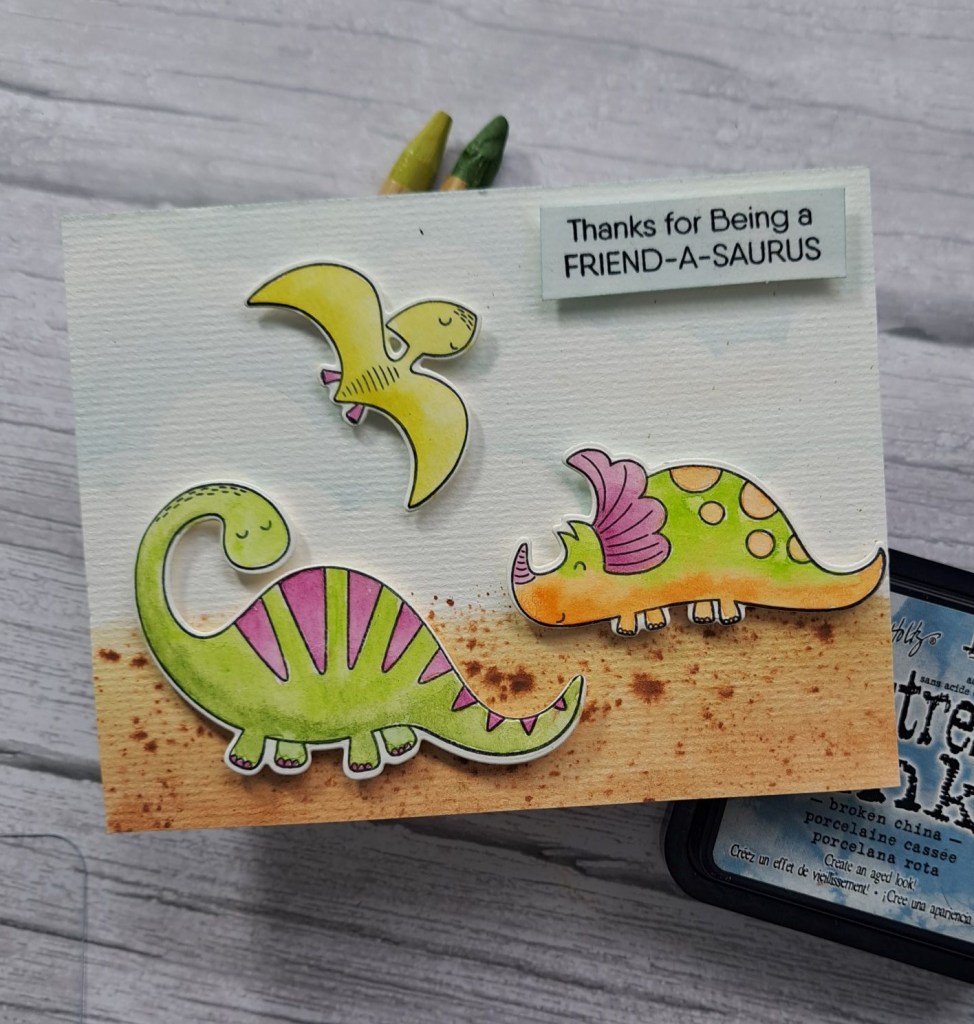
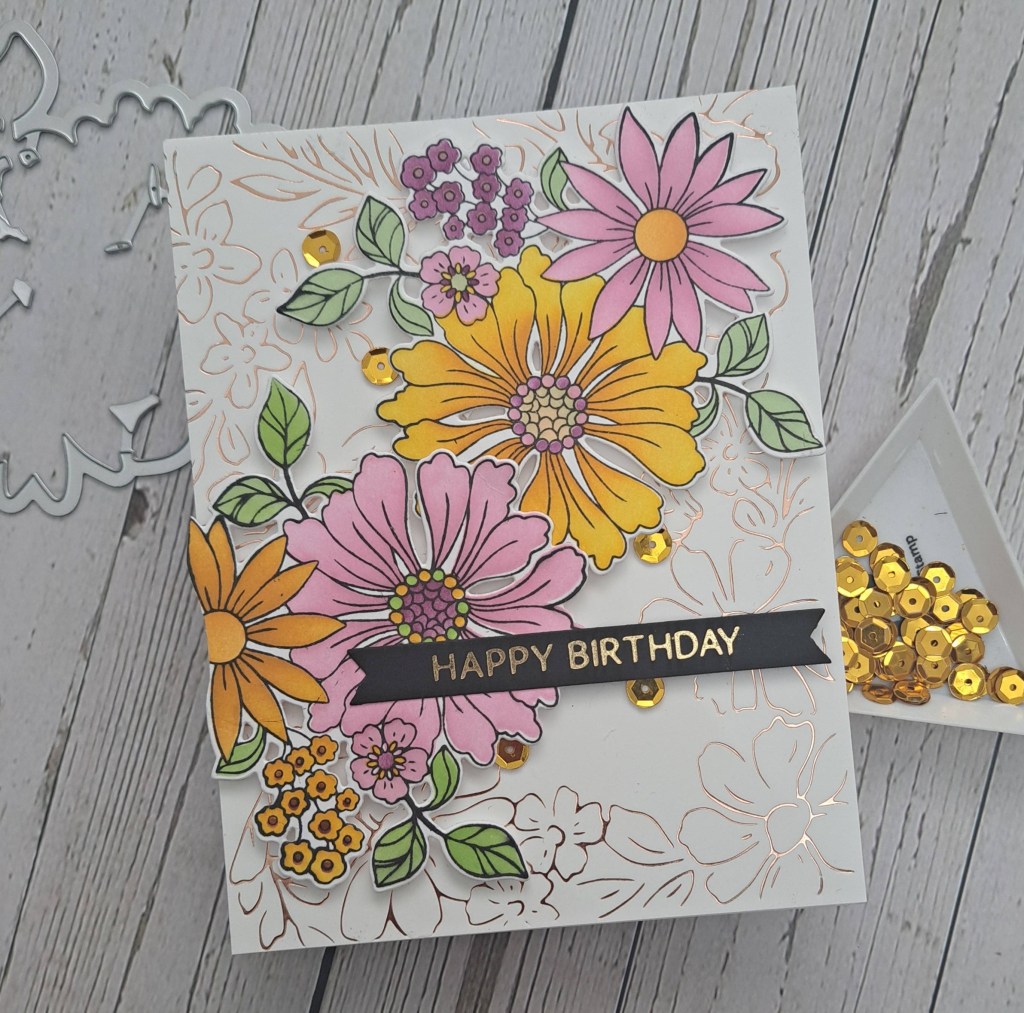
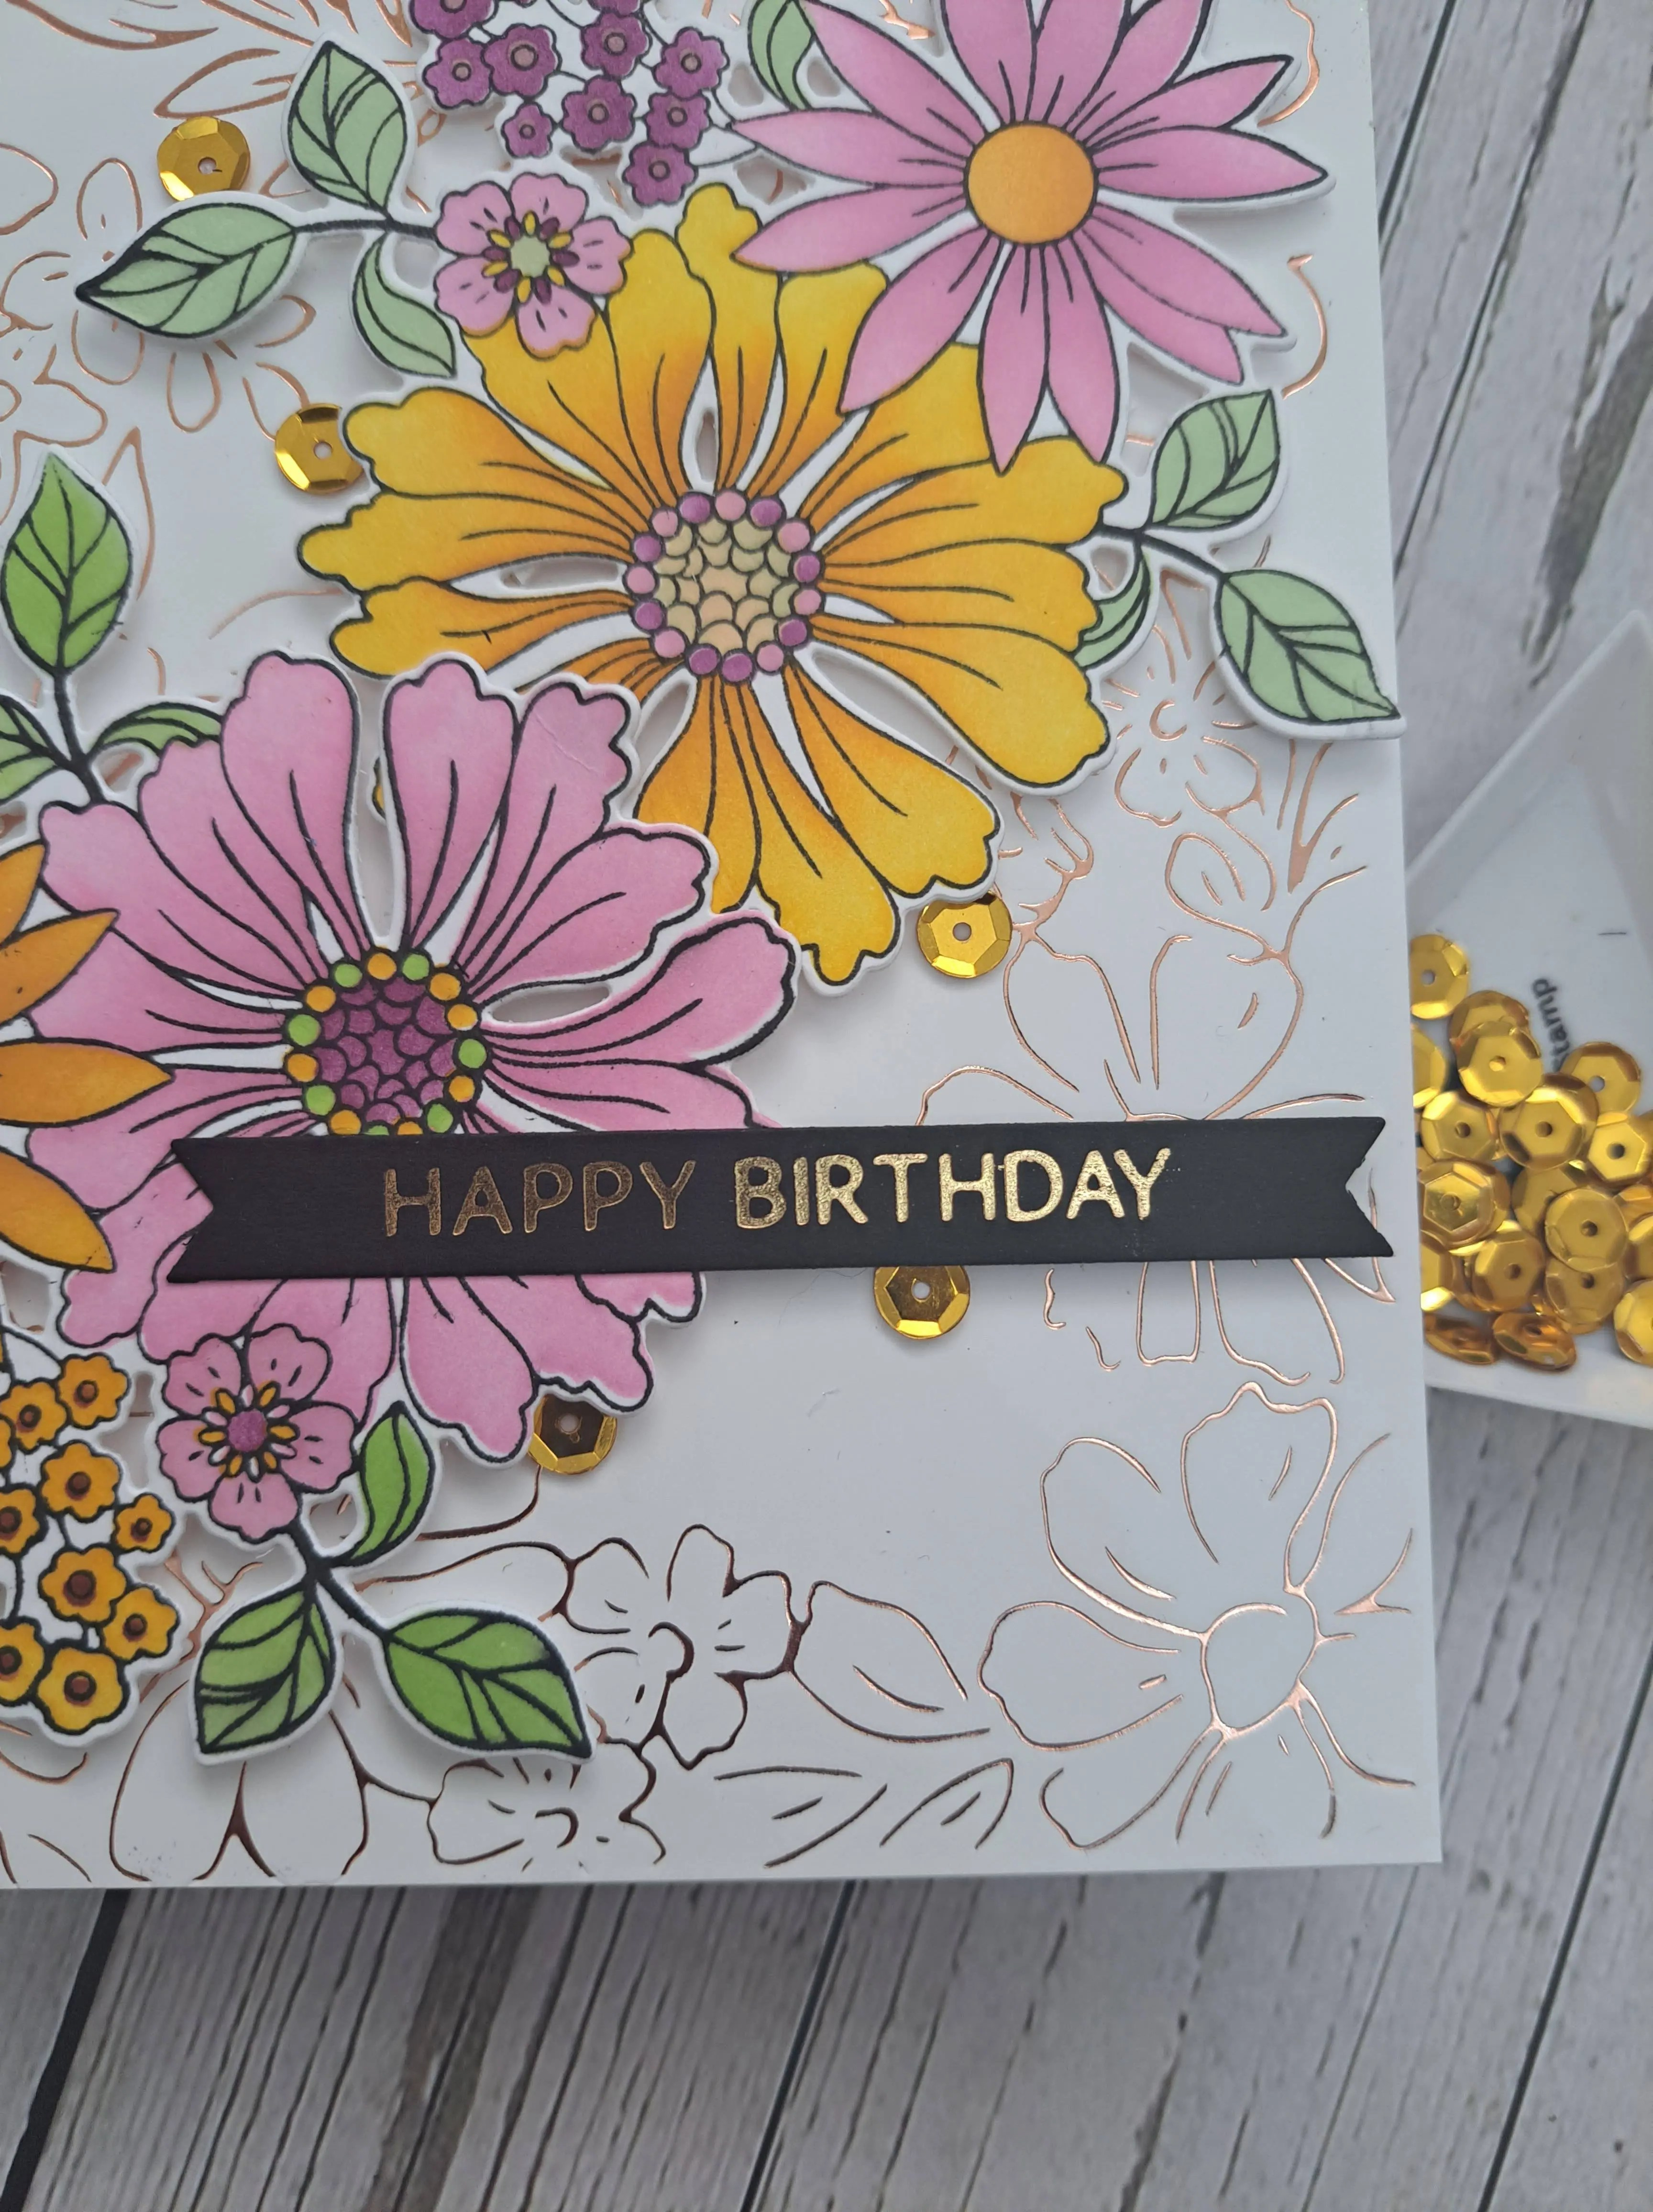
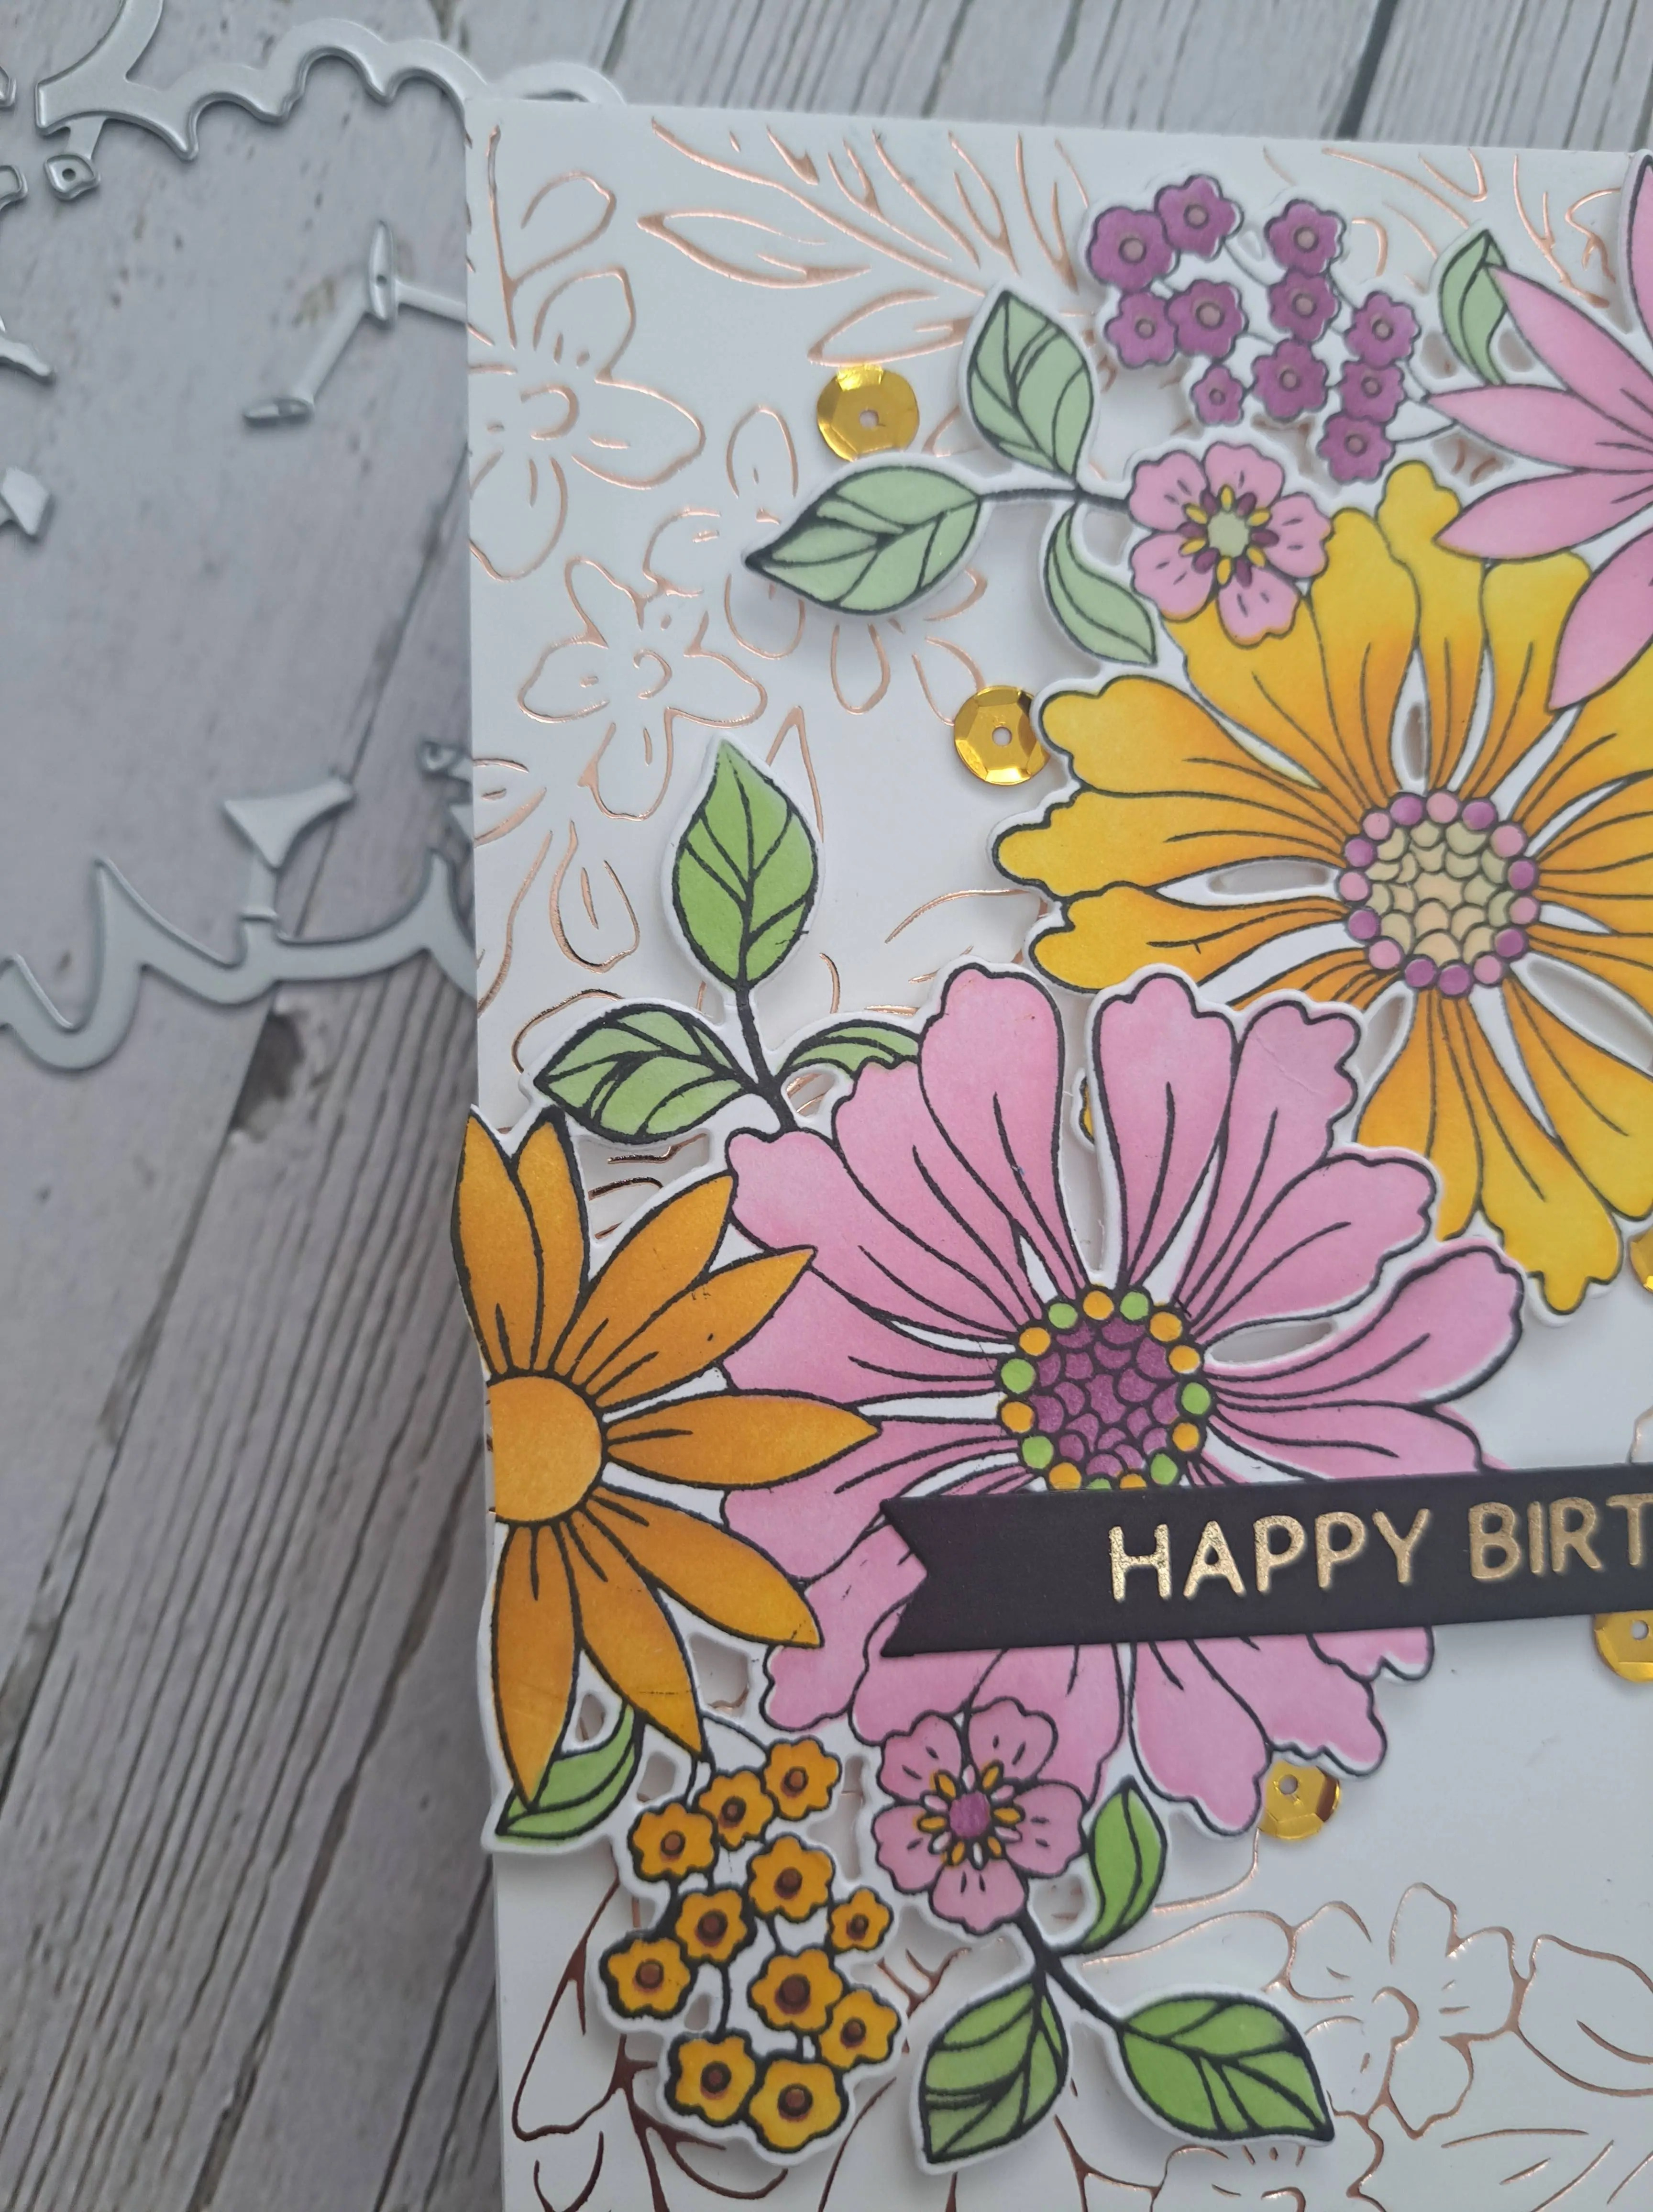
The new challenge has started at The Holly and Ivy Christmas Challenge. The theme is always ‘anything goes Christmas/Festive’. Here is my card:
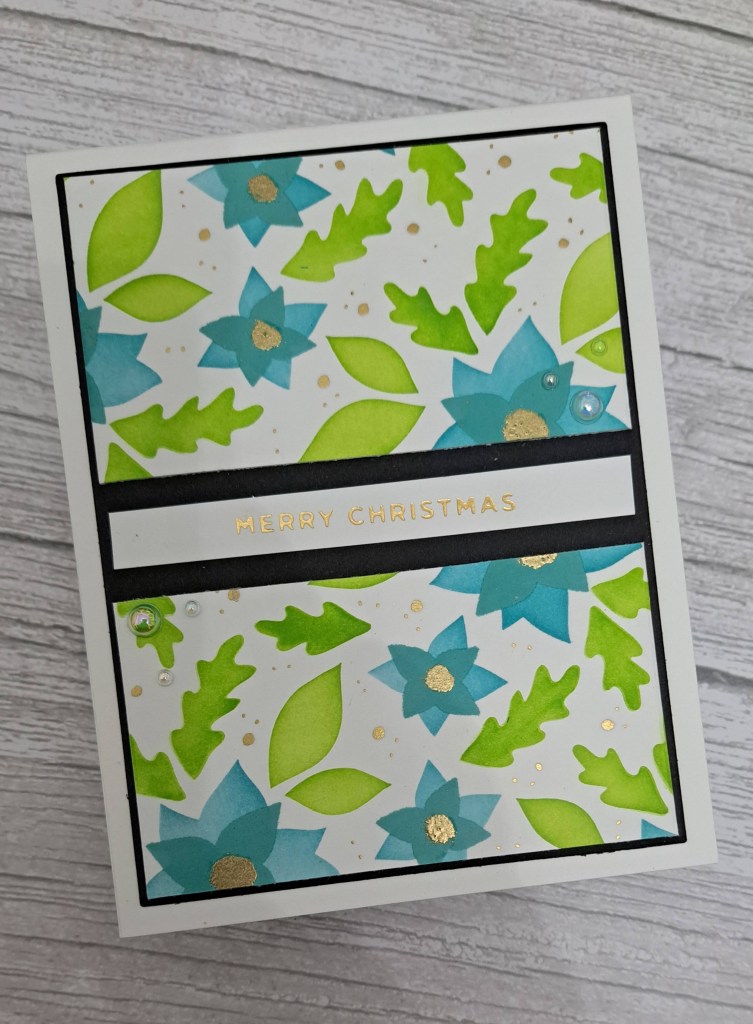
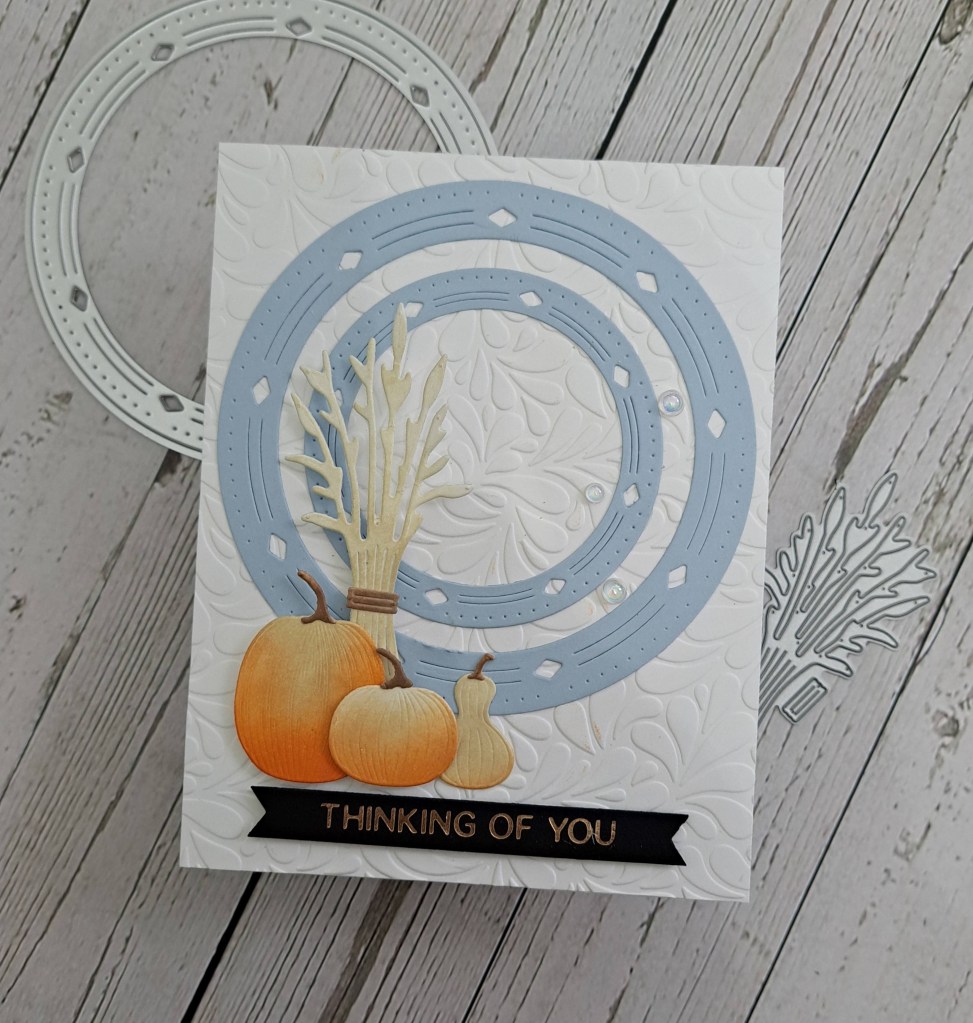
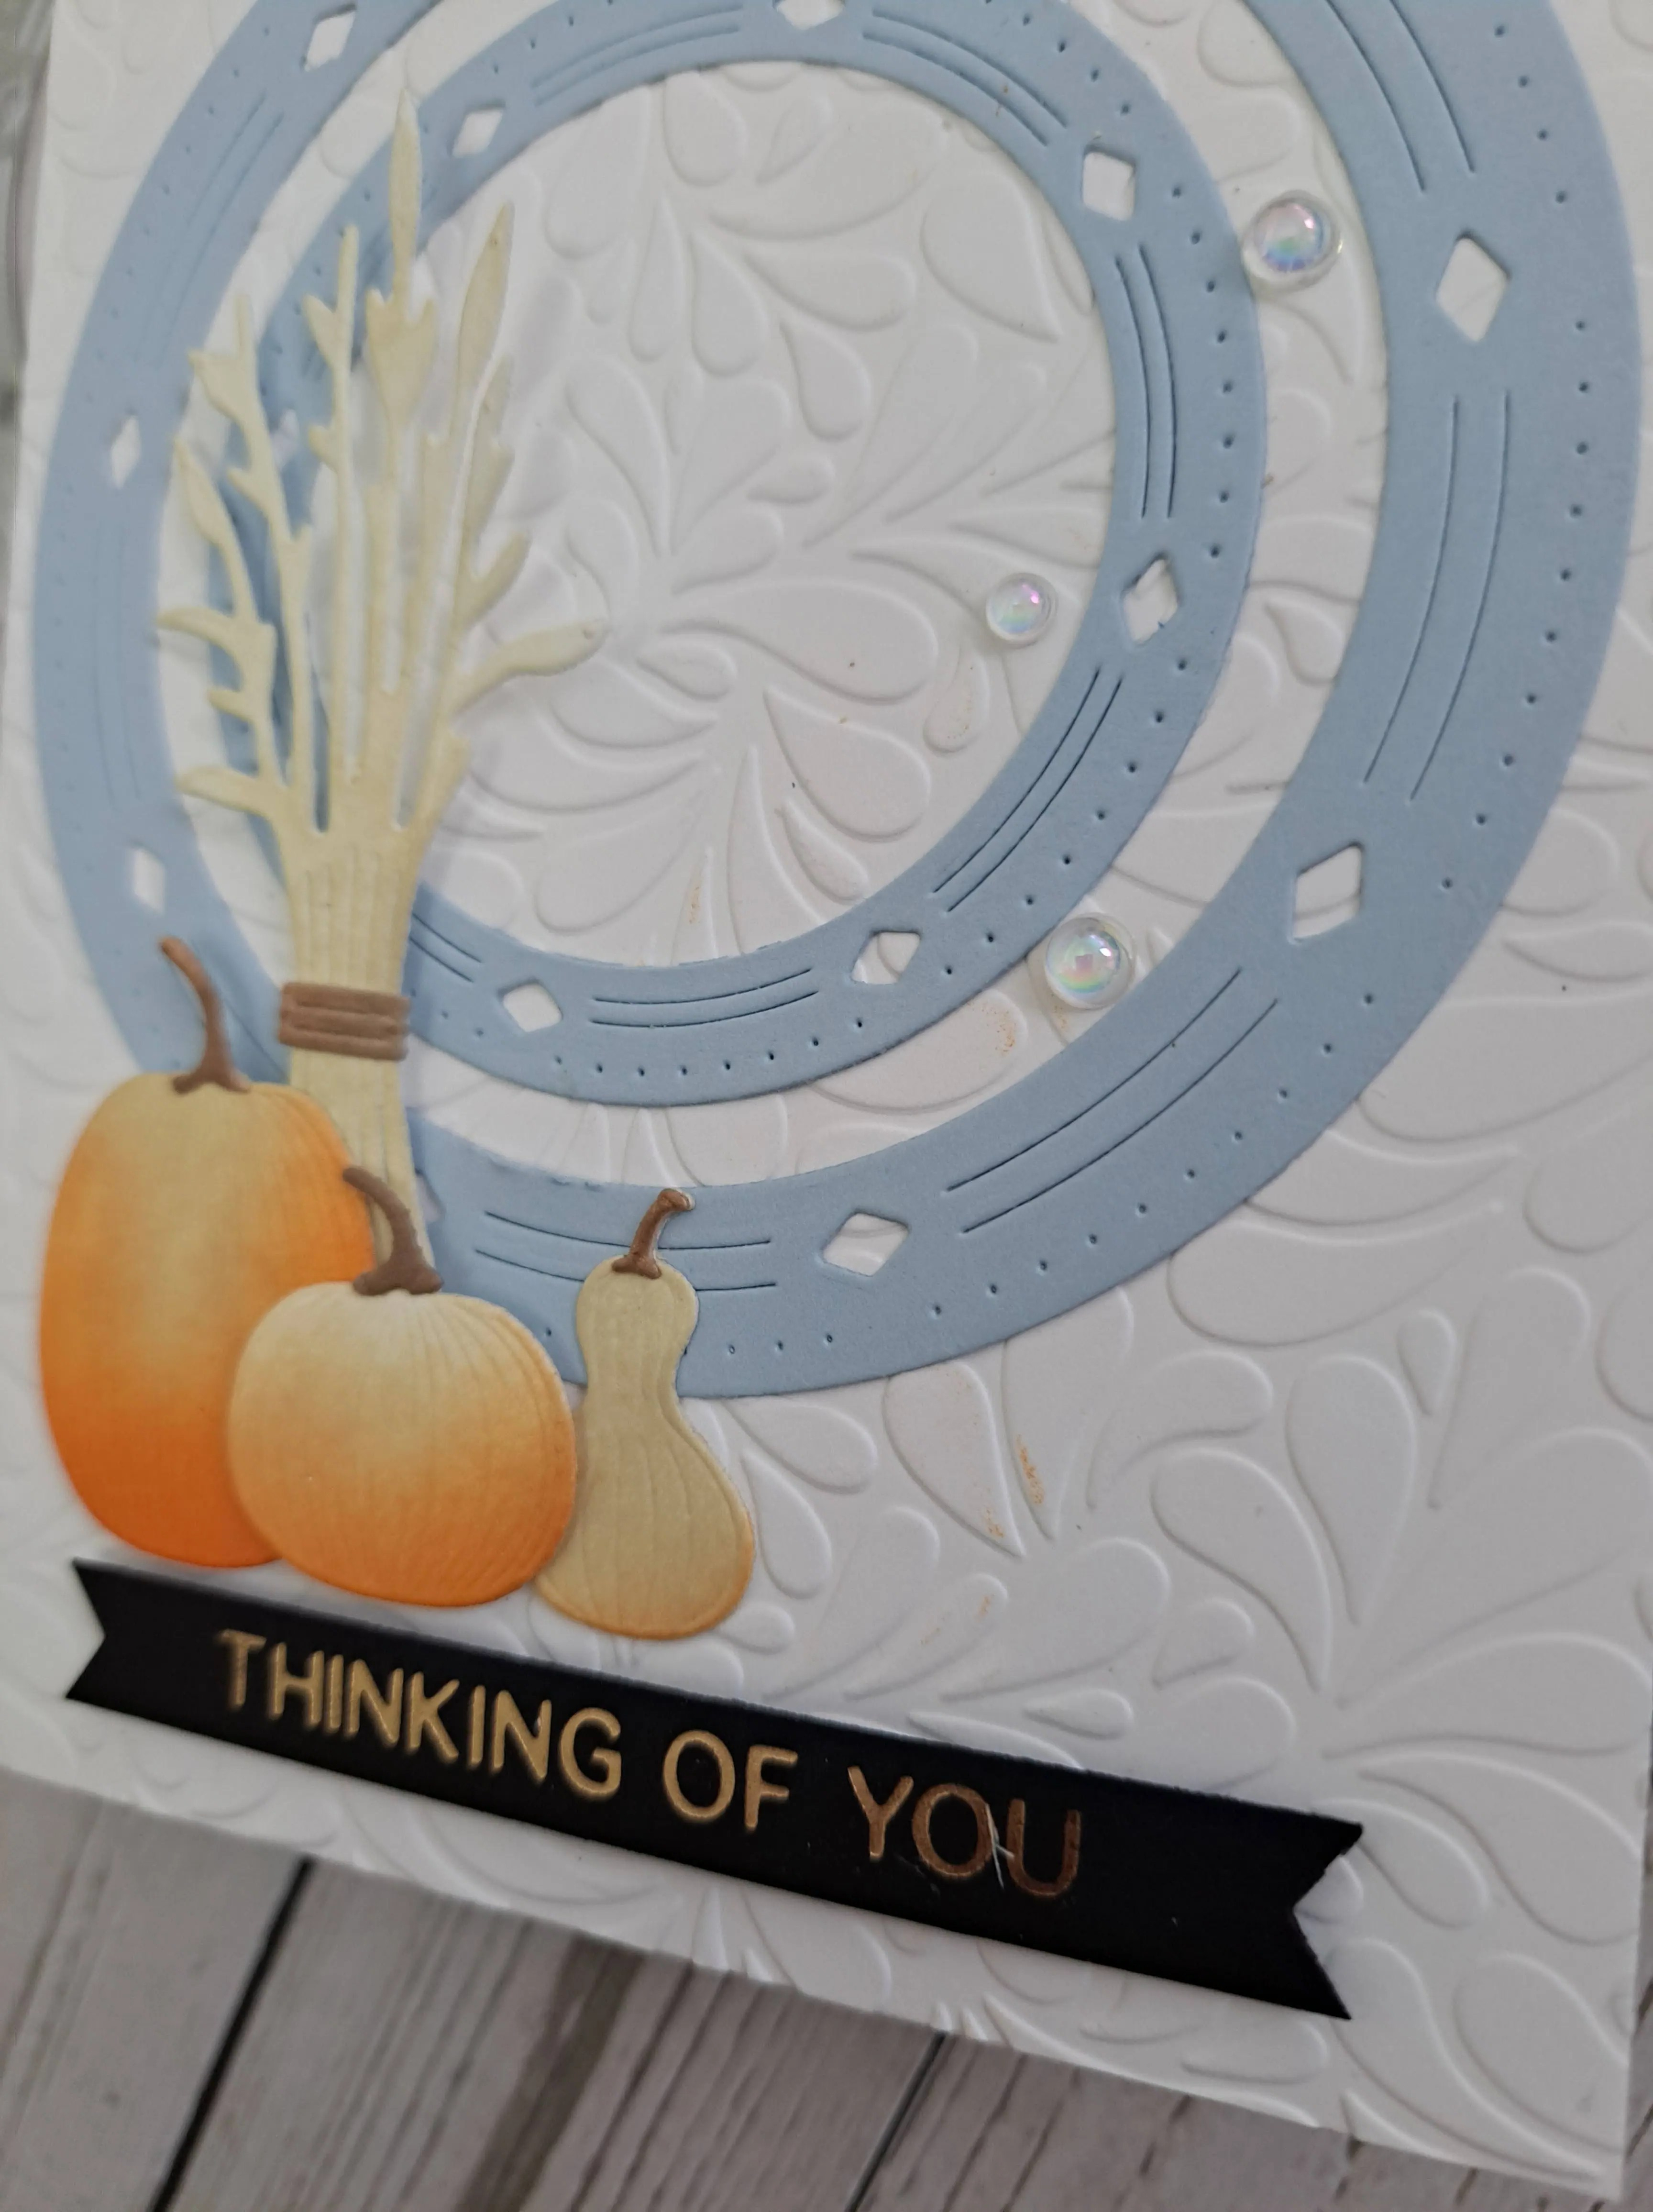
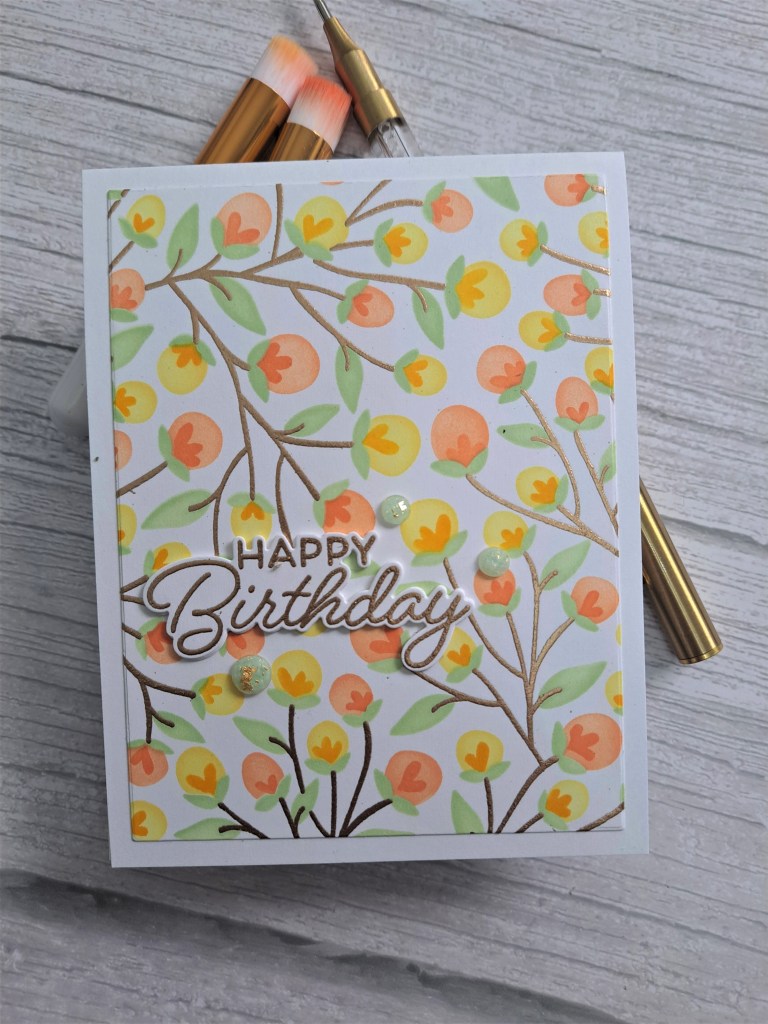
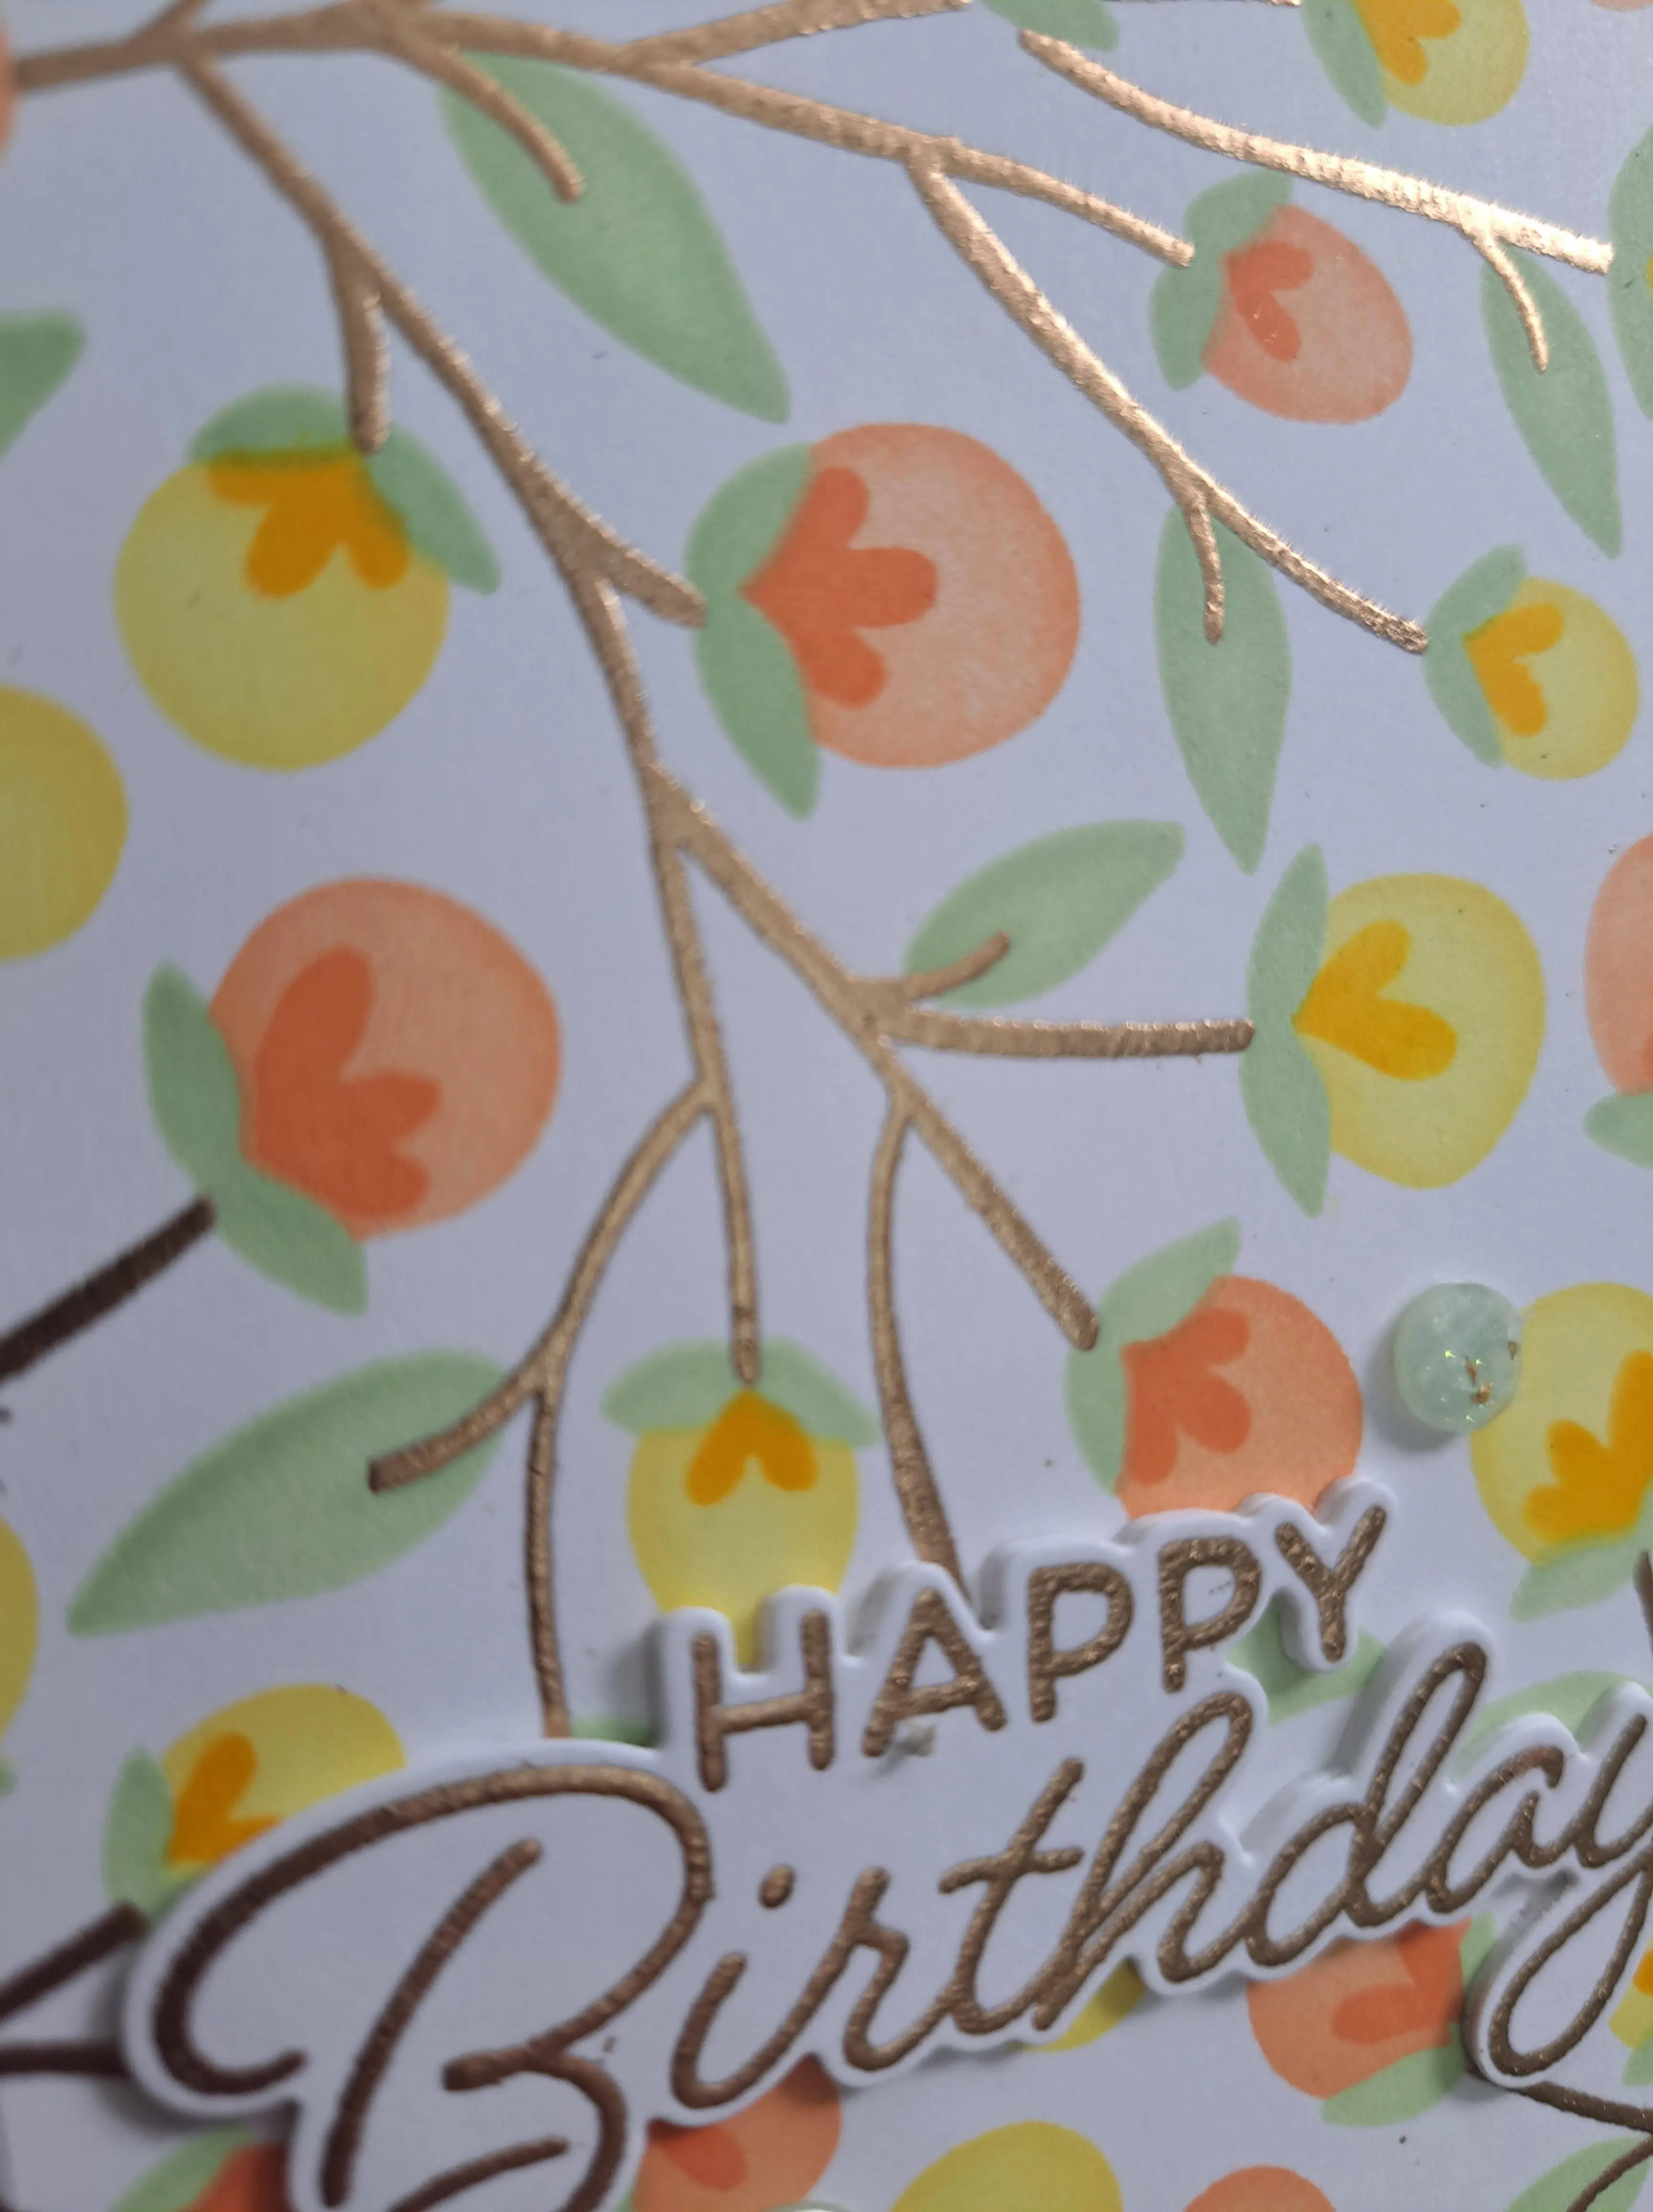
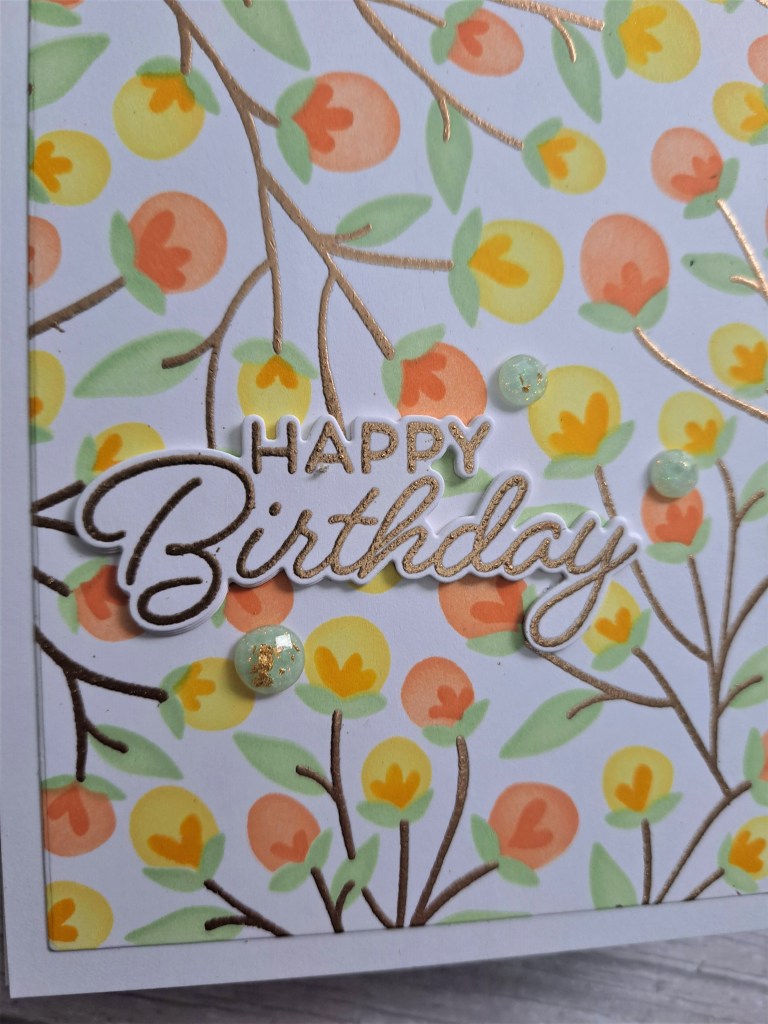
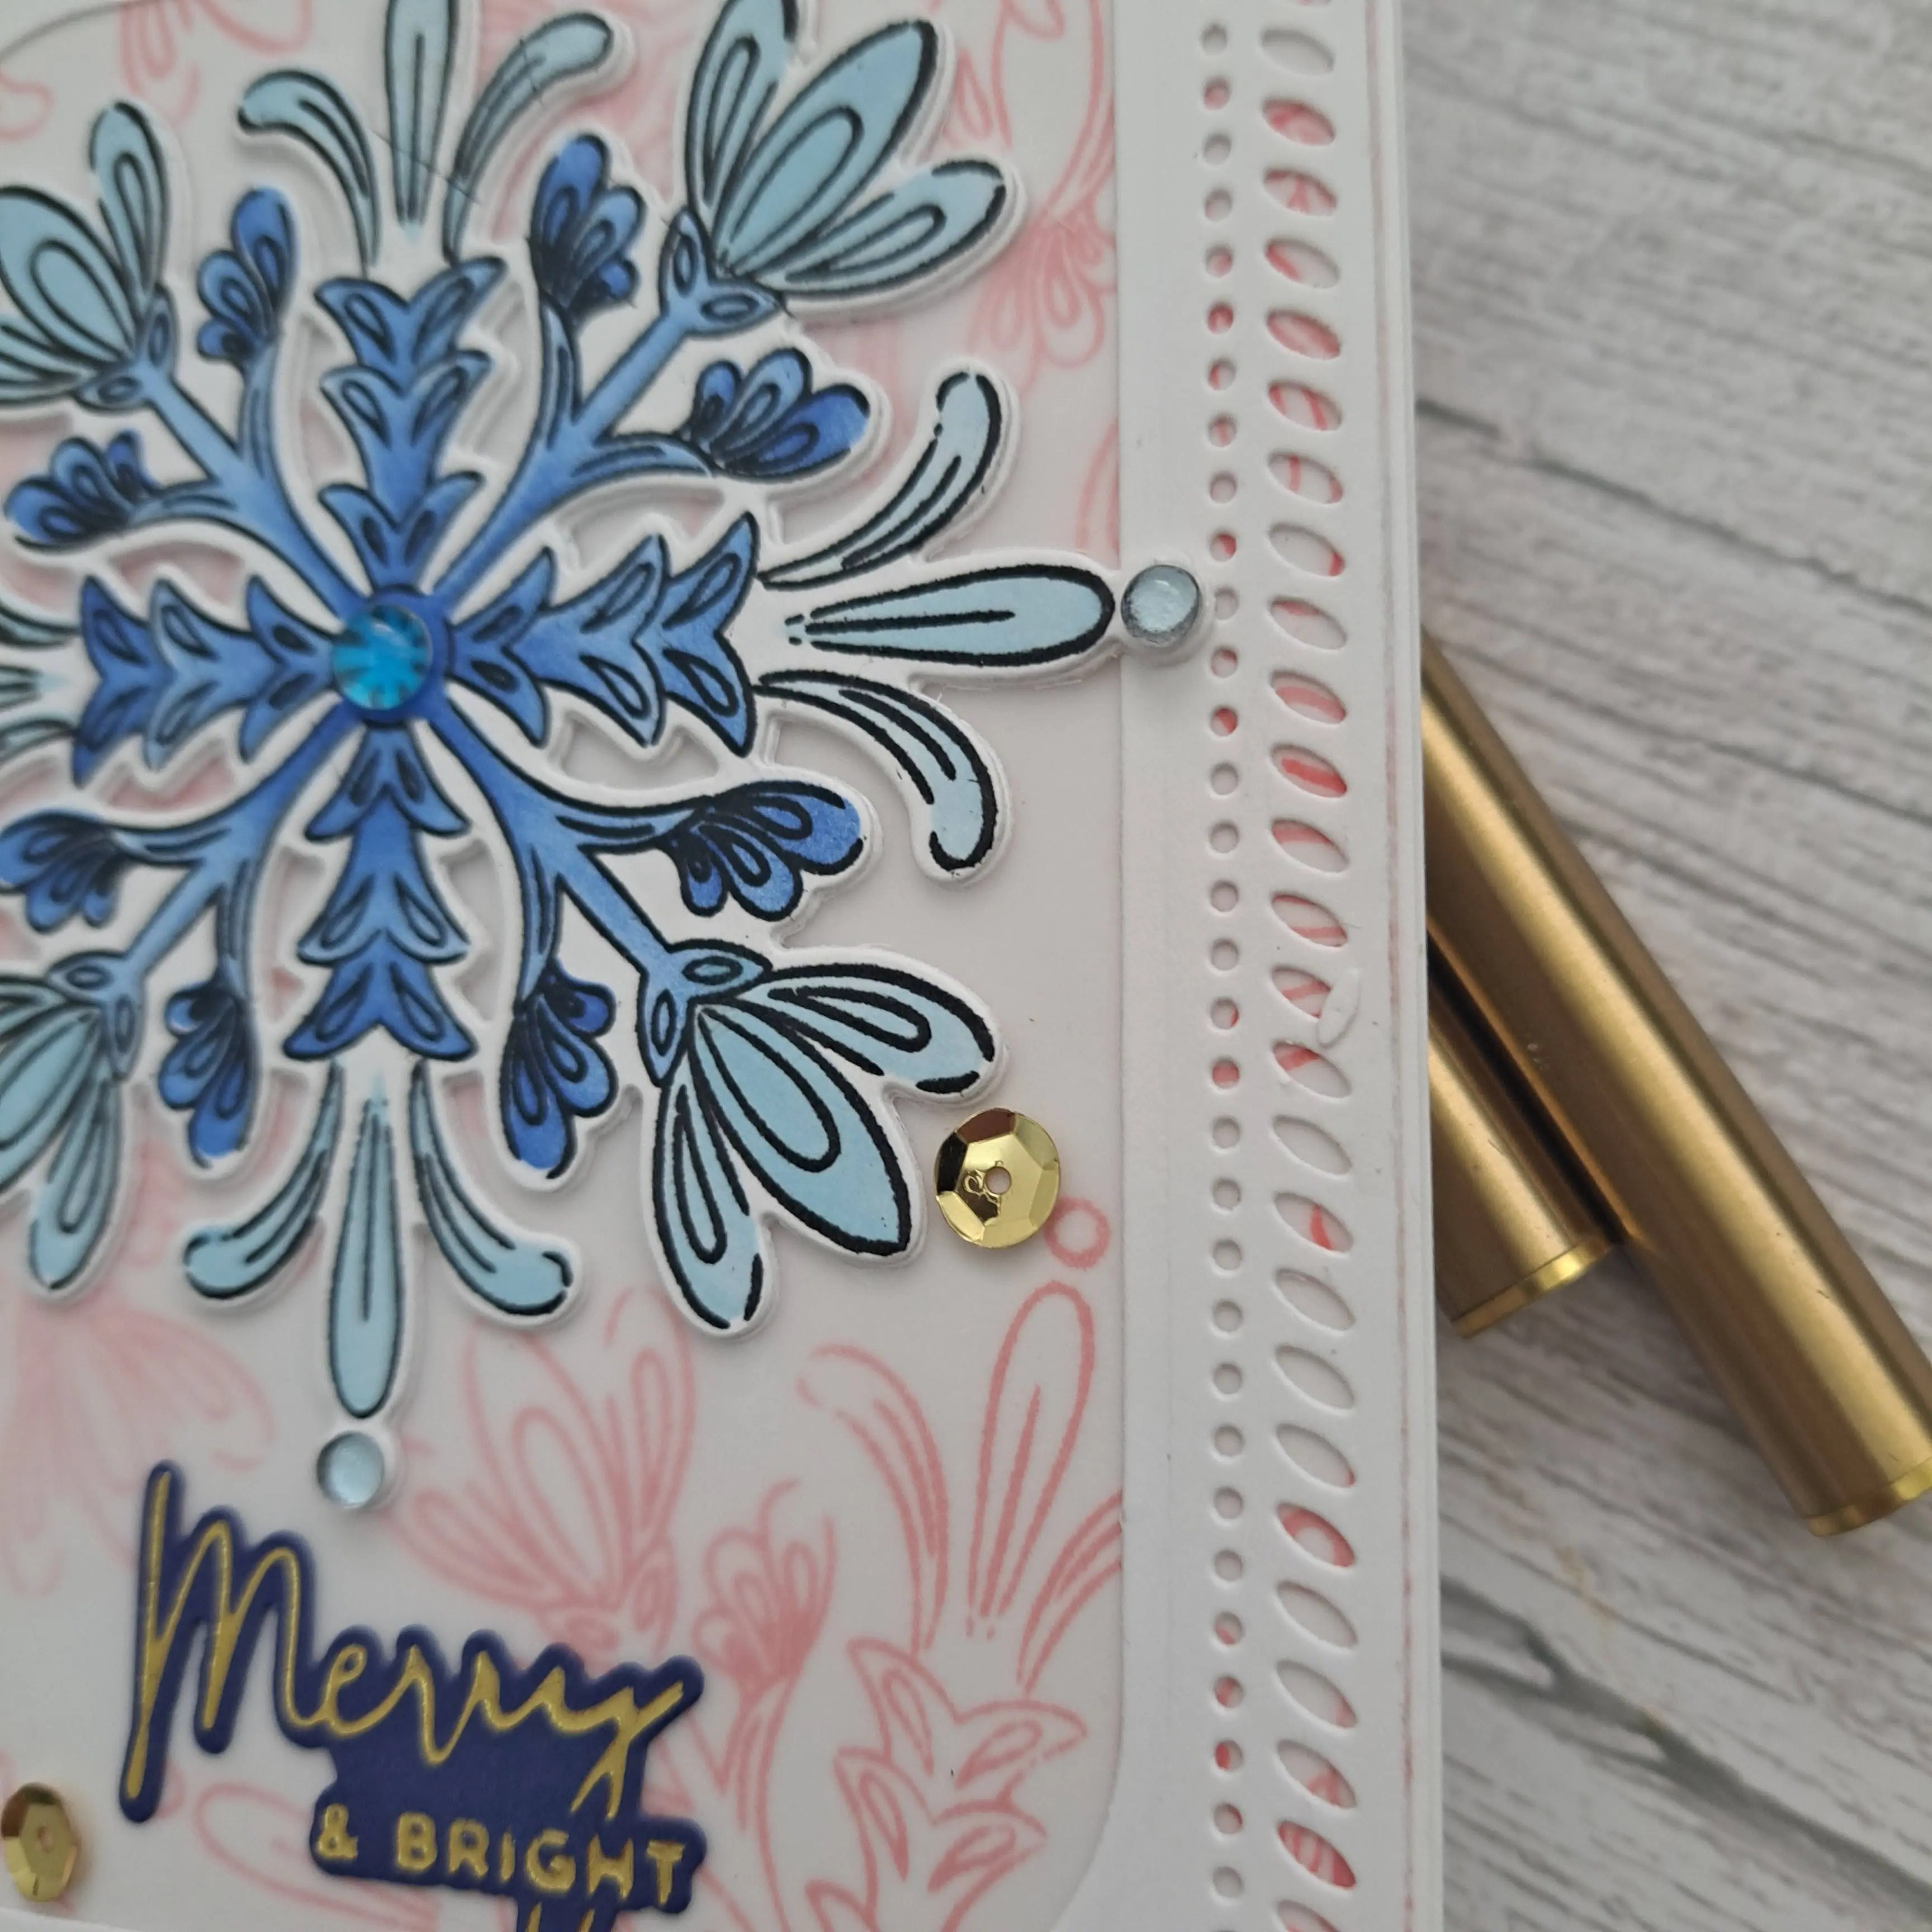
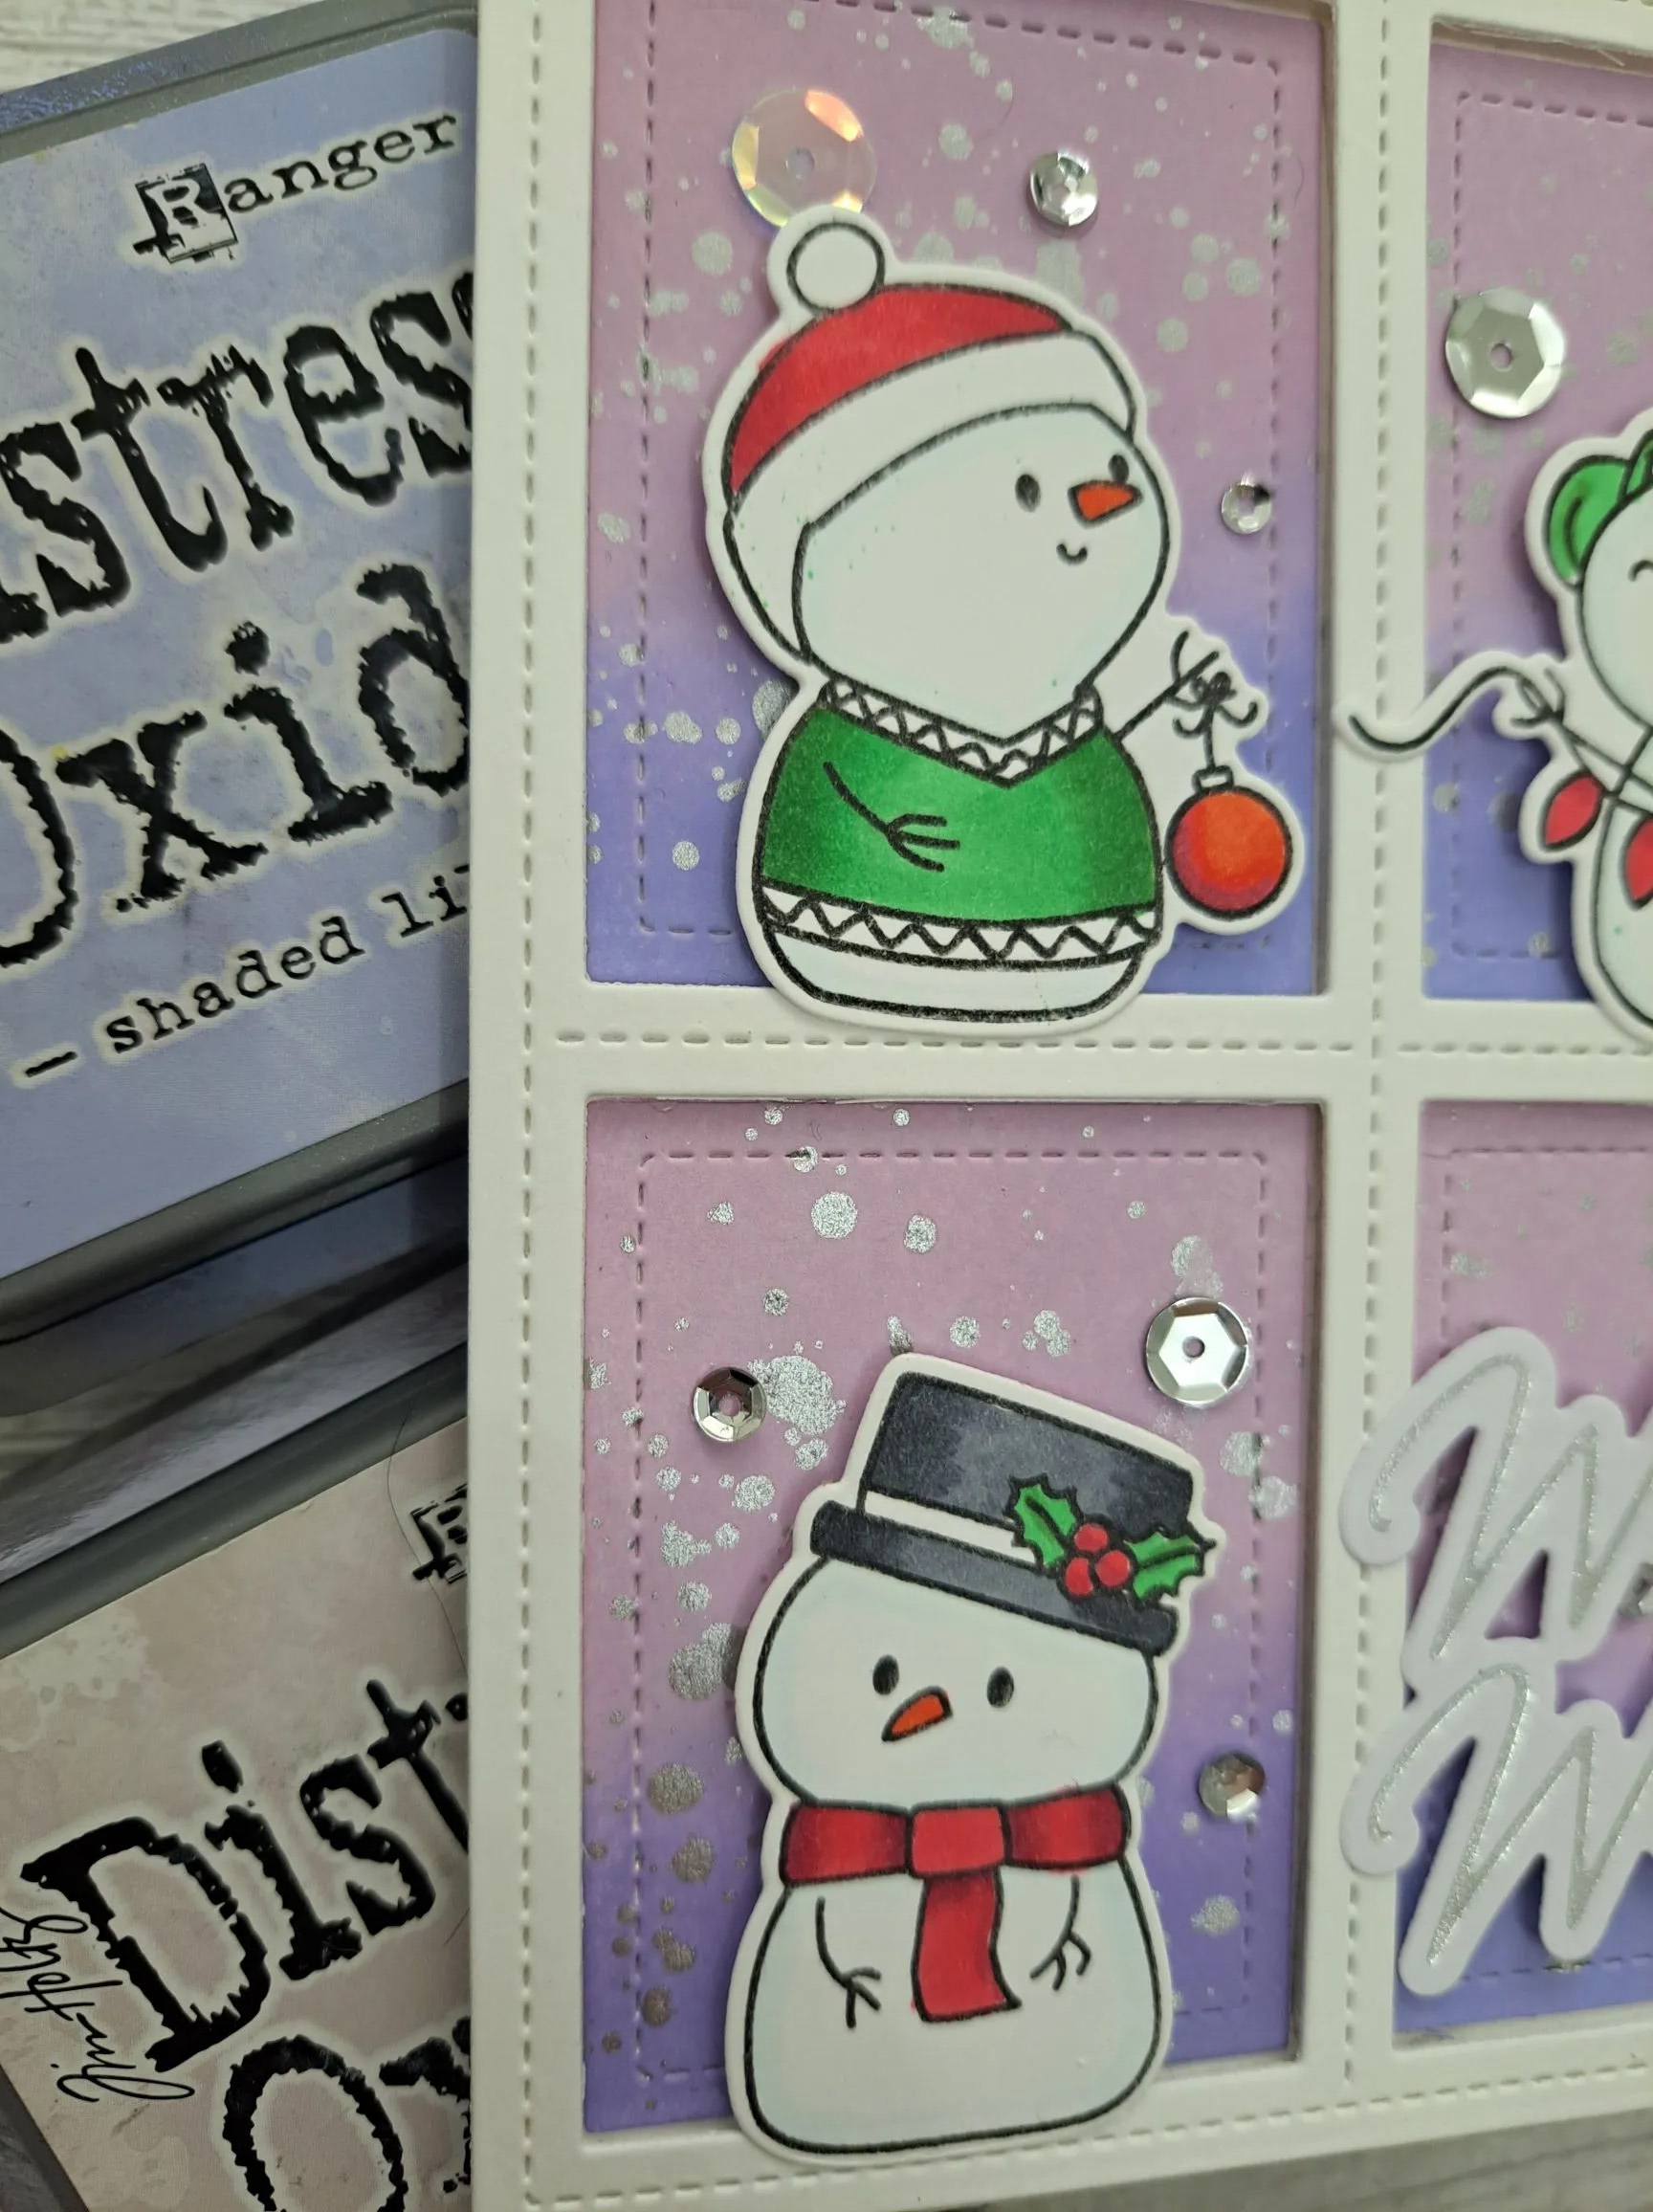
I started by using the layering stencil from Simon Says Stamp to create the background and let the inks dry.
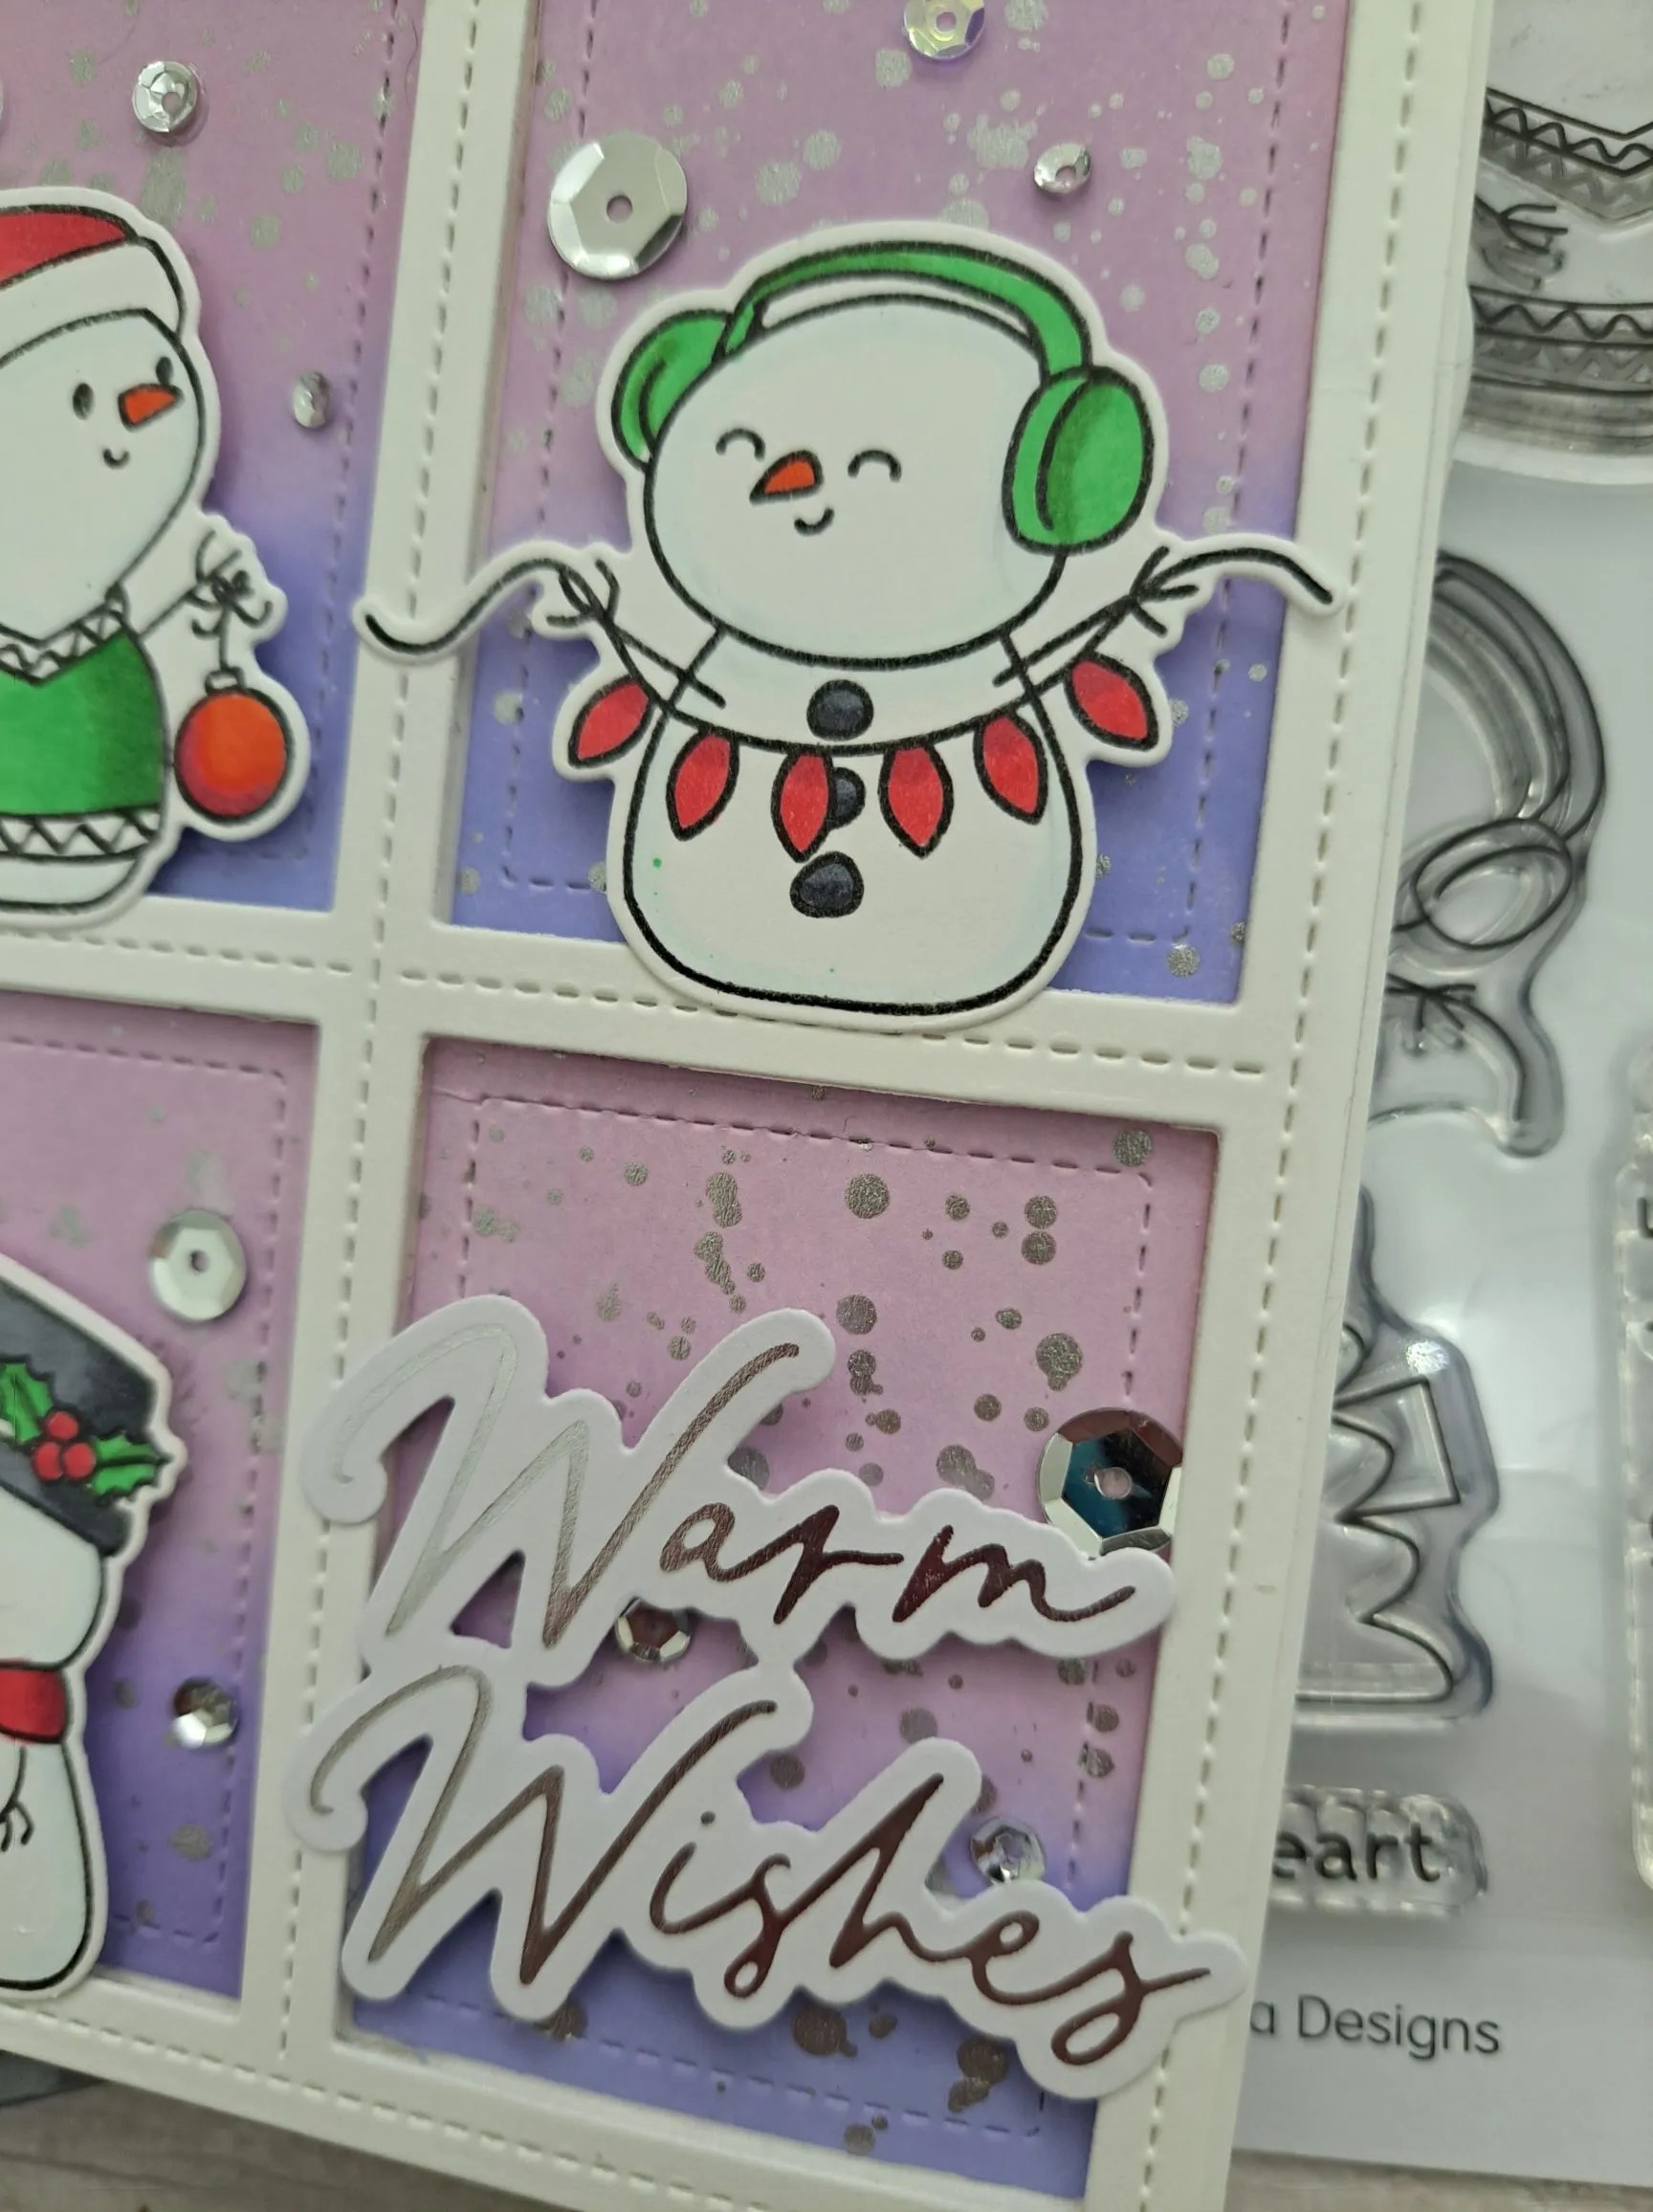
I then add some gold heat embossing to the centre of the flowers, and used a gold marker pen to add some extra small and larger dots around the background.
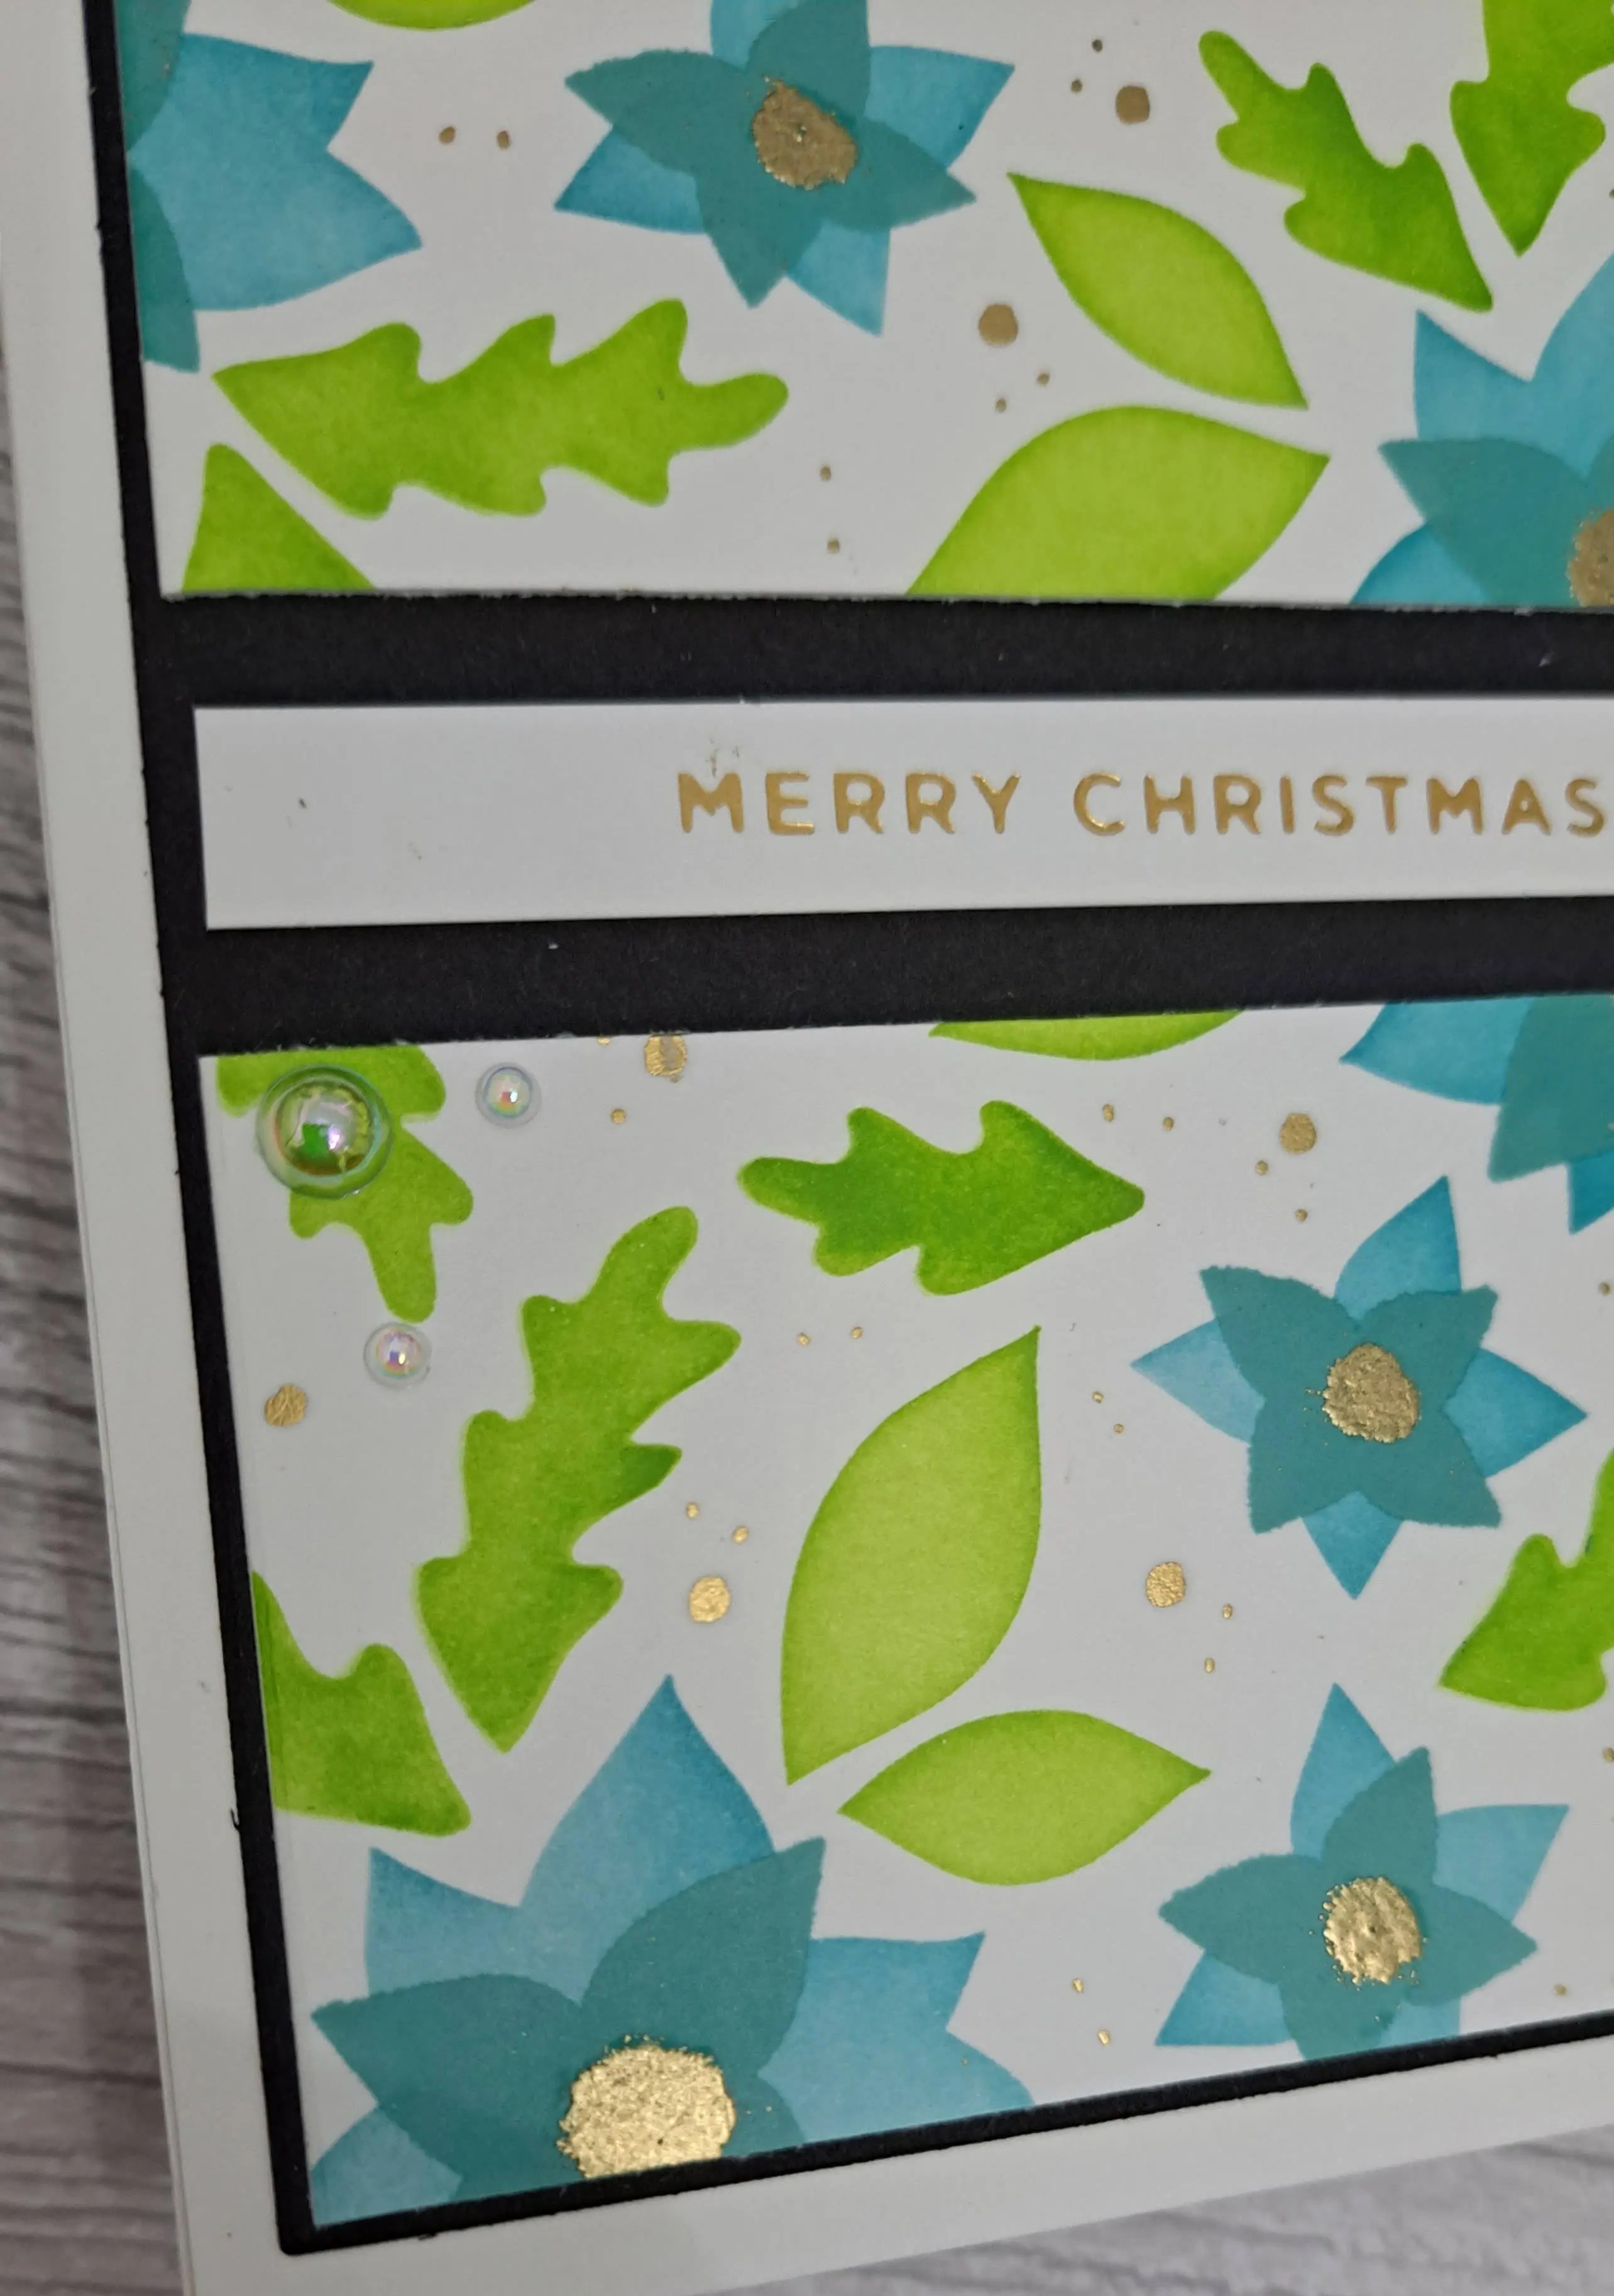
Using Gina K Master Layouts dies, I cut the black layer, then the stencilled layer, and added to a white card base.
The foiled sentiment was added, and then some iridescent gems here and there.
I hope you can come and join us with your Christmas/festive creations. xx
I shall be entering the following challenges:
Avenue 613 Create – anything goes – option embossing wet or dry
Peace On Earth – anything goes Christmas
Lil Patch Of Crafty Friends – anything goes
Stencil Fun – stencils – option of leaves taken
Crafty Gals Corner – dots and/or stripes (gold dots around the background)
Merry Little Christmas Challenge – anything goes Christmas