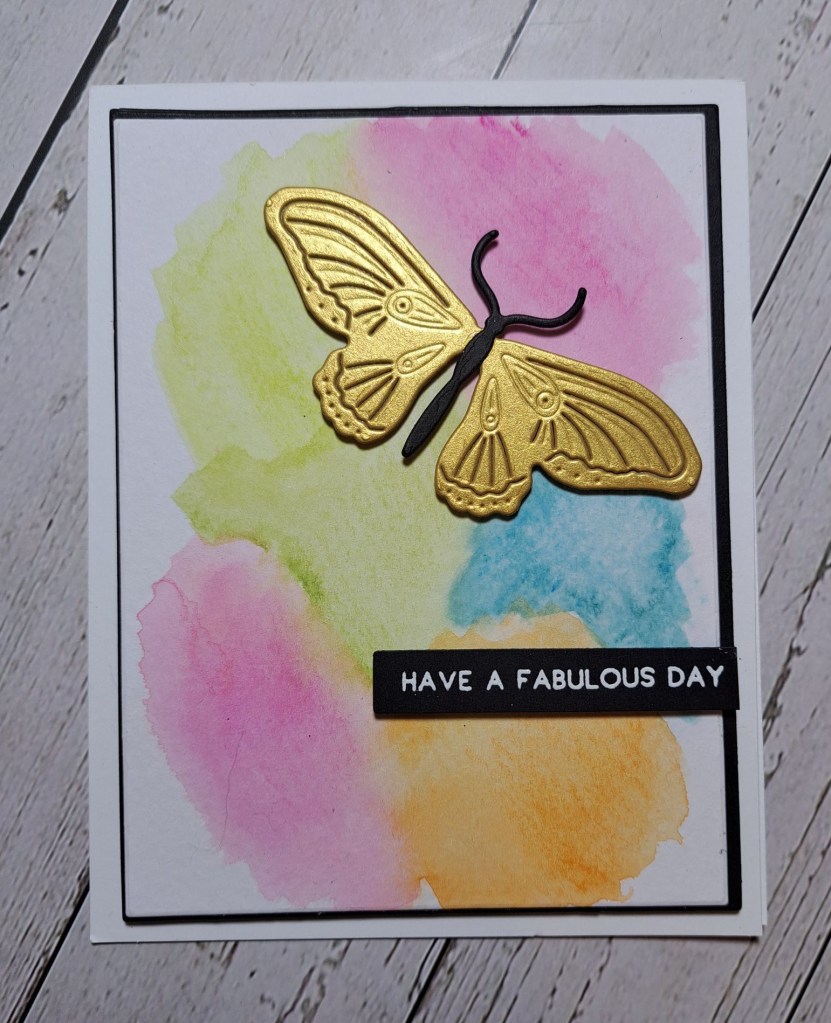
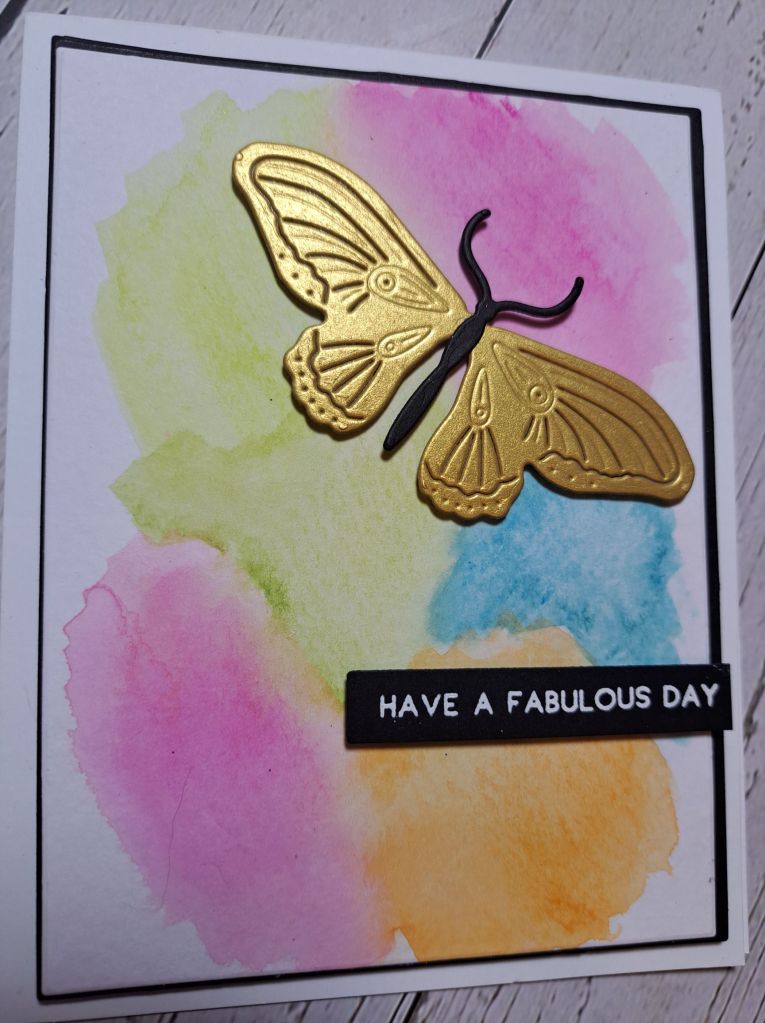
A new challenge has started at Cardz 4 Galz. Billie A has chosen the theme of ‘water color – background, or image – or both’. Here is my card:
As you can see, I went with the watercolour background. I wanted a messy background, and tried to achieve a kinda rainbow messiness………….I think the colours need to run together a little more, but I like the colours I used. Once dry, I matted that with black onto a white card base using Gina K Designs master layouts.
On top of this I die cut a butterfly from The Greetery in Spellbinders gold card stock, the centre portion out of black, and adhered as you see.
I chose a more generic sentiment – white heat embossed.
I hope you can come and join us with your water colouring creations – I look forward to seeing you in our gallery. xx
The background panel was created by splattering some Liquitex metallic acrylic paint in gold and black onto a white panel. When this was dry, I created the black layer and then die cut the white panel using Gina K Designs Master Layouts.
The feathers – also Gina K Designs – were die cut from some previously created ink smooshed and mica sprayed panels. After they were arranged onto the card base, I added a die cut ‘happy’ along with it’s shadow layer, stamped ‘birthday’ matted that with black, then added some gold faceted gems.
I hope you can come and join us with your birthday creations. xx
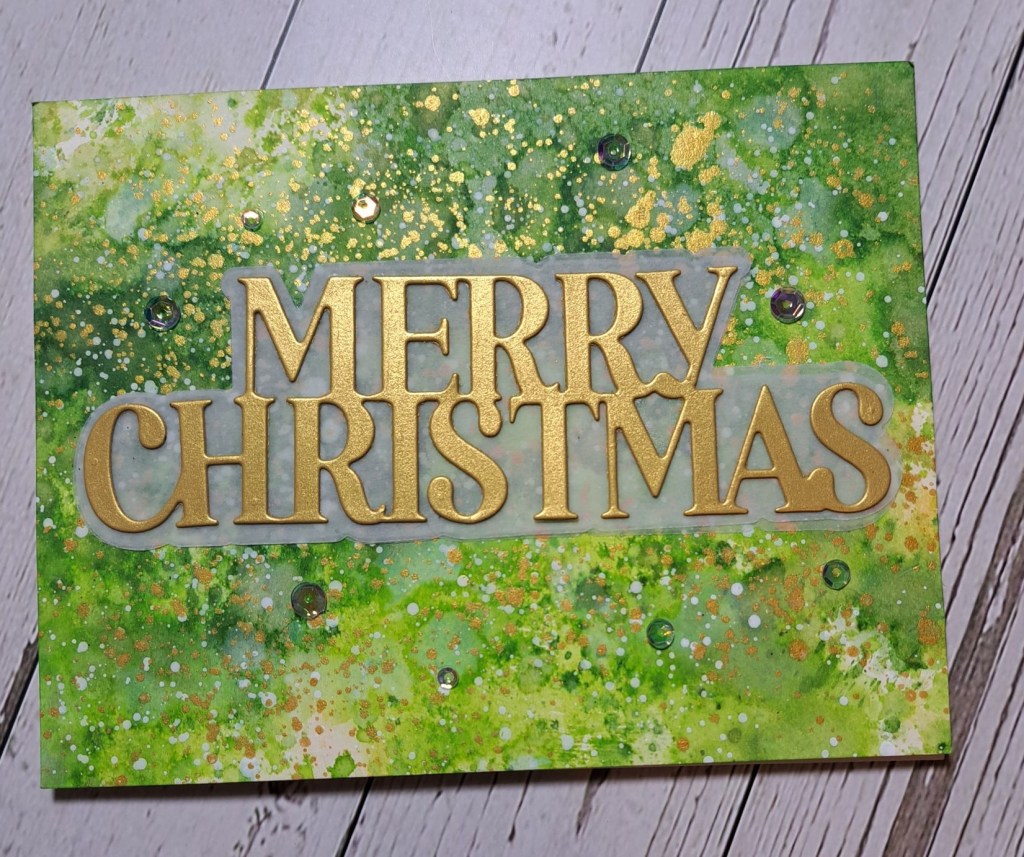
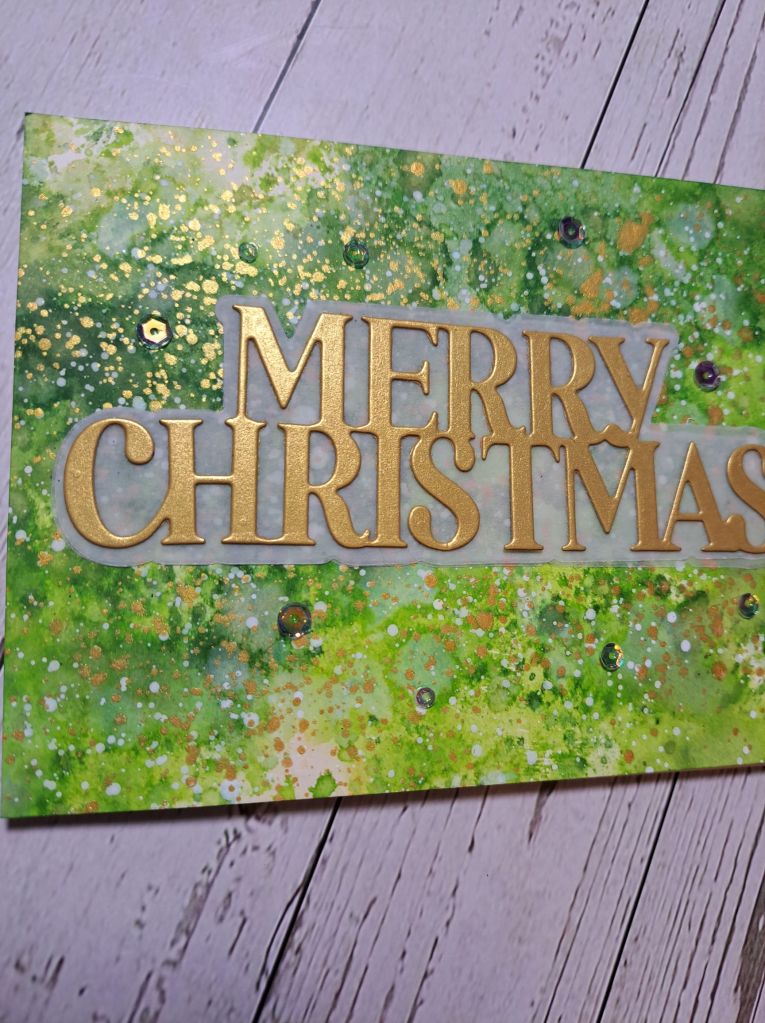
The background is an ink smooshed creation – lots of different green Distress Inks – multiple layers – so much fun to create.
Once that had dried, I splattered Liquitex acrylic metallic ink in gold and white and let that dry.
The sentiment is from Hero Arts, the shadow in vellum, and the main words in Spellbinders matt gold card stock. If the shimmer on the background wasn’t enough – I also dotted some iridescent sequins around.
This is certainly a very shimmery card and so much fun to create. I feel another ‘messy’ play coming on to create more backgrounds – even though I have plenty – but I just love to play and ink smoosh instead of always feeling I have to create a card.
Hello once again. I have a card to share using a Spellbinders die set and embossing folder:
I first die cut the images out of the colours of card stock you see, not really sure what colours for what layers that I wanted to use to create the final card.
I layered and played with the colours, then played with the layout until deciding on what you see.
I used the Spellbinders embossing folder and layered that with 3D foam onto a white card base. The floral arrangement was added using a mixture of 3D foam and wet glue, and I think I changed my mind so many times where all the elements were going…..I have enough left over for a couple more cards too.
The sentiment is a previously foiled strip, and some iridescent sequins were added for a bit of bling.
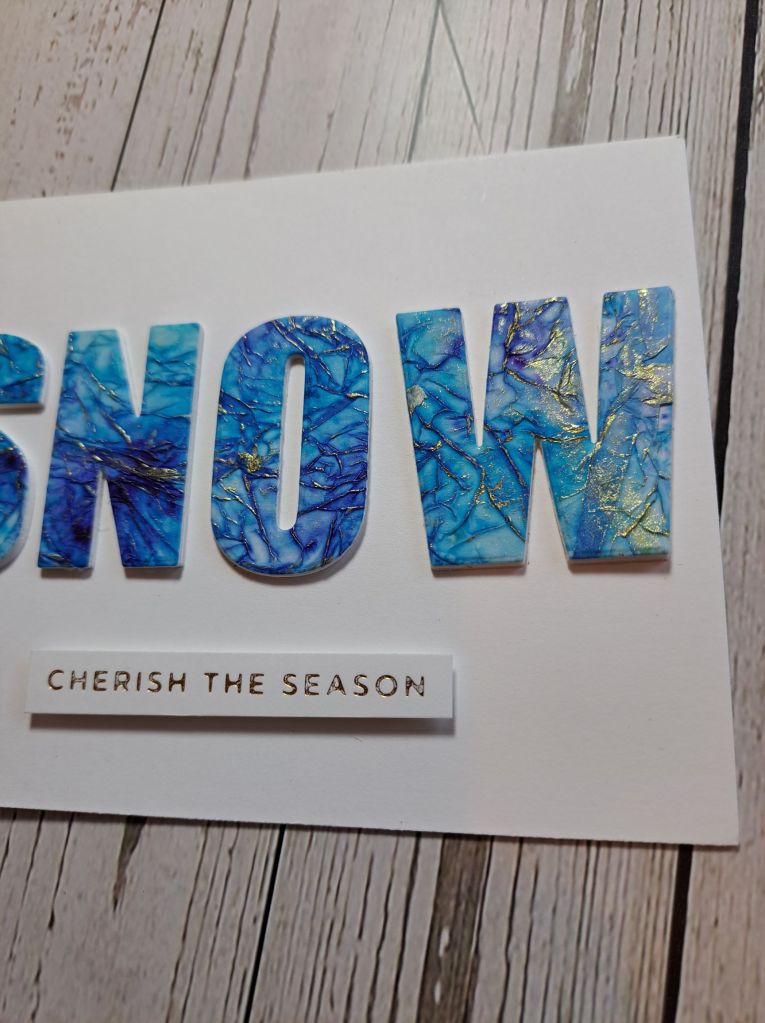
I had some of this blue ‘creation’ card left over and decided to use it for this card.
The blue card was created by putting glue onto a plain white card, placing tissue paper on top – moving it around a little to create some wrinkles – spritzing it with water, and then adding Brushos. More water, some tipping to let the colour move around – and then let it dry.
Once dry, I rubbed some gold wax over the top to create some wrinkles, and then die cut the four letters. Rub the wrinkles before die cutting, as sometimes the wrinkles can be flattened a little.
I then die cut the same letters from white card stock another two times, and layered all three together.
The sentiment is from a previous foiling session.
I’ve tried to capture the shine and colour on the letters, as well as the dimension.
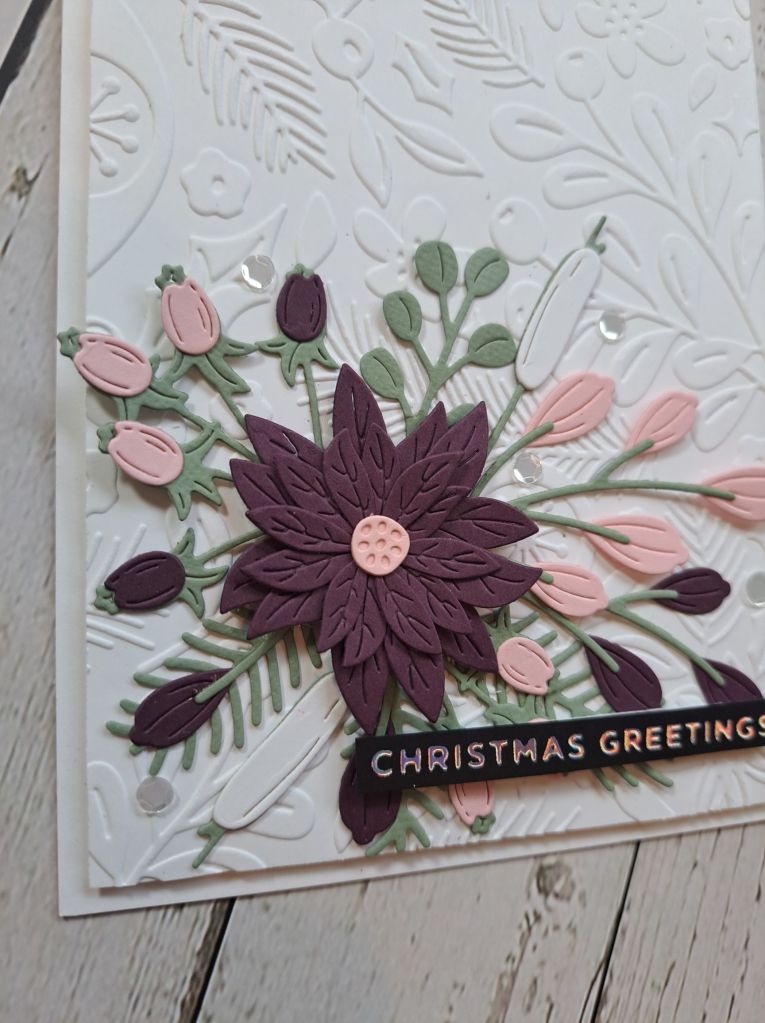
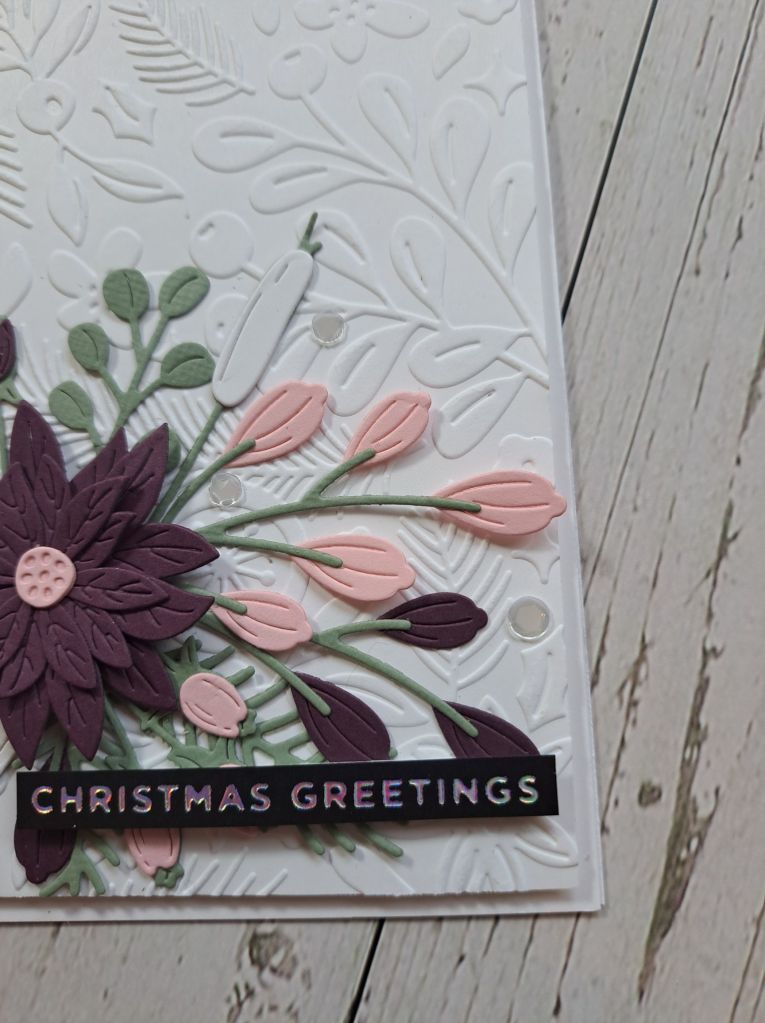
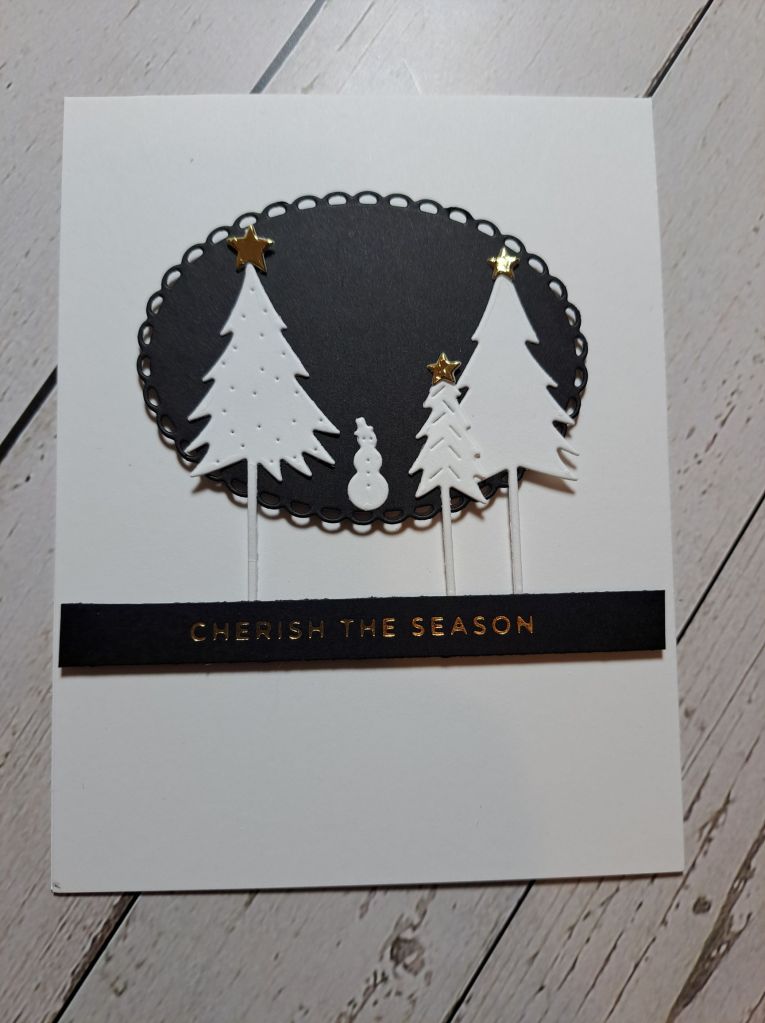
Hello there. I have a card to share created using some new products, and some older card stock and gems, using traditional Christmas colours:
I’ve spent quite a bit of time in my craft room these past few days – I had a ‘little’ accident when cycling – hit some mud and boom – was suddenly on the floor! My goodness that hurt – but also thank goodness for my cycle helmet – I banged my head – it could have been worse. A grazed and bloody knee, a bruised elbow, and a lot of pain around right side of chest – maybe cracked rib – painkillers helping to some extent – but it means I can’t do very much else except craft – a rainbow behind the cloud!
Anyhoo – this card was also quite fiddly with all the elements, but as soon as I saw the Spellbinders Christmas collection, and what Yana Smakula in particular did with it – straight into me basket and delivered very quickly.
I mixed a few die sets to create this – lots of die cutting, lots of arranging, and re-arranging until I was happy with the result. Another bonus is my electronic die cutting machine, as even cranking the handle on a manual one hurt….
The post box was created using two different shades of red, with a gold handle. I used gold for the skates and gold gems in the middle of the poinsettias and added to the bottom left.
The flowers, holly, mistletoe and ferns using plain white with red accents – lots of die cutting and fiddly assembling – I really do seem to have my fiddly and fussy head on at the moment.
The card base had some black splatters for added interest.
The foiled sentiment is from a batch previously created and it didn’t foil absolutely perfectly – but it still shines and it is still readable.
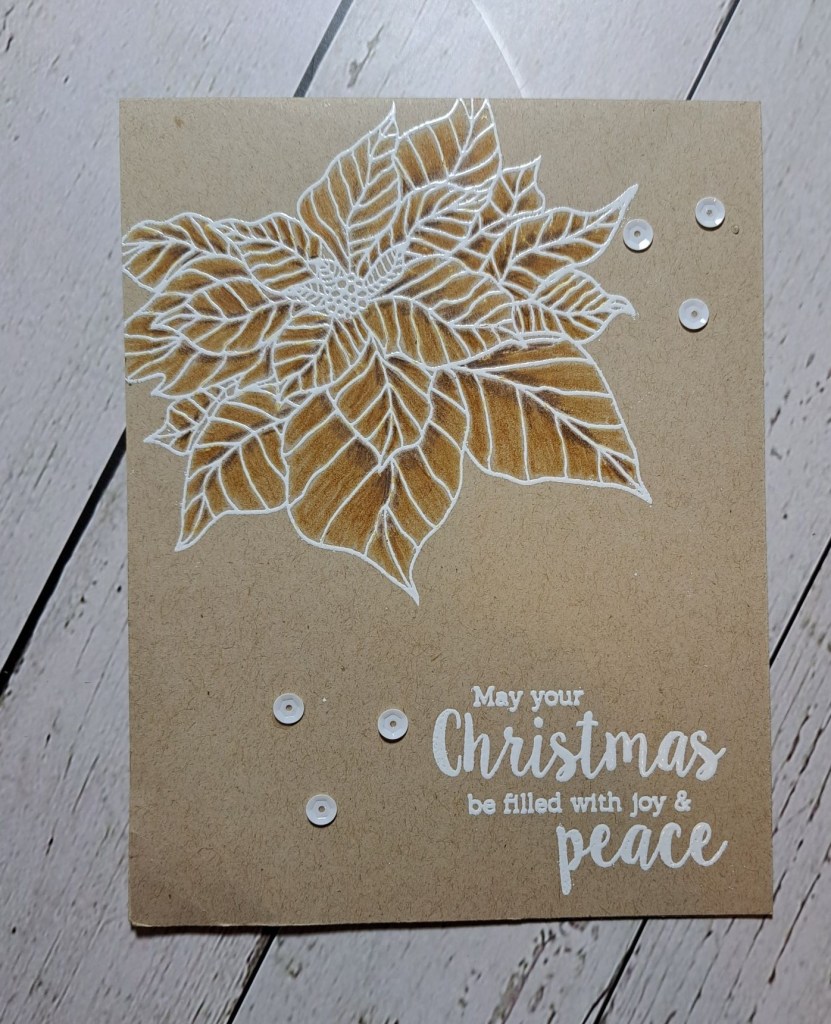
Hello. A little play in my craft room created this card:
Onto a Kraft card base I stamped and white heat embossed this gorgeous – older – poinsettia stamp from Uniko. I then used a couple of colours of pencils to darken the leaves. I haven’t used my pencils in such a long time and may have to try them out again in the near future.
I also white heat embossed the sentiment, and added some white sequins.
A simple card – took a little planning – but I like the effect of the end results.
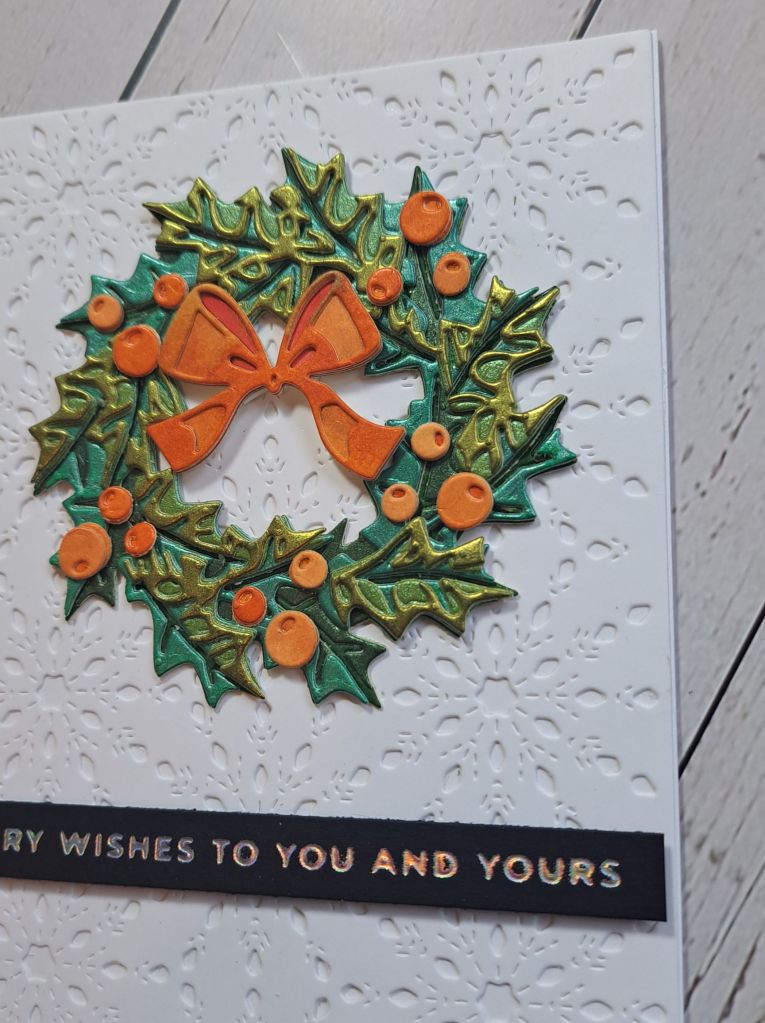
Hello there. I have been playing with a new-to-me die set from Tim Holtz:
I first created some panels of green shimmery card using Tim Holtz mica sprays in varying shades of green and one panel of orange. I let them dry overnight, as I had used Distress Mixed Media Heavystock, which would need a couple of passes through my machine – that card stock is indeed ‘heavy’.
I then die cut the wreath layers and stuck them together. Now – that sounds simple – but it took some figuring out – it’s a good job I was in a fiddly and fussy kinda mood! I then die cut the berries and used only two layers – my fiddly and fussy mood didn’t extend to the small, very small, outer berry circles!
I also used the remainder of the orange mica card to die cut the bow.
Once the wreath layers and berries were glued down, I turned to the background, and die cut this snowflake panel – again – for a white-on-white background. I thought this added interest without taking away from the wreath.
I then searched through my previously foiled Christmas sentiment stash and used the one you see.
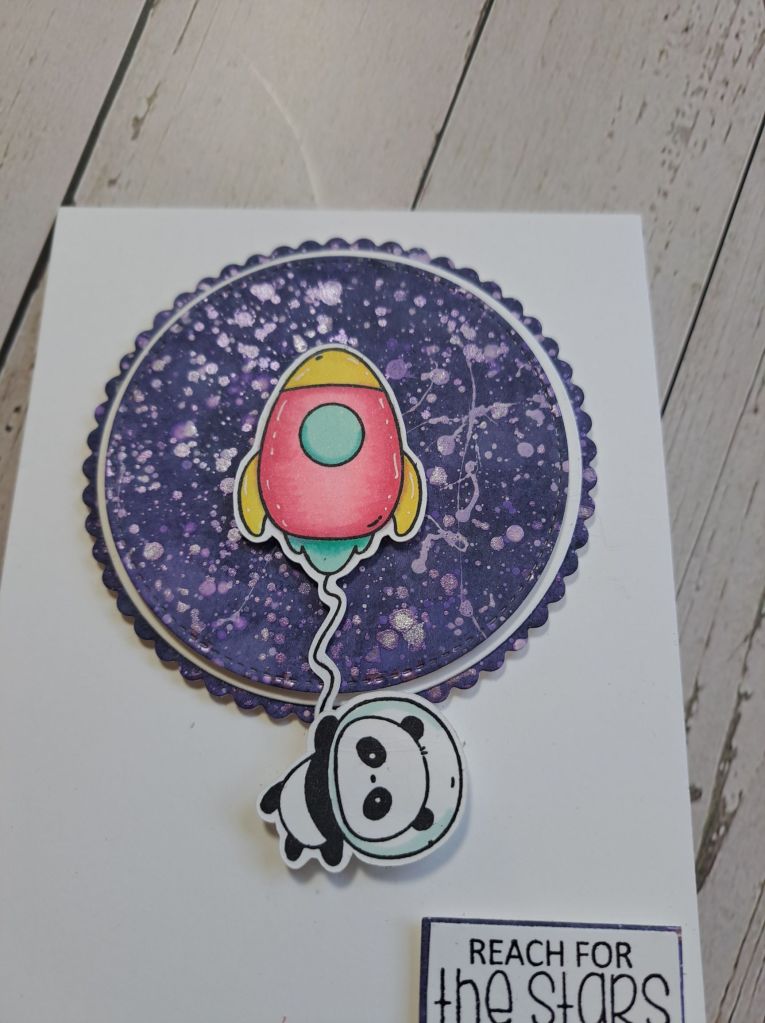
The Alphabet Challenge has reached the letter ‘O‘, and Billie A is hosting this time round. The theme is ‘Outer Space’. Here is my card:
The panda and starship is from Clearly Besotted – stamped, coloured with Copics, then cut using my Scan-n-cut.
The purple circle is from an ink smooshed and splattered piece created previously, die cut using a large circle, a white circle then added, and I ‘gutted’ the larger circle to create the smaller circle – waste not, want not…..
It seems quite simple -and yet the placement of the rocket and panda took me – it seems – forever! I do procrastinate on occasion!
I hope you can come and join us with your ‘outer space’ creations. xx