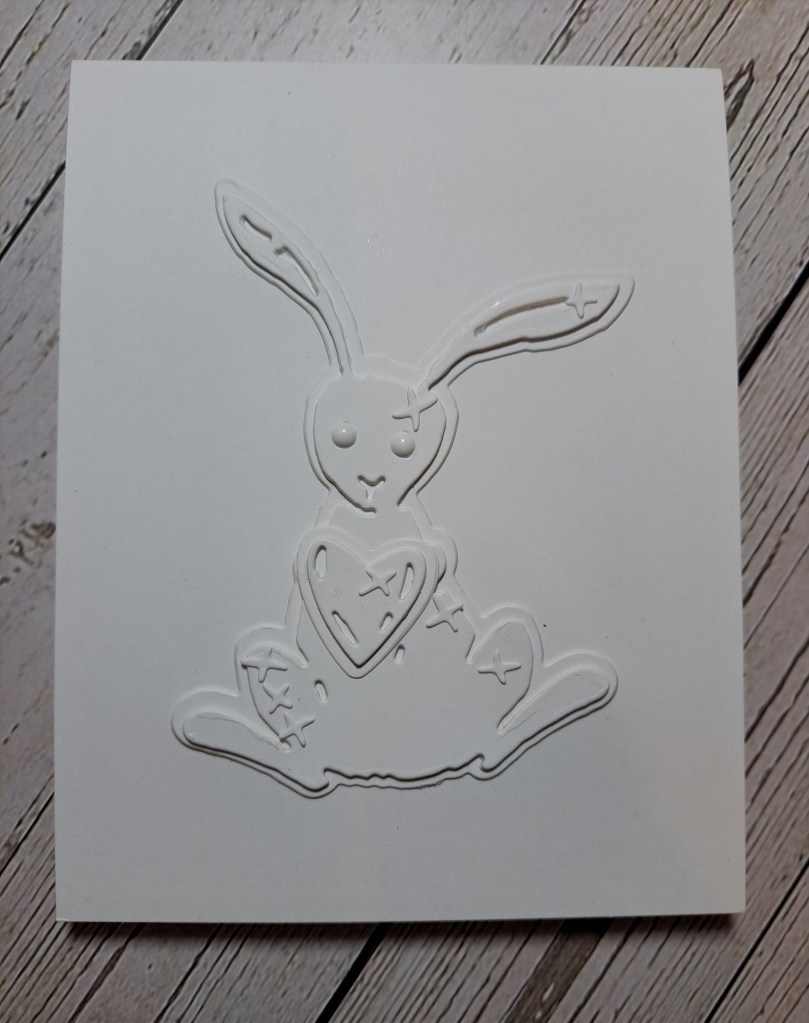
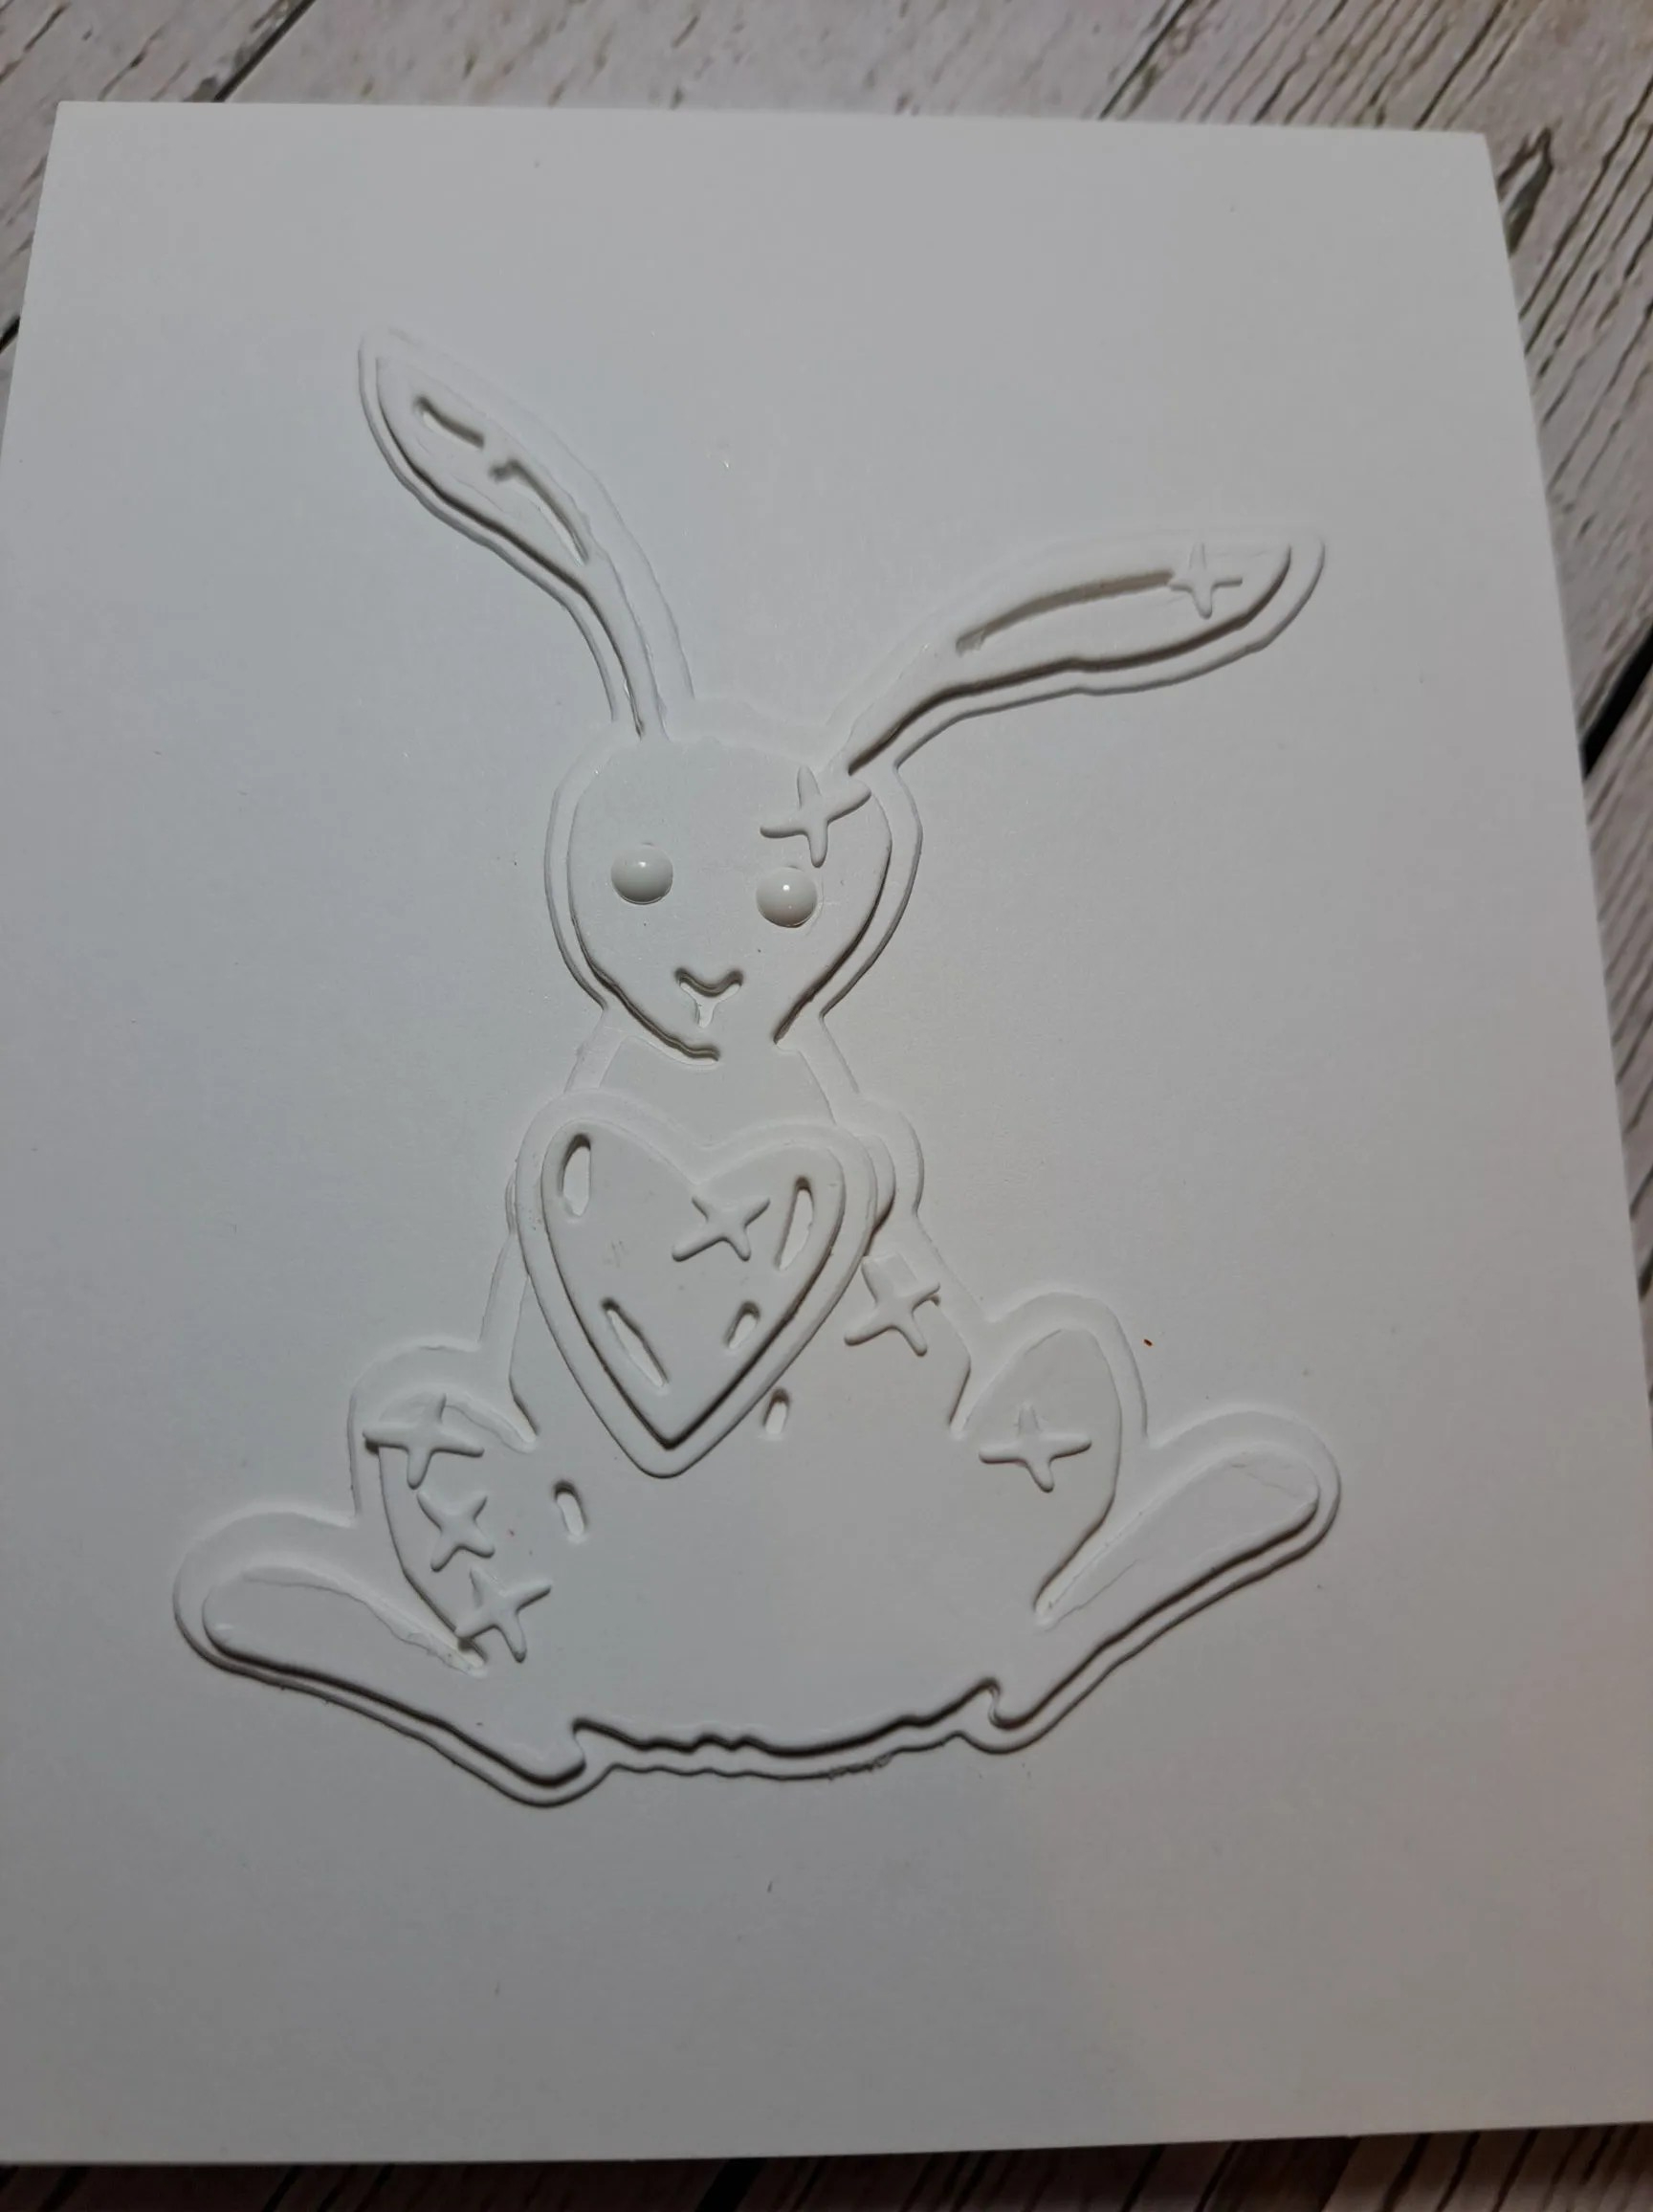
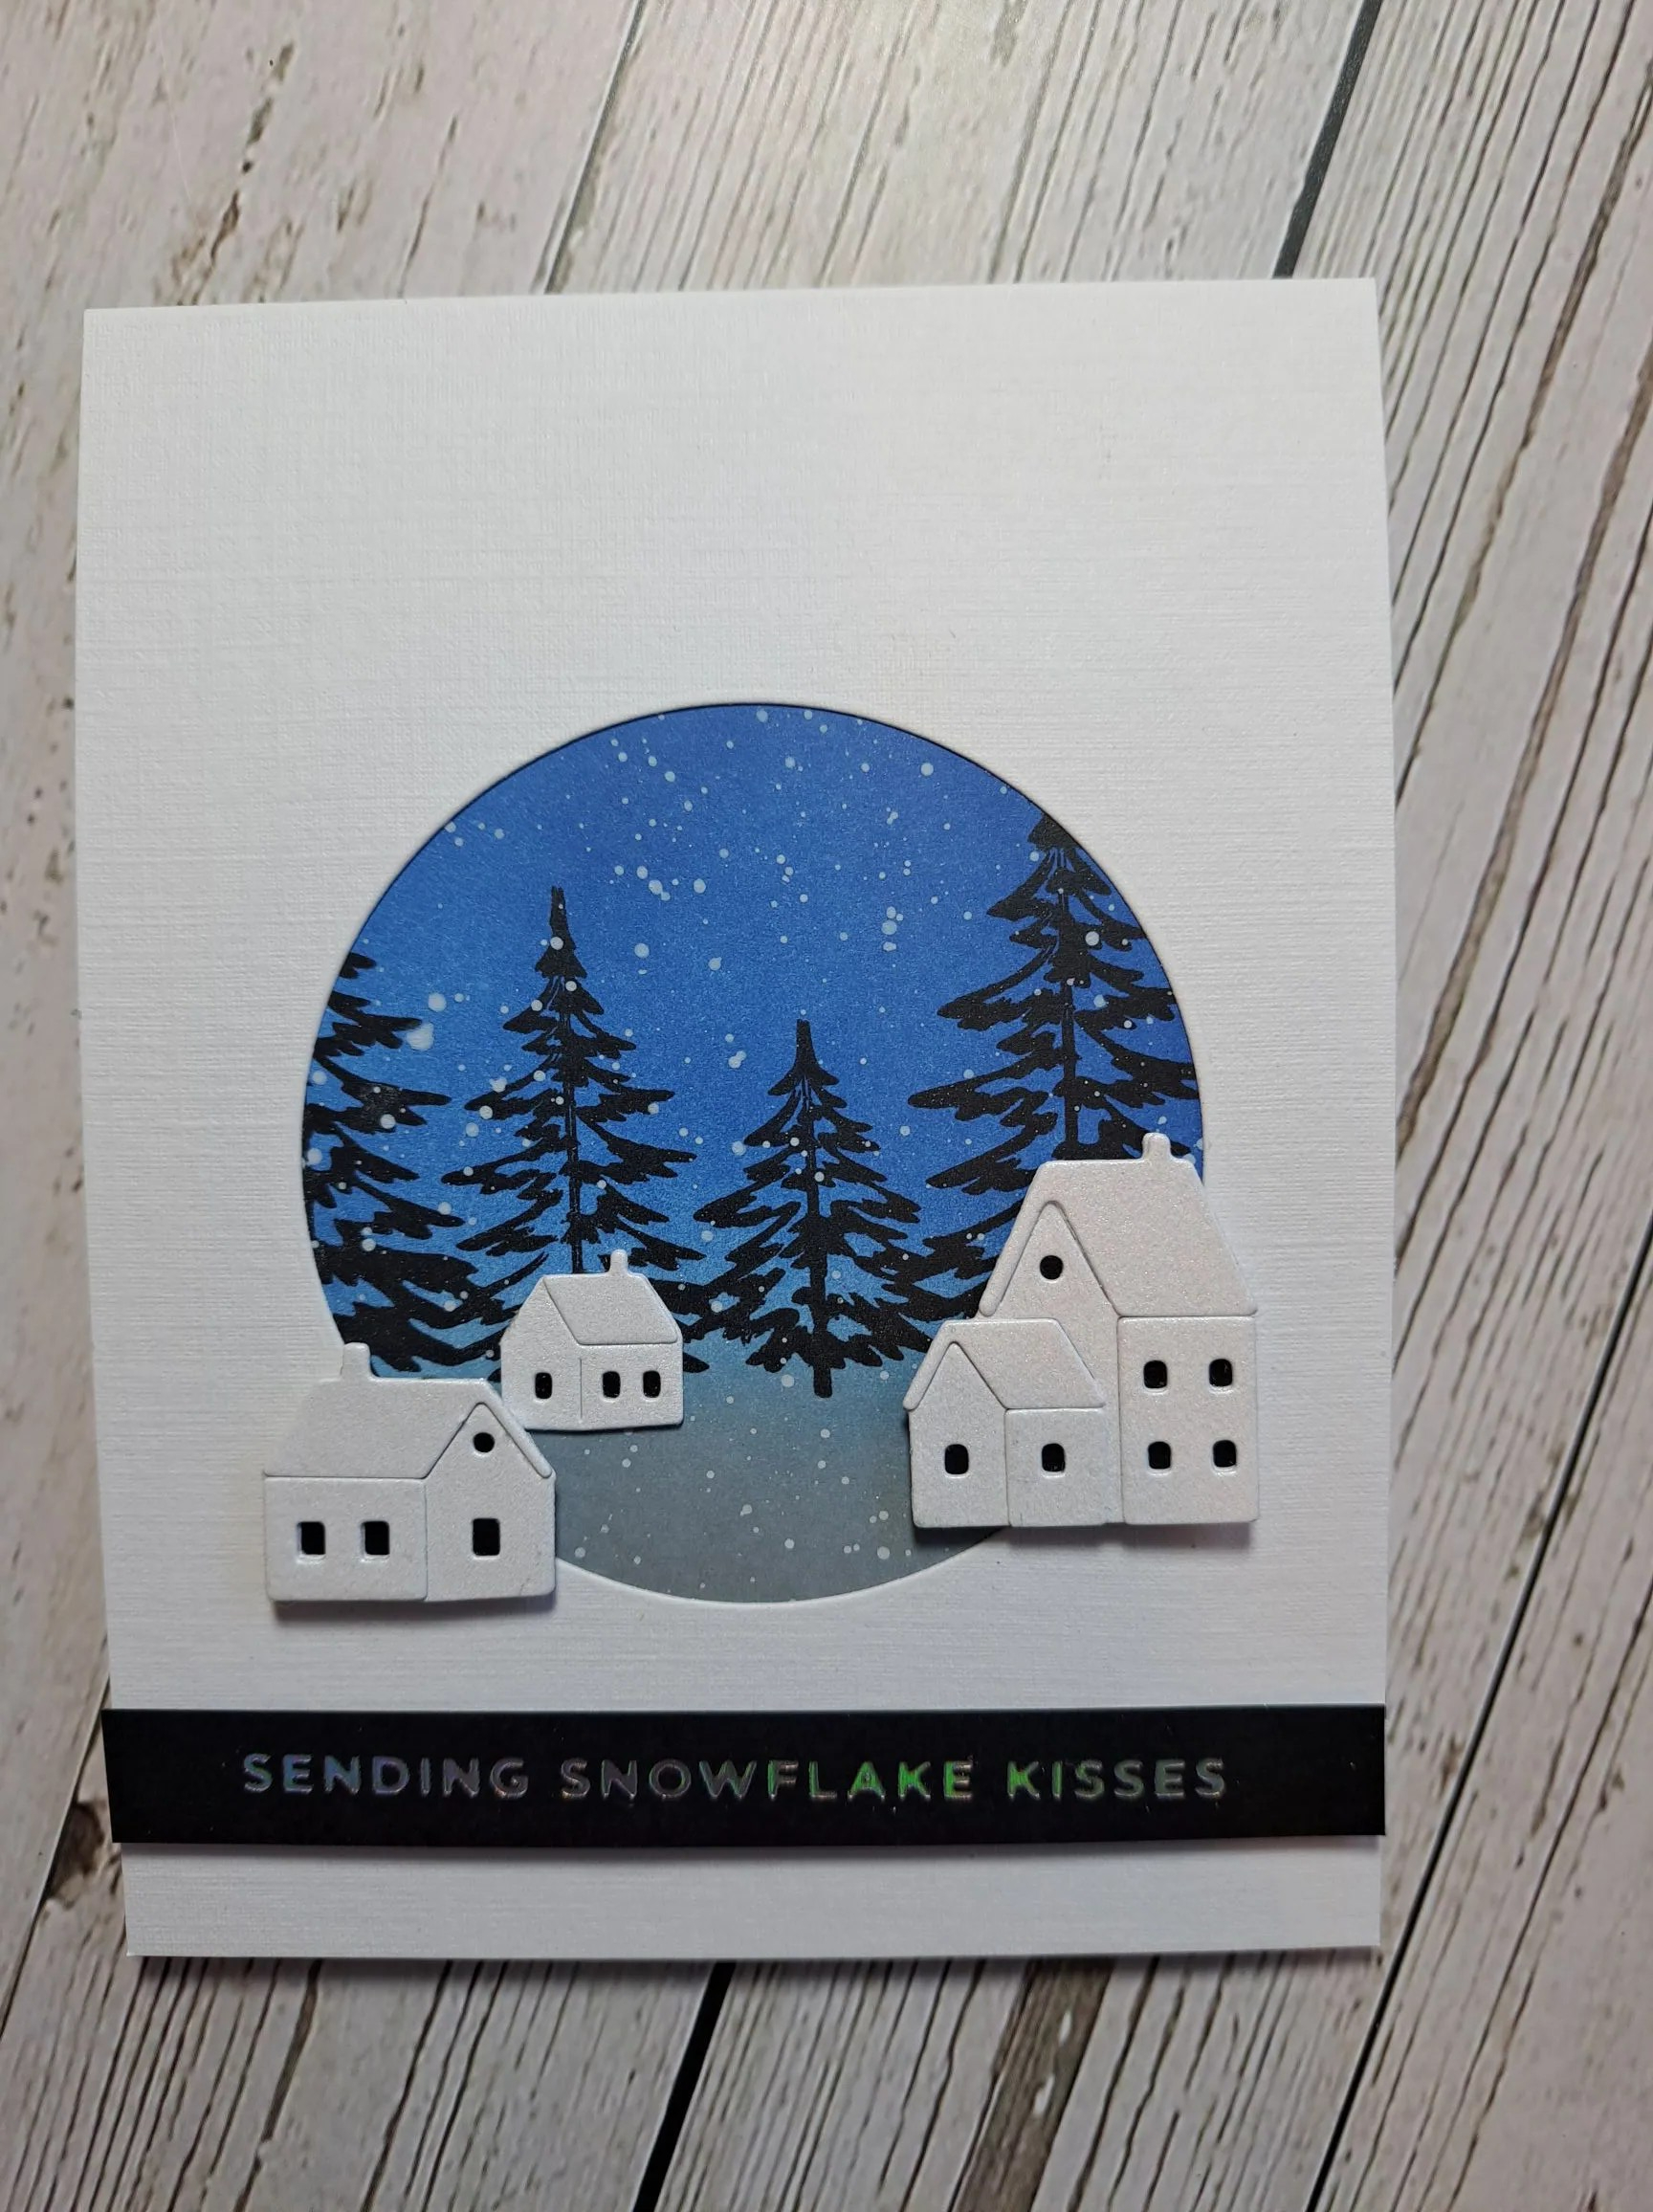
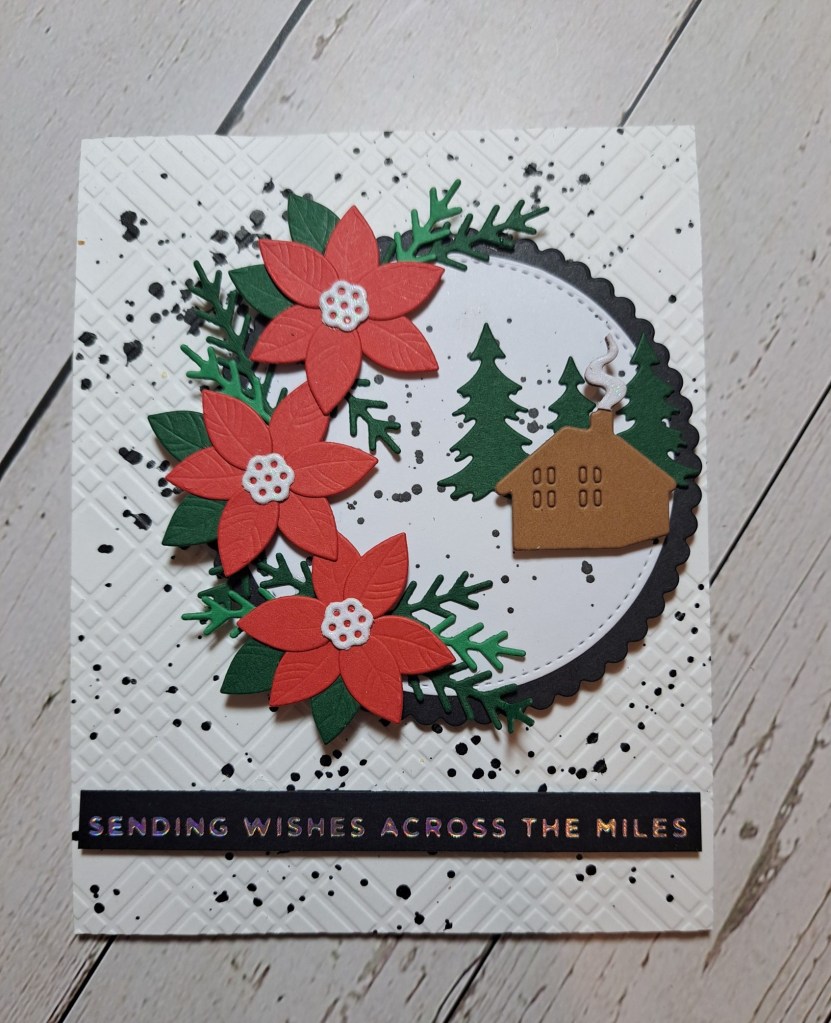
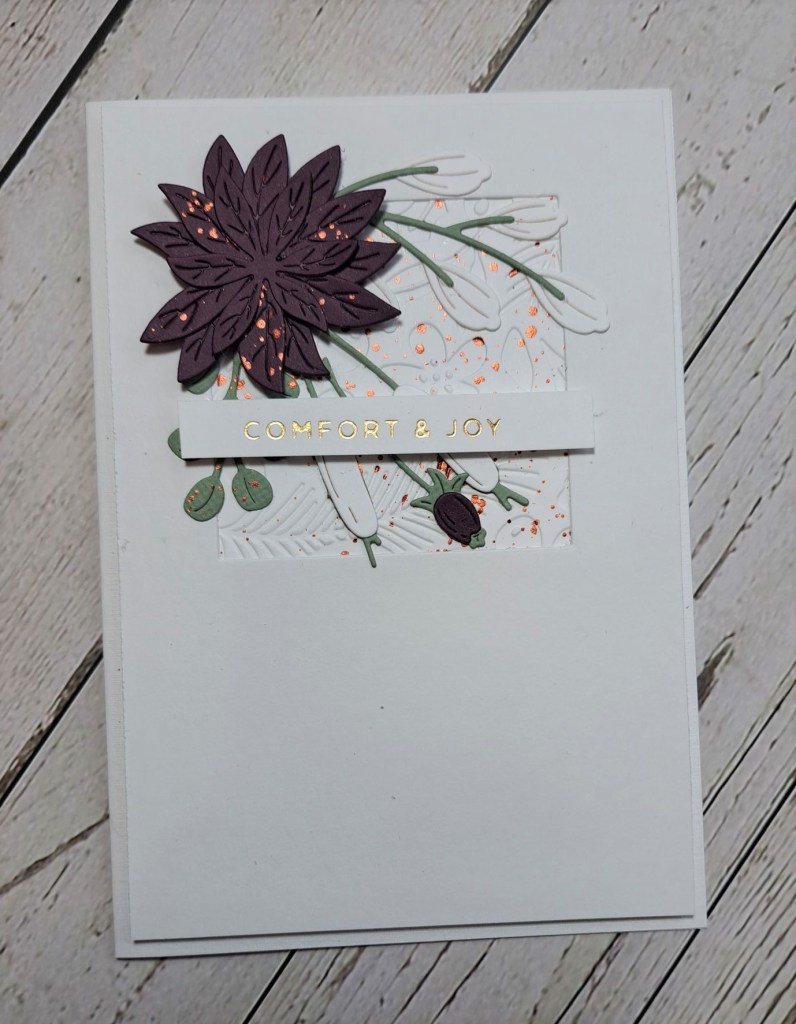
A new challenge has started at The Holly and Ivy Christmas Challenge. The theme is always ‘anything goes Christmas’. Here is my card:
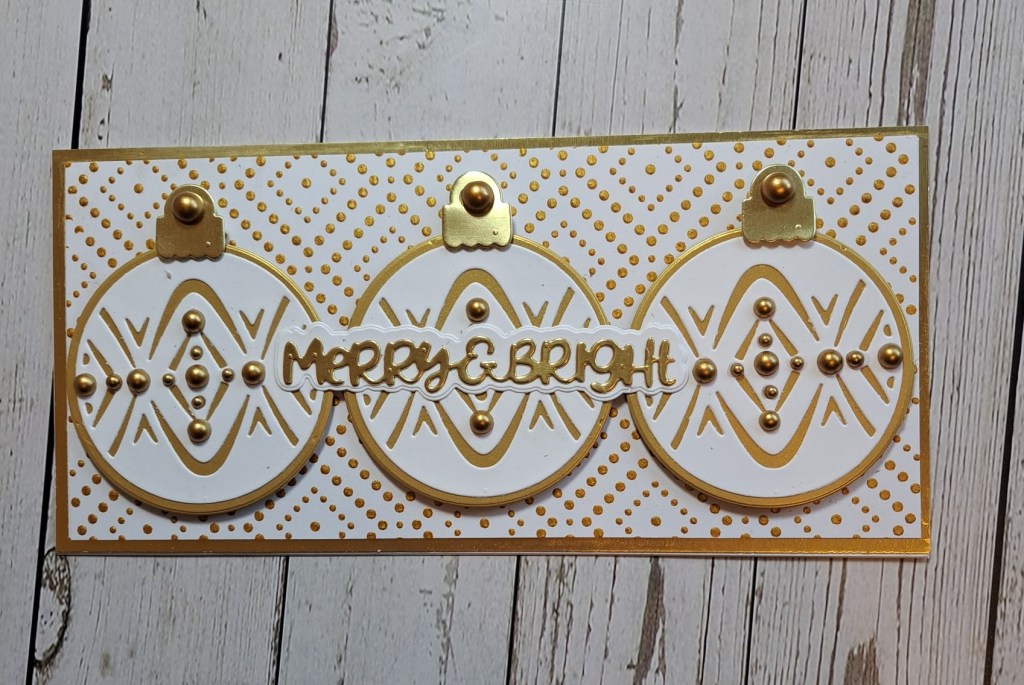
The three circle dies are from a kit through Scrapbook and Cards. I found out about these kits from another online card making course. The kits ship every two months, and combines a stamp set, die set, and a class with different people/companies. I believe the next one is with Gina K – but I haven’t received that yet – it takes a little more time to get to me here in the UK.
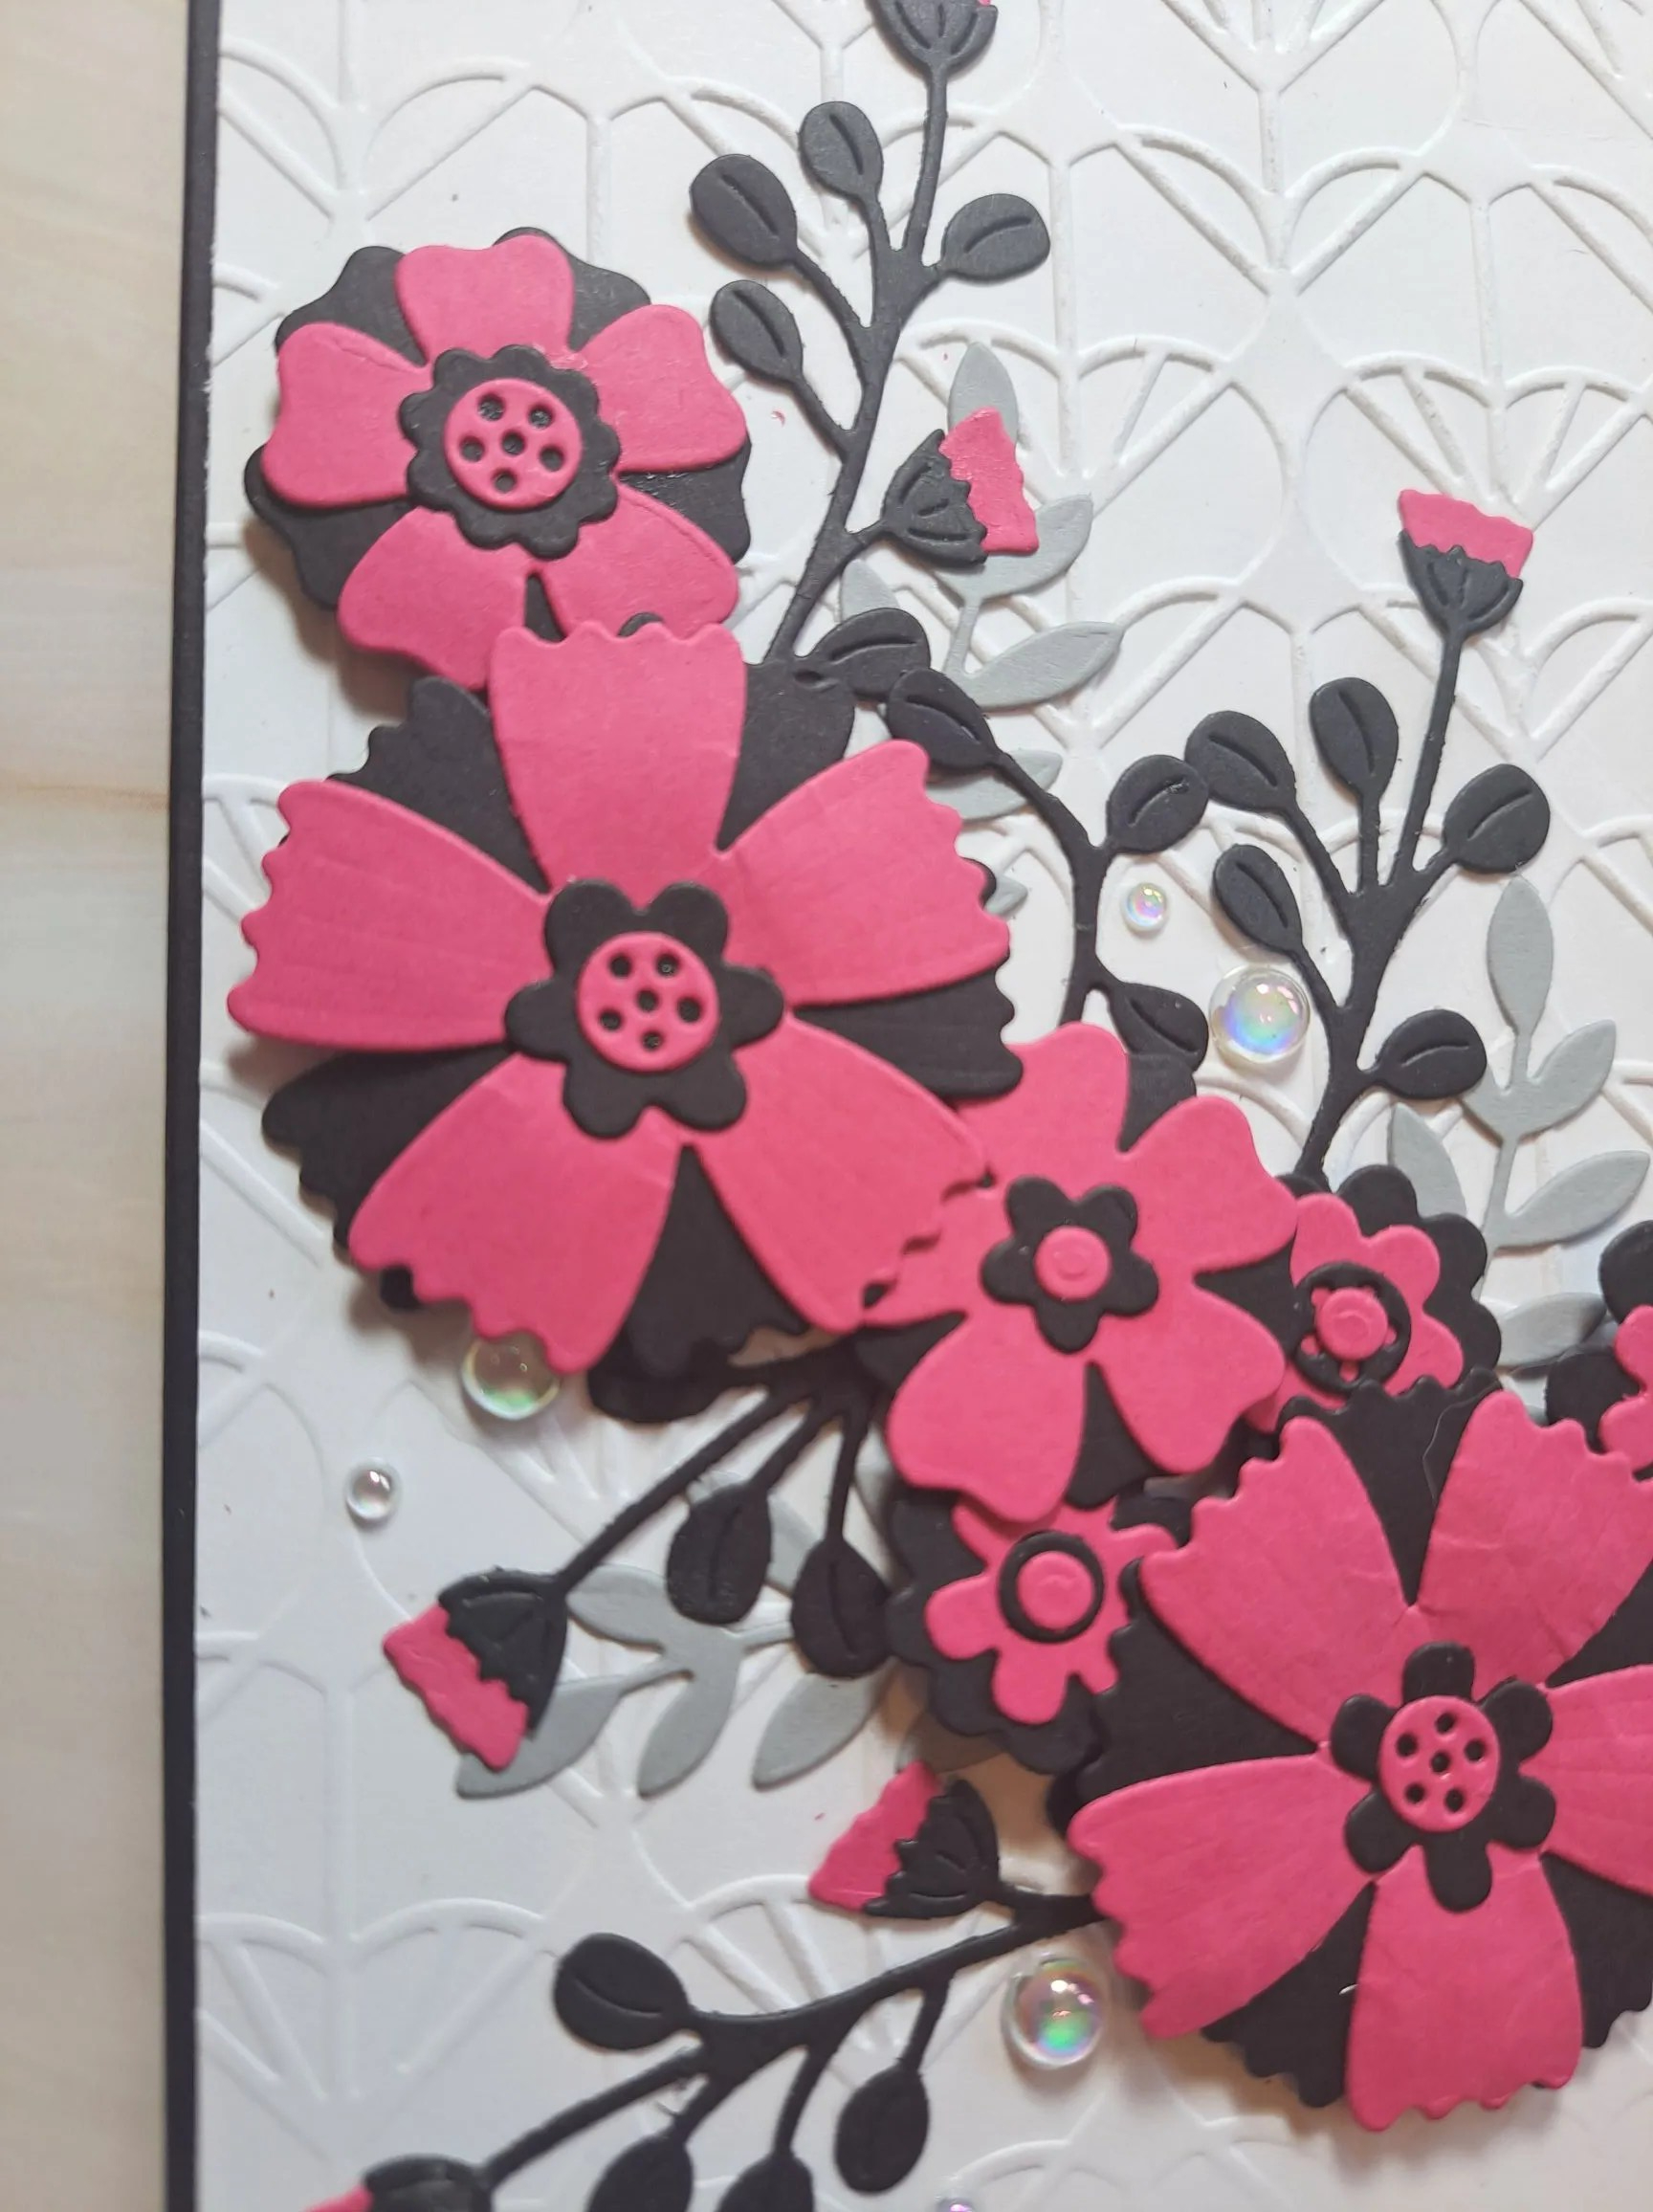
This die set was from LDRS Creative and I decided to make baubles.
I first created the dotty background with a Spellbinders stencil and gold paste. I left that to dry for 24 hours – just in case – and prepared the ‘baubles’.
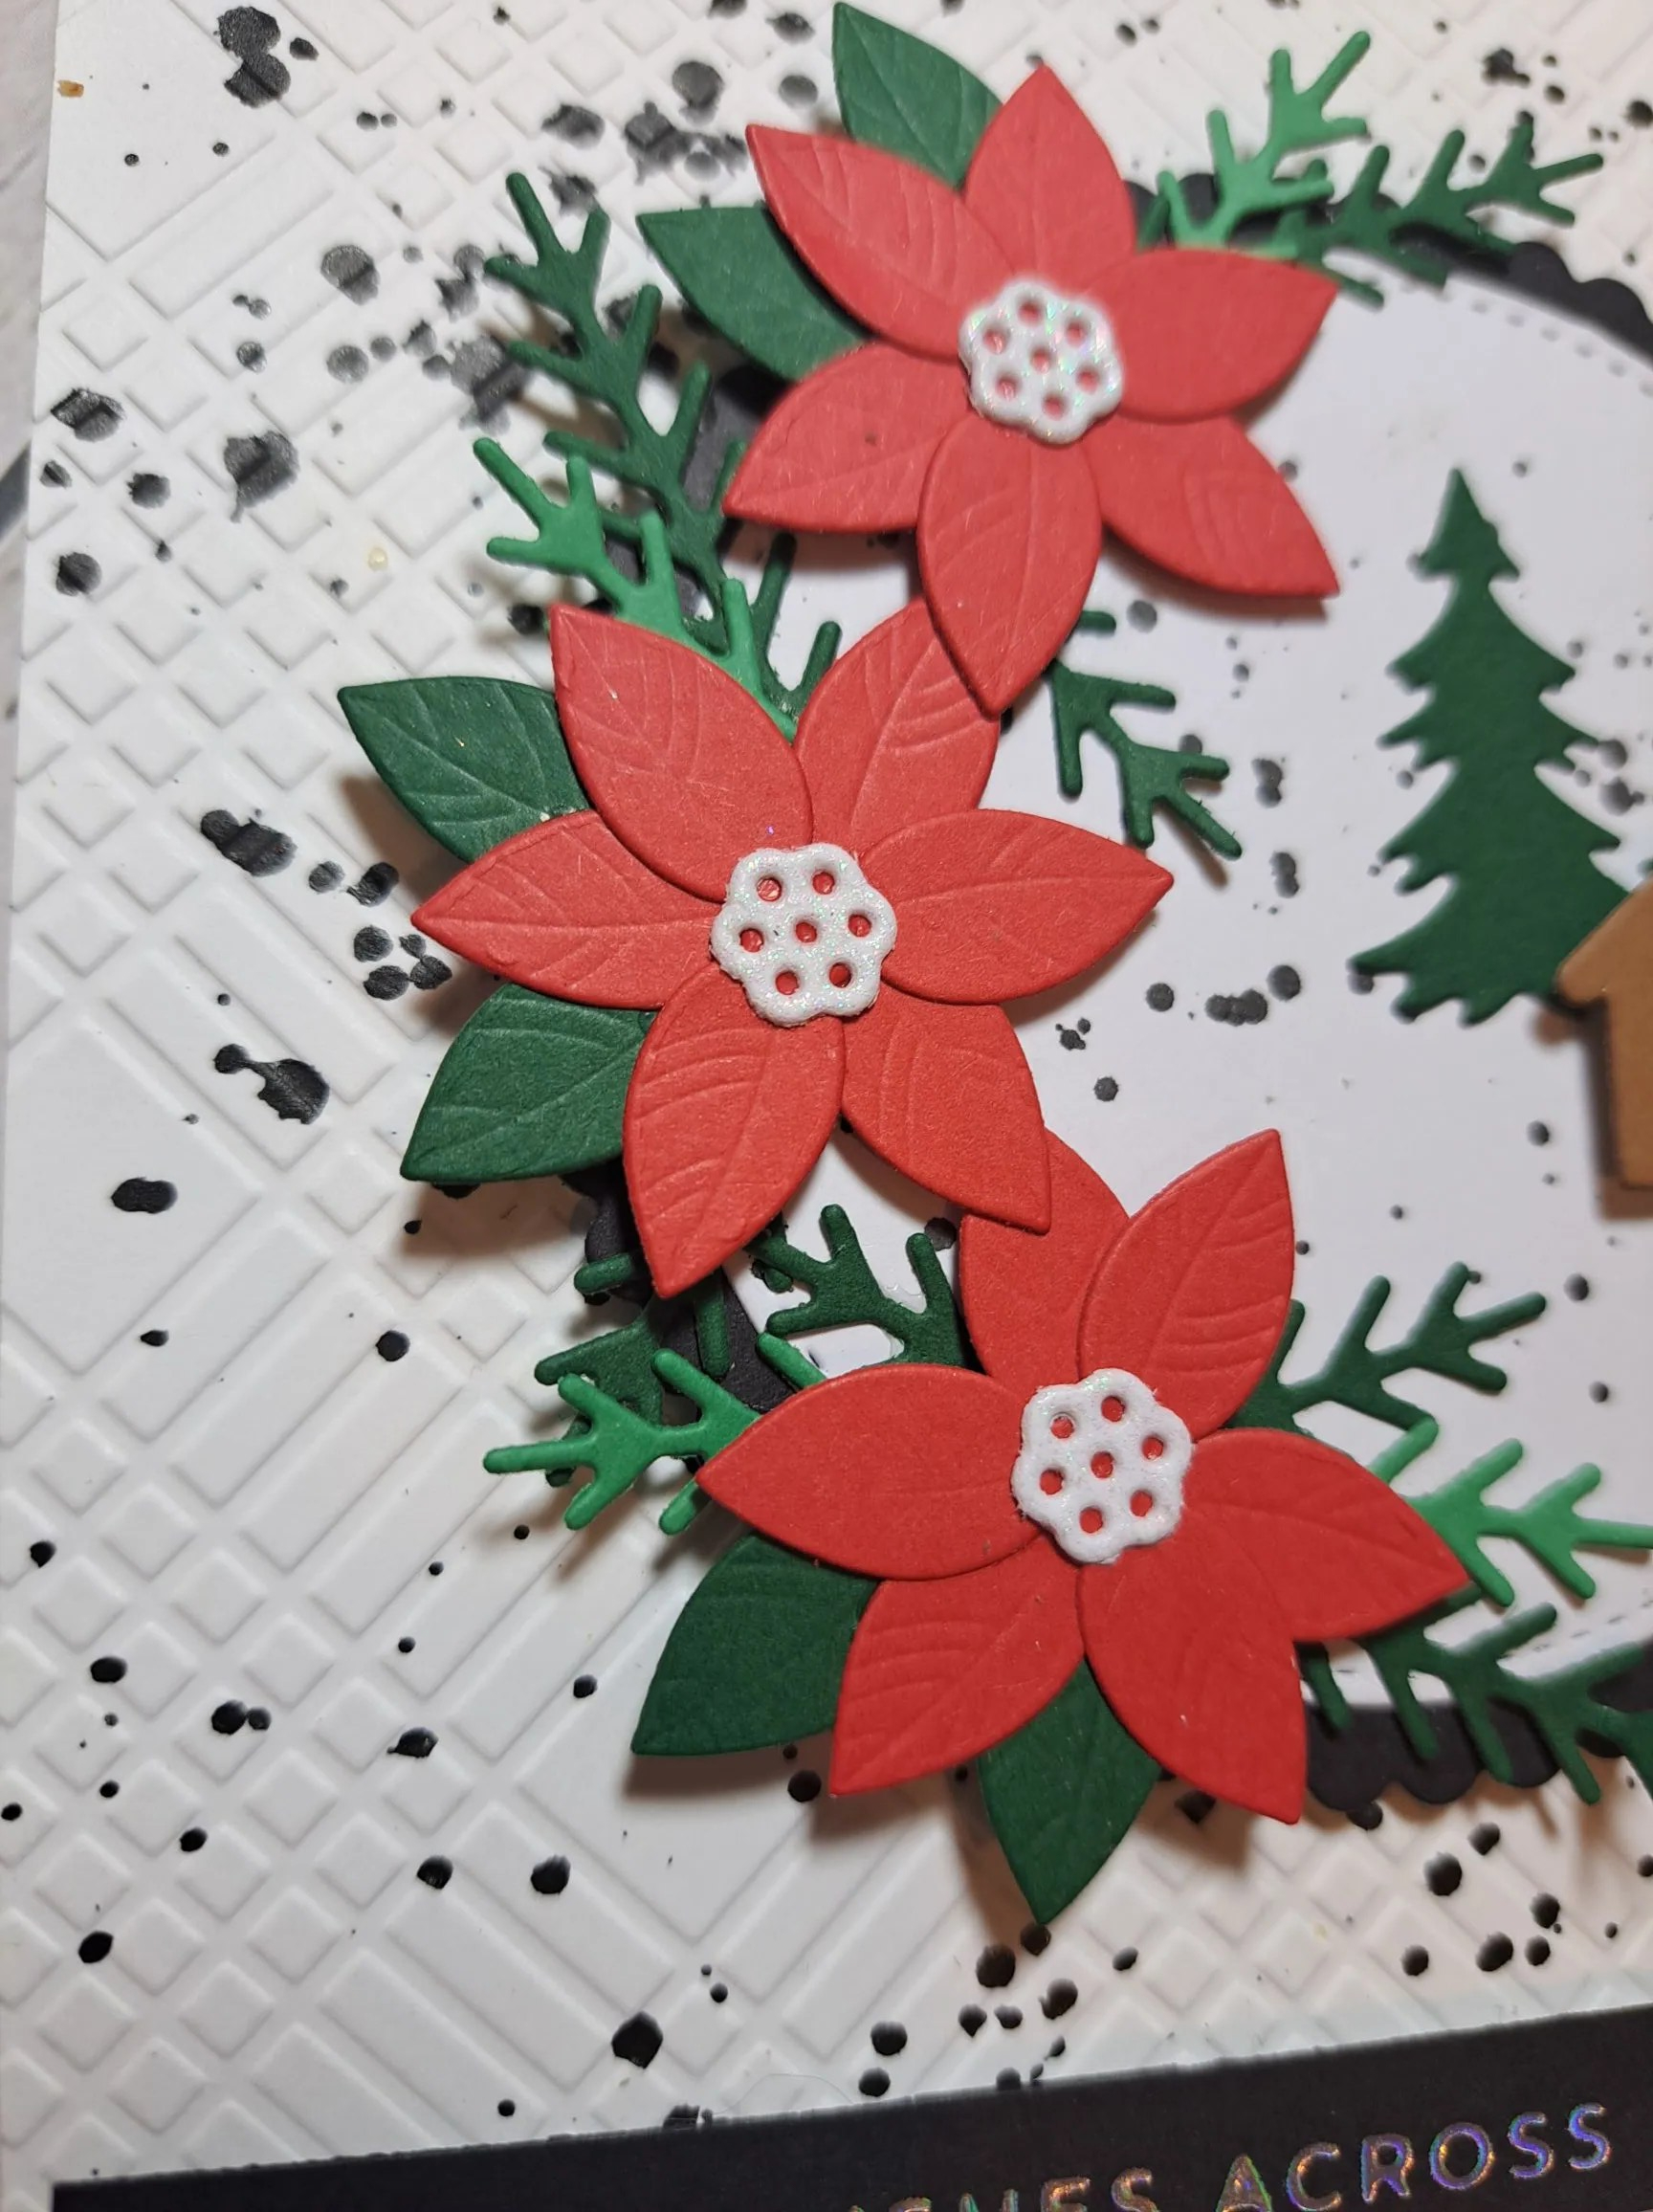
I die cut the base circle from Spellbinders gold card stock, die cut the main decorative circle from white card stock, then layered. I used another die set for the bauble topper – adding with 3D foam.
Onto the slimline card base I added a gold base layer – I ‘gutted’ this layer to preserve some of that fabulous card stock – layered with the gold dotty panel, then added the baubles.
The sentiment was die cut from the same gold with a white shadow layer.
I decided to add some matt gold gems – kinda hard to stop when you get started.
I hope you can come and join us with your festive/Christmas makes. xx
I shall be entering the following challenges:
Cut It Up – anything goes with a die cut
Creative Fingers – anything goes
Most Magical Time Of The Year – anything goes Christmas or Halloween
Creative Knockouts – celebrations
Merry Little Christmas Challenge – anything goes Christmas