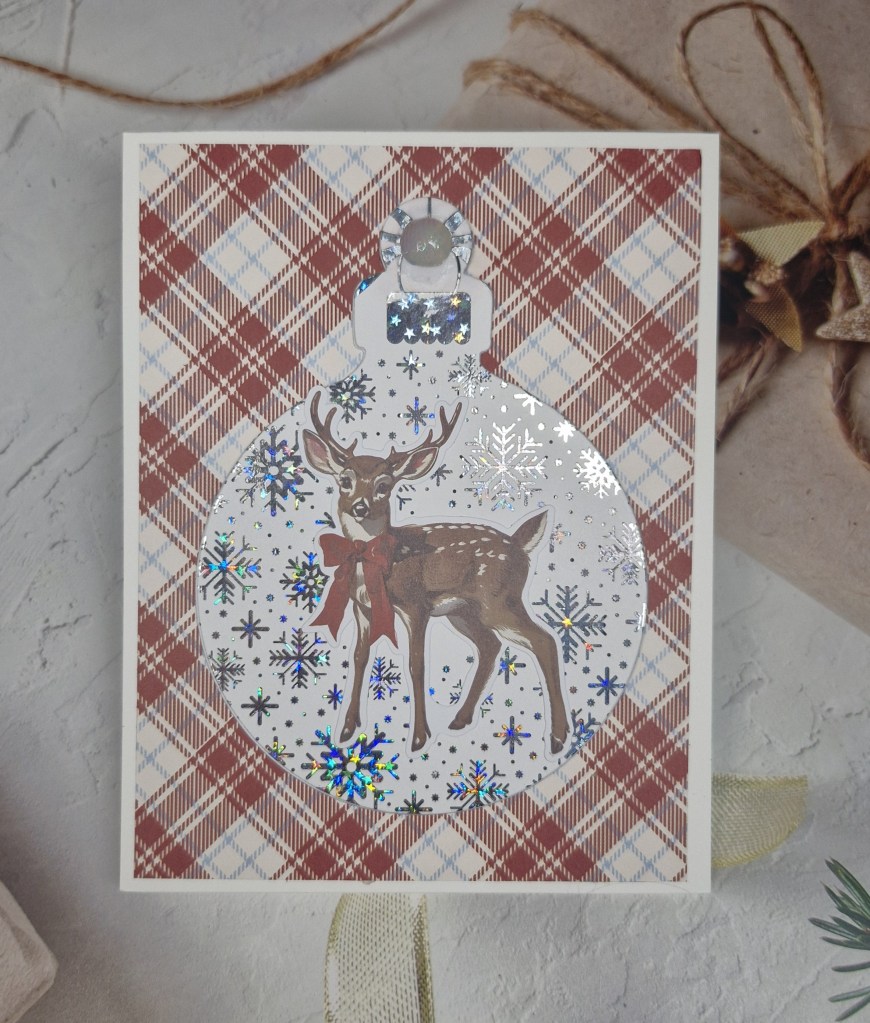
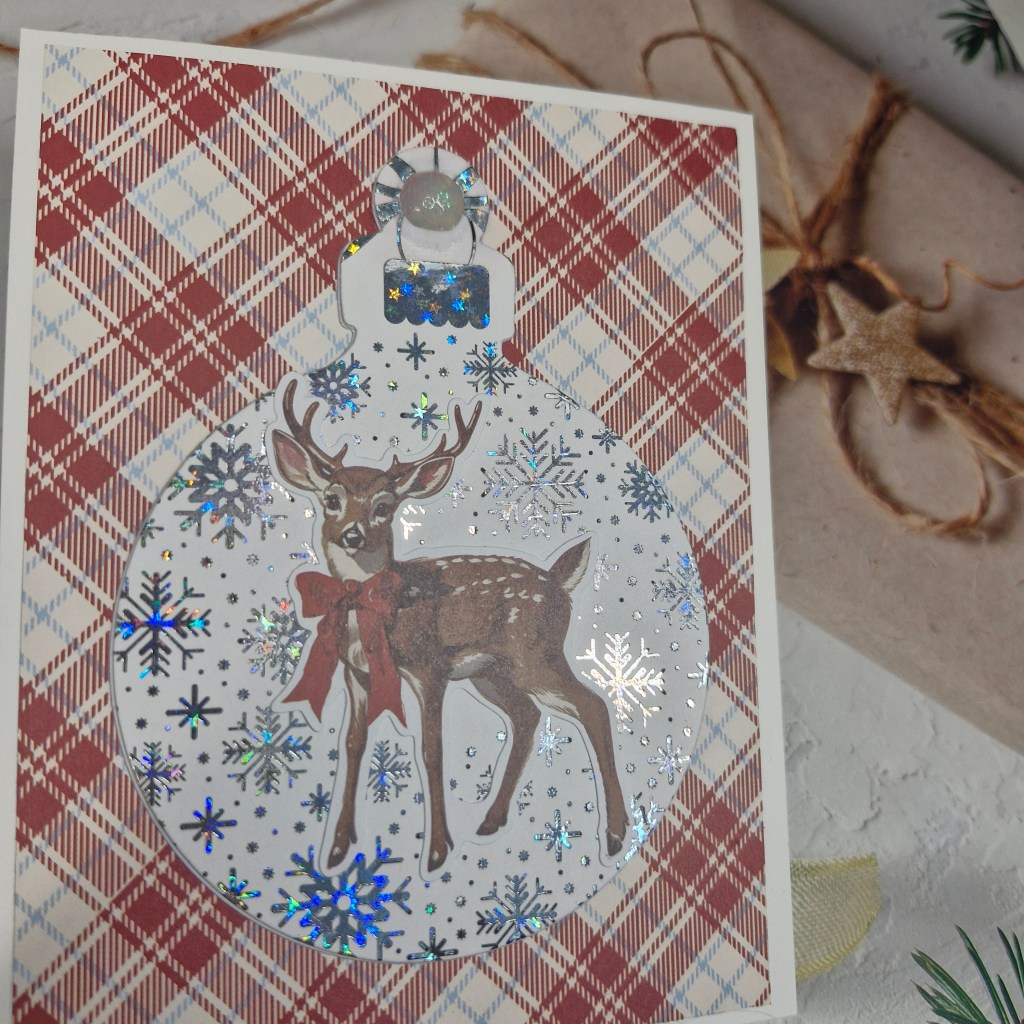
Hello everyone. Cardz 4 Galz has started a new challenge, Dawn is hosting, and she has chosen the theme of ‘Christmas Sparkle’. Here is my card:
I used some patterned paper from Simple Stories, I believe I received it as part of a class, and used a panel of the tartan for the background.
The snowflake panel is heat foiled using a toner sheet, silver foil, and the Gina K Designs Fuse foiling system. I haven’t played with this very much, so I had to check out one of her YouTube videos – but it foils like a dream…
This foiled panel was then die cut with Hero Arts besting bauble dies – a couple of times for dimension – then all elements added.
The deer is also part of the ephemera I received for this kit, and glued directly onto the foiled bauble.
I hope you can come and join us with your ‘Christmas’ Sparkle’ creations. xx
Hello again. The ABC Christmas Challenge has reached the end of the alphabet, and therefore this challenge is for the letters ‘Y’ and ‘Z’. The Christmas themes for these letters are:
Y is for Yummy (food) and Z is for Zebra (black & white or stripes)
Here is my card:
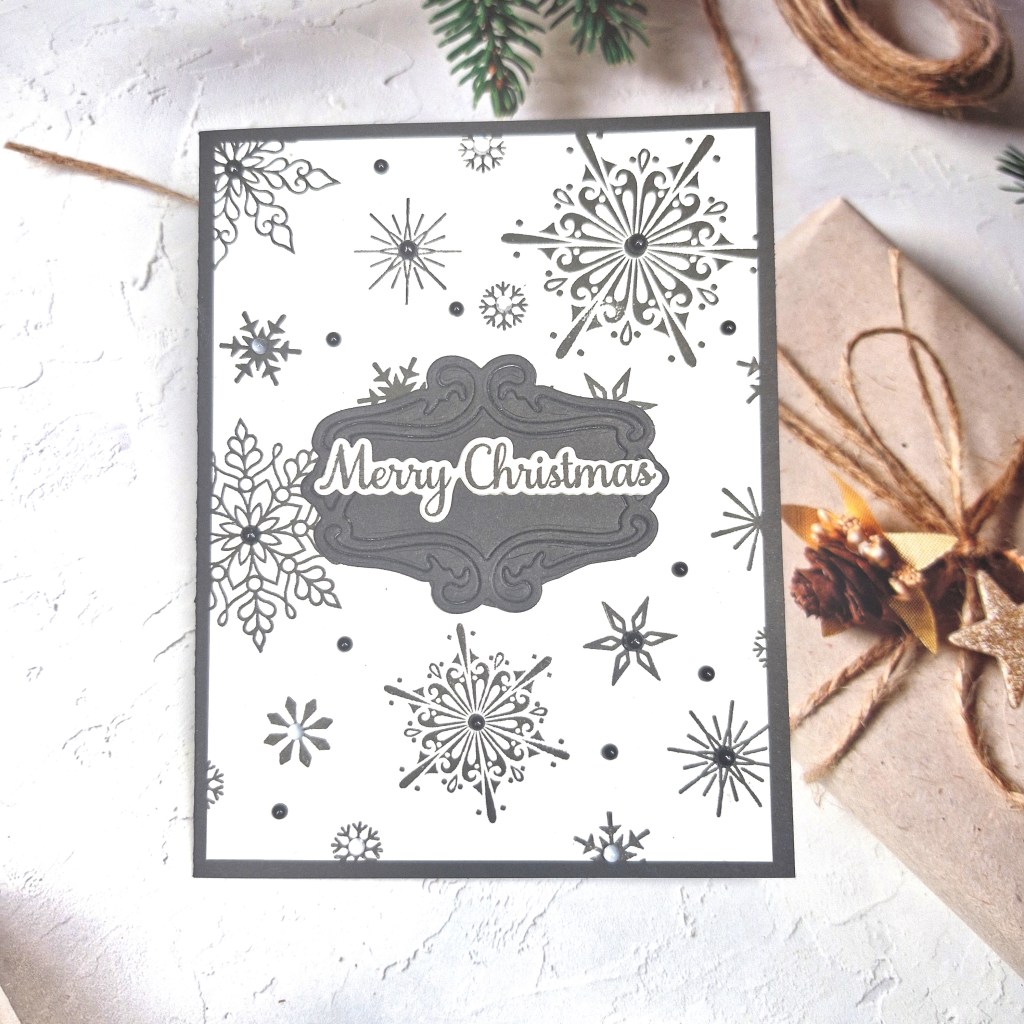
I obviously followed the black and white Christmas theme, creating what I think is quite a dramatic card.
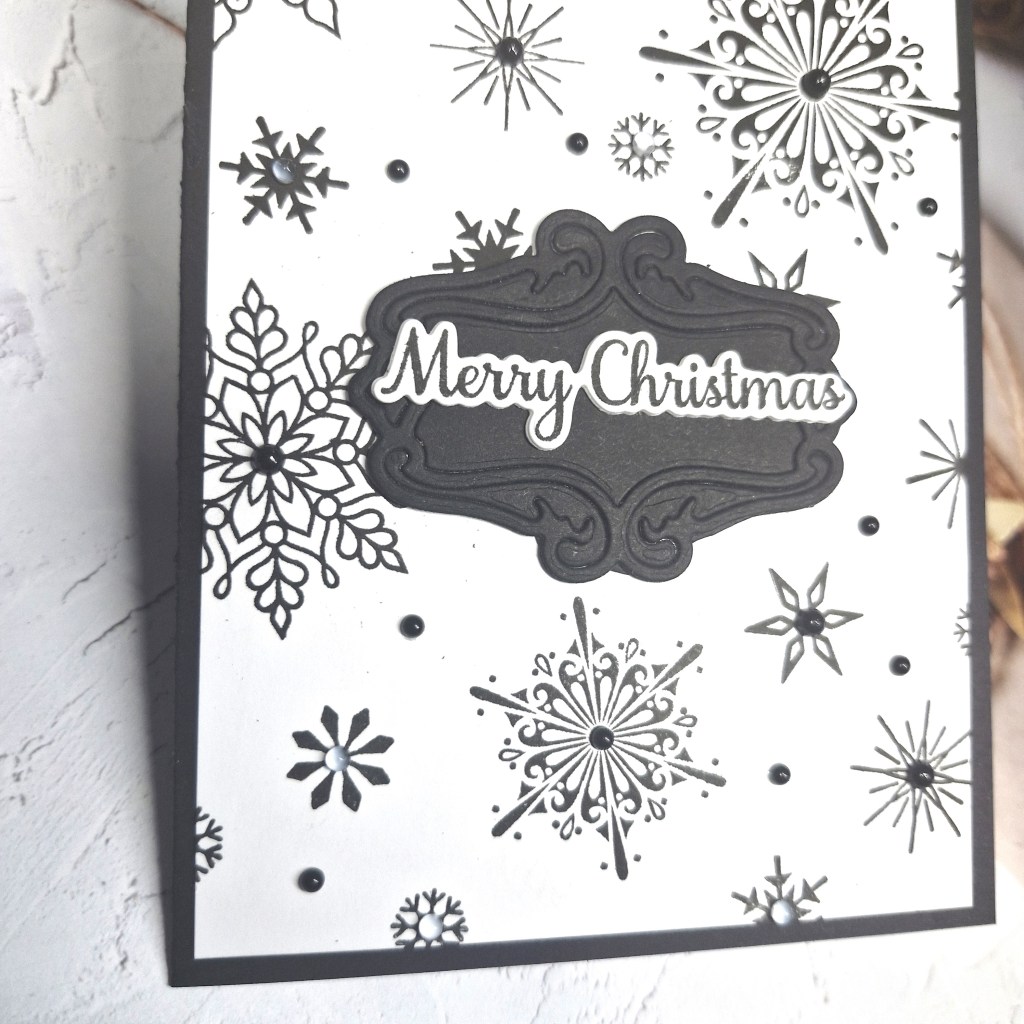
I took an A2 panel and stamped some Gina K Designs snowflakes on a random pattern all over it, then cut it down slightly and matting with a piece of black card to create the edge.
The black banner/label for the centre is from The Greetery, and the die cuts out this filigree frame – but I decided I wanted all the details of the frame to stay in place, so I placed them all back in and applied some double sided tape to the back – keeping them secure.
The sentiment was stamped, then die cut with the matching die.
The final touch was to add some black gems to the snowflake centres, and a couple of smaller gems in some of the white spaces.
I hope you can come and join us for our final challenge of the year with your Christmas creations following one or both of our themes. xx
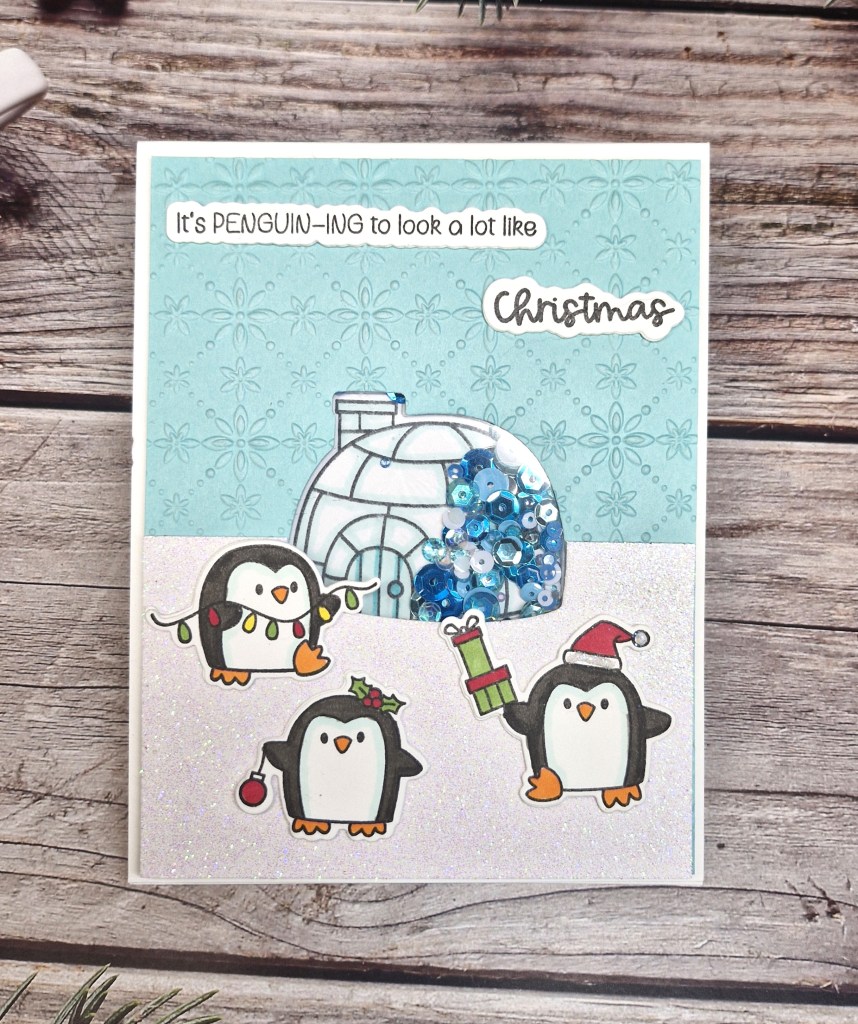
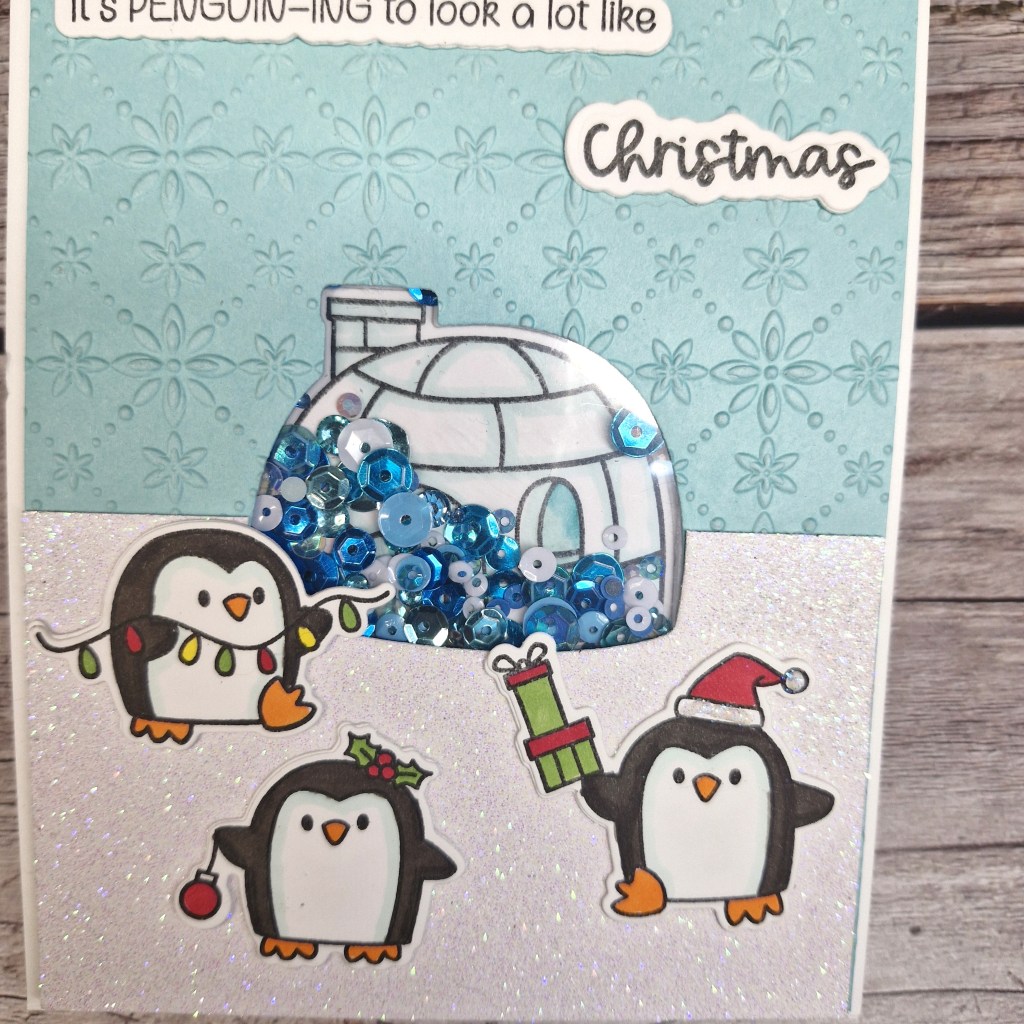
The stamp and die set is from Time For tea Designs, and I thought the igloo would be a good shape to create my shaker window.
Taking a light blue card panel, I die cut the igloo from where I wanted it to be, then ran that piece through an embossing folder from Spellbinders. I then attached a piece of acetate to create the window.
I took a piece of white glitter card from Pink Frog Designs – a shop local to me – and die cut the bottom of the igloo, so the snow would come up and around, trimming off to match the blue piece underneath.
Before assembling the shaker, I stamped and coloured all the images with Copics, die cut them out, then tried to figure out how I could place the igloo behind the window, in just the right spot, so it showed through……I managed by putting a small piece of low tack tape on the front of the igloo die cut, placing it against the acetate on the back of the window, applying glue tape to the back of the igloo, placing it down on my card base. When I removed the acetate panel, the igloo was left behind in the correct spot….
3D foam tape was adhered all over the back of the window piece, sequins added to the igloo area, another piece of acetate placed on the back of the sequins, trapping all the sequins. I learnt this trick a few years ago when going to Time For tea Designs craft day, that way no fiddling or faffing trying the line up the front shaker panel.
I then applied some Pritt Stick to all the 3D foam pieces – allows a little time to ensure the panel is on the right place – then attach.
I die cut another of each of the images out of white card for more stability, glued them together, glued them down to create the scene, added the sentiment, also added a little bit of Lawn Fawn Prisma glitter to the hat of the penguin holding the presents.
I shall be entering the following challenges:
CYHTP – embossing folder – option of thanks not taken
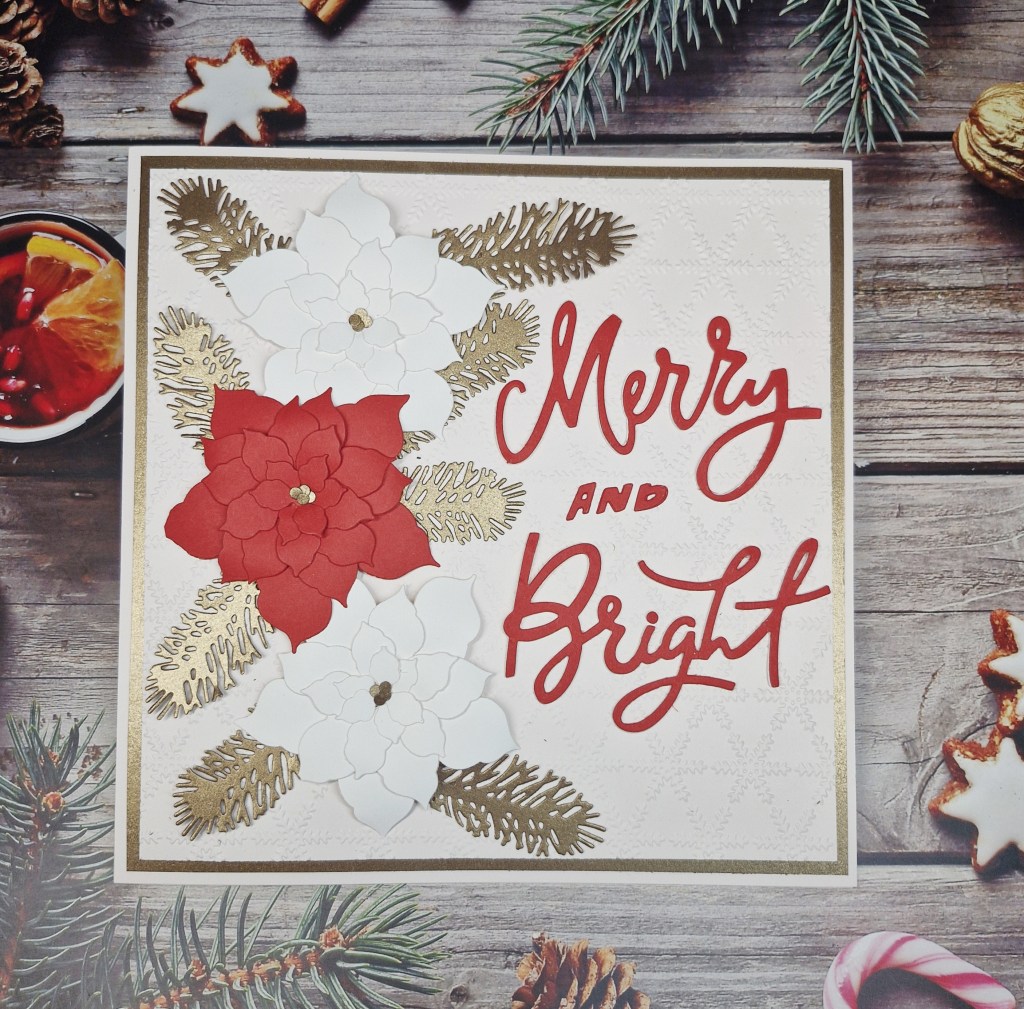
Hello. I have a card to share inspired by several challenges. For this card, I went back to my card making roots by using several Sue Wilson/Creative Expressions dies, and by creating an 8 x 8 inch behemoth:
I was sorting out part of my stash the other day, and found several packs of Creative Expressions card – the blush pink and the gorgeous bronze metallic – I just had to use them for this card.
I did originally have a 6 x 6 inch card base, but I just couldn’t fit everything on there, so I found some larger pieces of card – stored away ‘safely’ and found after quite a few minutes of searching….
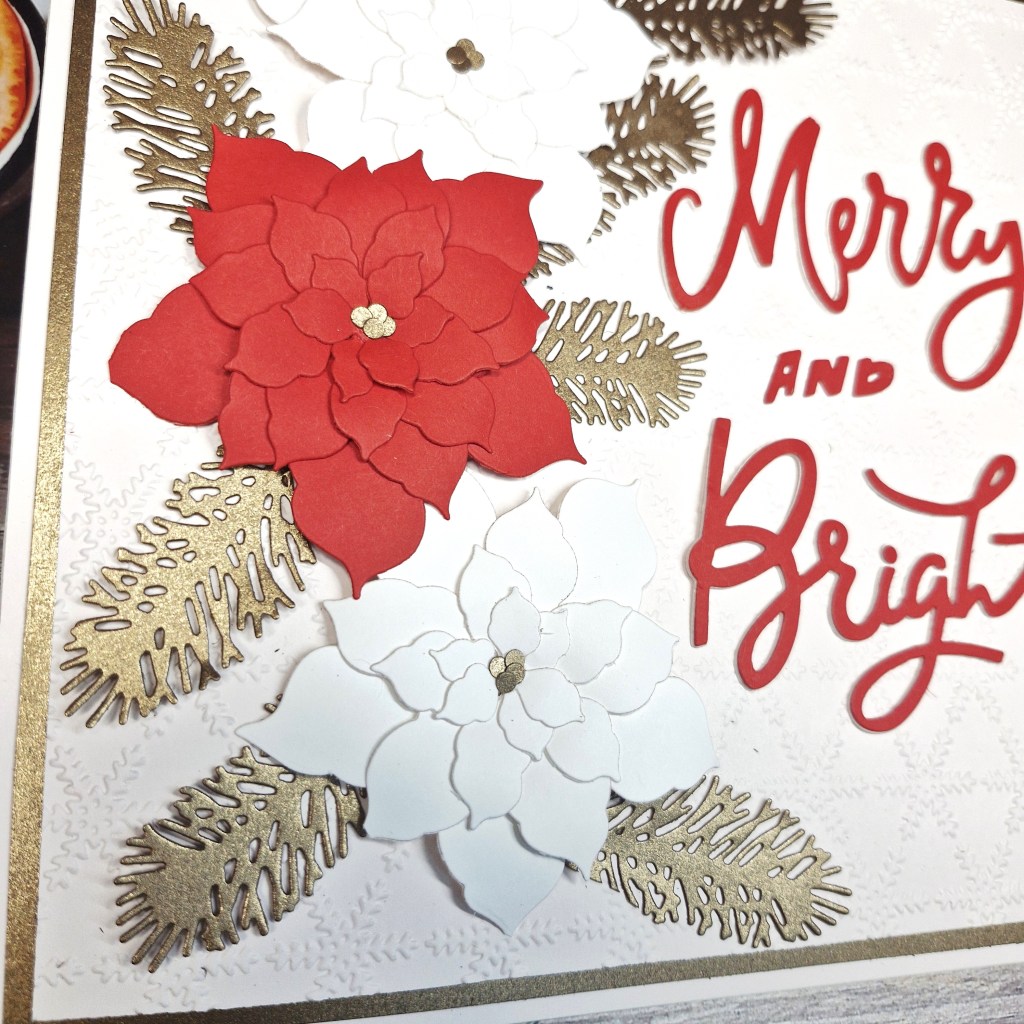
\\teh red and two white poinsettia were created using die sets which are dated from 2016 (!!) all elements die cut from Heffy Doodle card stock for the red, and Neenah for the white. I layered them together after curling the leaves a little to create some dimension on the flowers.
The centres of the flowers were created by punching some holes and using what we would normally discard….
I remember having to create some boxed for these cards in the past as there was so much dimension – I guess I’ll have to do that again with this card.
Anyhoo – I matted the card base with the bronze piece, ‘gutting’ the inside by die cut some of the foliage, extra die cuts from another piece of card.
I also die cut some green foliage, but I didn’t like the look of these when I was putting everything together – good for another future card I think….
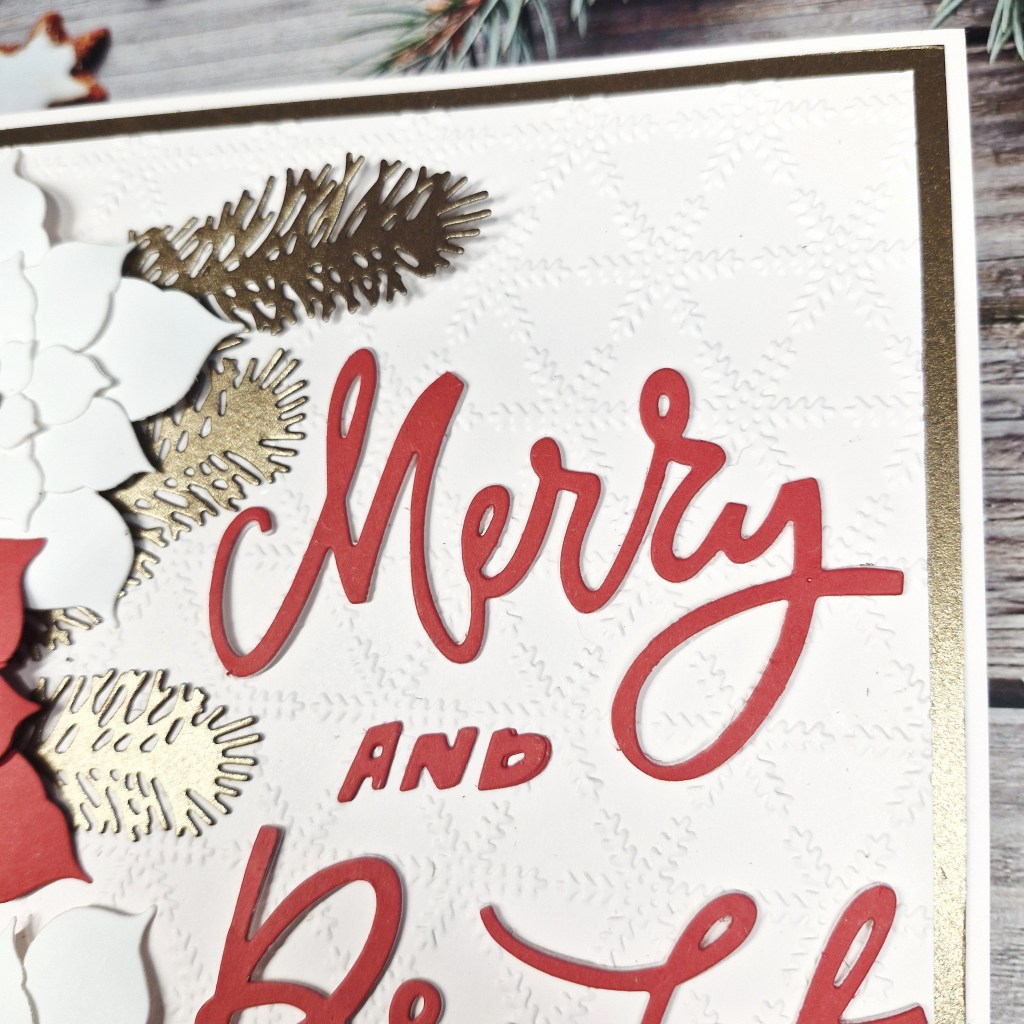
As the flowers were white, I used a piece of the blush card stock, ran it through my Big Shot Pro with an older Creative Expressions embossing folder, then adhered to the bronze, then the card base.
I arranged the florals and foliage, playing a little, then search through the CML app for find a larger Christmas sentiment I could create using dies only – and this Tim Holtz one seemed to fit.
I die cut the words with red, then also layered them a couple more times with the blush – in case I couldn’t glue them together perfectly.
All elements were attached – the flowers with 3D foam tape, and the foliage and sentiment with glue.
So – this card was a trip down memory lane for me. I reminded me that the products I have had for years can still be used, not to forget them, and it also took me back to my mum – she is the one who got me into die cutting for cards. I tried to stay away from die cutting for ages – but eventually succumbed – and now I prefer die cutting and creating more than stamping and colouring. Thanks Mum….miss you……xx
I shall be entering the following challenges:
CYHTP – embossing folder – option of thanks not taken
Festive Friday – 3 items from the list – red, white, Christmas sentiment
More time spent in my craft room these past few days. Hubby has been away, I have not been at work very much – and the weather has been a little dreary – to say the least.
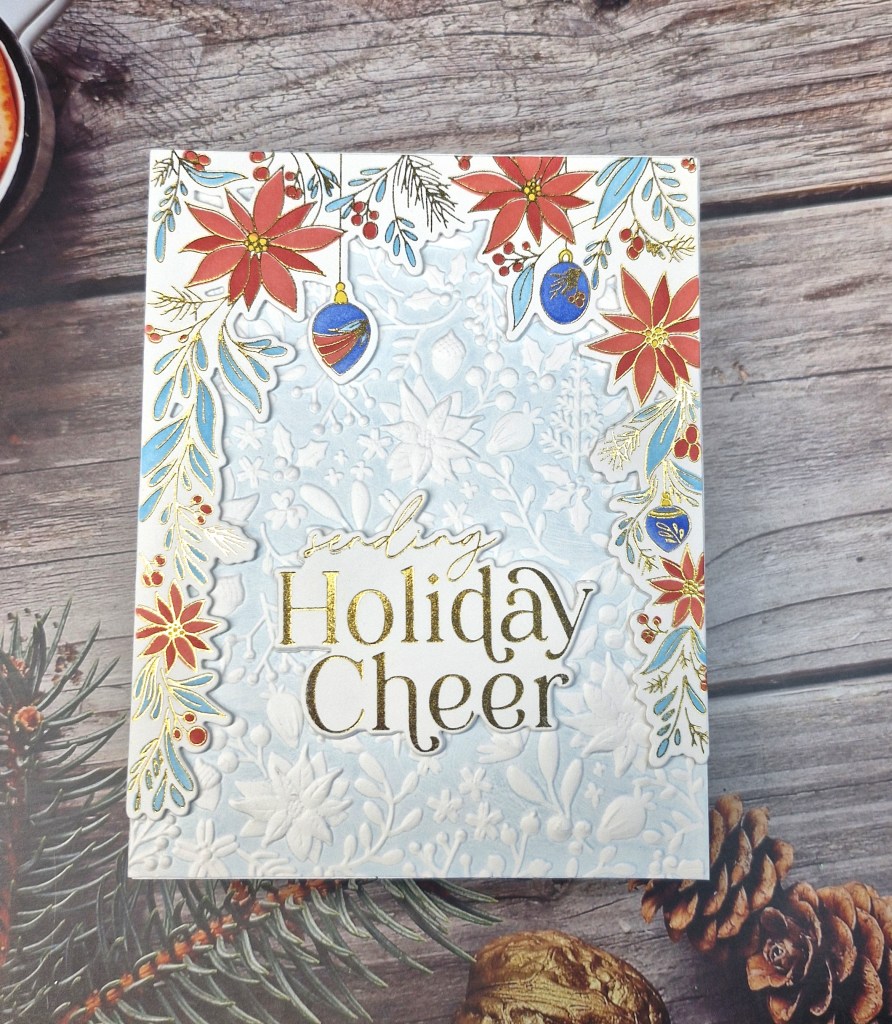
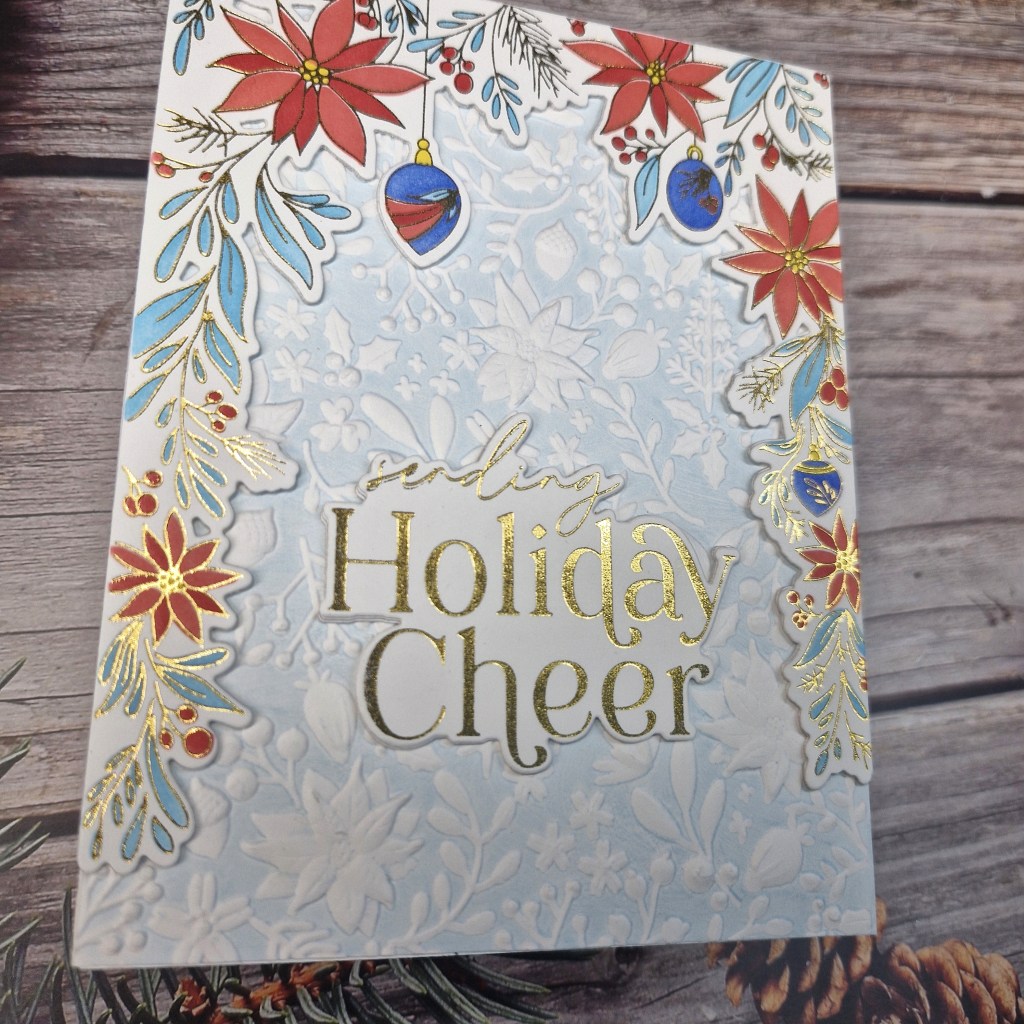
Here is a card I created using an older product suite from Pinkfresh Studio:
The frame image was gold heat foiled, then coloured using the matching layering stencils. I chose to go with varying tones of red and blue using Pinkfresh Studio inks.
Once this was ink blended, I used the matching die to cut it out, then also cut another two so I could layer it up for more stability and dimension.
The sentiment was also gold foiled, then die cut, again layering a couple more times.
I wanted to try the ink with an embossing folder again, I haven’t had much luck with this in the past, so I thought I’d give it another go after seeing many people have success.
I used a Spellbinders embossing folder, inked the flatter or ‘bottom’ of the folder with a light blue ink, and ran it through my machine……..love how it turned out. A subtle background colour to the more vibrant colours of the images.
The background panel was adhered to the card base, the image frame and sentiment then attached.
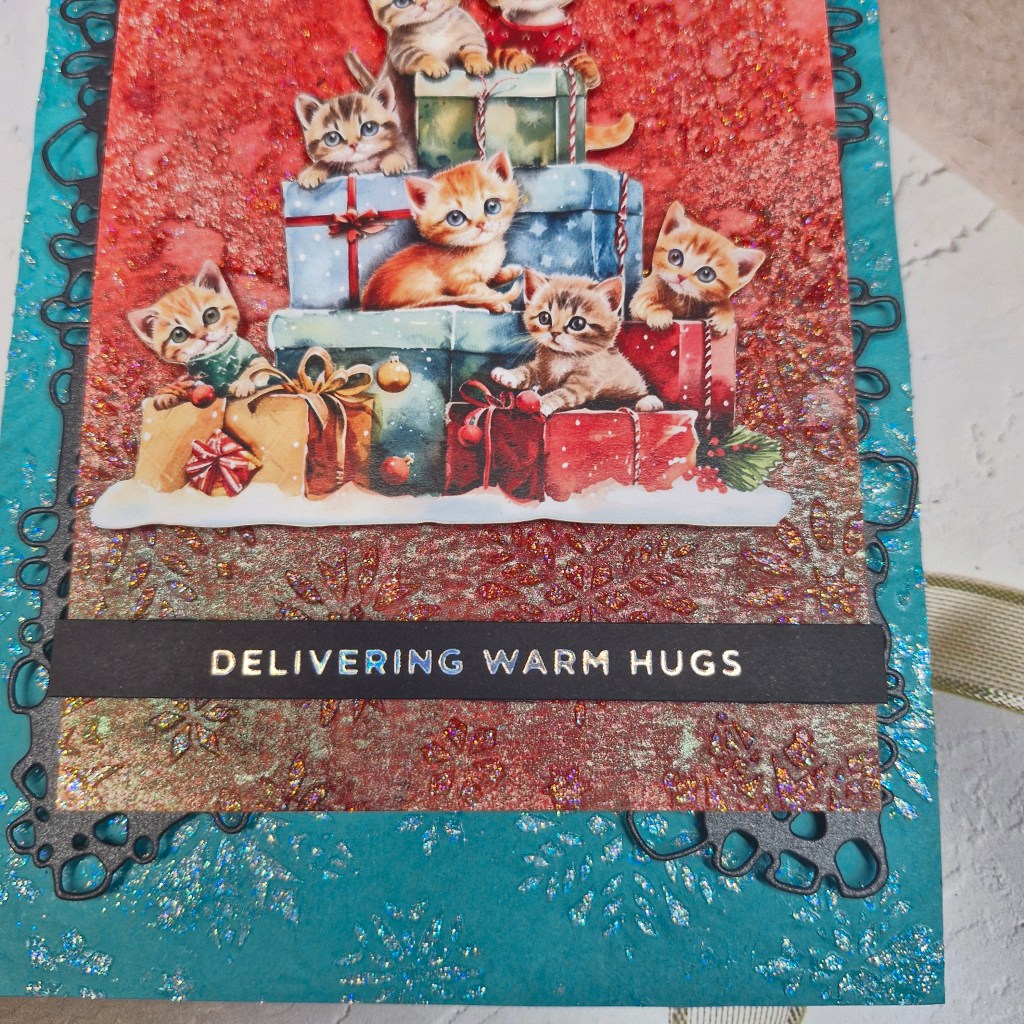
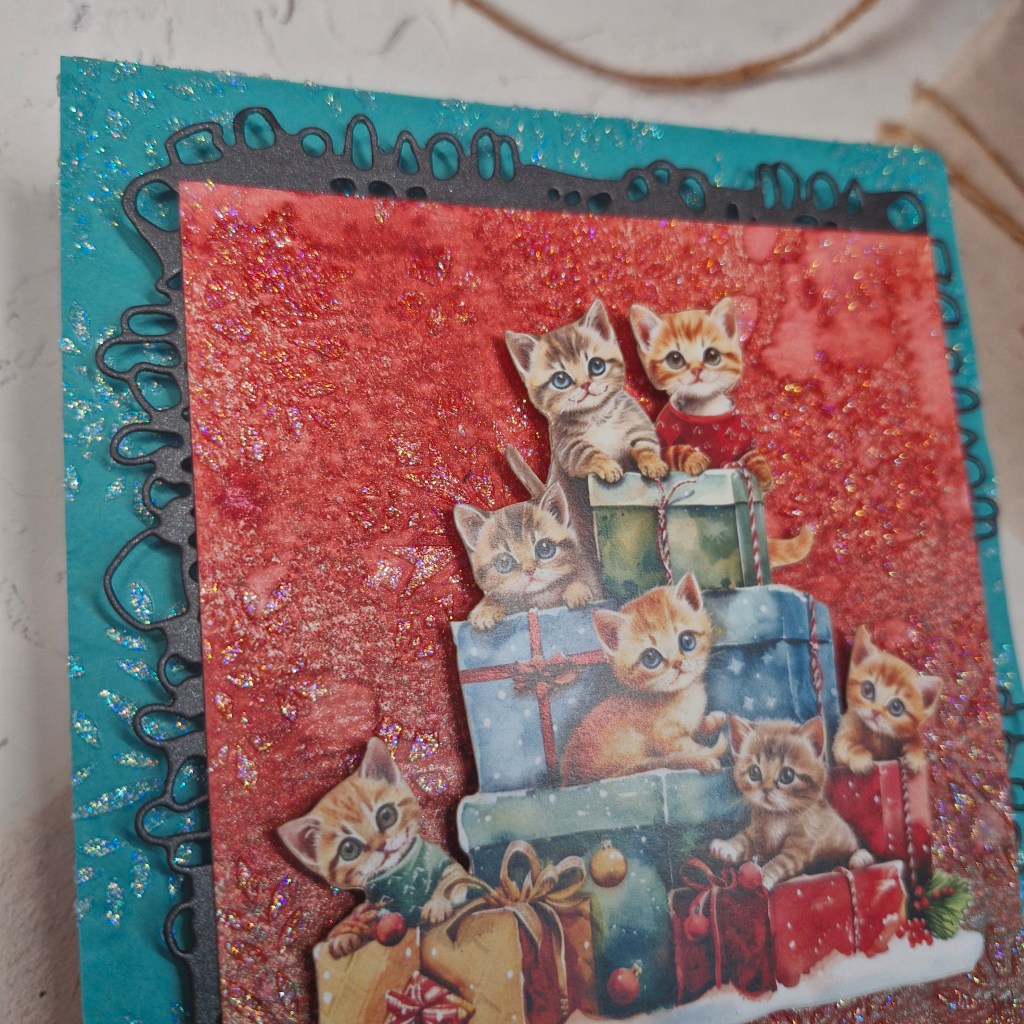
Hello once again. Cardz 4 Galz has started a new challenge. Sue J is hosting, and she has chosen the theme of
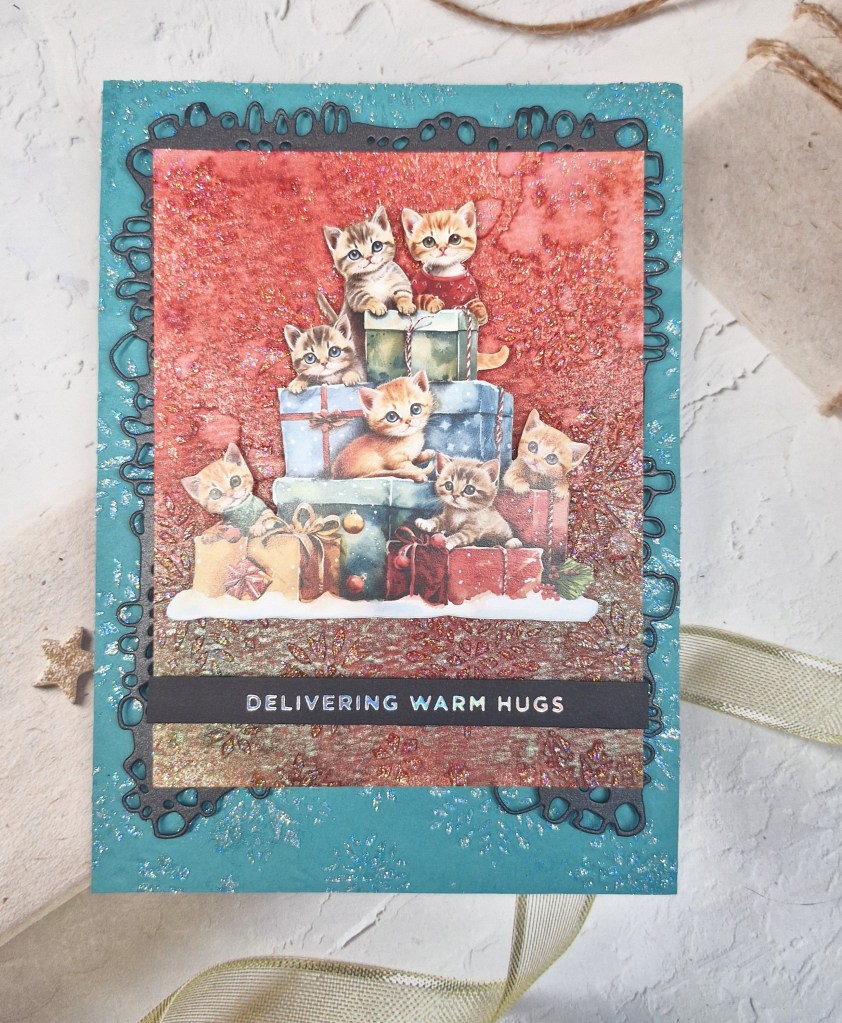
A Cute Christmas
Here is my card:
After my sojourn into CAS cards the past few days, I went all mixed media for this one – a little messy crafting.
The blue card base was created by using glitter stencil paste through a Simon hurley snowflake stencil. This was put aside to dry, then I created a panel with mica sprays, some water droplets, some dribbling of water, let that dry, then used the same snowflake stencil and the same glitter paste on top. As the paste is translucent, it gave some shimmer and shine, whilst also allowing the background colour of both panels to shine through.
To frame the red panel I cut it down so it would exactly into a black die cut tag frame from AALL & Create, cut out of a black shimmer card stock.
The main cat image – more cats there than I actually have – but only just…….is also from AALL & Create, pre-die cut, added with 3D foam, then the foiled sentiment added to the top of that.
I hope you can come and join us with your creations following our ‘cute Christmas’ theme. xx
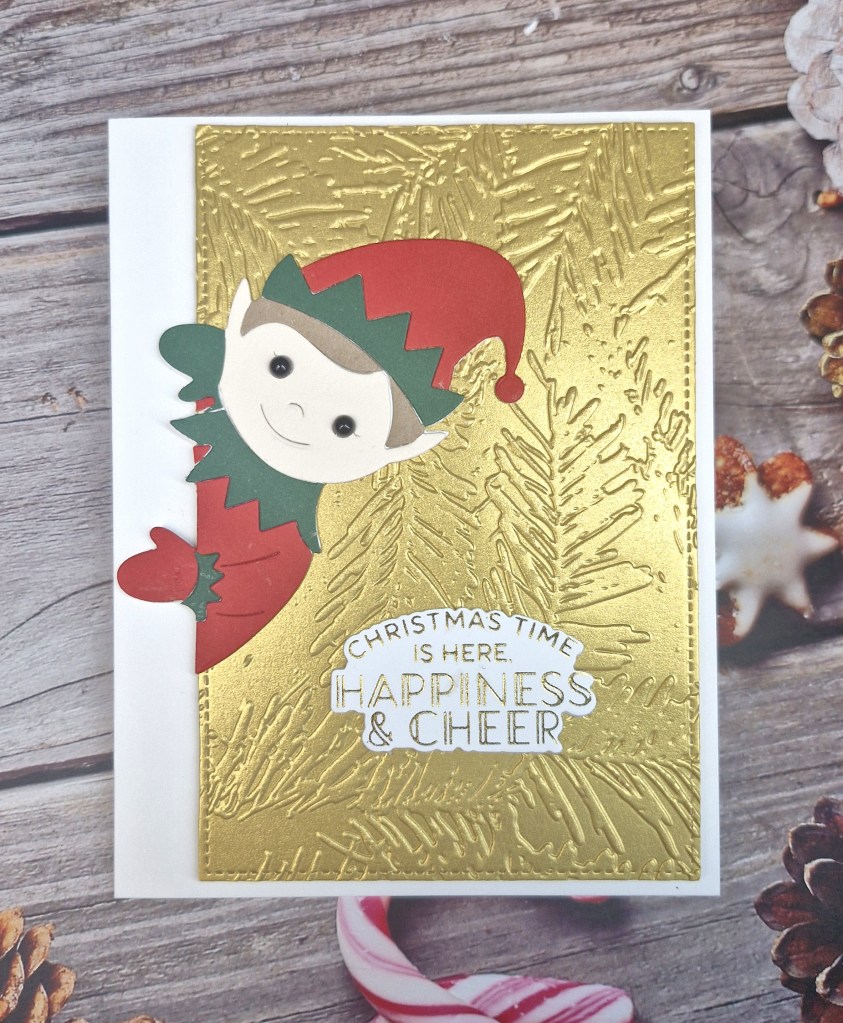
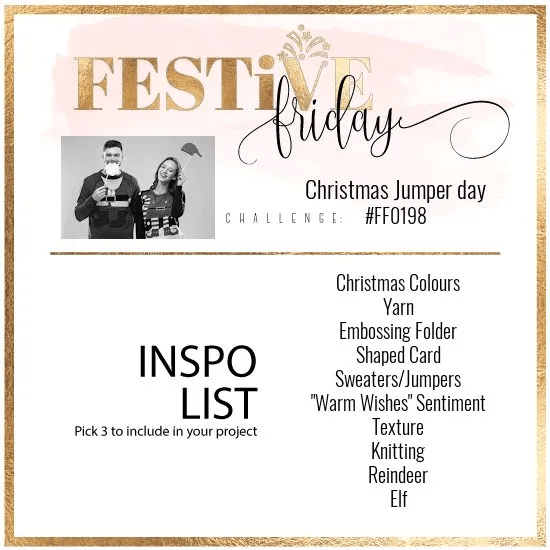
I have another card created as I was inspired by the current challenge at Festive Friday and the list they provide, of which you have to use at least three items mentioned to create your card:
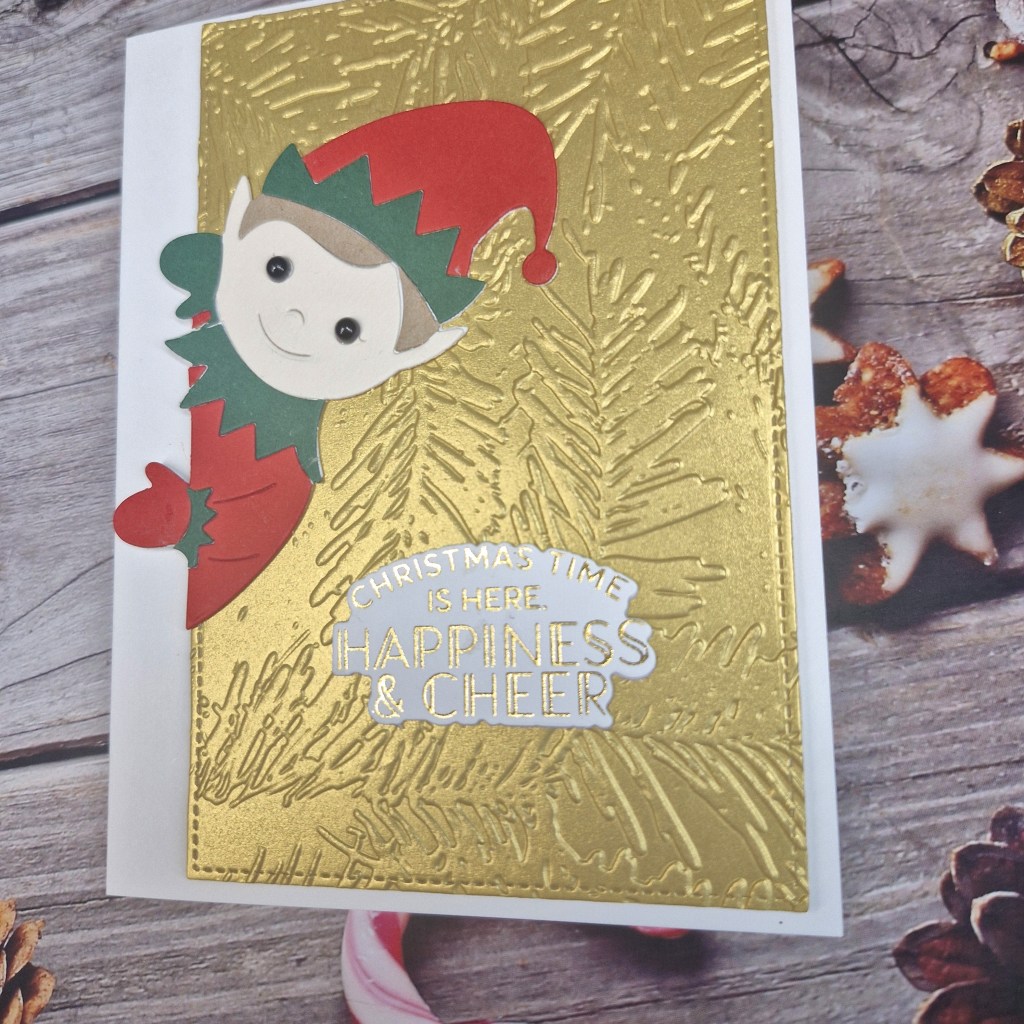
I used the Hero Arts die ‘Peeking Elf‘ and cut it out of white to use as a base layer. I then used red and green for the clothing, a light brown for the hair, and a blush card stock for the face. The die cuts the image out complete, but does have little snippy bits for you to cut so you can layer the image together, almost like paper-piecing.
The eyes were black gems. also from Spellbinders.
Once he was created, I took a piece of gold shiny card stock from Spellbinders, die cut with a stitched rec tangle die, and used one of their embossing folders, added the peeking elf to one side, then added a gold foiled sentiment.
The gold embossed panel was adhered to the card base with 3D foam – a couple of little pieces for underneath the hands – and the card was done.
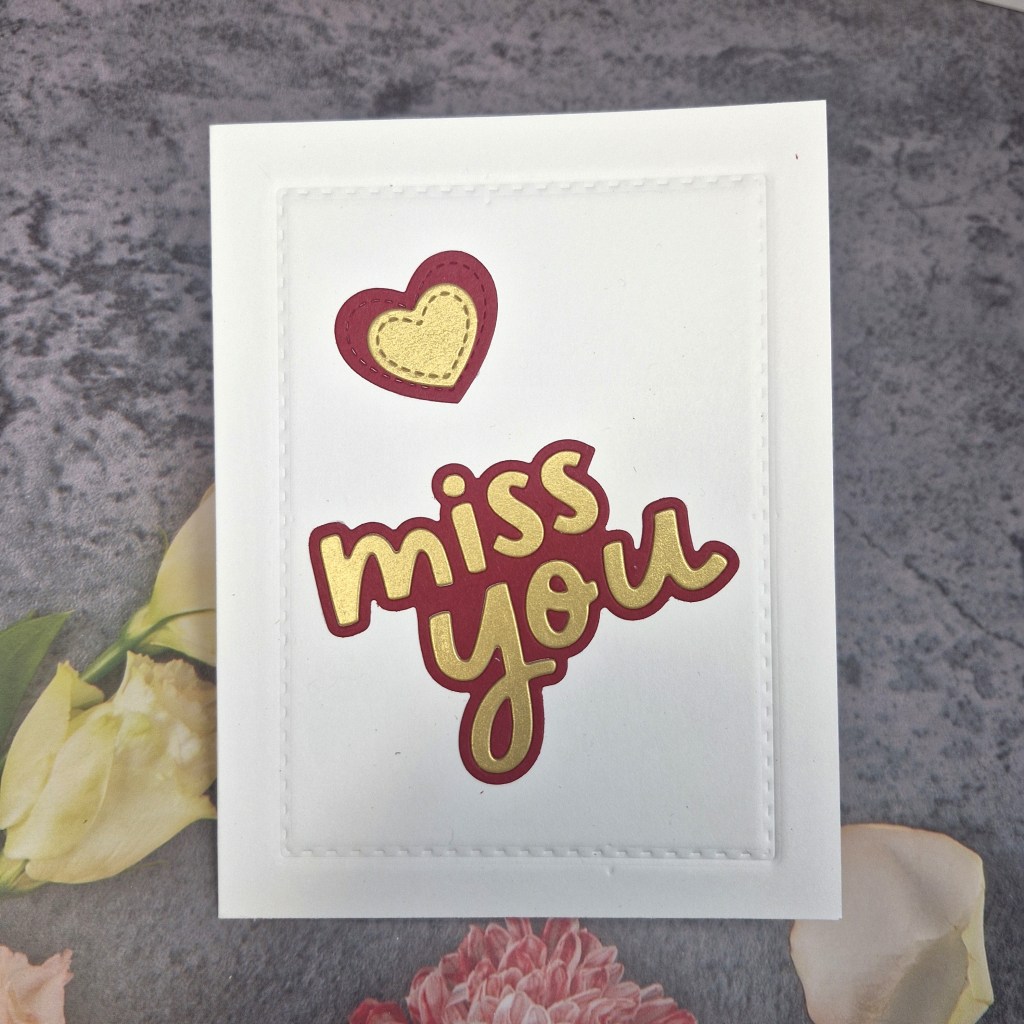
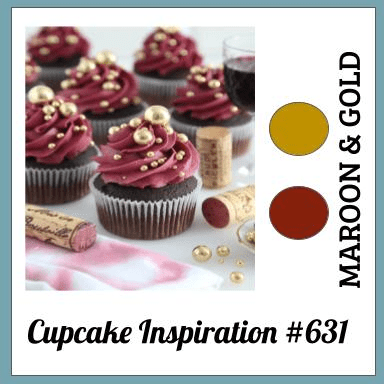
This colour scheme was inspired by the current challenge at Cupcake Inspirations – to use maroon and gold.
This is another die set from Concord & 9th, another cabin gift set from one of their summer camps.
I first started by using a Neenah 110lb card base, and onto the front of that card base I dry embossed a rectangle stitched die – this creates detail without adding dimension – I think so, anyway….. :)
The die was cut twice to obtain the dark red and the gold, and the two hearts – from the same die set.
The red outline of the letters was glued directly to the card base, the gold letters inserted – and yes – I did lose the two itty bitty pieces from the inner of the letter ‘o’ in you – so I grabbed a little scrap and die cut just that part again to obtain them.
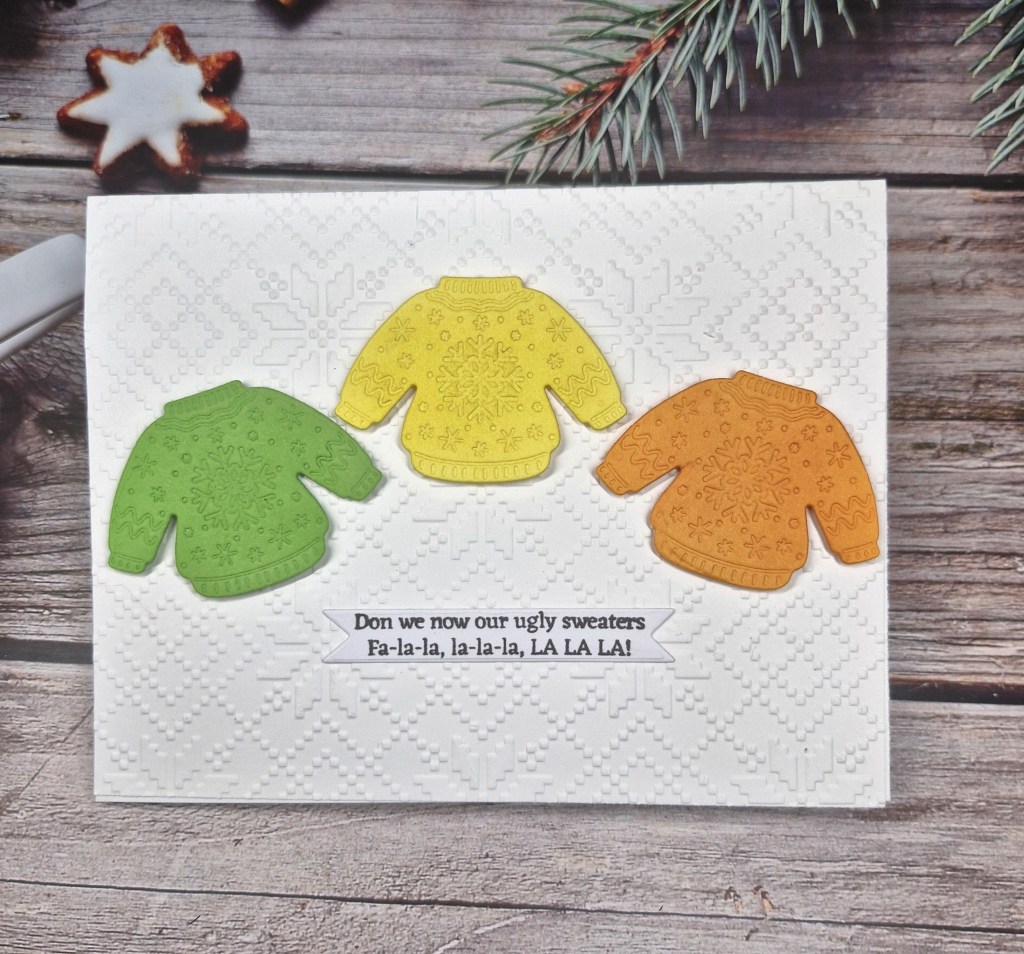
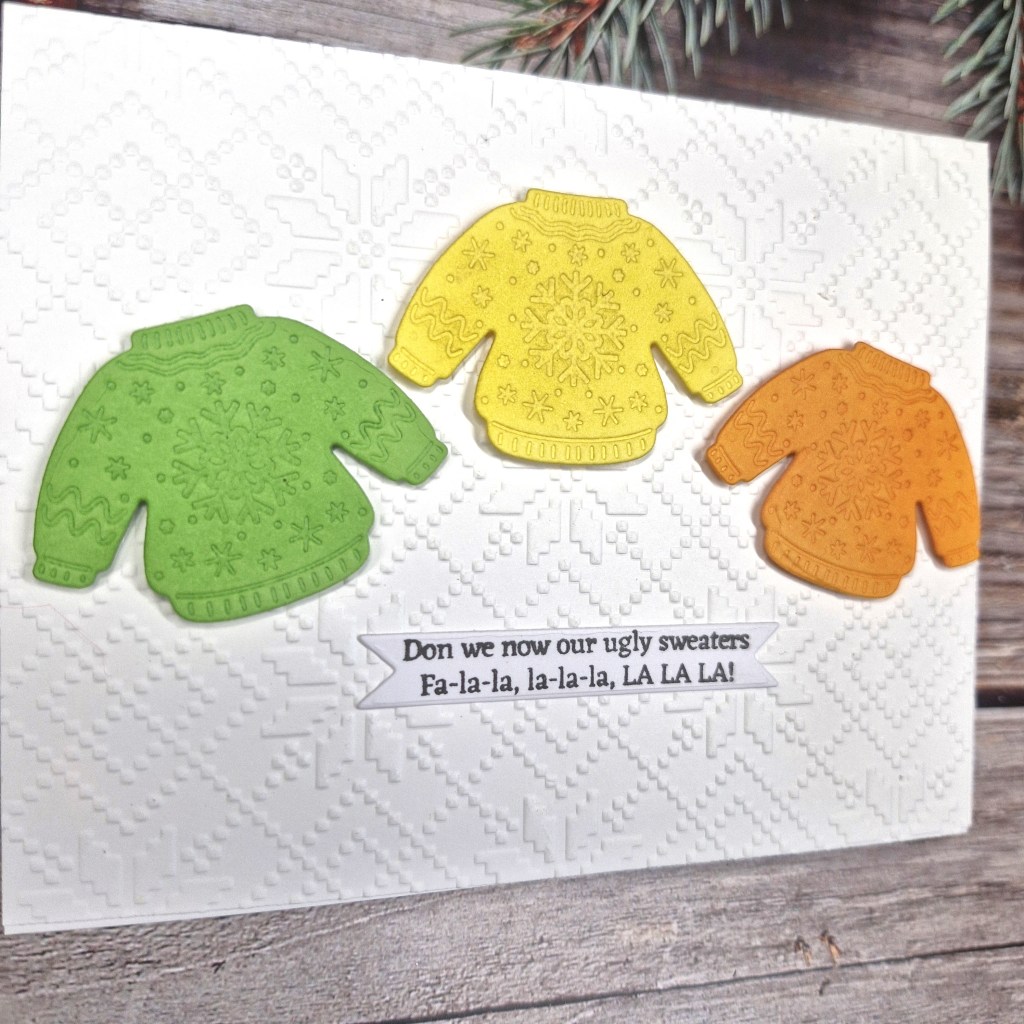
Hello. I received this sweater die as part of a Simon Says Stamp kit, and thought it was adorable, so I had a play with it yesterday:
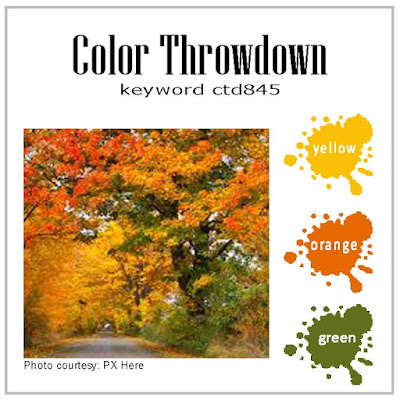
I chose to follow the colours at the current Color Throwdown Challenge, by die cutting the sweater in the colours you see, and I also ran the die cut back through with the embossing mat to make the details stand out a little more.
I also ink blended each sweater in a slightly darker matching colour, to again enhance the details.
Keeping it fairly CAS – for me anyway – I used a Spellbinders embossing folder to create the background panel, then added the three sweaters with 3D foam.
The sentiment is from a Gina K Designs stamp set – stamped then cut out with a banner die from one of her Master Layouts die sets, glued directly down to the background.
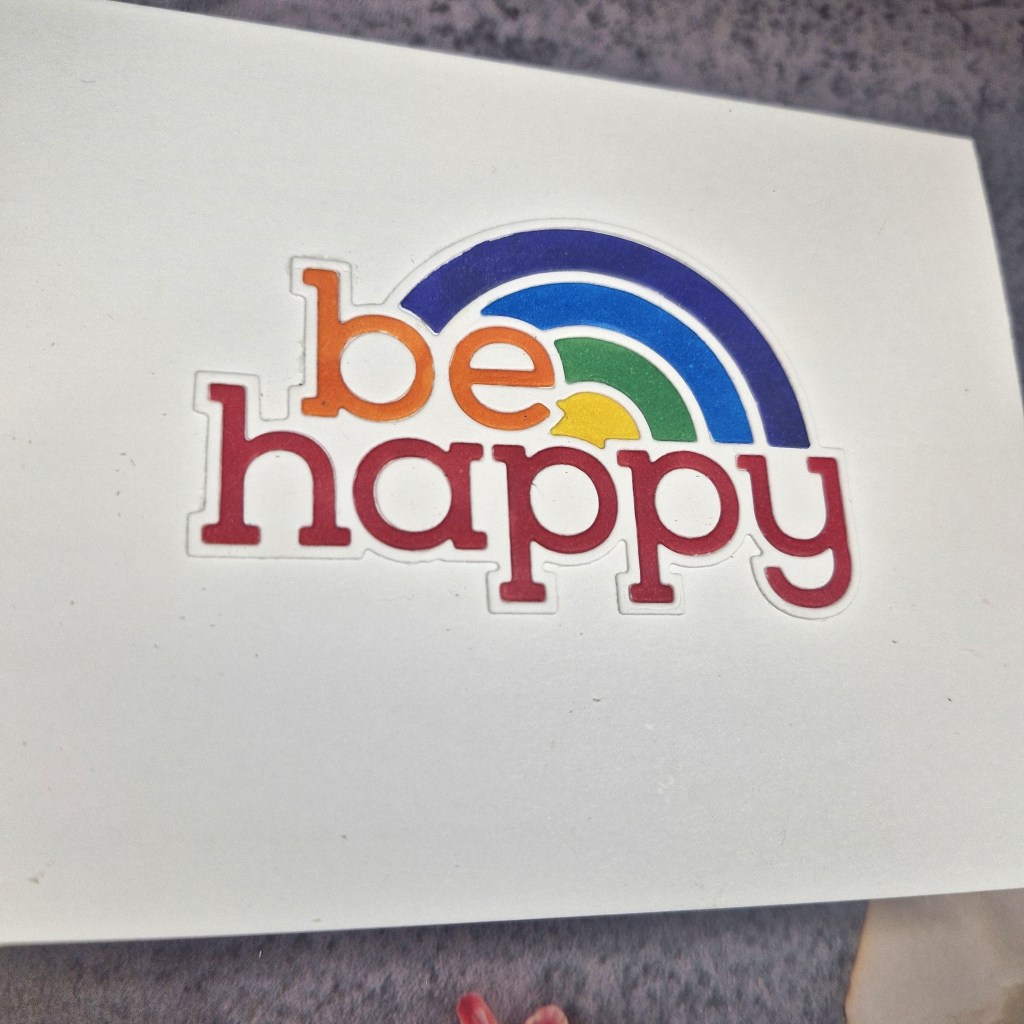
Hello again. I have been exploring my CAS style with this card – something I really struggle with.
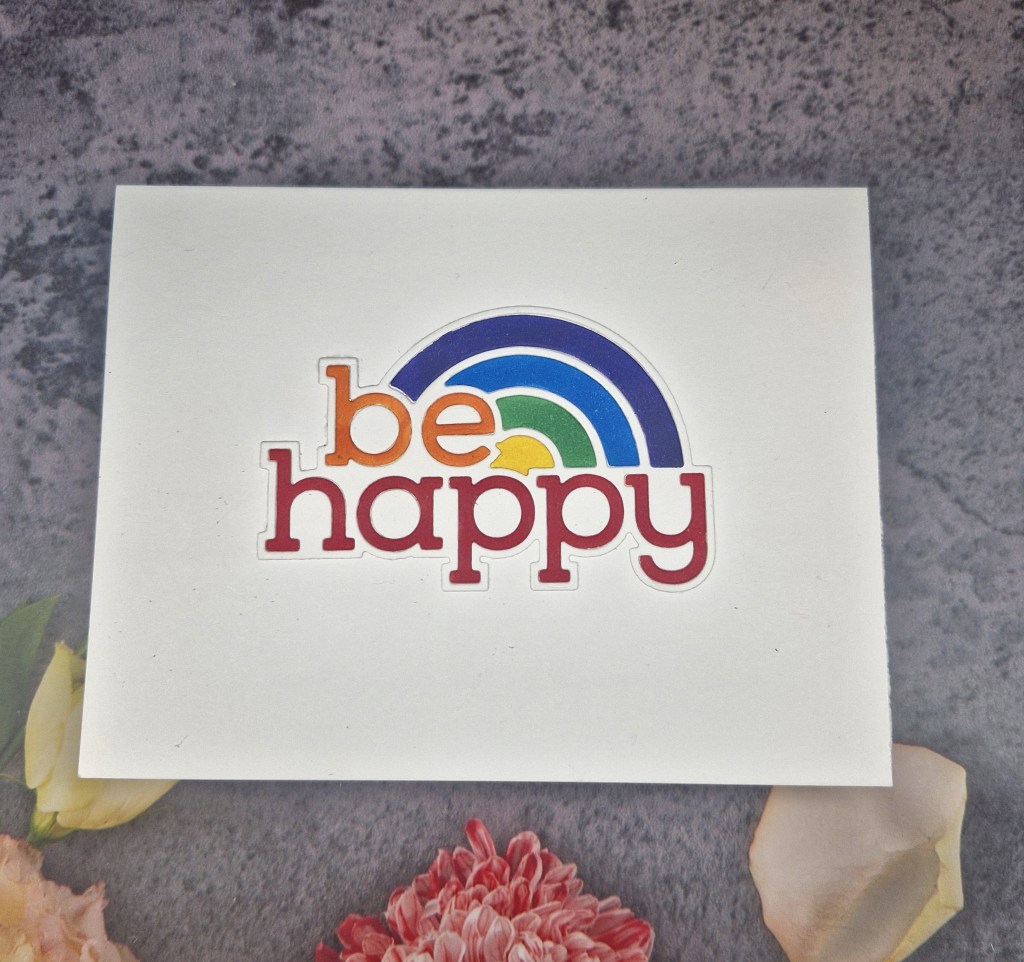
I was inspired by the current challenge at CAS on Friday – produce a CAS card with the theme of rainbow.
I searched through the Color My Life app, and found this die set received as a Concord & 9th cabin gift for one of their summer camps a few years ago.
The card base is Neenah 110lbs – I finally managed to get a restock here in the UK so I ordered plenty.
I die cut the elements out of 80lbs Neenah, and attached the outline of the image direct to the card base.
The other elements I coloured with Copics to create the rainbow colours, insetting them.
That’s it – no gems, no embossing folder background, just a colourful CAS card. It always amazes me though, how CAS can take longer to plan out than my general style of cards – there really is nowhere to hide with CAS is there?