Sunflowers For A friend

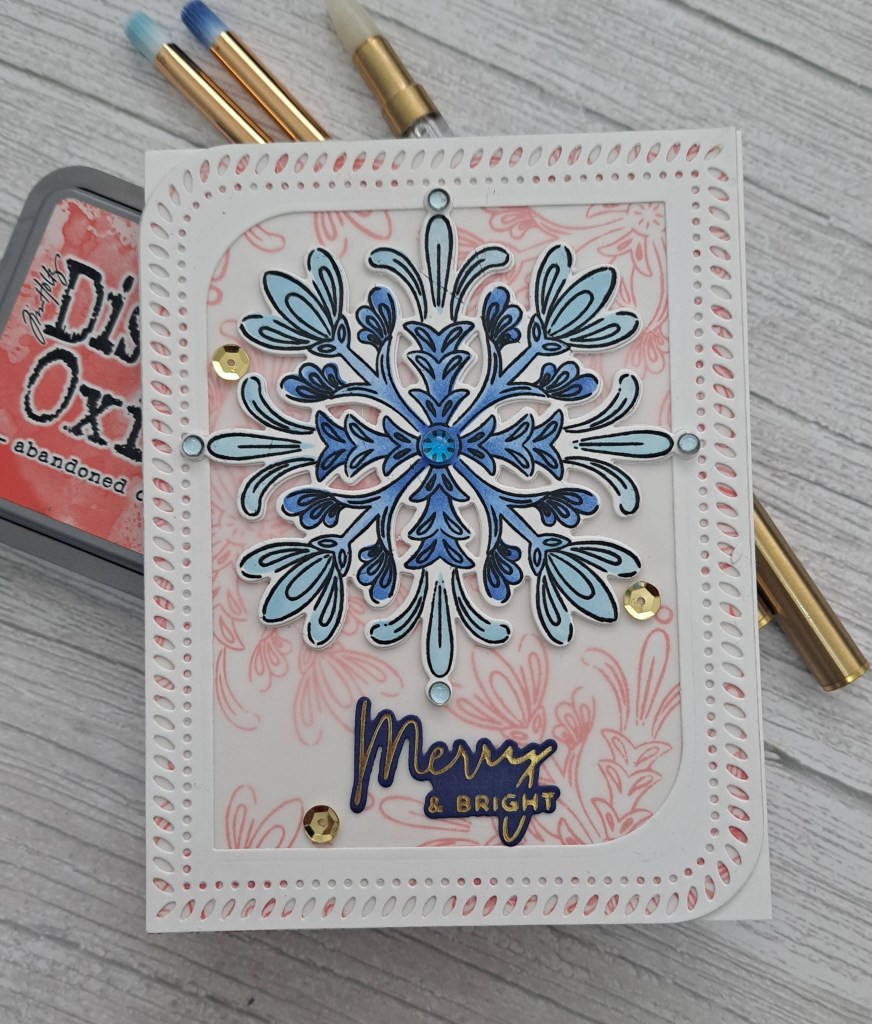
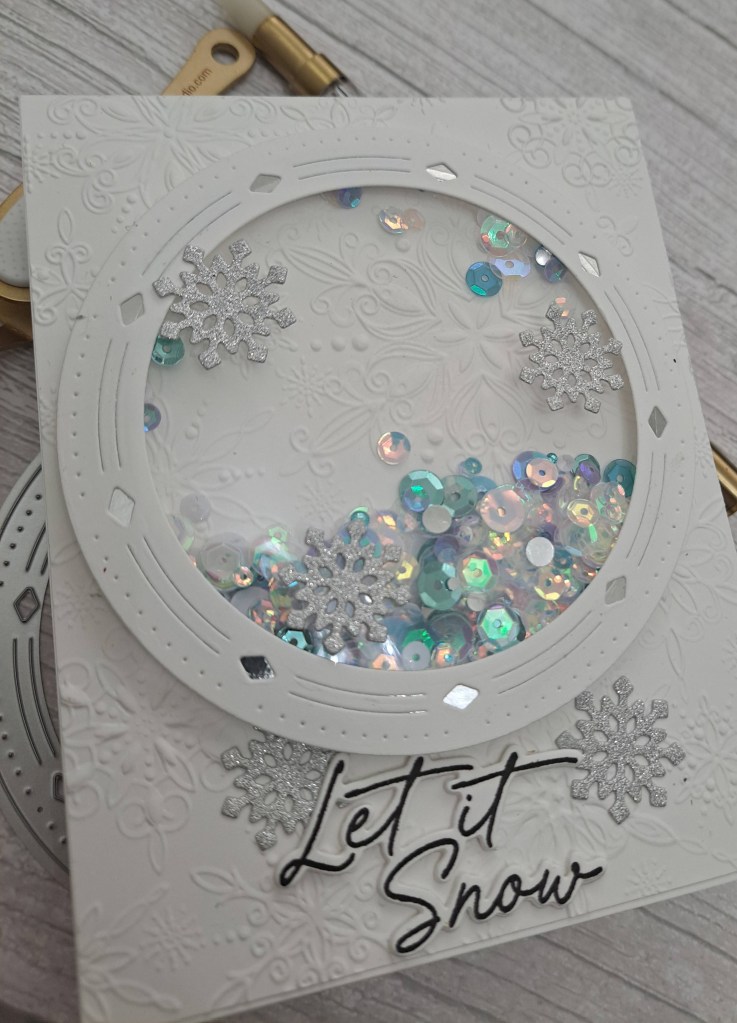
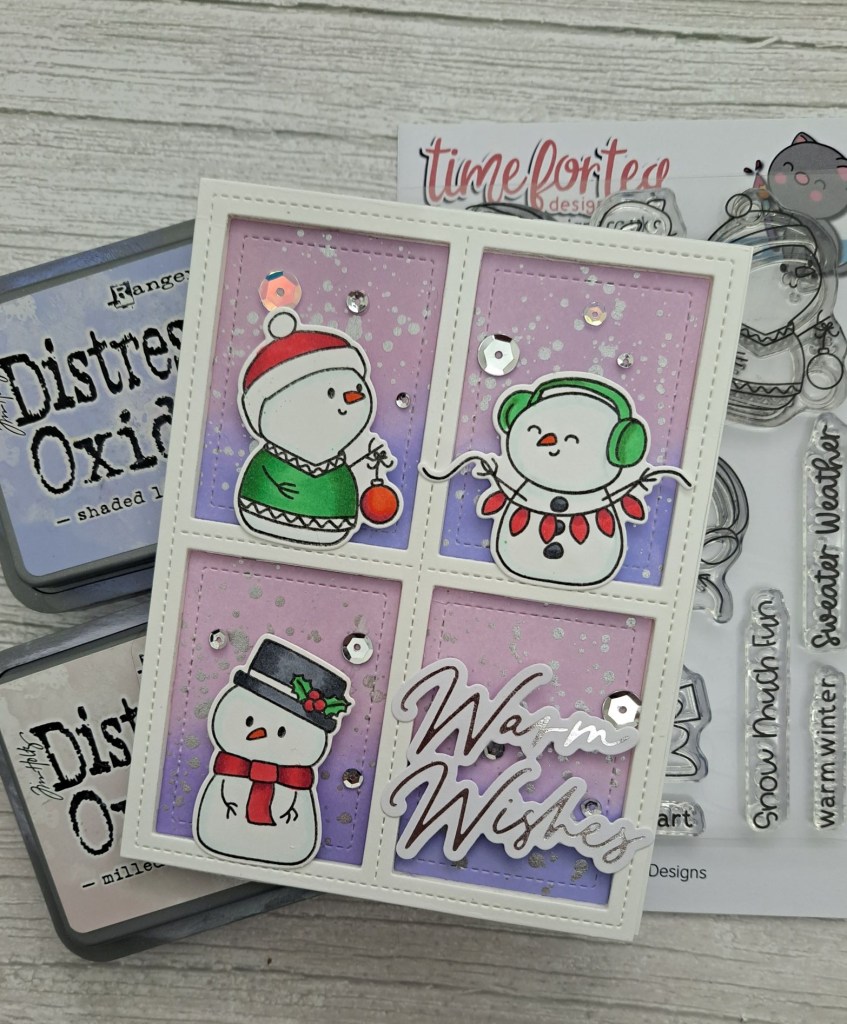
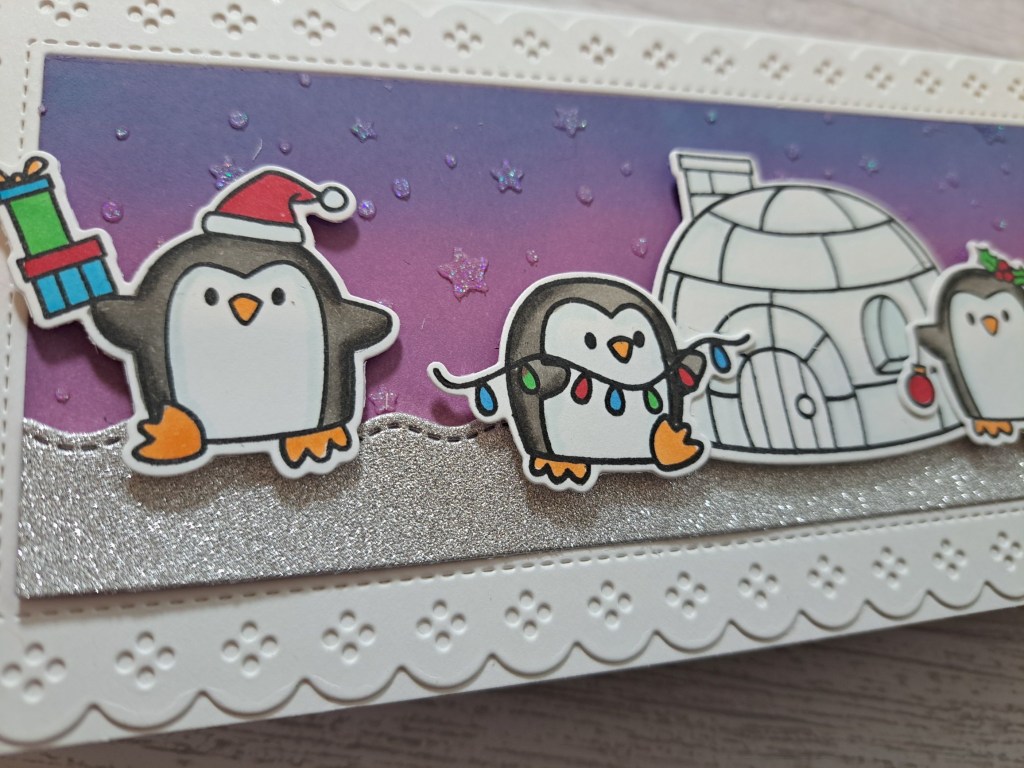
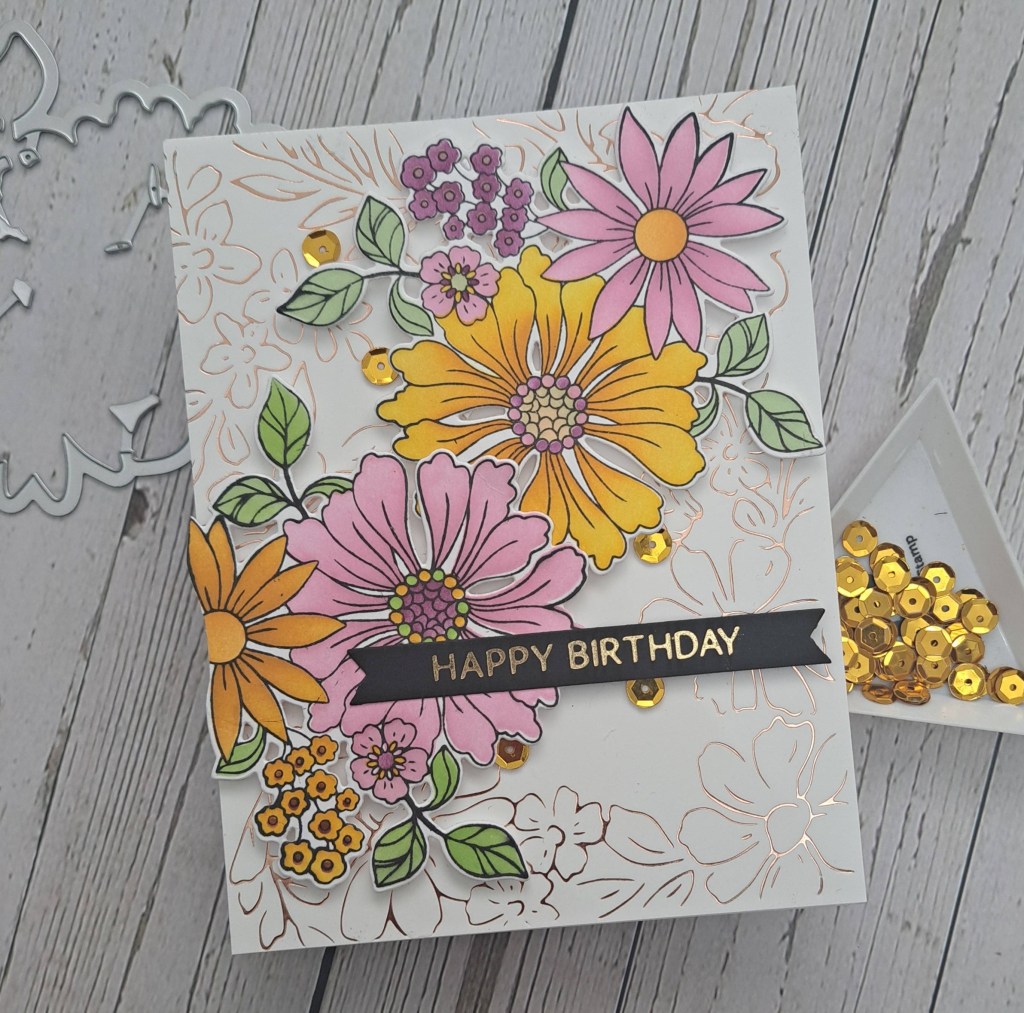
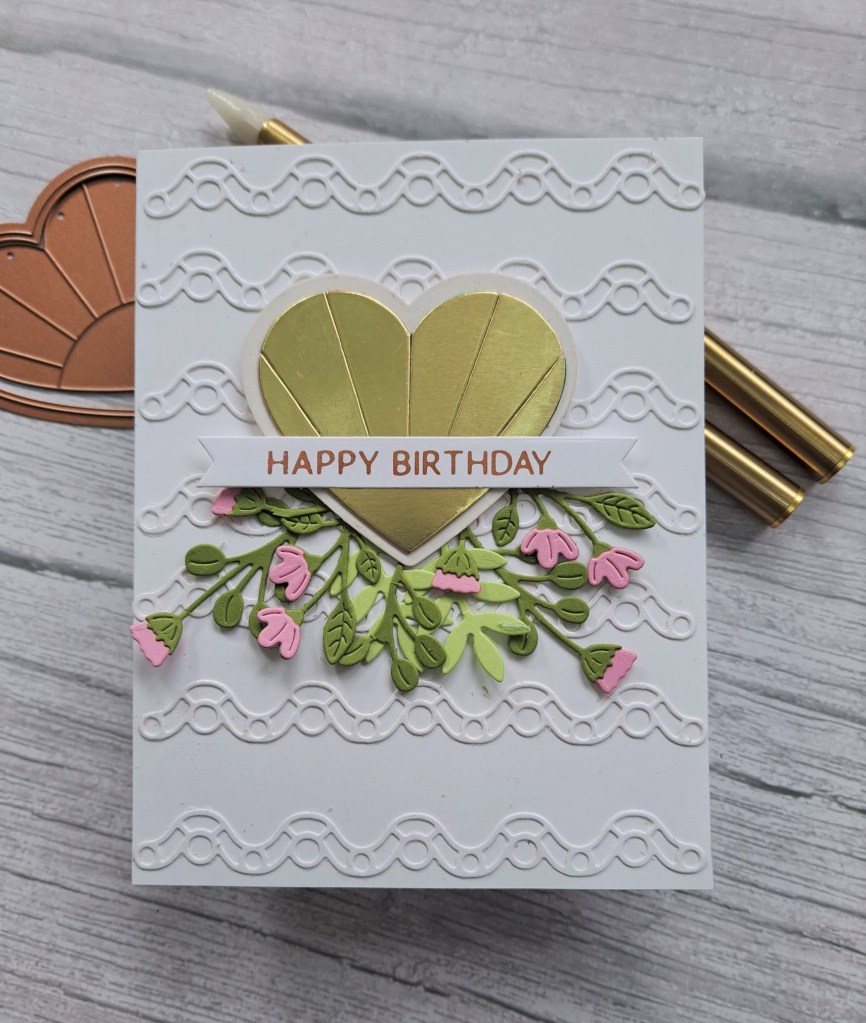
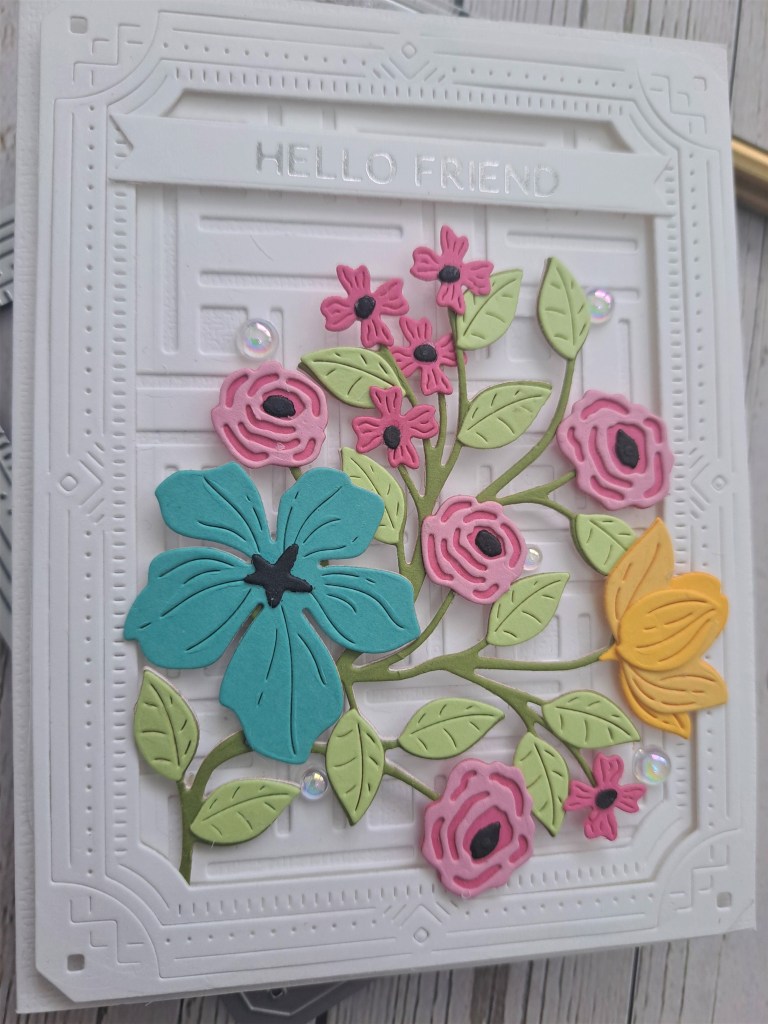
Hello again. I have a card to share from a very messy play time:

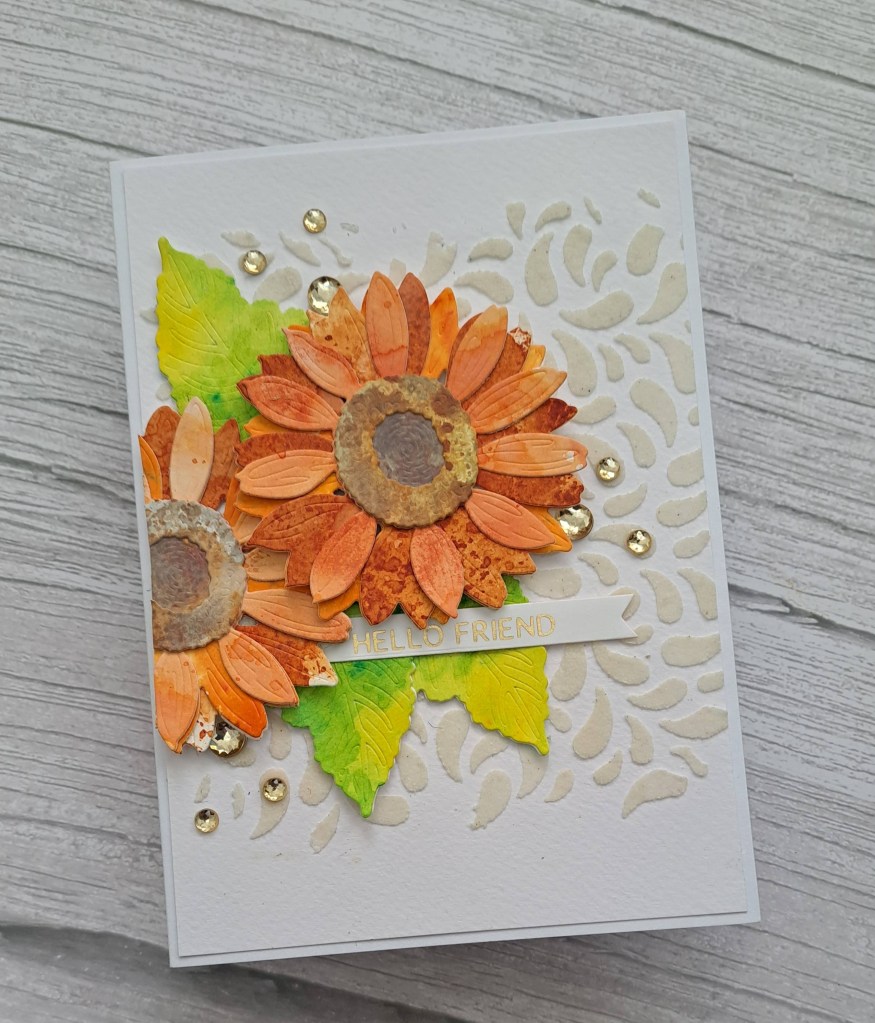
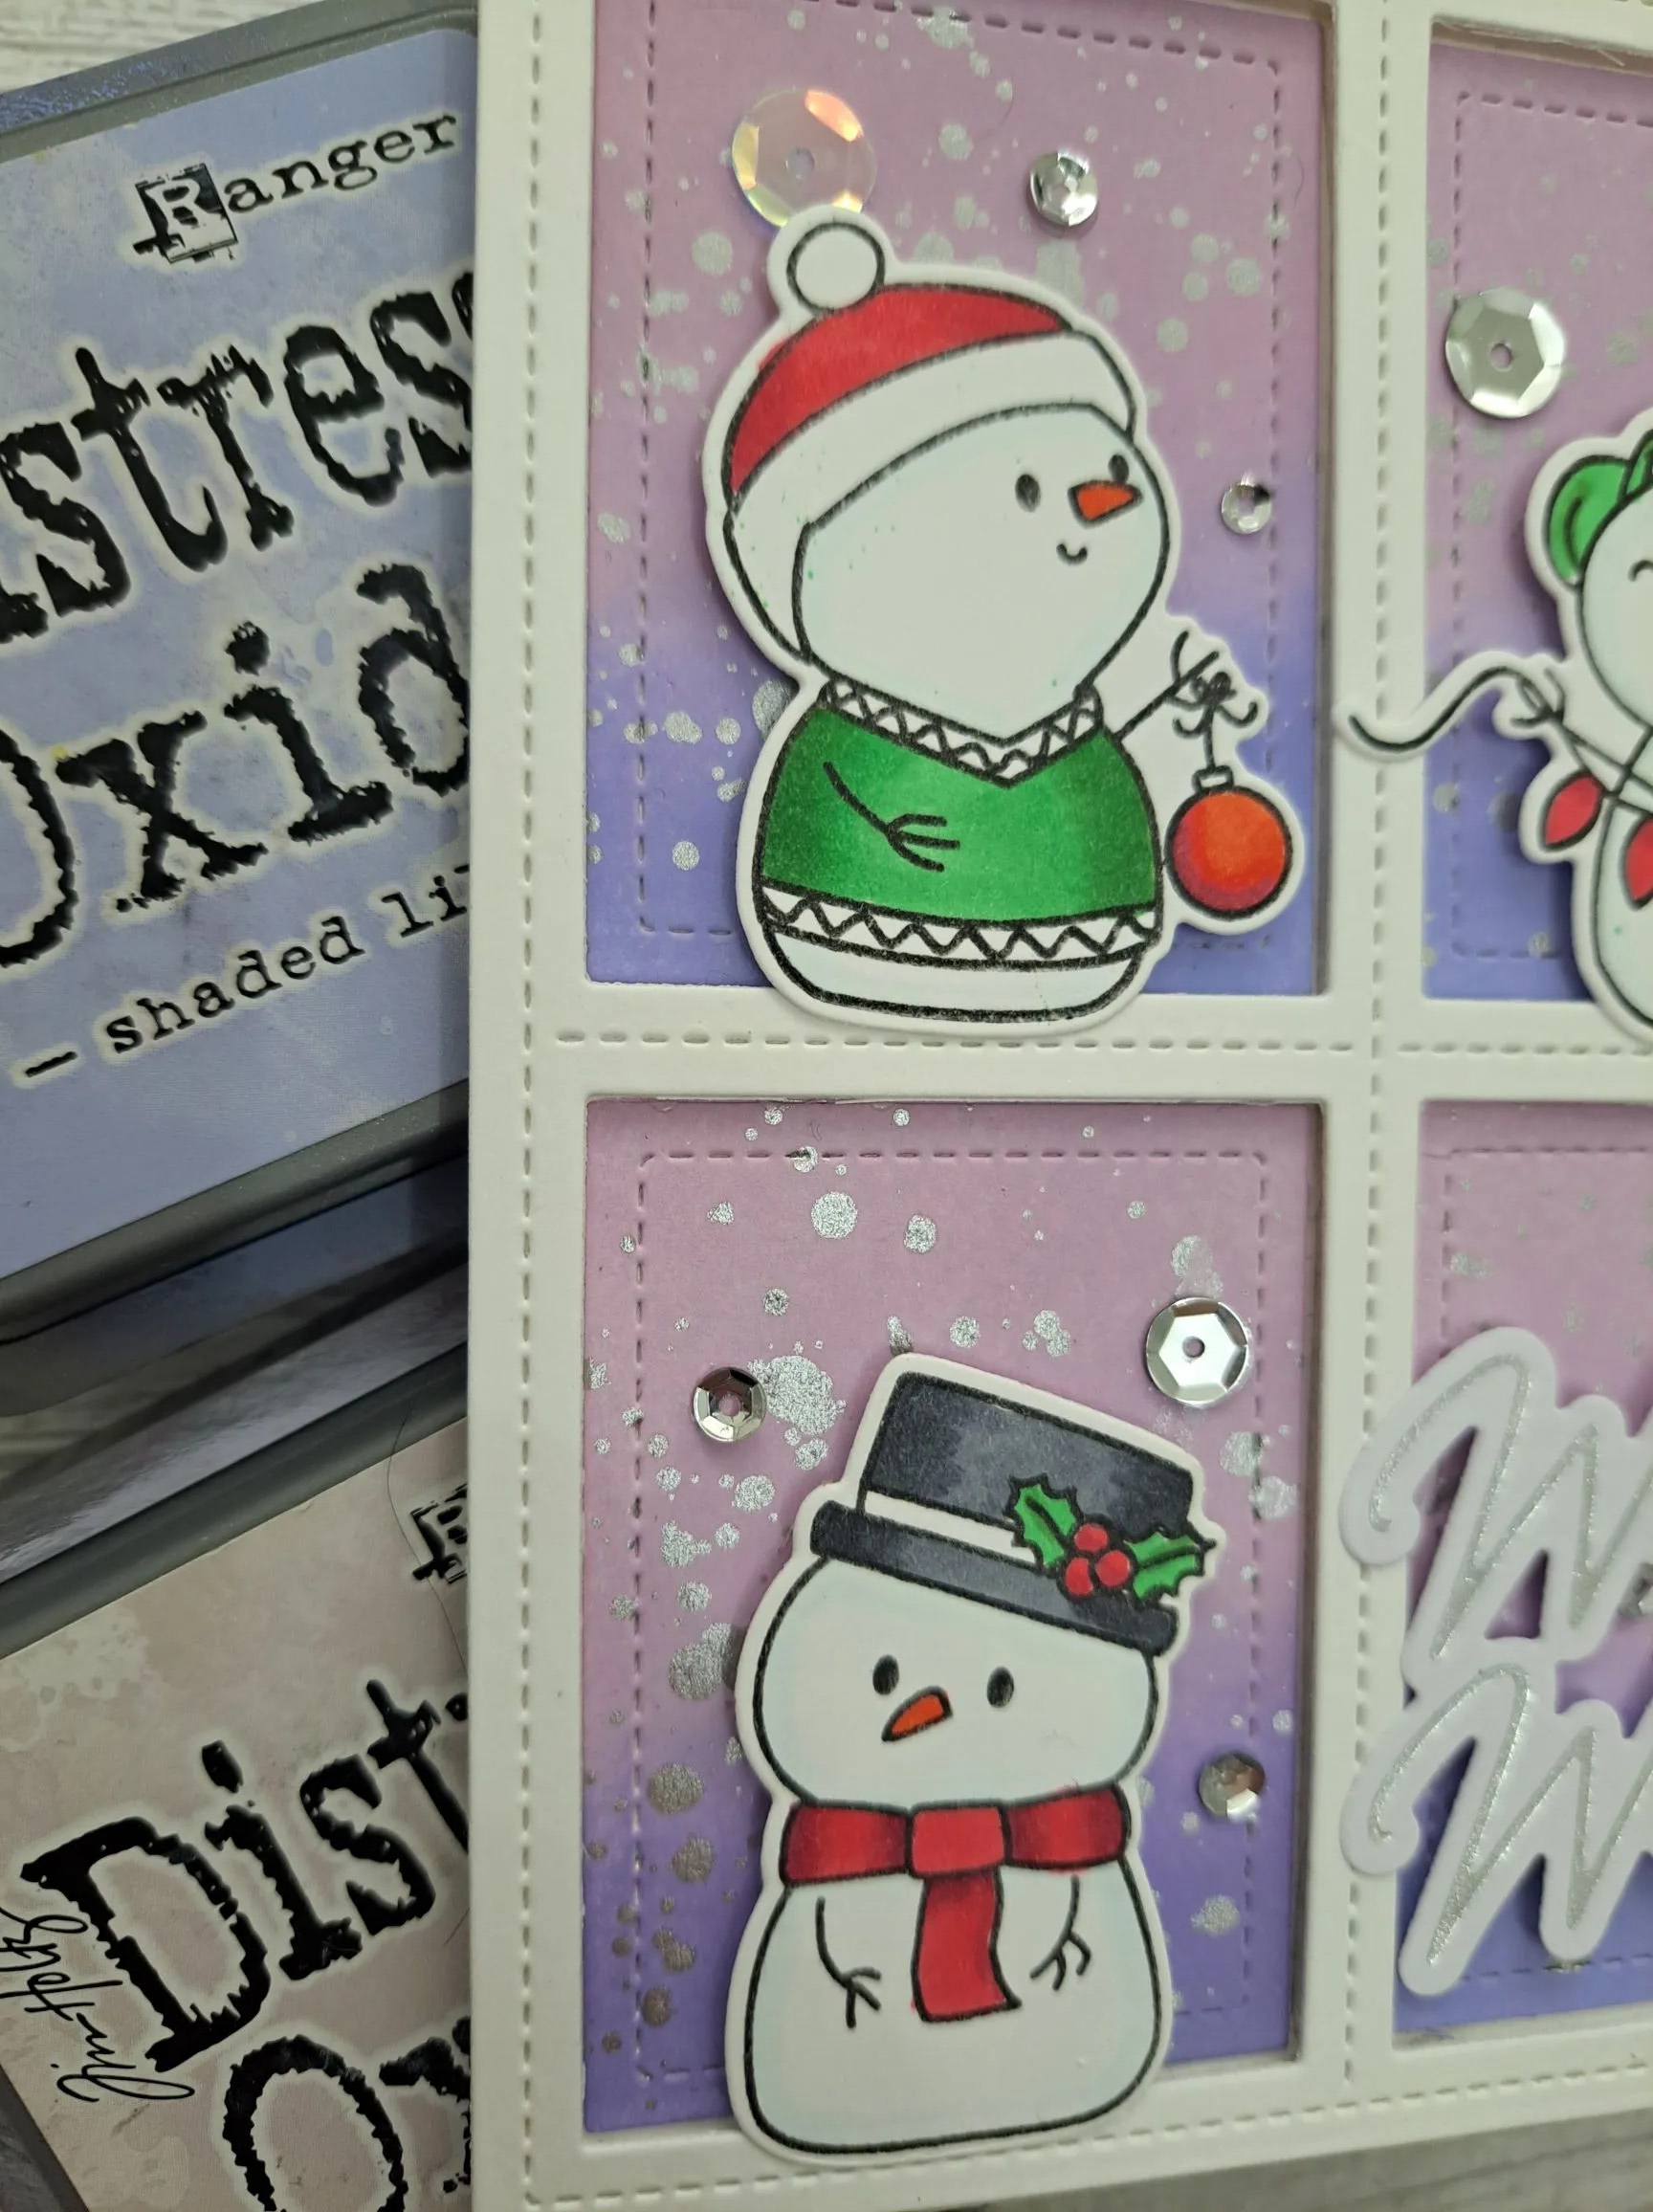
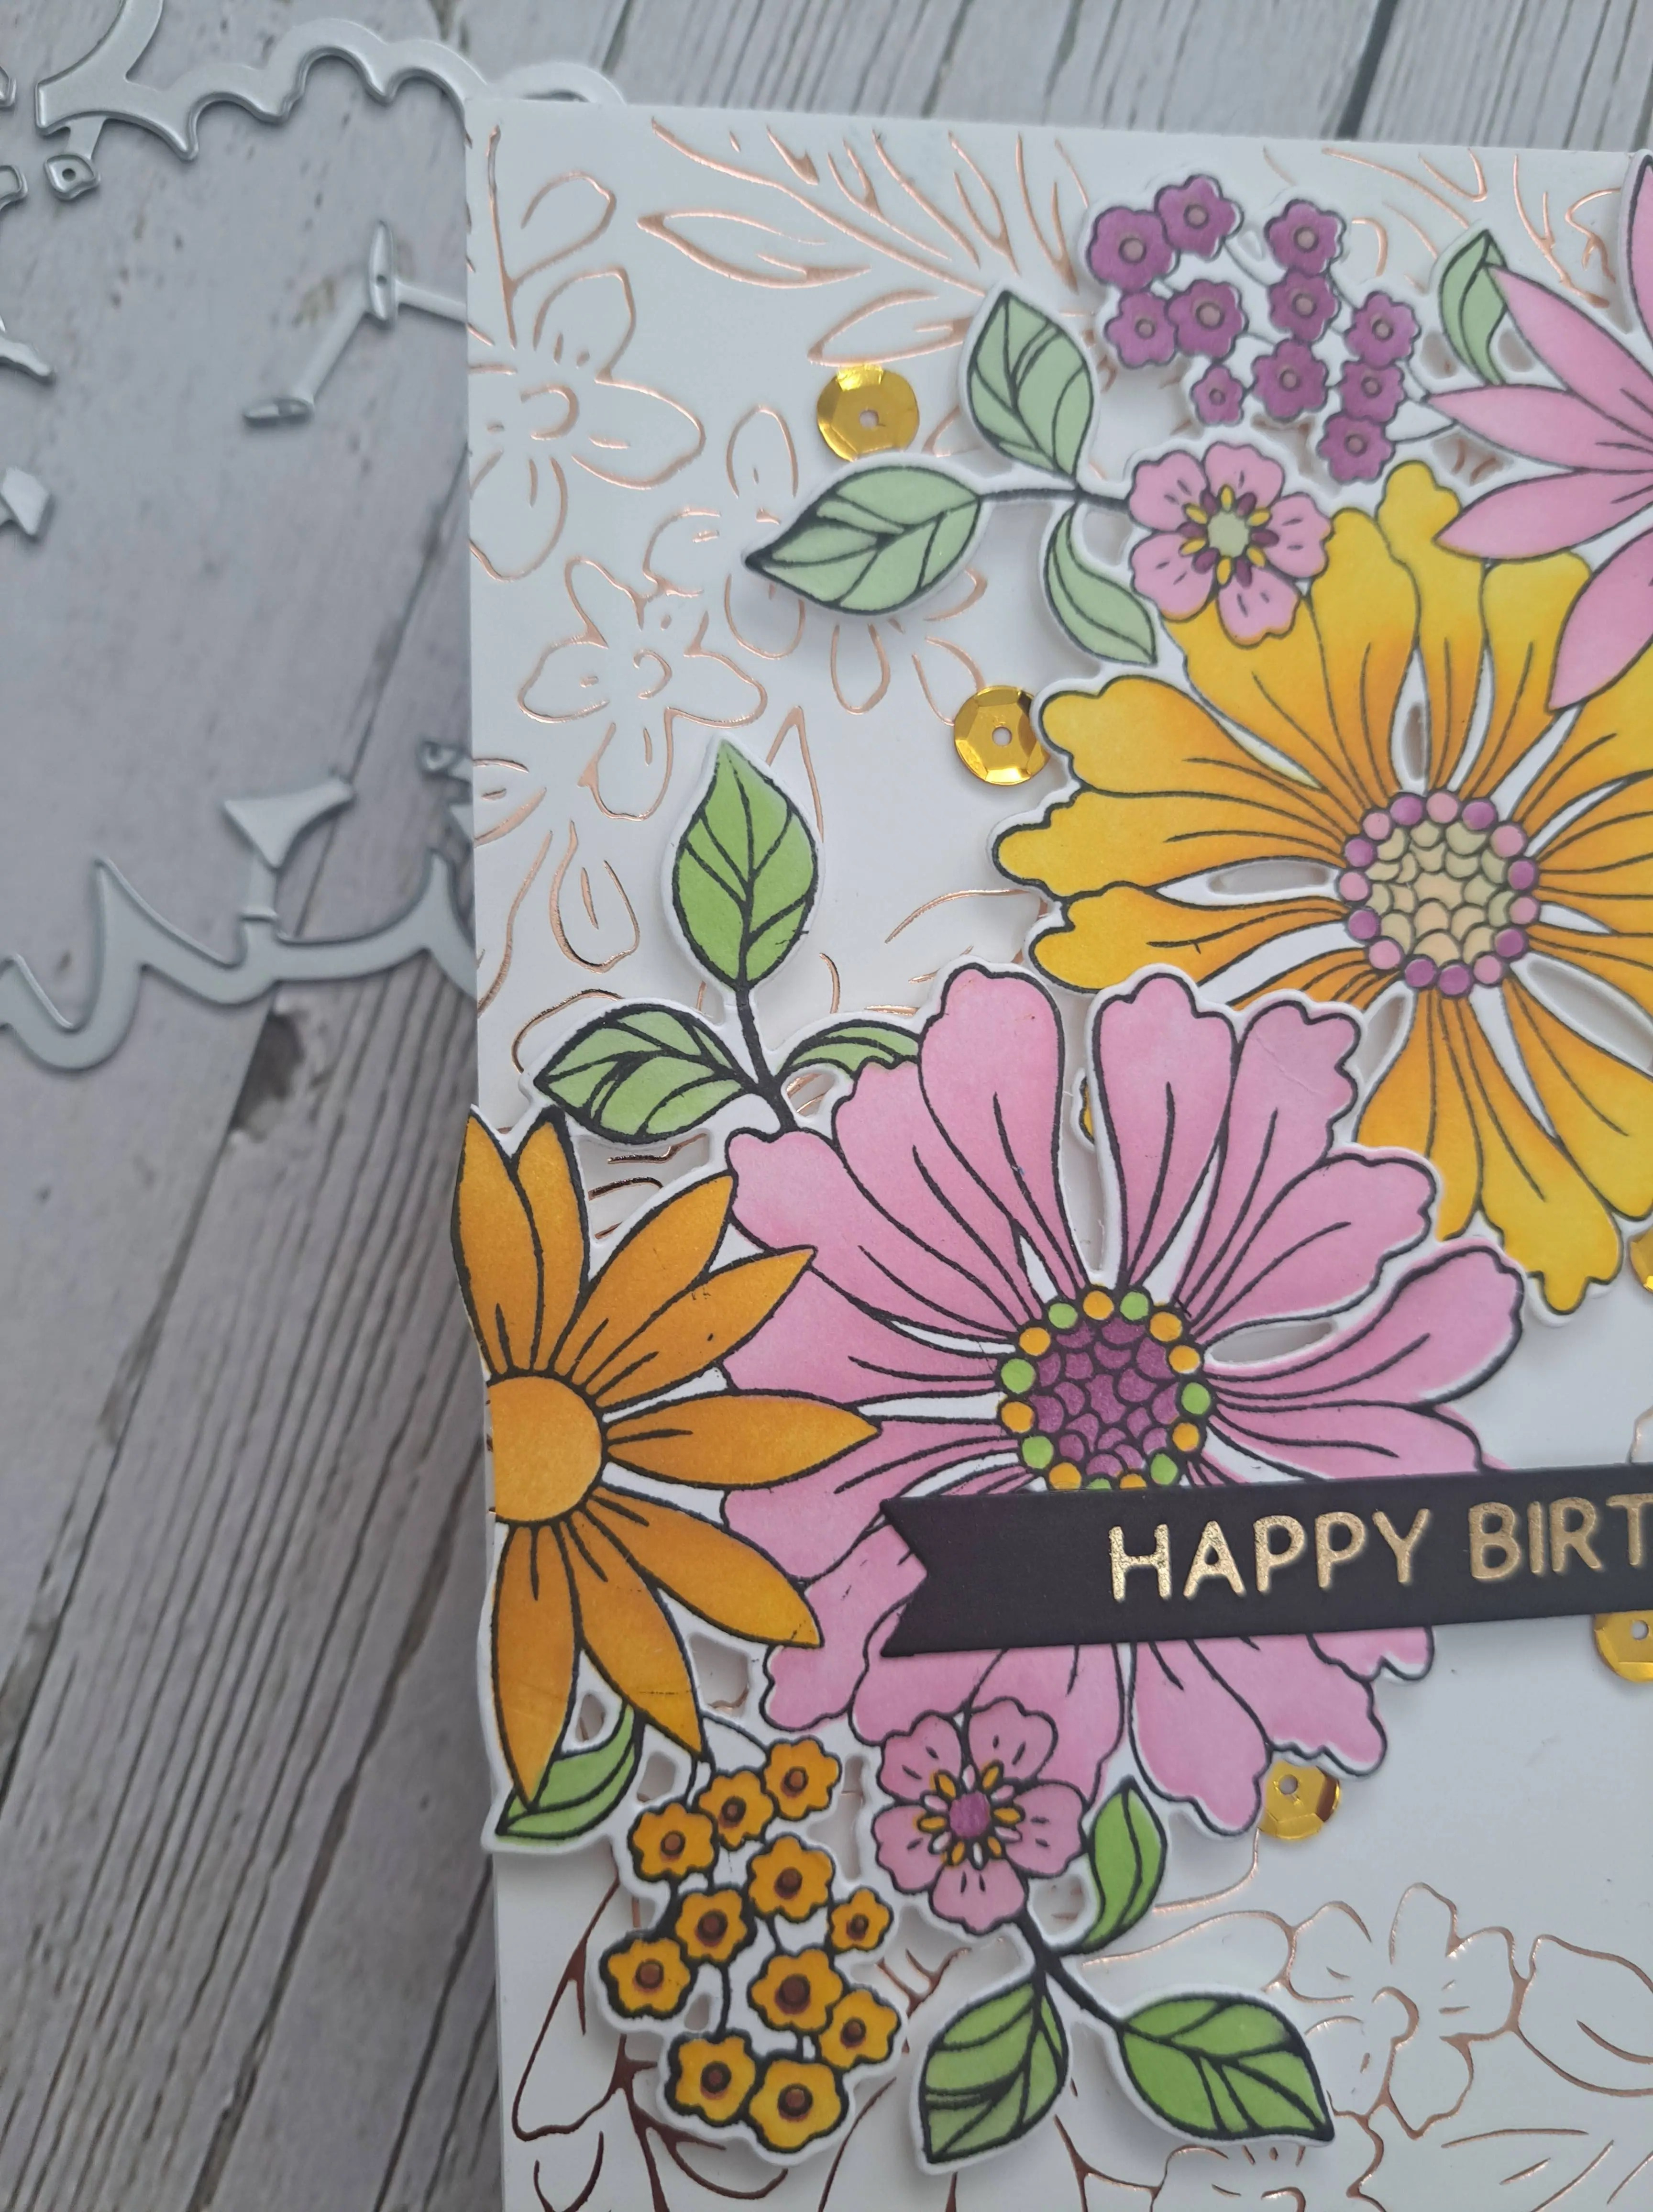
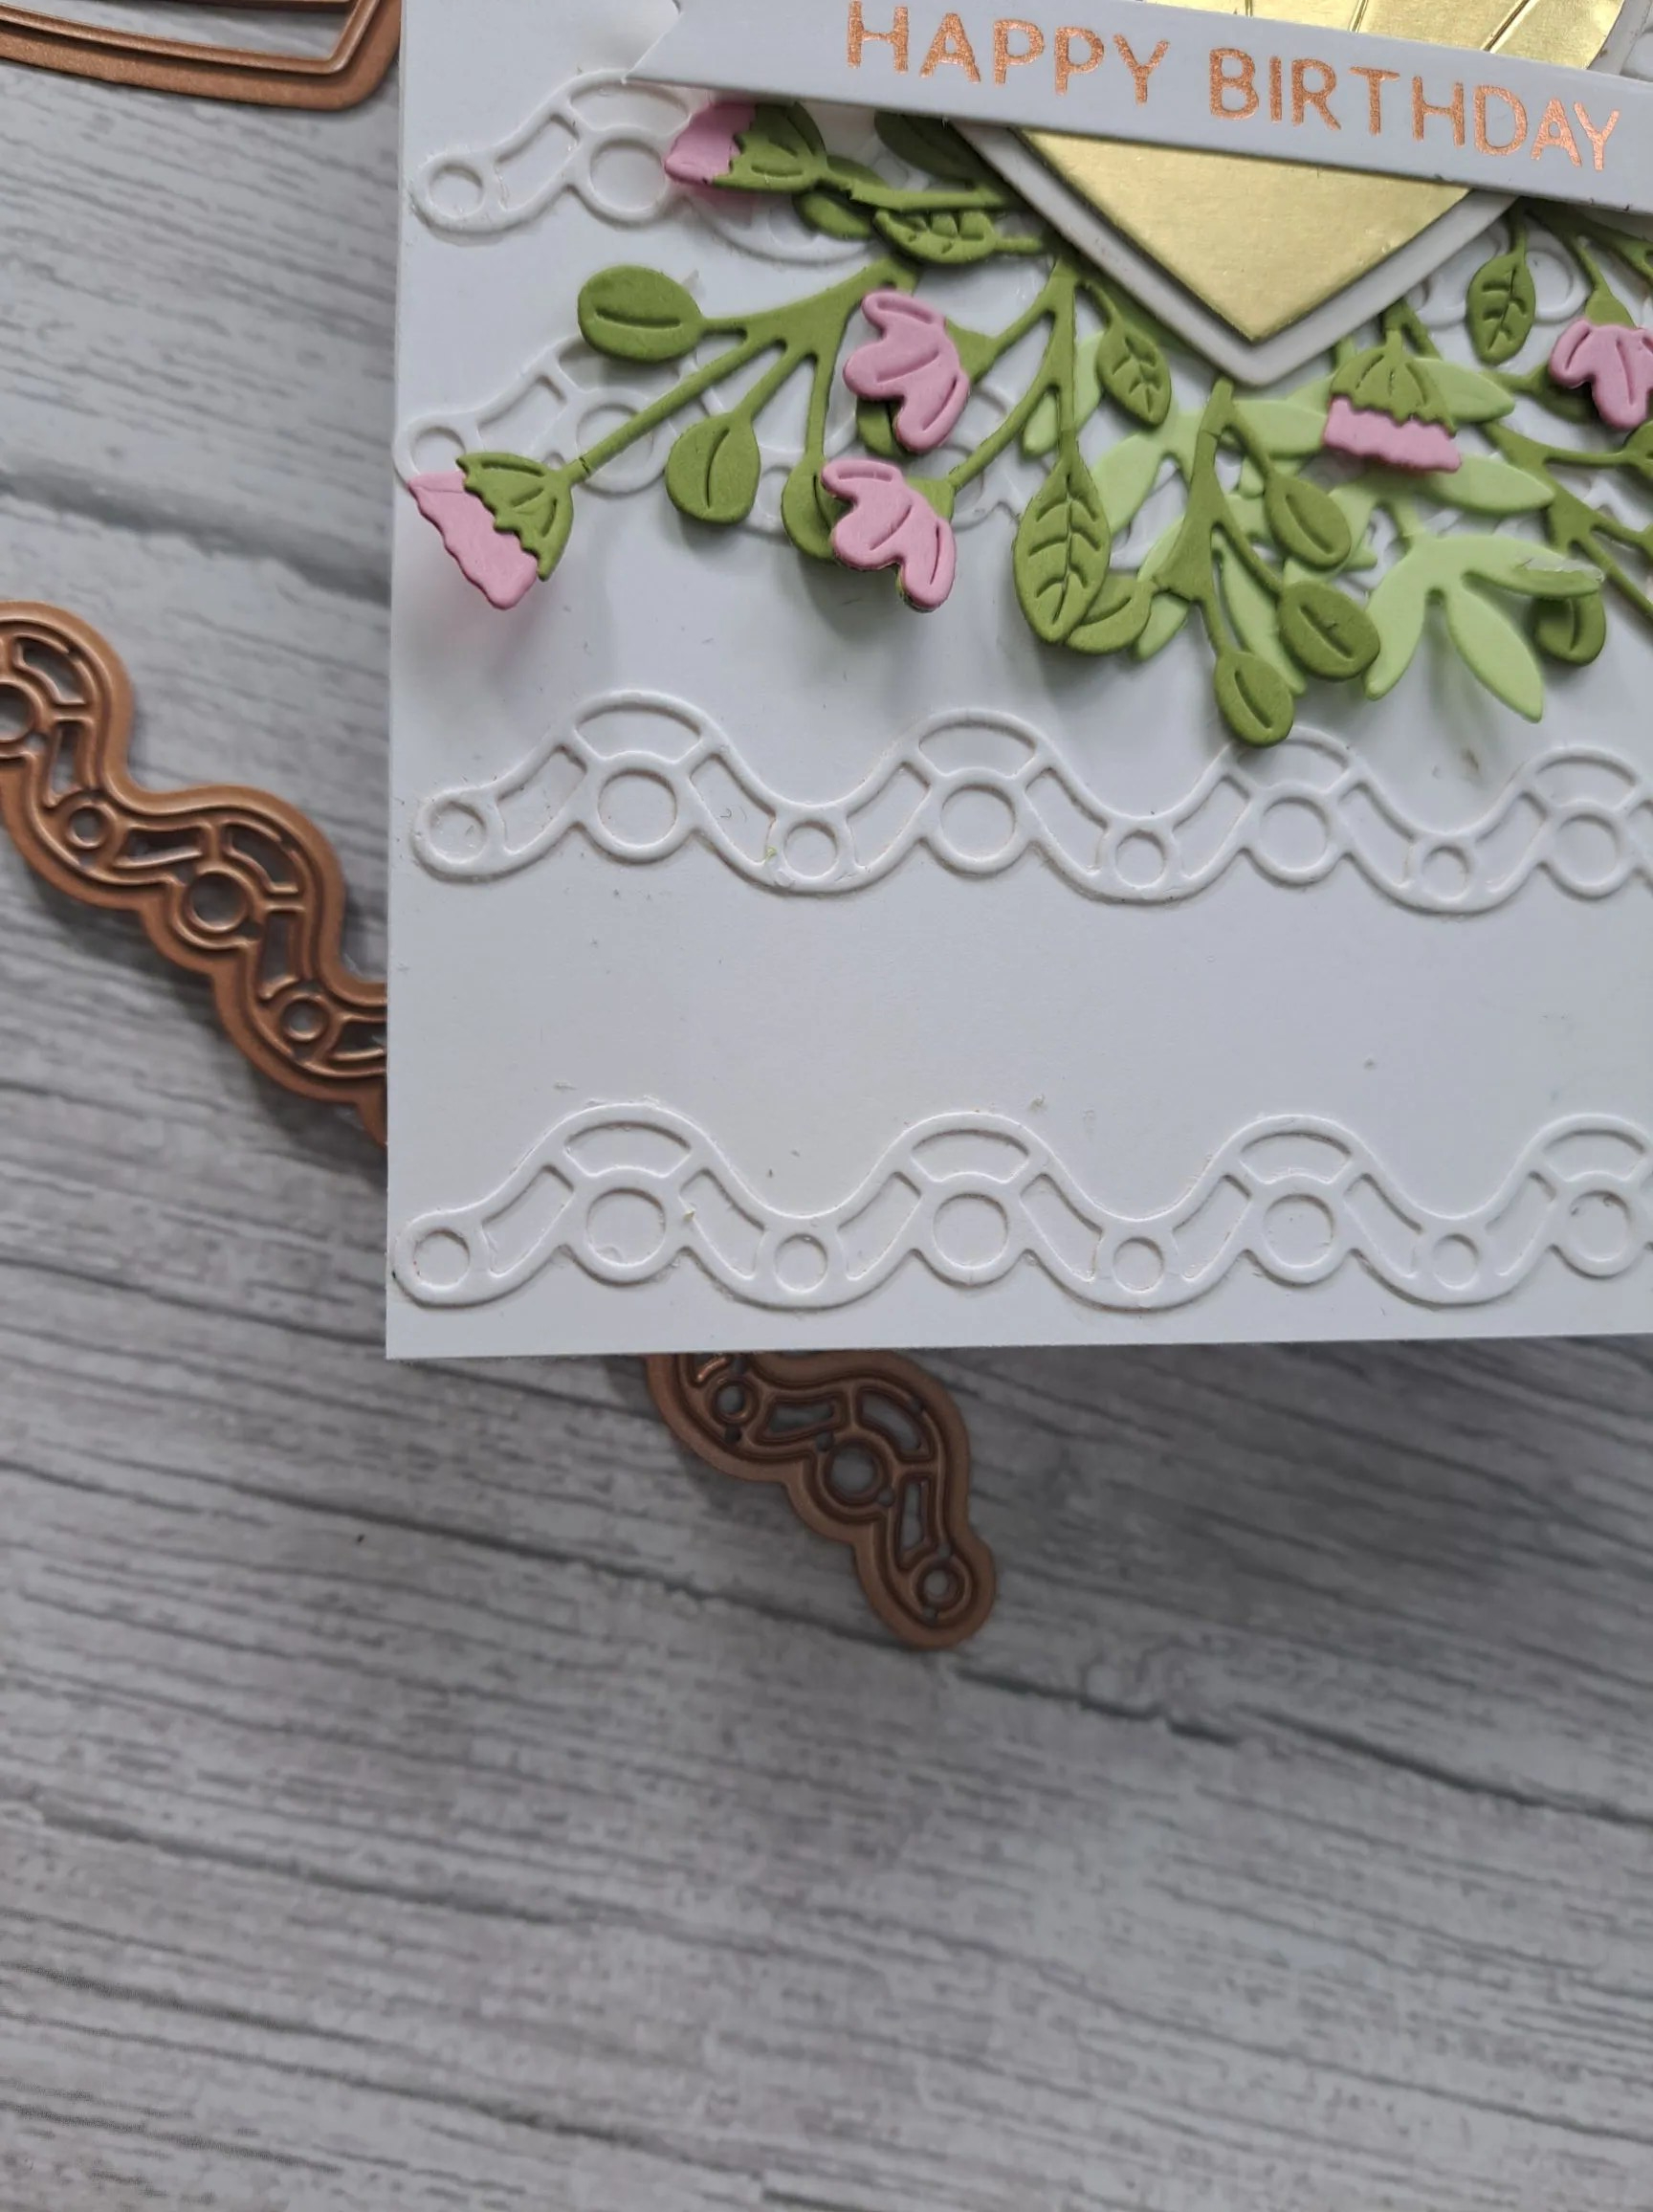
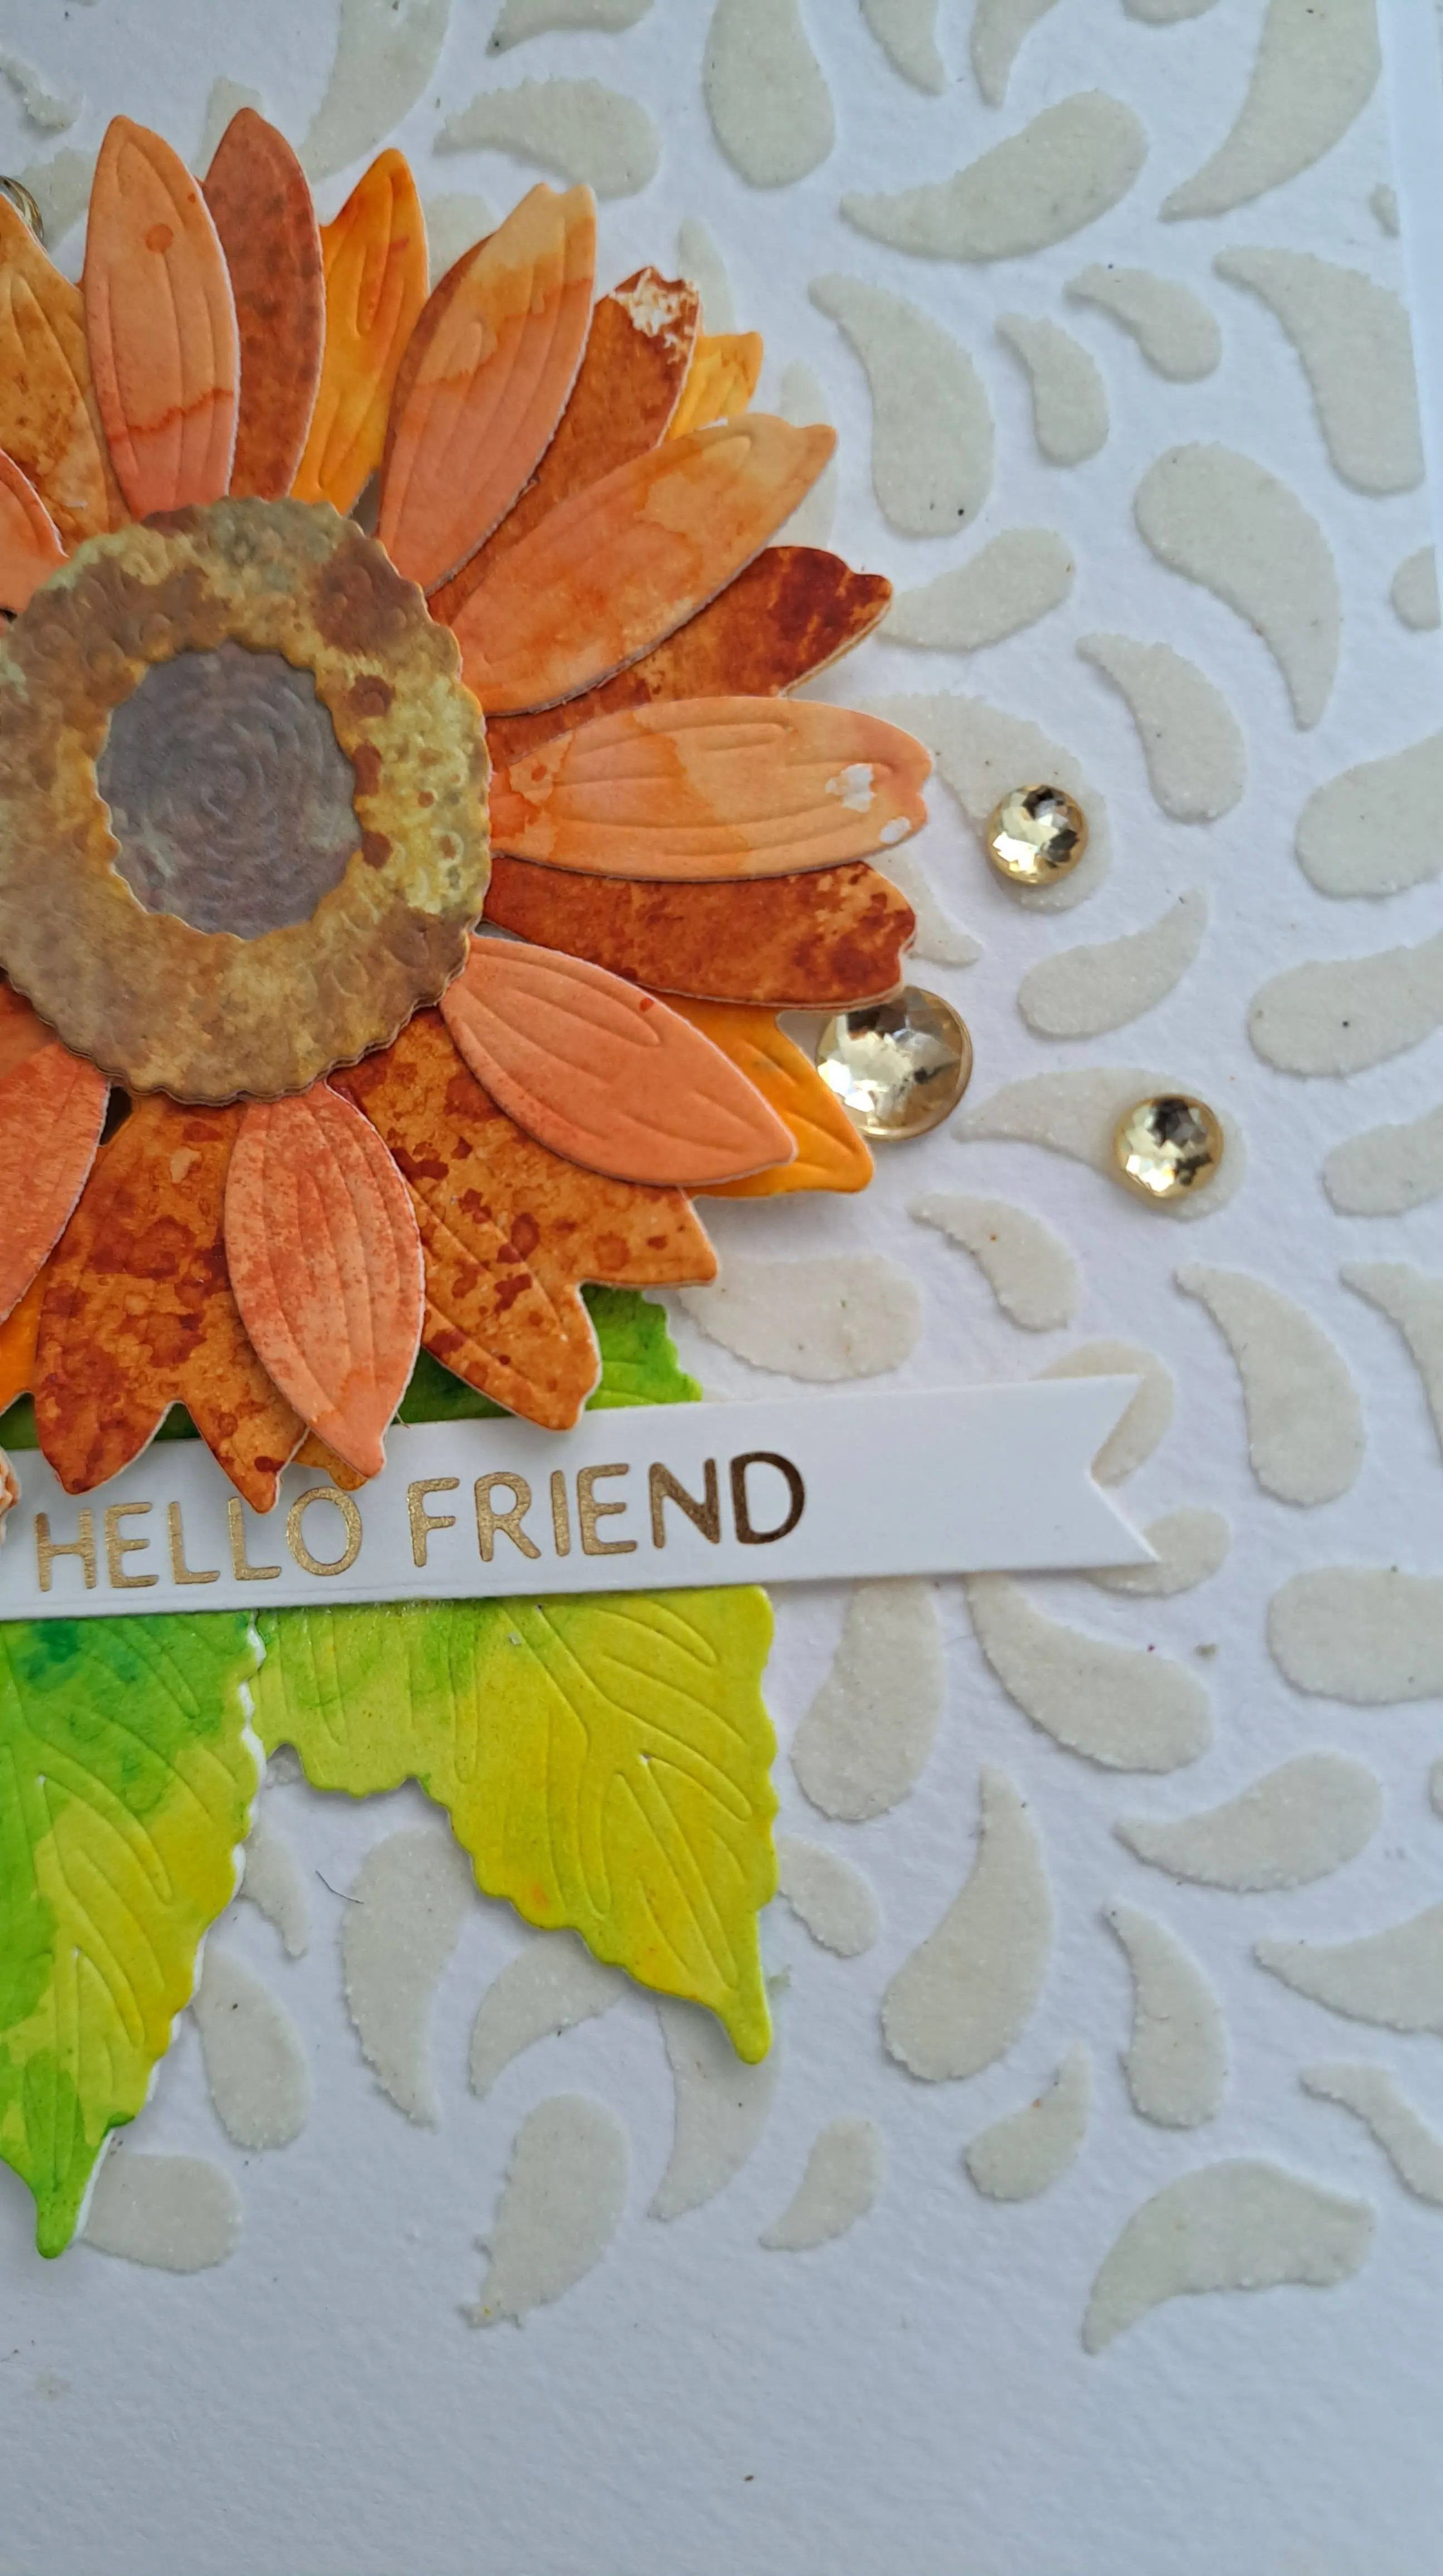
I first created the background panel by using stencil and grit paste onto water-colour card, so I could set that aside and let it dry.

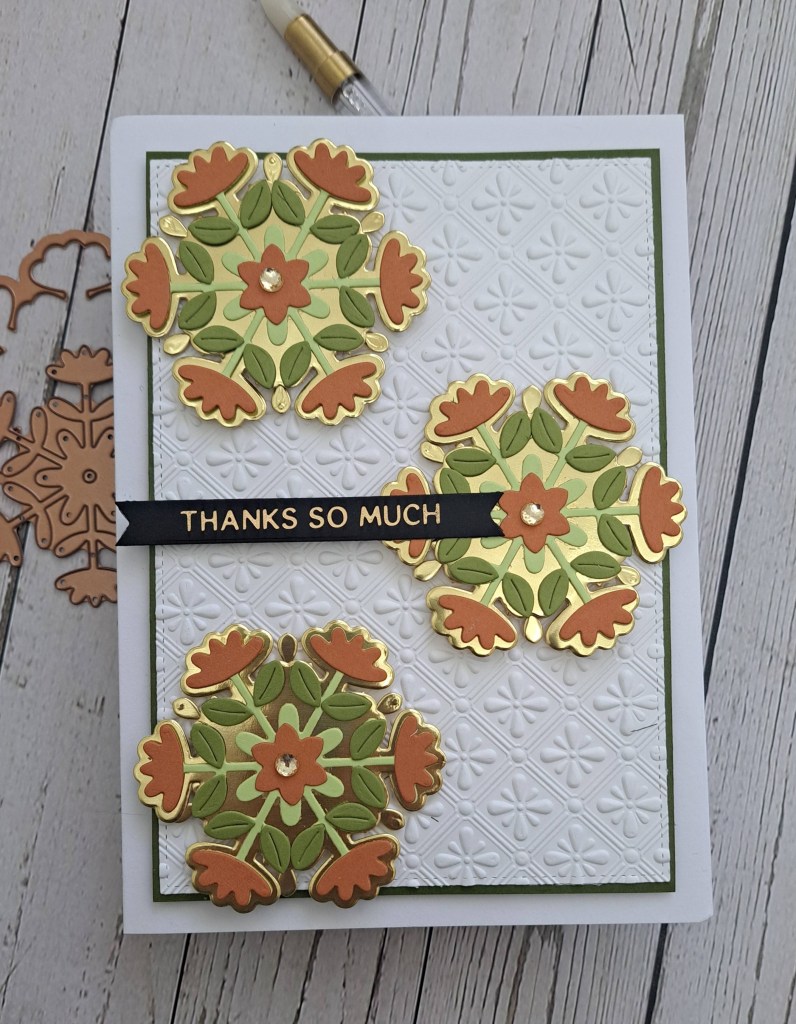
I then ink smooshed some brown and orange Distress Inks onto different Distress White Heavystock panels and set those aside to dry.

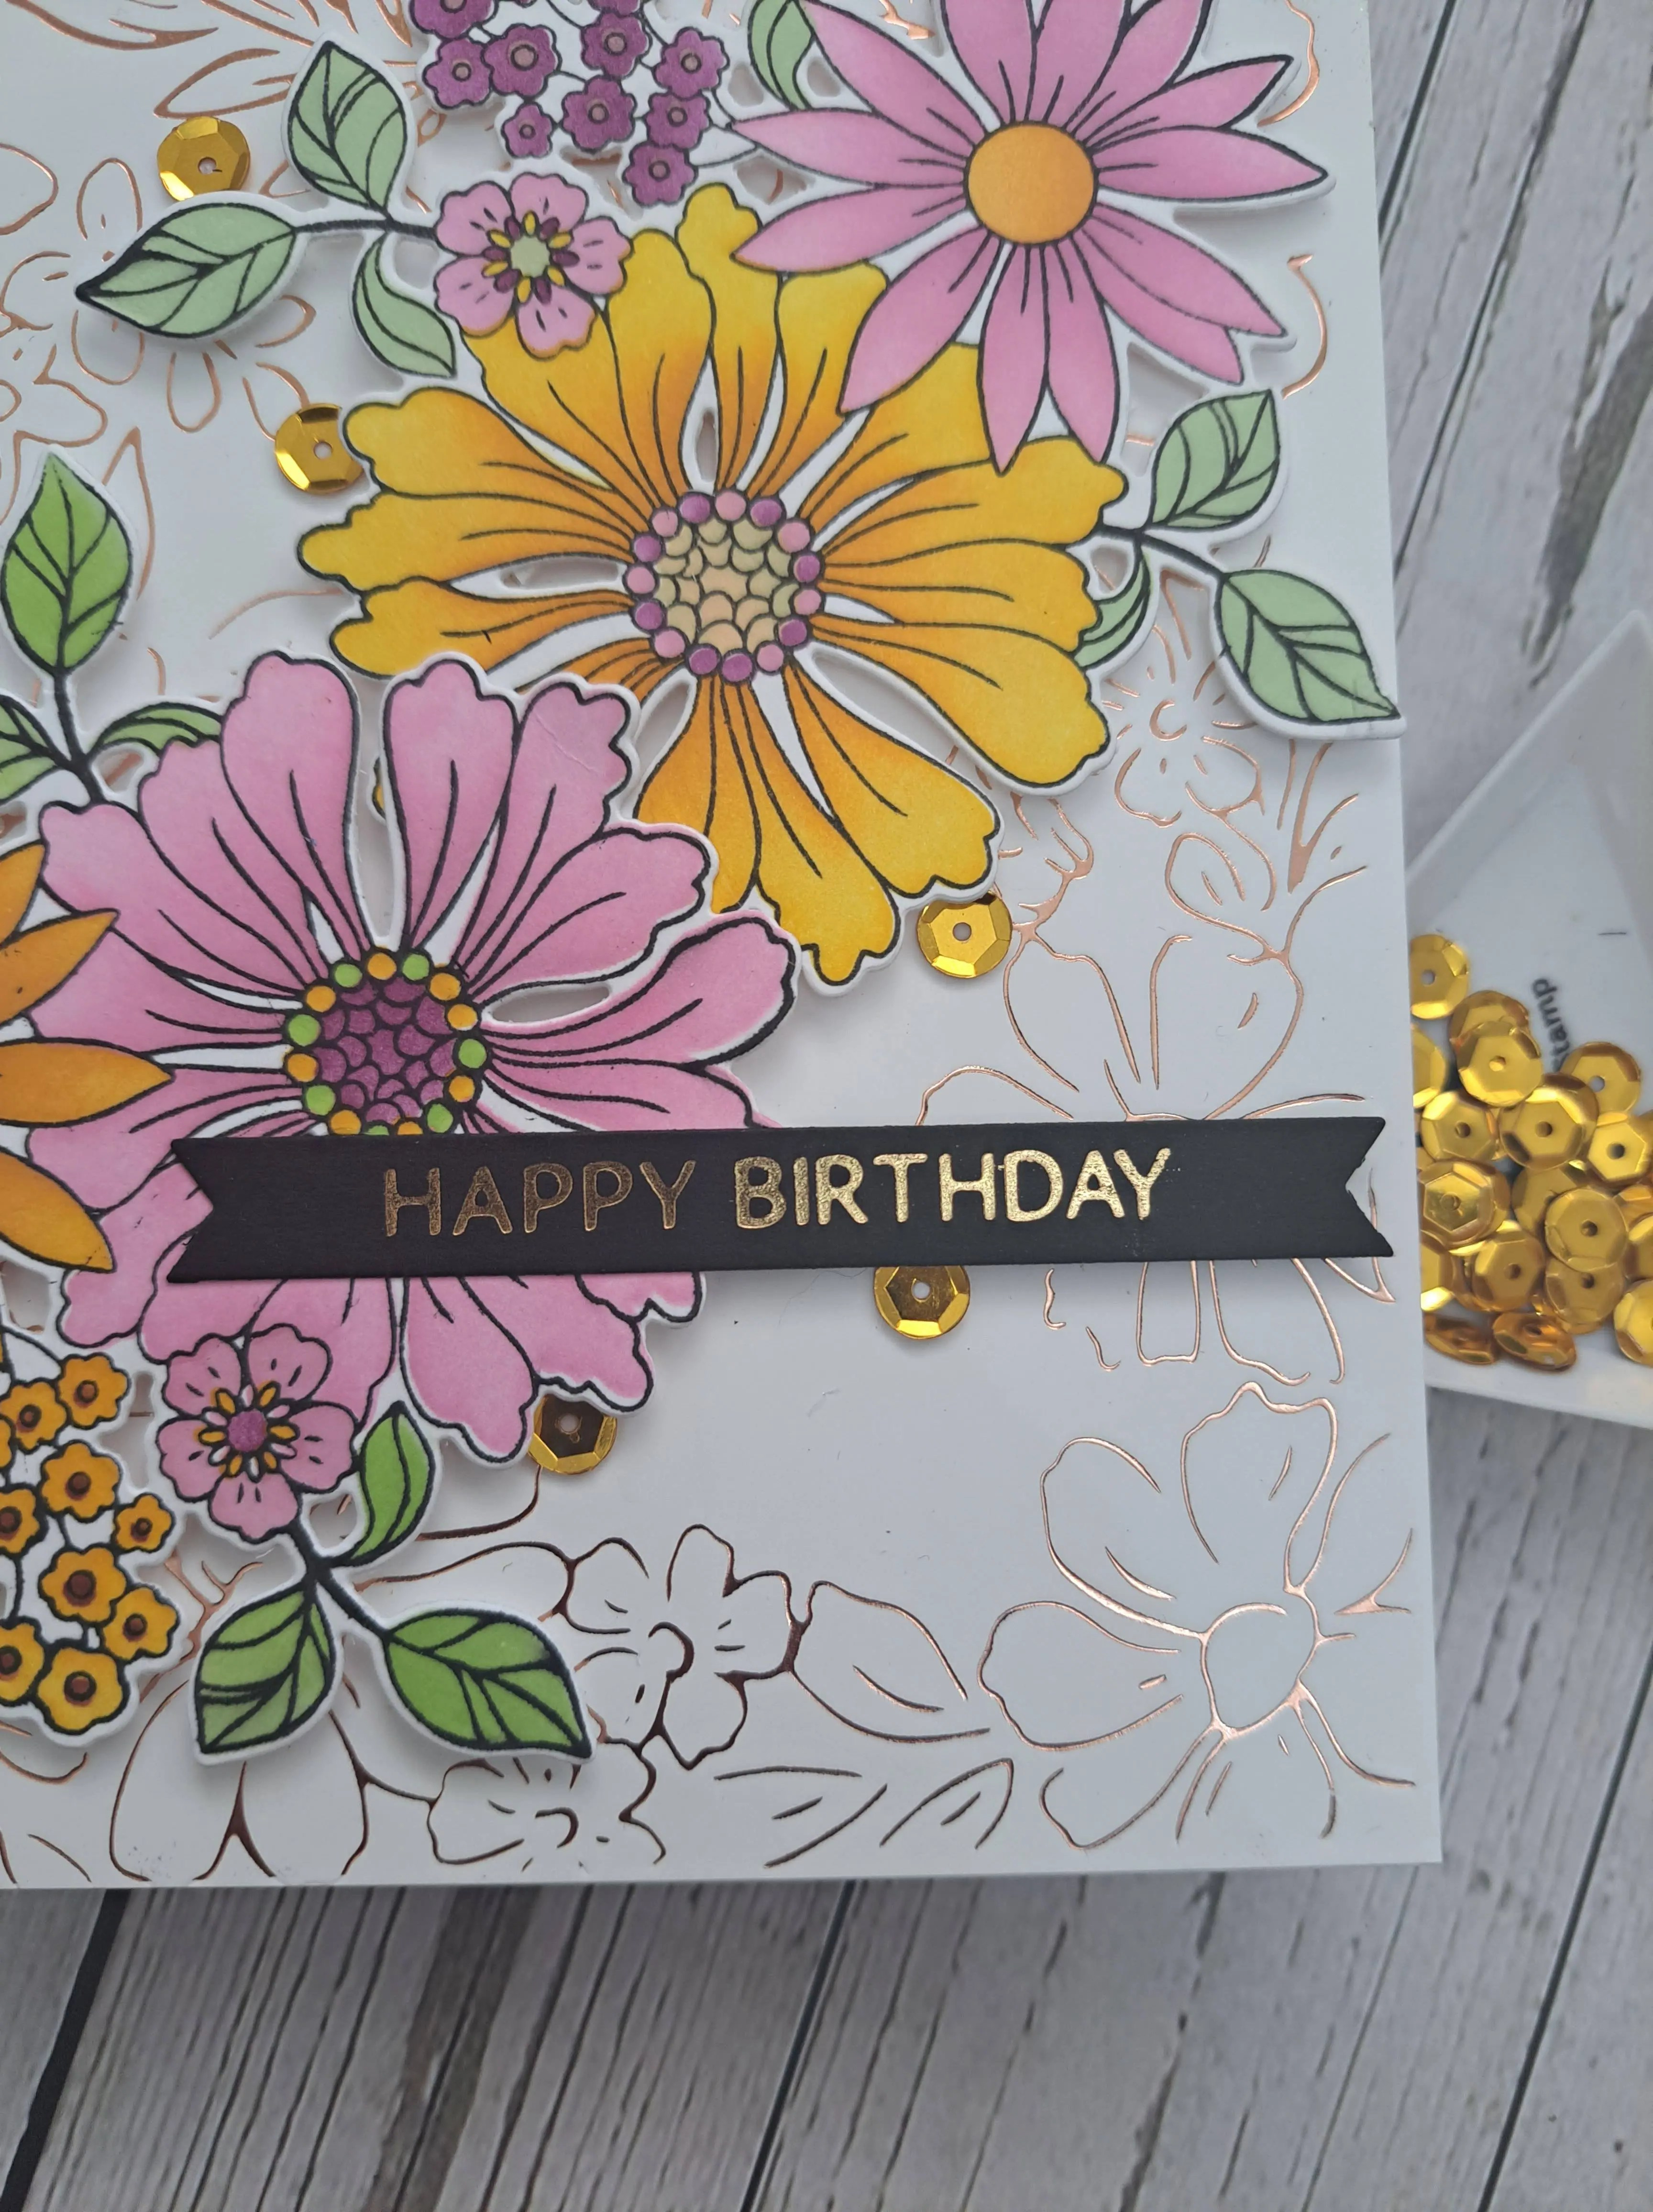
I then found a piece of yellow and green paper, created during a gel plate session using either water-colours or acrylic paint (I can’t remember which), so I used that panel to die cut the flowers, and layered with another white die cut piece of card to add some stability.

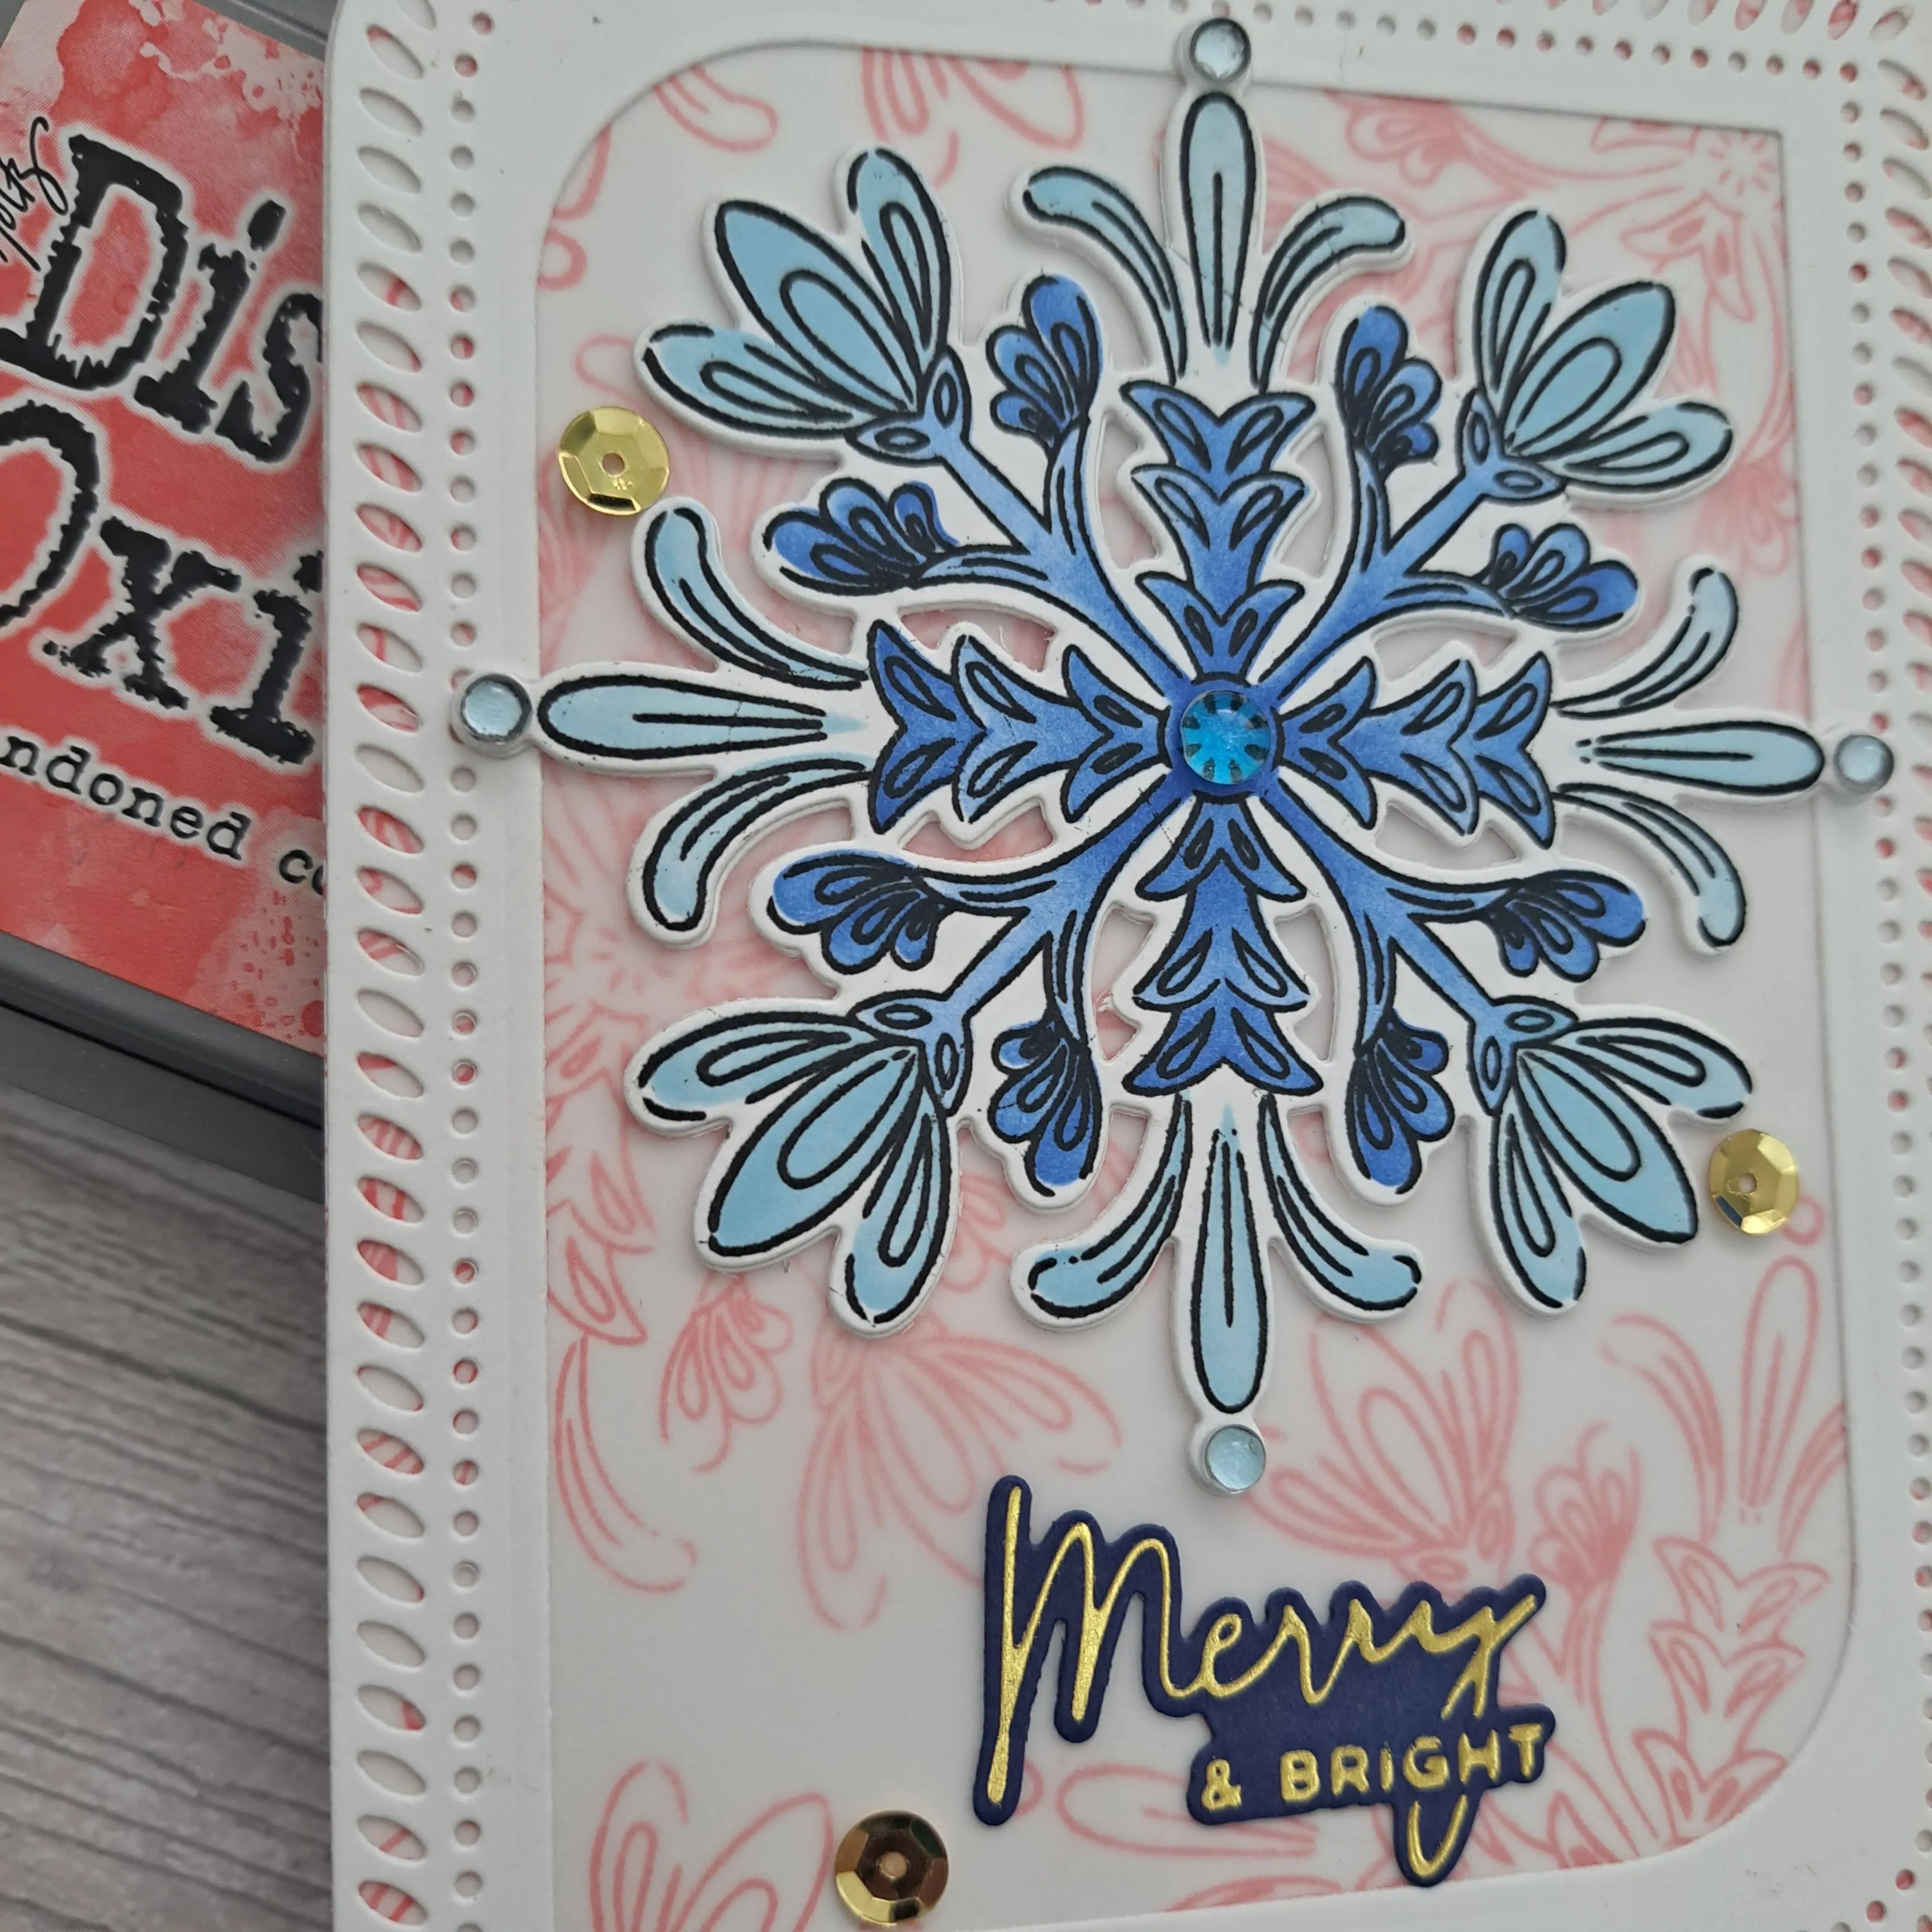
Once dry, I die cut the layers from Honey Bee Stamps ‘Lovely Layers Sunflower‘, placing my dies where I wanted to add to get some white areas, solid areas, and some splattering from the ink smooshing.

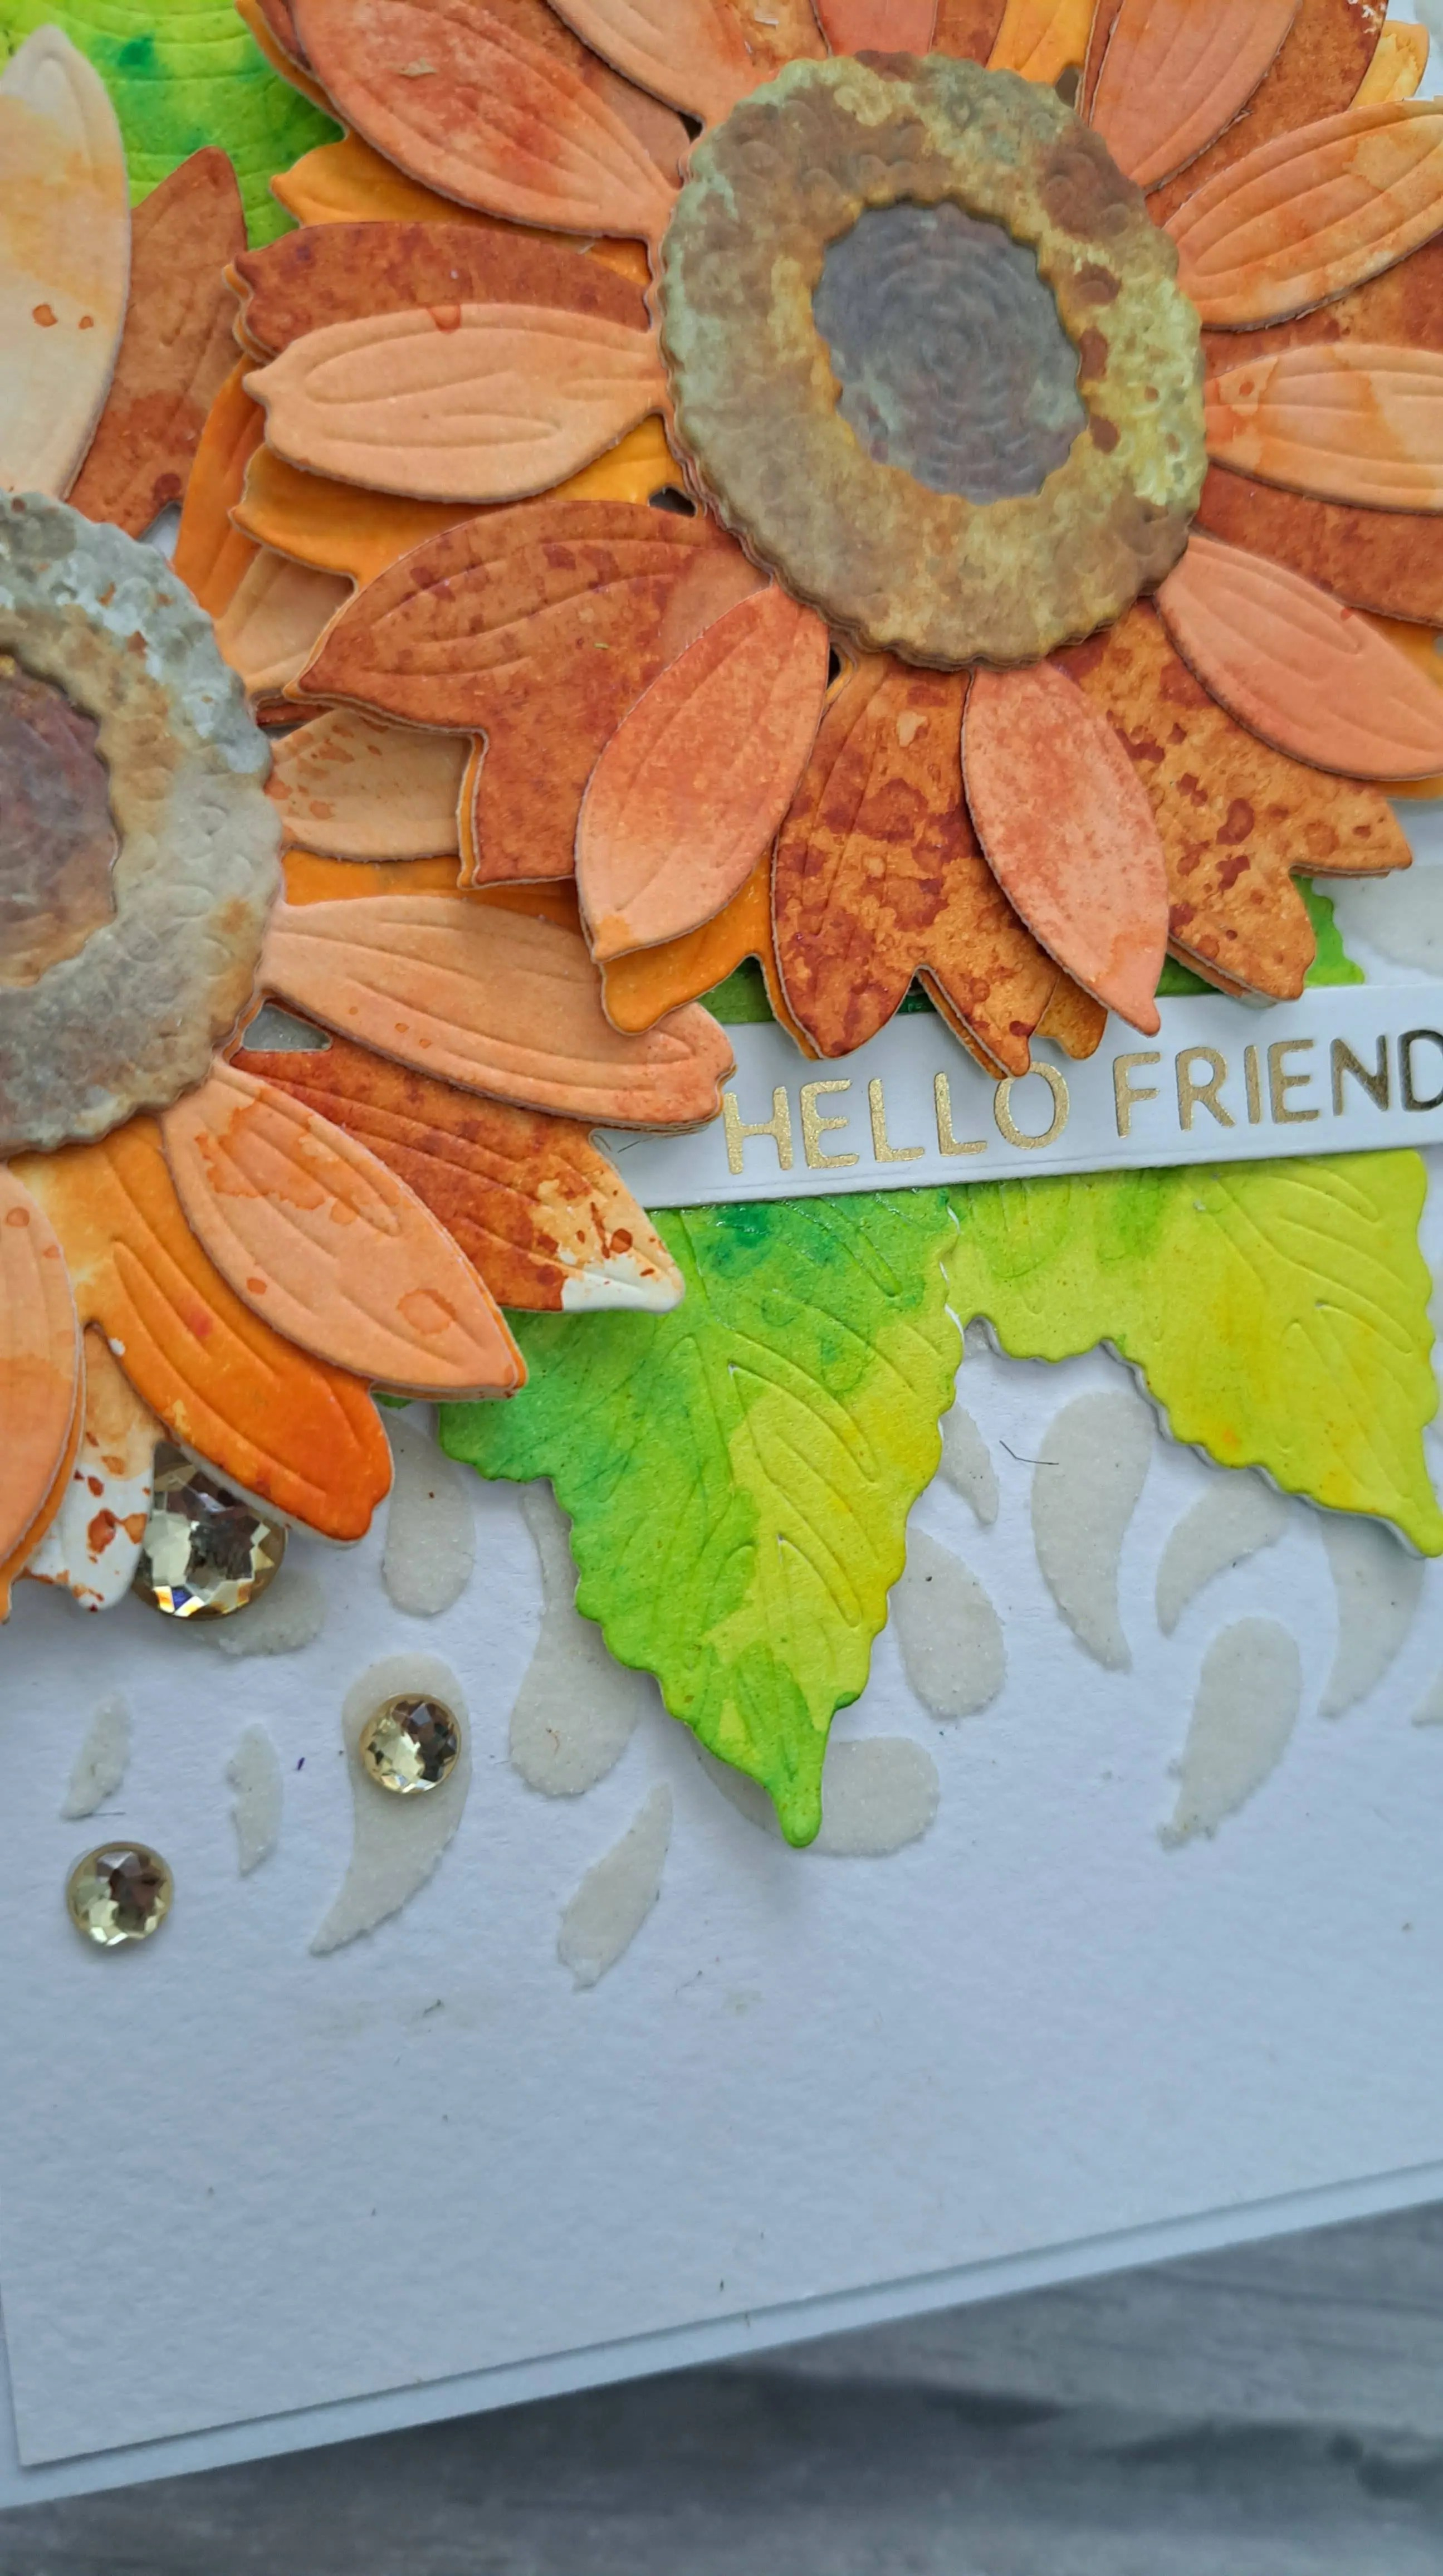
The brown centres were die cut from some grey ink smooshing, but they were too grey, so I added some ink blending with brown Distress Oxides.

The next thing to do was stick everything down – I had forgotten what to use to glue things down onto the grit paste. My normal wet glue didn’t work, and I couldn’t find my gel medium – I must have a few containers stored ‘safely’ somewhere – so I used glossy accents….that seemed to have done the trick.

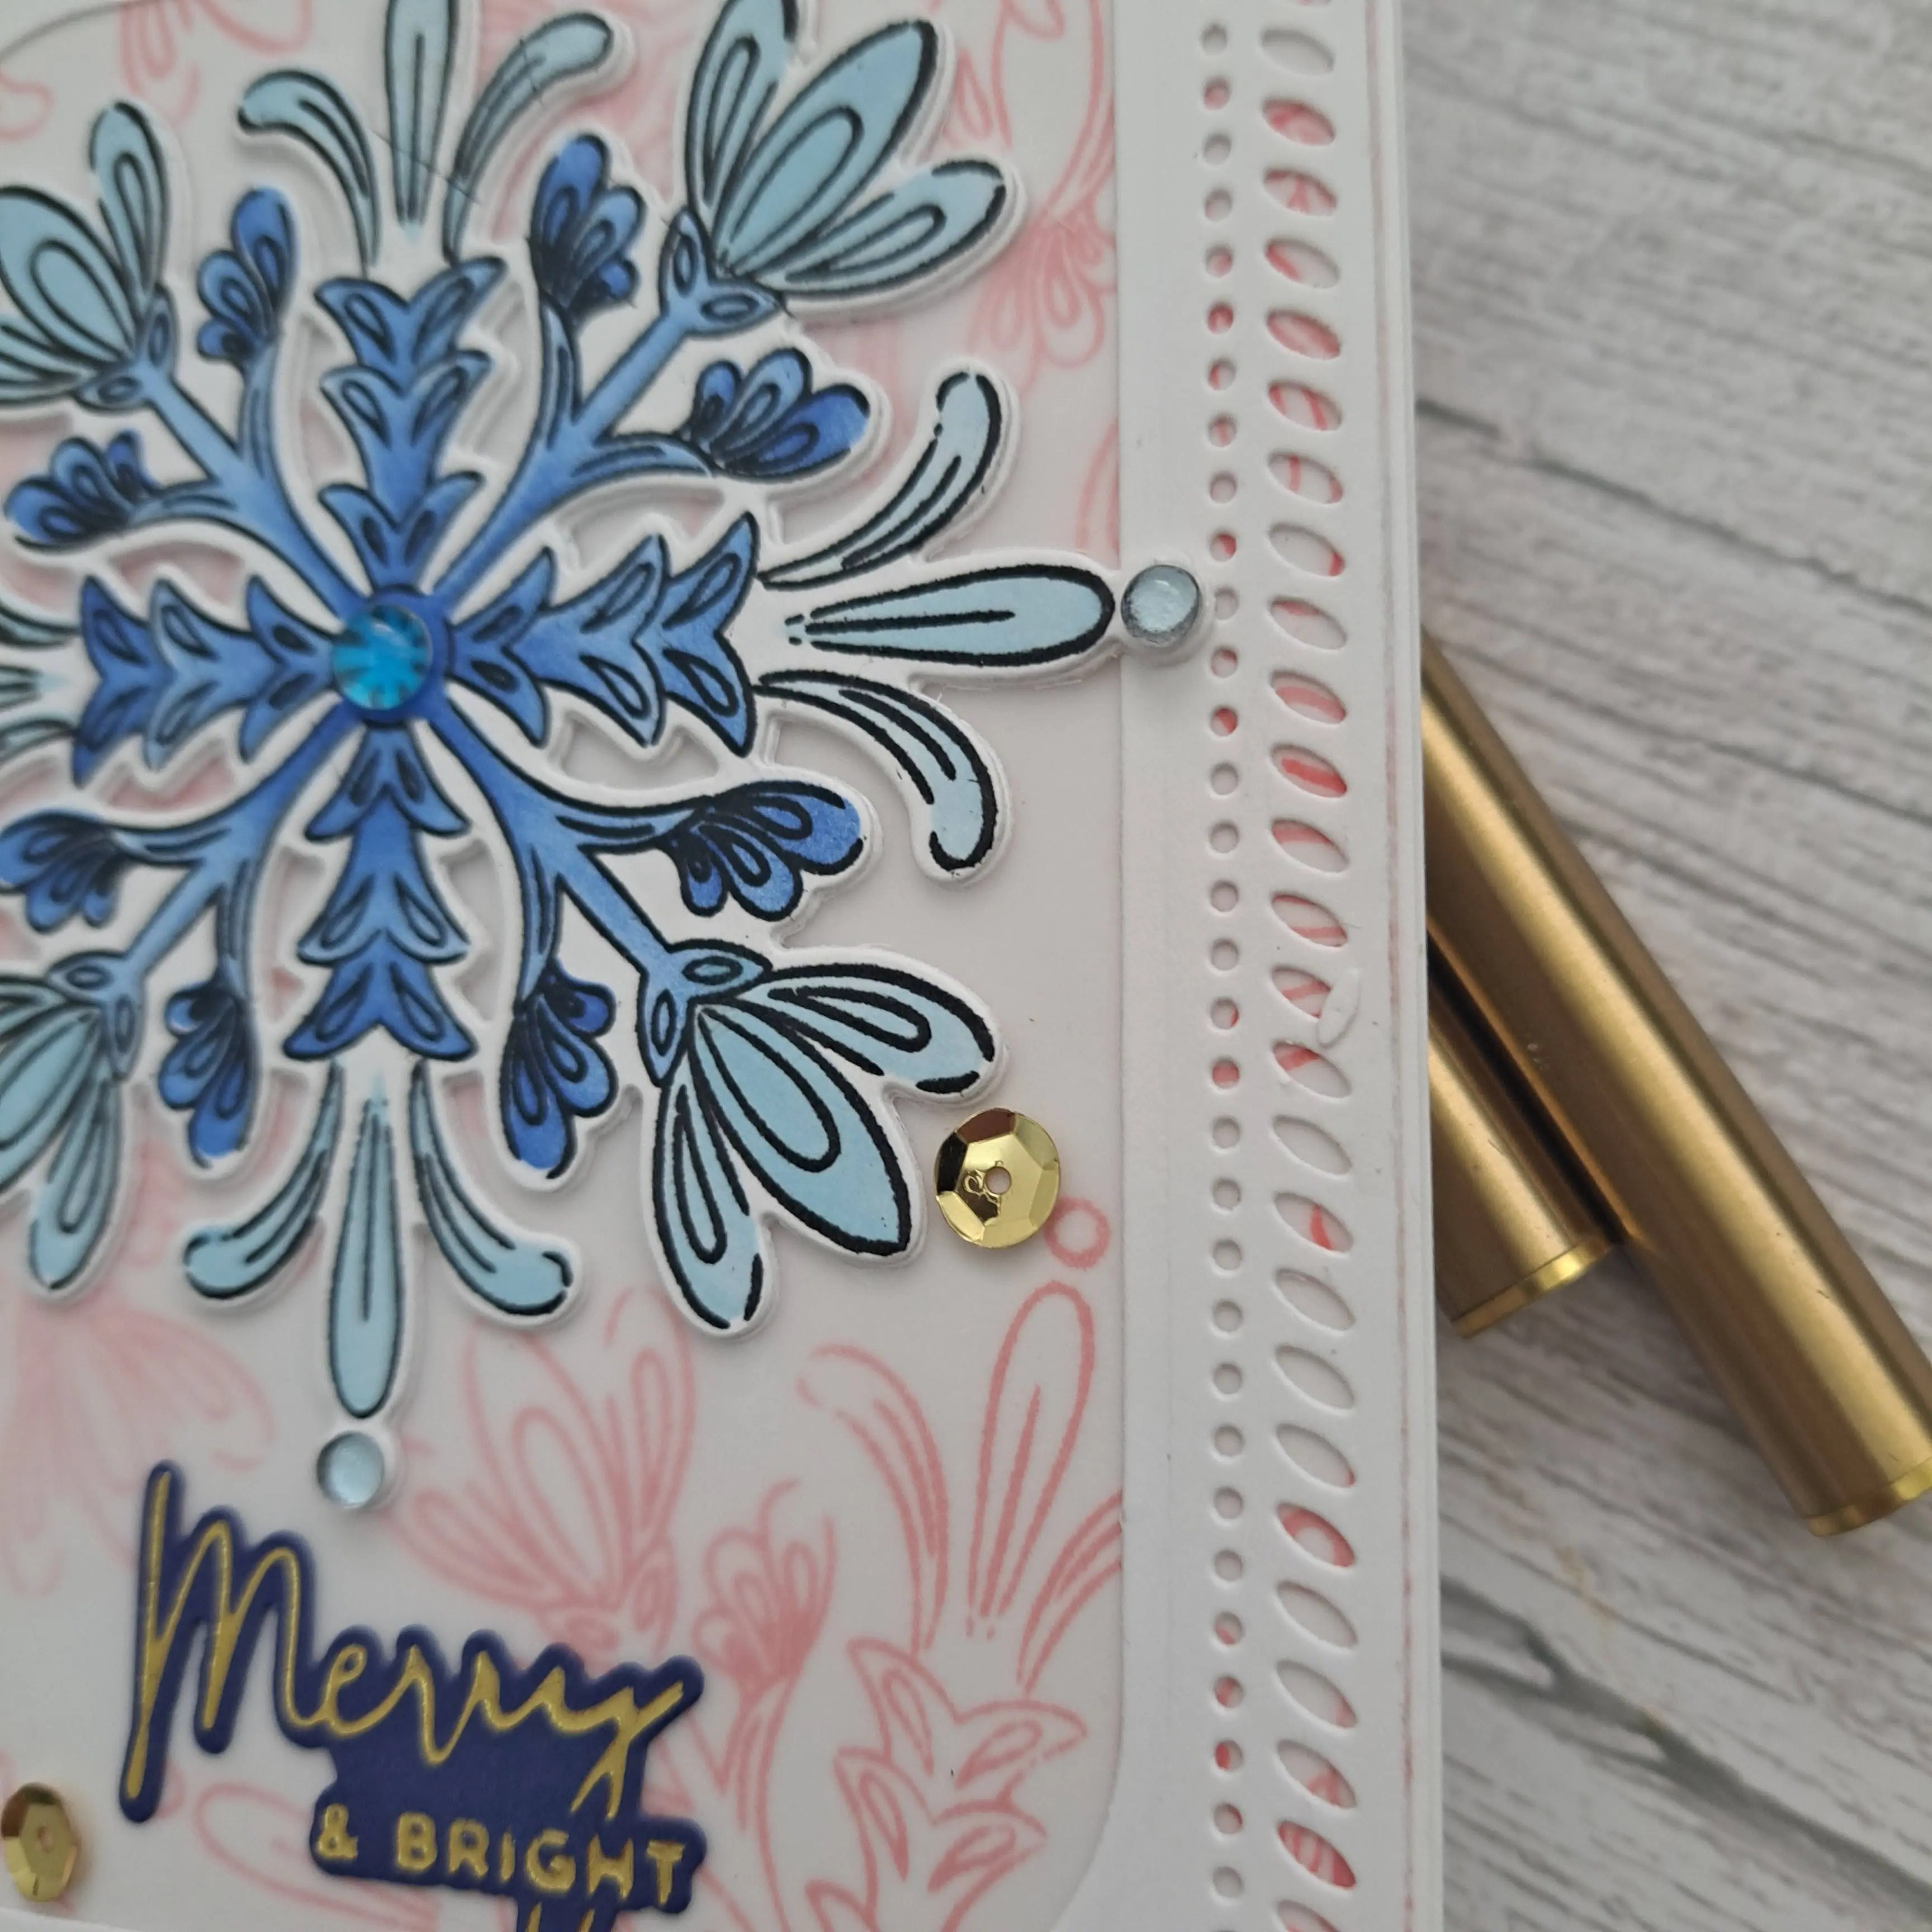
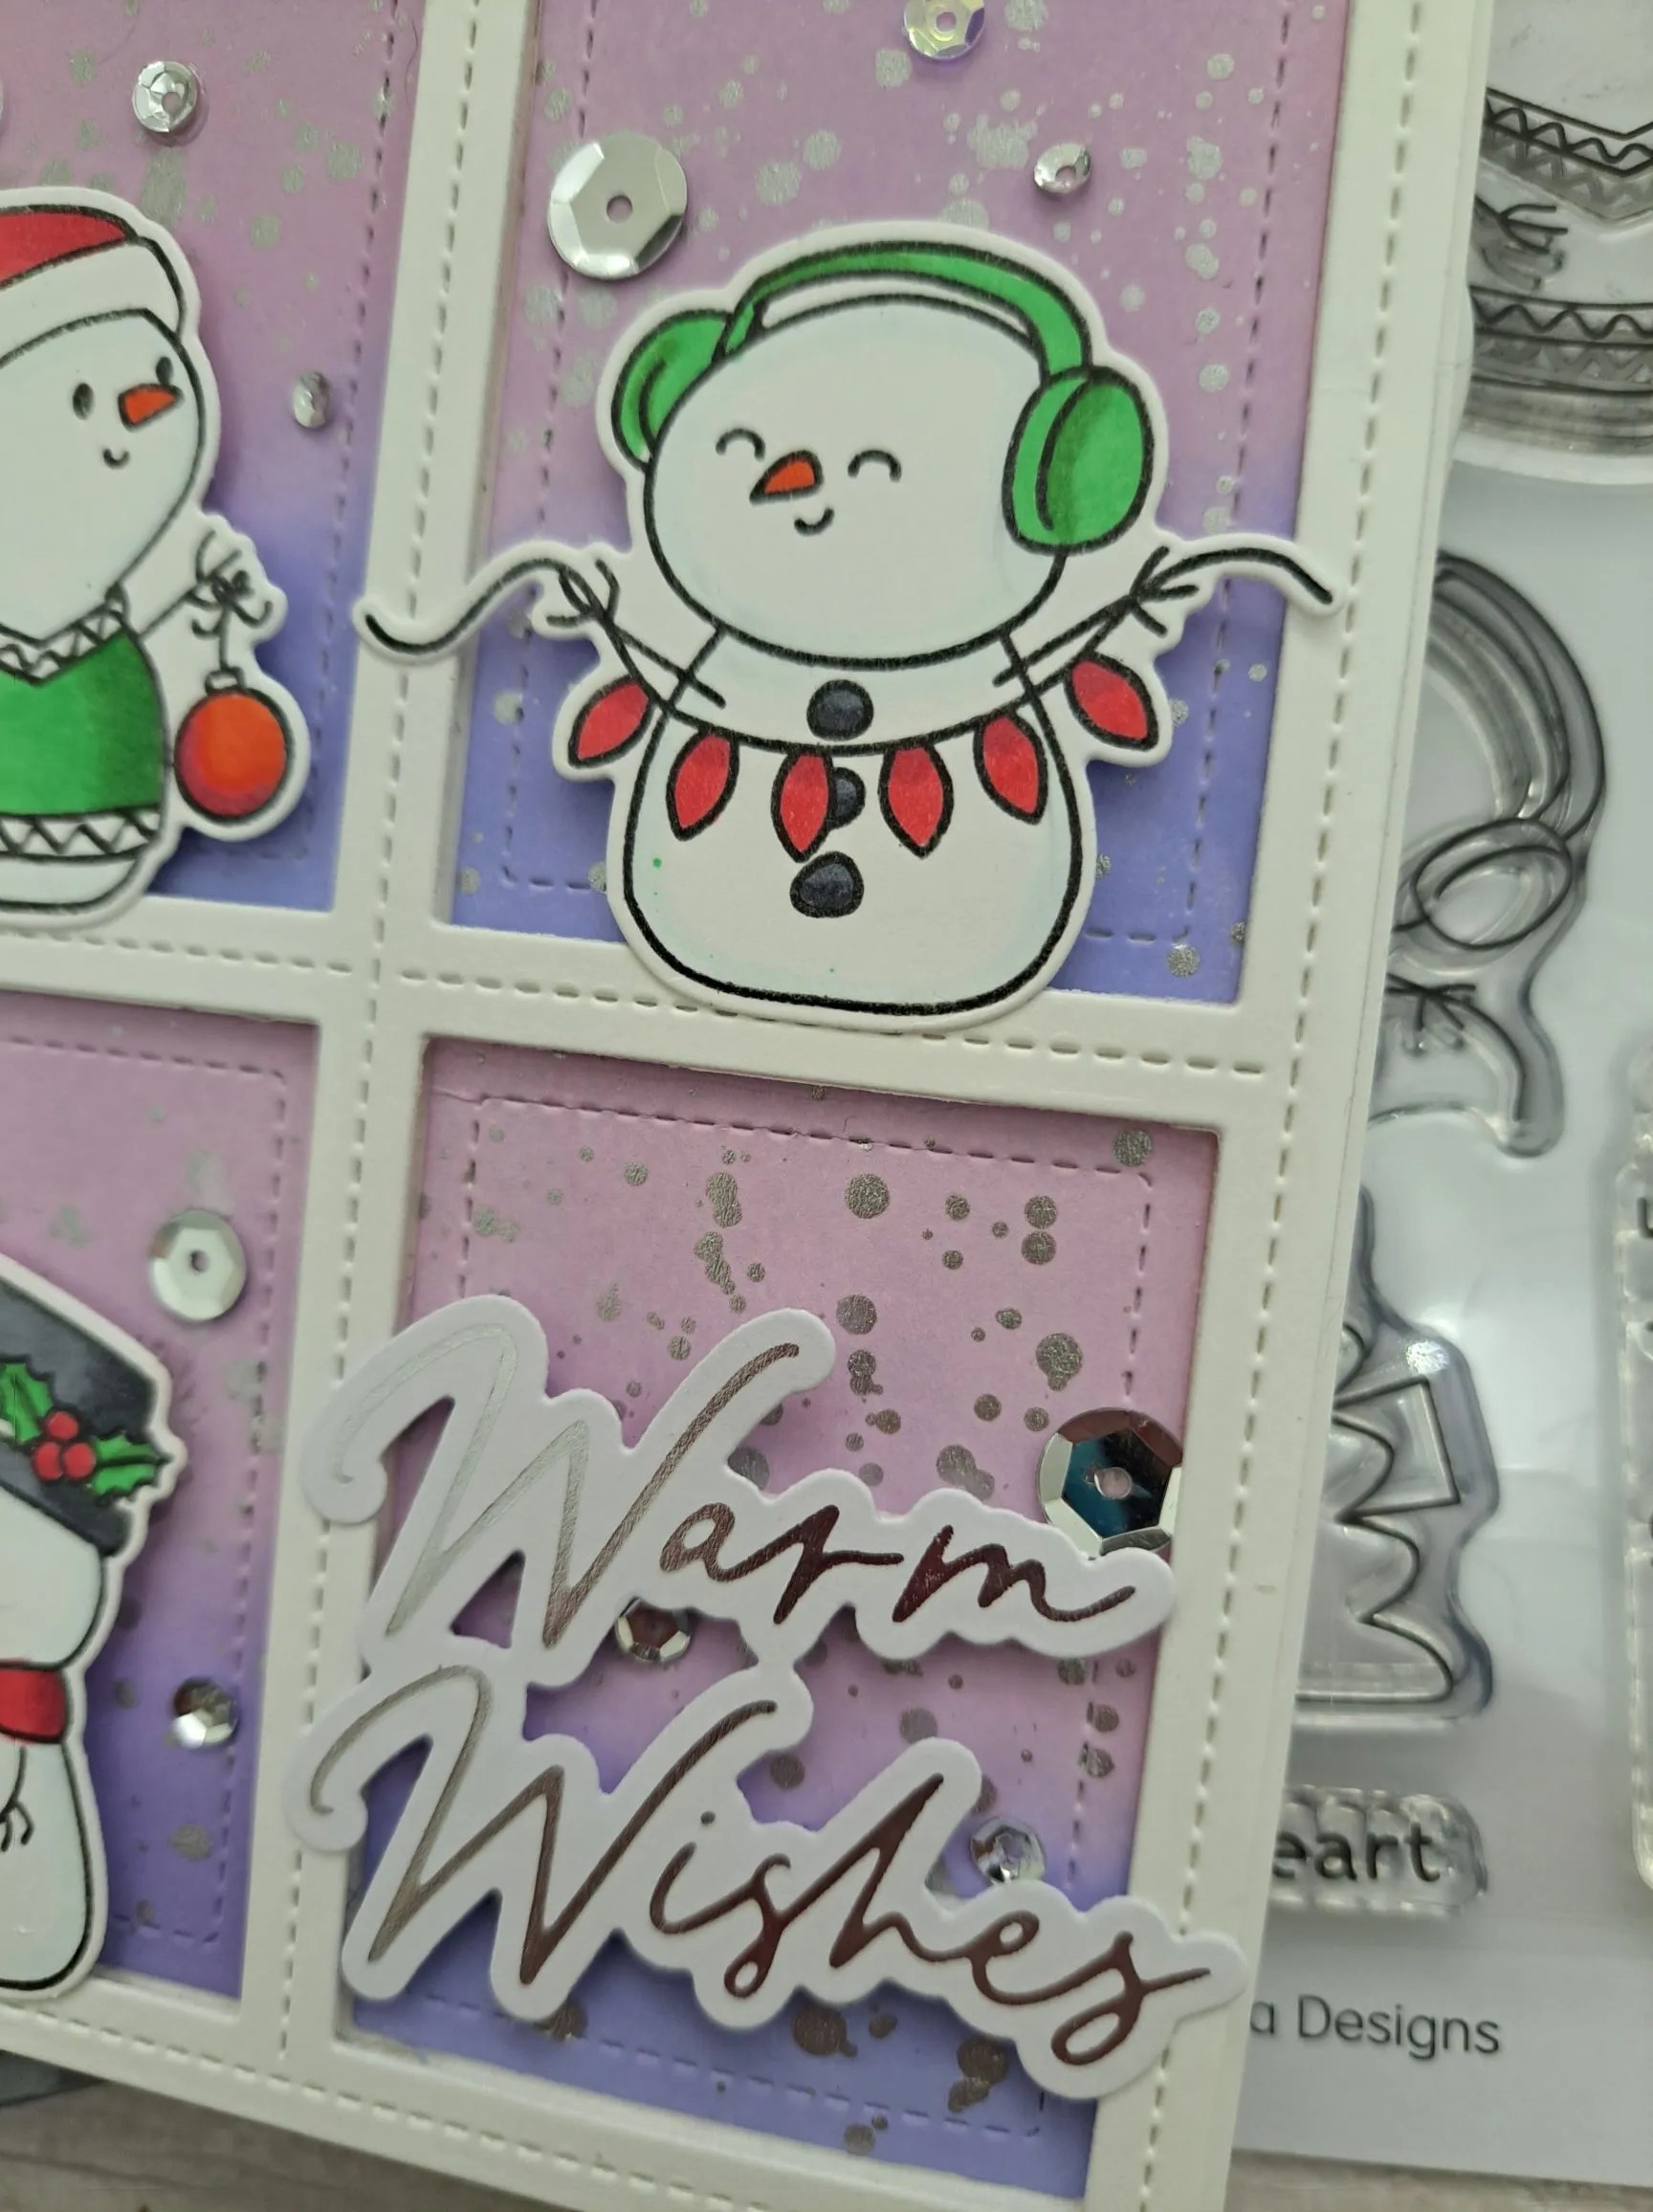
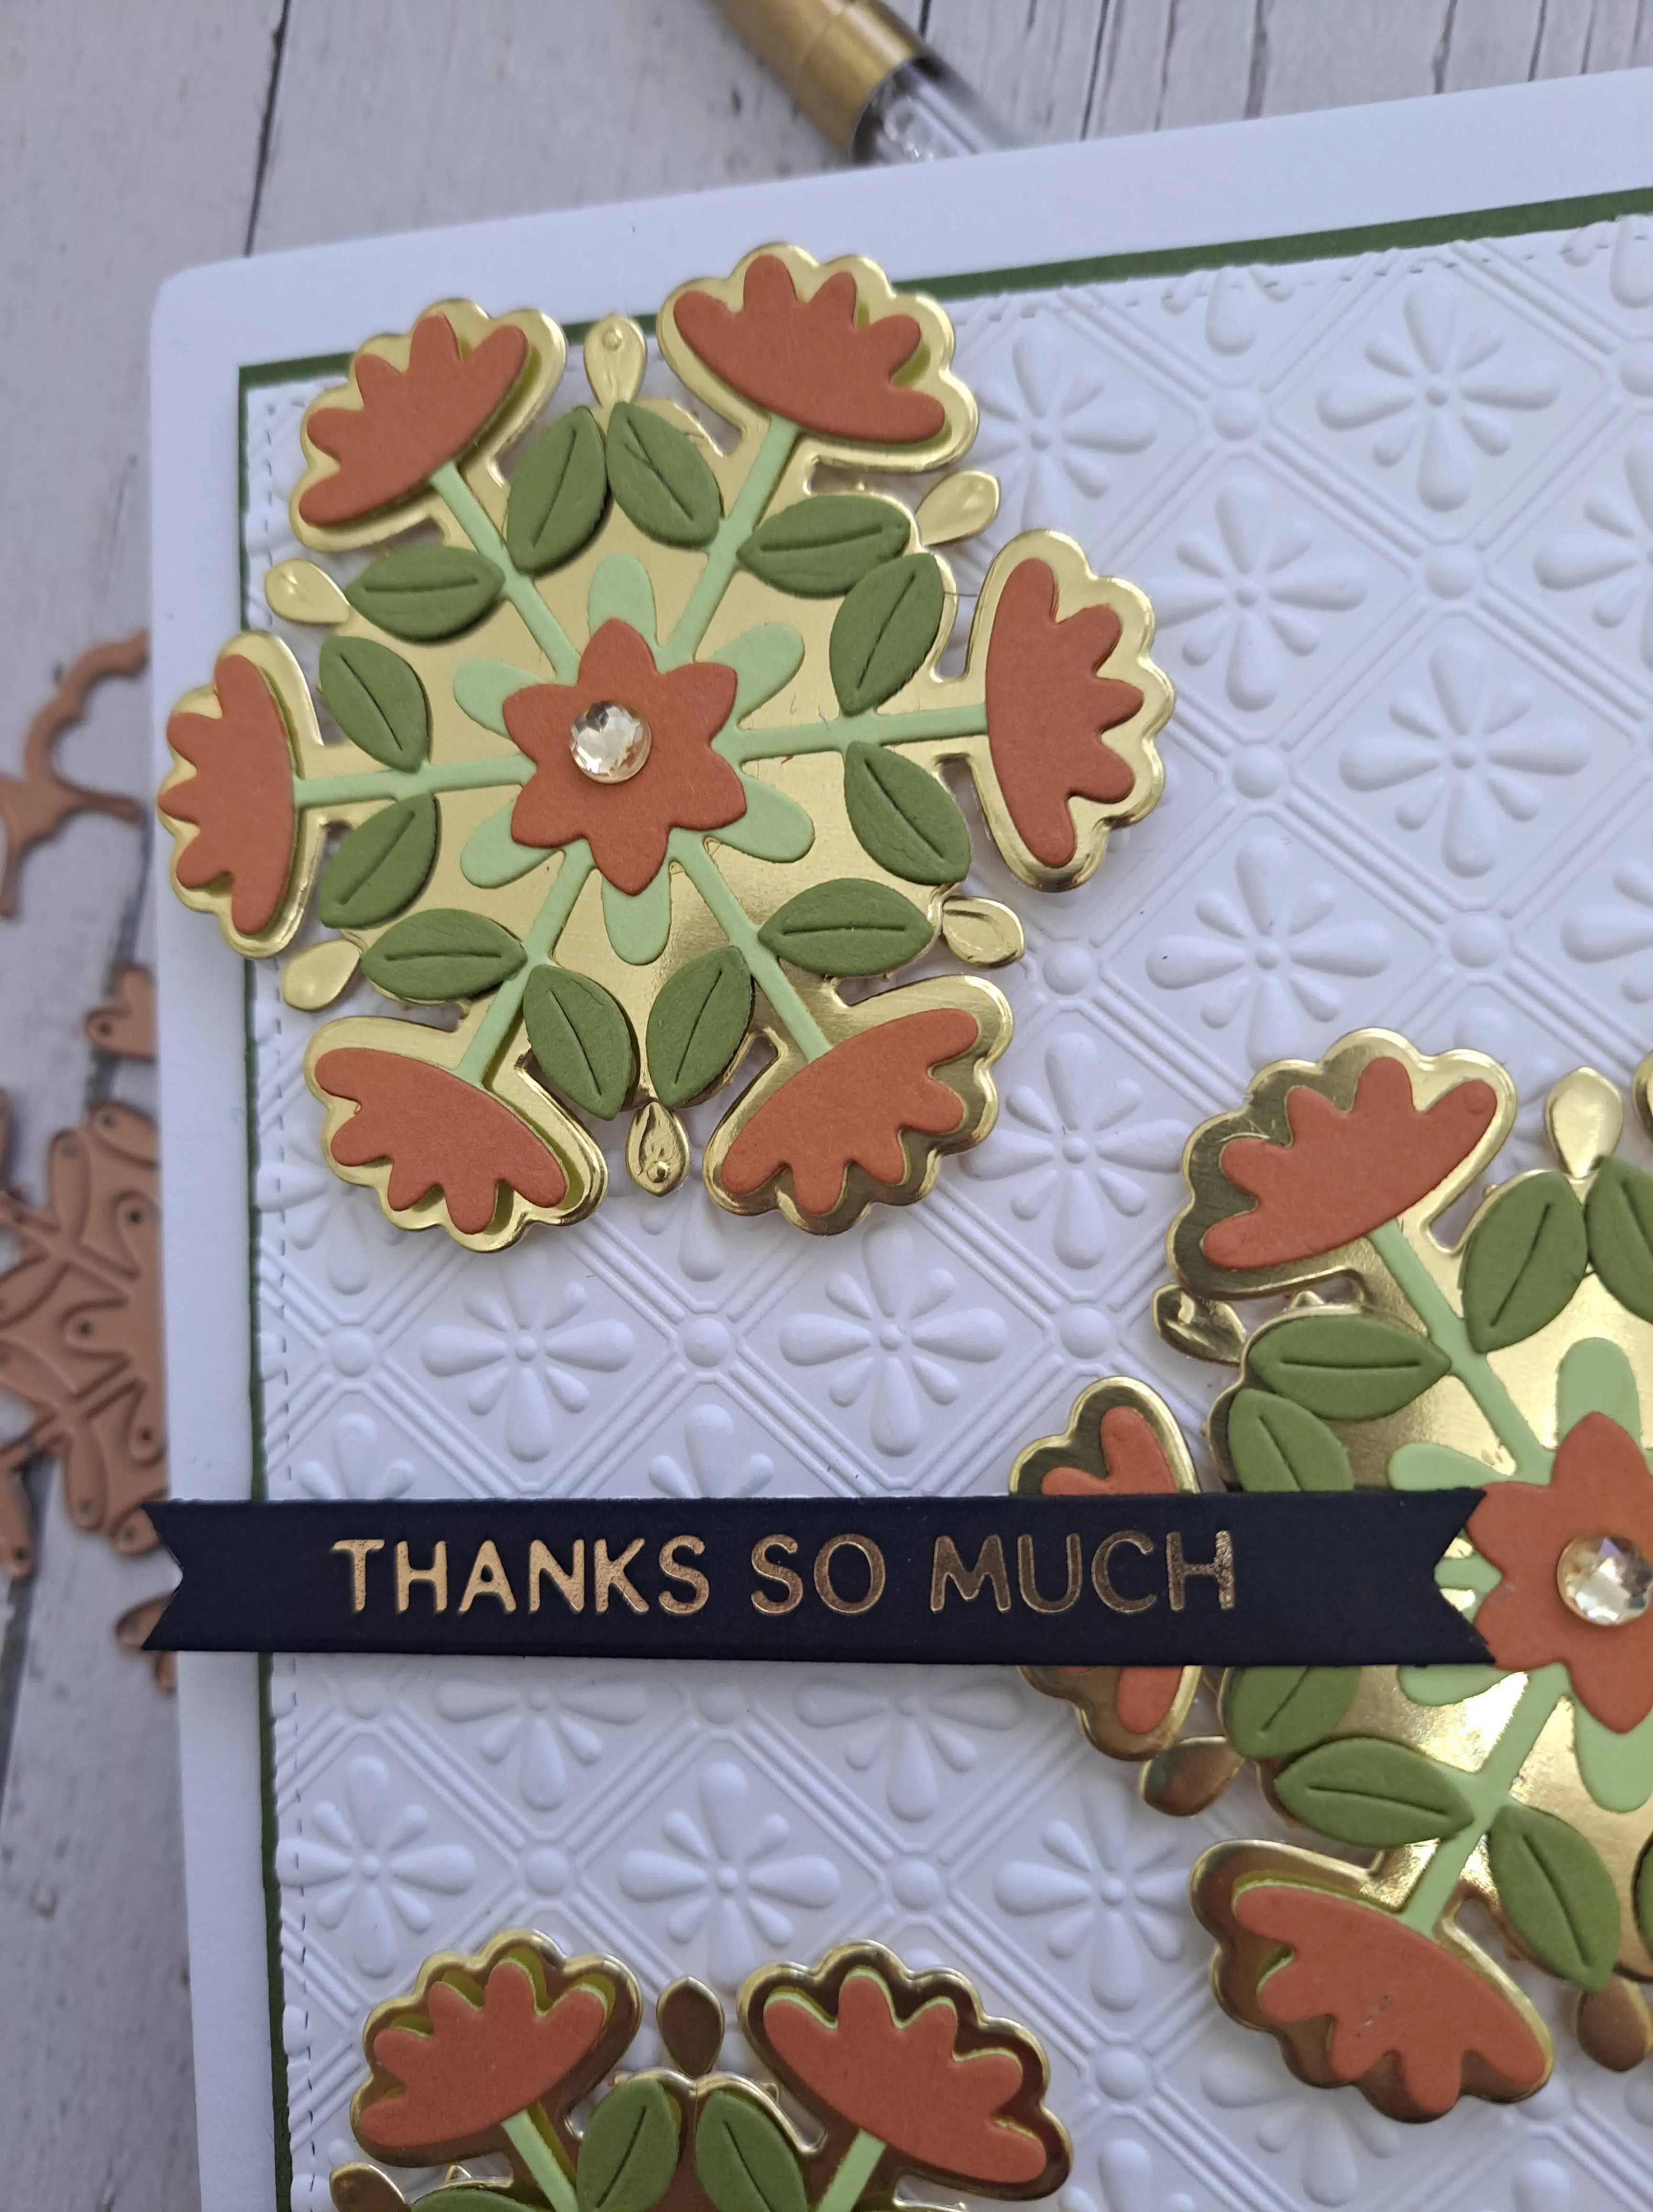
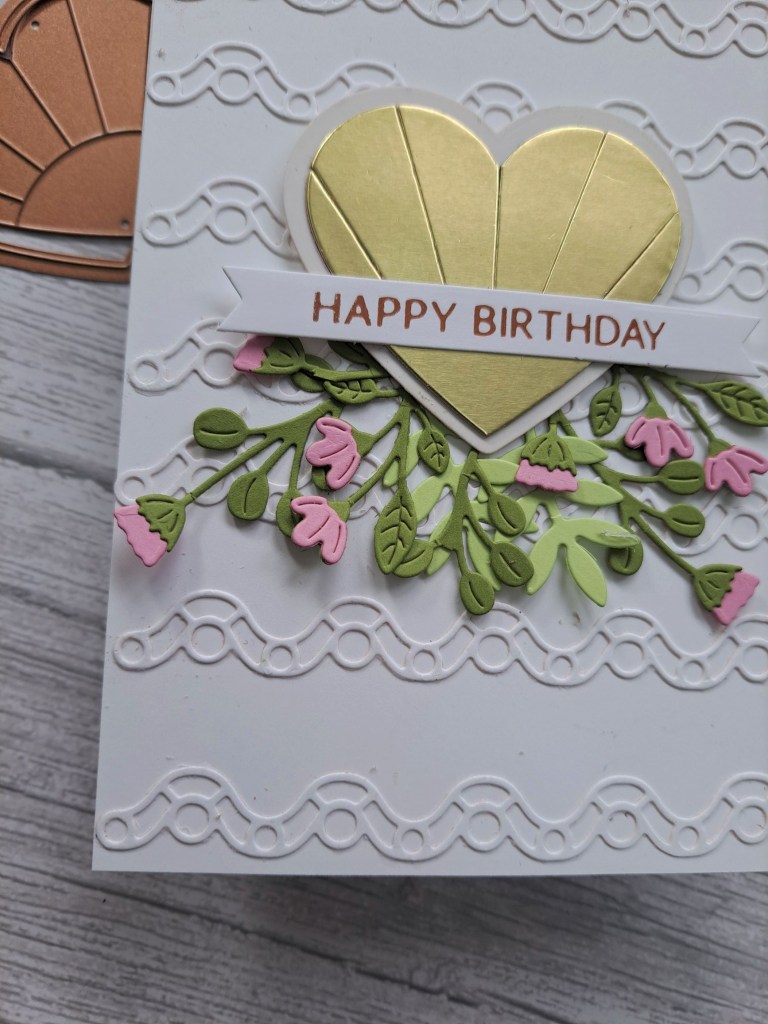
I then added the foiled sentiment and some gold facetted gems, stuck down with a drop of glossy accents.

I shall be entering the following challenges:

Simon Says Stamp Wednesday Challengestencil fun

FarmQuest Challengesunflowers

My Time To Craft In The Garden

We Love 2 Createanything goes mixed media

Ellibelle’s Corneranything goes

Die Cut Divaslayered die cuts or layer die cuts

Creative Artiste Mixed Media Challenge anything goes mixed media – use at least three mediums

Framed Snowflake

Hello. I have a card to share using a snowflake set from the recent Pinkfresh Studio Create and Connect event:

I created the background by stamping the snowflake image in Abandoned Coral Distress Oxide. The frame is from Pinkfresh Studio also, die cut in white, the inner portion die cut out, a layer of vellum also die cut with outer-most layer, glued to the back of the frame, and placed on top of the background.

I then stamped the snowflake in a light brown ink, left my snowflake where it was in the Misti, used all three layers of the stencils to colour it in, masking off portions so I had dark blue towards the middle, and light blue towards the outer portions. Those small blending brushes came in very handy for the itty bitty parts of the snowflakes.

I then placed the panel back into my Misti, and stamped with black ink.

The technique of stamping in a light colour, using the stencils, then stamping again in your darker colour, was learned from Pinkfresh events. It is a little anxiety provoking the first time you do it, and you have to ensure your card is placed into the corner both times of stamping – and you don’t remove the stamp, but I do like the darker outline when you stamp at the end.

I used the matching die for the snowflake, die cut another one to add to the back for a little more stability, then glued onto the card.

The sentiment is foiled and added with glue, then I added some gold sequins around the snowflake, and some dew drops to the four points and the centre.

I shall be entering the following challenges:

Color Throwdowncoral, light blue, navy blue

Simon Says Stamp Wednesday Challenge – stencil fun

Addicted to Stamps and More die cuts and/or stencils

Peace On earth Christmas Challengeanything goes Christmas

Merry Little Christmas Challenge – anything goes Christmas

Most Magical Time Of The Yearanything goes Christmas or Halloween

Snowy Shaker Card

Hello yet again. I was inspired to create a shaker card for the first time in ages:

My goodness – all that acetate on the front made this very difficult to photograph – I hope you can see the details….

The card base is a white dry embossed panel using a Simon Says Stamp embossing folder.

The shaker piece was created by die cutting the circle frame (Pinkfresh Studio) and finding some nesting circles which went underneath with no visibility outside of that circle – and die cut the circle frames underneath several times. I probably die cut them at least 7 times, as I didn’t want to use 3

The shaker piece was created by die cutting the circle frame (Pinkfresh Studio) and finding some nesting circles which went underneath with no visibility outside of that circle – and die cut the circle frames underneath several times. I probably die cut them at least 7 times, as I didn’t want to use 3D foam tape – I think it looks neater without the foam tape showing…..

I glued all those circle frames together, and stuck down onto the card base.

The sequins were added to the ‘well’, a circular frame die cut out of silver and placed behind the deco circle, so it would show through the holes in the frame, and then a piece of acetate added to the back of the deco circle, and stuck down.

I added some die cut silver glitter snowflakes, then the stamped and die cut sentiment – also layered several times.

I shall be entering the following challenges:

Simon says Stamp Monday Challenge add some texture (embossing folder)

CYHTPembossing folder – option of bees/beehive not taken

Merry Little Christmas Challenge anything goes Christmas

Mix It Up Challengeanything goes – option to make your own background

A Perfect Time To Craft anything goes

Die Cut Divaslayered die cuts or layer die cuts (shaker frame)

2 Sisters On The Blogshaker card

Three Snowmen

Hello. ABC Christmas Challenge has reached the letters ‘S’ and ‘T’. Fabiola is hosting, and the themes are ‘S for Snowmen’ and/or ‘T for Three of a kind’. I used both the themes on my card:

For the background, I die cut the Lawn Fawn ‘Four Square Backdrop’ and then each of the four insert panels I ink blended with Distress Oxides. I then splattered with water, and also splattered with some silver shimmer acrylic paint and set aside to dry.

I stamped the images from Time For tea Designs, coloured them with Copics, and die cut with the matching dies.

Onto a white card base I adhered the frame with 3D foam, added the ink blended panels and the images, found a foiled sentiment to add to the fourth opening, and adhered some sequins for even more shimmer and shine.

I hope you can come and join us with your Christmas creations following one or both of our themes. xx

Christmas Penguins

The Holly and Ivy Christmas Challenge has started the new ‘anything goes Christmas’ challenge. Here is my card:

I used a slimline card base and die cut the Mama Elephant frame. The inner part was ink blended with Distress Oxides, and some glitter paste was added through a stencil and then out to one side to dry.

The penguin and igloo images from a Time 4 Tea Designs were stamped, coloured with Copics, then die cut with the matching dies.

I also created a silver glitter card strip using a stitched wavy die – and even though it wasn’t long enough for this card, I cut the strip first, then die cut twice to get the wavy stitching at the top.

The ink blended panel was now dry, so all the elements were added with either glue or 3D foam.

I hope you can come and join us with your Christmas/Festive creations. xx

I shall be entering the following challenges:

Creative Fingersanything goes

Shopping Our Stash any wild animal

Crafty Animalsanything goes with an animal

Creative Artiste Mixed Media challenge anything goes mixed media (Copics, ink, paste)

We Love 2 Createanything goes mixed media (Copics, ink, paste)

Die Cut Divas anything goes with die cuts

Thanks So Much…..

Hello I have a card to share using some Spellbinders products:

These floral dies were part of the products received when attending a virtual event with Bibi Cameron and Spellbinders. The layering florals are actually meant to be snowflakes – but I chose colours which are not necessarily meant for snowflakes and Christmas, to make a thank you card.

I die cut the outer layer with the shiny gold card stock, then used Concord & 9th green and cider for the florals – a lighter green for the stem, and a darker green for the leaves.

I also die cut another of the ‘snowflakes’ and layered behind the main one so you can see the itty bitty point showing in the gaps on the outside.

The background is a dry embossed panel using a Spellbinders embossing folder, matted with the darker green of the leaves – die cut using a Gina K designs Master Layouts die – so handy for those layers.

The sentiment strip is from a previous foiling session.

I’m so pleased with the versatility of this die set and how it turned out – not Christmas related at all. I like how the colours of the card stock and the gold go together, and the dry embossed panel adding some interest to the background.

I shall be entering the following challenges:

CYHTP embossing folder – option of poppies not taken

Festive Friday Challengechoose three items from the list (I chose four) – flowers, thank you, embossing folder, die cuts

Die Cut Divasanything goes with die cuts

Mix It Up – anything goes option make your own background

Foiled and stencilled birthday

Hello there. I am Guest design Team Member at Dragonfly Dreams challenge for this coming month.

The theme for the challenge is ‘birthday‘. Here is my card:

The main floral images are from Pinkfresh Studio, stamped twice, then coloured using the matching layering stencils. I varied the colours on each layer of the stencils, not just sticking to one colour each layer, and used a liberal amount of masking/low tack tape to cover some areas up – I am quite a robust ink blender when it comes to stencils.

I gave a deeper pressure towards the centre of the flowers to try and give some dimension, then die cut with the matching die set.

The background is a hot foil plate – also from Pinkfresh Studio – and used as more of an interest in the background. Once this panel was adhered to the card base, I attached both of the floral images as you see with 3D foam, added a foiled sentiment strip, and some gold sequins dotted around.

I hope you can come and join us in the challenge this month with your birthday themed projects.

I shall be entering the following challenges:

Addicted To Stamps and More birthday

Krafty Chicks anything goes

Beautiful Blossoms flowers

Challenge Up Your Lifeanything goes

Pinspirational birthday and leaves

Die Cut Divasanything goes with die cuts

A Heart Filled Birthday

It is time for the new challenge at Happy Little Stampers anything goes birthday. Here is my card:

All the dies used for this card are from the Spellbinders Advent Calendar last year.

I started by creating the background, by die cutting the wavy strip seven times in white card stock and adhering them to the card base.

I then die cut the heart background piece in white, then the inner piece in gold card stock. The inner pieces can be used with coloured card stock to create a rainbow heart, which I may try in the future. The heart was attached with 3D foam – a piece in the middle of the back – as I knew I wanted to tuck some florals around it.

I die cut the flowers and leaves, layering them all together and then played with the placement around the hear until I was happy.

The sentiment is from a previous foiling session.

I you can come and join us with your birthday creations. xx

I shall be entering the following challenges:

Addicted To Stamps and More birthday

Krafty Chicksanything goes

Ally’s Angels anything goes

Beautiful Blossomsflowers

Octopus ‘Hi’

Hello, I hope you are doing well. I have a card to share using some products from the June release at Spellbinders which I haven’t got around to using yet:

I started by ink blending my background panel using the two inks you see in the main picture. I splattered them with water and set it off to one side to dry.

This piece of card is an older Distress Heavystock – some of the batch which doesn’t take water well, so I had to be very careful with the amount of water I added – but the effect came out as I wanted.

Once dry, I die cut the bottle, and then used a Spellbinders embossing folder to create the bubble effect. Onto that embossed bottle I then rubbed – very gently – some of the Hero Arts white pigment ink so it would pick up some of the edges of the bubbles.

I then used a previously created ink smooshing panel of green – a lighter green panel and a darker green panel – to die cut the octopus layers and the seaweed.

I put the layers together, added some black for the eyes and mouth, and stuck them down onto the bottle.

The cork was from some brown cardstock, as was the board and sentiment, slotted into one of the arms of the octopus.

This was fun card to create, and I can see I’ll be playing with this die set again.

I shall be entering the following challenges:

Lil Patch Of Crafty Friendsanything goes

Color Throwdownpink, green, magenta, white

Cut It Updie cuts and under the sea

Shopping Our Stashany wild animal

Crafty Animals anything goes with an animal

Die Cut Divasanything goes with die cuts

Grab My Button

Friendly Florals

A Bank Holiday weekend here in the UK and some time for crafting. I created this card with some recent purchases.

I created the floral arrangement using Concord & 9th card stock ‘Four Petal Thank You’ die set from Spellbinders. Layering flowers and leaf die cuts seem to be my new joy………and a couple of years ago I wouldn’t have gone anywhere near any tiny, little fiddly pieces – now I quite enjoy them.

I die cut the favourite Pinkfresh Studio ‘Art Deco frame’, and die cut the middle out too. I used this middle piece of card with the new purchase from Catherine Pooler – the ‘woven‘ background panel. I wanted to insert this into the frame so instead of cutting the panel out wholly, I just used this inner piece.

The ‘woven’ panel was added as a ‘might as well’ when I was ordering recently, and I’m really glad I did. I think this die will be used a lot – it adds interest when used this way – white on white – and I am sure it will stunning in different colour schemes too – watch this space….!

A white card base, the deco frame adhered with 2D foam strips, the inner die-cut woven piece inserted, the florals added with 3D foam, a foiled sentiment strip and I thought I was done……but no…….I added some iridescent gems because they would pick up the colours near to them.

I shall be entering the following challenges:

Crafts Galore anything goes

Triple Bbirds and/or butterflies and/or blooms

Here Is A place To start anything goes – option trees and/or leaves

Lil Patch Of Crafty Friendsanything goes

Paper Fundayanything goes

My Time To Craftuse die cuts

Beautiful Blossomsflowers