You’re So Sweet……

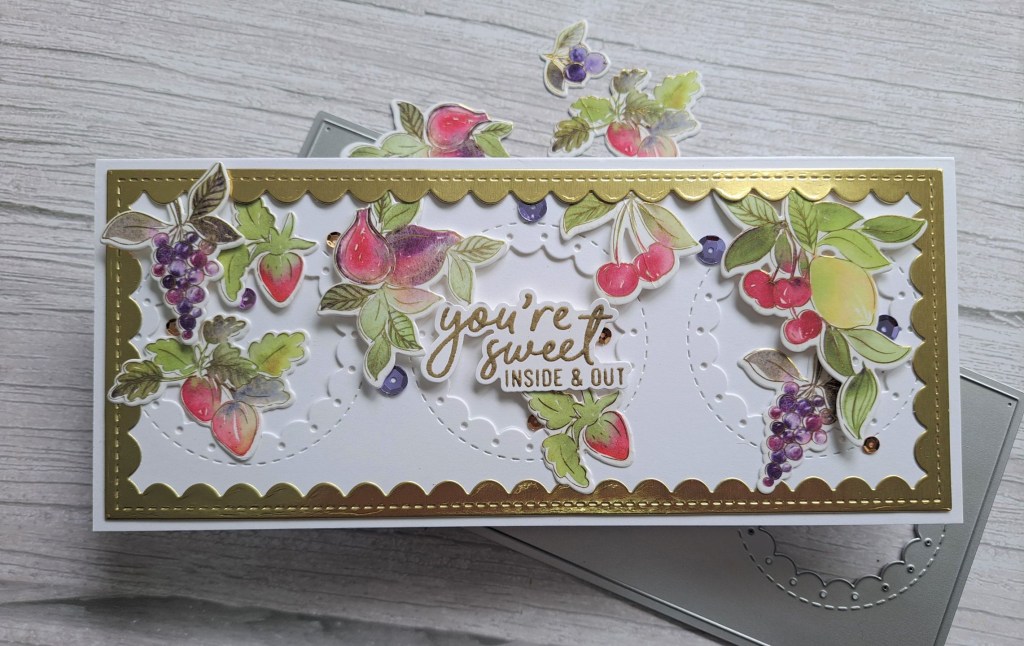
Hello there. I have created a slimline card to share:

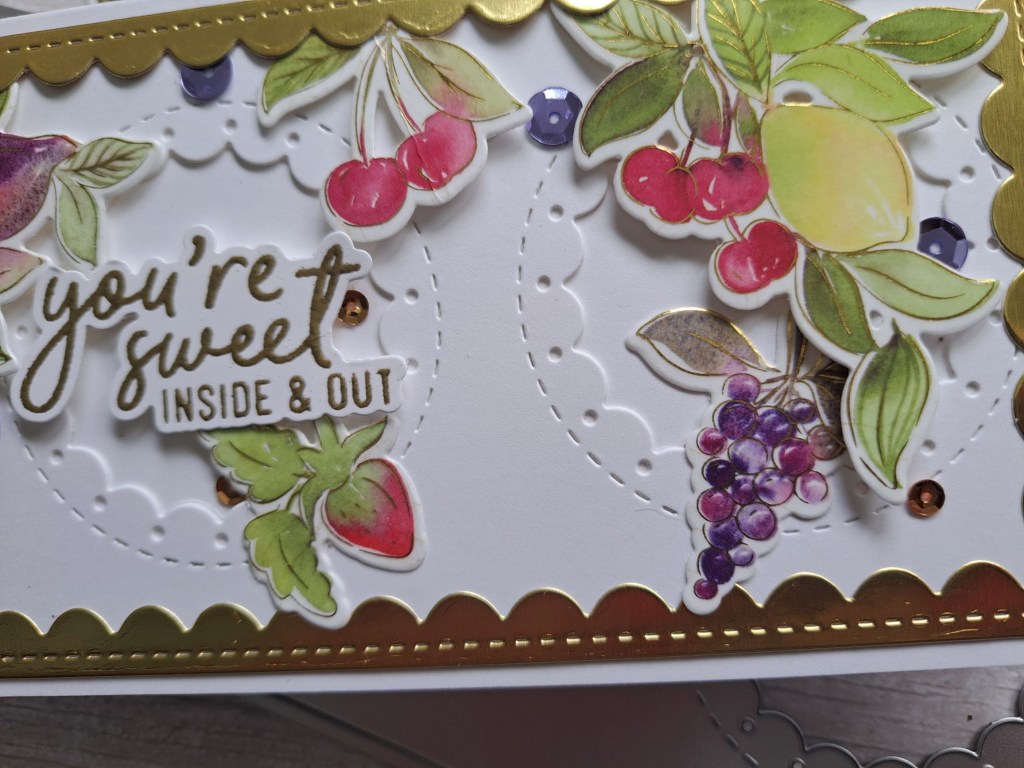
I used Pinkfresh Studio ‘Fruitalicious‘ washi tape and matching die for the images. I received them as part of a Pinkfresh event quite a while ago, and still have loads of the washi left.

I adhered the washi to some white card, then die cut with the matching die.

The background triple aperture layer was created using a slimline die from Pinkfresh, and the gold scalloped border from a Time 4 Tea Designs die set.
Once they were adhered to the card base, I stamped and gold heat embossed the sentiment, die cut with the matching die, and adhered to the centre circle.

I then played with the arrangement of the fruit washi images, and adhered them with 3D foam and/or glue, tucking some under the gold border.

I added some gold and purple sequins here and there.

I shall be entering the following challenges:

The Crafty Addicts – anything goes

Simon Says Stamp Wednesday Challenge – anything goes

Krafty Chicks – anything goes

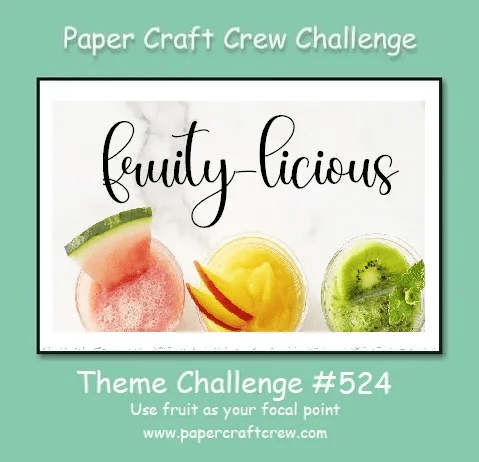
Paper Craft Crew – fruity-licious


There once was a cat and a ladder….

Hello. This sounds like the start to a limerick or other funny story, doesn’t it? I just couldn’t think what to call the post so I just wrote what I saw…..

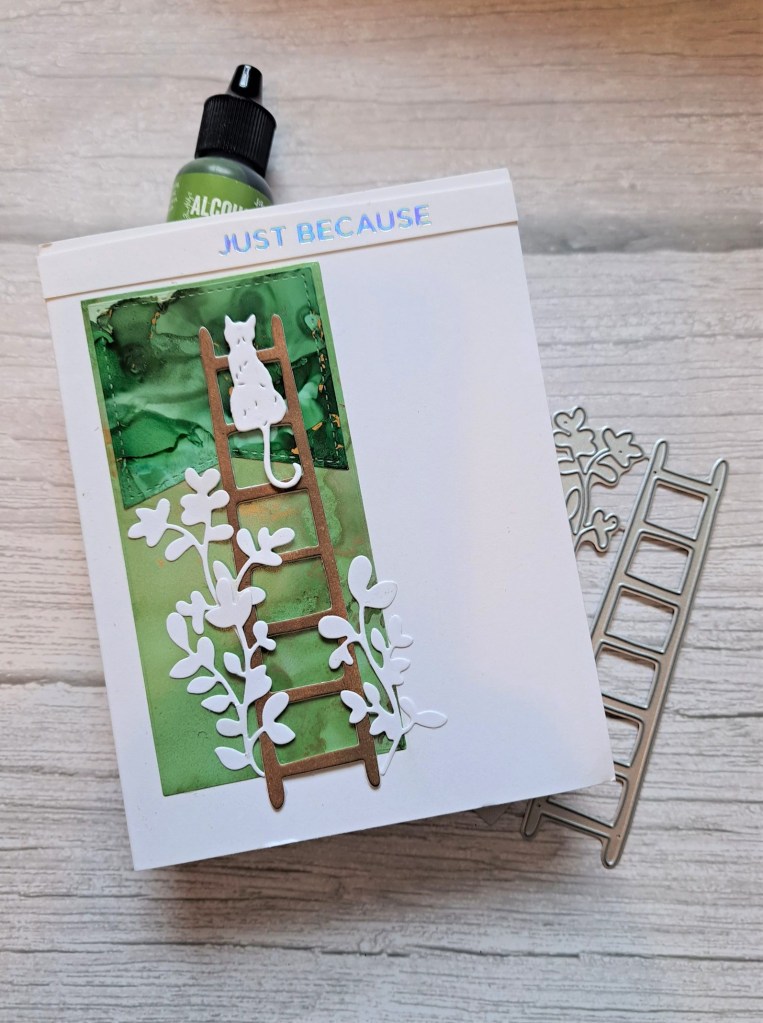
The Alphabet Challenge has started a new challenge. We have reached the letter ‘G’, and Debbie has chosen the theme of ‘G is for Green as the dominant colour’. Here is my card:

I used a previously created green ink smooshed [iece of card, and added an alcohol ink banner at the top. Some different shades of green, with a little gold on the alcohol ink portion.

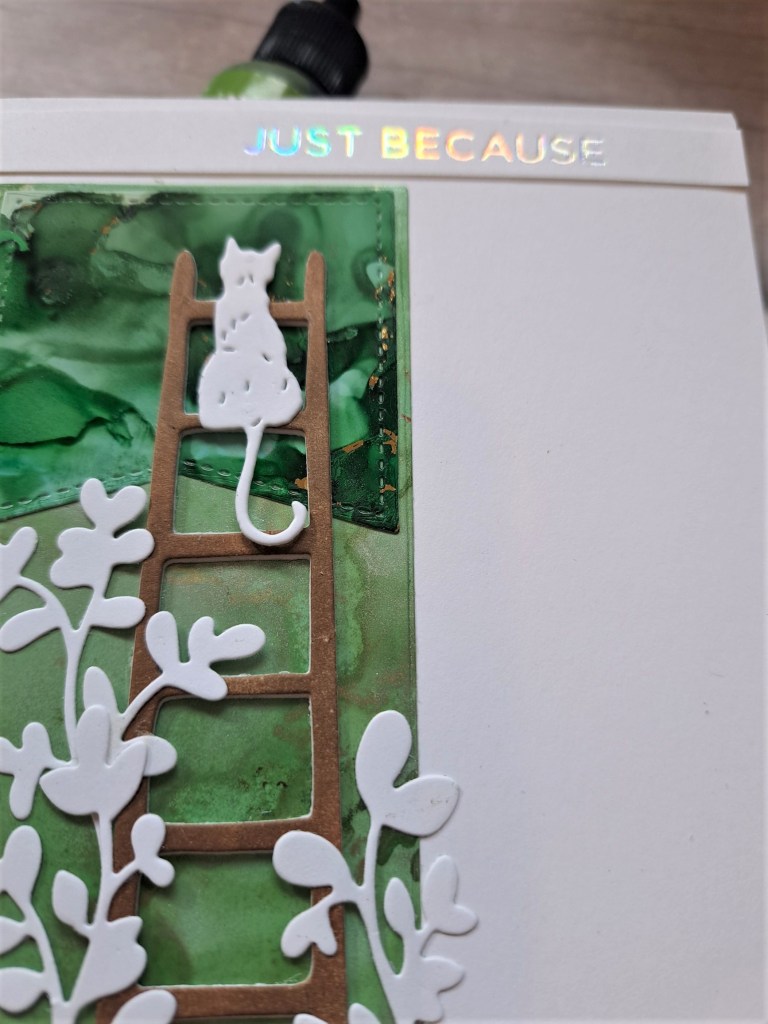
The cat, ladder, and the leafy sprigs are from Charlie and Paulchen, a German company I have ordered from a couple of times. They have some amazing die sets – very small but perfectly formed – as they say…..

The cat and sprigs were die cut out of white so they stood out from the green background, and the ladder die cut from some brown card, layered a couple of times for dimension.

I added a previously foiled sentiment at the top as it seemed to fit better that way.

Although there are a few layers, I still feel this is quite CAS – compared to recent cards anyway.

I hope you can come and join us with your creations which feature green predominantly. xx
I shall be entering the following challenges:

Avenue 613 Create – anything goes – option summertime

Die Cut Divas – die cuts and critters

The Crafty Addicts – anything goes

Ally’s Angels – anything goes

Flowery Birthday Truck

I was inspired by a few challenges to create the following card:

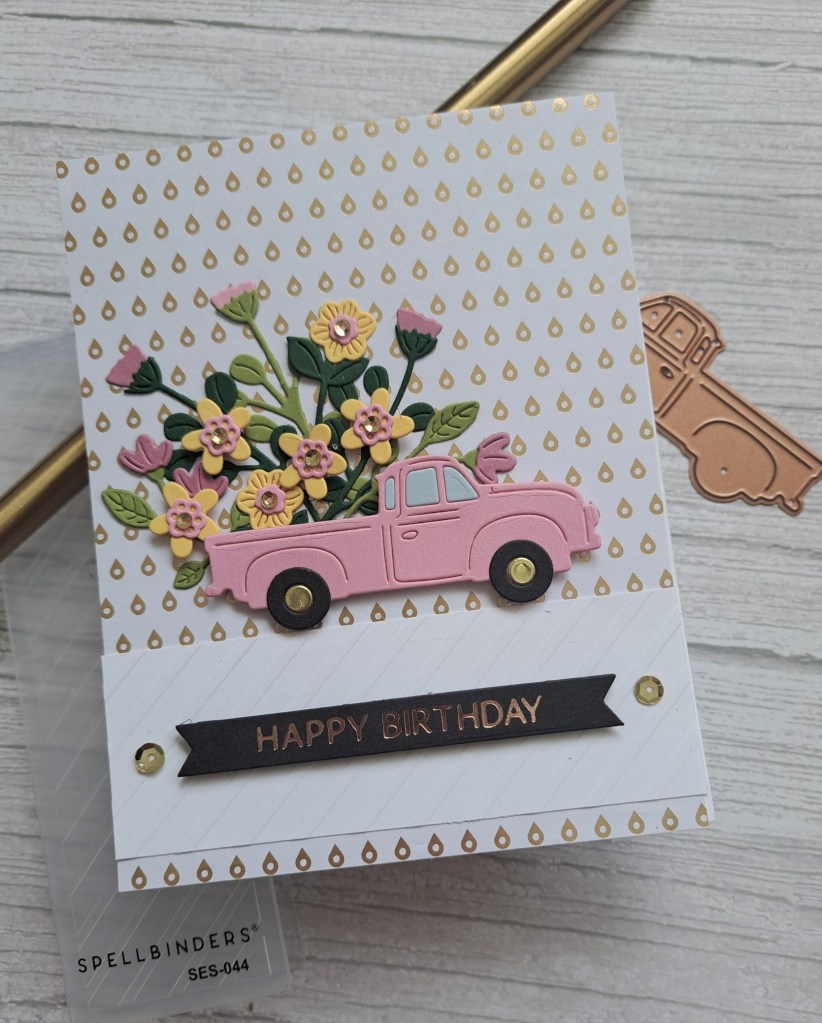
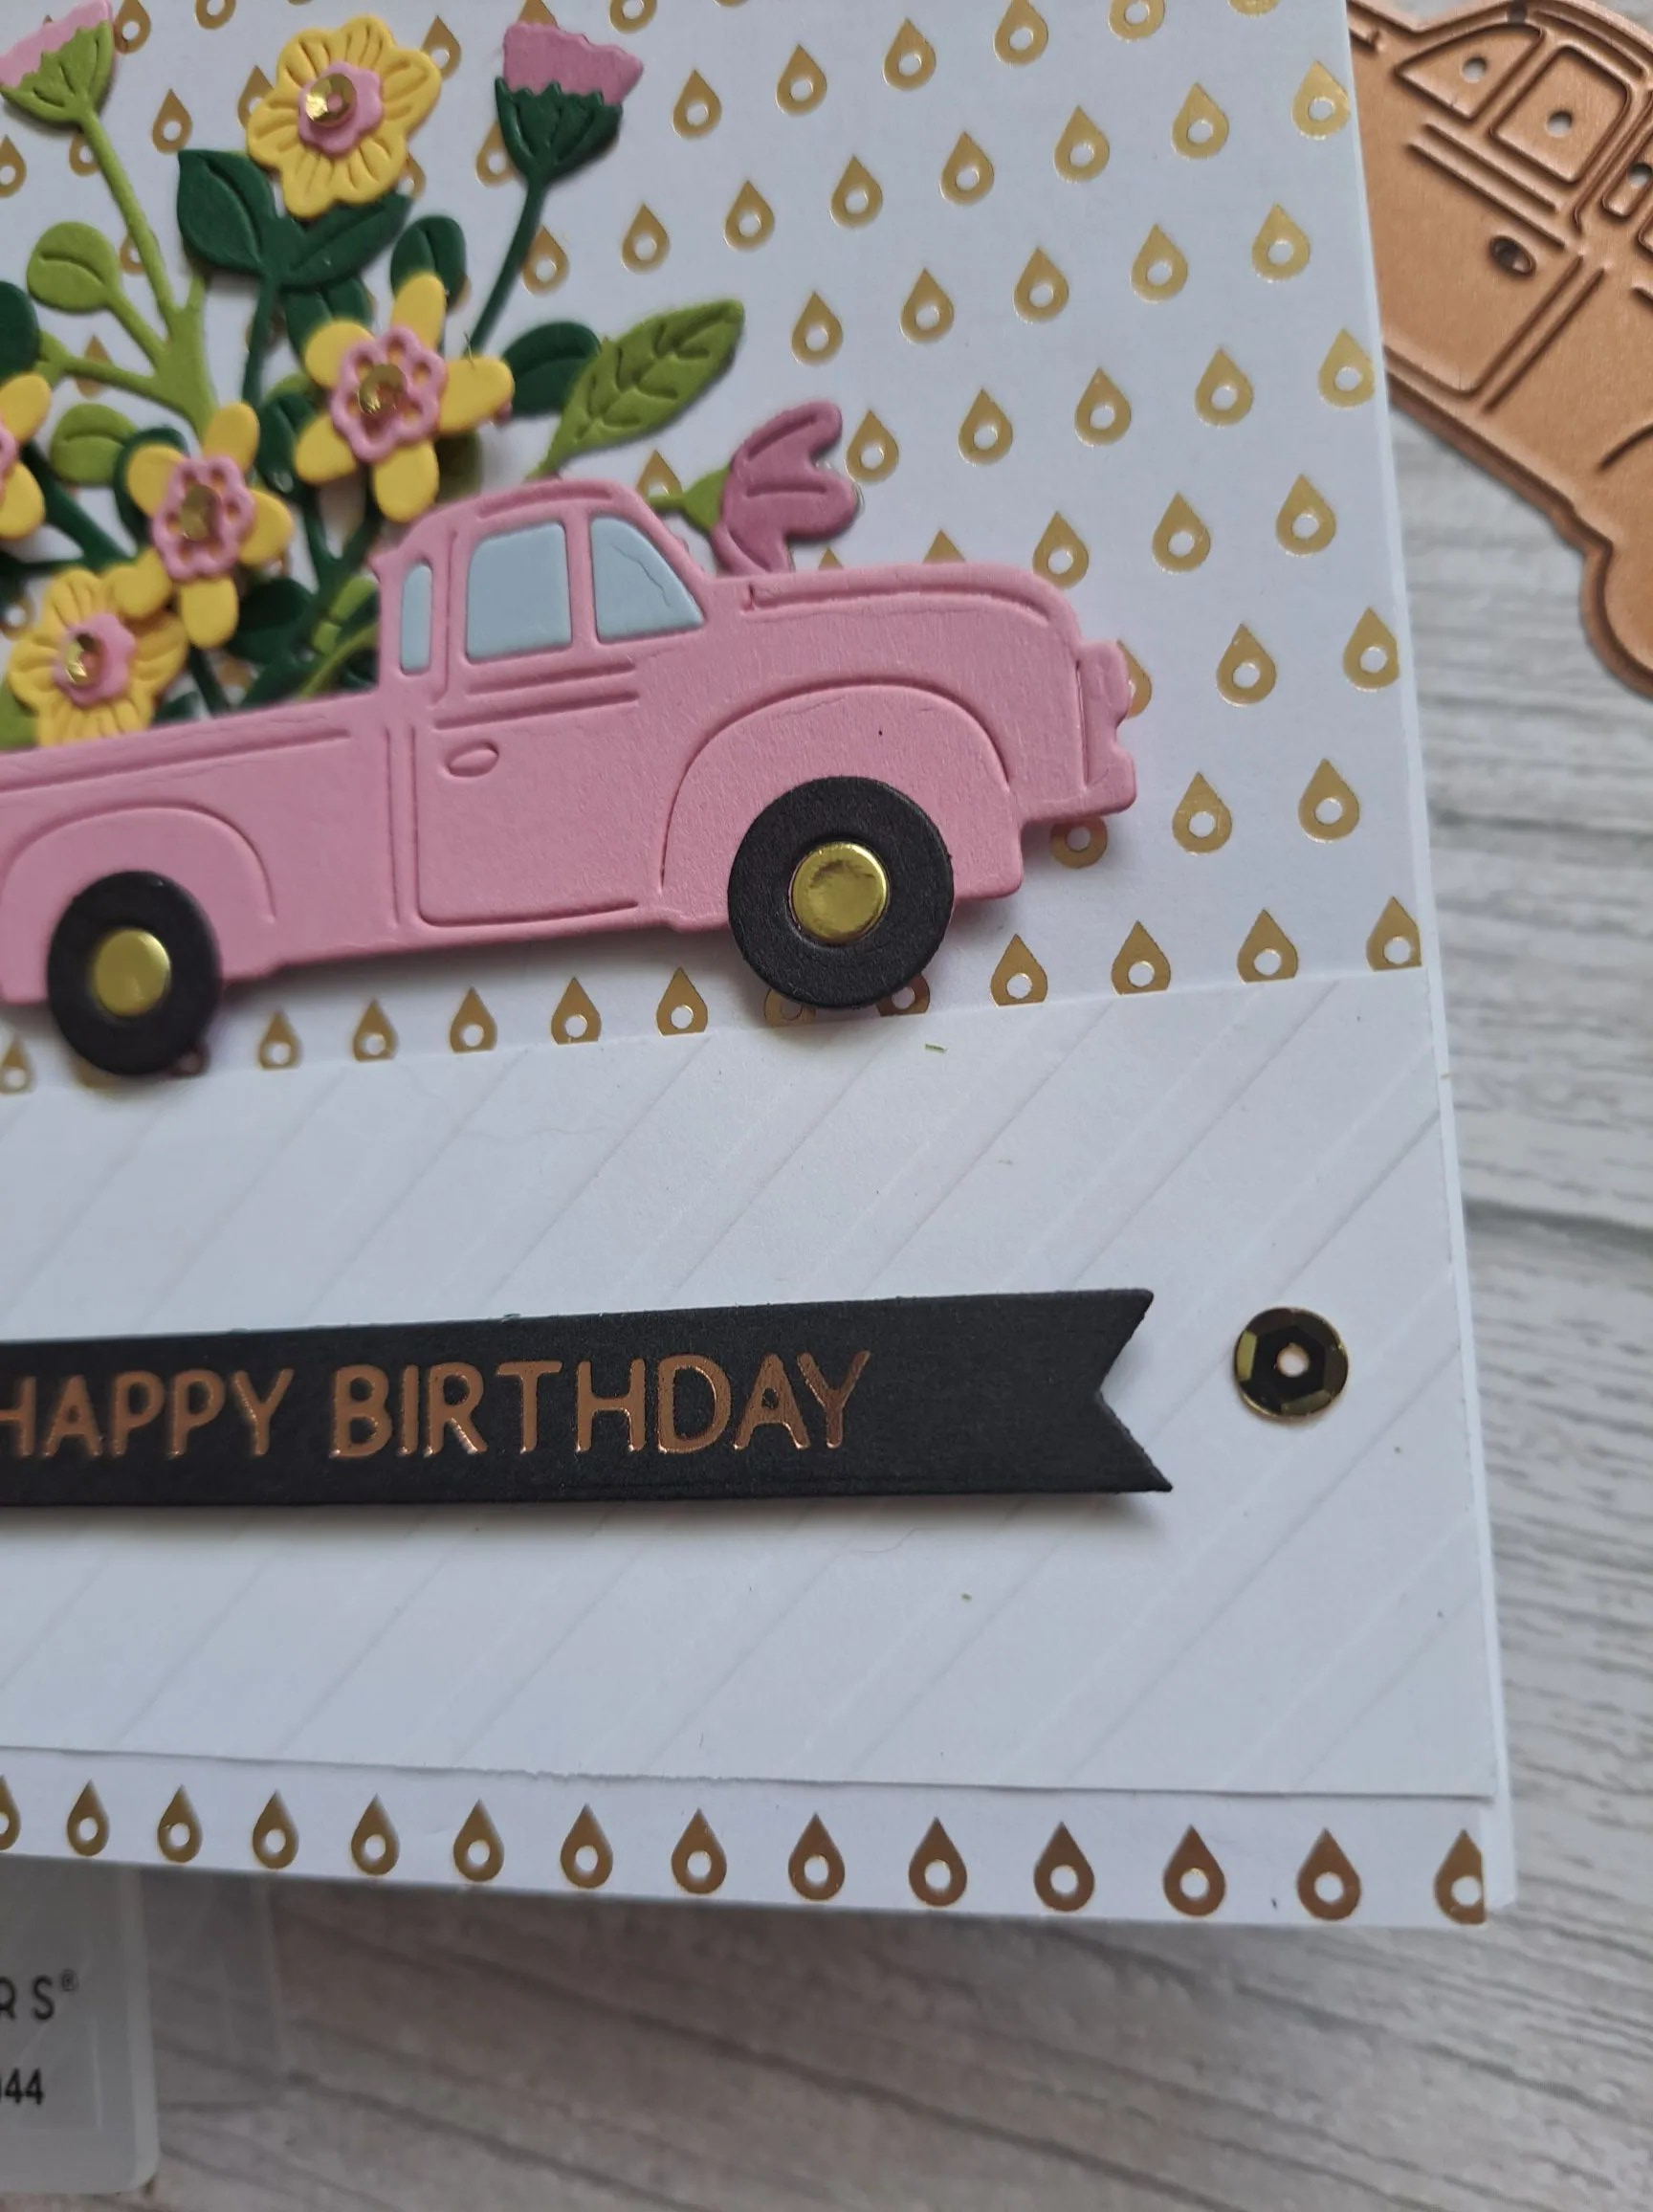
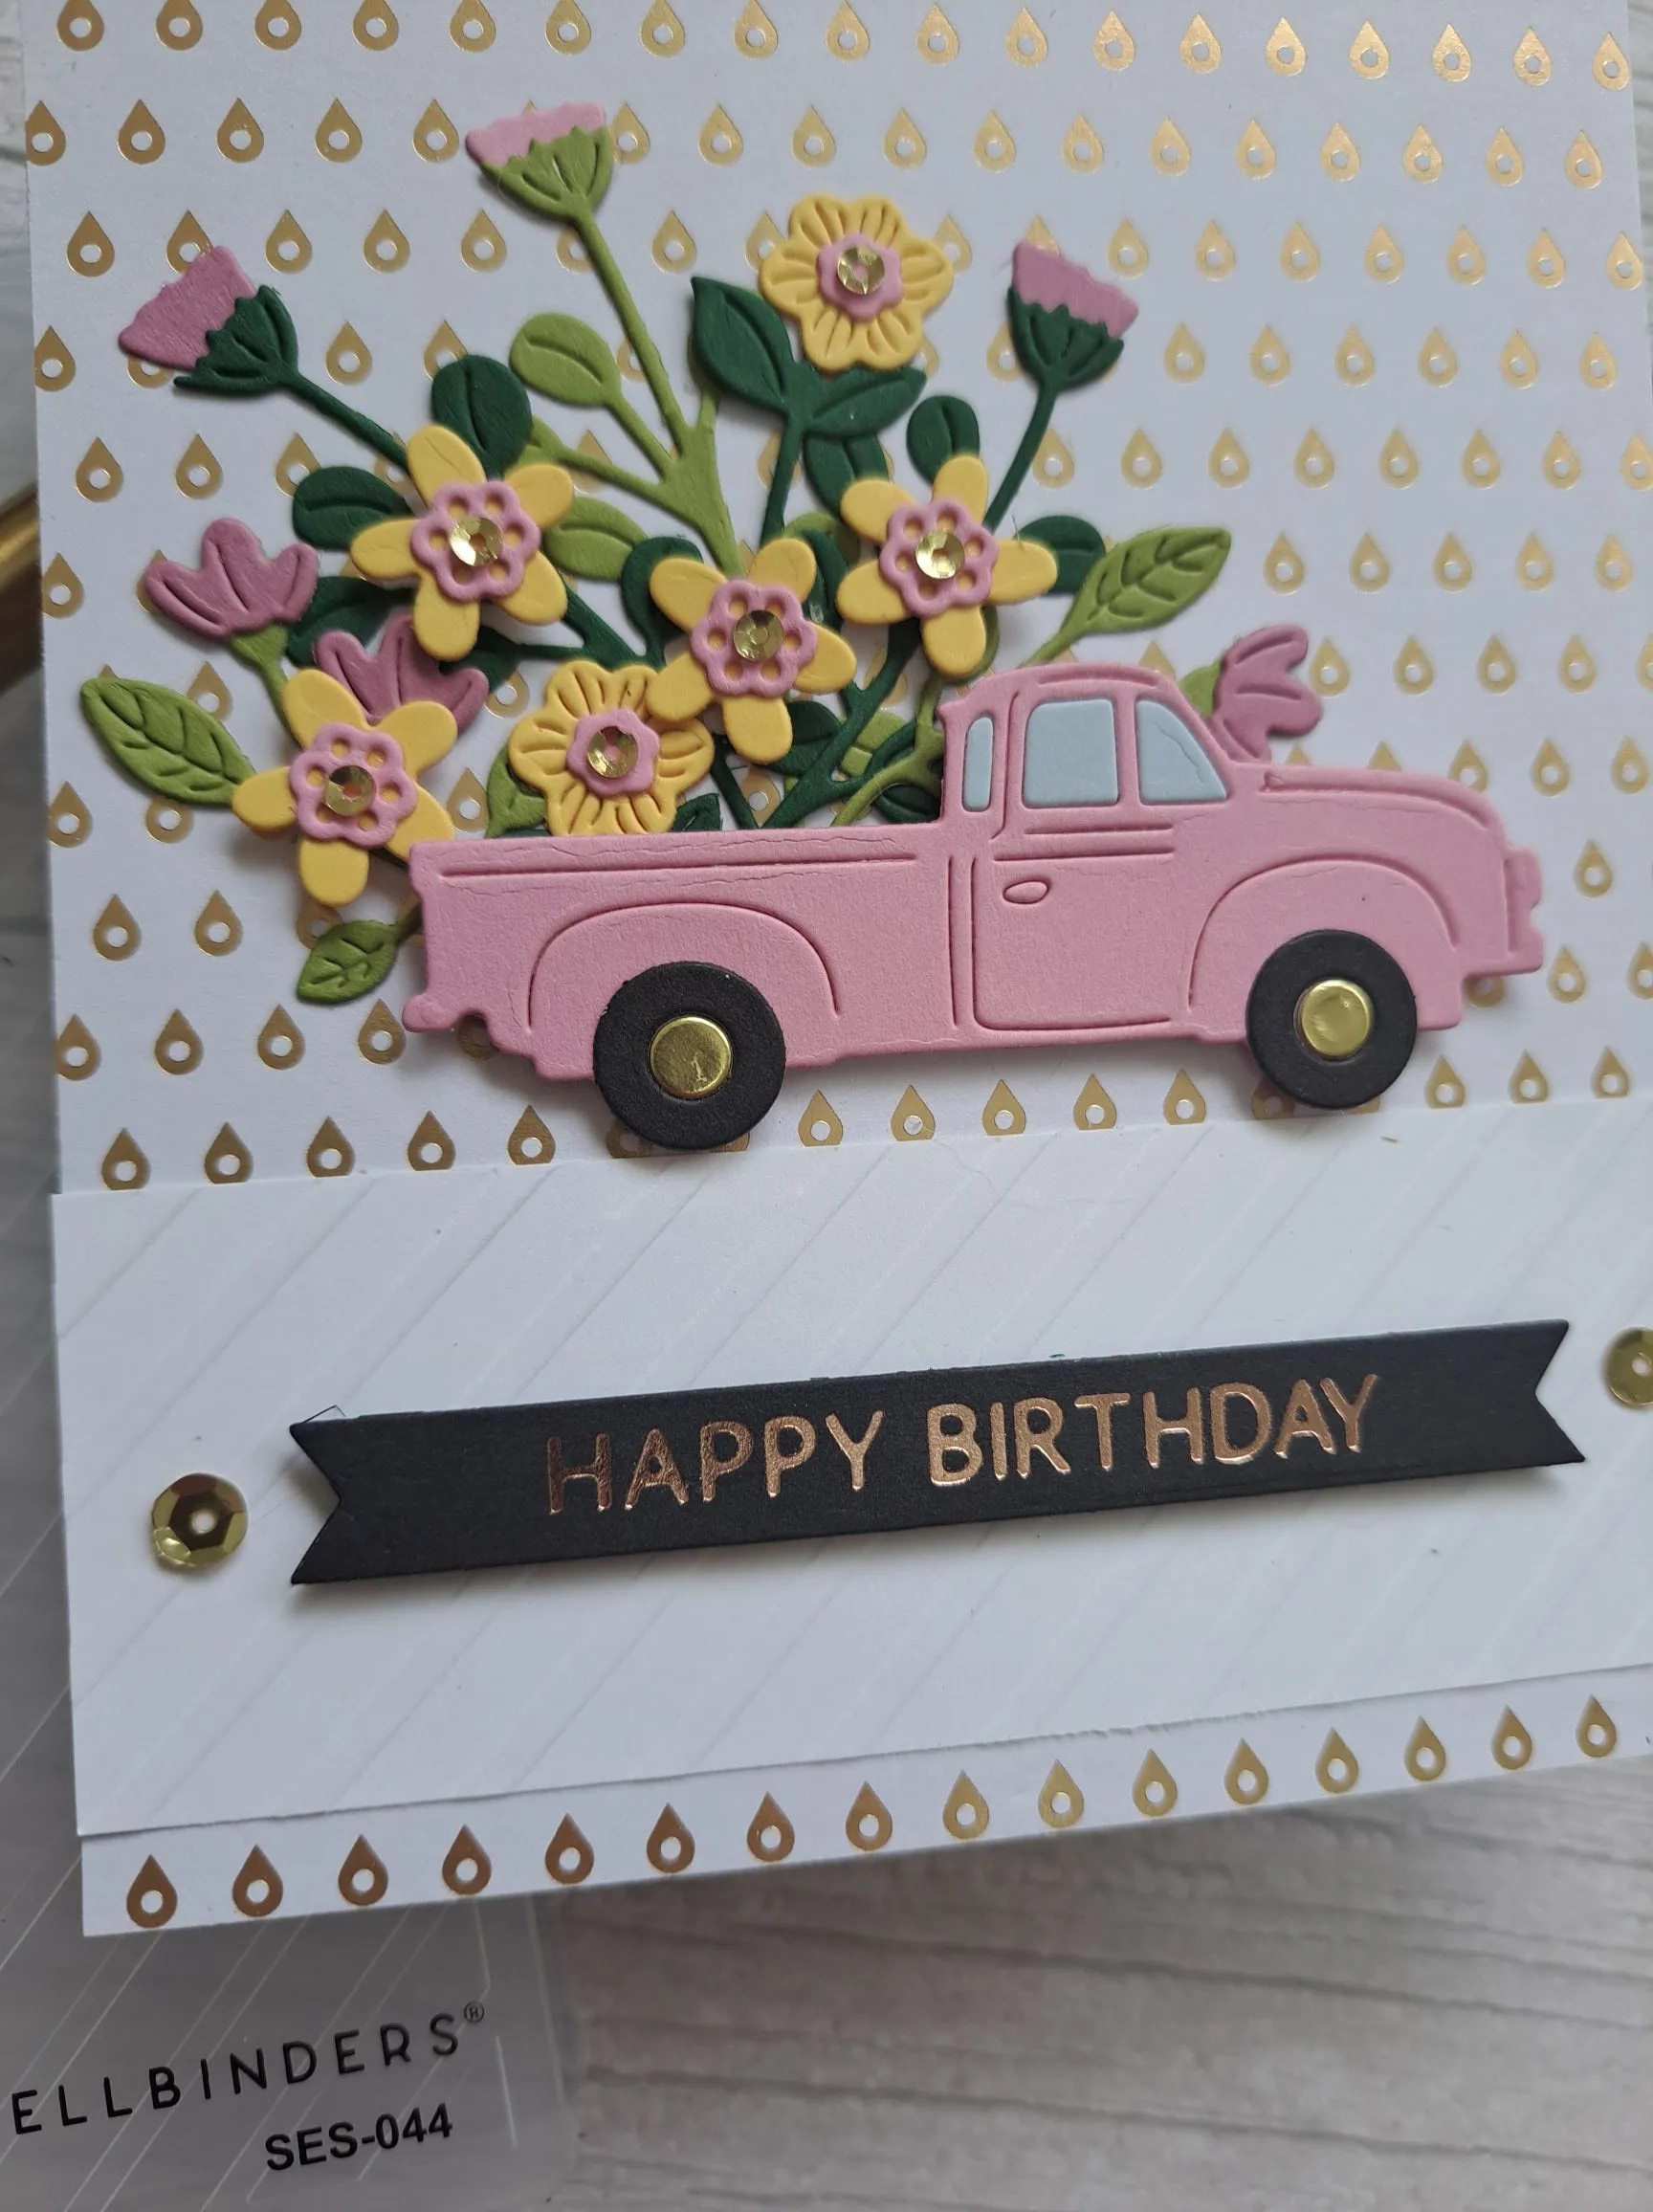
One of the challenges I am entering was to create a birthday card with a car or a truck. I knew I had one or two somewhere, so I searched the Color My Life app and found this truck which came with last year’s Spellbinders Advent Calendar.

I die cut the truck with Concord & 9th card stock, then added the black and gold wheels. I added some light blue card stock to the windows.

The background was created using a piece of Spellbinders patterned paper which has some gold embossed detail to it, and a dry embossed strip – another Advent Calendar item – placed at the bottom to ground the truck.

The flowers are also from the Advent Calendar – die cut and assembled as you see – and added to the card so it would seem they are bursting from the back of the truck.

I added a foiled sentiment strip to the embossed area, and a couple of sequins, also adding some faceted gems to the centre of the flowers.

Another quite fiddly creation – but again – very satisfying.

I shall be entering the following challenges:

Addicted To Stamps and More – birthday

Krafty Chicks – occasions

Crafty Catz – anything goes – option of for a baby not taken

Pinspirational – birthday with a car or a truck

CYHTP – embossing folder – option of butterflies not taken

Beautiful Blossoms – flowers

A Rose Note

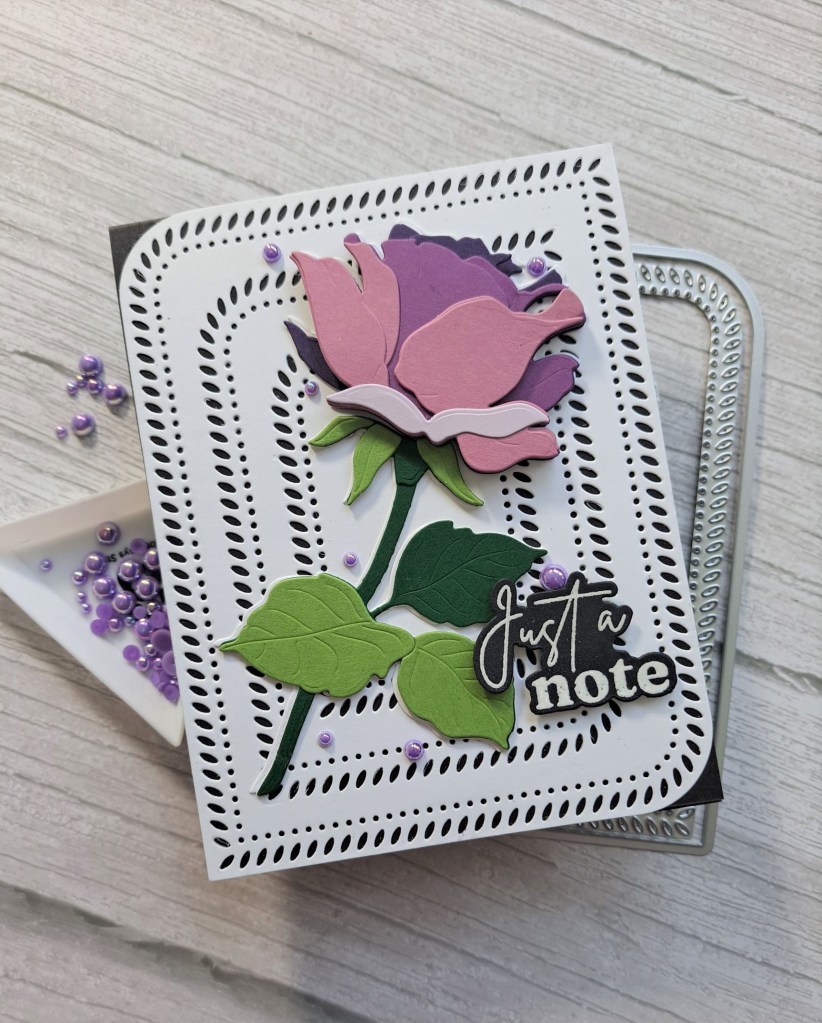
Hello once again. I’m dropping in with a card created for a couple of challenges:

My favourite flower is the rose – all colours. I have a couple of rose bushes in my garden which we transplanted last year, and they are just getting back into the swing of things.

One of them was bought for our silver wedding anniversary (quite a few years ago) and is already flowering well. The other was already in the garden when we came to live here. It’s taking it’s time adjusting to it’s new place in the garden, but it is just starting to bud. The roses usually come later in the summer, and have the most gorgeous scent…..I can hardly wait to smell them again.

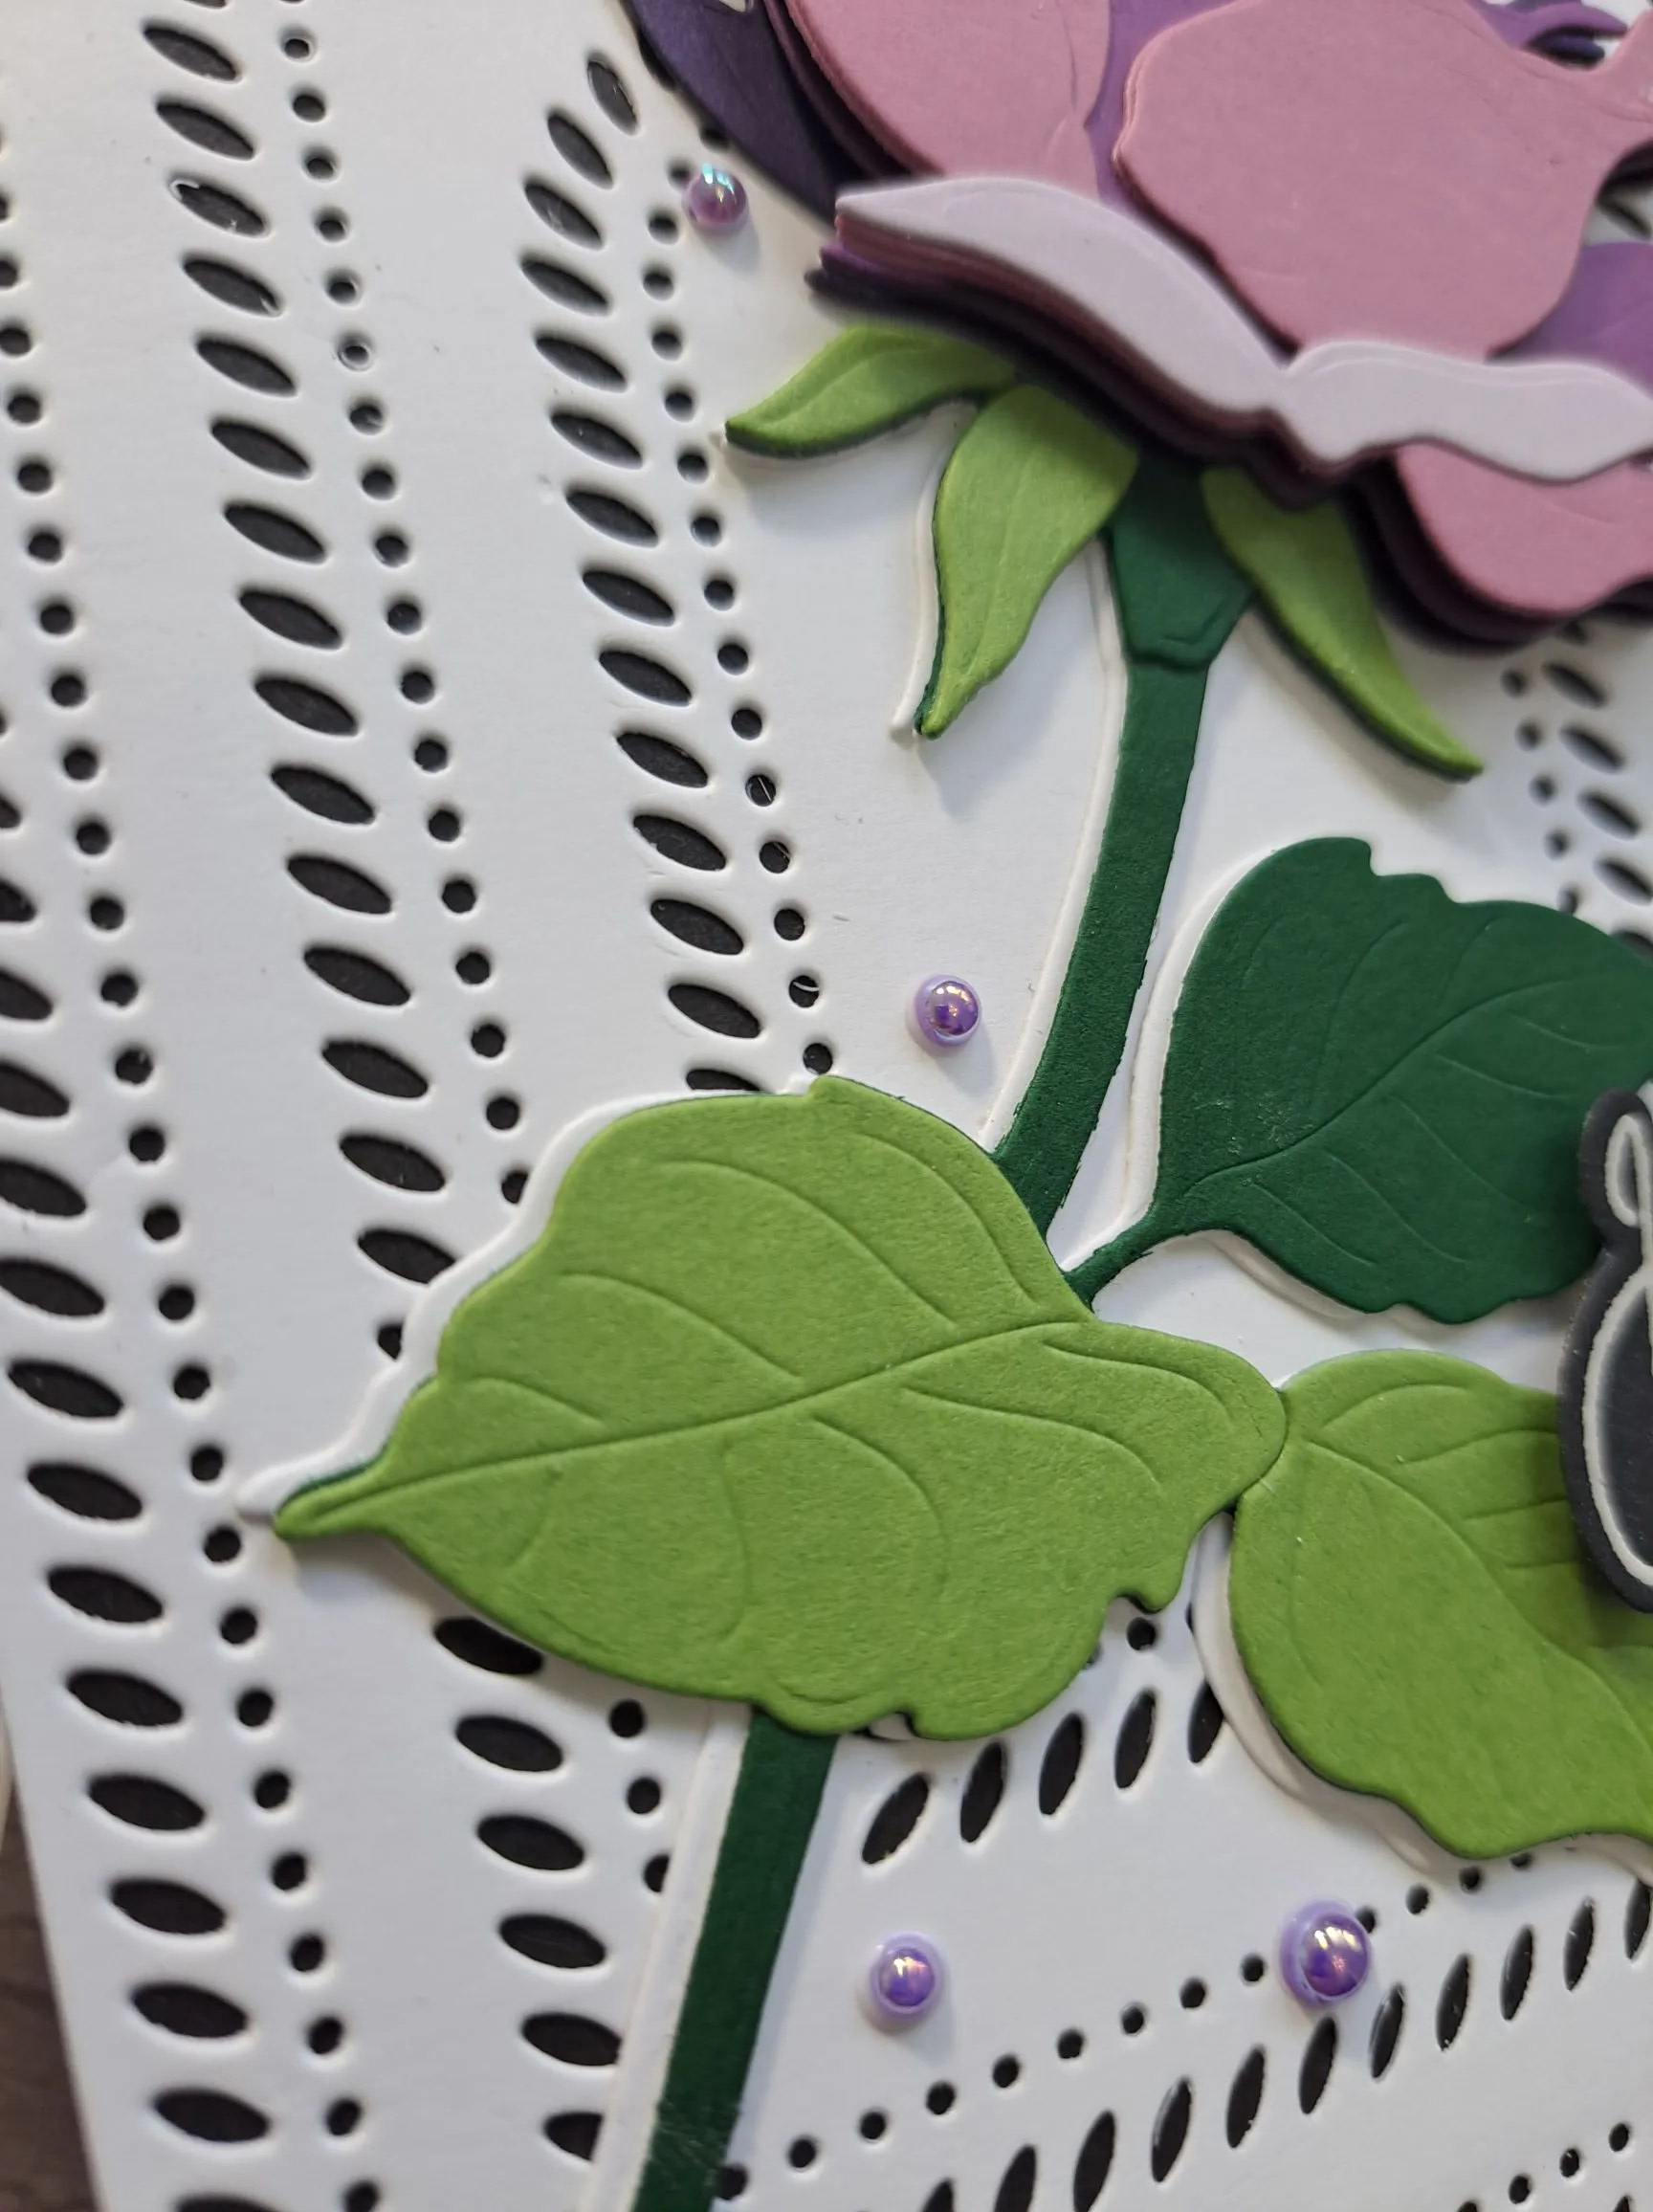
This multi layered rose die is from Honey Bee Stamps. There are seven – yes seven – layers to the rose itself, and I also added some very small foam squares between a couple of the layers for even more dimension. I used a selection of concord & 9th card stock to get maybe 4 different tones of purple – it could be five – but I lost count.

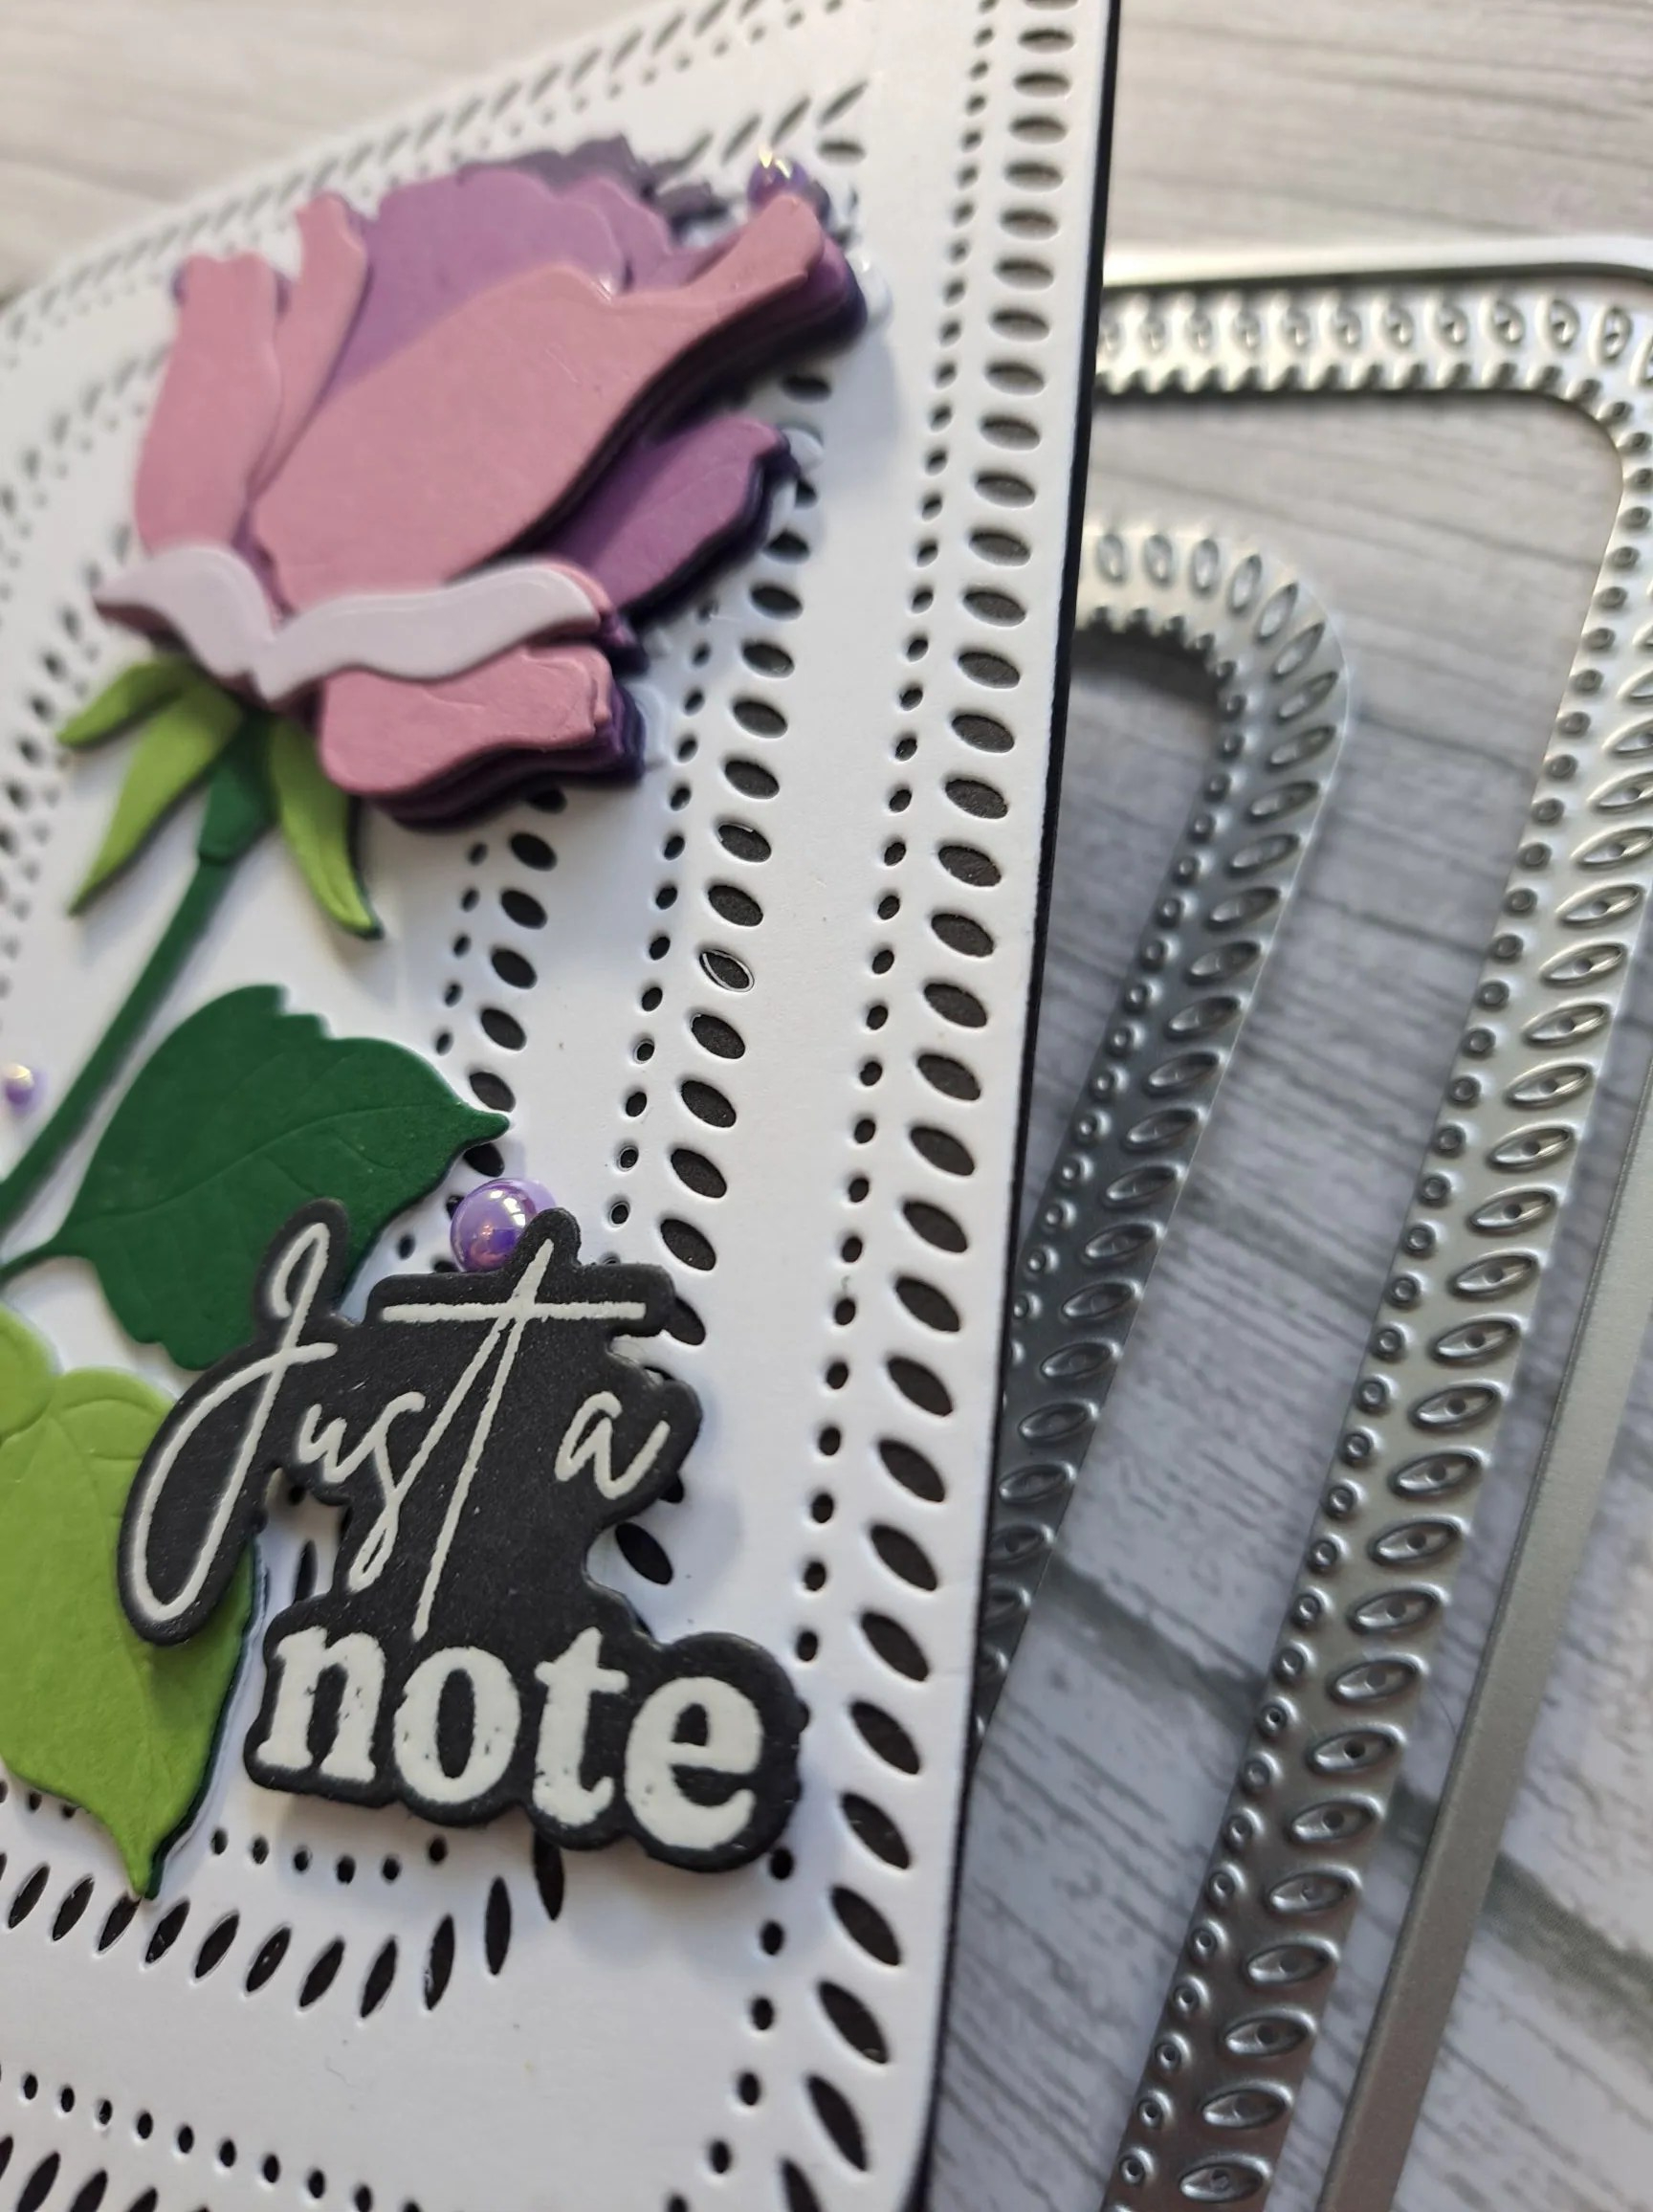
For the Tic Tac Toe Challenge I went with the bottom row, so I made a black card base, and used a Pinkfresh Studio die to create the white panel, cutting the three inlaid pieces so allow some of the black base to show through.

I was going to adhere the rose directly onto the black card base, which is why you can see a slightly off-set white layer behind the rose, but I didn’t like that stark appearance so I added the die cut white panel.

The sentiment is white heat embossed and die cut with a matching die, and I added some shimmery purple enamel gems here and there around the rose.

I shall be entering the following challenges:

Simon Says Stamp Wednesday Challenge – lots of layers

Tic Tac Toe Challenge – tic tac toe – bottom row – black card base, white heat embossing, roses

The Flower Challenge – your favourite flower – the rose

Friendly Hibiscus

Hello once again. I have been playing with a new die set from The Greetery:

The ‘Botanicuts Hibiscus’ is a layering die set, with three flowers, a bud, and some leaves. I die cut the layers with Concord & 9th card stock, to create this central design.

I added a previously foiled back panel, created using a Spellbinders foil plate, and added a foiled sentiment – a black strip so it would stand out.

I feel it’s quite a simple card, with many layering elements. I gave the flower petals some dimension by curling them slightly.

I also toyed with the idea of adding some shading to each of the flower petals and leaves with Copic markers, but decided to keep the colour of the card stock as it was for a cleaner finish.

I shall be entering the following challenges:

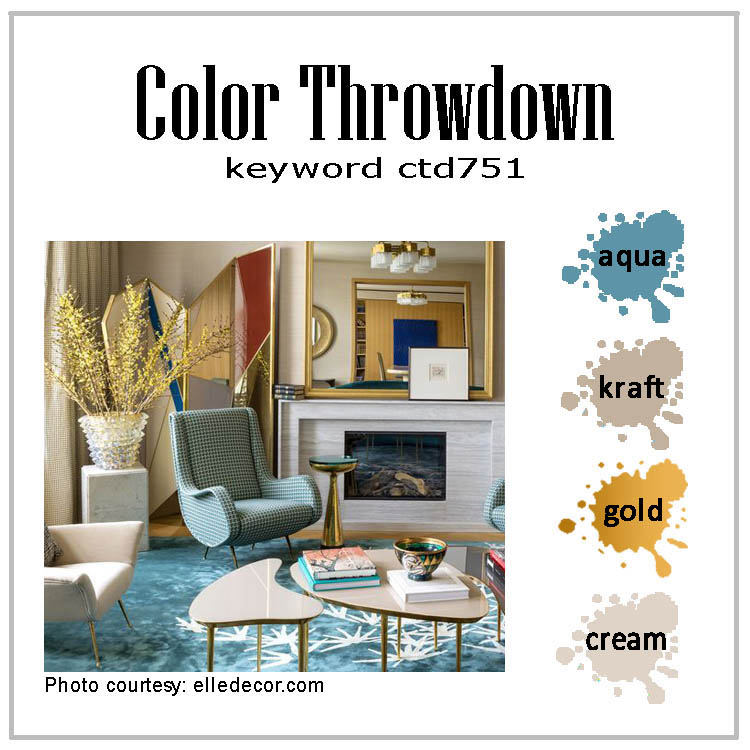
Color Throwdown – aqua, red, yellow

Simon Says Stamp Wednesday Challenge – lots of layers

Allsorts – anything goes option birds and/or butterflies and/or blooms

Beautiful Blossoms – flowers

Sparkles Forum – no stamping

A Butterfly Paper Hug

A new challenge has started at The Alphabet Challenge. Having reached the letter ‘F’, Deborah has chosen the theme of ‘Flying – anything that flies’. Here is my card:

I chose a stamp, die, and stencil set from Concord & 9th to create this card. The background is stenciled in muted tones of some Altenew brown inks/grey inks to provide some interest without taking away from the main butterfly image.

The butterfly was die cut and assembled, and added with 3D foam, and some gold gems added to the wings in strategic places.

The sentiment id also from that same stamp/die/stencil combo, the banner layered with some gold. I had to do some partial die cutting to make the gold match the curve of the banner – I don’t like fussy cutting so I’d rather work out the partial die cutting. Some small gold gems added to this banner also.

I hope you can come and join us with your ‘anything that flies’ creations – so many options to choose from. xx

I shall be entering the following challenges:

Ellibelle’s Corner – something with wings

2 Craft Critter Crazies – anything goes with a critter

Crafty Animals – anything goes with an animal

Paper Dragonfly Creative – anything goes or summer creatures

Die Cutting Divas – die cuts and critters

Triple B – birds and/or butterflies and/or blooms

Happy Blooming Birthday

Hello there. I am the host for the new challenge at Cardz 4 Galz. I chose the theme of ‘use die cuts and/or punches‘. Here is my card:

And so continues my fascination with die cutting and layering – all that fiddlyness – I think I made a new word!

These tile dies are from Spellbinders, and I die cut a whole bunch of each – the diamond background, the floral elements, the gold stars – and assembled them before I even thought about how I was going to put them on a card base.

I decided to go a heart shape as I could use a lot of the tiles – even though you can see I had some left over.

The background is a dry embossed panel – using the deboss side – and matted onto a black rectangle to make it pop a little more.

The sentiment is a debossing sentiment, which I quite like the look of, especially in gold.

There was enough going on with this card so I didn’t even think about adding extra gems or enamel dots.

I hope you can come and join us with your creations following our theme – I look forward to seeing you in our gallery. xx

I shall be entering the following challenges:

Allsorts – anything goes option birthday

Lil Patch Of Crafty Friends – anything goes

Seize The Birthday – anything goes birthday

CYHTP – embossing folder – option of weddings not taken

Craft Rocket – use dies

Christmas Fireplace

A new challenge has started at ABC Christmas Challenge. Having reached the letters ‘L’ and ‘M’, we want to see your Christmas/Festive makes with ‘L for lots of layers‘ or ‘M for Mice’. Here is my card:

It is very obvious I went with the ‘lots of layers’ theme to create this card.

The background panel is dry embossed using a Simon Says Stamp embossing folder.

The main image and additions are all from Spellbinders. This is another card where I had to watch a YouTube video to see how everything came together, and from that video made the decisions for each colour.

I wanted the stockings hanging on the mantle to be a pop of colour, and added them with gold string through their loops, but didn’t glue them down, so they move around when the card is picked up.

The die cutting, layering and fiddly assembly mood seems to be staying with me……

I hope you can come and join us with your Christmas/festive creations following our two themes. xx

I shall be entering the following challenges:

Merry Little Christmas Challenge – Christmas anything goes

Inkspirational – seasonal

Peace On Earth – Christmas anything goes

Craft Rocket – use dies

12 Months Of Christmas – Christmas – option not taken

Merry and Bright Lantern

The Holly and Ivy Christmas Challenge has started their next challenge. Our theme is always ‘anything goes Christmas/festive’. Here is my card:

The background panel is dry embossed using a very old We R Memory Keepers embossing folder, I then layered that with a gold panel – gutting the centre by die cutting the gold label die, to which I also added a white dry embossed layer.

The images and florals are all from Spellbinders, another mega die-cutting session, then layered together. I first adhered the lantern, then played with placement of all the images until I was happy, and adhered them with a mixture of 3d Foam and wet glue.

I then added some gold gems to the centre of the poinsettias, and a foiled sentiment.

I hope you can come and join us with your Christmas/festive creations. xx

I shall be entering the following challenges:

Merry Little Christmas Challenge – anything goes Christmas

Inkspirational – seasonal

Peace On Earth – anything goes Christmas

Creative Inspiration – anything goes

Most Magical Time Of The Year – anything goes Christmas or Halloween

12 Months of Christmas – Christmas – option inspired by Christmas song not taken

Triple B – birds and/or butterflies and/or blooms

Hello Friend Tag

Hello. A slightly different direction from my usual makes. This time I have turned my hand to a tag……

I used the products from the most recent ‘Let’s Stamp Together’ from Scrapbook and Cards Today. This time round it was Spellbinders. Even though I haven’t done the actual class yet, I have been playing with the products.

The tag was created from a stencil and glitter paste onto some light green card stock, then die cut using an MFT tag die. After running it through the die cutting machine, the glitter paste was more debossed than embossed, which I thought was a different look.

The flower stem was die cut from a light brown card stock, the flowers were die cut, then stitched. Before I adhered the flowers, I die cut some leaves which came with the set and stitched them, but they didn’t match the leaves on the stem, so I die cut the stem again, and just snipped the leaves off to add to the brown branch.

I then added the flowers, some faceted gold gems for the centre of the flowers, then added this to the tag.

Some green sequins for even more interest and dimension, and a previously foiled sentiment.

The ribbon was added after punching and adding the eyelet. I don’t have pink or light green ribbon, so I used this dark green ribbon. I have a stash of this ‘wrinkled’ ribbon, I forget where from now, and think that the tattered edges and wrinkles make for an interesting addition.

I shall be entering the following challenges:

Cut It Up – die cuts and make a tag

Mix It Up – anything goes option embossing

The Crafty Addicts – anything goes

Ally’s Angels – anything goes