A Golden Hello

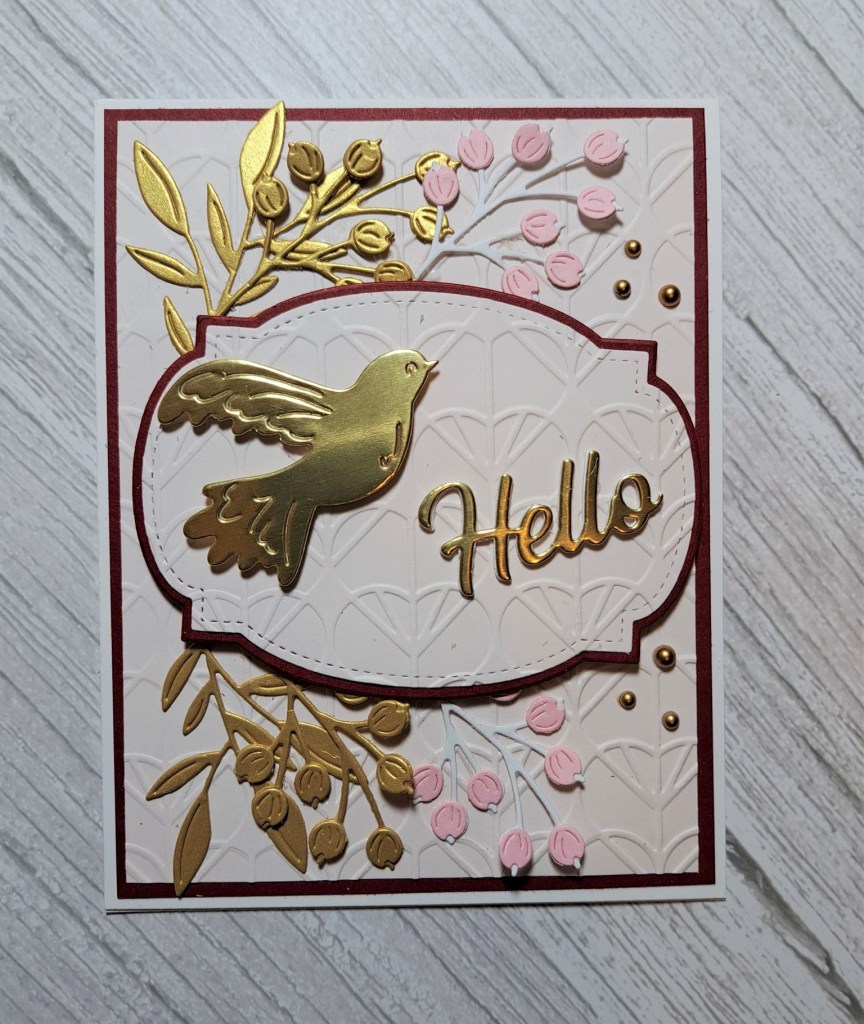
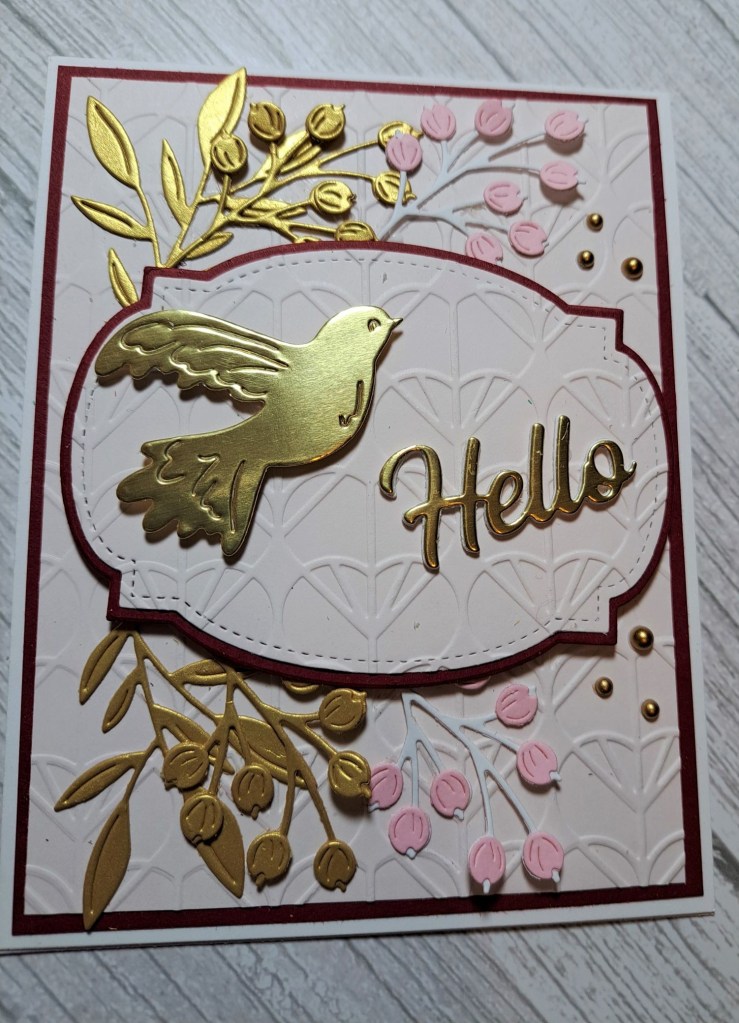
Hello there. It seems I have a thing about creating cards with birds at the moment. My two previous posts are with swans, and now I have a card with a golden dove:

Onto a white card base I adhered a red layer, then a blush pink dry embossed panel,. using a Spellbinders embossing folder. I die cut the central label shape using a Gina K Designs ‘Master Layouts‘ set, the same blush card, and layered with the same red card. I fiddled around to ensure that the central label embossing matched the background embossing – a little fiddly but I achieved what I wanted to do.

I then began die cutting……..

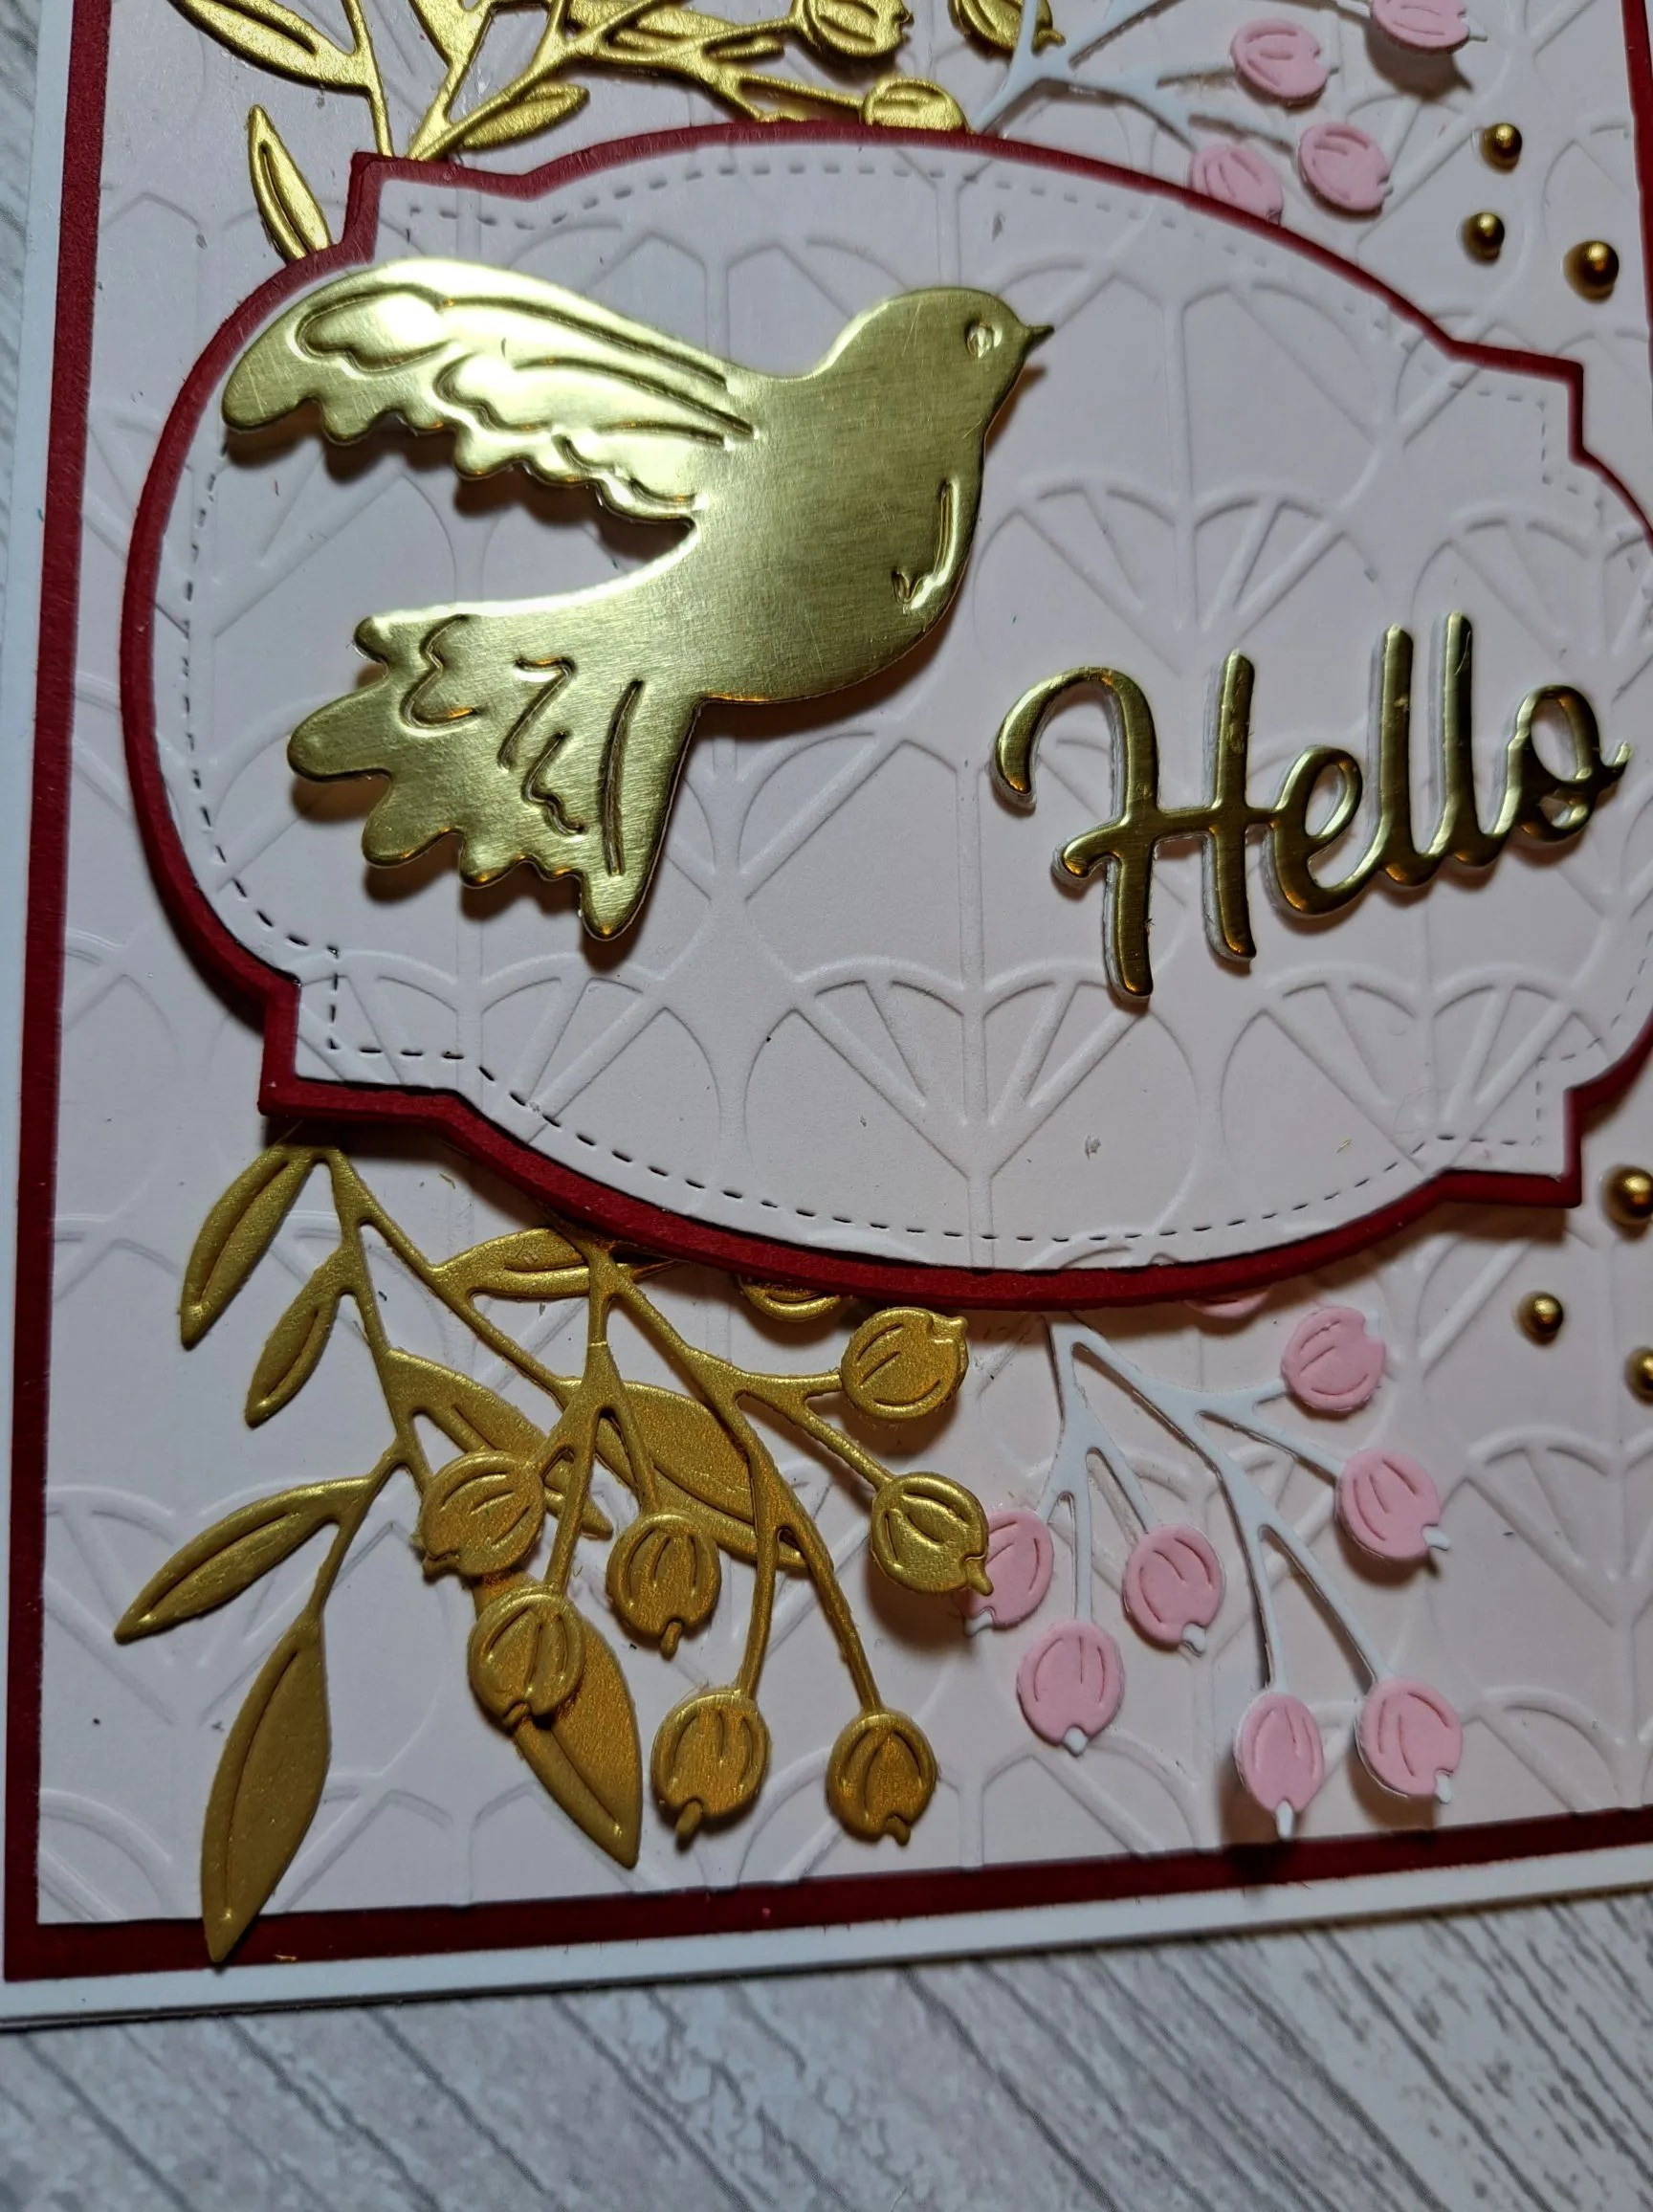
I used Spellbinders floral dies, and die cut them all in the blush card and white card, then decided to cut them again in a brushed gold from Spellbinders, played around with which colour for which layer, and then decided I needed a darker pink card for some of the buds on the floral pieces – and you can see what I ended up with. There was a lot of die-cutting and assembling the different colours and the different layers until I was happy.

The bird is from The Greetery, die cut using the shiny gold card from Spellbinders, and I also used the shiny gold for the sentiment, but also added three layers of white behind it to make it more substantial.

Using two different types of gold, and two different pink tones seems to work quite well – the bird still stands out as it is shiny…..

I even added some more bling using Trinity Stamps gold embellishments….

I shall be entering the following challenges:

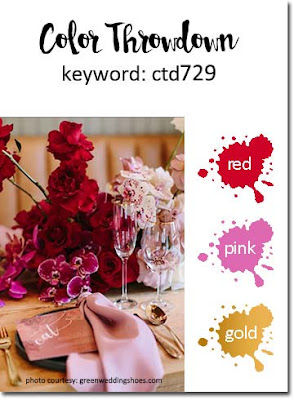
Color Throwdown – red, pink, gold

Simon Says Stamp Wednesday Challenge – fun with dies

Lil Patch Of Crafty Friends – anything goes

Creative Fingers – anything goes

Die Cut Divas – die cuts and add some gold

Ally’s Angels – anything goes

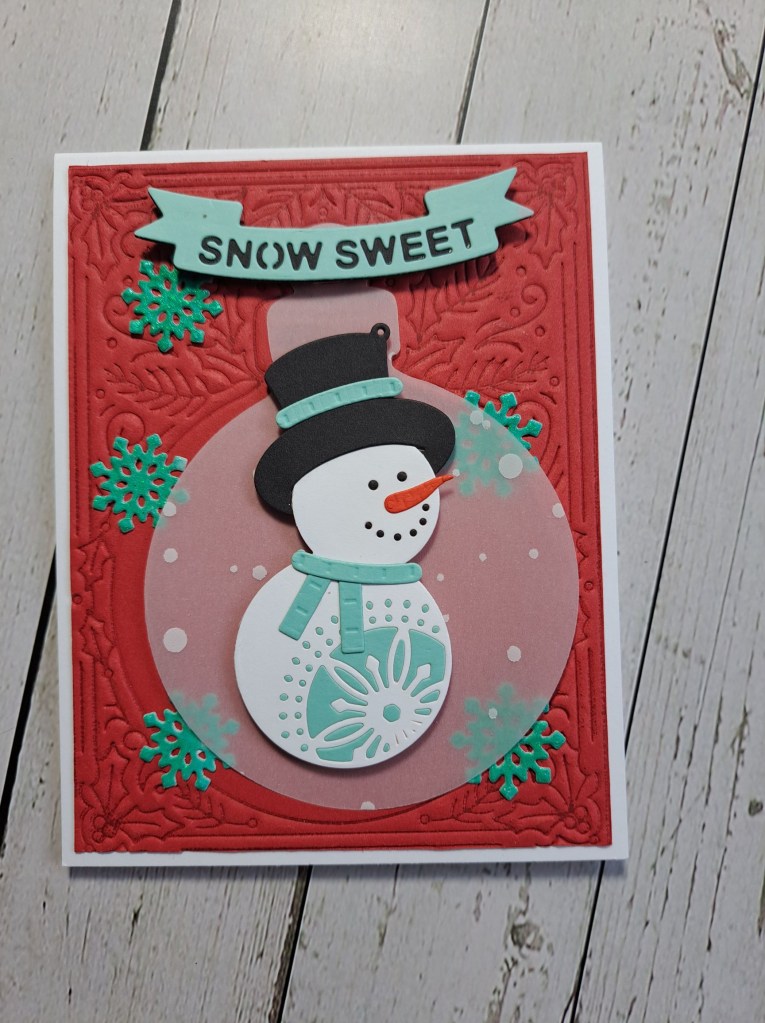
Snow Sweet

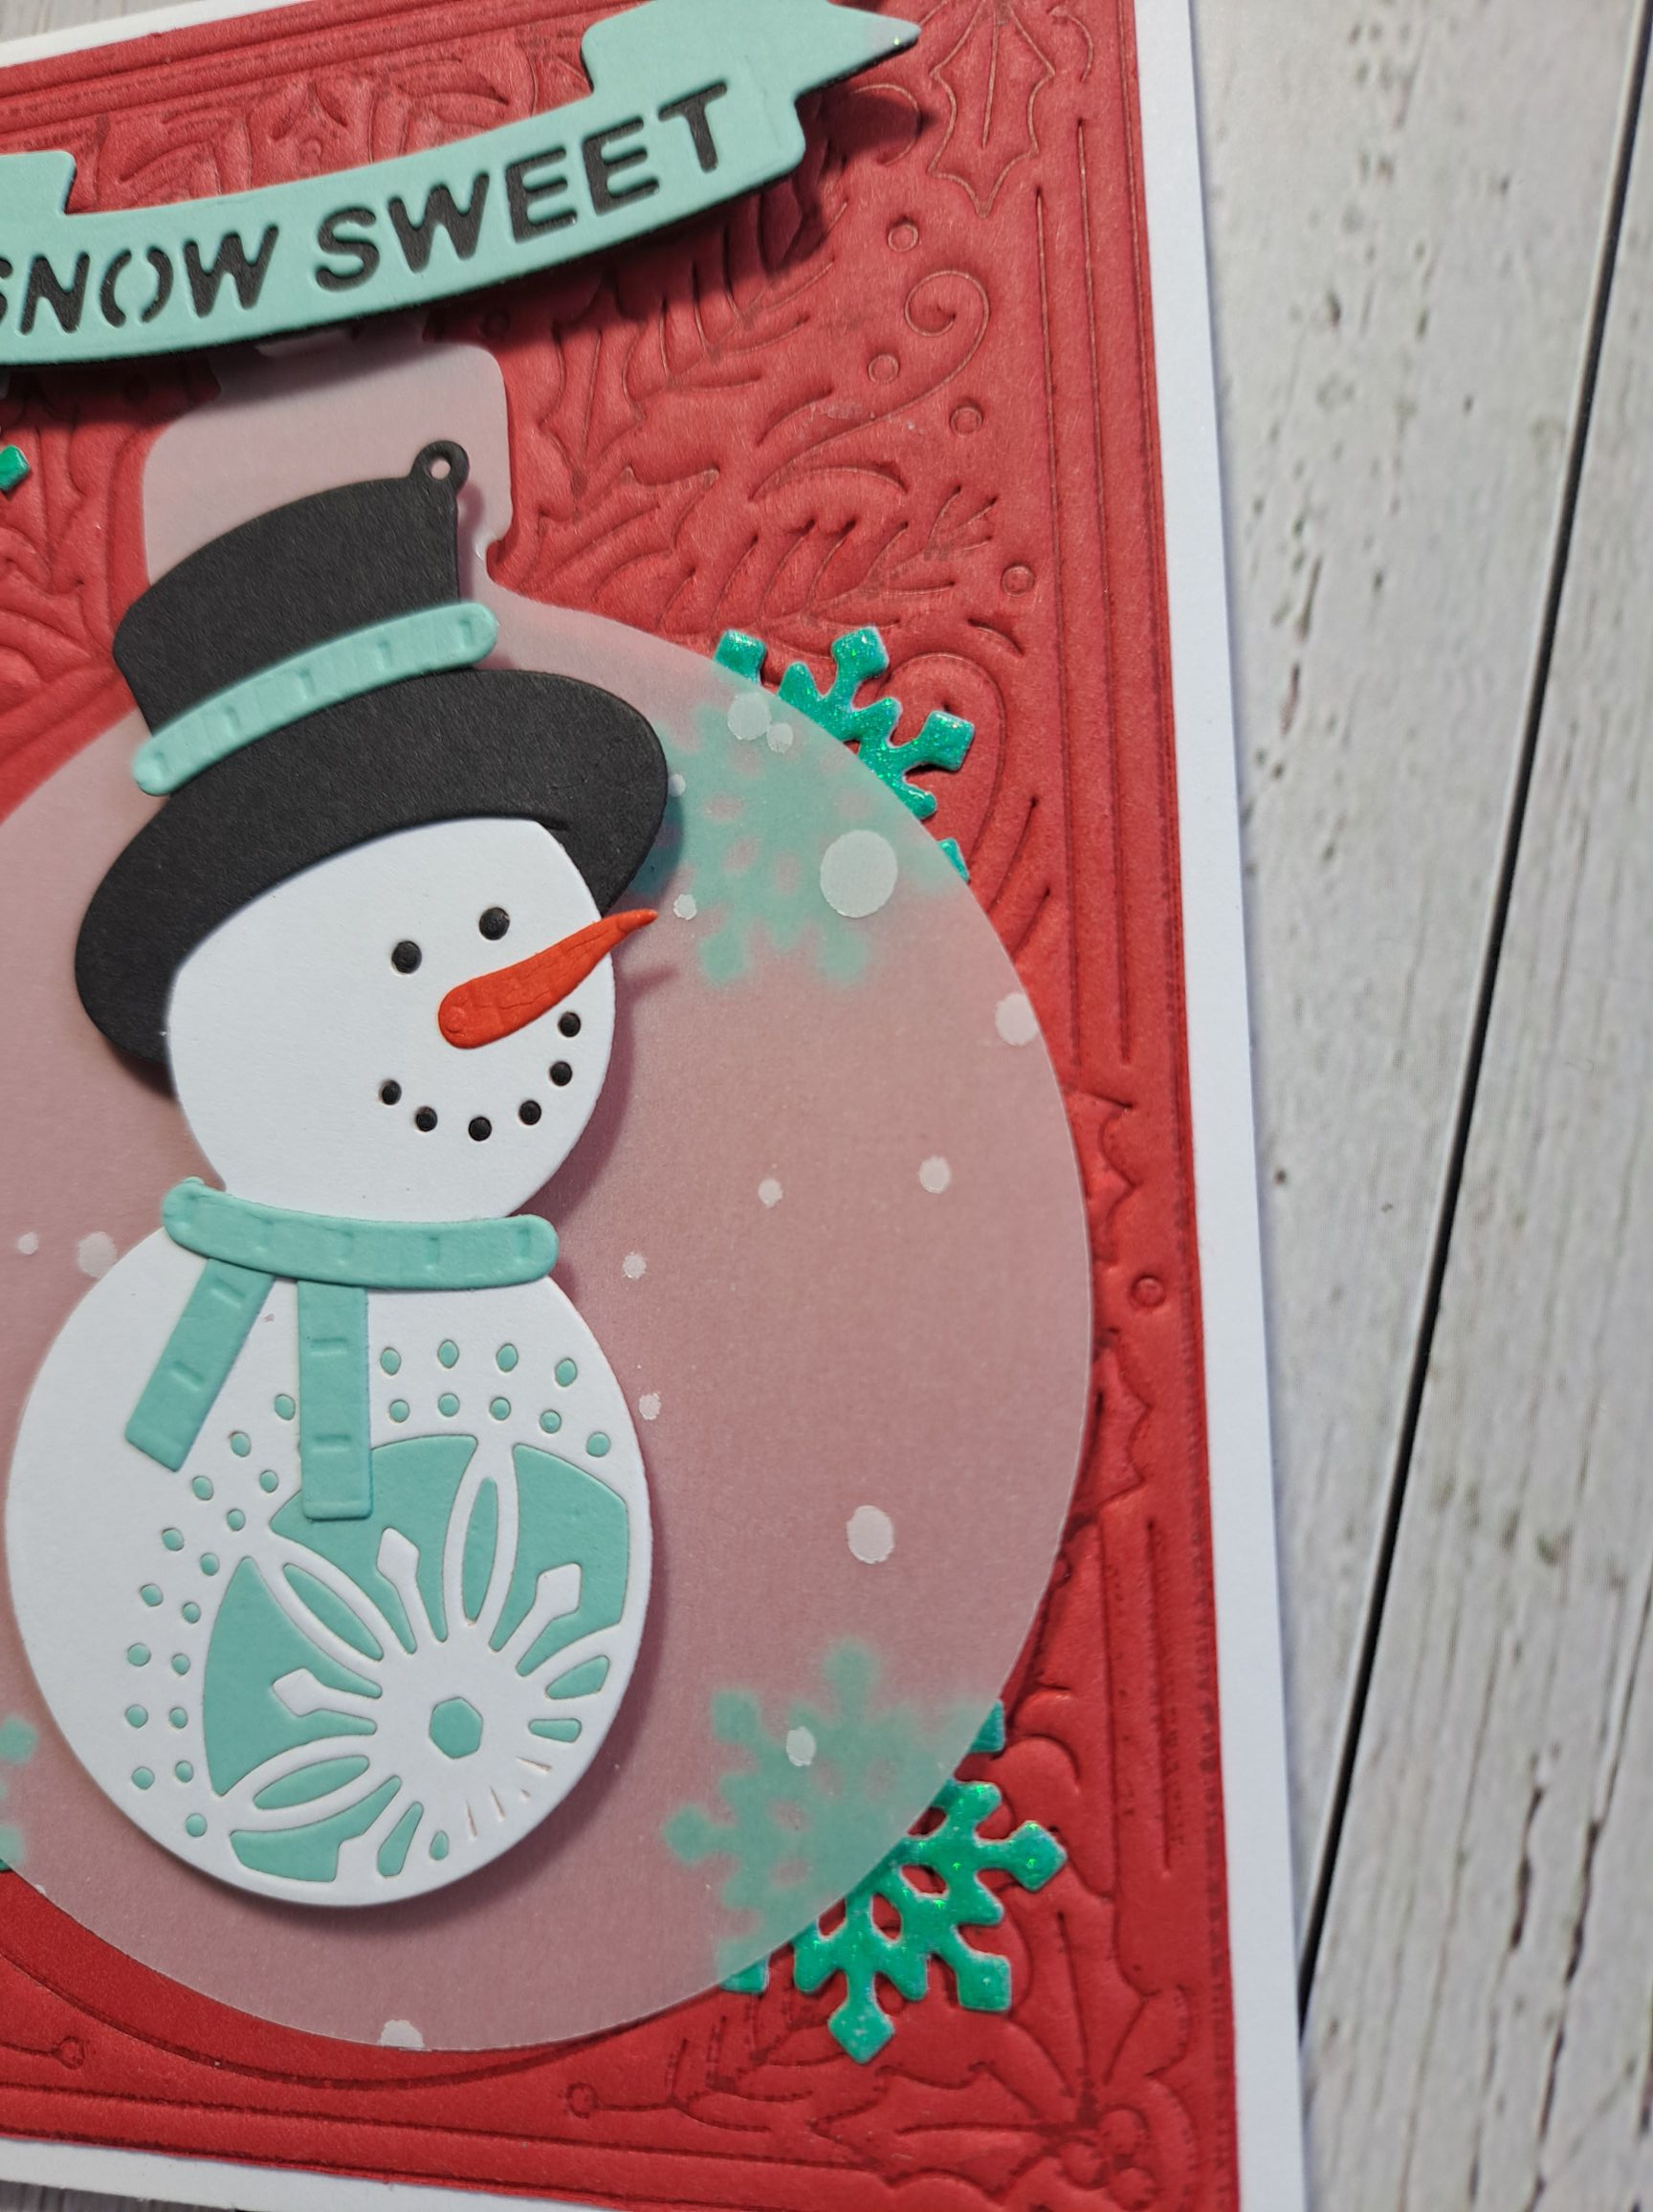
Hi, I hope you are doing well. I have a card to share using a technique from a virtual class by Hero Arts and some Spellbinders products:

The background red panel was created during a virtual class run by Hero Arts. Jennifer McGuire dry embossed a foil plate – after inking the plate……..to say I was amazed and astounding is putting it lightly.

I inked the foil plate with red ink, and ran it through by die cutting machine to create this debossed panel with red ink in the grooves – it makes the detail stand out more. She also suggested white ink – I have a couple of those panels to hand for the future.

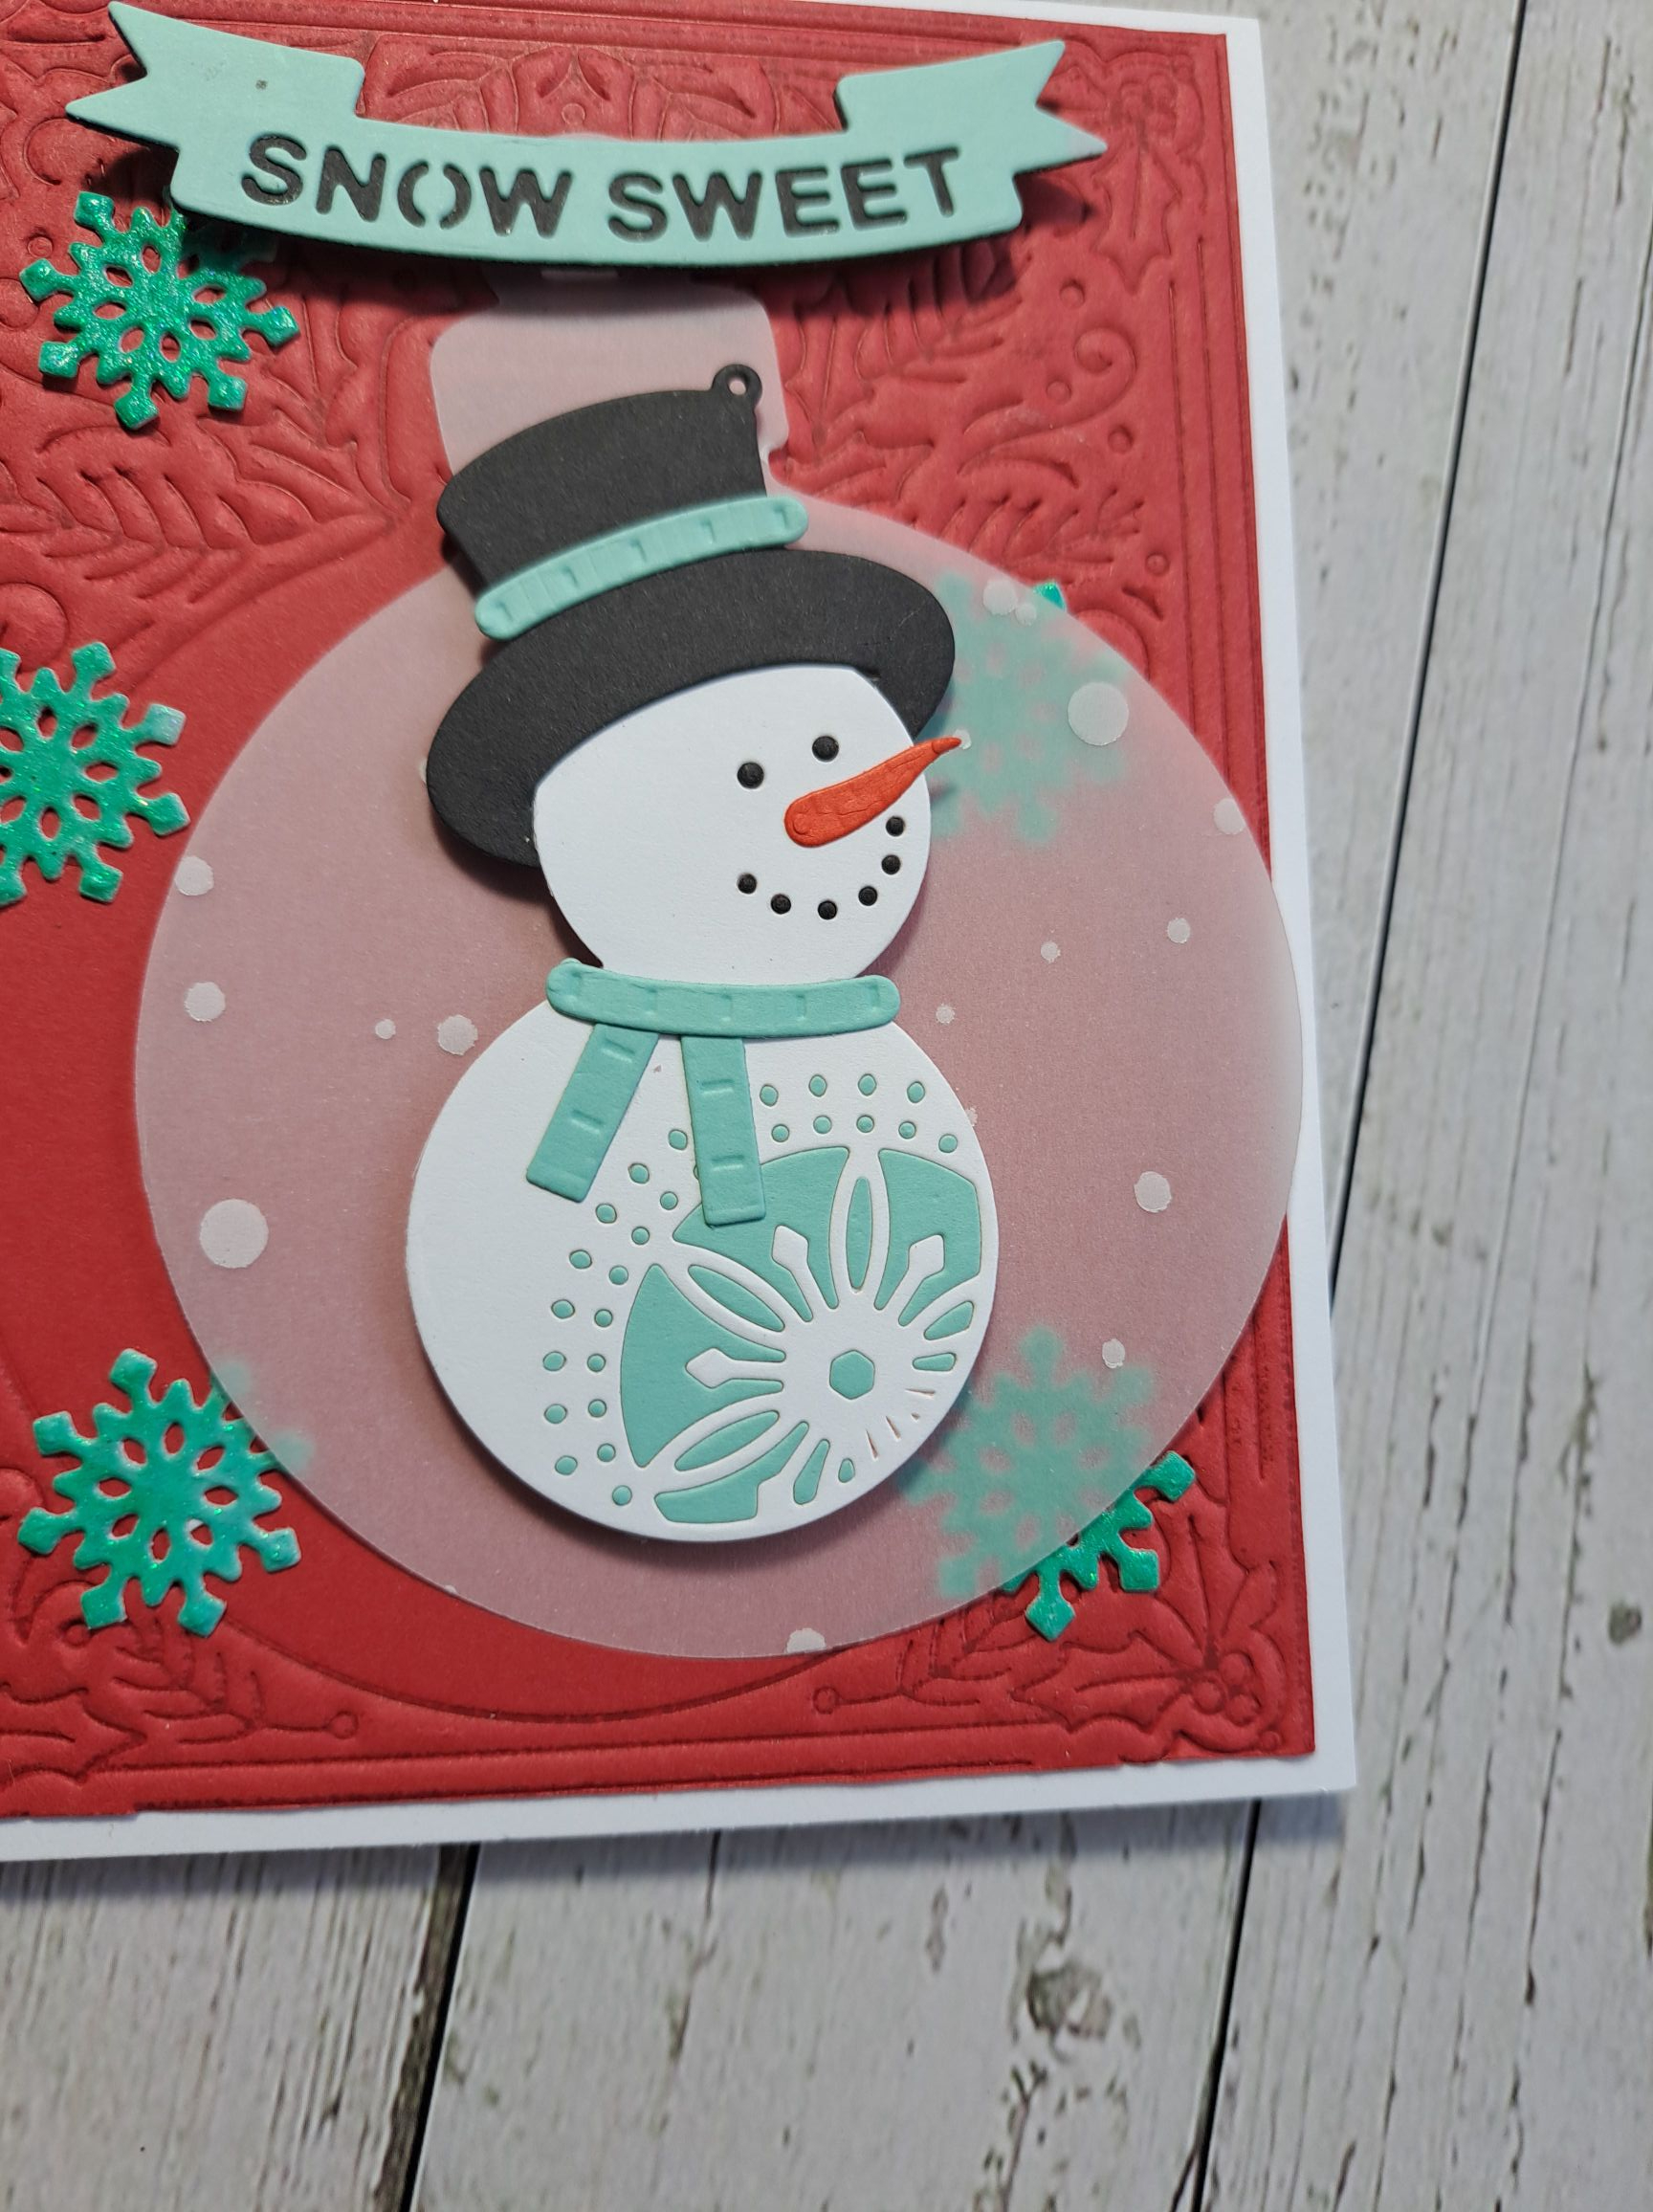
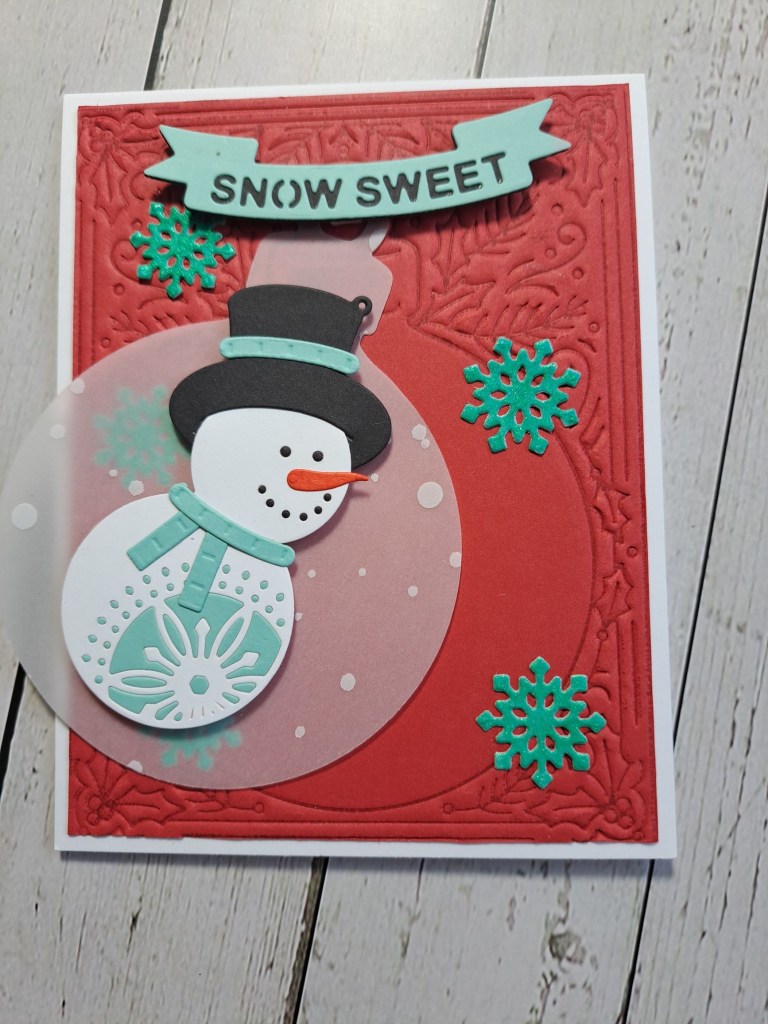
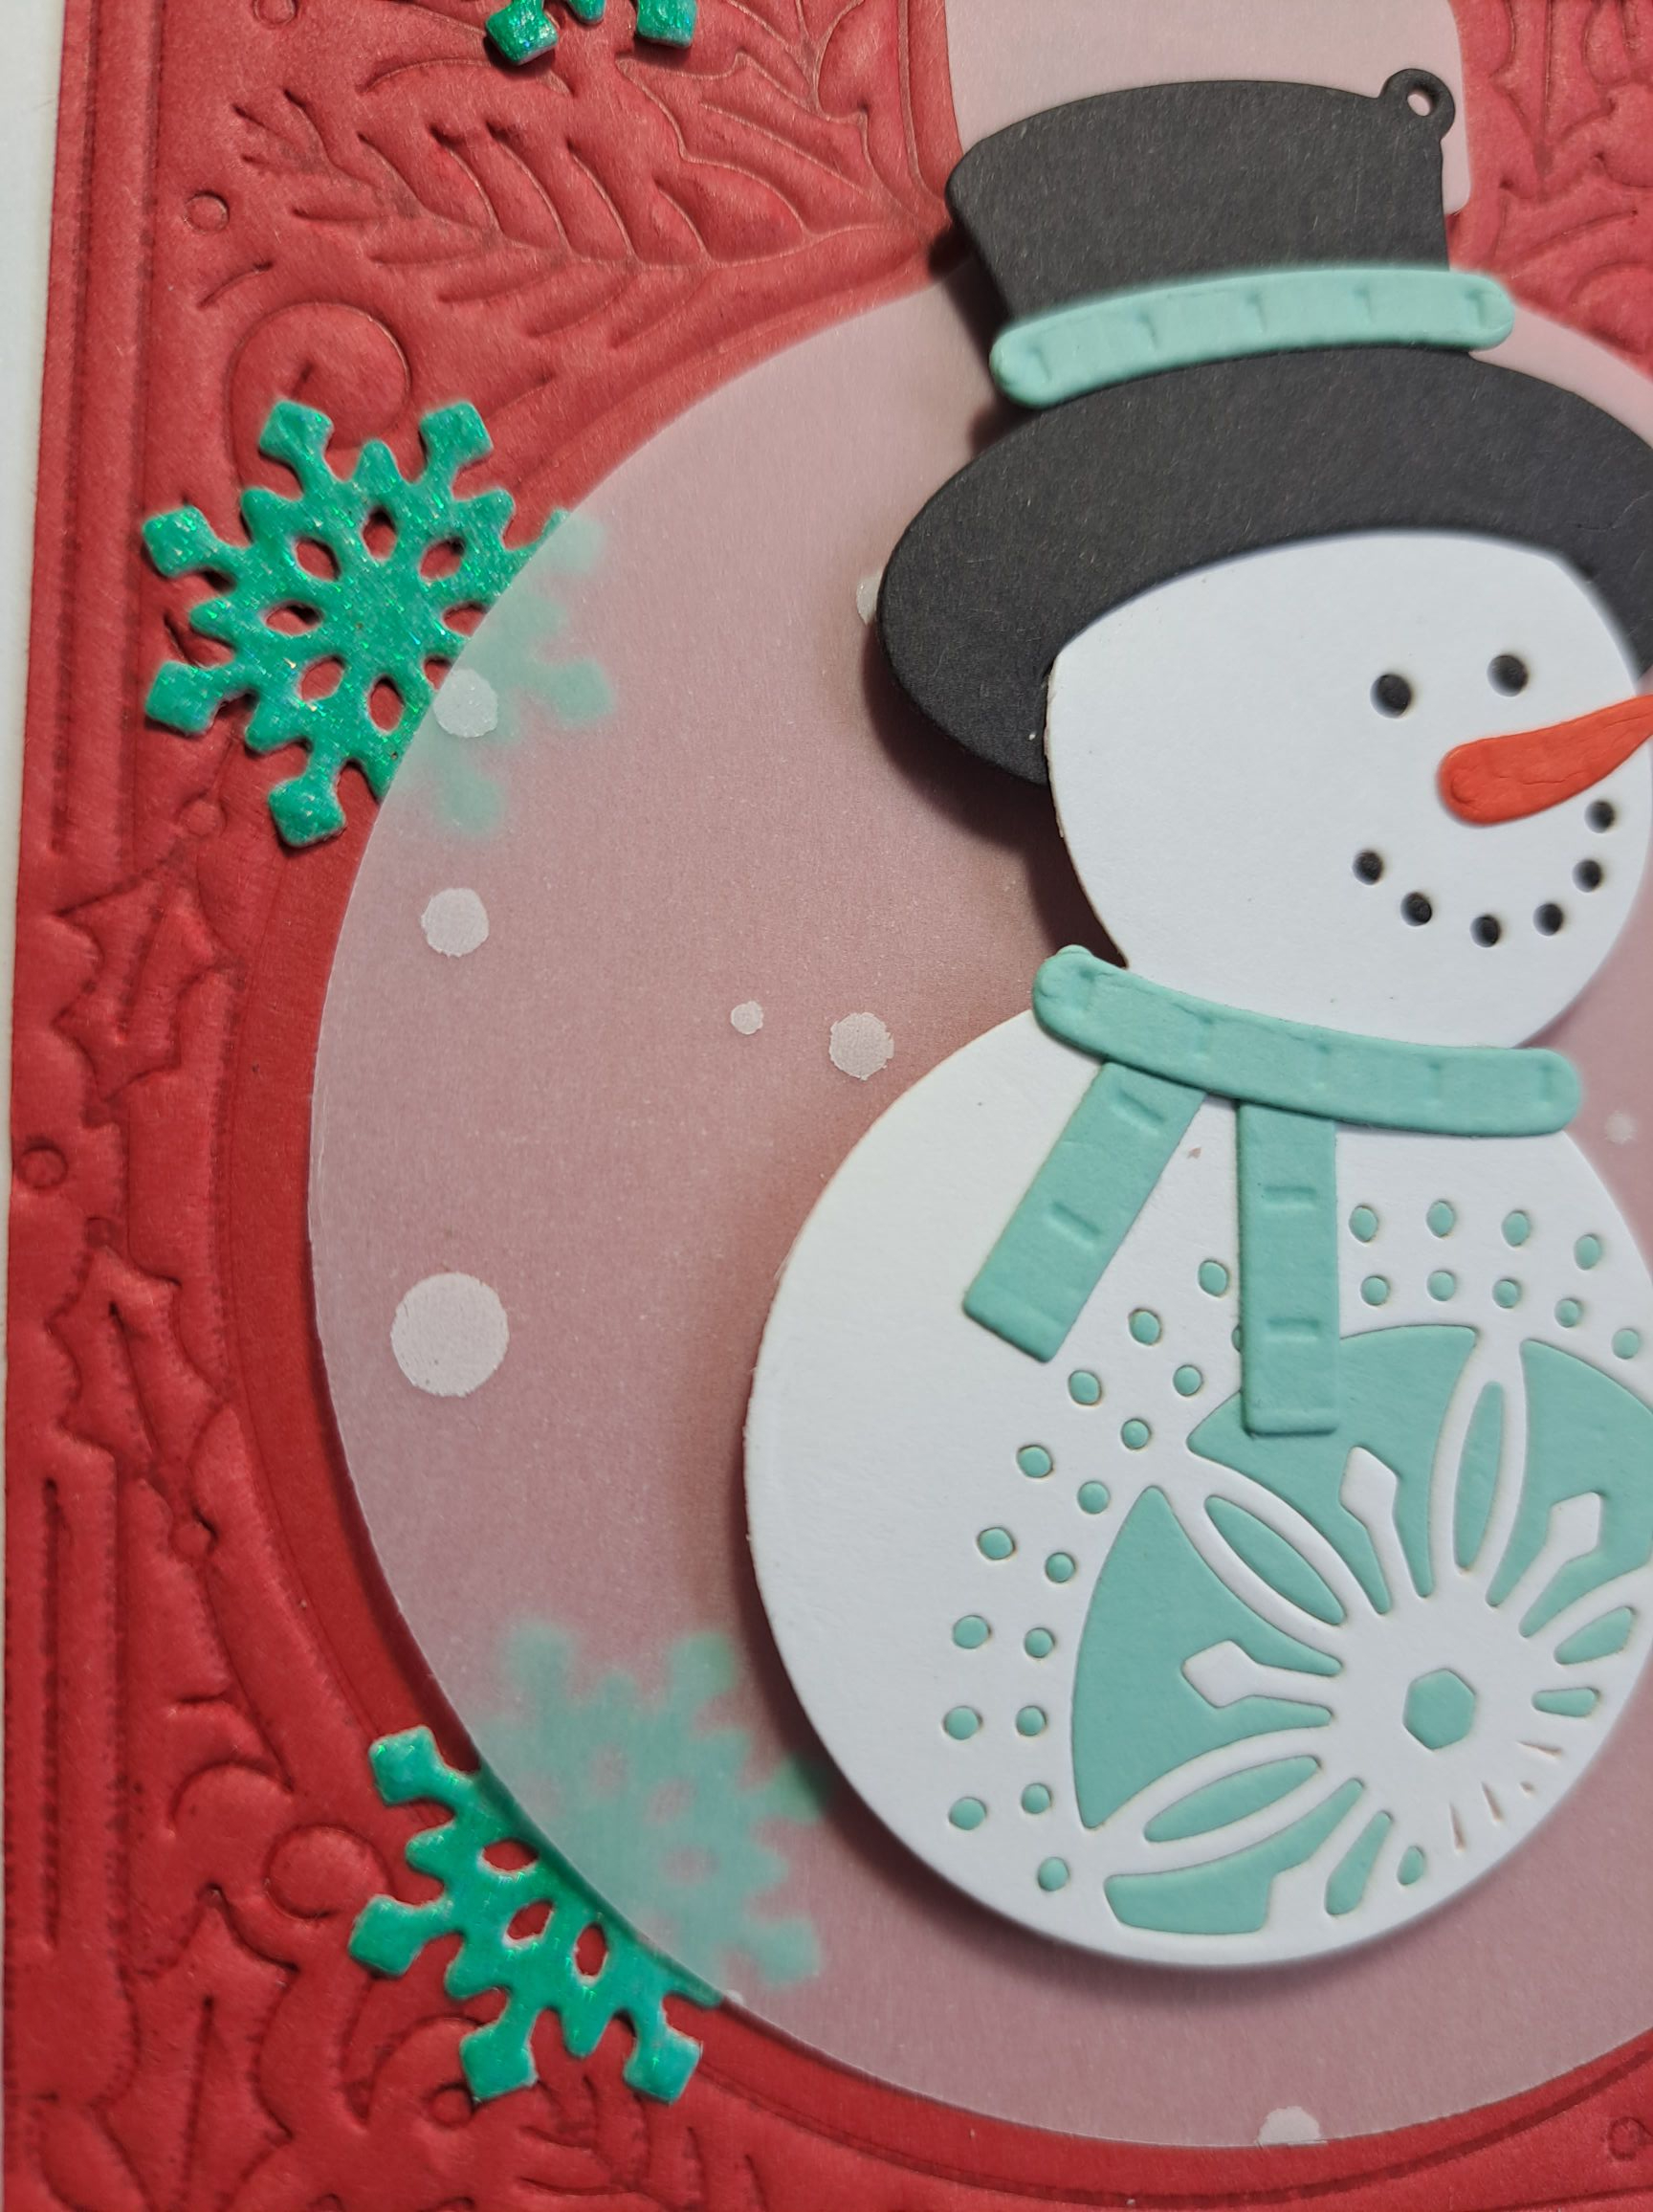
The vellum has white ‘snow’ on it, and I die cut with a bauble die from Hero Arts – the one that matches the foil plate – and attached it with a small 3D foam square through the bauble ‘hole’ at the top – so it swings just a little.

I put the snowman together by die cutting two circles which had double sided tape on them, placing them behind the snowman body and head, paper-piecing all the little light blue shapes into the belly, and paper-piecing the little black dots for the eyes and mouth. The carrot nose is a separate die which I die cut from a little piece of card I coloured with an orange Copic marker.

The hat has a little cut to insert the snowman head – very well thought out – and then I added the scarf, and actually added an extra scarf piece around the base of the hat.

Once the snowman was adhered to the vellum, I thought some more detail was needed, so I took some white glitter card stock – a new white shimmery card from Pink frog Crafts here in the UK – and used a BG Copic to colour the glitter card – then die cut some snowflakes, adhering them as you see.

The sentiment is from the same snowman die set from Spellbinders – a black banner in the back, the light blue in the front with the words die cut out of it.

I shall be entering the following challenges:

52CCT – snowflakes

Fab’n’Funky – Christmas

A Perfect Time To Craft – anything goes

Cut It Up – Christmas – include die cuts

TTCRD – anything goes

Dream Valley – Christmas

Crafty Gals Corner – Tis The Season

Merry Christ-mouse

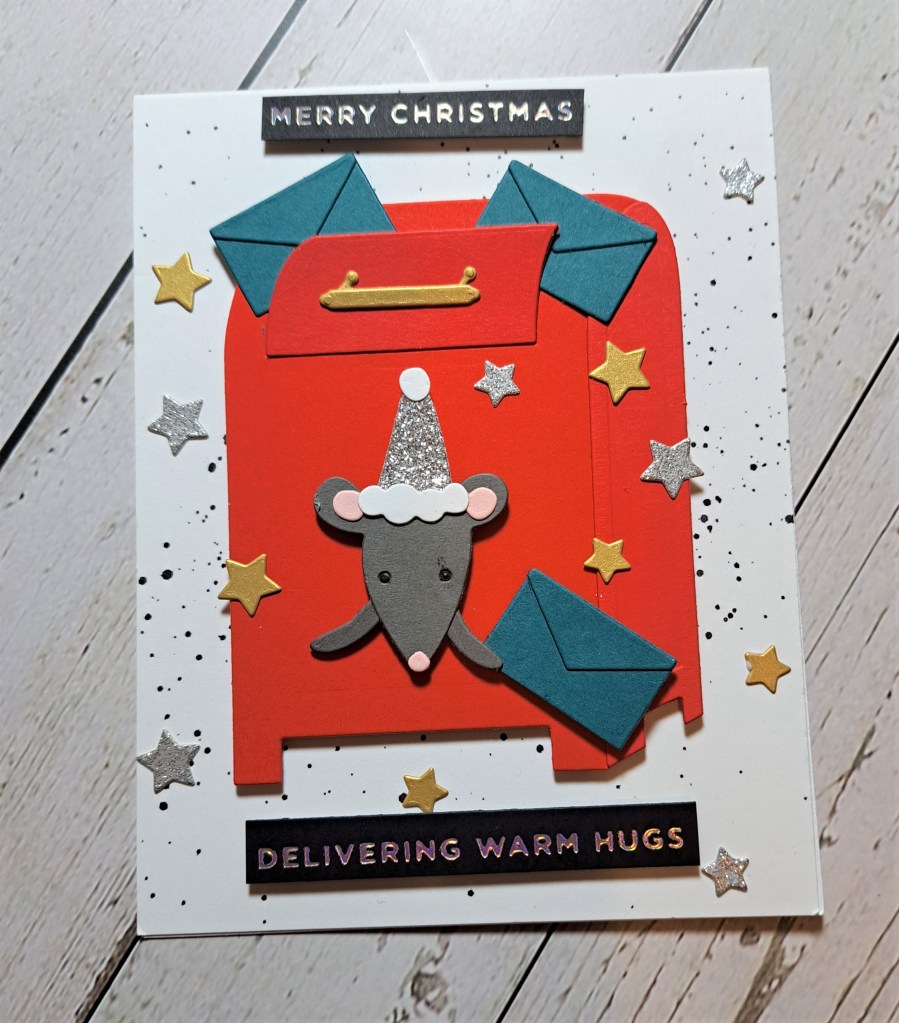
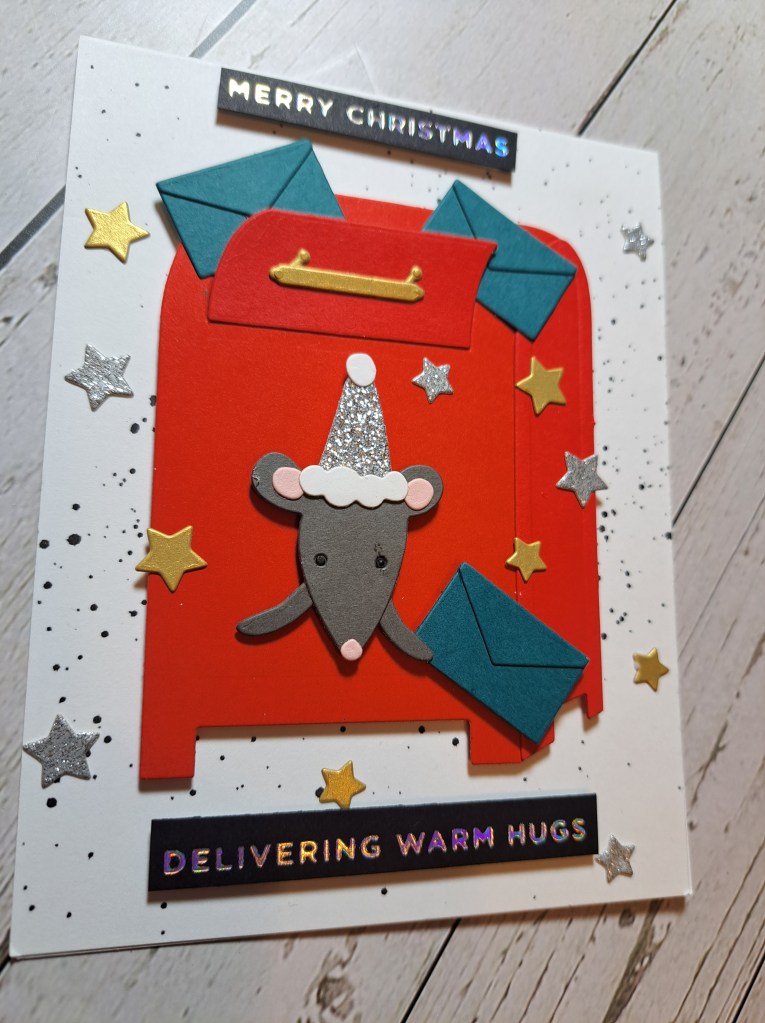
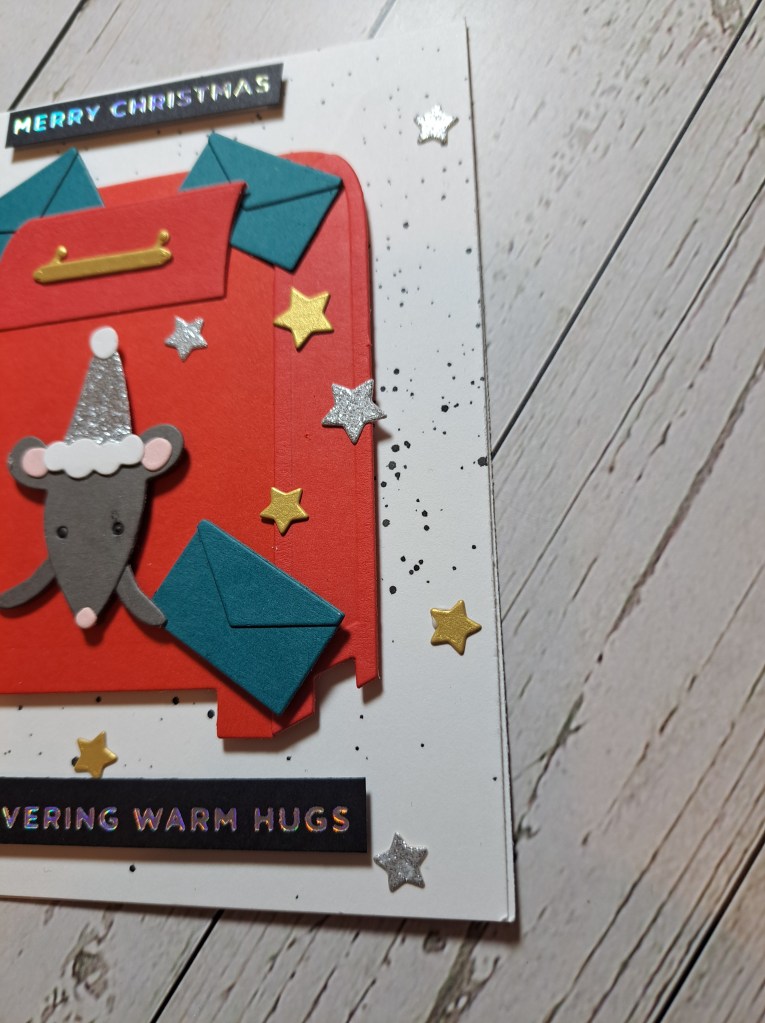
Hello once again. The Holly and Ivy Christmas Challenge has started it’s last challenge for the year. As always, it is ;anything goes Christmas’. Here is my card:

I used quite a few Spellbinders die sets for this card – loving the die cutting and assembling of all the elements. I must have been in a finnicky mood that day…..

I first took the white card base and added some black splatters, and whilst this was drying I turned to the post box, envelope and mouse, cut out the elements, and assembled them.

Once I had put the post box on the card base, added the mouse to the front, I slotted the envelopes in as you see, then decided that there was something missing – so I die cut those hearts and arranged them around and about.

The sentiments are from a previous foiling session.

I hope you can come and join us for the last challenge of this year – we will certainly back in the New Year – creating Christmas cards for our stash. xx

I shall be entering the following challenges:

Mix It Up Challenge – atg – option to use a technique (splattering, foiling)

Lil Patch Of Crafty Friends – anything goes

2 Critter Crazies – animals as focus

Here Is A Place To Start – anything goes with option happy holidays

Ally’s Angels – anything goes

The Alphabet Challenge – R for Reduce

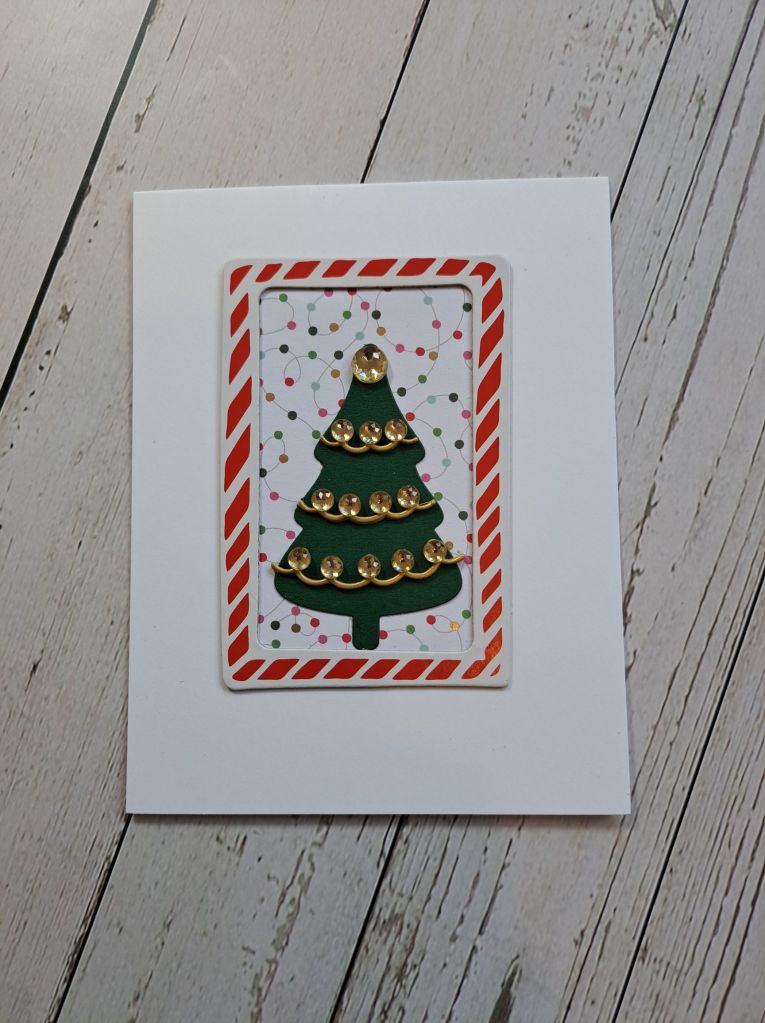
Hello once again. The Alphabet Challenge has started a new challenge, and as we have reached the letter ‘R’, Veronika has chosen the theme of ‘Reduce – make it clean and simple‘. Here is my card:

I used a frame from my stash – I forget the maker – and stuck a piece of patterned paper onto the back – then trimmed around the frame.

I stuck this down onto the card base with a strong glue.

I think the tree was a pre-cut piece from a kit, to which I added three gold strings, and then placed some gold facetted gems on top of the ‘loops’ of the string, adding a larger gem onto the top of the tree.

I’m looking forward to seeing your CAS cards in our gallery. xx

I shall be entering the following challenges:

TTCRD – anything goes

Lil Red Wagon – glitter, glitz, gleam, glow

Simon Says Stamp Wednesday Challenge – anything goes

Fab’N’Funky Challenge – die cuts or embossing – no stamped image

Love To Craft – anything goes

Just……..Hello…..

I have a CAS card to share which incorporates several of my favourite techniques – ink smooshing, die-cutting, and using embossing folders:

I dry embossed a white panel and stuck to the card base with 3D foam.

The Tim Holtz flower (Holiday Brushstrokes) was die cut from a previously created orange ink smooshed panel – the different small layers had some extra ink blending on the edges to make them a little darker – and glued together. The yellow centre is from another panel using mica sprays.

I also die cut the leaves in that die set from a brown card stock, then adhered these with a mixture of 3D foam and wet glue.

The sentiment if from Lawn Fawn, die cut three times in white, then a brown die cut on top.

I added some red enamel dots as extra accents.

I shall be entering the following challenges:

TTCRD – anything goes

Krafty Chicks – CAS

Creative Knockouts – anything goes

Color Throwdown – red, orange, brown, yellow

Mix It Up – anything goes – option to use a technique

U Got This…..

I have a card to share today using lots of bright colours and die cuts:

The base panel is a previously created panel when ink smooshing and mixing some bright colours, then I embossed it with a Stampin Up embossing folder. I splattered this some black acrylic and set it to dry.

I then turned to die cutting all the pieces from the Tim Holtz die set – choosing bright colours – and using more previously created ink smooshed panels from my stock. I also found some black glimmer card which I had used some glimmer polish on so thought that would be ideal for the eyes.

Once all the pieces were die cut, I played with layout and decided to go with the face as you see, sticking down with a combination of 3D foam and glue.

The sentiment is also from Tim Holtz – using the letters which fell out of the metal die – a big ‘U’ instead of the full word as I felt it wouldn’t fit in and look right……

A bright and cheerful encouragement card – I have someone in mind – with a lot of fiddly work – but I like the result.

I shall be entering the following challenges:

Cut It Up Challenge – big image or sentiment – include a die cut

CYHTP – embossing folder – option orange and black not taken

Time Out Challenge – cancer awareness/friendship/encouragement

Creative Fingers – anything goes

Allsorts Challenge – add a sentiment

Addicted To Stamps and More – die cuts/stencils

We Love 2 Create – anything goes mixed media

Cardz 4 Galz – Forget-Me-Not

The new challenge theme at Cardz 4 Galz has been chosen by Debbie. She wants us to create a card ‘for a cause’. Here is my card:

My mum passed away earlier this year from the effects of Alzheimer’s Dementia, and so I chose to use forget-me-nots for my card, which is the flower associated with this dreadful disease.

I used the die set from The Greetery to create this bunch of flowers. Firstly, I ink smooshed some blue and some green inks onto some Distress Mixed Media card stock – trying to get some variation in the colours – but not too dramatic.

Once die cut, I assembled the flowers – I must have had some patience to do this – but maybe it was that I was inspired by the reason I was doing it – so very fiddly – but it came together quite quickly.

The sentiment is from Pinkfresh Studio, and I realise as I type this that it is very emotional, such a short time since I lost her, and I will always be thinking of her……she is the one who got me into card making in the first place too……

I hope you can come and join us with your creations following our theme. xx

I shall be entering the following challenges:

Creative Fingers Challenge – anything goes

Ally’s Angels Challenge – anything goes

TTCRD – anything goes

Mix It Up Challenge – anything goes – option ink smooshing

Love To Craft Challenge – anything goes

Merry Cardinal Christmas

Hello. The Holly and Ivy Christmas Challenge has started a new ‘anything goes Christmas’ challenge. Here is my card:

This cute little bird is from the new Spellbinders release, of which I must admit I bought quite a lot of the products. There will be more cards coming with those products in the near future.

Onto white card base I layered a red panel, then the white dry embossed panel.

I die cut the scallop oval, matted with a plain white piece, and then set-to putting the little birdie together.

I decided on what colours I wanted to go where on the birdie – and stuck down a piece of white on the back behind the eye and neck, placed him onto the oval and stuck down the 3D foam tape.

I stamped the sentiment onto white, and layered that small panel with the matching red card to enable it to standout a little more from the background.

I hope you can come and join us – thereby creating your stash for later in the year. xx

I shall be entering the following challenges:

Simon Says Stamp Wednesday Challenge – emboss it

Christmas With The Cuties – cute Christmas

Crafty Hazelnuts Christmas Challenge – anything goes Christmas

Merry Little Christmas Challenge – anything goes Christmas

Crafty Animals Challenge – anything goes with an animal

Addicted To Stamps and More – die cuts and/or stencils

Balloon Dog Birthday

Hello there. I have a card to share using a new die set from Spellbinders:

For the background, I ink blended some yellow and aqua distress inks, then used an embossing folder – also from Spellbinders.

I then took a brayer, and some Distress Ink ‘Picket Fence’ and rolled it over the background, to give more dimension and interest to the embossing, without diminishing the colours.

I then ink blended some Saltwater Taffy and Abandoned Coral onto two separate pieces of card and die cut the balloon dog elements. Once I had glued the layers together I added some white gel pen marks, and a little further Abandoned Coral to some of the edges.

The layered sentiment is also from Spellbinders – and my goodness those letters are fiddly – I was going to layer them but they are too thin – and the letters are separate from each other – the ‘sticky specks’ came in handy here and worked very well.

Before I added the background to the panel, I splatted some gold Liquitex metallic acrylic ink and then some white metallic ink onto it, and when dry added to the base card with 3F foam strips.

I adhered everything as you see, and added some purple sequins from Catherine Pooler.

I can see that I will be making this balloon dog in different colours moving forward – such a great die set.

I shall be entering the following challenges:

MMM Challenge – splatters

Shopping Our Stash – use ink blending

Color Throwdown – aqua, yellow, purple, coral

Seize The Birthday – birthday – option metallic

CYHTP – embossing folder – option of summer

Deer Season’s Greetings

The Holly and Ivy Christmas Challenge has started another ‘anything goes Christmas’ challenge – here is my card:

The deer and trees is a die set from Crafters Companion – bought on a whim – and found again when I was entering some new buys into the CML app.

I die cut the main deer image into the front of my card panel, then used some light brown/Kraft card stock for the trees. When putting the card together, I did cut off the frame for the trees, as it seemed to be poking through the front window a little more than I liked.

I used another of my ink blended backgrounds – I still have lots of those ready for crafting – and die cut a slightly larger square than the main panel, and placed it behind the deer, then glued the trees onto that.

As the back of the base looked a little messy, I die cut a rectangle to cover the different layers and adhered it to make it look neater.

The sentiment is from Uniko – I wanted a fairly plain, un-coloured sentiment, so as not to detract from the main image.

I hope you can come and join us with your Christmas creations – anything goes, as per usual……. xx

I shall be entering the following challenges:

Creatilicious Challenge – anything goes with option of animals

Tuesday Taggers – simple design, simple to make

Crafty Animals – anything goes with an animal

Craft Rocket Challenge – CAS

Pop this on your blog to find us fast!
Blog Badge
Blog Badge