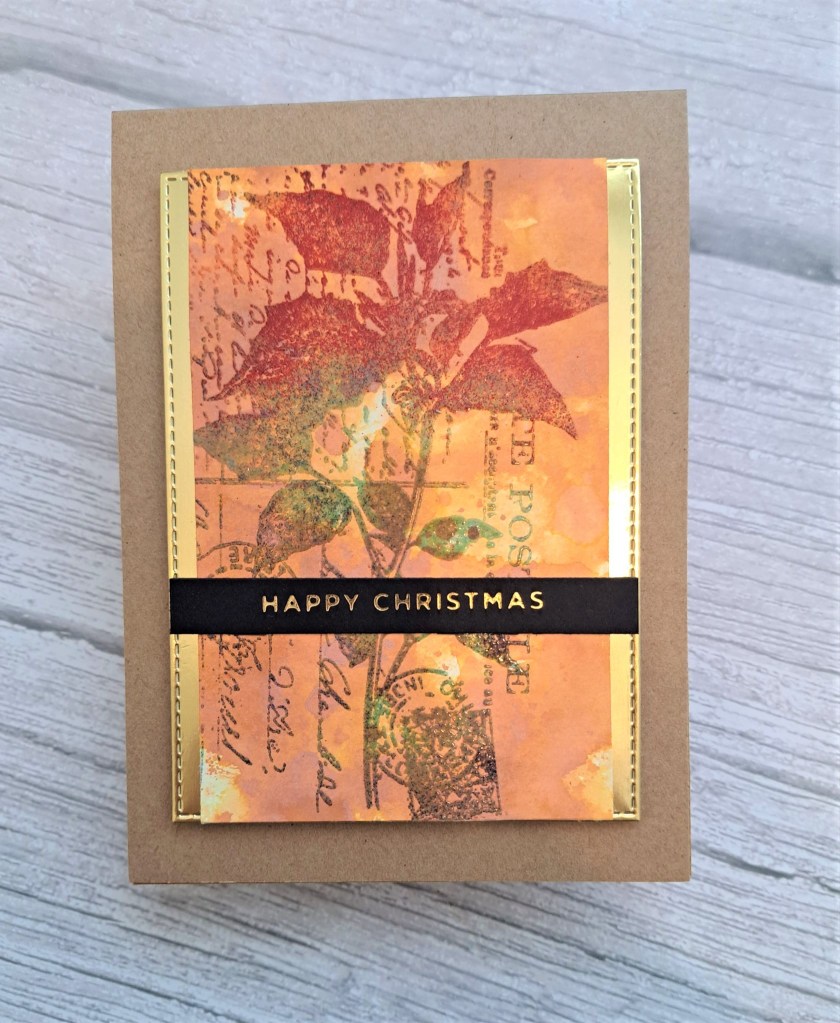
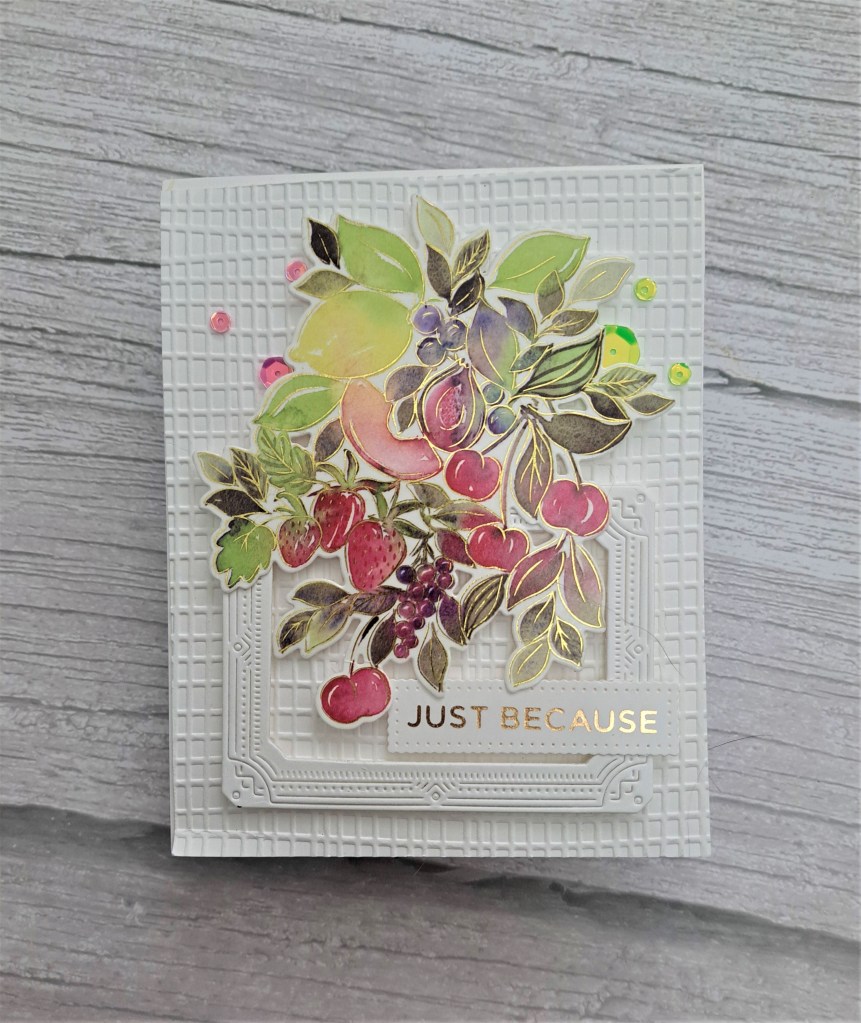
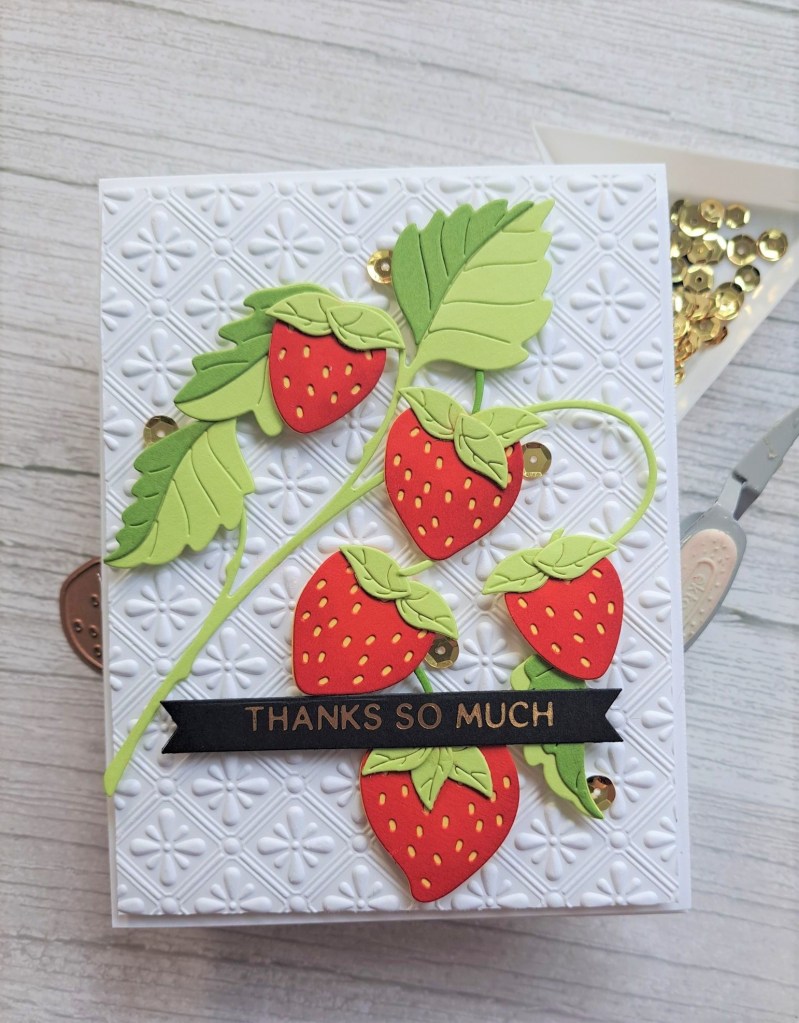
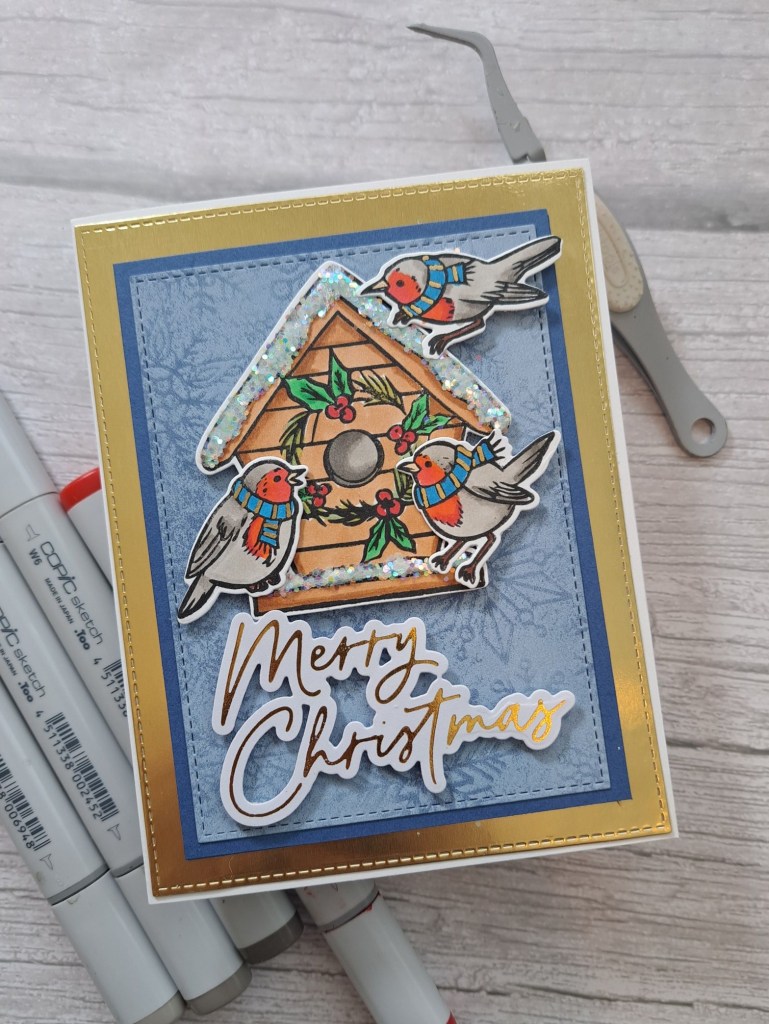
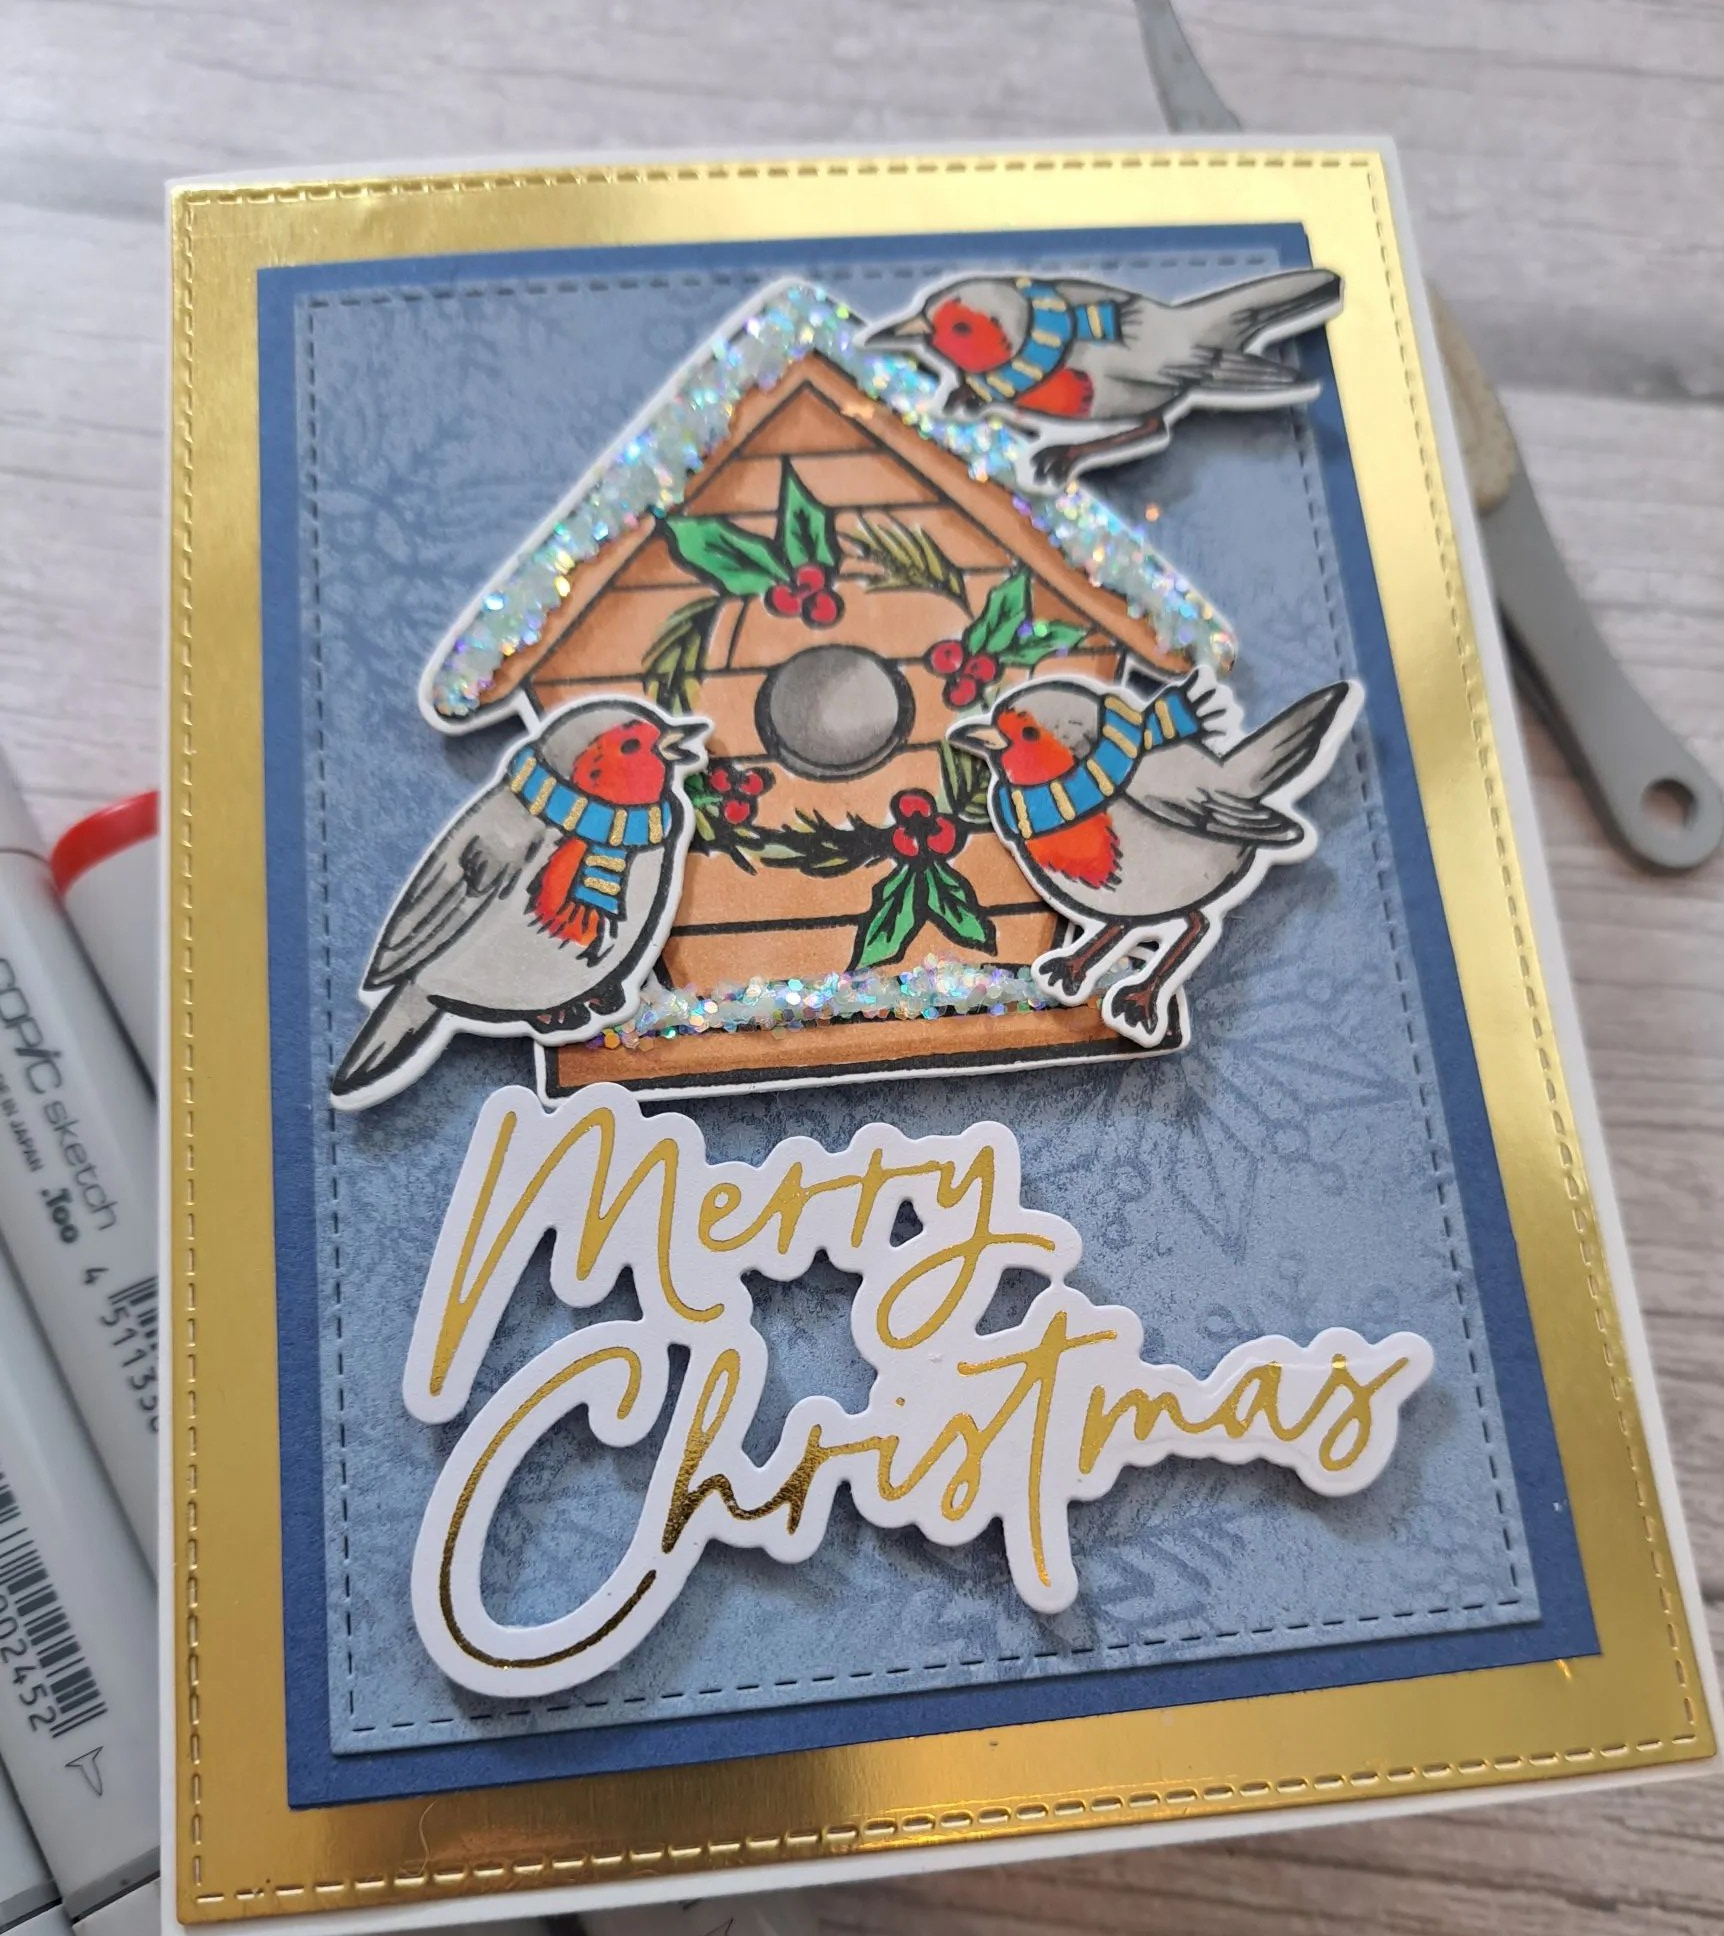
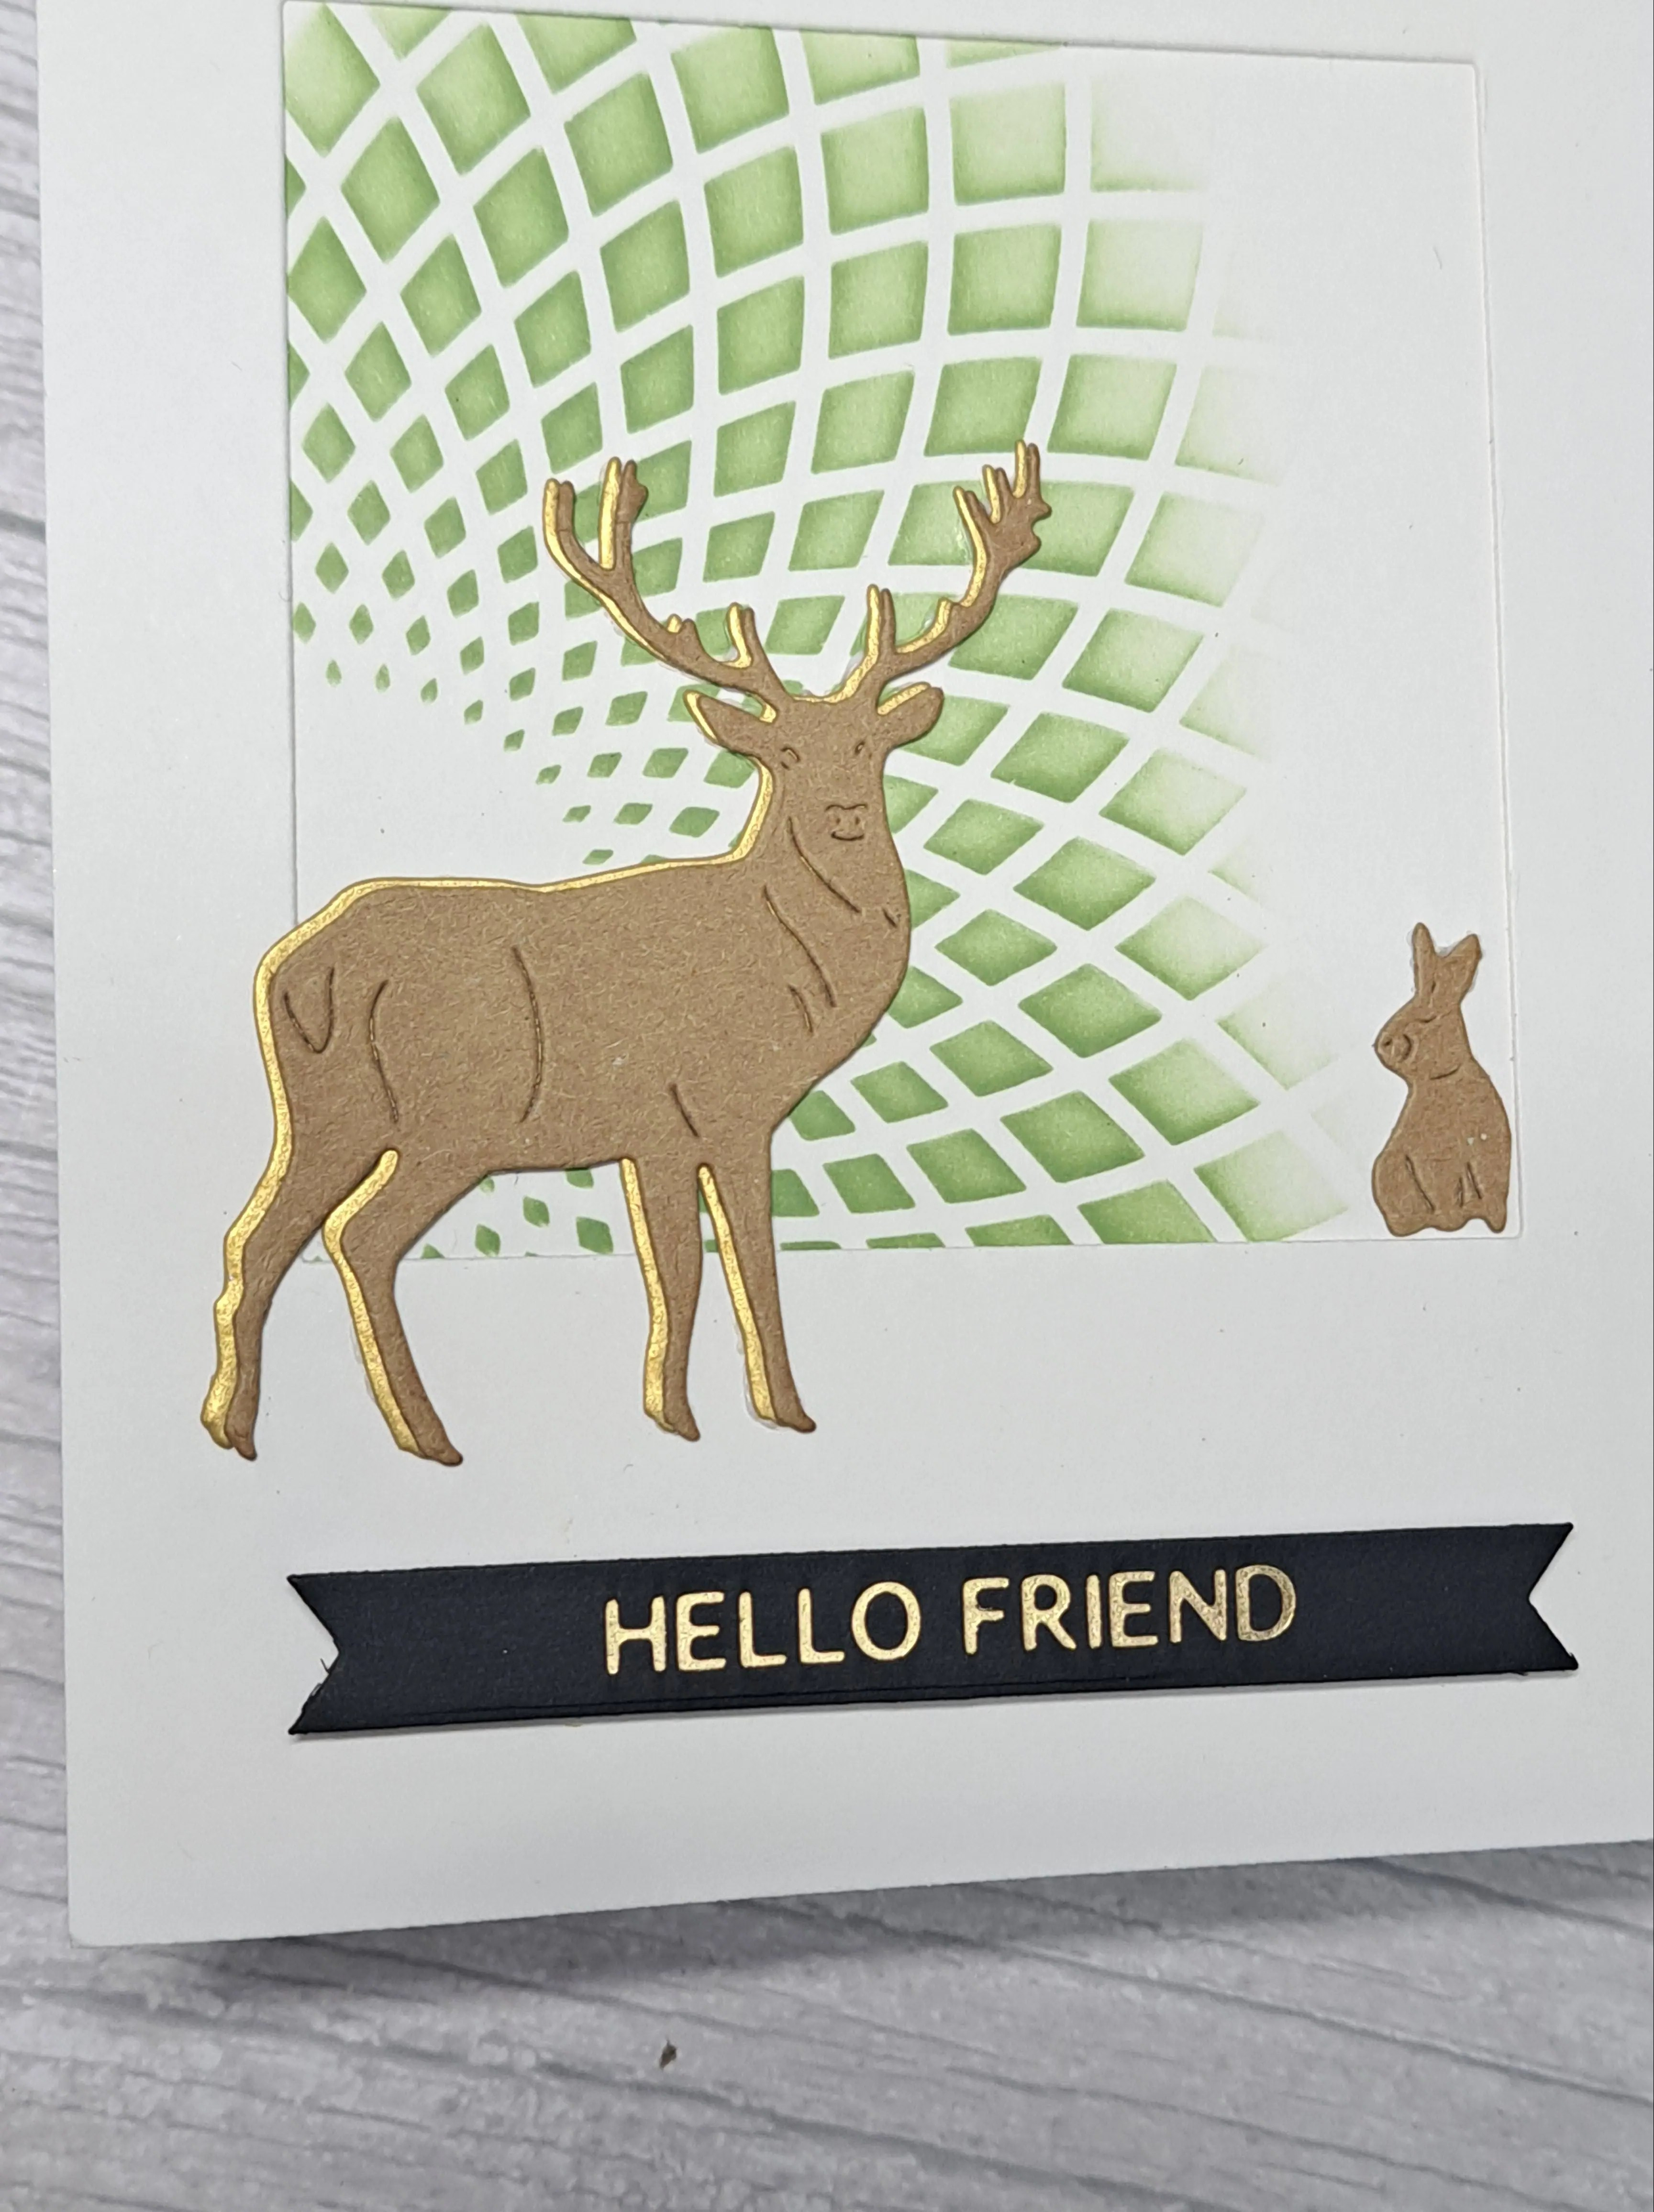
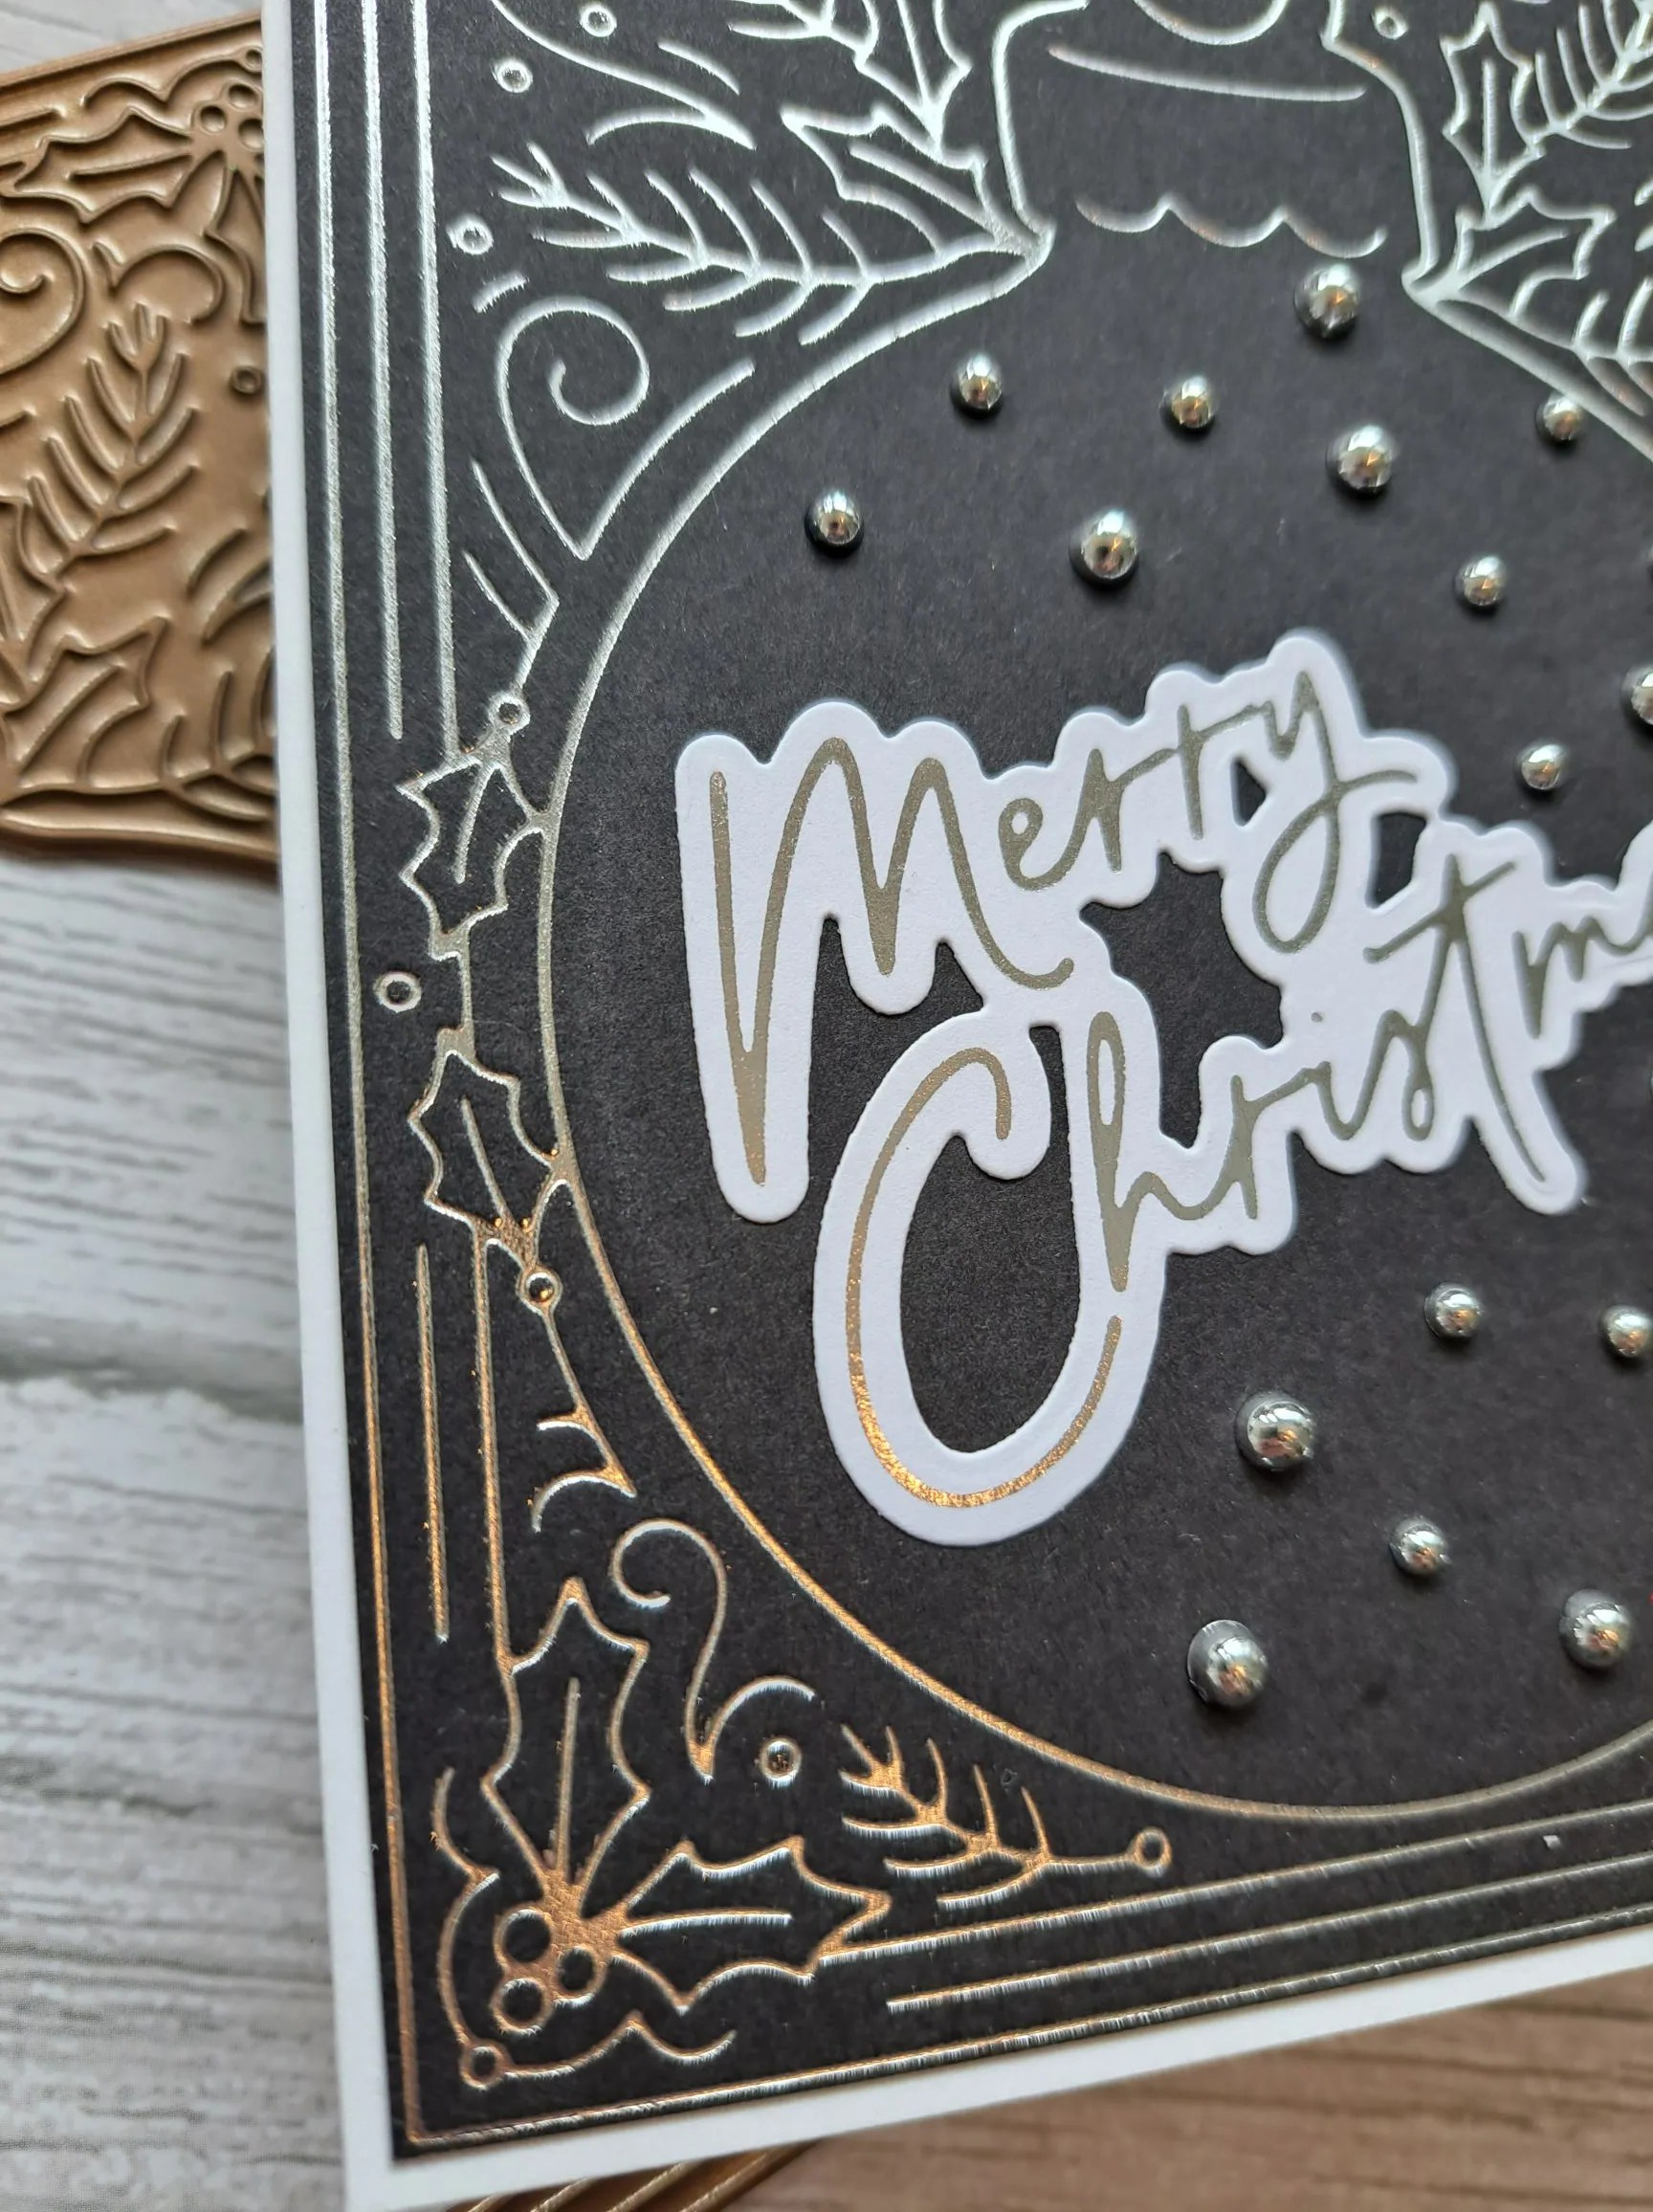
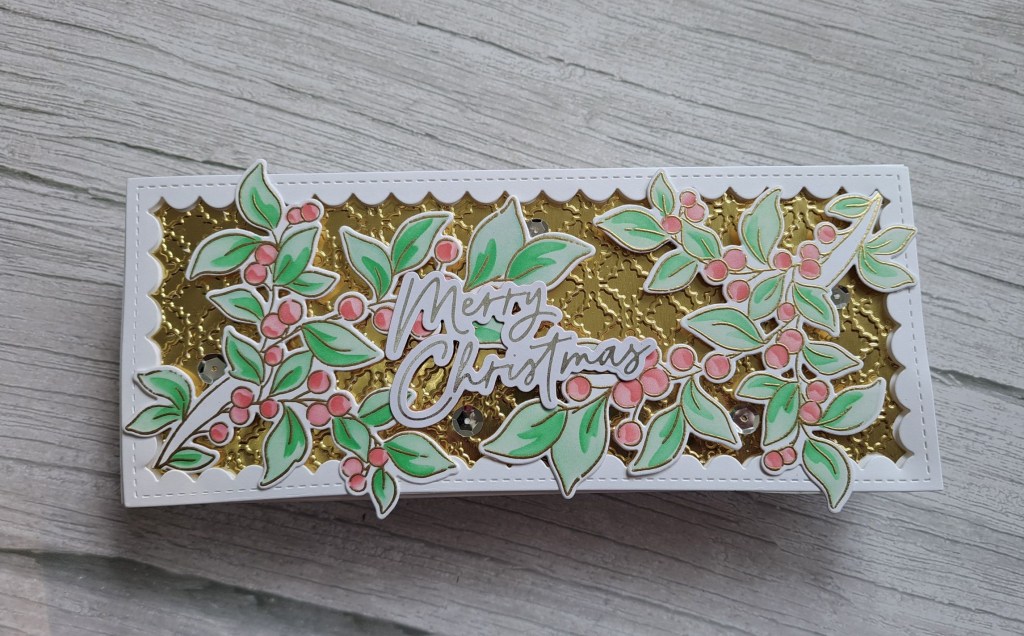
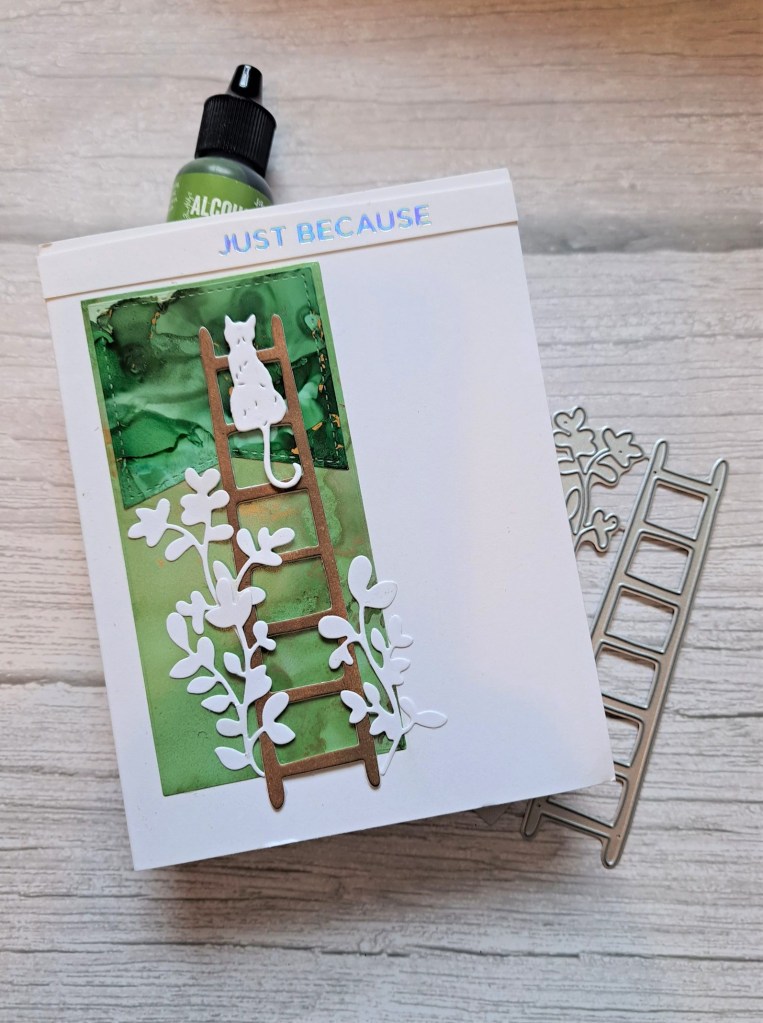
Cardz 4 Galz has started a new challenge. Sue is hosting and has chosen the theme of ‘cute animals or insects’. Here is my card:
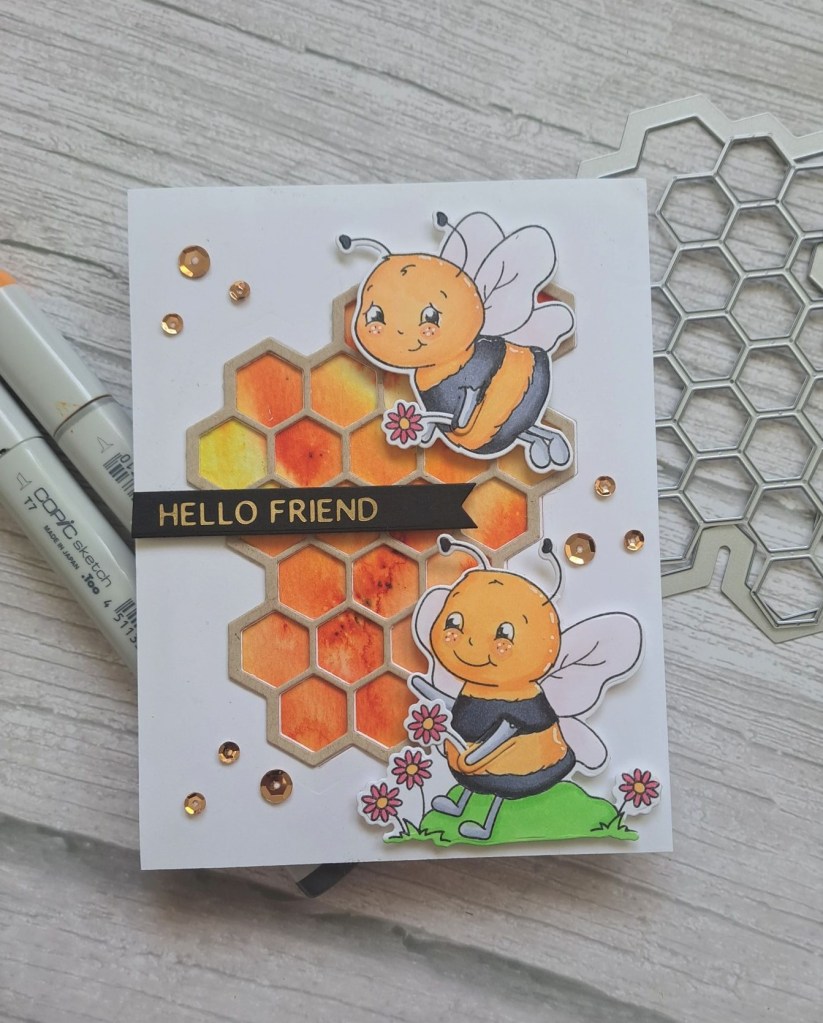
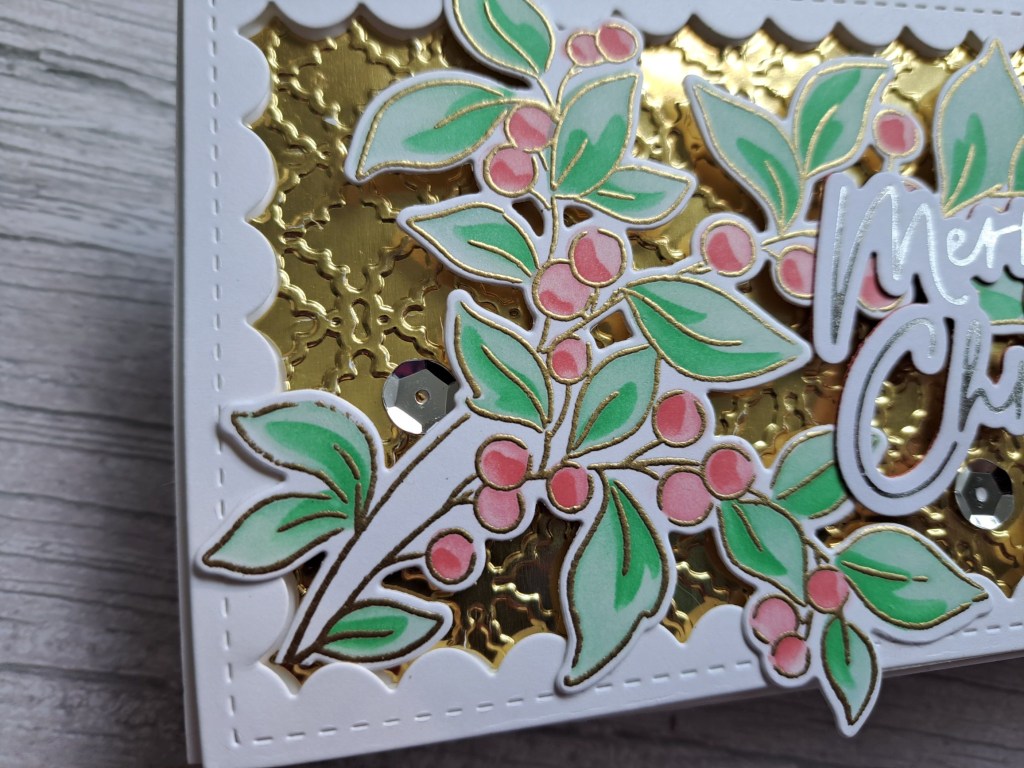
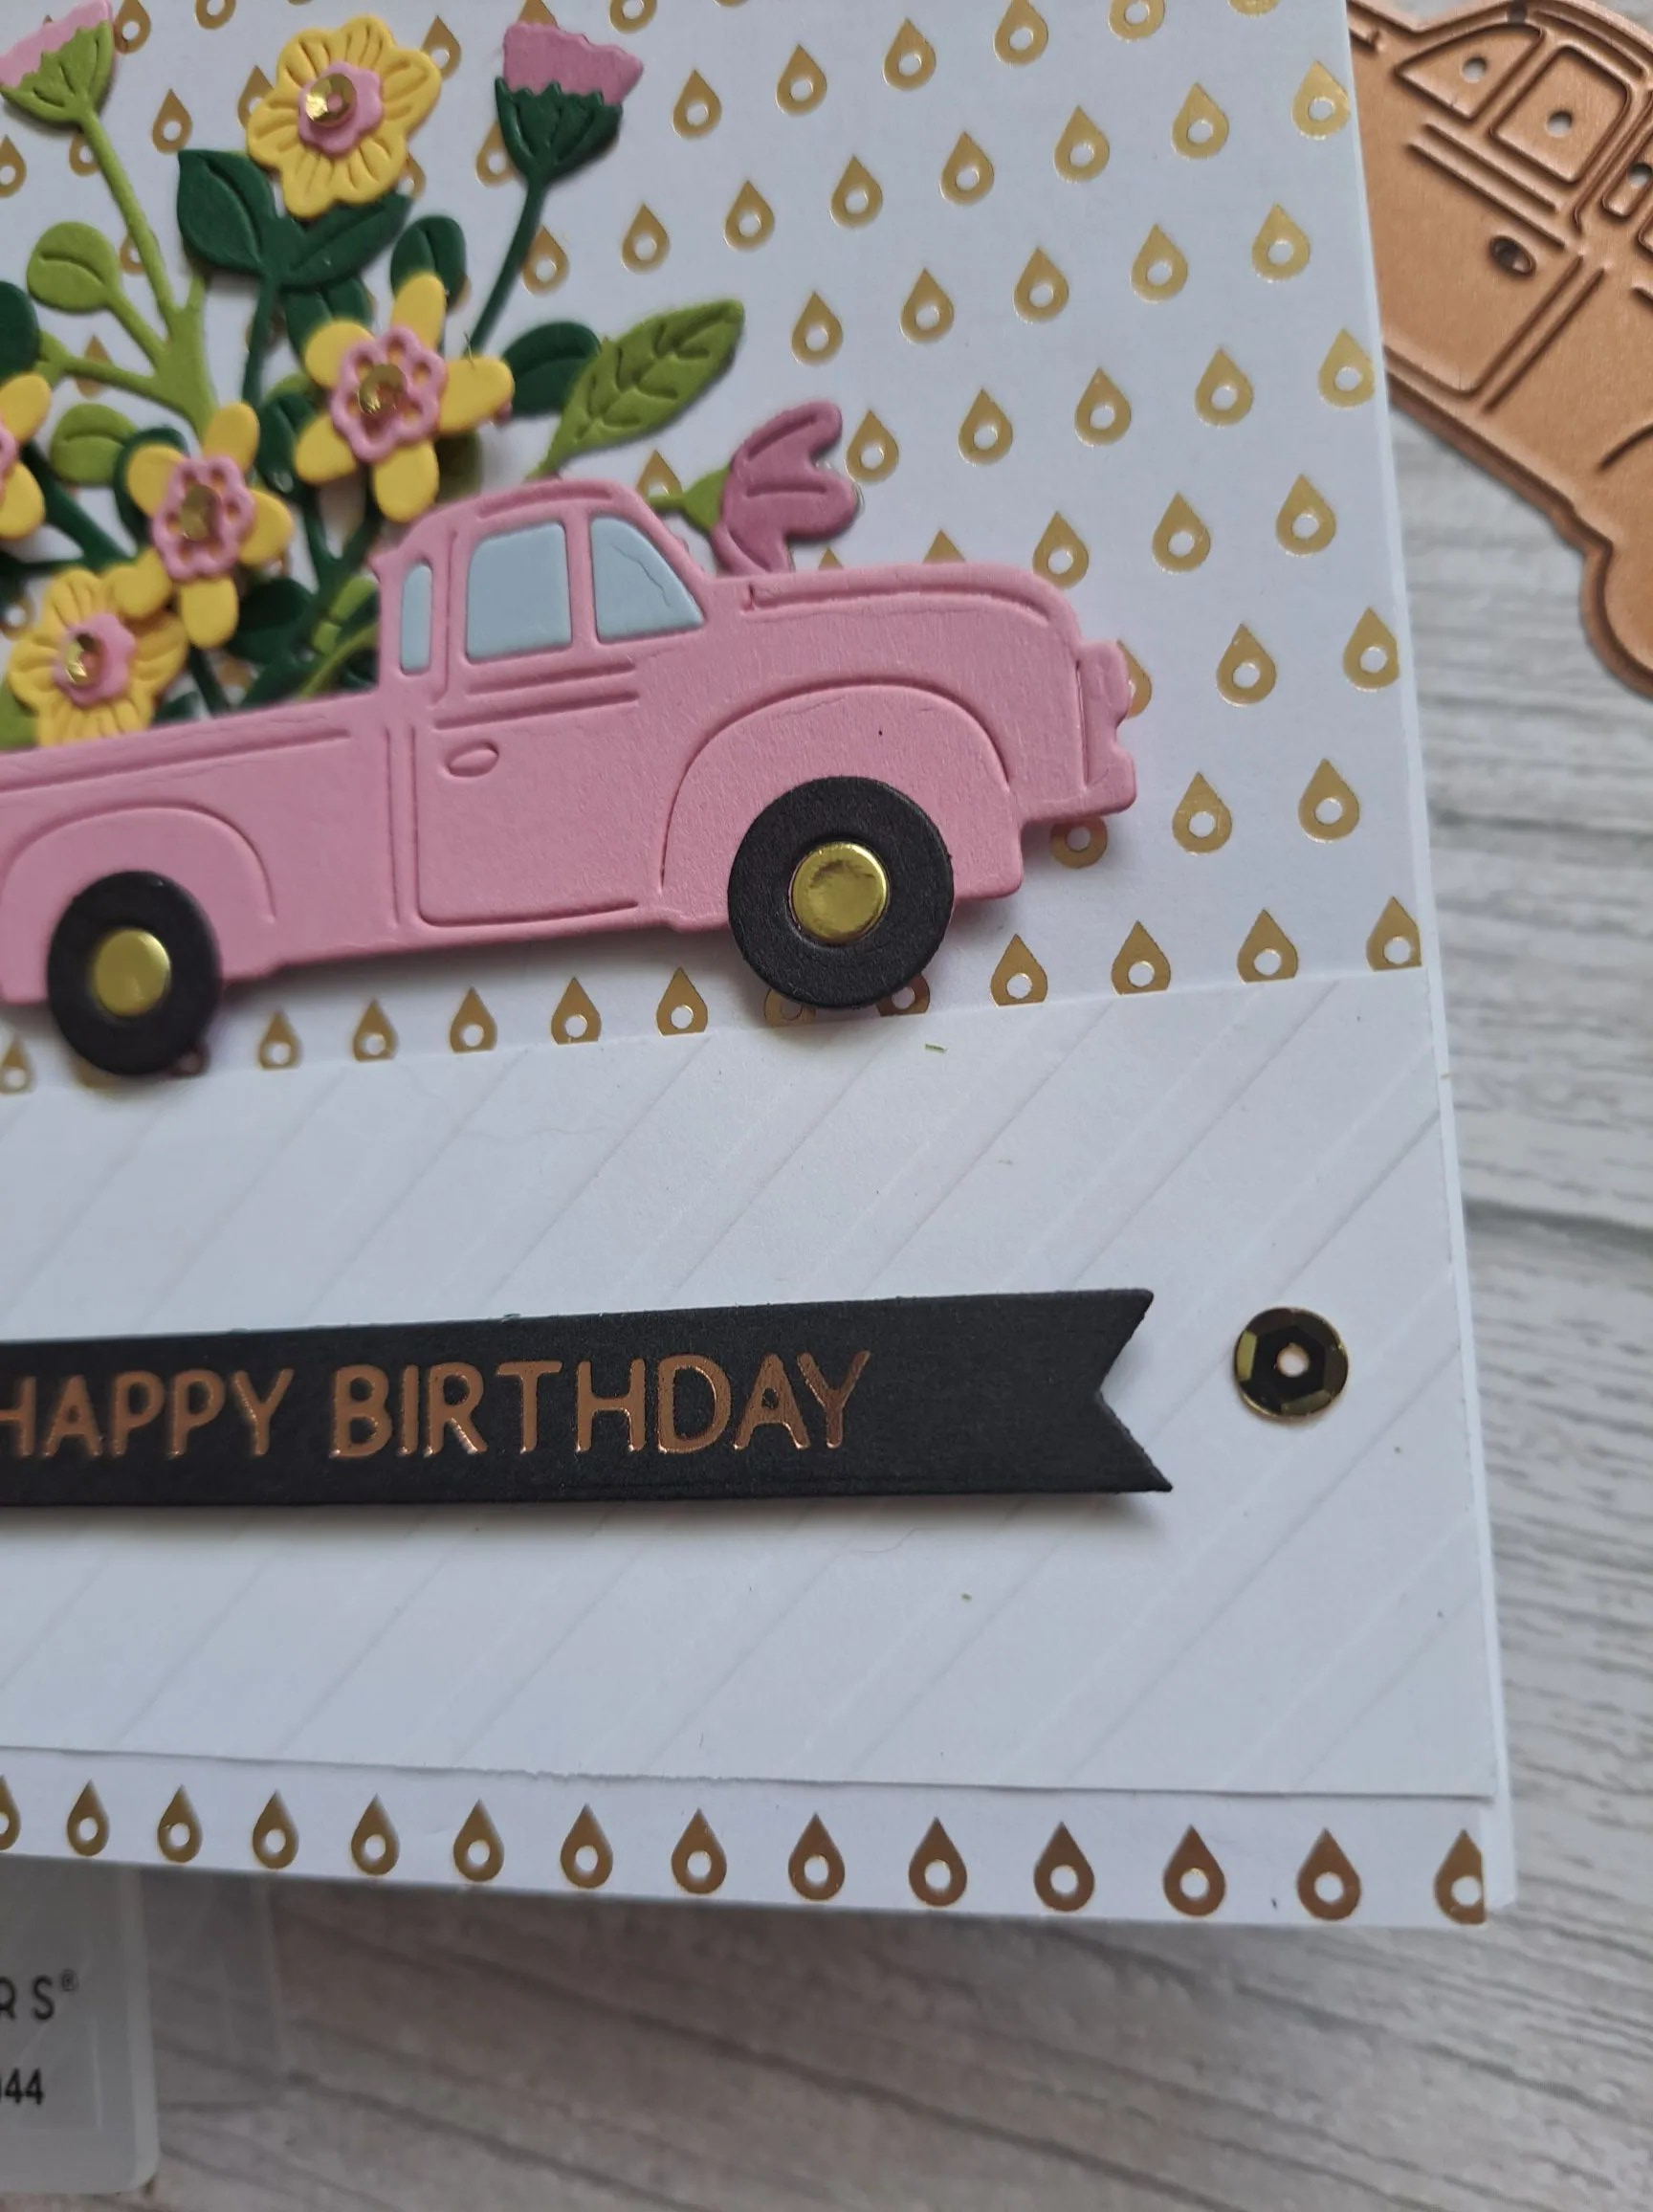
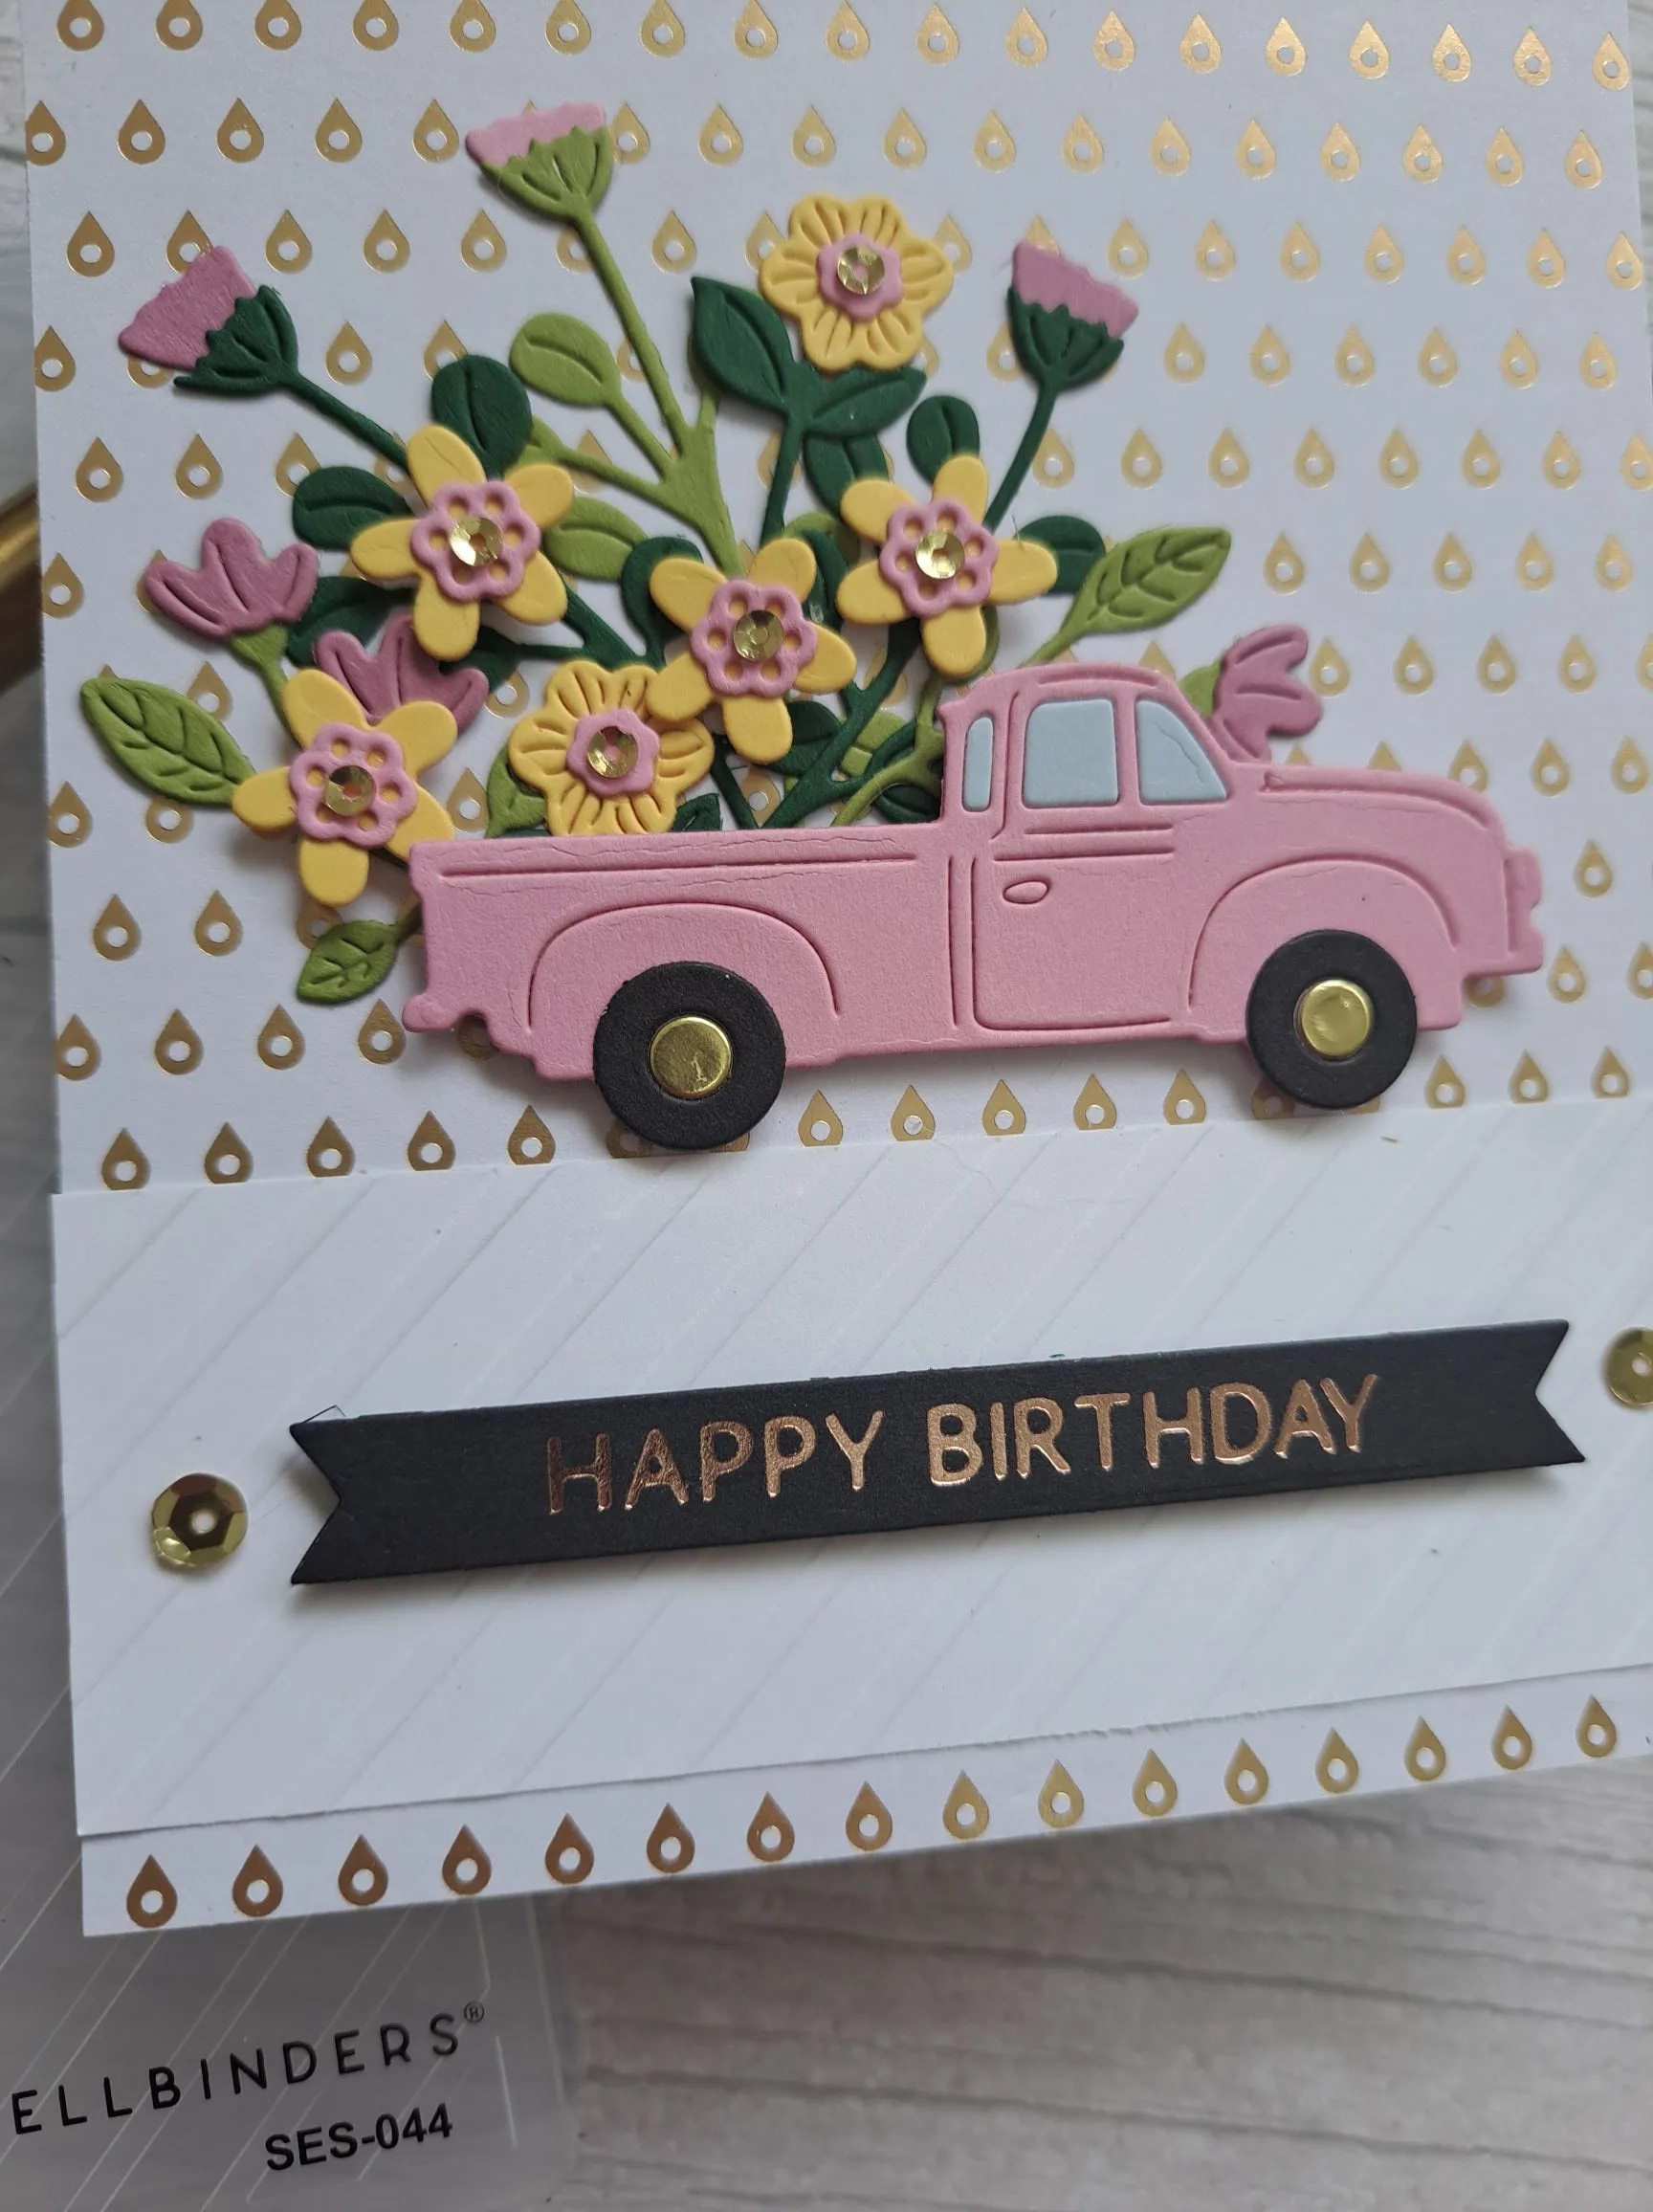
I first stamped the images from Simon Says Stamp, then coloured with Copics, and cut them out with the matching die set.
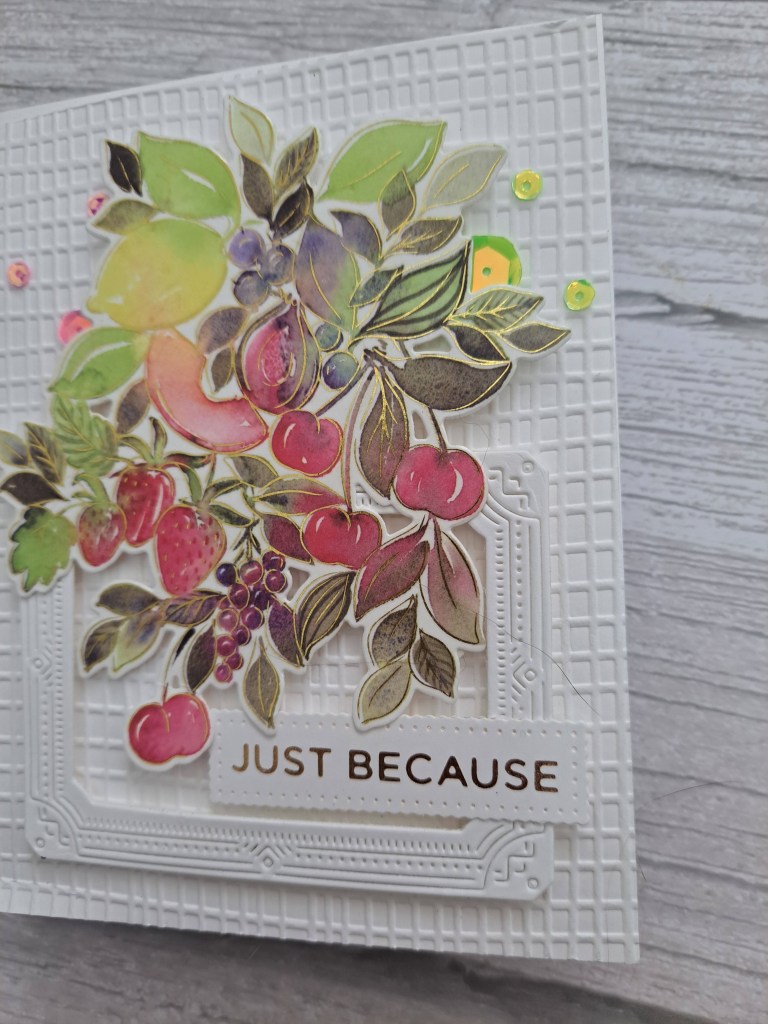
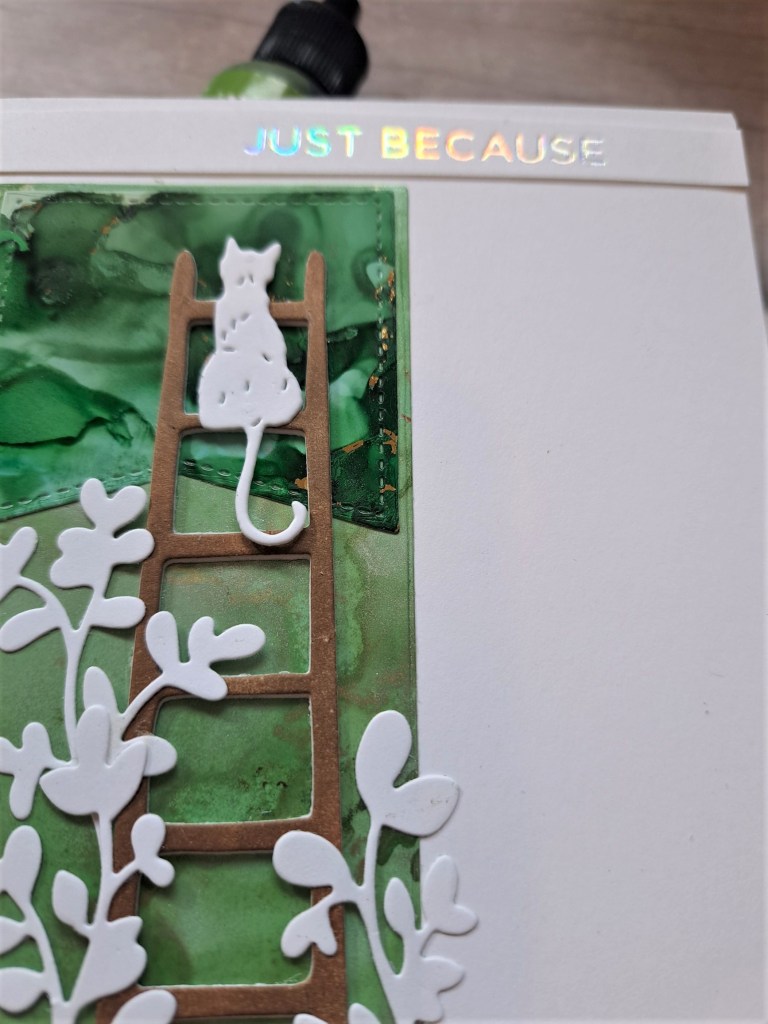
I die cut the Sizzix honeycomb through a card panel, then die cut it again using the outer and detail die in a light Kraft card stock, and layered that on top.
I played with some orange and yellow Distress Inks and smooshing, and placed this behind the honeycomb, then added all to a card base.
I added the coloured bees and the foiled sentiment, and dotted some sequins around and about for more shine.

I hope you can come and join us with your cute animals or insects. xx
I shall be entering the following challenges:
We Love 2 Create – anything goes mixed media (Copics, Distress Inks, foiling, stamping)
Crafty Animals – anything goes with an animal
Creative Artiste Mixed Media – anything goes mixed media (Copics, Distress Inks, Foiling, Stamping)
A Perfect Time To Craft – anything goes
Crafting Happiness – anything goes
Creative Fingers – anything goes
Ally’s Angels – anything goes