Joy To The World

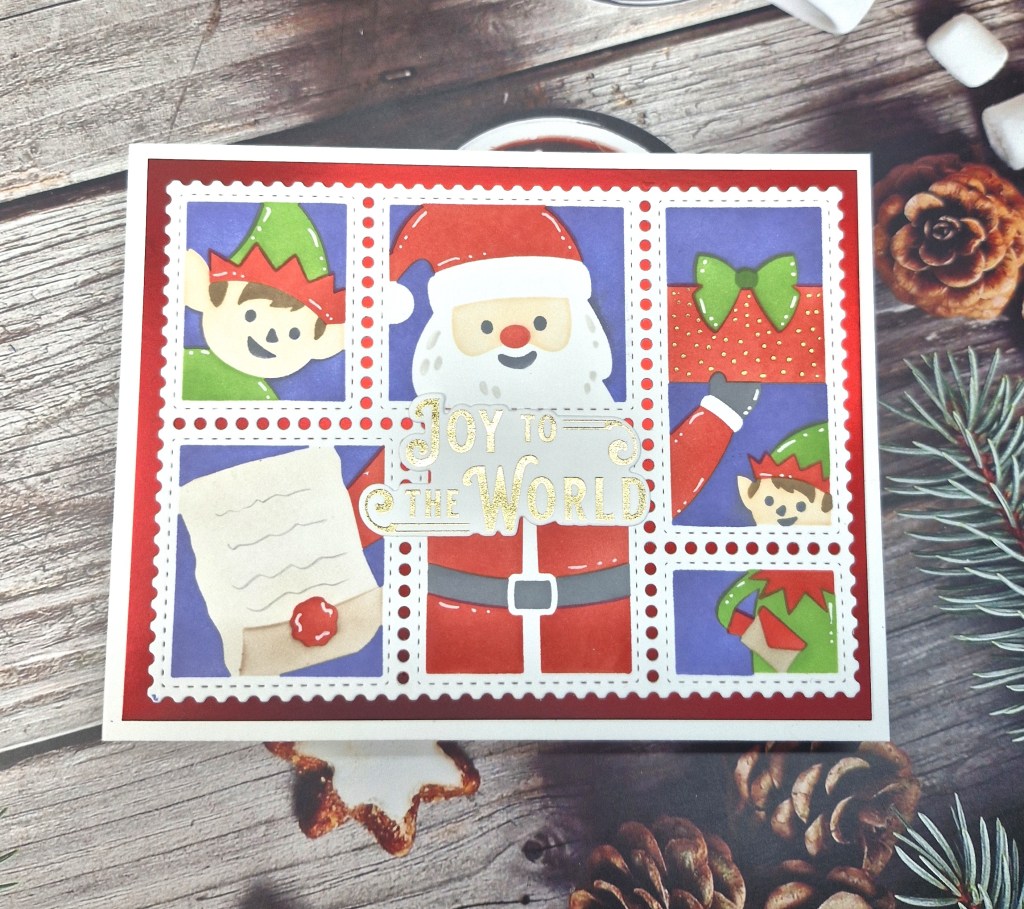
Hello everyone. After a busy few days over the Bank Holiday weekend, including a de-stash stall in our market area here in Chesterfield, Derbyshire, I find I am a day late in posting for the new challenge at The Holly & Ivy Christmas Challenge. The theme is always ‘anything goes Christmas’. Here is my card:
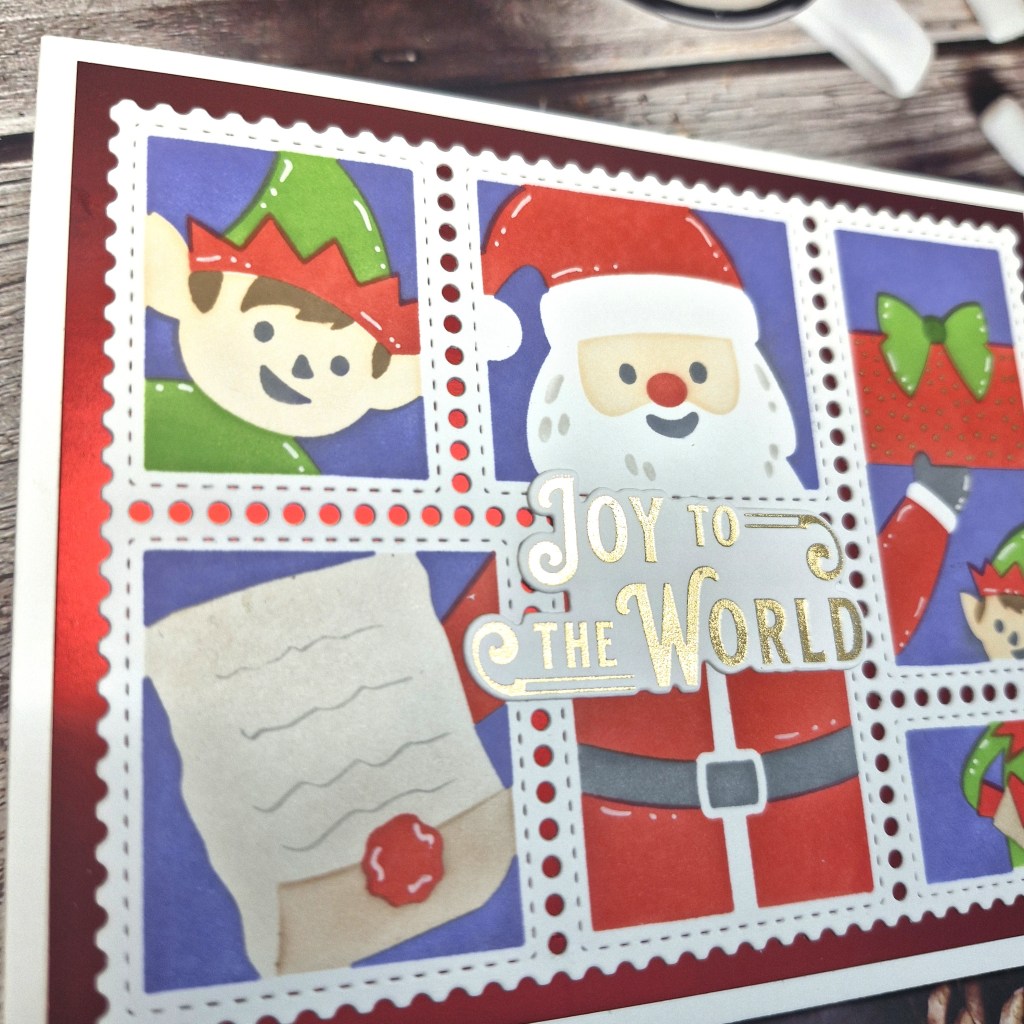
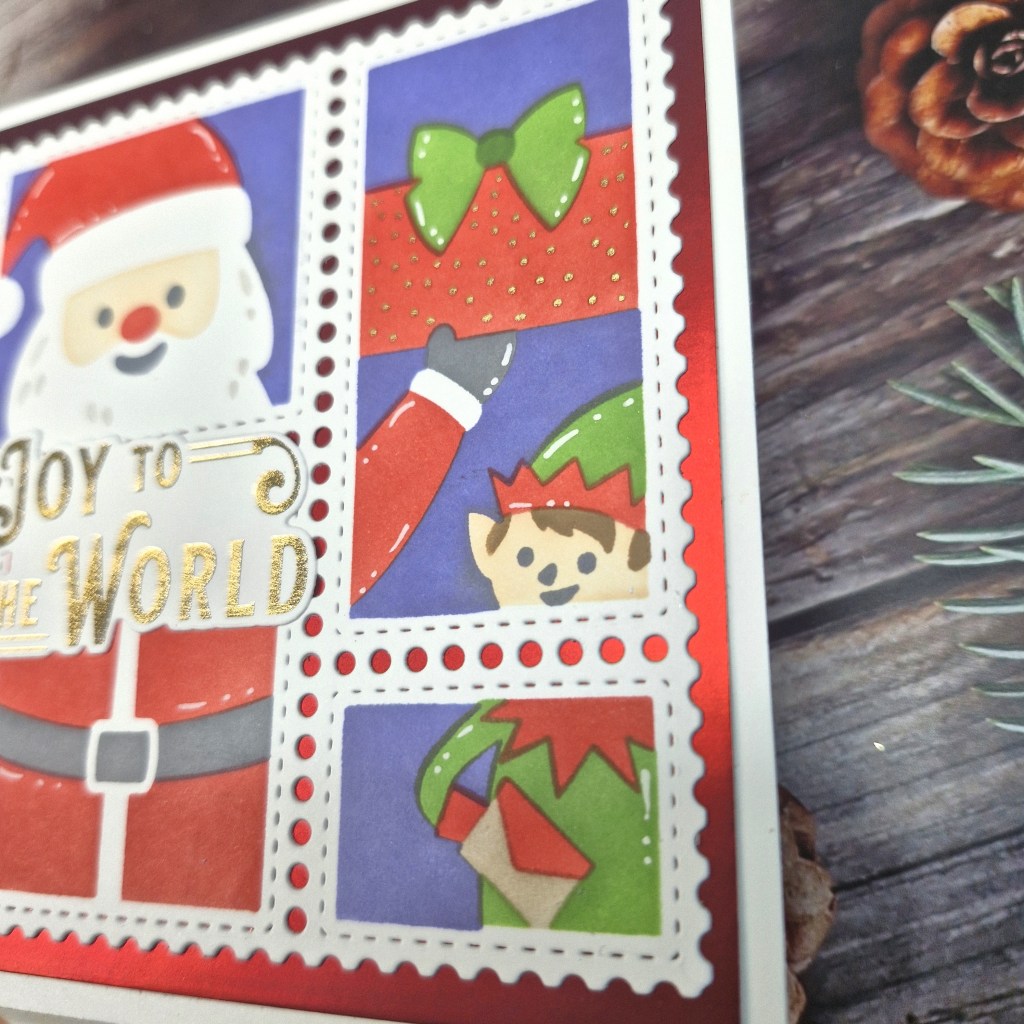
The Santa Collage is from Waffle Flower – such a joyous and festive layering stencil set. I first die cut the collage panel, laid the stencils in order, and ink blended using traditional Christmas colours – a bright red, a bright green – then added white gel pen for some extra details.

I also added some pencil scrawls across the list Santa is holding, and gold acrylic paint dots on the solid red present.

The sentiment is from a previous foiling session – I have quite a few ready for attaching to cards – and is from Pinkfresh Studio.

I will definitely be using this stencil set again, maybe in different colour ways, but I do like the traditional look for this.

I hope you can come and join us with your creations. xx

I shall be entering the following challenges:

Stencil Fun – use stencils – option of trees and/or leaves not taken

Creative Fingers – anything goes

Peace On Earth – anything goes Christmas

Addicted To Stamps & More – die cuts and/or stencils

Ally’s Angels – anything goes

Hugs Leafy Frame

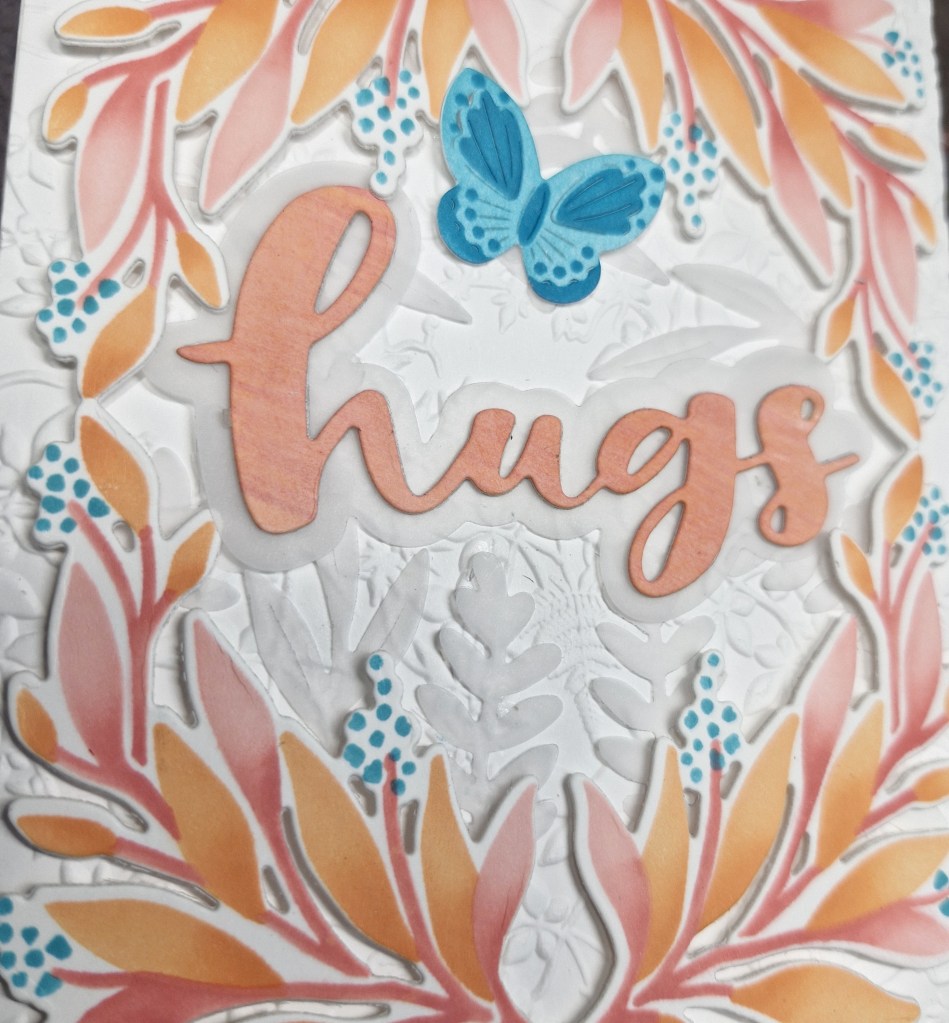
Hello everyone. There is a new challenge at Cardz 4 Galz. Johanna is hosting, and she has chosen the theme of ‘Use Vellum’. Here is my card:

I started by ink blending the leafy frame from The Greetery, using all of the layers from the stencil set and Pinkfresh Studio inks, adding some darker ink towards the bottom of each leaf, then die cut using the matching die.

The background panel was created using an embossing folder, onto which I attached the frame using small pieces of 3D foam.

I then took the vellum and die cut some extra foliage to place around and about to create more subtle details.

The sentiment was created by swiping one of the ink pads I had used for the ink blending, and using a Time 4 Tea Designs die, with the shadow layer also in vellum.

I hope you can come and join us with your projects using vellum. xx

I shall be entering the following challenges:

Ellibelle’s Corner – anything goes

A Cut Above – anything goes with die cuts

Crafts Galore – anything goes

Stencil Fun – use stencils – option of trees or leaves taken

Triple B – birds and/or butterflies and/or blooms

Creative Fingers – anything goes

Sending Snowflake Kisses

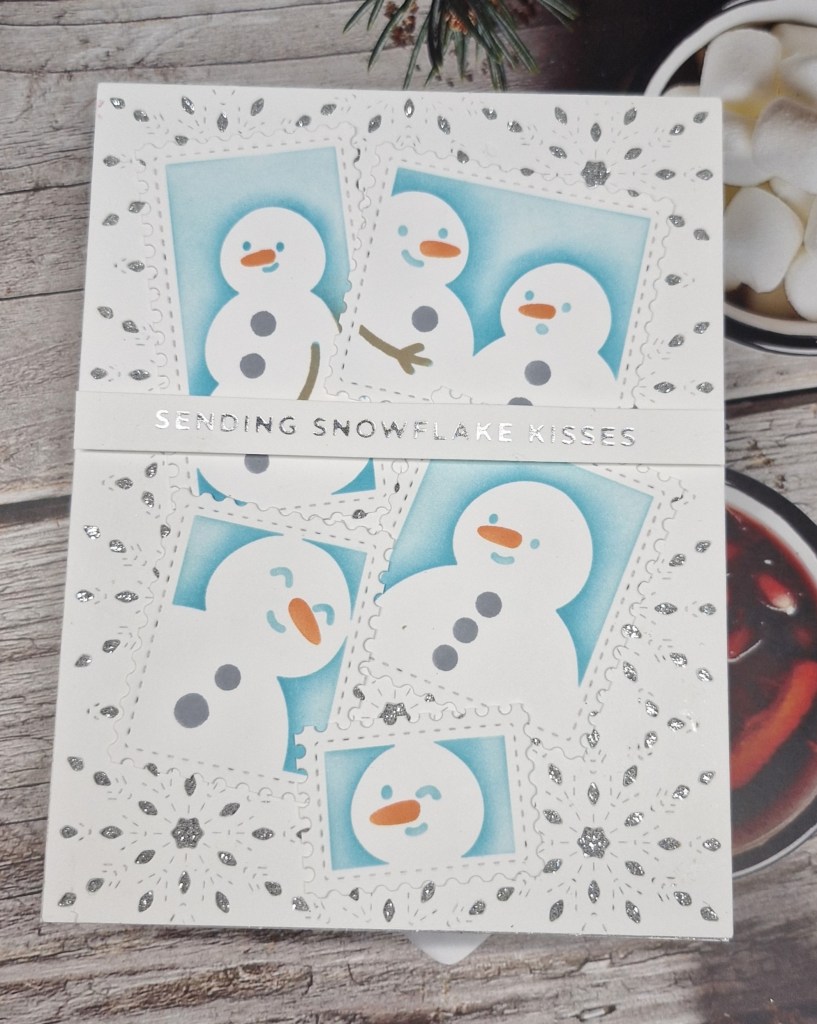
Hello once again. The Holly & Ivy Christmas Challenge is starting a new challenge. The theme is always ‘anything goes Christmas’. Here is my card:

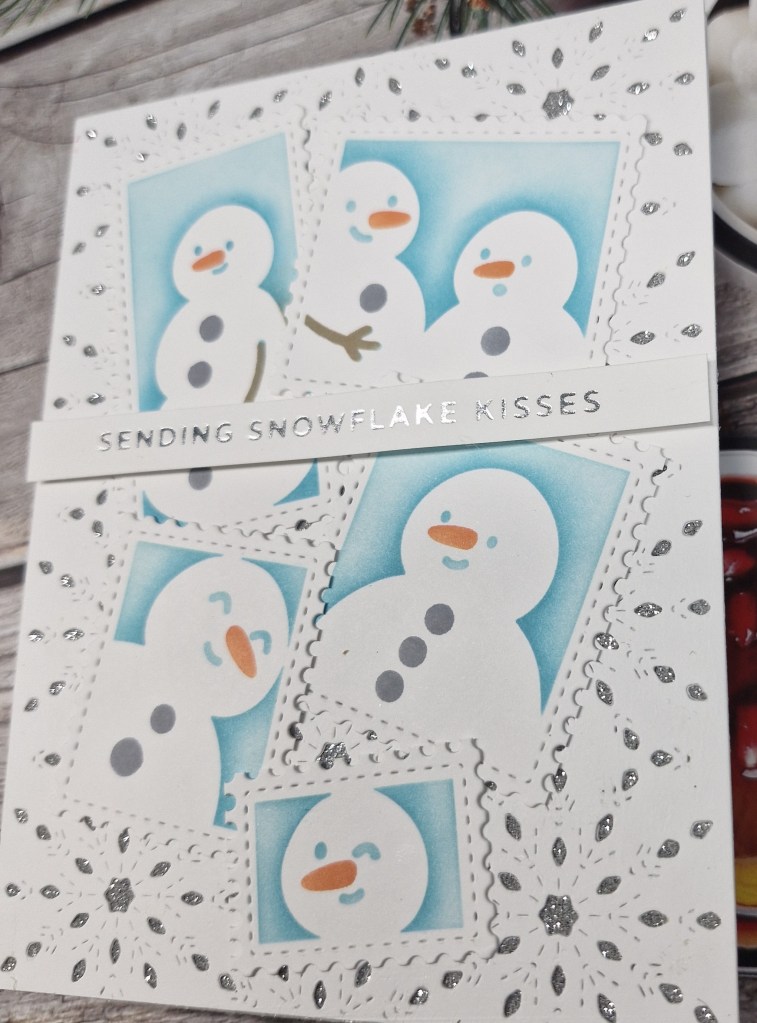
I started by die cutting the snowflake panel with white card stock using a Pinkfresh Studio and layering some silver glitter card stock behind to shine through the openings. This was added to the card base, then I set to ink blending the Waffle Flower ‘Postage Collage Snowman’ layering stencils.

I ink blended the images, then created a slightly darker halo effect around each image to highlight them a little more.

This was then die cut using the Postage Collage die, then each image cut apart to create individual pieces, and arranged on the snowflake background.

The sentiment is silver foiled.

For once, no additional embellishments as I thought the glitter card and the foiling were enough. I hope you can come and join us. xx

I shall be entering the following challenges:

Peace On Earth – anything goes Christmas

Merry Little Christmas Challenge – anything goes Christmas

Lil Patch Of Crafty Friends – anything goes

12 Months of Christmas Link-Up – anything goes Christmas

Stencil Fun – stencils – option of trees and/or leaves not taken

Congratulations

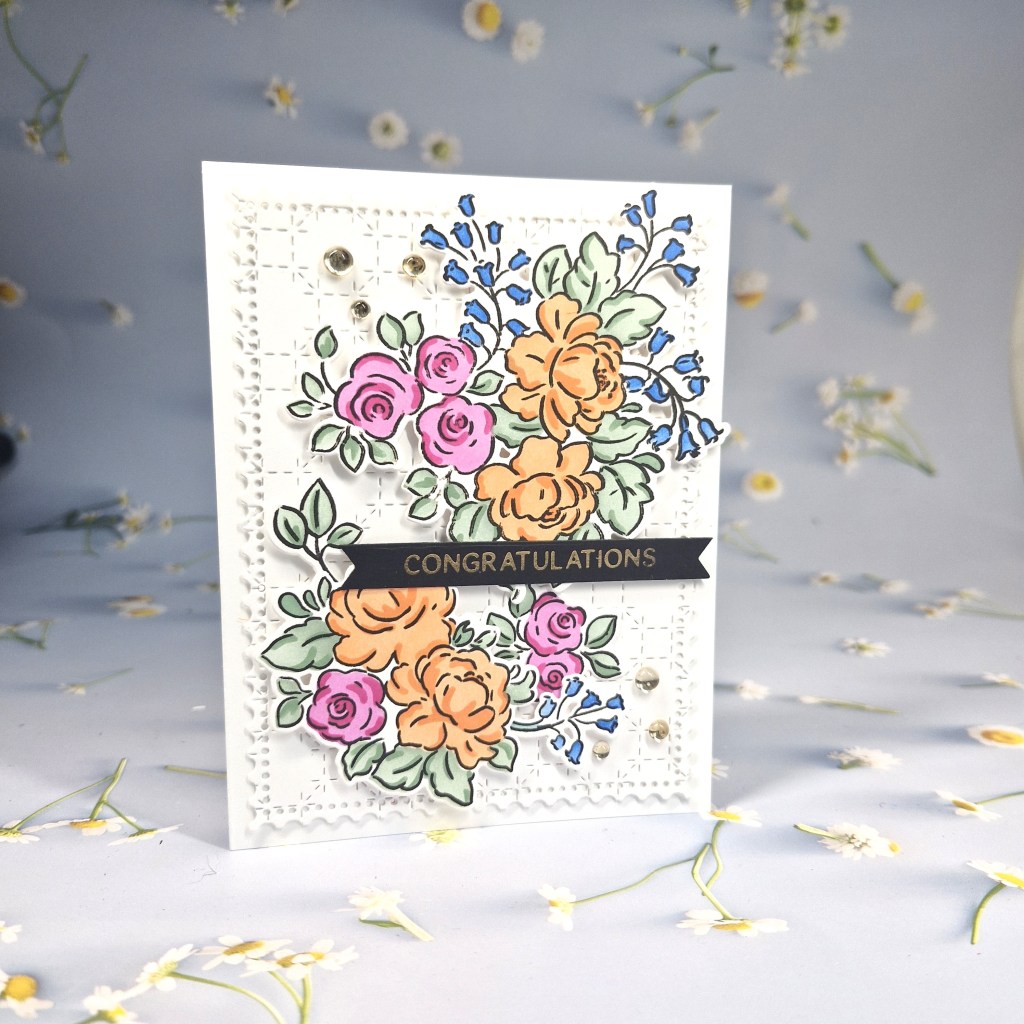
Hello again. It is my turn to host at The Alphabet Challenge, and having reached the letter ‘I’, I chose the theme of ‘ink blending’. Here is my card:

I chose to use a stamp set from Pinkfresh Studio ‘Pretty Blooms’. I stamped all the florals in a light grey ink, then used the layering stencils to ink blend using Pinkfresh Studio inks. I wanted bold and bright colours for the flowers. Once ink blended, I then stamped the images again – I hadn’t moved the stamp from my Misti. This is a technique learnt from one of the Pinkfresh Studio virtual events, it certainly gives a bolder outline when stamped after ink blending.

I then used the matching dies to cut them out.

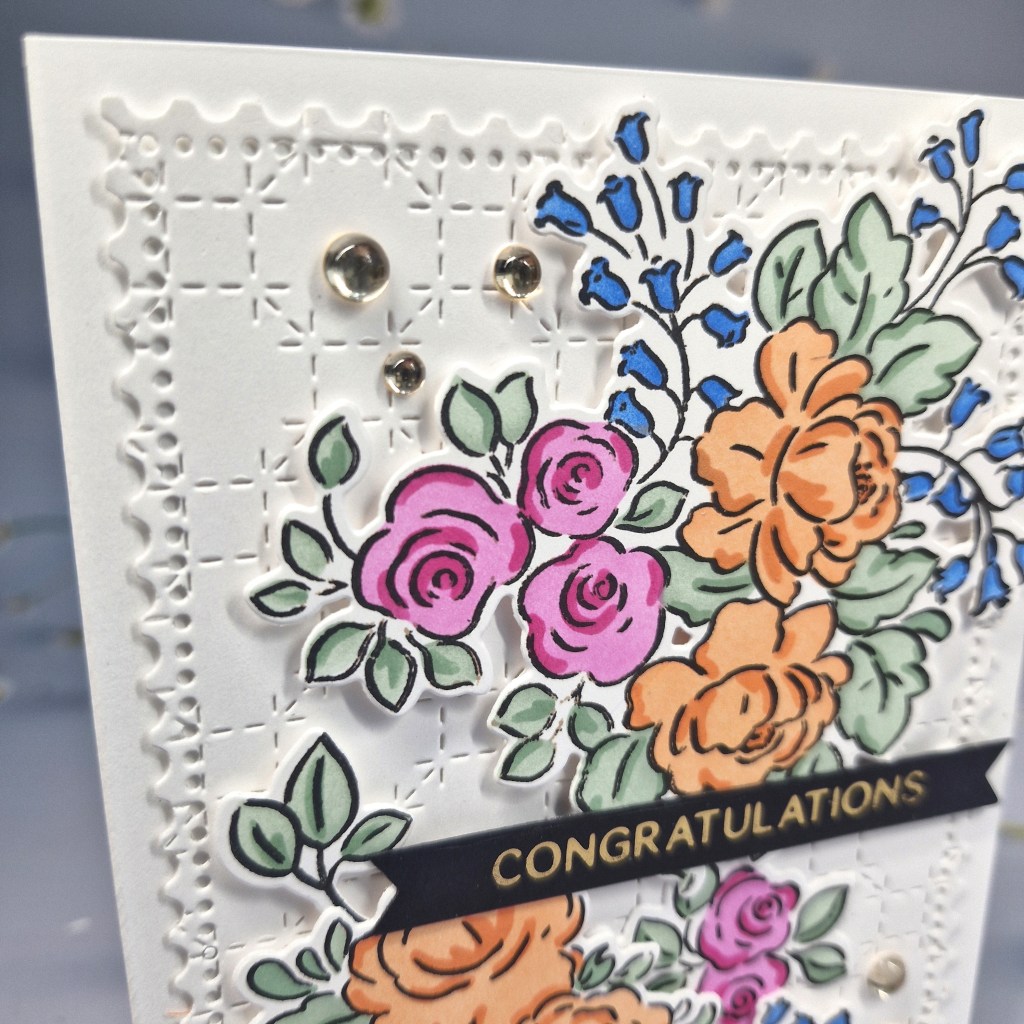
The background is a smaller than A2 panel, die cut with a postage edge die, then run through with a background panel with stitching on the create more interest.

This was adhered to the card base, the floral images adhered with 3D foam, and then the gold foiled sentiment added. The final touch – as usual with me – was adding some gold gems

I hope you can come and join us with your ink blended creations. I look forward to seeing all the variations to our theme. xx

I shall be entering the following challenges:

Beautiful Blossoms – flowers

Lil Patch Of Crafty Friends – anything goes

Ellibelle’s Corner I Spy – something to celebrate

The Flower Challenge – flowers and add embellishments

A Cut Above – anything goes with die cuts

Never Stop reaching For The Stars

Hello everyone. Cardz 4 Galz has started a new challenge. Dawn is hosting this time round, and has chosen the theme of:

Scenic – create a scene or use a scenic topper or paper

Here is my card:

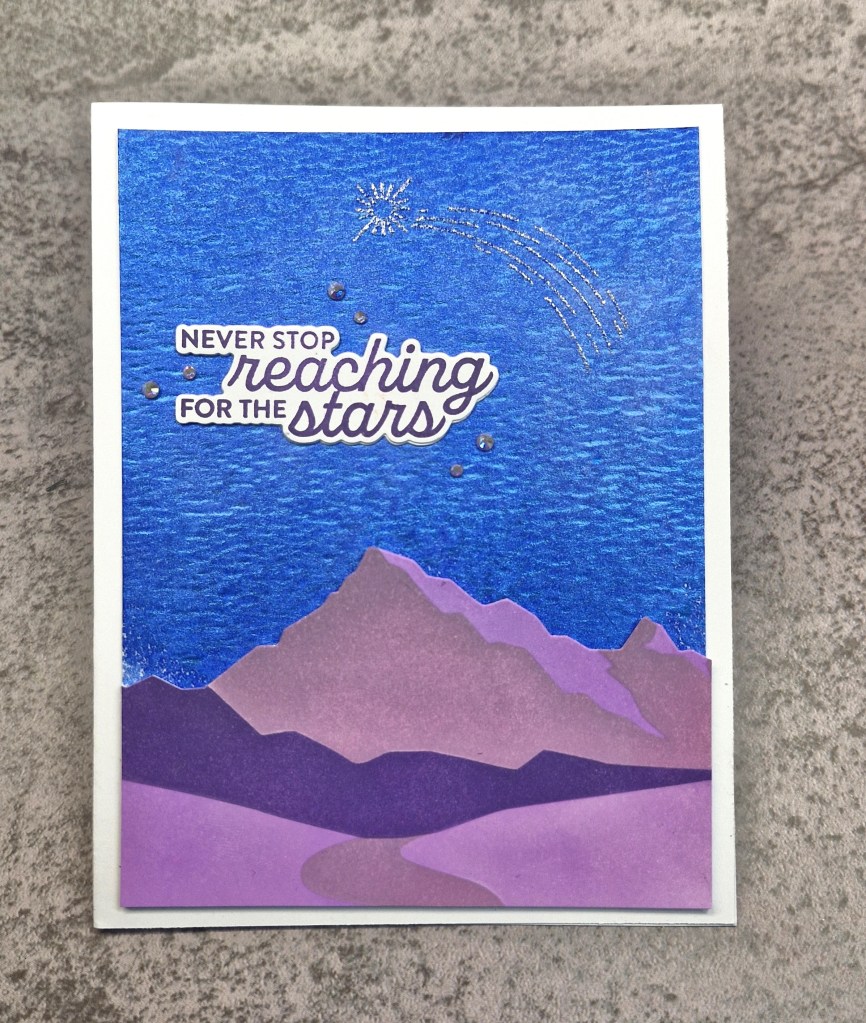
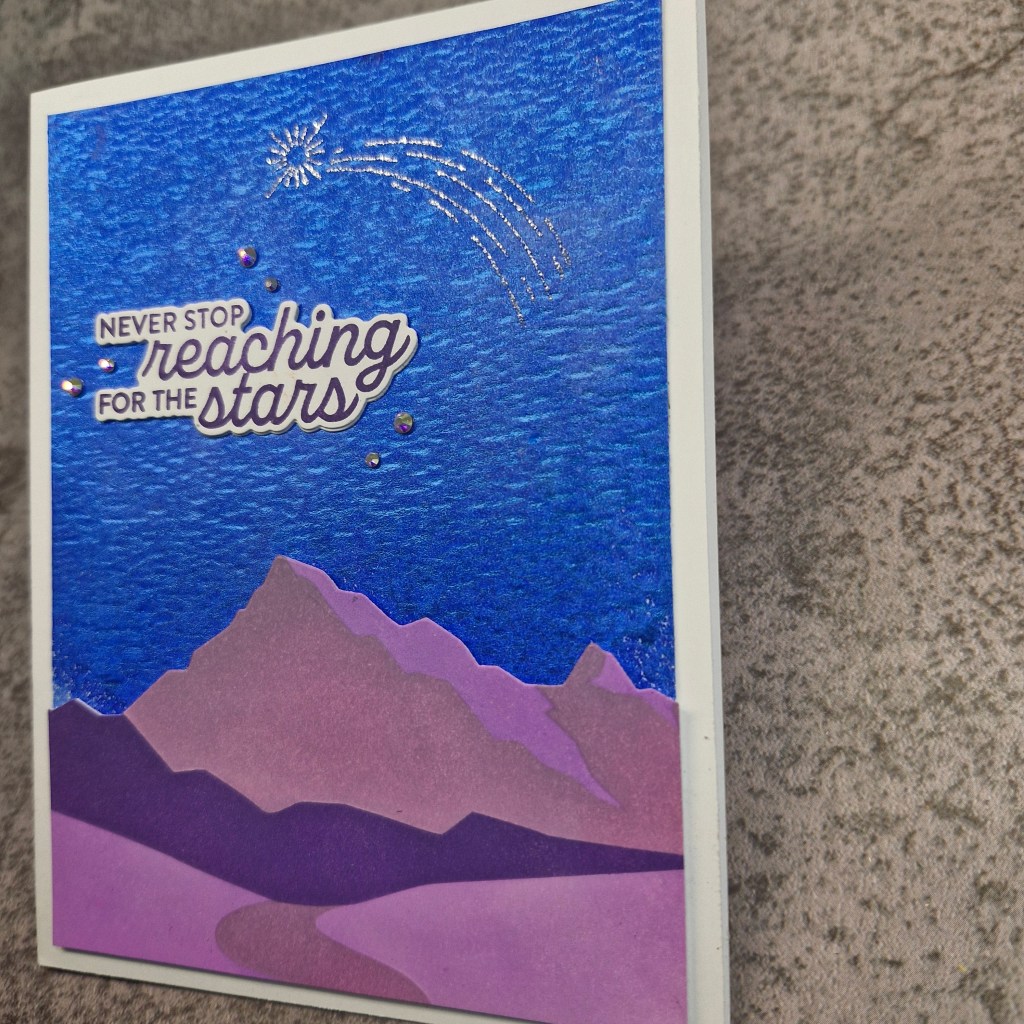
I started by creating the background panel. For this I used water-colour card stock, and sprayed some Hero Arts shimmer spray – quite liberally – to create a vivid and shimmery background.

Whilst this was drying, I created the mountain scene using stencils from Pinkfresh Studio and the recent ‘cards for him‘ event. I wanted purple mountains against the blue background, so used a selection of Pinkfresh Studio inks for the ink blending on the layering stencils. then used the matching dies to cut them out.

before adhering the blue panel to a card base, I took some stamps from the same event and heat embossed the shooting star in a silver glitter embossing powder – a subtle effect but there none-the-less.

The panel was then glued down to the card base. the mountains glued flat also, the the sentiment stamped and die cut with the matching dies, also adhered flat.

The final addition was some facetted gems.

I hope you can come and join us with your creations featuring a scene. xx

I shall be entering the following challenges:

Ally’s Angels – anything goes

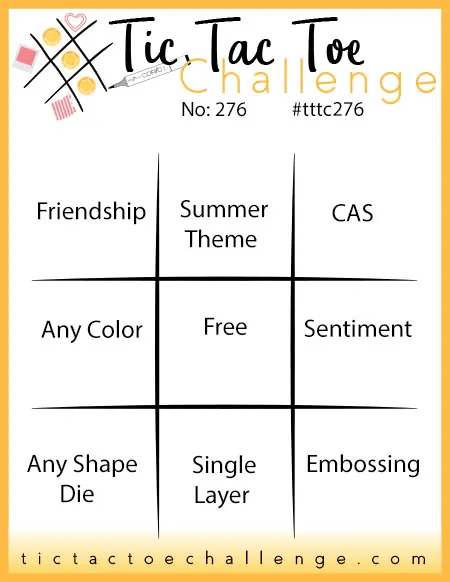
Tic Tac Toe – middle row – any colour – free – sentiment

Mix It Up – anything goes – option of mixed media taken (shimmer spray, ink, embossing powder)

A Little Holiday Sparkle

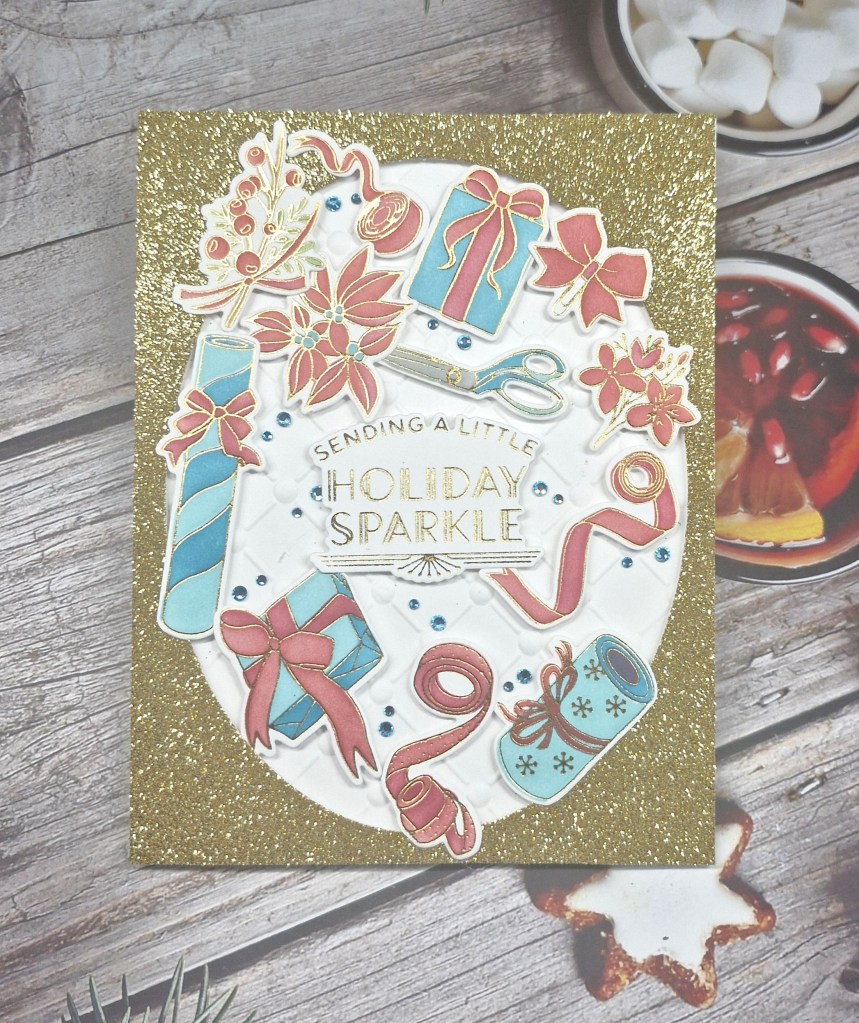
Hello again. The Holly & Ivy Christmas Challenge has started a new challenge – the theme is always ‘anything goes Christmas‘. Here is my card:

I used a collection of Pinkfresh Studio products to create this card, received for as part of a previous virtual event.

The first step was to hot foil the plate with the images on them, then ink blend with my choice of colour scheme using Pinkfresh Studio inks, then use the matching die to cut them out.

For the background, I took a white panel and used a Spellbinders embossing folder, placing that behind a panel of gold glitter card stock from which I die cut an oval from the centre.

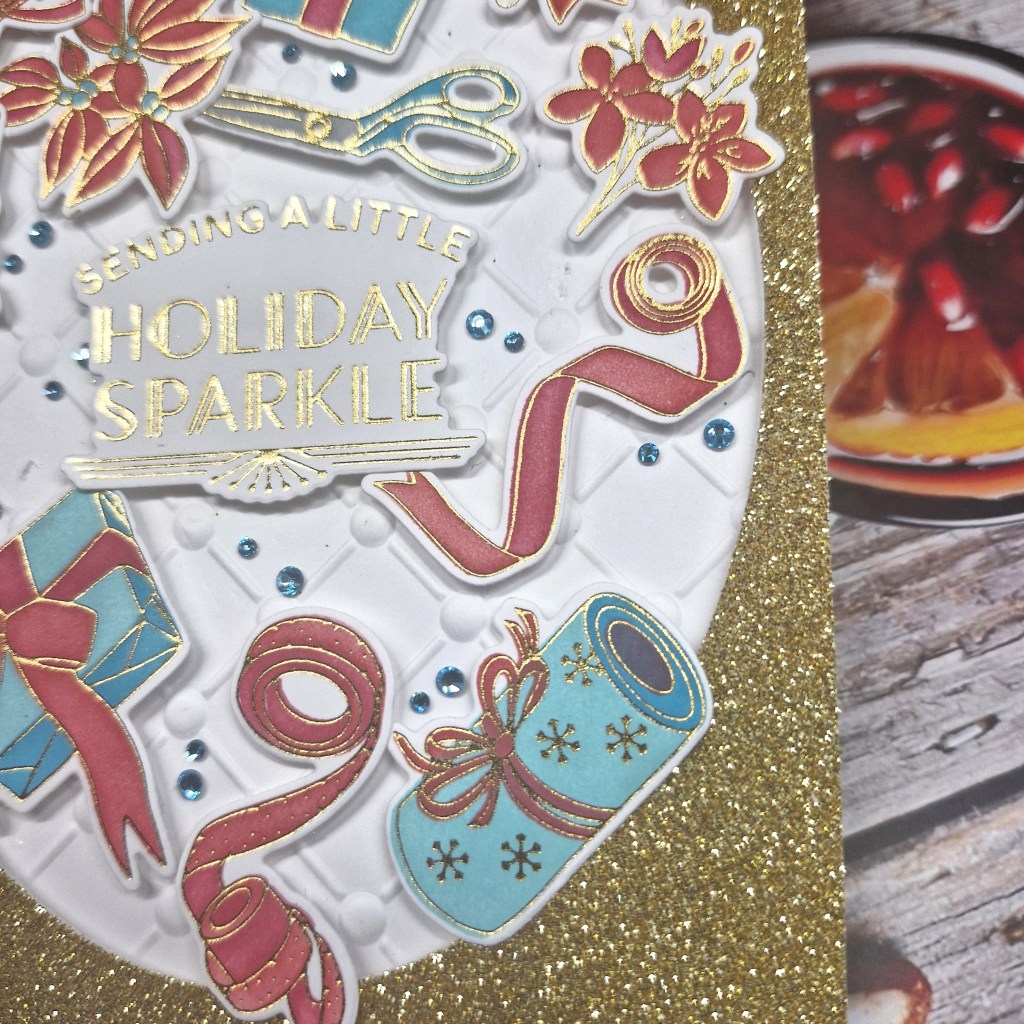
I added the hot foiled sentiment to the centre of the aperture, then arranged the images with a mixture of 3D foam and glue.

The final step was to add some teal gems here and there – quite a few actually – I just couldn’t stop….

I hope you can come and join us with your creations following our Christmas theme. xx

I shall be entering the following challenges:

Just Add Ink – Christmas

Just Us Girls – stencils

Aud Sentiments – tags and/or Christmas in July and a sentiment

Peace On Earth – anything goes Christmas

Crafters Café – anything goes – option of Christmas in July taken

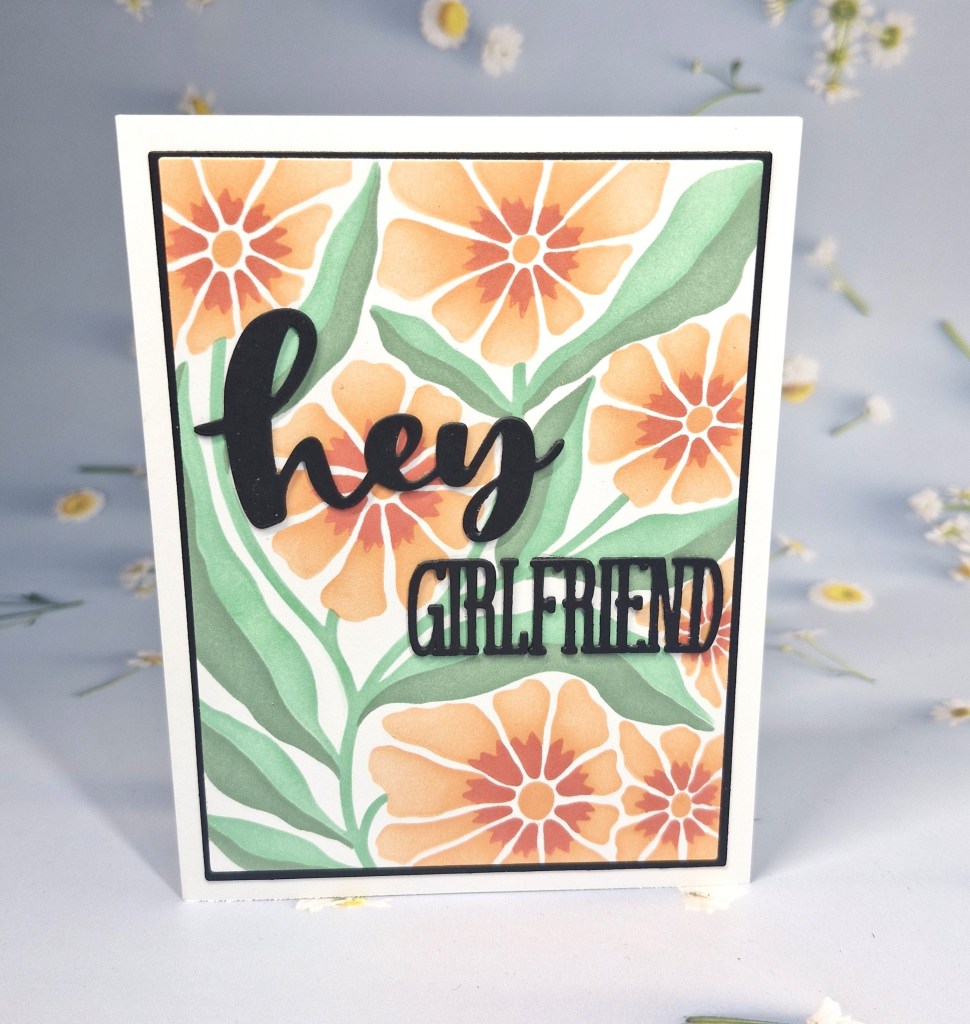
G is for Girlfriend

We have started a new challenge at The Alphabet Challenge. Having reached the letter ‘G’, Billie A has chosen the theme of:

G is for Girlfriend

Here is my card:

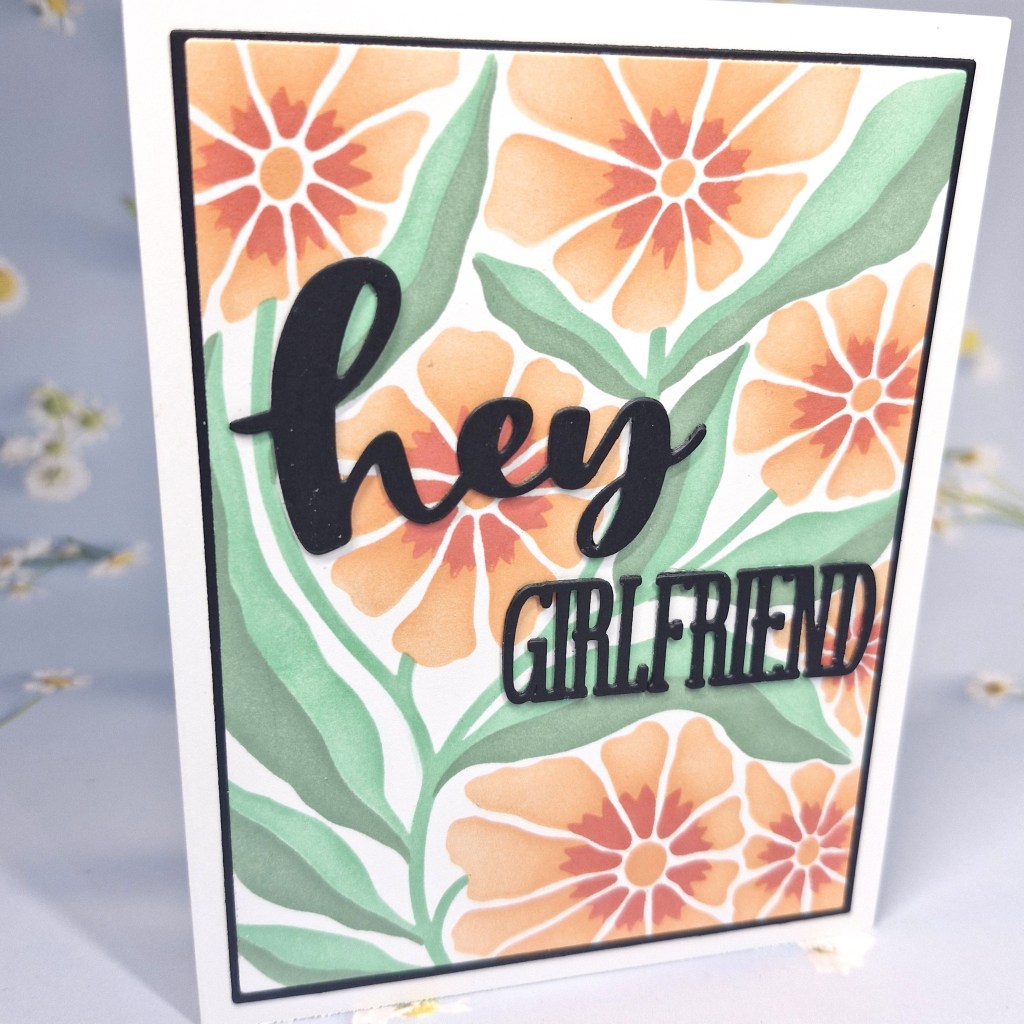
For this card, I chose to use the Concord & 9th layering stencils for the background, and ink blended using Pinkfresh Studio inks. I then cut this down slightly, added a black layer, then attached to a white card base.

The ‘hey’ part of the sentiment is from Time 4 Tea Designs,. and the ‘girlfriend’ part if from Spellbinders. Both sentiment were layered a couple of times for extra dimension.

I hope you can come and join us following our theme.

I shall be entering the following challenges:

Ally’s Angels – anything goes

Addicted To Stamps & More – make your mark

Lil Patch Of Crafty Friends – anything goes

Stencil Fun – stencils – option of use own flags colours not taken

Mouse Wedding

Hello once again. We have anew challenge starting at Cardz 4 Galz, Caz is hosting, and has chosen the theme of:

Wedding or Wedding Anniversary

Here is my card:

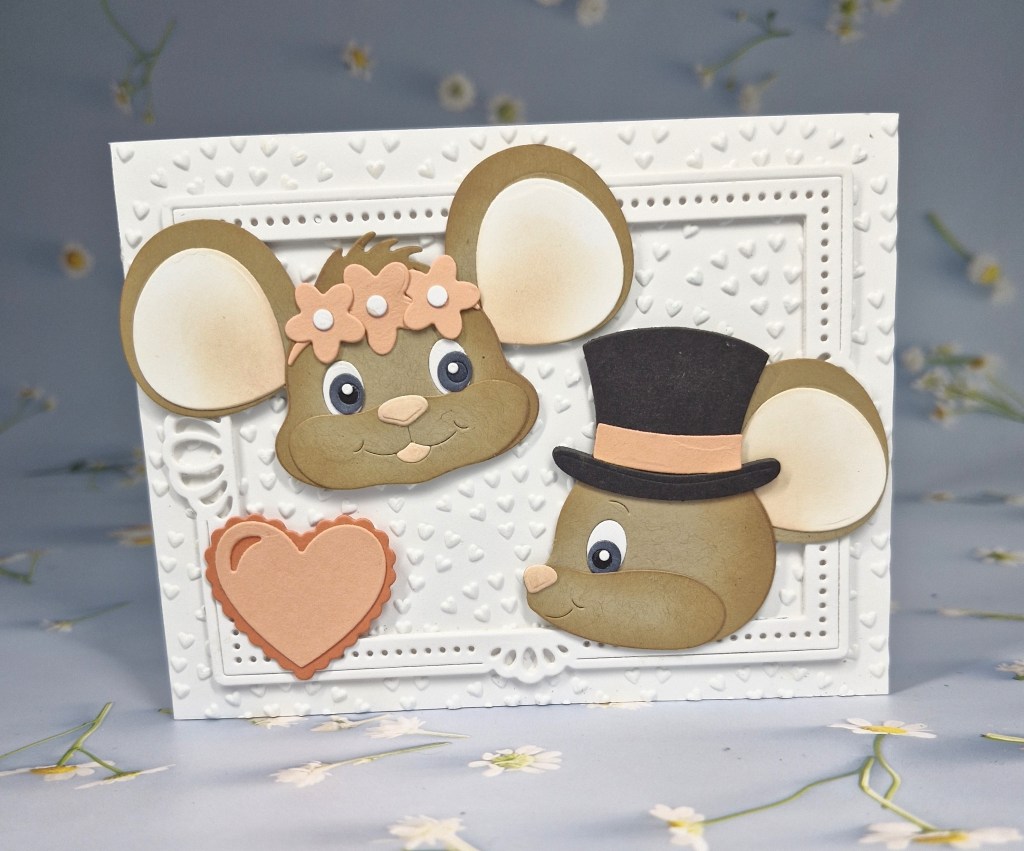
I took the opportunity to use some Elizabeth Craft Designs die sets to create this fun card. I actually gave this to someone this past weekend for their wedding.

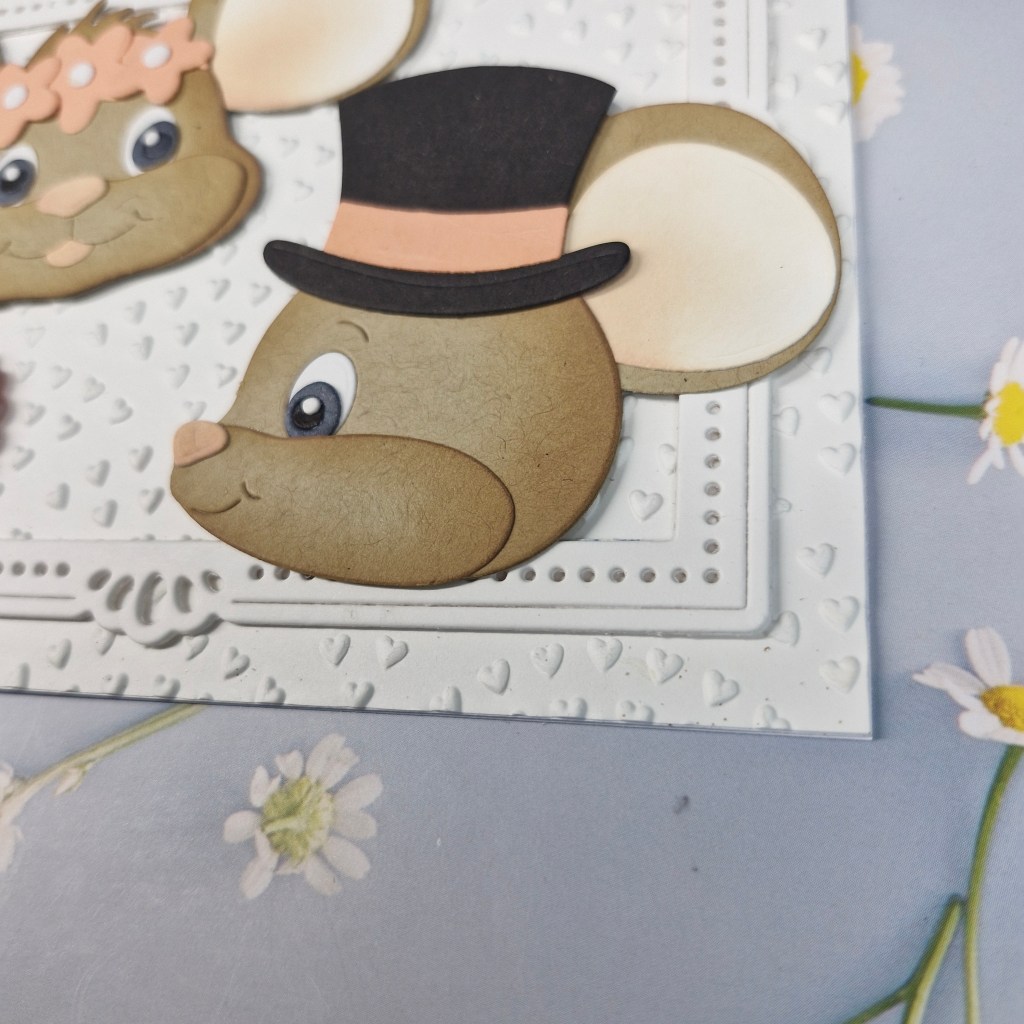
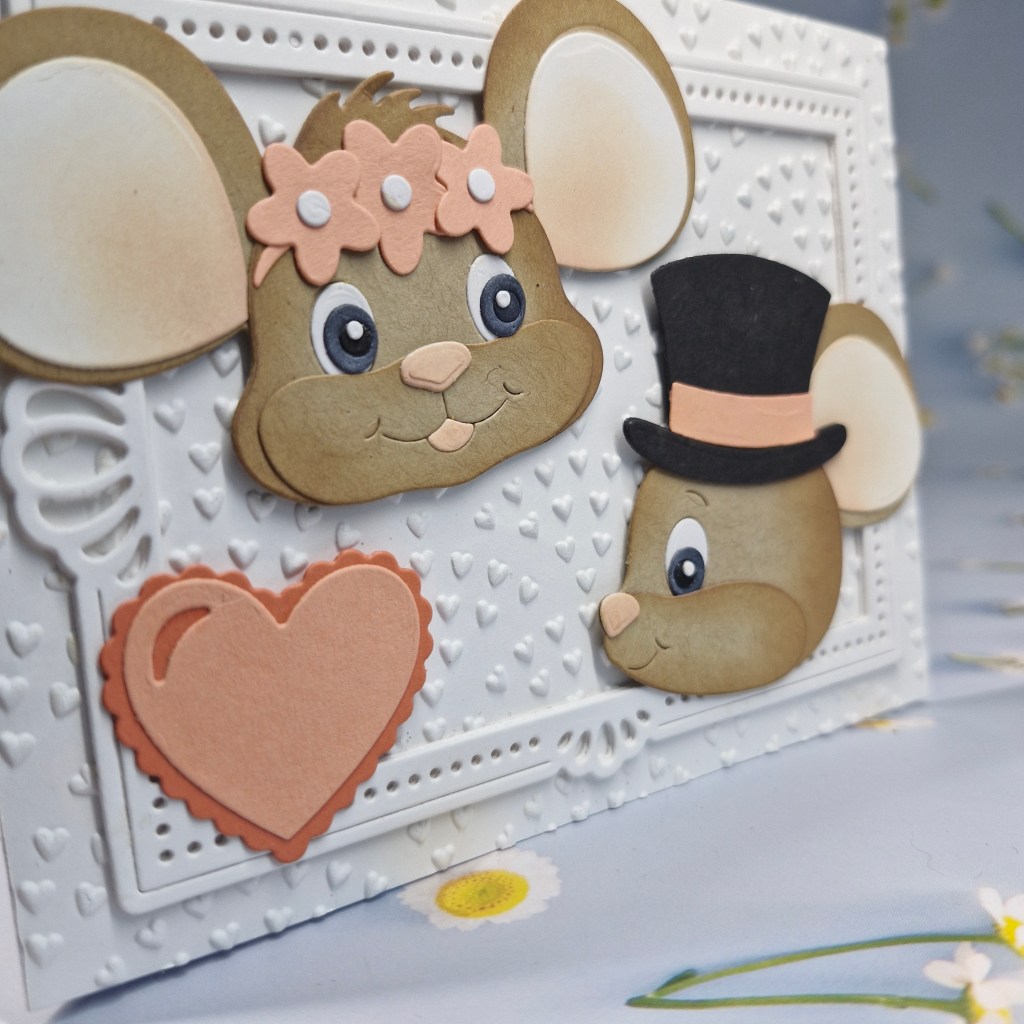
I started by die cutting the mouse heads in a brown card stock. Once die cut, I did a little ink blending around the edges to create some dimension, and assembled all the pieces. The eyes, ears, nose, mouth, hat and floral head band were also die cut and added, with a little ink blending to the ears.

These mice actually come with their bodies too – but I just used the heads for a cute and whimsical look.

The background panel was embossed using a Spellbinders embossing – all the hearts adding to the wedding vibe. The frame was die cut using a Pinkfresh Studio die set.

Hubby and I had our 37th wedding anniversary last week – 37 years! Wow! Obviously, I was married extremely young…..

I hope you can come and join us with your creations following our wedding or wedding anniversary theme. xx

I shall be entering the following challenges:

Simon Says Stamp Wednesday Challenge – emboss it

Lil Patch Of Crafty Friends – anything goes

Crafty Animals – anything goes with an animal

A Cut Above – anything goes with die cuts

Ellibelle’s Corner – anything goes

Crafts Galore – anything goes

Joy Of The Season

Hello everyone. ABC Christmas Challenge has started a new challenge. We have reached the letters ‘N‘ and ‘O‘, and the Christmas themes this time are:

N is for Non-Christmas Stash

&/or

O is for One Layer Cards

Here is my card for the ‘O is for One Layer Card’:

I started by gold heat embossing the Pinkfresh Studio ‘Berry Branch’ stamp set onto a white card base, then used the matching layering stencils to colour the image.

The sentiment was also gold heat embossed.

So – truly a one layer card. No added bling (very unlike me!), and looking very clean and simple. The Design team has some fabulous inspiration for both of the themes for this month, and I hope you are able to join us with your Christmas creations following one or both of our themes. xx

I shall be entering the following challenges:

Addicted To Stamps & More – make your mark

Everybody Art – Christmas

Daisy Chain – Christmas in July

Craft Rocket – Christmas in July

Merry Little Christmas Challenge – anything goes Christmas

12 Months of Christmas Link-Up – anything goes Christmas
Happy Birthday to a True Classic

Hello everyone. I have a card today to share as Guest Design Team member for the new challenge at Christmas (or not) Bingo.

This is the board for you to choose a column, and use at least three items from that column. I chose column I – masculine – free – stenciling:

The products I used for this card are from a recent online event by Pinkfresh Studio. I generally attend their virtual events, but wasn’t sure about this one. It was called ‘Cards For Him’ and as I rarely make masculine cards I wasn’t sure – until I saw the sneak-peeks and the range of products for the event.
I used the ‘dotted nested deckled rectangle‘ dies to create the grey frame – layered a couple of time for dimension. I took a white piece and die cut again, and this time I stencilled some light blue clouds onto it to create a background for my little scene. I then stamped the sentiment.

The car was stamped and ink blended using the matching layering stencils, then die cut. This stamp set is called ‘True Classic‘.

The houses behind were ink blended with their matching stencils, then die cut. I didn’t stamp them first as I wanted less defined outlines for those. It did make the layering of the stencils more of a challenge, but thankfully as they were all straight lines it wasn’t a major issue.

The frame was attached to the card base, the inner cloud area inserted, the car added, then the houses tucked in behind.

Hubby and I have had quite a few sports cars in our time, never a blue one though, but when you are grunting every time you try to get out of them low slung things – knees, back, hips – we decided it was time to move to cars which were higher. We have some fabulous memories though.

I hope you can come and join the team and I with your creations following one of the columns. xx