Happy Reindeer Christmas

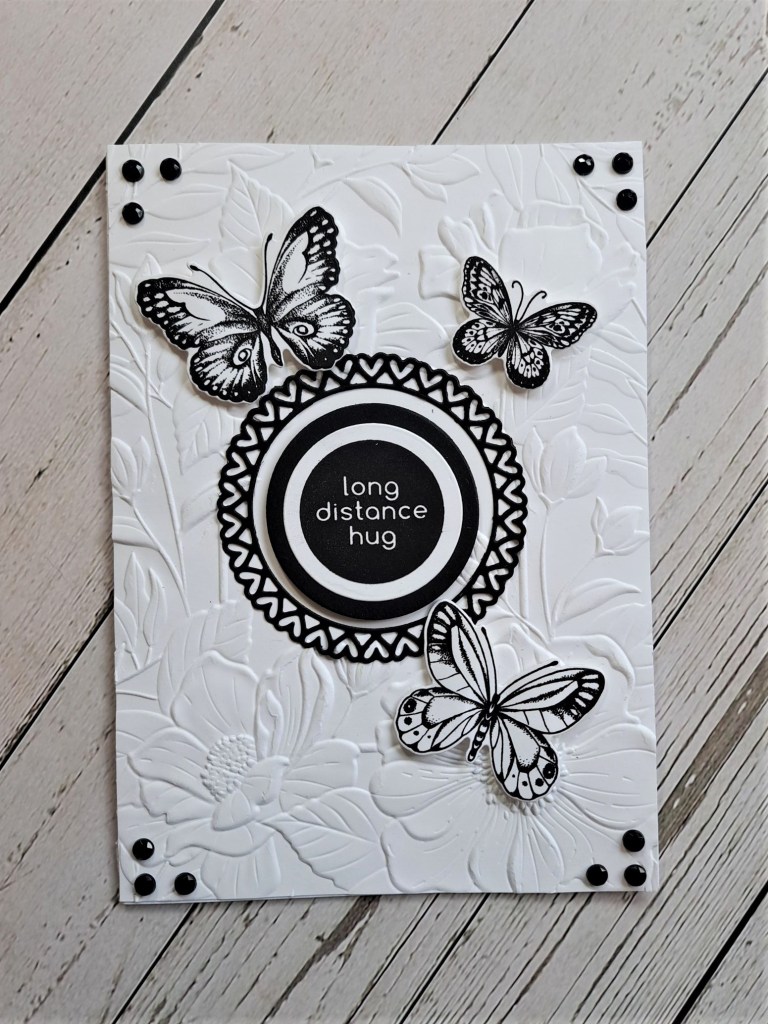
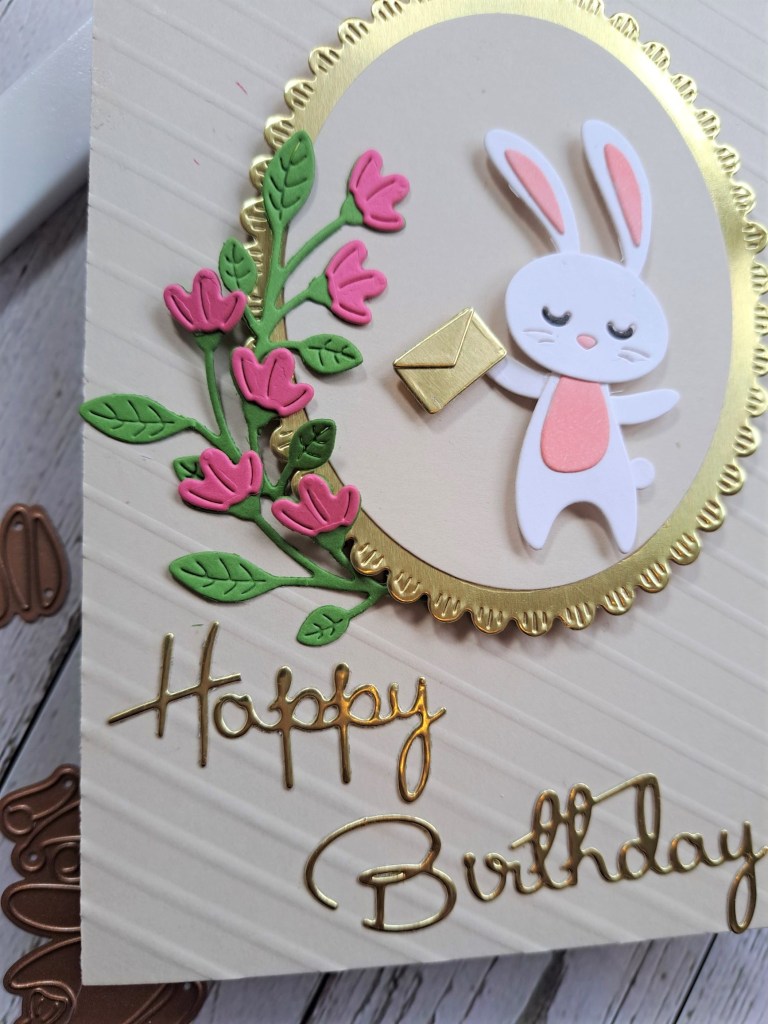
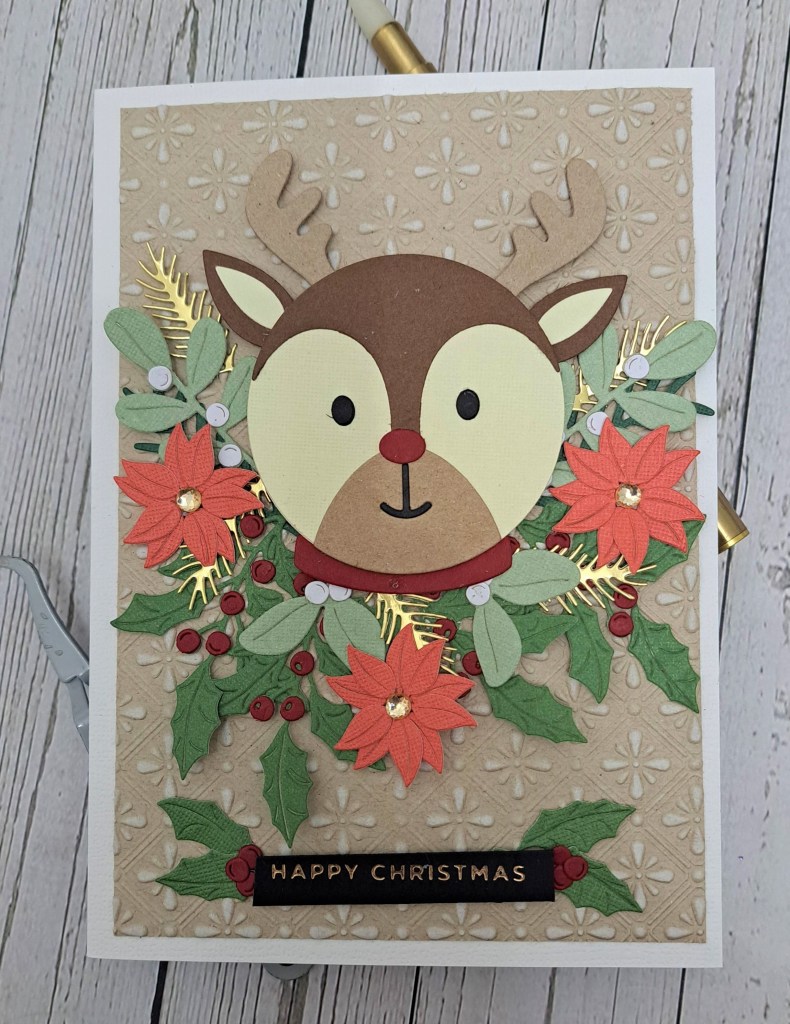
Hello everyone. I was lucky enough to be the winner of a recent Critter Crazy Challenge, and have taken them up on the offer to be this month’s Guest Designers. The theme for their challenges is ‘anything goes with a critter. The animal has to be the main focus. Here is my card:

I have been wanting to use this new die set from Spellbinders, designed by Nichol Spohr, and thought this challenge would be the ideal opportunity.

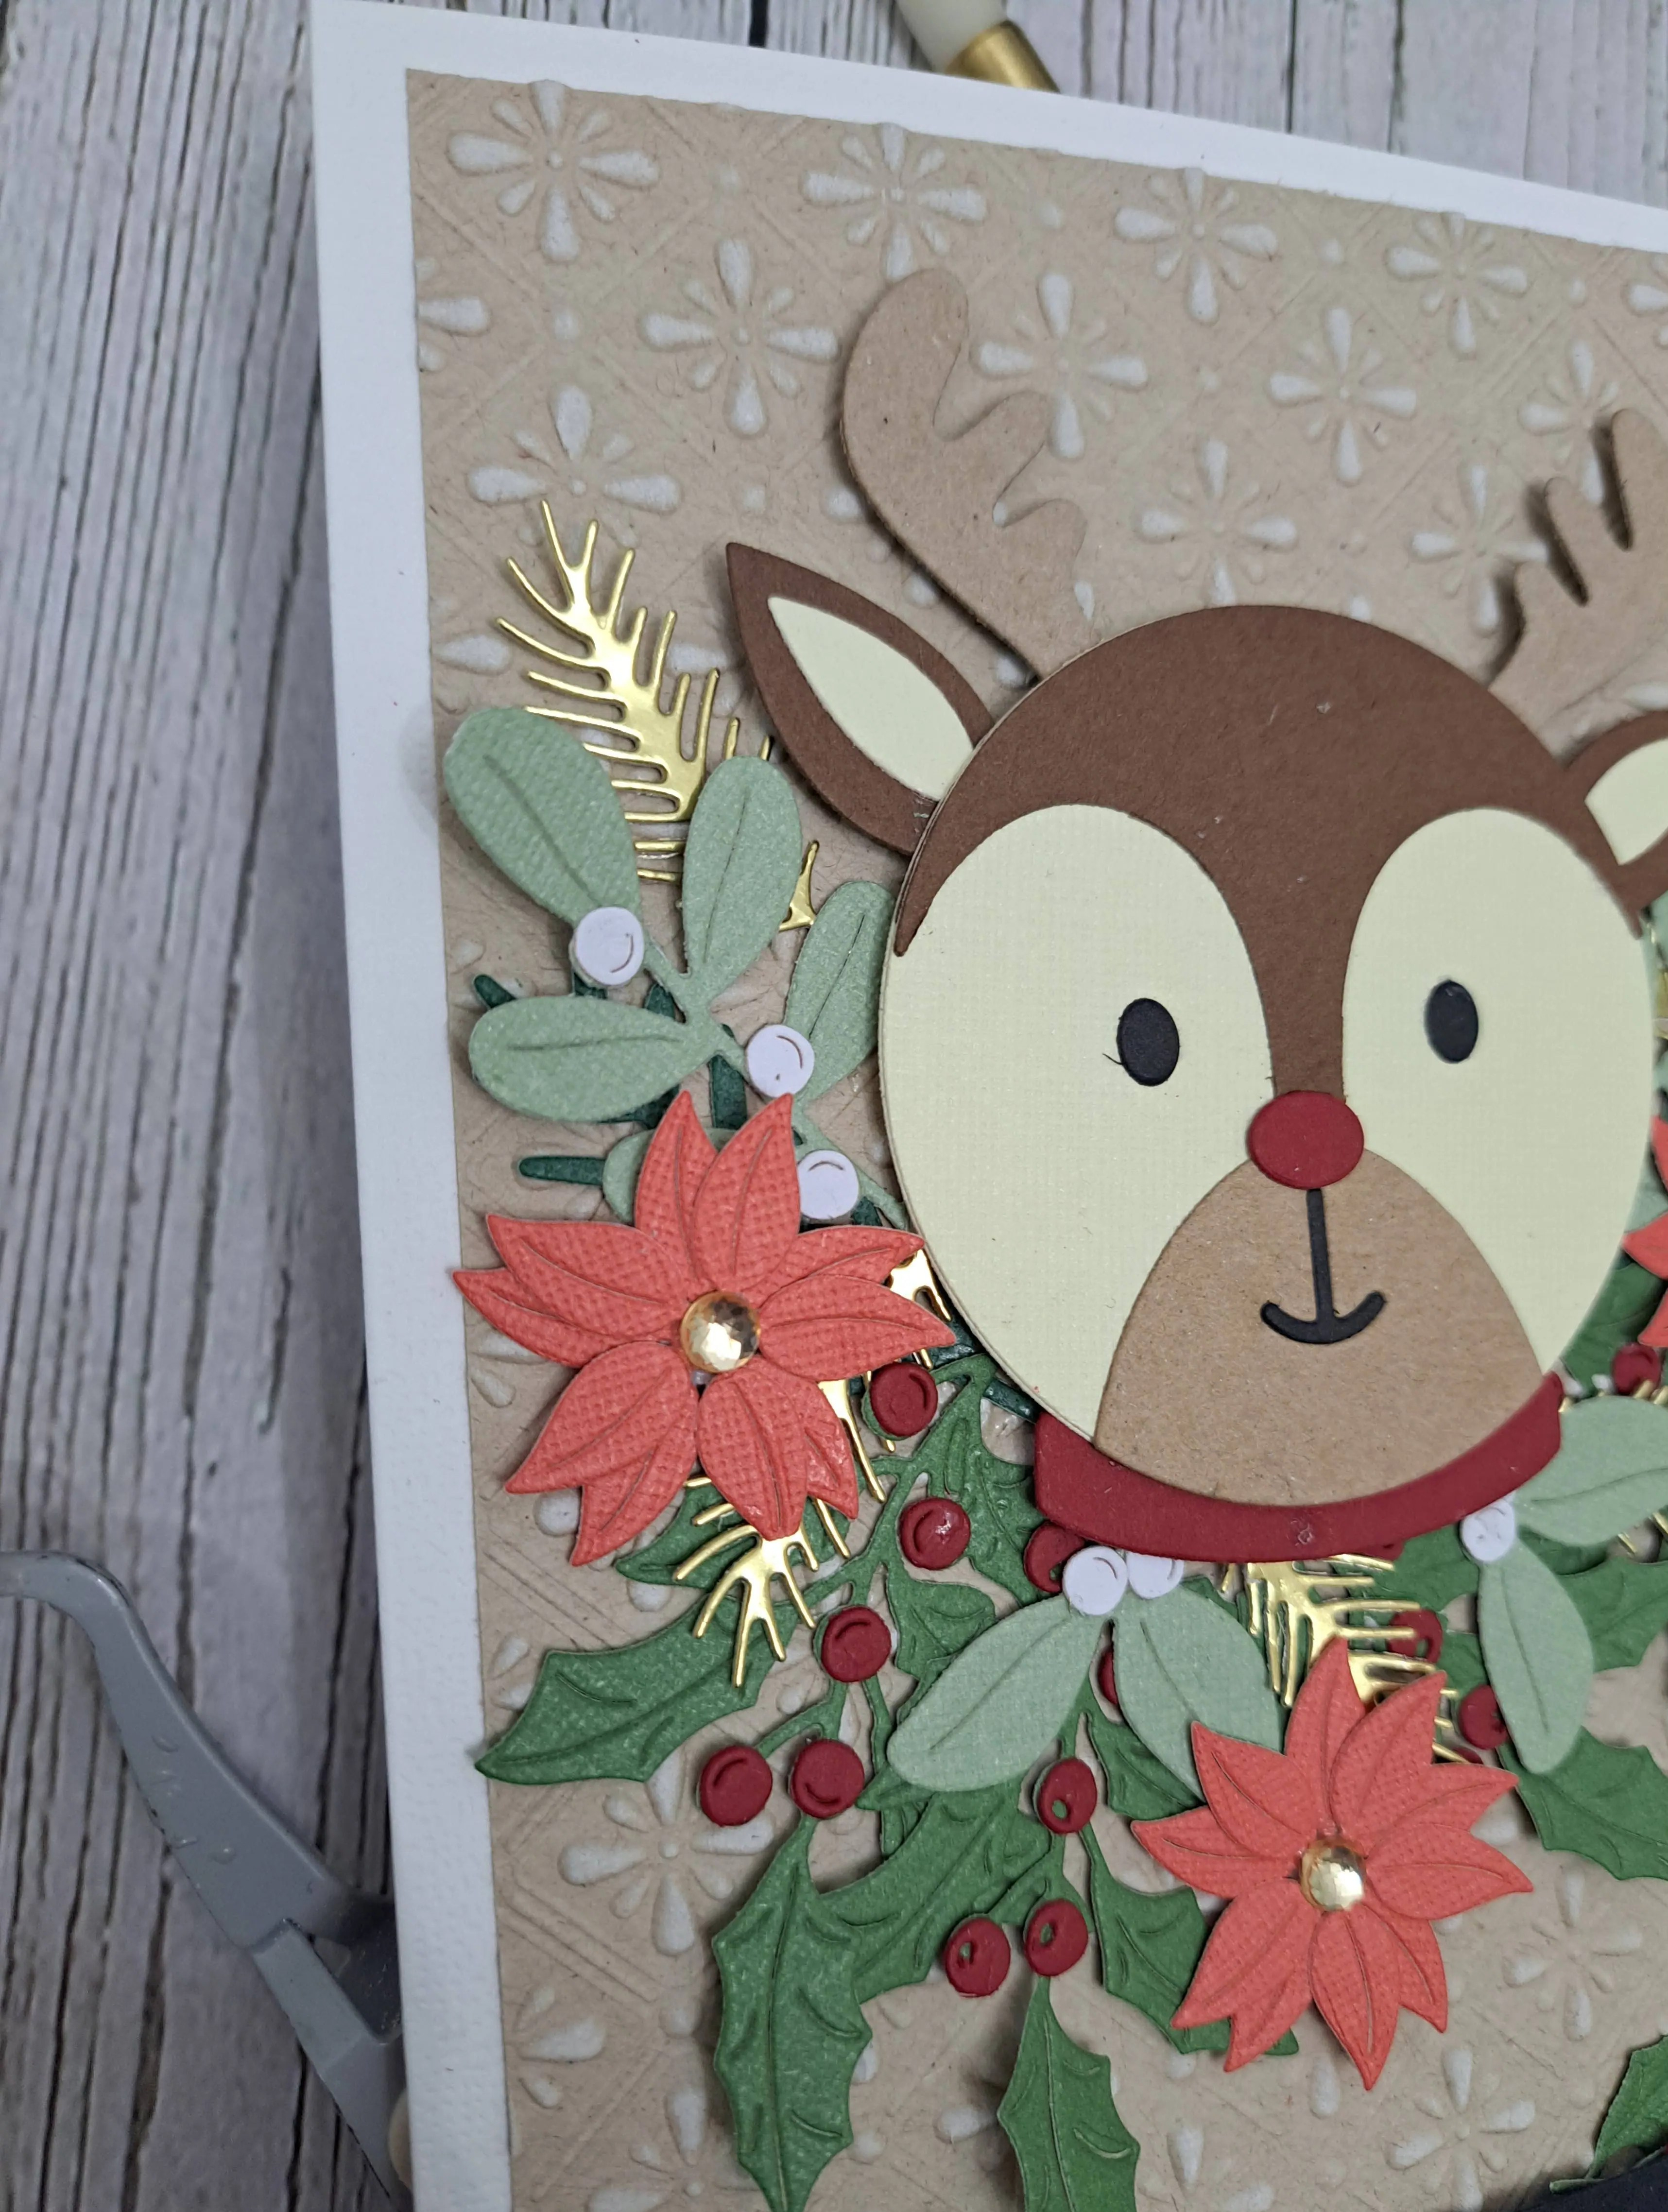
I first die cut the elements to make the reindeer, and assembled all the layers. This reindeer was my second go at it – I added the muzzle and mouth the wrong way up the first time – and then wondered why he looked so sad……!

I put him to one side then concentrated on the other elements.

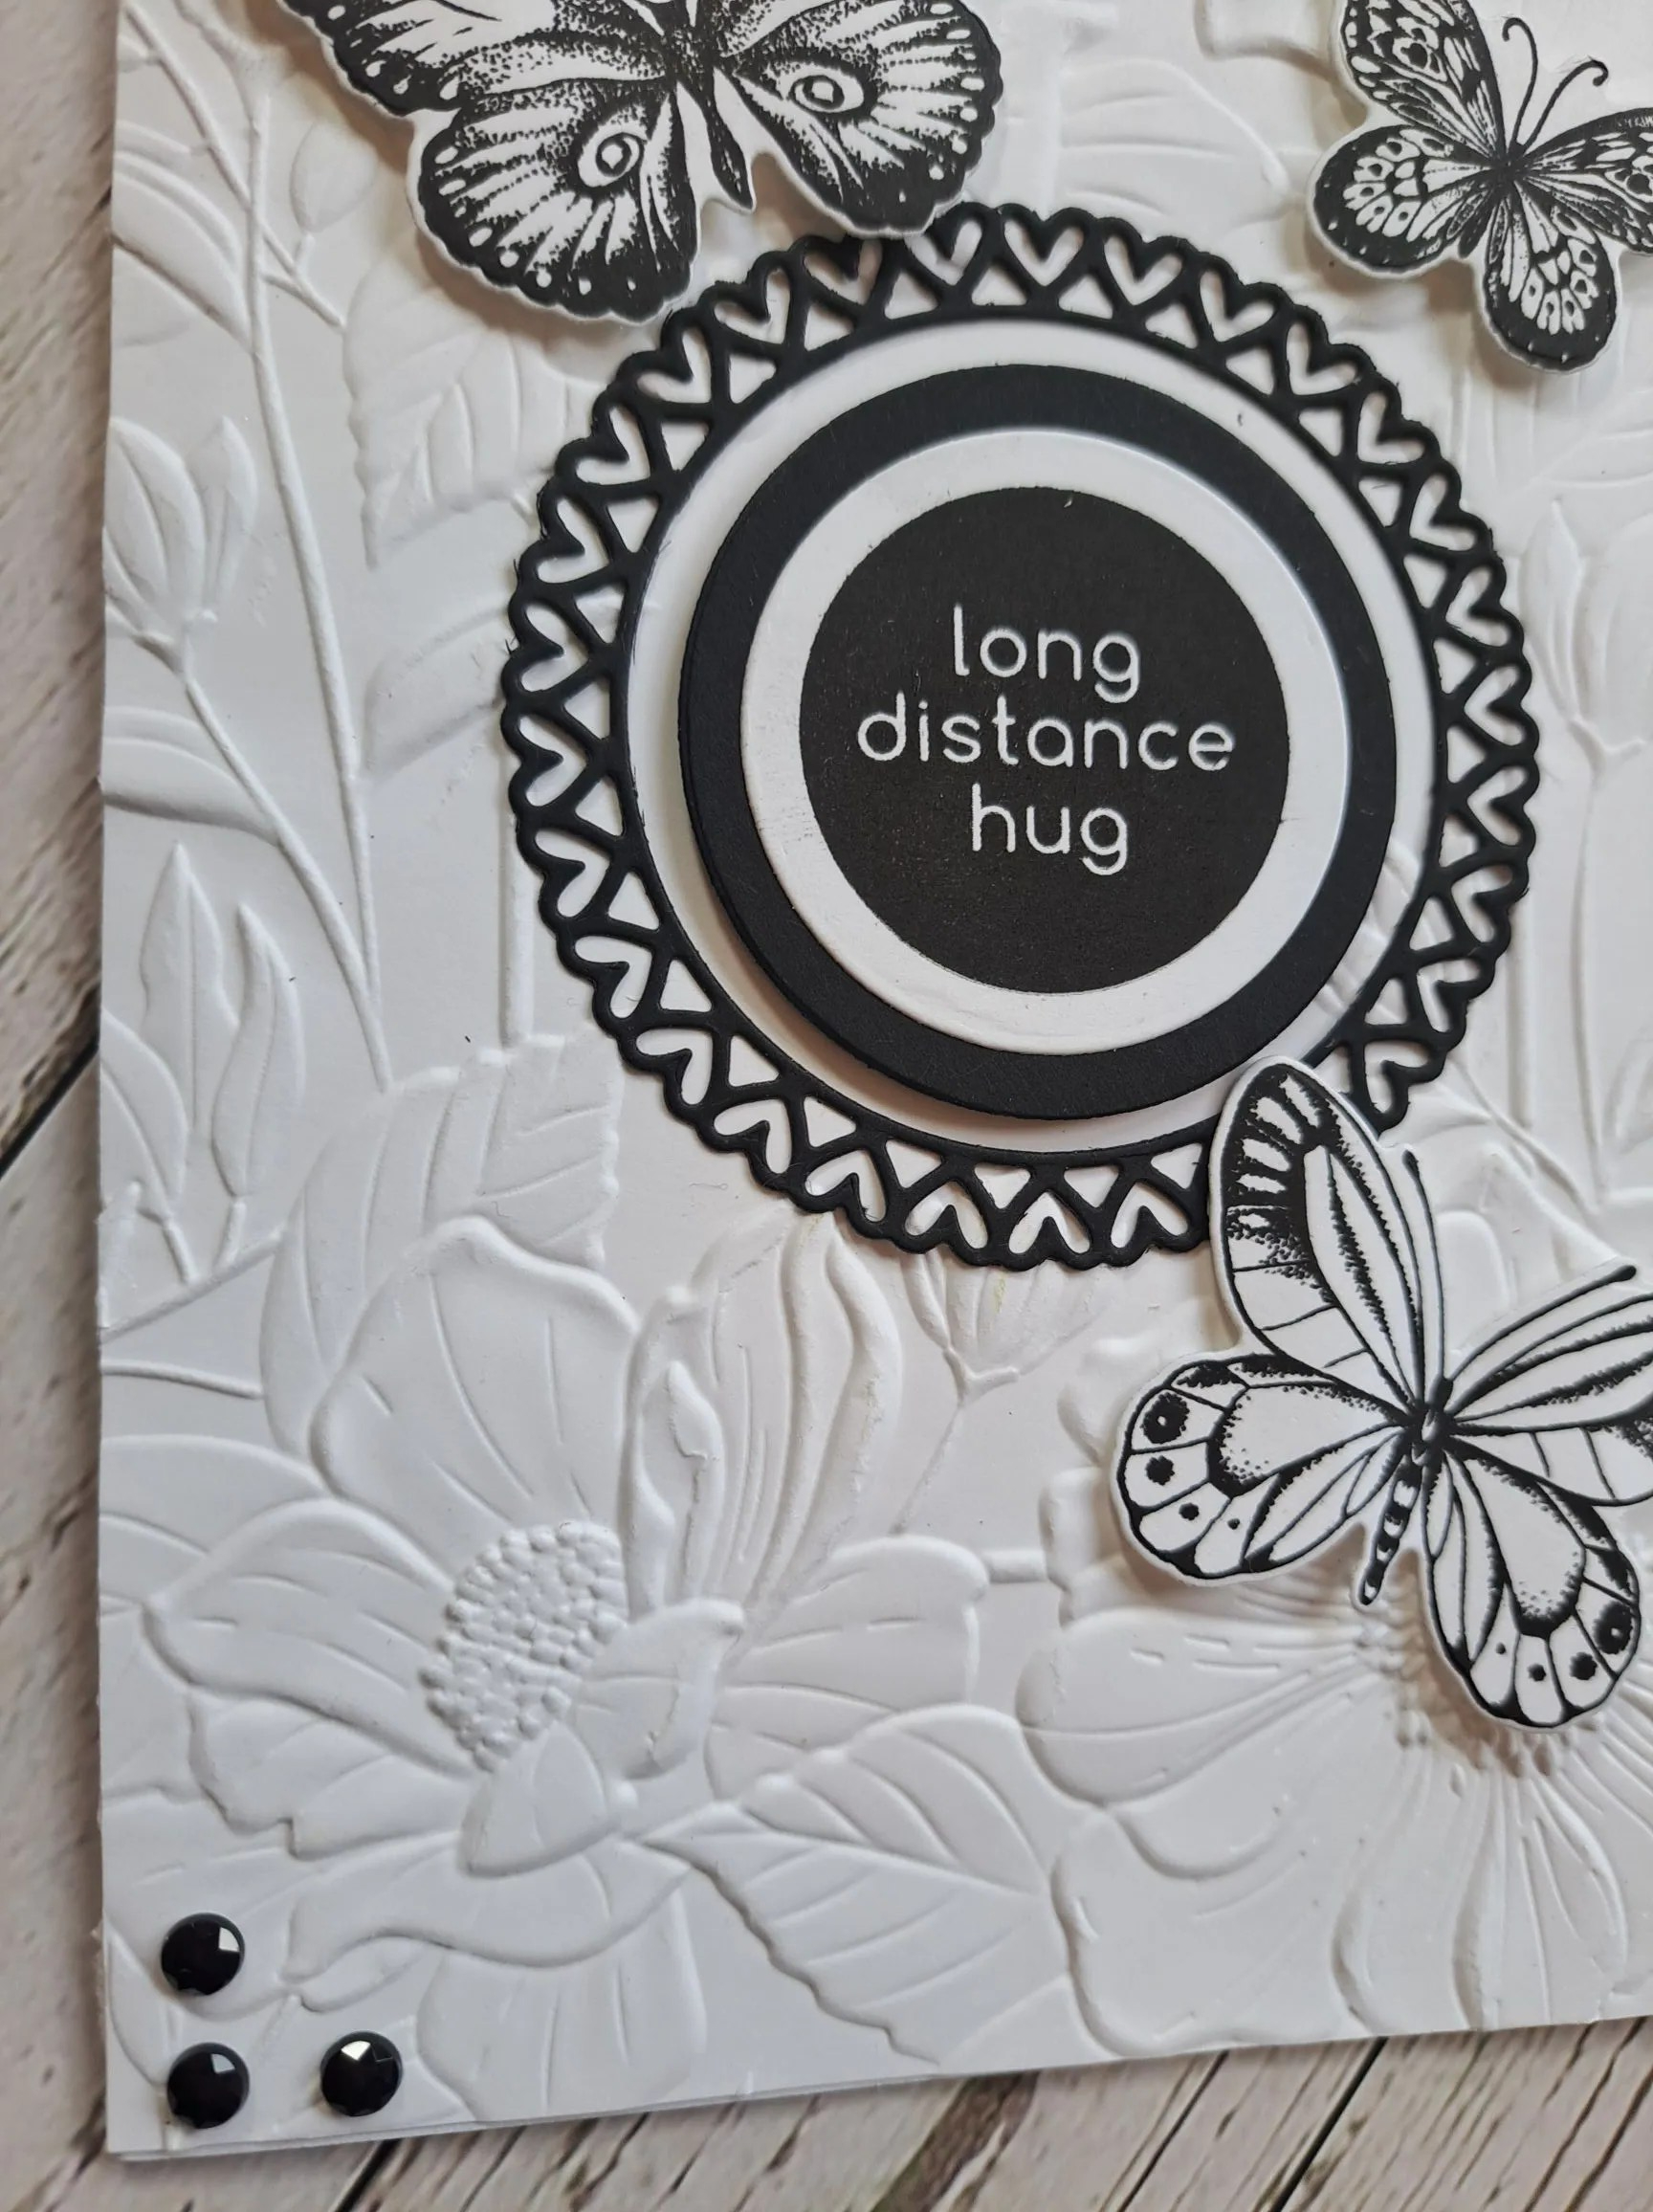
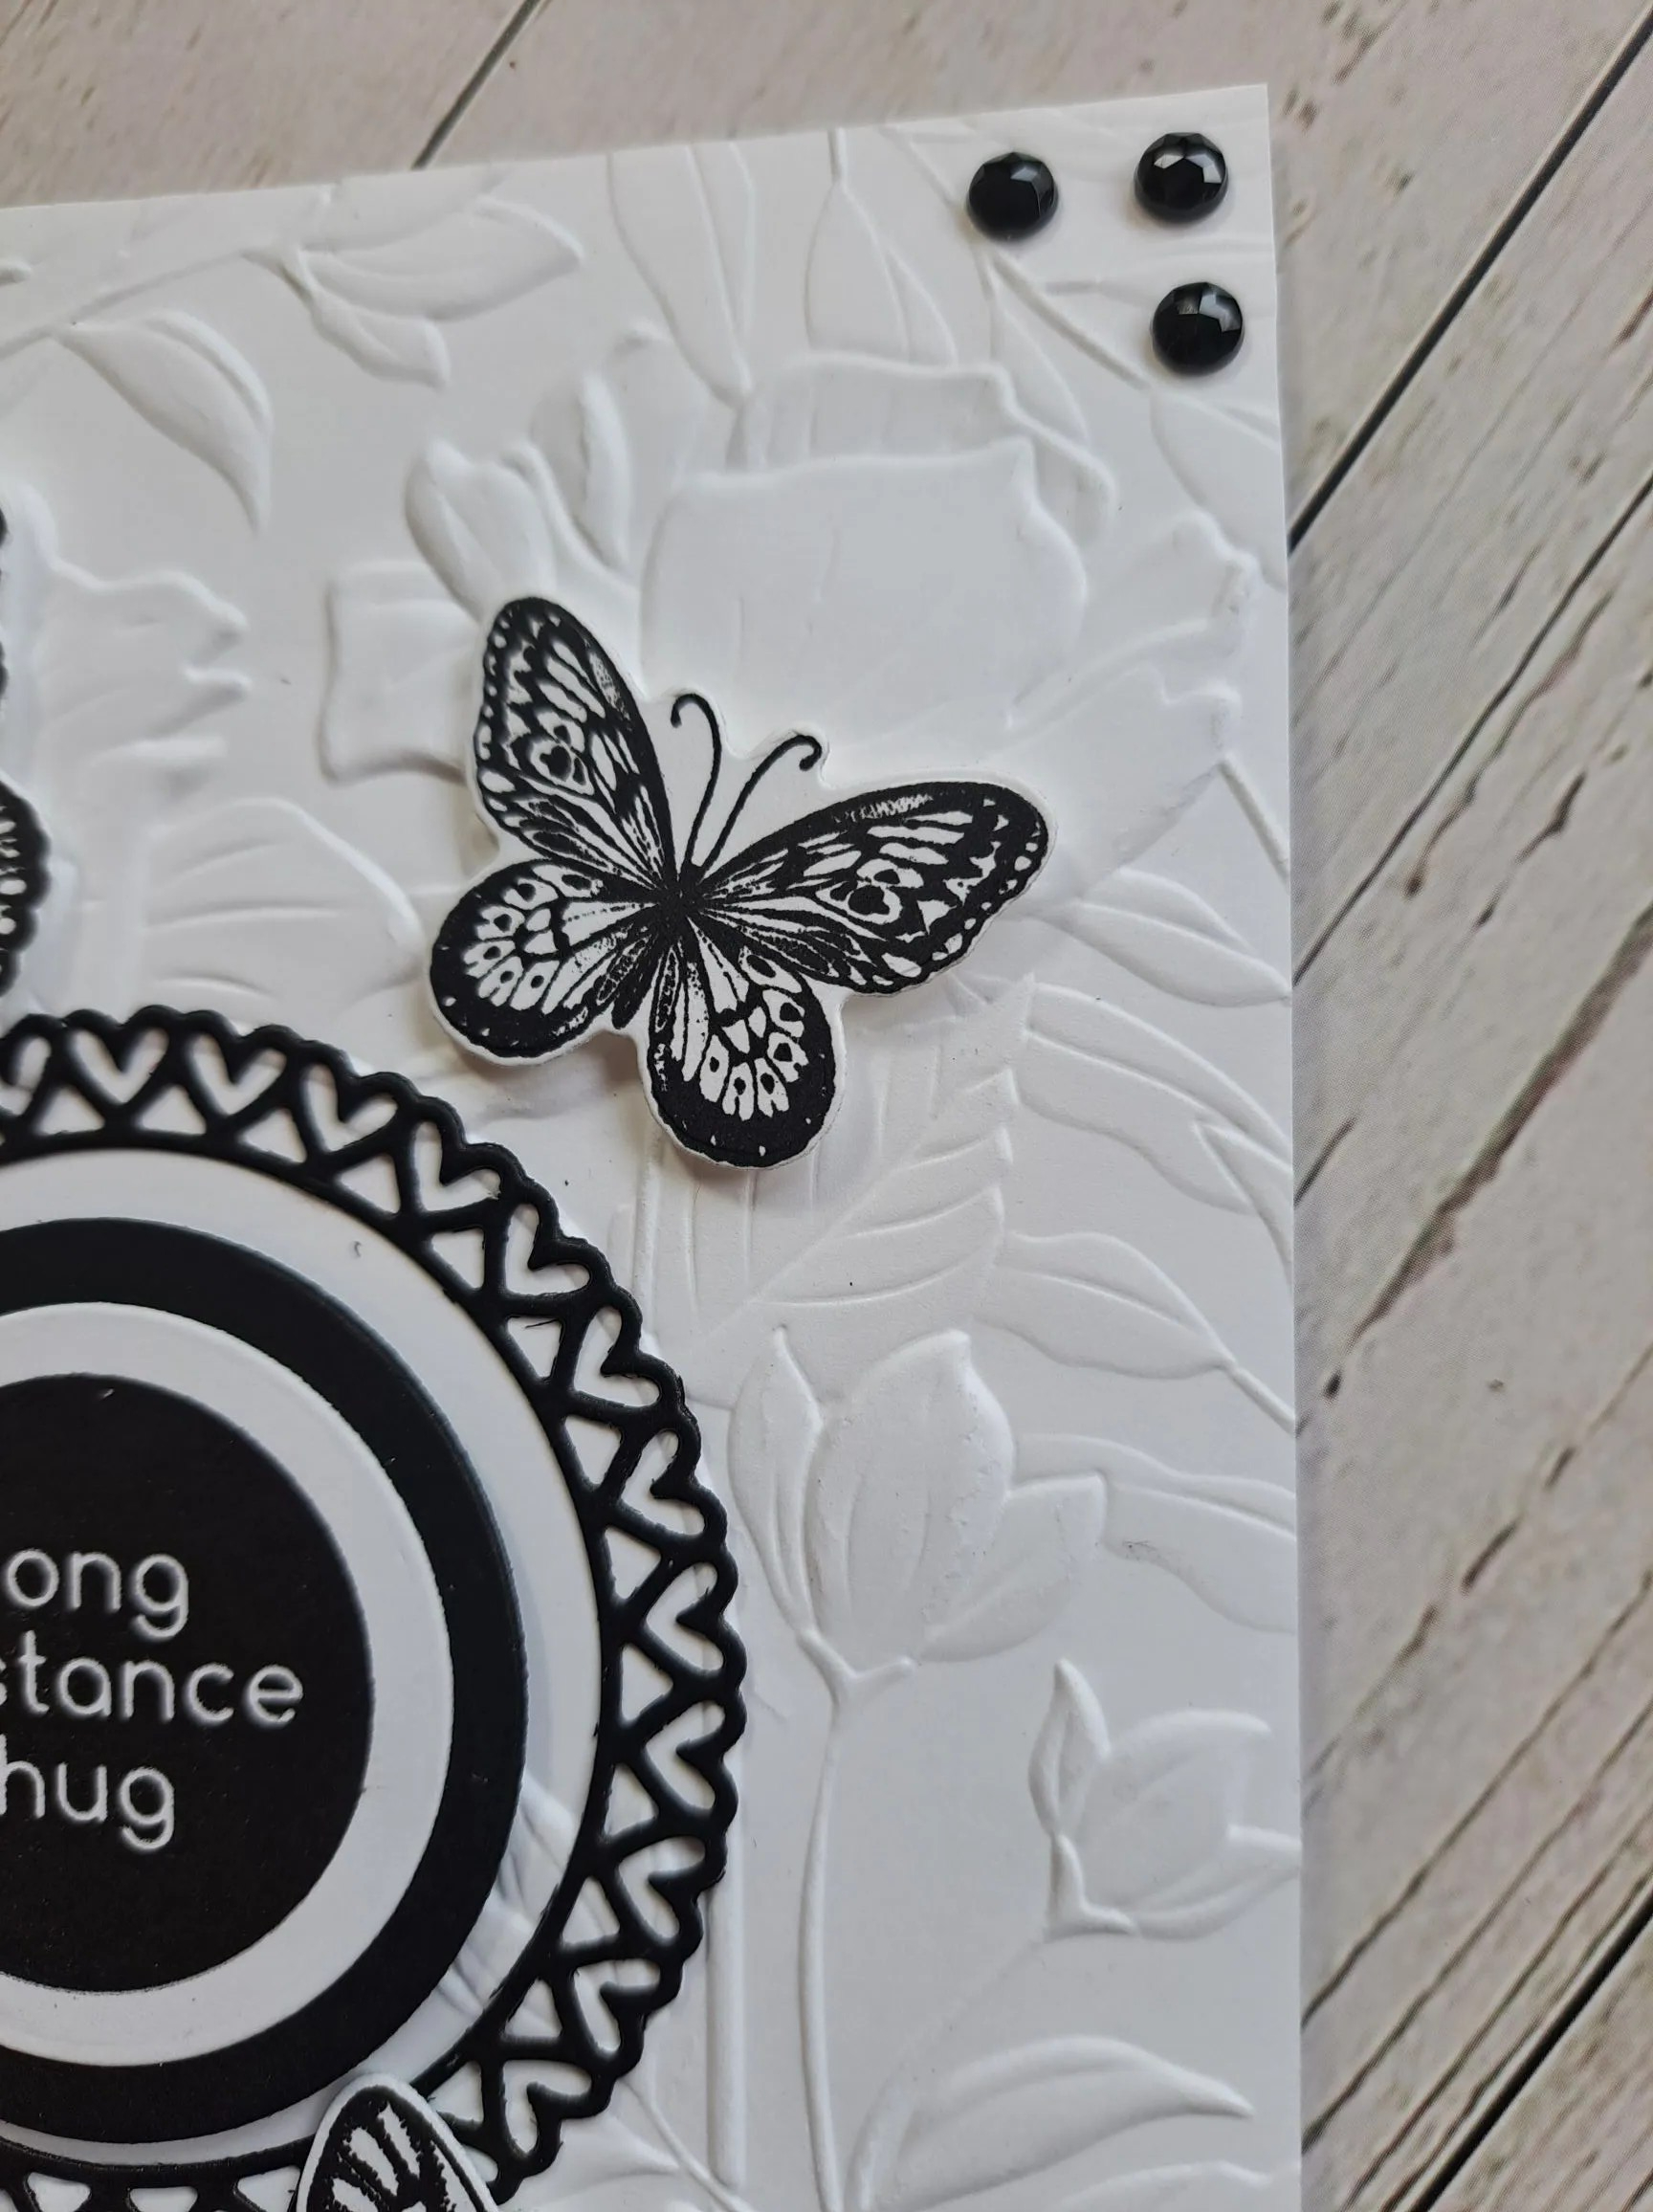
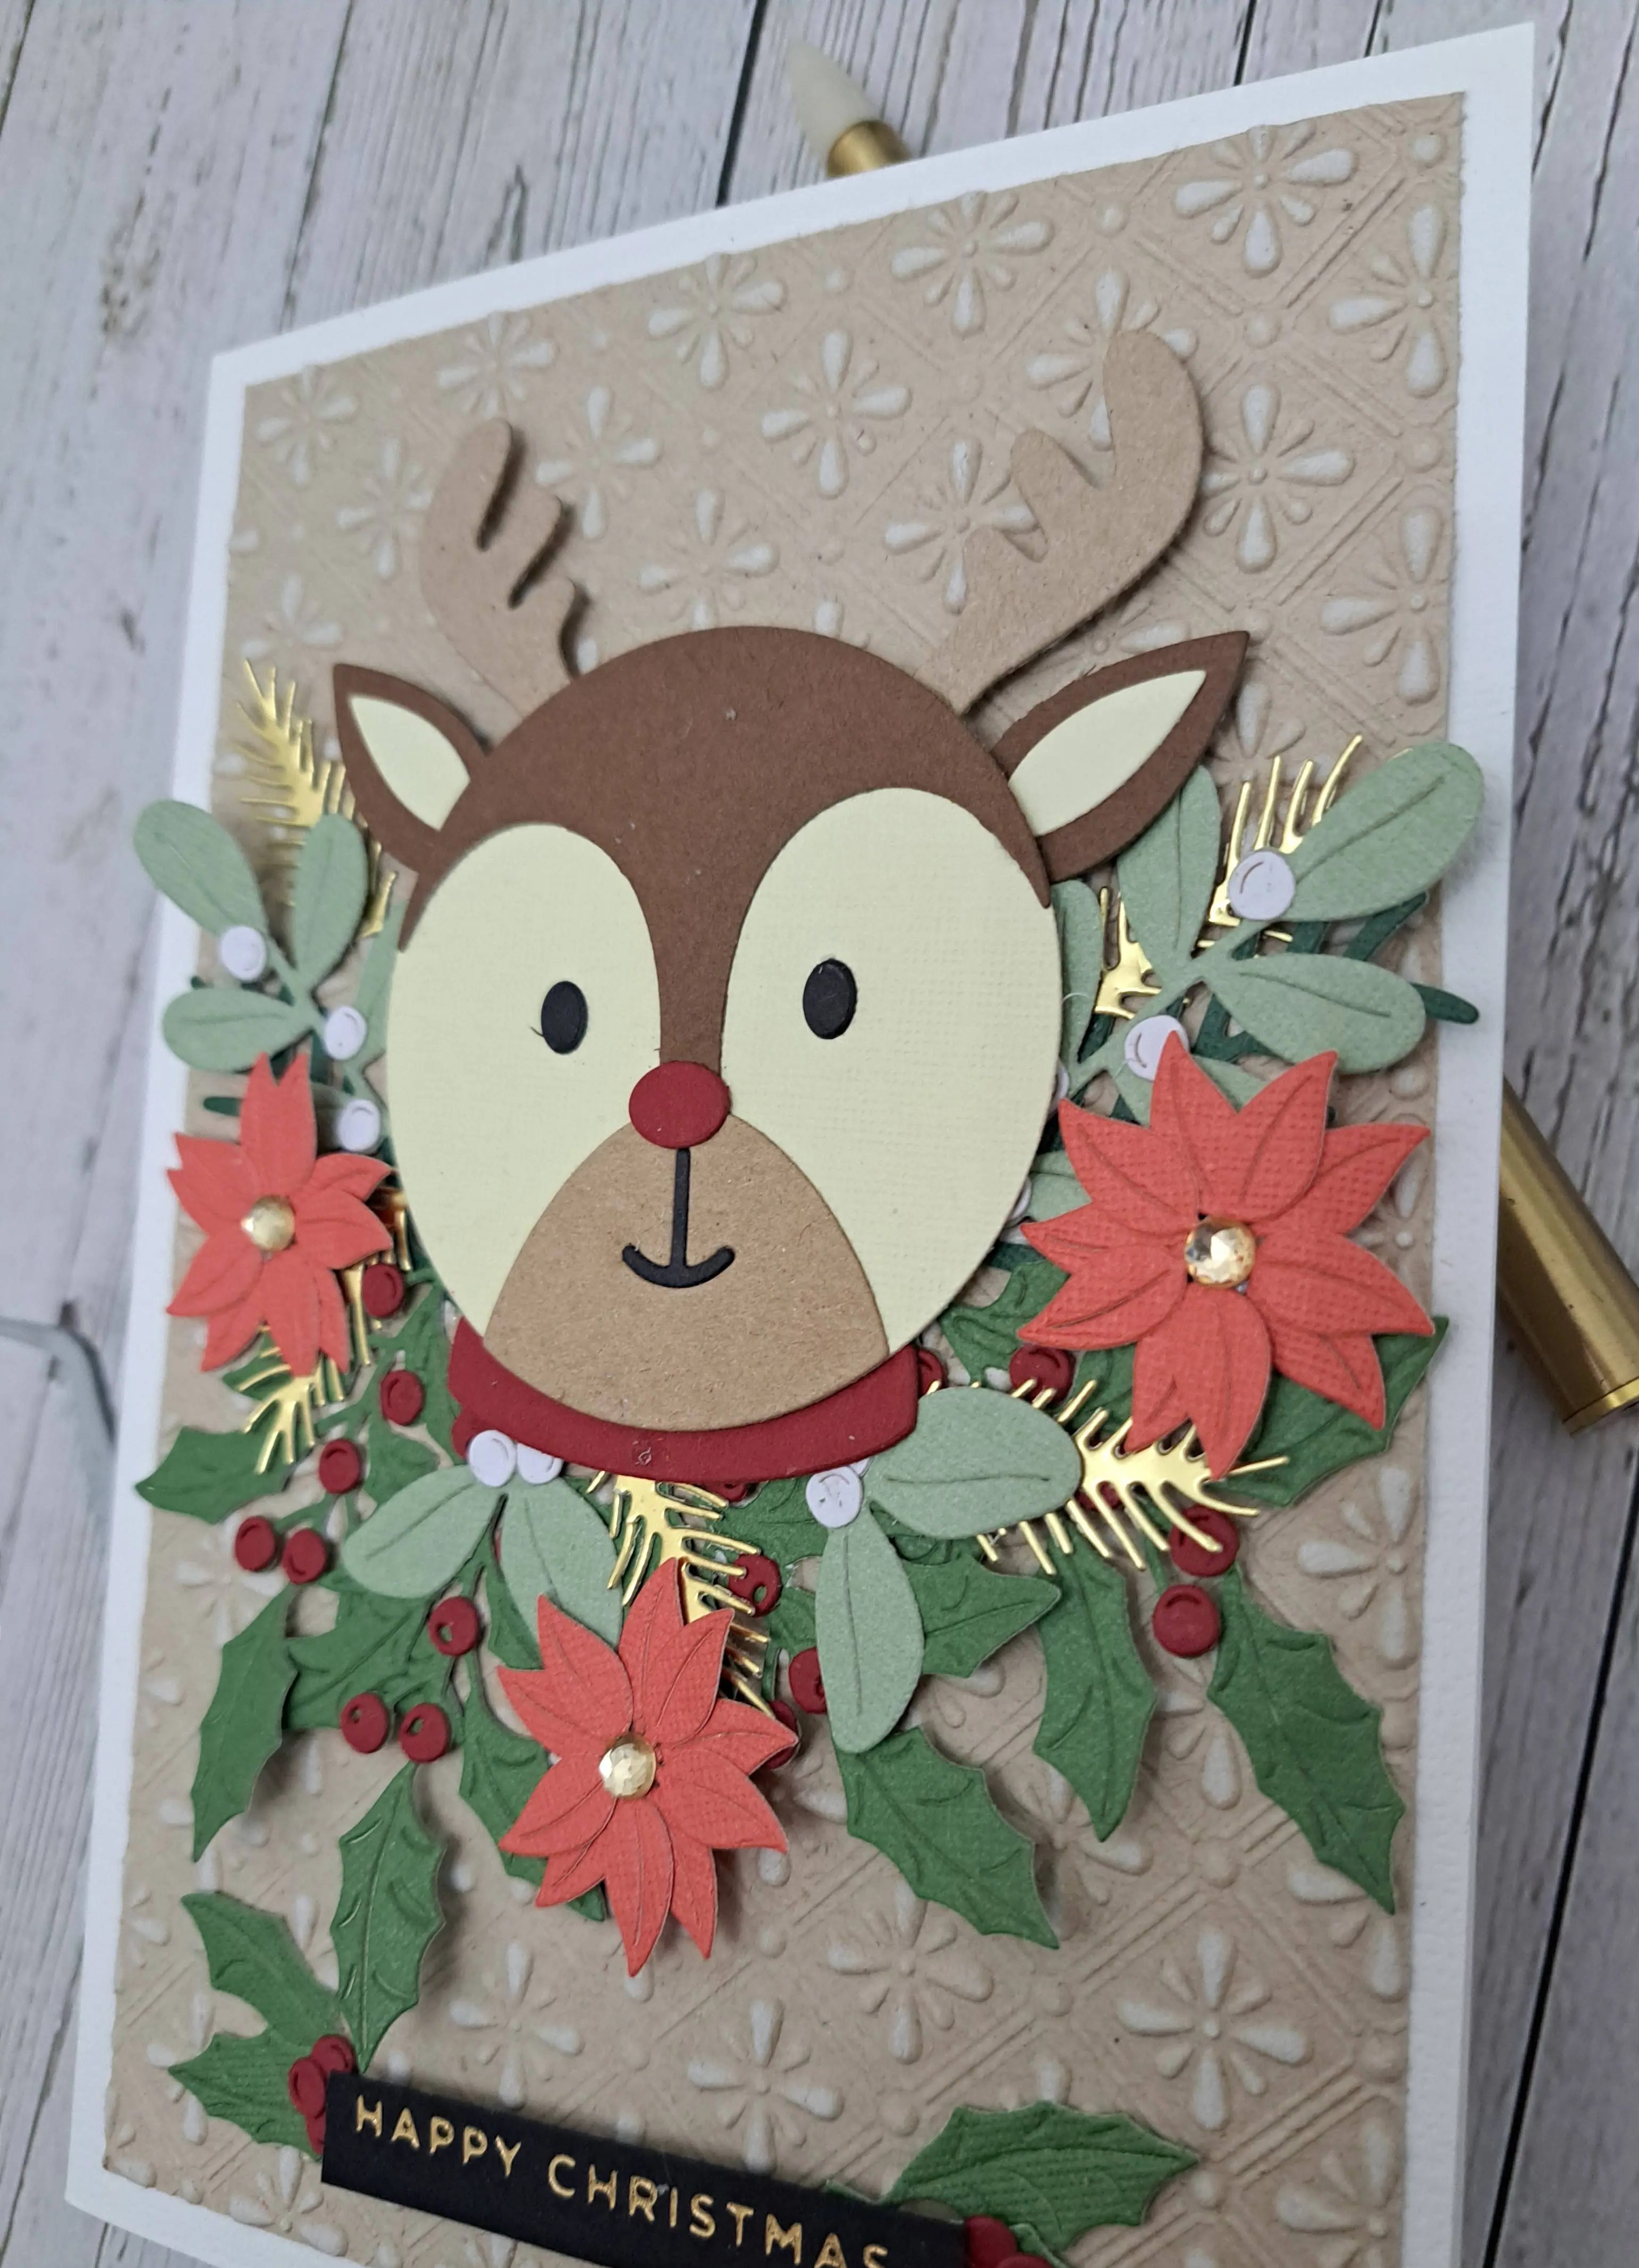
The background panel is a light brown card stock, dry embossed using a Spellbinders embossing folder, then I ran the Hero Arts white pigment ink pad over it to catch the raised white areas.

I attached this to a 5 x 7 inch card base, leaving a white border, and then added my reindeer with 3D foam.

I then used several Spellbinder die sets for the flowers and the foliage, using three green, a couple of reds, white, and some gold for the ferns.

These were assembled, then I added them to the card using wet glue, arranging them until I was happy. The poinsettias were added on top of the rest, and faceted gold gems were placed in their centres.

The foiled sentiment was attached using 3D foam, and some holly leaves and berries at both ends.

I hope you can come and join us with your critter creations. The challenge ends on the 25th of this month, and you can enter 5 times with different projects. xx

I shall be entering the following challenges:

C YHTPembossing folder – option of Christmas taken

Ally’s Angels anything goes

Beautiful Blossoms flowers/florals

Merry Little Christmas Challenge anything goes Christmas

Ellibelle’s CornerI Spy – sparkle or shine

Snowy Shaker Card

Hello yet again. I was inspired to create a shaker card for the first time in ages:

My goodness – all that acetate on the front made this very difficult to photograph – I hope you can see the details….

The card base is a white dry embossed panel using a Simon Says Stamp embossing folder.

The shaker piece was created by die cutting the circle frame (Pinkfresh Studio) and finding some nesting circles which went underneath with no visibility outside of that circle – and die cut the circle frames underneath several times. I probably die cut them at least 7 times, as I didn’t want to use 3

The shaker piece was created by die cutting the circle frame (Pinkfresh Studio) and finding some nesting circles which went underneath with no visibility outside of that circle – and die cut the circle frames underneath several times. I probably die cut them at least 7 times, as I didn’t want to use 3D foam tape – I think it looks neater without the foam tape showing…..

I glued all those circle frames together, and stuck down onto the card base.

The sequins were added to the ‘well’, a circular frame die cut out of silver and placed behind the deco circle, so it would show through the holes in the frame, and then a piece of acetate added to the back of the deco circle, and stuck down.

I added some die cut silver glitter snowflakes, then the stamped and die cut sentiment – also layered several times.

I shall be entering the following challenges:

Simon says Stamp Monday Challenge add some texture (embossing folder)

CYHTPembossing folder – option of bees/beehive not taken

Merry Little Christmas Challenge anything goes Christmas

Mix It Up Challengeanything goes – option to make your own background

A Perfect Time To Craft anything goes

Die Cut Divaslayered die cuts or layer die cuts (shaker frame)

2 Sisters On The Blogshaker card

Black and White Hug

The Alphabet Challenge has started a new challenge, and as we have reached the letter ‘B’, Veronica has chosen the theme of ‘Black and White’. Here is my card:

The base panel is embossed using a Spellbinders embossing folder – a lovely deep impression of all those flowers.

Into the centre I attached a die cut circle = also from Spellbinders, and part of the Maker Mania 5 kit we received. I layered that with couple of other circles – alternating black and white, then added sentiment.

The butterflies were stamped and die cut and added as you see.

I also added some faceted black gems in the four corners.

I hope you can come and join us with your black and white creations. xx

I shall be entering the following challenges:

2 Crafty Critter Craziesanything goes with a critter

A Perfect Time To Craftanything goes

Crafts Galore anything goes

Country View Challengethings with wings

Triple BBirds and/or butterflies and/or blooms

Bunny Birthday

Hello. Some crafty time yesterday created this card:

I have been wanting to play with this cute little bunny from Spellbinders since I bought it, and was able to match the cute critter to a few challenges.

I die cut the bunny from white, and as the eyes and nose stayed in place, I coloured the eyes with a black Copic, and the nose with a pink. I used the same pink Copic on the die cuts for the belly and inner ears. I layered them up and put to one side to dry.

The base panel was cut, then scored in quarter inch diagonals on my scoreboard, and adhered to a white card base.

The oval and the layer on top is from Spellbinders, and adhered with 3D foam.

I then die cut the flowers – also from Spellbinders – layered them together, then placed them around the oval.

Once the die cut sentiment was stuck down, and the bunny was adhered, I felt there was something missing, so I added the cute little envelope for the bunny to hold.

I was tempted to add some sequins or gems – but I think there is enough gold shine happening.

I shall be entering the following challenges:

Simon Says Stamp Wednesday Challenge Happy Birthday

Tic Tac Toe Challenge – diagonal line – bunny, scoring, flowers

Ellibelle’s Corner – I spy with my little eye – a Spring or Easter critter

Fab’n’Funkyuse die cuts

Cut It Up Challengesomething starting with ‘B’

2 Crafty Critter Crazies anything goes with a critter

Crafty Animalsanything goes with an animal

Concord and 9th Posie Fill-in

20180323_125316

Hello. I had a delivery from Seven Hills Crafts yesterday, which included this gorgeous stamp and die set from Concord and 9th. I soon got to work deciding what to make with it, which stamps and which layers in which colours, and using which dies…..the possibilities are endless with this set, I think. I’m going to try it with different colours, but these colours are from the current challenge from Color Throwdown – peach, black, white.

I started by stamping the hatched background with Versafine black onyx, using my Misti, just in case I didn’t get a good coverage – but I only needed one stamp anyway. Then I turned to my Stampin Up ‘Peekaboo Peach’ which I hadn’t even opened yet! Nice and juicy!

I stamped the base flowers in peach, and then decided I didn’t really want any other peach on there. I stuck with the Versafine black onyx, and stamped the leaf outlines, not wanting the leaves to be solid on the background, but finding I had to mask the flowers off a little to stamp them properly. (Something I am getting better and better at, if I do say so myself). 

I used the stitched rectangles to cut the base out and then thought about the sentiment. And thought, and thought, and thought……I tried several variations but settled on this one.

I die cut the ‘Friend’ out of the base card, removed it – saving the little bits from the ‘R‘ and the ‘D‘, then cut it out again using black card, and inlaid the black into the base. After I had put the card together, I added some dimension by stamping and die-cutting another flower, and some of the leaves – this time in black card.

20180323_125334

I am liking this stamp and die set, and may even get my other ‘Blooms fill-in’ out and play with that again.

I shall also be entering this card into the current Simon Says Stamp Wednesday ChallengeFloral Frenzy.


Cute Sketch card


20170401_204528

It seems I am having a cute and colourful card making weekend. After yesterday, I was thinking of all my card stock which was bright and colourful – and I have a lot. I am trying lots of new styles and techniques at the moment, and as well as messy crafting or mixed media, I am starting to use some dies and stamps which are more cute and fun, which means I can use any colour card I want to represent anything at all.

Today, I have taken inspiration from a sketch challenge from Atlantic Hearts Sketch Challenge, and had a play with coloured card. I recently purchased a set of dies from Hochanda, a UK craft channel. I believe it can be watched around the world, but really not sure.

This bundle is designed by Katie Skilton for Sizzix, and includes the dies I have used for this card. This set is called ‘Under the Sea’ – I am sure you can see why! I have also used the sentiments which came in the bundle ‘Tribal Words’.

The base card is 7 inches square, and again used my Sue Wilson Noble Stitched Squares to cut a slightly smaller square out of light blue. I again embossed this with the ‘Rain’ embossing folder from Crafters Companion. I think the rain could represent anything, and this time, for me, it represents bubbles in the sea.

I die cut the whales out of some Create and Craft card stock, which has a toning colour on the opposite side, so I could match the colours without thinking too much about it, and added several other elements from the same die set – the fish and the heart.

The circles, as per the sketch, I used the Lawn fawn ‘Slide on over’ circles. These were designed for slider cards, as the dies cut the circle itself, and cuts out the channel which makes the slider card. This is how I managed to get circles which matched each other, and outer circle rim shapes for the other components required to meet the sketch challenge.

The two solid circles I also embossed with the same embossing folder. I layered the outer circles flat to the card, but raised the other elements on Stampin Up dimensionals. I die cut the sentiments and ran them through my Xyron sticker maker so I didn’t have to fiddle with glue on all the letters. This little machine is great for sentiments and other fiddly elements as it is only 1.5 inches wide, whilst the bigger 5 inch and 9 inch machines are good for the more intricate and elaborate dies for layering.

Deciding where to put each element was a challenge but I like the fun and vibrant end result.

I will also be entering this card into the Just Us Girls challenge with the theme ‘Sea’, and Catch the Bug challenge blog ‘Anything goes’.

Simple layering

The card I have made today is to enter the Simon Says Stamp Wednesday challenge, theme being using more than one die cut or punch and Clean and Simple on Sunday with the theme of using a sentiment, but no image. I decided to go back to my wonderful Birch Press ‘Sevilla’ layering dies, and added a sentiment I have had for a few years – the lovely ‘Thank You Extravaganza’ from Memory Box. Such a wonderfully ornate sentiment die.

I started by putting some ‘Wonder Sheet’ double sided sticky paper (Be Creative) on the back of three white pieces of card. I then cut the three layers from the Birch Press die out, and stacked them on top of each other. I still think the best way to add these layers is by using double sided sticky sheets, as I found that the Crafters Companion sticky spray wasn’t – sticky, that is. It didn’t stay stuck down on previous cards, and was so disappointing.

I then put some double sided sticky sheet on another piece of card the same size as the die cuts, and – once I added the base die cut to it – sprinkled on some Cosmic Shimmer sparkles. I am not sure whether the Sevilla die is supposed to be flowers or stars, but feel that in this case they are stars – and need a little sparkle. Just a touch…….

I then die cut the sentiment twice from black card which also had the double sided sticky tape on it – the best way to layer……but watch out for it sticking in the wrong place to the wrong thing! I did one sample and it stuck completely cock-eyed.

I wanted the sentiment to be quite bold, and for it to stand out from the layered base, which is why I cut it out in black. I didn’t think a colour would be as vivid, and didn’t want to cover the background with a tag that size. I added some glue in strategic places, to support the lacy sentiment.

Even though there are several layers, I still feel the look of the card is quite simple, and it didn’t take long to make it at all. A little bit of fun after my workday.


Pink, Purple, yellow

20170326_165025

For this card, I was inspired by two challenges. The first was Paper Play Sketches with the theme of yellow, purple, and pink, and the second was from Cardz 4 Galz with the theme of pink. I decided to go back my roots and use a lot of die cutting and embossing.

The base card is 8 inches square, with a slightly smaller purple layer, cut with my Sue Wilson stitched square dies, and embossed with Tattered Lace ‘Lily Spray’ embossing folder. The purple and pink card is from Creative Expressions, but the yellow is a textured card from my stash – no clue where I got that from!

I used the Sue Wilson Noble Dies ‘Ornate Pierced Design’ to cut the pink portion of the card, in-laying the lacy layer for interest. On top I used the next embossing layer, and cut the smallest die from that set for my sentiment, which I decided to do in yellow, to match the flowers.

I was trying to decide which flowers I wanted to use, so turned to Sue Wilson yet again. I used the Finishing Touches ‘Delightful Daisies’ cut all four of them out, and then added them to my card. The photgraph was taken with sunshine streaming through the sindow, but it does show the embossing and flower dimesnion quite nicely, I think.

As I didn’t want to add ribbon to an already ornate card, I then used the embossing strip folder from the same tattered Lace pack and placed my flowers underneath that strip. I left the flowers unstuck at the top, so they add some movement to the card.

The sentiment is from Heartfelt Creations ‘Timeless Sentiments’ which I stamped in Catherine Pooler ‘Flirty Fuchsia’.

I did enjoy doing a virtually completely die cut and embossed card, and used the tattered Lace folders for the first time – even though I’ve probably had them for a couple of years! The embossing folder set has an 8 inch folder, two strip folders which are 2 inches wide, and a corner folder. It also comes with matching stamps and dies for the flowers and other elements,

Before I became more comfortable with stamping – and before I had my Misti – I very rarely did any stamping. I found I couldn’t really get the hang of it, something always went wrong – whether that was a blurry image, an incomplete image, or I smudged everything. The main thing I learnt was that I had to use the correct inks for the correct card, and the technique of actaully stamping was then easier.

As for die-cutting, I am sure I am not alone in saying I have more than one machine. I have several. Well – at least five. All different, and bought for different reasons over the years. The main machine I use is the Big Shot Express which is on my desk. I use this all the time, my main machine. As it is electronic, it is so easy to use. I tend to send my dies one way then bring them back – I don’t have to stand up, then!

As this is only for dies which are 6 inches or less, I also have my Big Shot Pro. The Beast. He is sitting on a table my sister altered to make it ‘shabby chic’ for me at Christmas. He is the one I use to cut anything bigger than 6 inches, and to emboss with my A4 embossing folders. He is heavy, and huge – but love it. So gald I now have a table for him, as he was taking far too much room up on my desk.

I enjoy particpating in challenges, as I use them for inspiration. that isnpiration also leads me to try different techniques, but still I am able to use a lot of the products I have bought over the years, and sometimes even mix and match together. The cards I make go to my firends, but mainly go to the charity for them to sell. So – any excuse to make cards, right?


Lotus layering

20170308_180601

On arriving home from work I thought I would have a little focused play with a set of layering dies. I have used them before, but decided to play a little more. The inspiration for this card came from another challenge – Make my Monday weekly craft challenge.  The challenge is to use at least three of the colours of the rainbow listed – red, orange, yellow, green, blue indigo, violet.

I decided to go with blue flowers, and only used two layers of the lotus stamps, along with green for the leaves. I wanted them to hang over the edge of the white card, as some flowers do seem to go wild (not lotus flowers, I know, but here is my creative license). I was wondering what to do with the other colours, as I didn’t want to create a lot to go with the flowers, and was considering stamping the sentiment in one of the other colours, then my eyes fell upon a little bee that I had stamped and coloured for another project. I thought the little bee could add the yellow, and add a little quirkiness to the card. Therefore, I have used blue, green and yellow. Hey presto. Sorted.

Then to decide what sentiment, in what colour. Should I try another of the colours? How do I tie it all in? Again – as I don’t really clear my crafting desk away completely (who does?) –  I saw this sentiment from the Altenew set of the same name. I decided to use it as the challenge had inspired me to create the card, and decided to stamp it in blue. The blue I used was actually a mix of two blues, both from Catherine pooler – Something Borrowed and Fiesta Blue. Each of them didn’t work alone, but when I inked with one, then the other it seemed to tie in quite nicely, I thought. Then a blue base card.

Compared to my previous couple of days crafting with mixed media, very little adrenaline, no fear, just all seemed to work.


Purple Layering Flowers

20170226_182049

I had another try with the layering flowers from Hunkydory. I love this stamp set and have used it a few times, in different ways.

With this one I used three layers, three different shades of purple, and used a masking technique to make it look like the leaves are behind the flowers. I even layered the leaves with the stamping – I may be getting the hang of it!! I don’t even think it matters when they don’t line up perfectly. The effect is just as striking, and gives the stamping a hand drawn/coloured and water colour effect.

Stamping in layers definitely depends on the colours, but even some contrasting colours seem to work well – orange with pink etc. I’ll be producing some more attempts at stamp layering using my other Altenew layering stamps if I play over the weekend. It is definitely worth playing around a little. I find the Altenew inks – which come in packs of four, tone on tone – work well.

The base card of purple is from my stash – no idea what make! Sorry! The white card is from Stampin Up. I like their Whisper White card as it stamps beautifully, it cuts beautifully, and even some watercolouring techniques work quite well.

I added a sentiment in one of the same colours of purple, and a trio of sequins – apparently there should be an odd number……in a triangle fashion…..some psychology there – but not sure what!

I will be entering this card into the Crafting With Dragonflies challenge this week, with a challenge of using purple.