ABC Christmas Challenge – N and O

Hello there. I am hosting the new challenge at ABC Christmas Challenge. We have reached the letters ‘N’ and ‘O’ and the themes for those letters are:

‘N’ for No Layers – card base only, no added layers, and/or ‘O’ is for Ornaments.

Here are my cards:

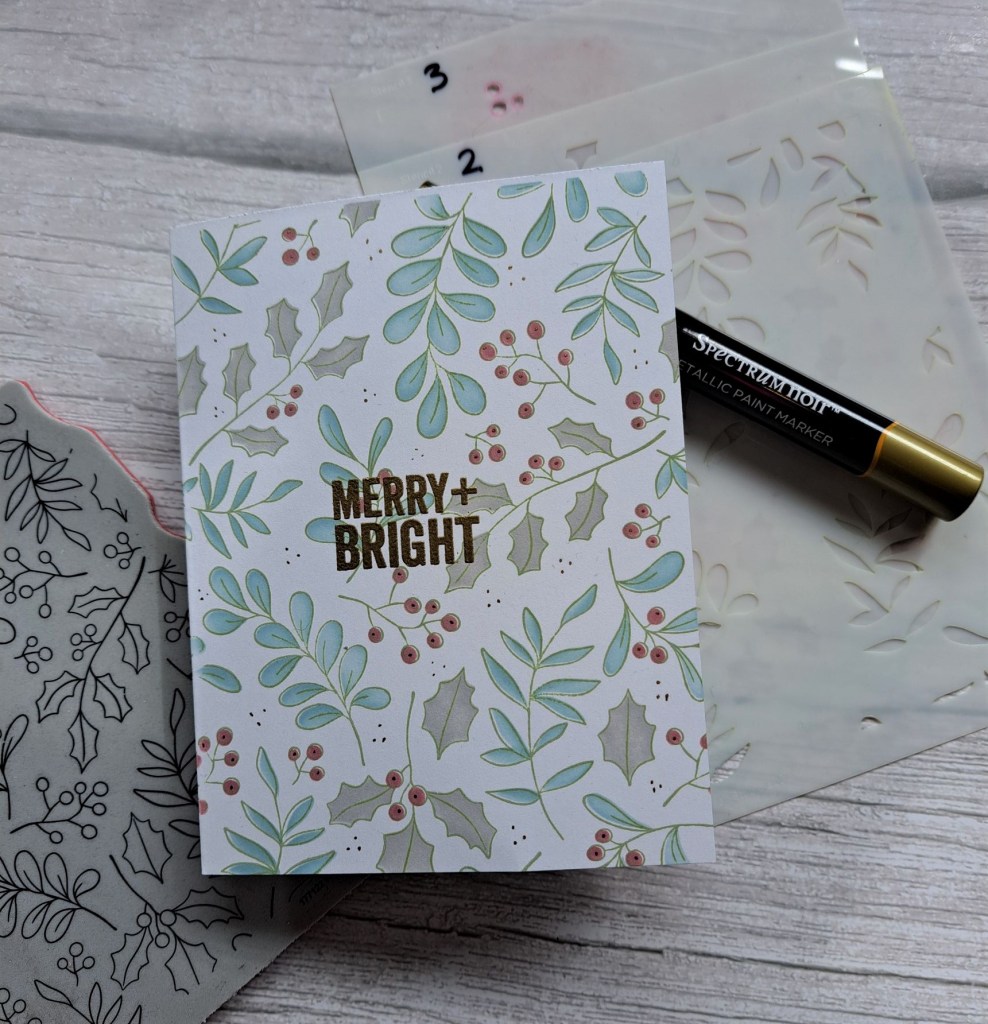
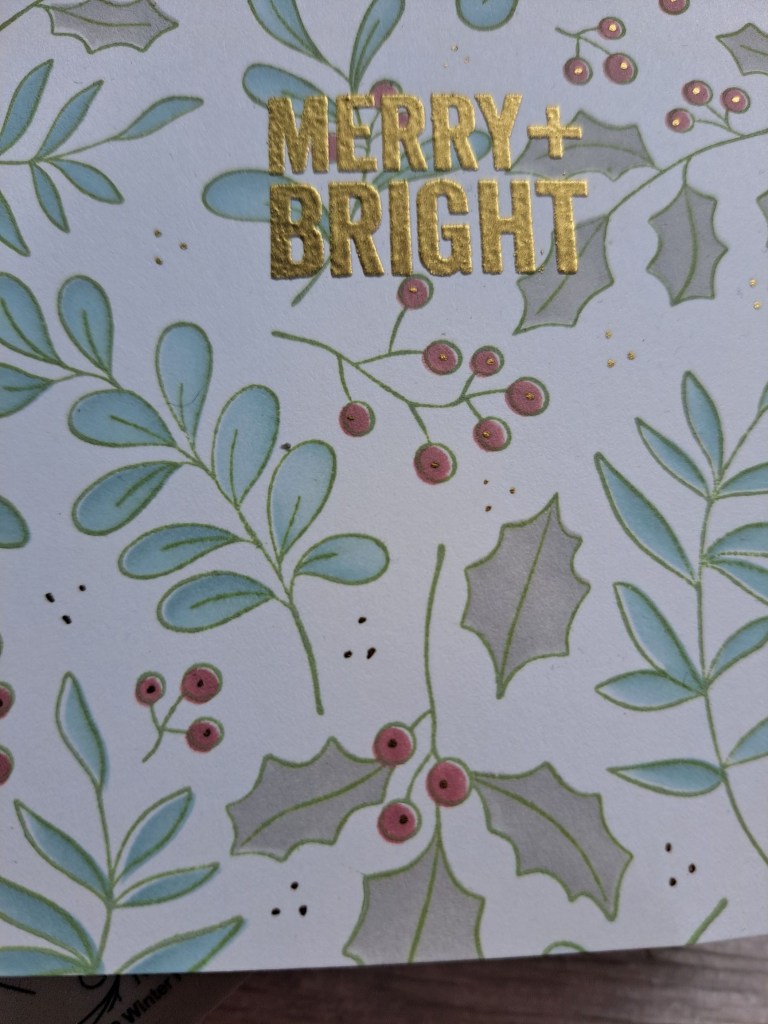
The ‘No layers’ card was created by using layering stencils from Pinkfresh Studio called ‘Winter Foliage’. I first stamped the image then used the stencils to colour in the images, and added some gold dots to the berries. I also went in with the gold marker and added some extra gold dots in the more open spaces.

The sentiment was heat embossed.

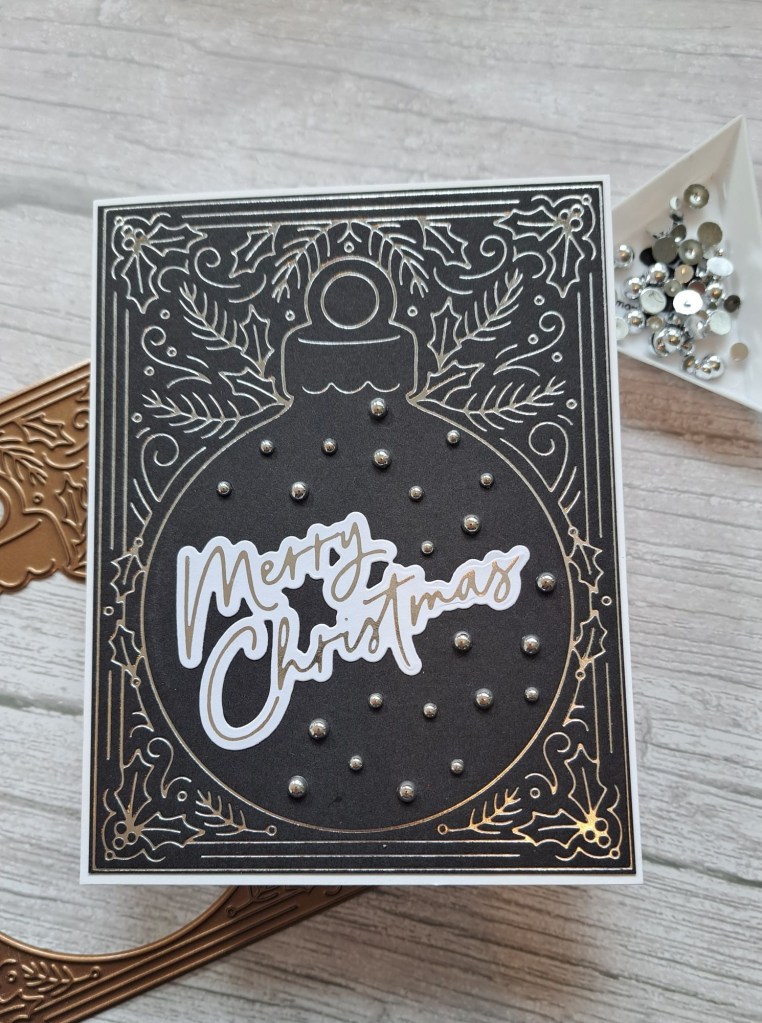
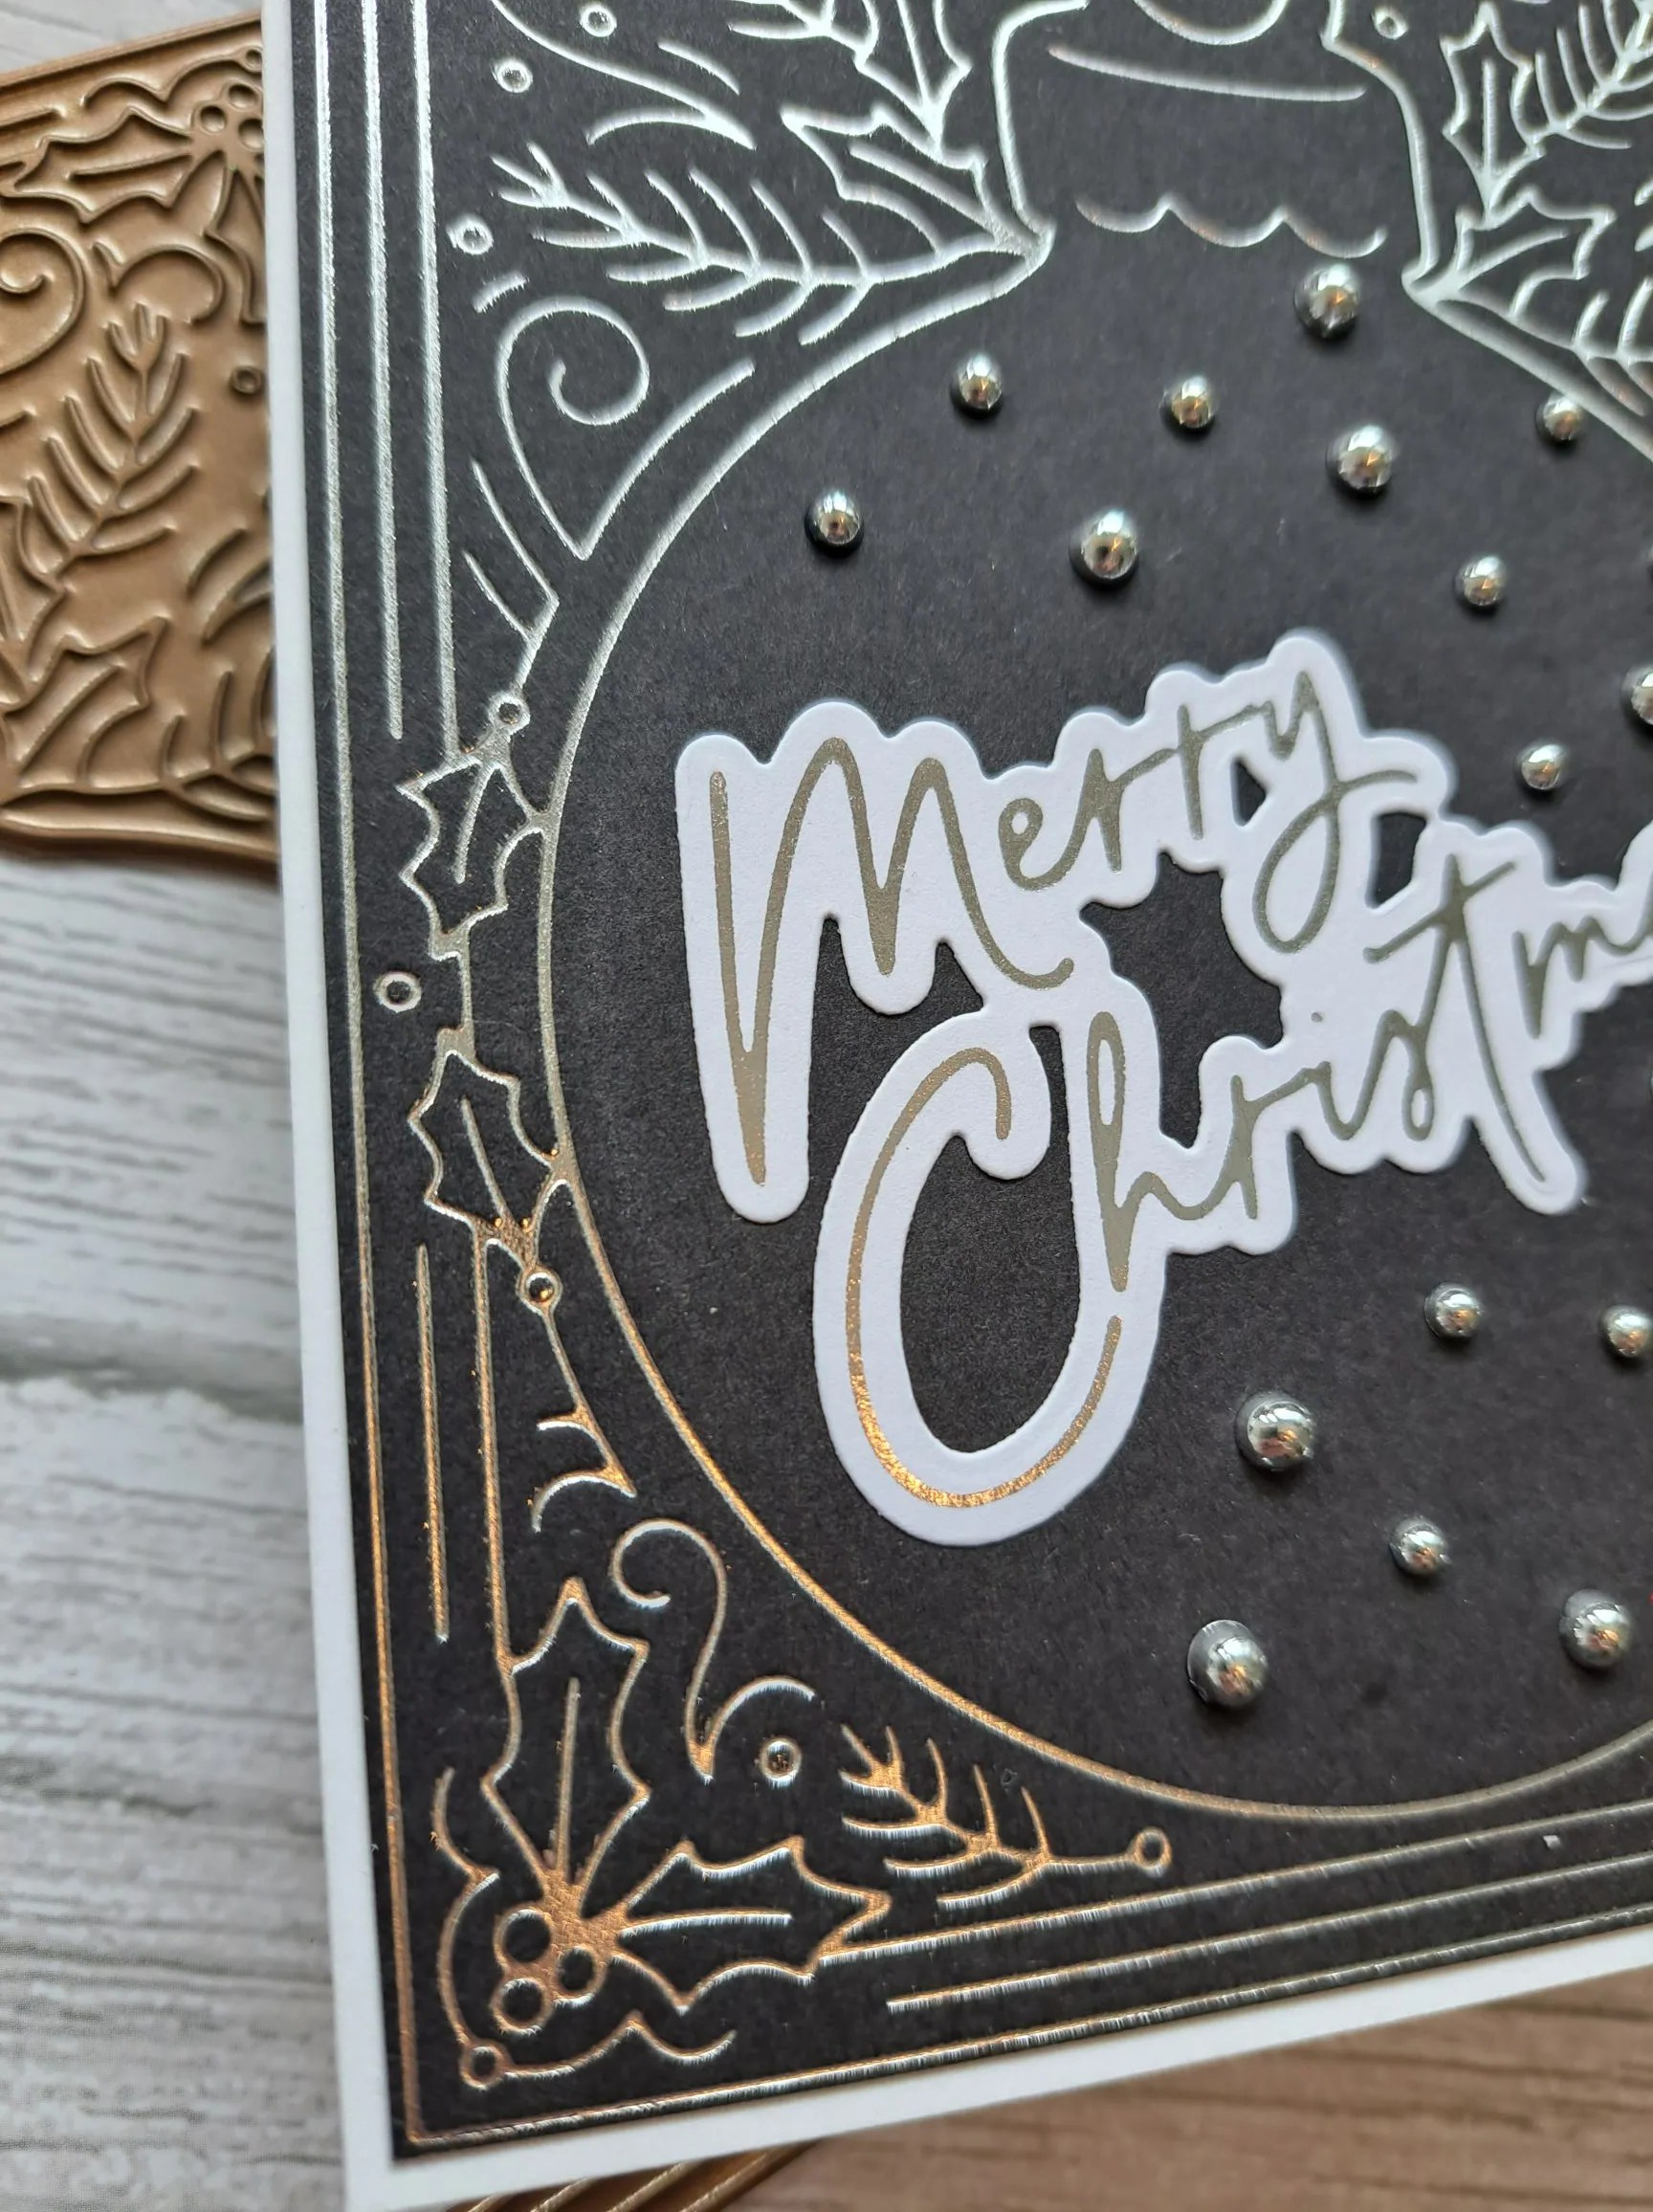
The ‘O is for Ornament’ card was created using a foil plate from Hero Arts – silver onto black card stock, adding a foiled sentiment in the centre, and even though I tried to restrain myself with the silver gems – I couldn’t resists just filling in the centre of the bauble with them……..

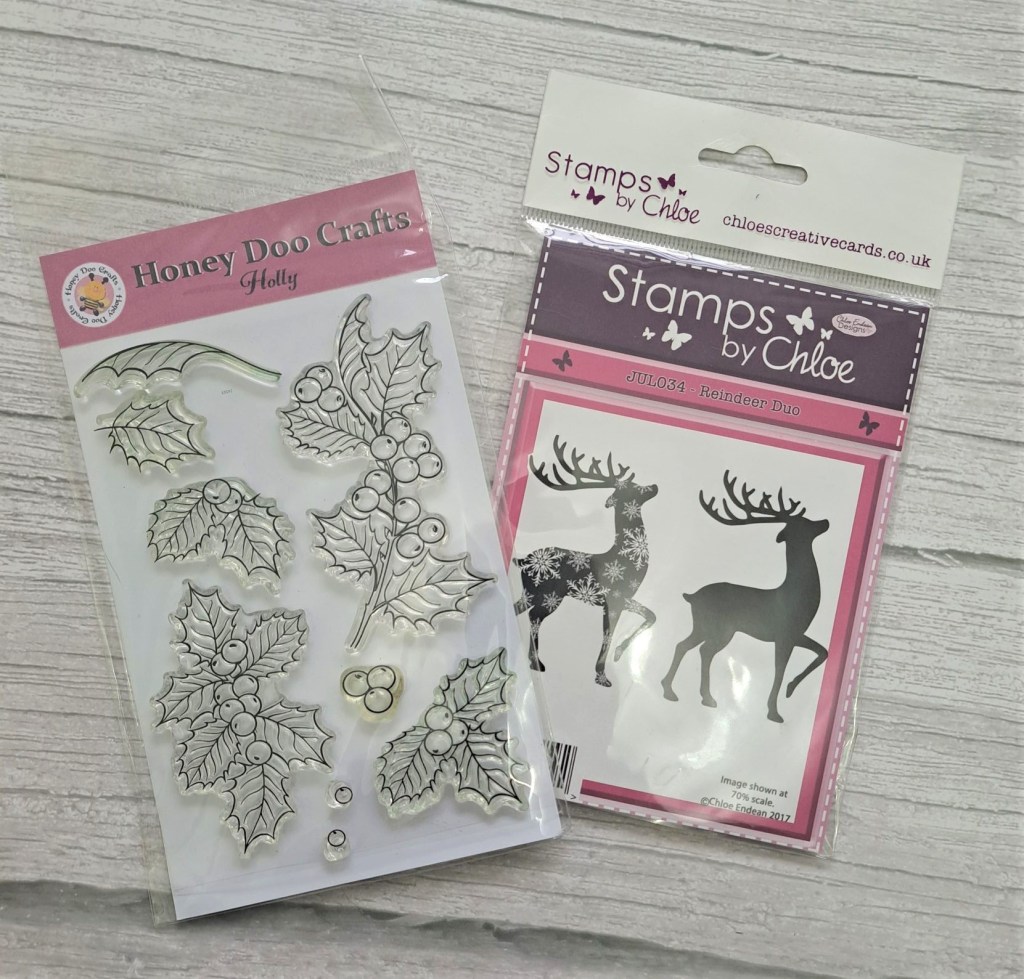
I hope you can come and join us with your Christmas/Festive creations using one or both of our themes. I even have a couple of stamp sets up for grabs to a random winner – so everyone is in with a chance of winning these:

I shall be entering the following challenges:

One layer card:

Inkspirational – Christmas In July

Craft Rocket – Christmas in July

Aud Sentiments – stencils and/or Christmas in July and a sentiment

Sparkles Forum Christmas Challenge – Christmas and include gold

Get Creative – Christmas in July

Bauble card:

A Perfect Time To Craft – anything goes

12 Months Of Christmas – anything goes Christmas

Dragonfly Dreams – Christmas in July

The Crafty Addicts – anything goes

Merry Little Christmas Challenge – anything goes Christmas

Slimline Christmas

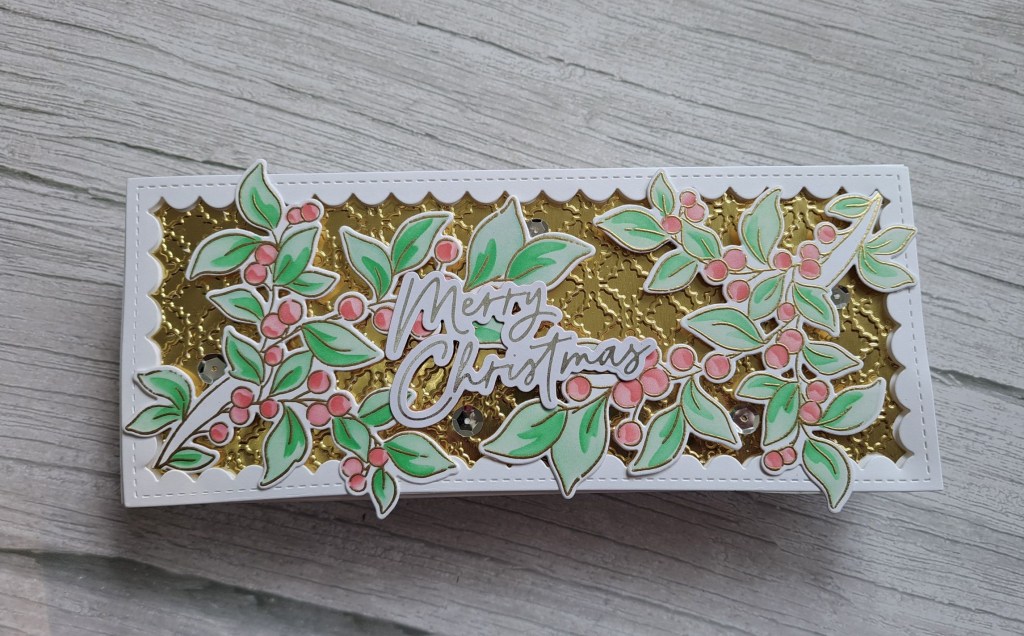
Hello there. I am a Guest Designer for the new challenge at Most Magical Time of The Year with this card, having been one of the top picks in a previous challenge:

I decided to go slimline with this, as I wanted to use two of the berry branch sprigs.

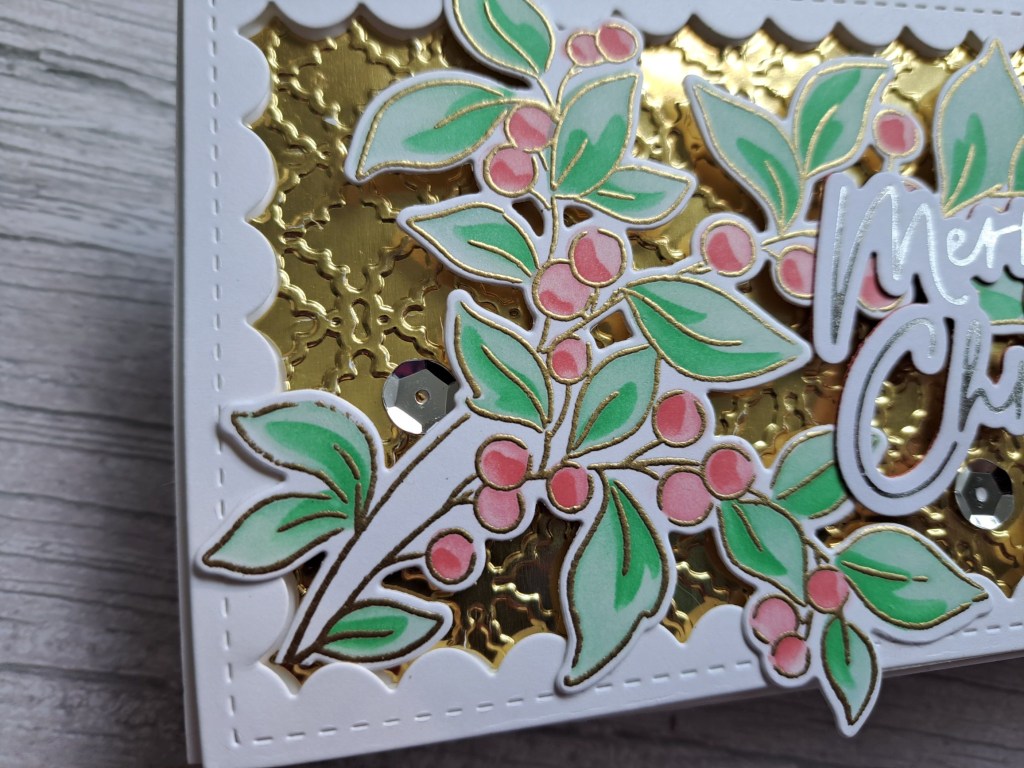
The sprigs are from Pinkfresh Studio, stamped and gold heat embossed, coloured with the matching stencils, then die cut.

The outer frame is from Time 4 Tea Designs, and the inner portion was dry embossed with an old Sue Wilson embossing folder.

I struggled a little with the sentiment. If I used a gold sentiment, it got lost, if I used a coloured sentiment, it stood out too much – so I decided to go with a silver sentiment, and added some silver sequins to tie it in to the card.

The theme is always ‘anything goes Christmas or Halloween‘, and I hope you can come and join us. xx

I shall be entering the following challenges:

Inkspirational – Christmas in July

Craft Rocket – Christmas in July

12 Months of Christmas – anything goes Christmas

Sparkles Forum Christmas – Christmas and include gold

Get Creative – Christmas in July

Floral Birthday

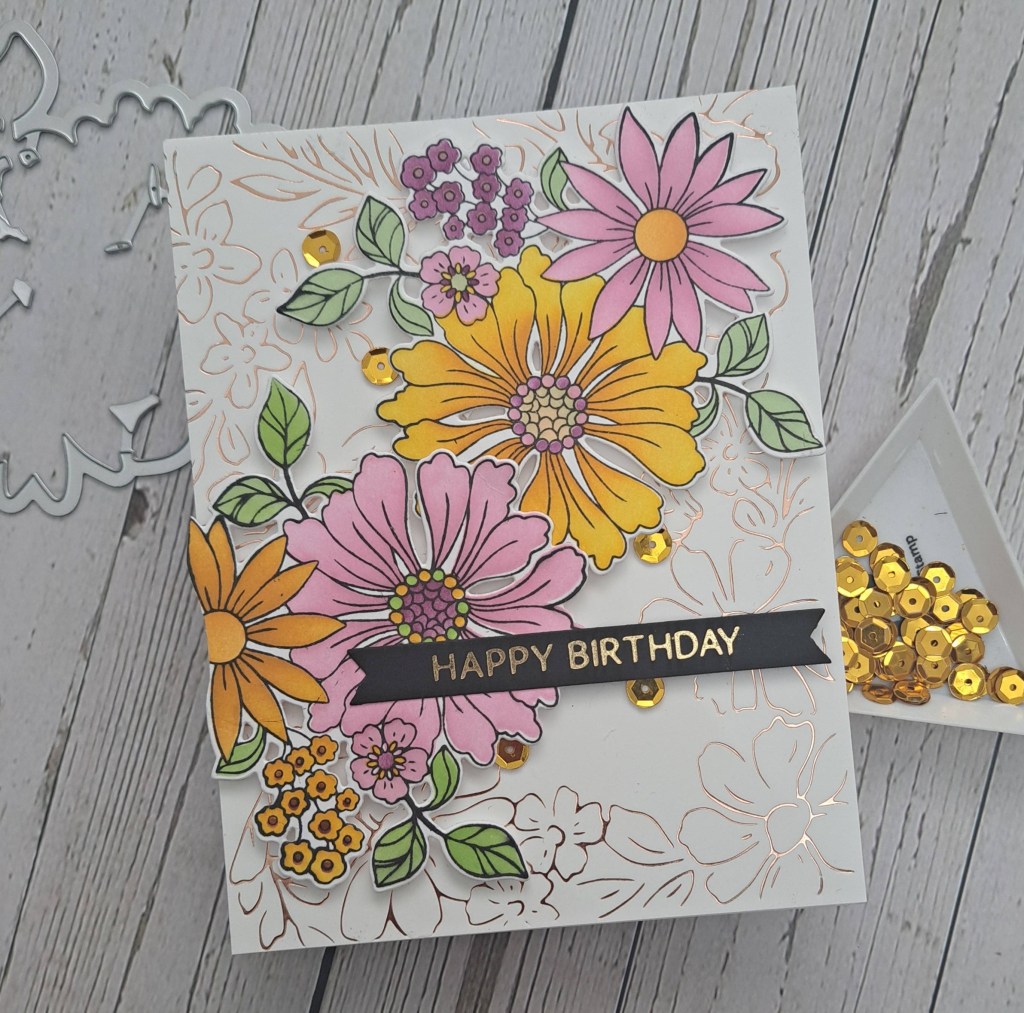
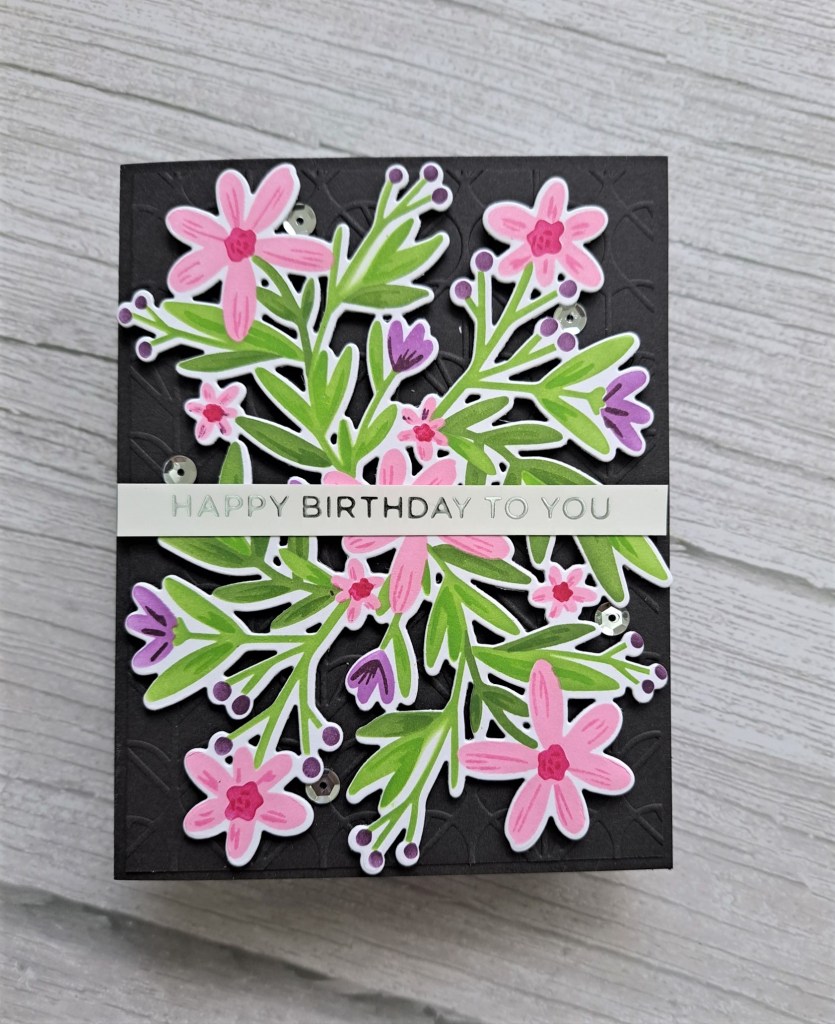
I created this card yesterday, then forgot to photograph it and write the post – so here I am running just a tad later than planned:

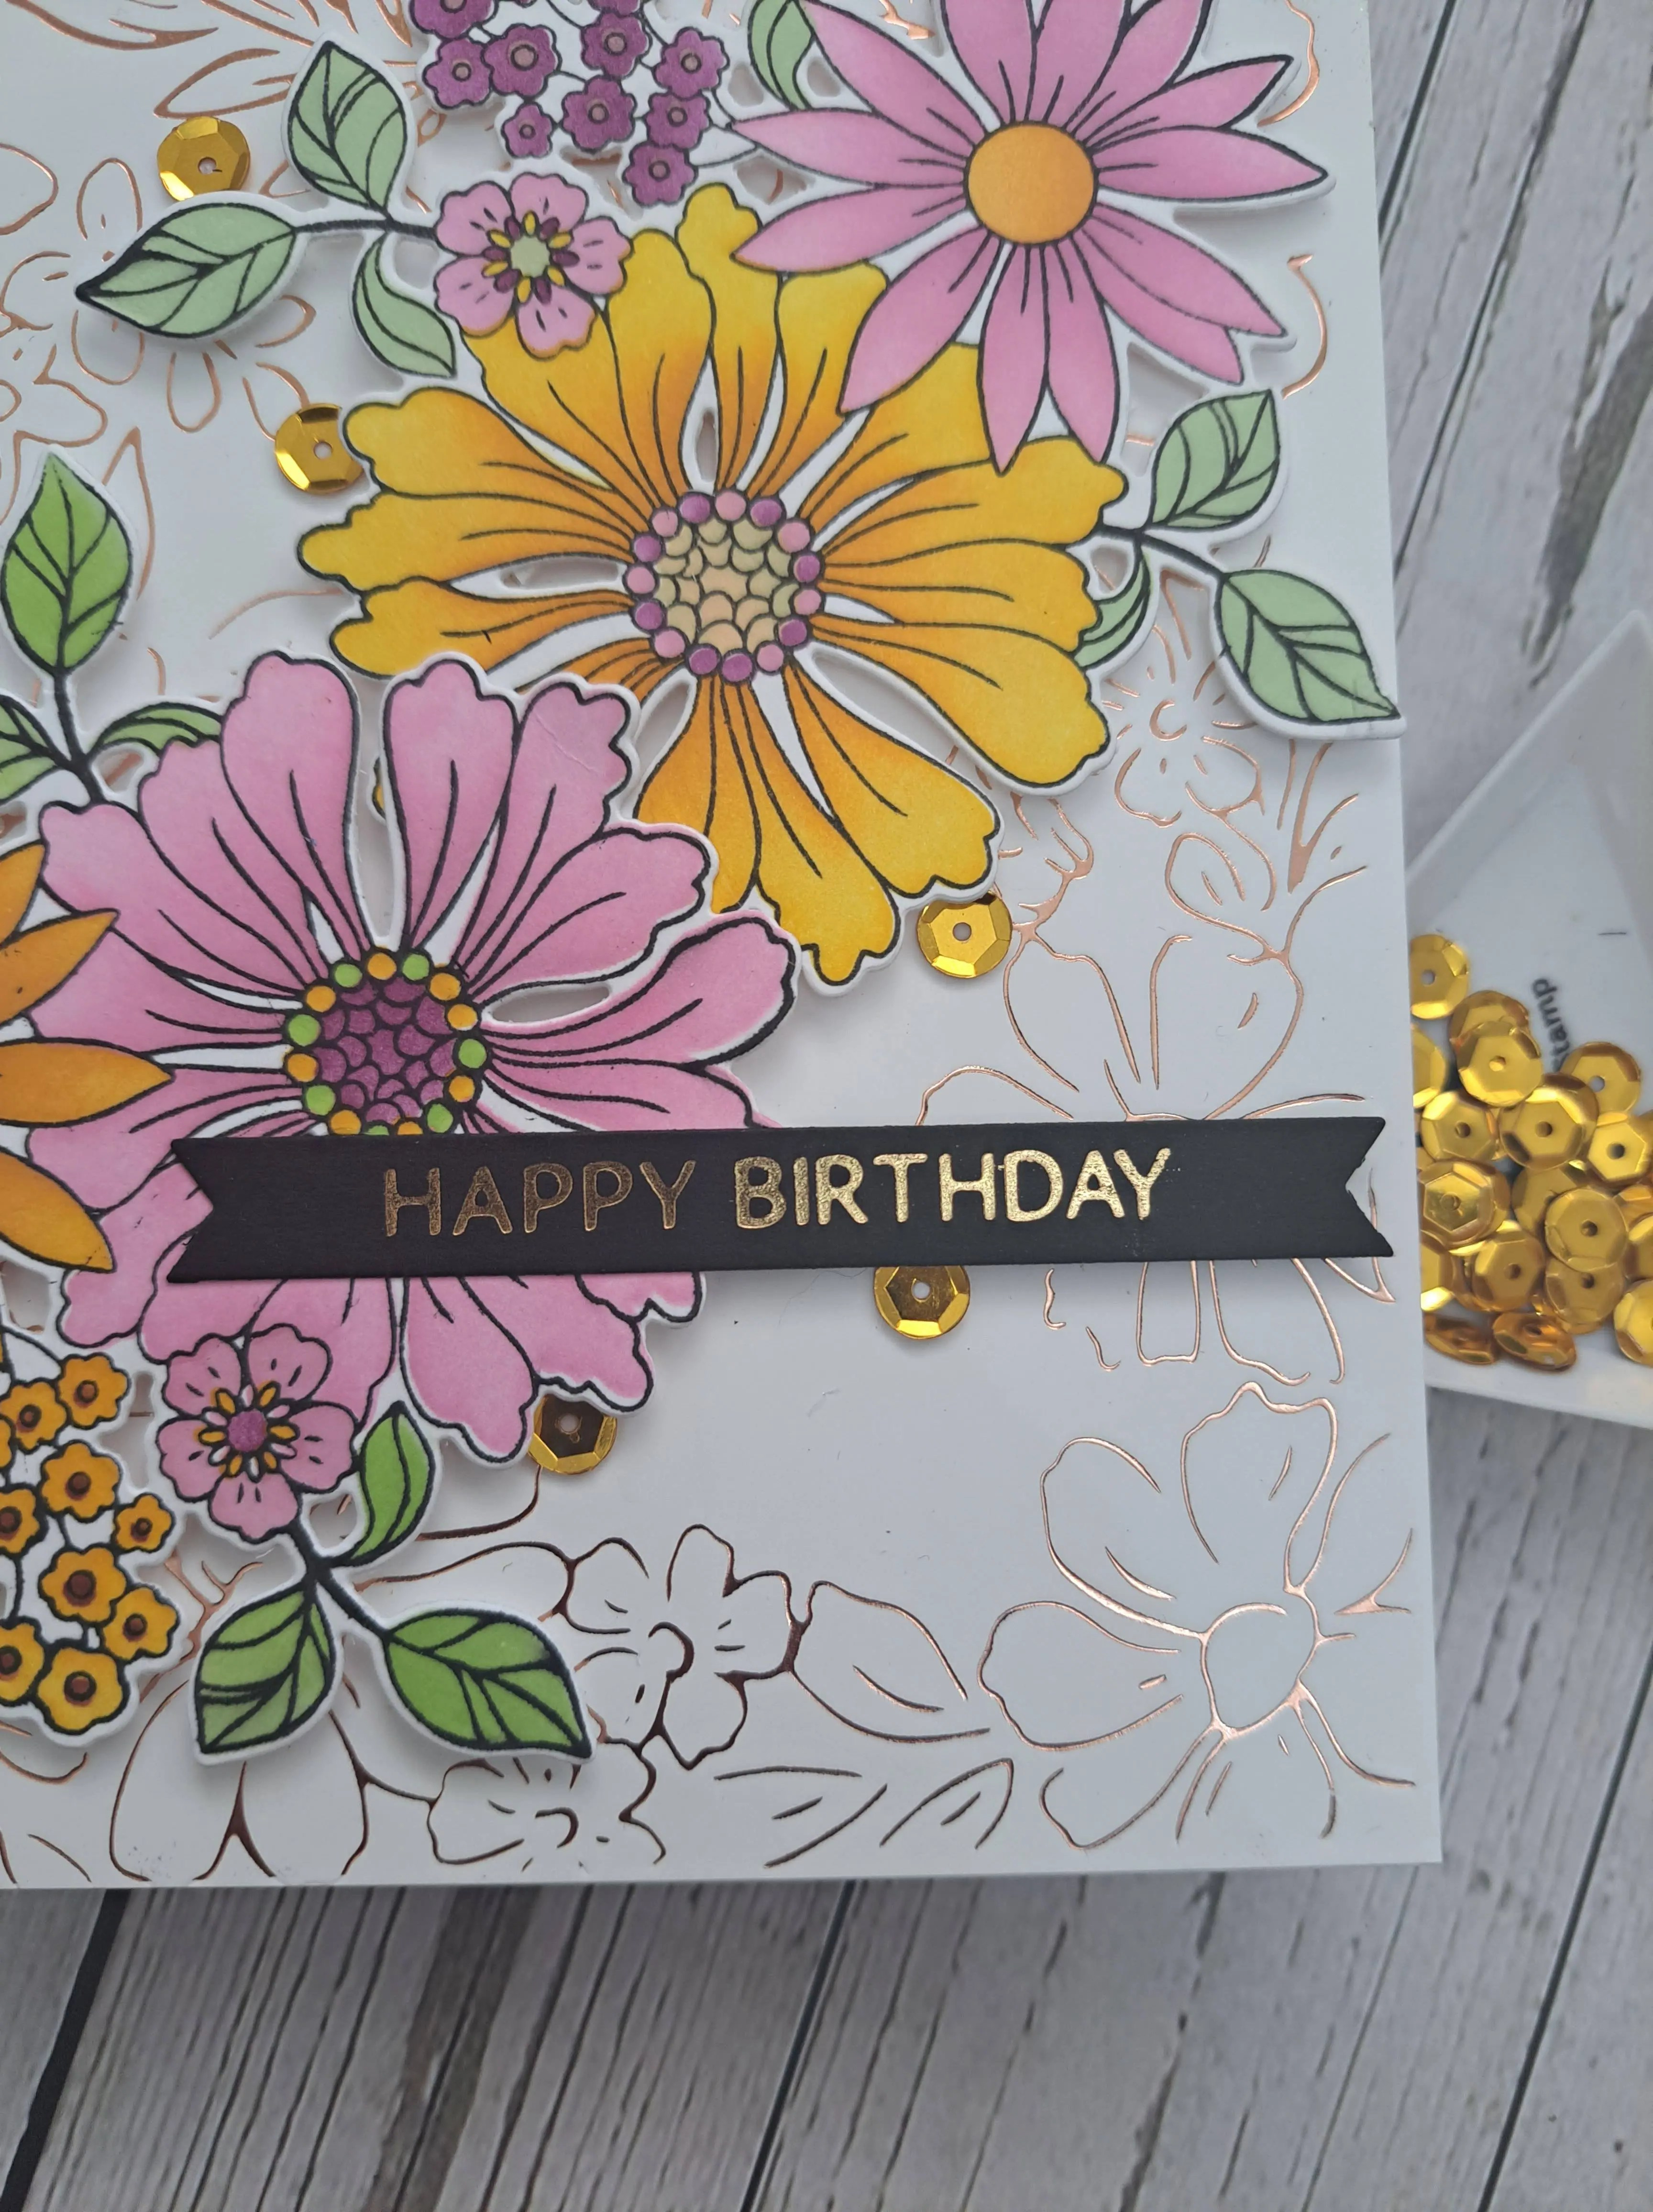
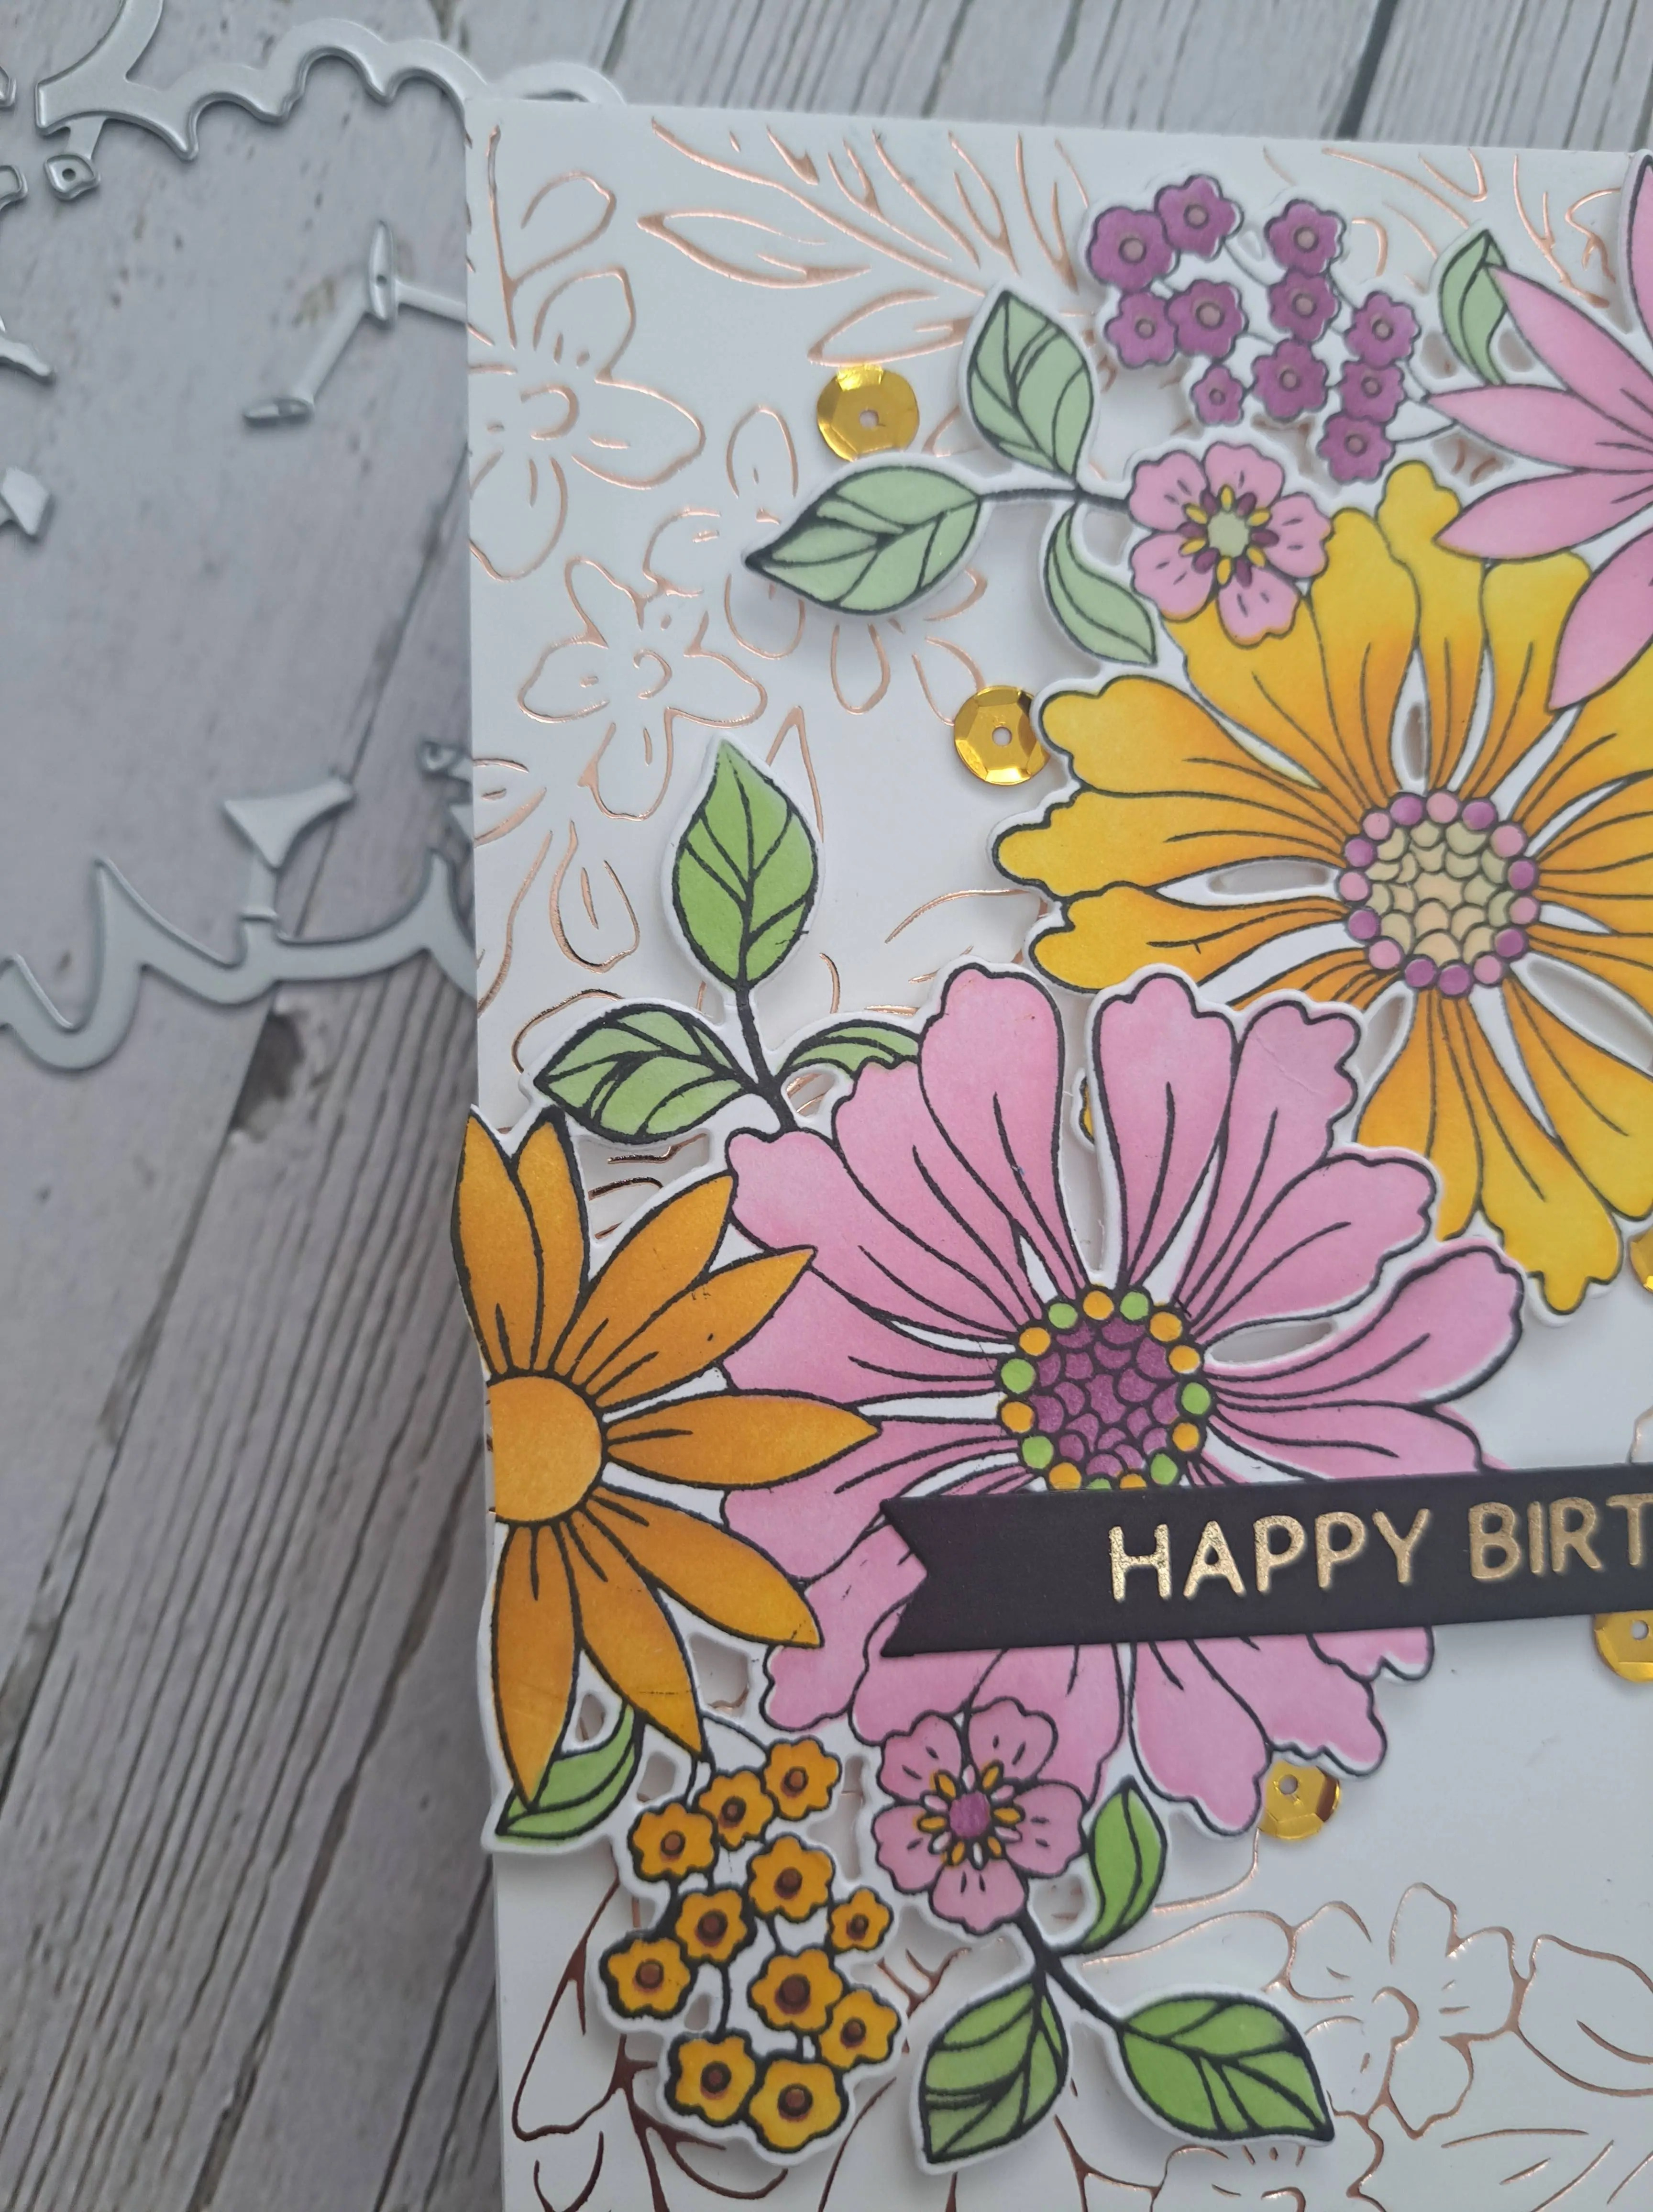
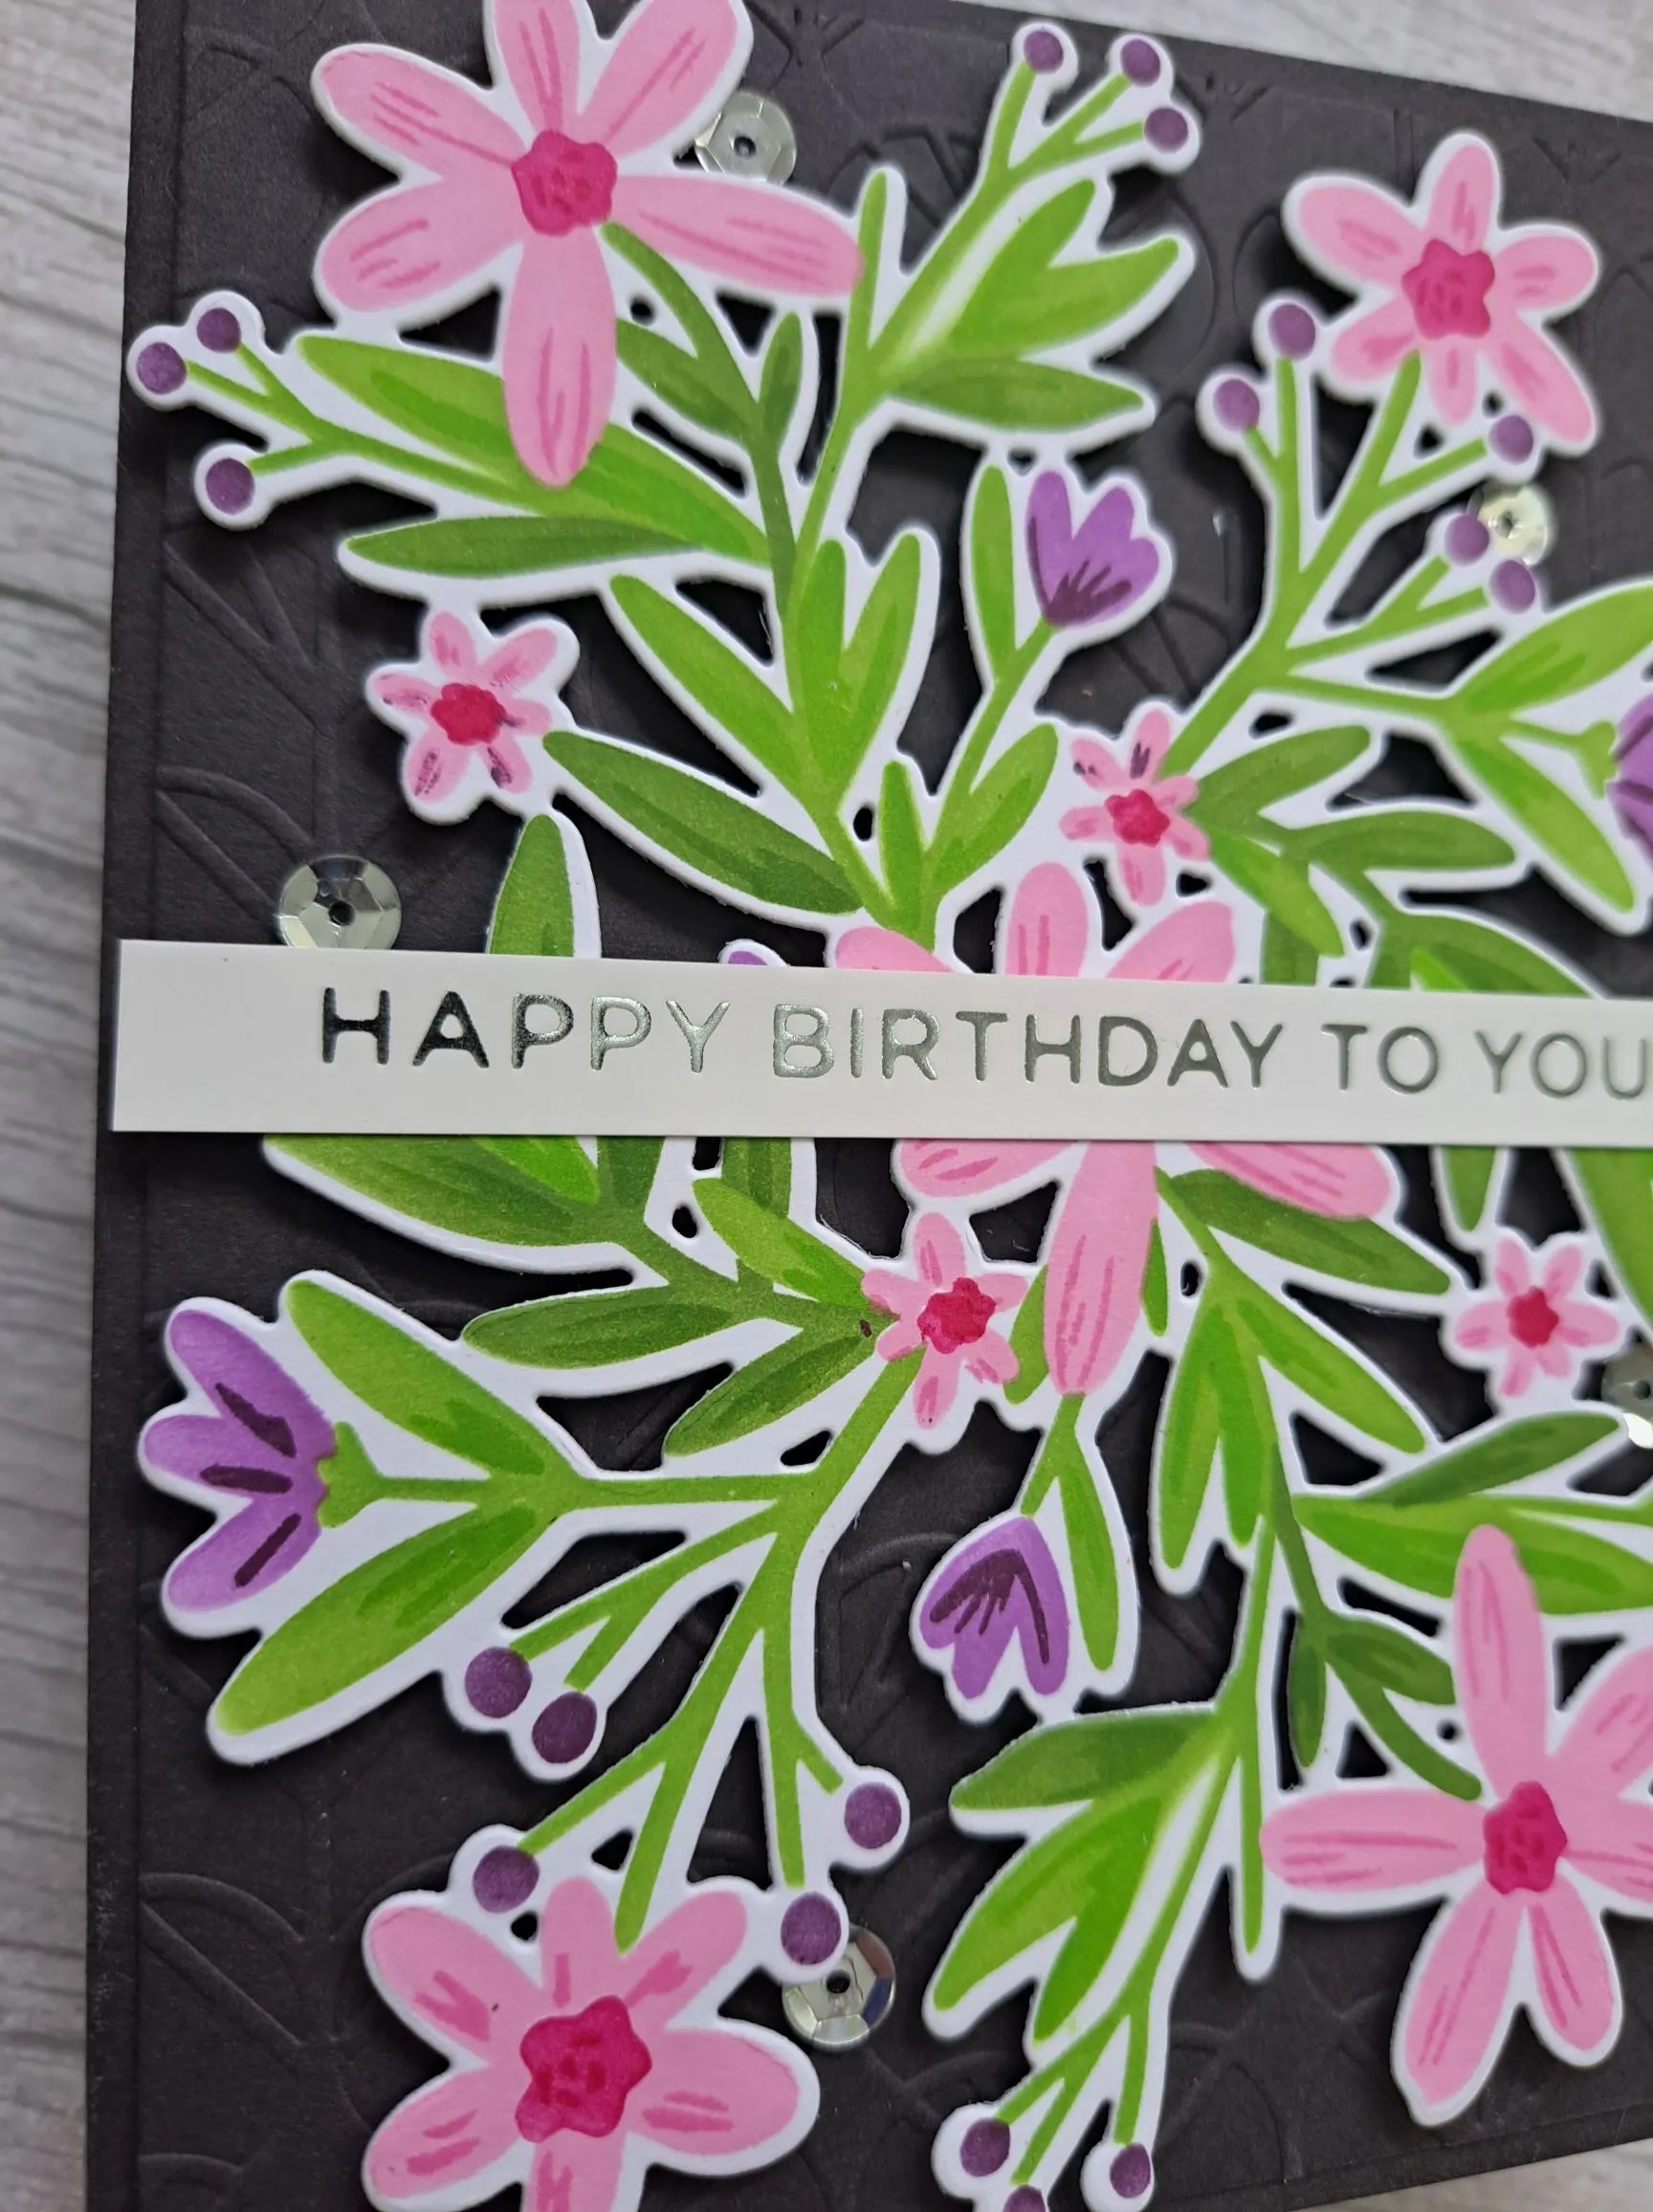
The floral image is a layering stencil set from The Greetery, and I used Pinkfresh Studio inks in two different pinks, purples, and greens. The green leaves are layered with the same colour each time, but going in a little more heavy-handed with the second layer.

I tried this image with a white background, but I thought I would go for the more dramatic look to allow the colours to stand out more…..

A black card base, with a black panel which had been dry embossed using s Spellbinders embossing folder – cut slightly smaller than the card base.

I added the floral image, then a foiled sentiment strip across the middle.

A finishing touch of a few silver sequins hidden here and there.

I shall be entering the following challenges:

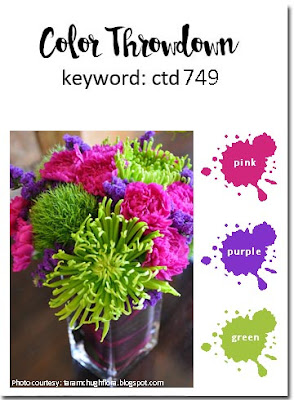
Color Throwdown – pink, purple, green

Simon Says Stamp Wednesday Challenge – anything goes

Krafty Chicks – anything goes

Addicted To Stamps and More – any occasion

Die Cut Divas – die cuts and birthday

Love To Craft – anything goes

Hello Friend – Mushrooms

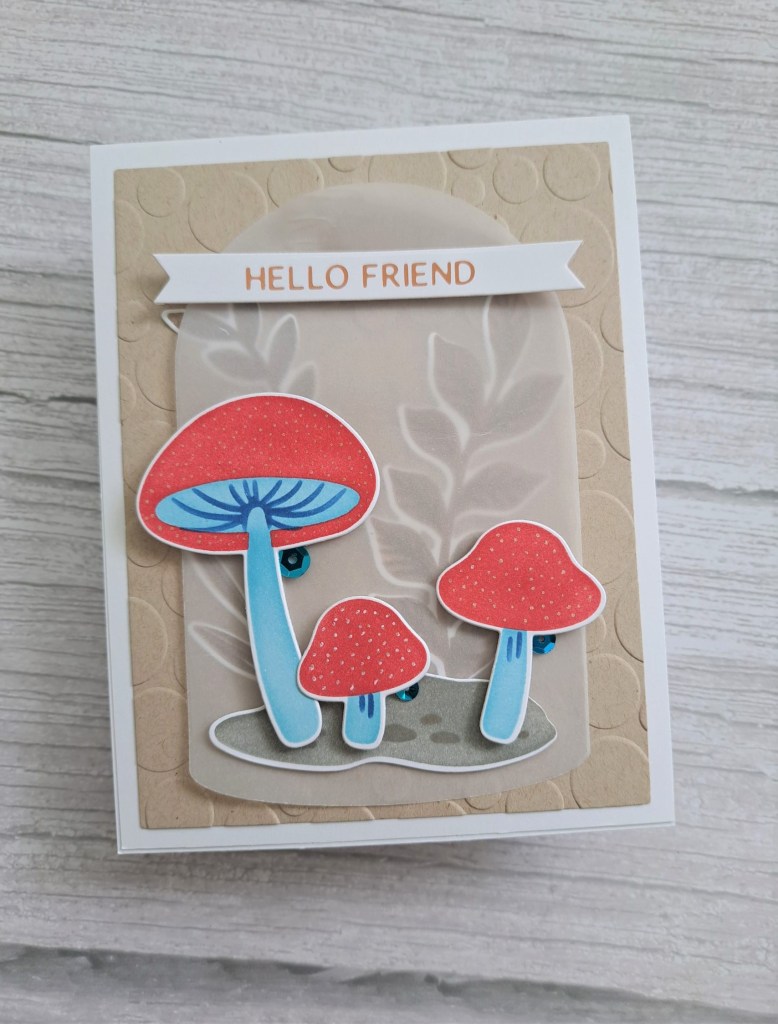
Hi once again. I have used this sentiment quite a lot in the past few weeks. I obviously like it, but I can’t keep having the blog post with the same title, so I just added the theme. Here is the card I created:

I have had this stencil and die set from Pinkfresh Studio since attending one of their virtual crafting events. I haven’t completed that class yet, but I wanted to use the set when I saw the colours for the current Color Throwdown challenge.

I stencilled the mushrooms in red and blue inks from Pinkfresh Studio, then stencilled the leafy sprigs in a brown from Altenew. A little grey for the ground/sand stuff at the bottom.

I then used the matching die and played around – for quite a while – with the layout and design.

The final card has a light brown dry embossed background, using a Spellbinders embossing folder. I then die cut the glass dome from some vellum, played around a little more, and decided the brown leafy sprigs were best going behind the vellum. In that way, they aren’t disturbing my trio of mushrooms, and yet still create some background interest.

The sentiment strip was added to the vellum, and behind the solid elements of the mushrooms and sentiment I added glue to adhere the vellum to the light brown embossed panel.

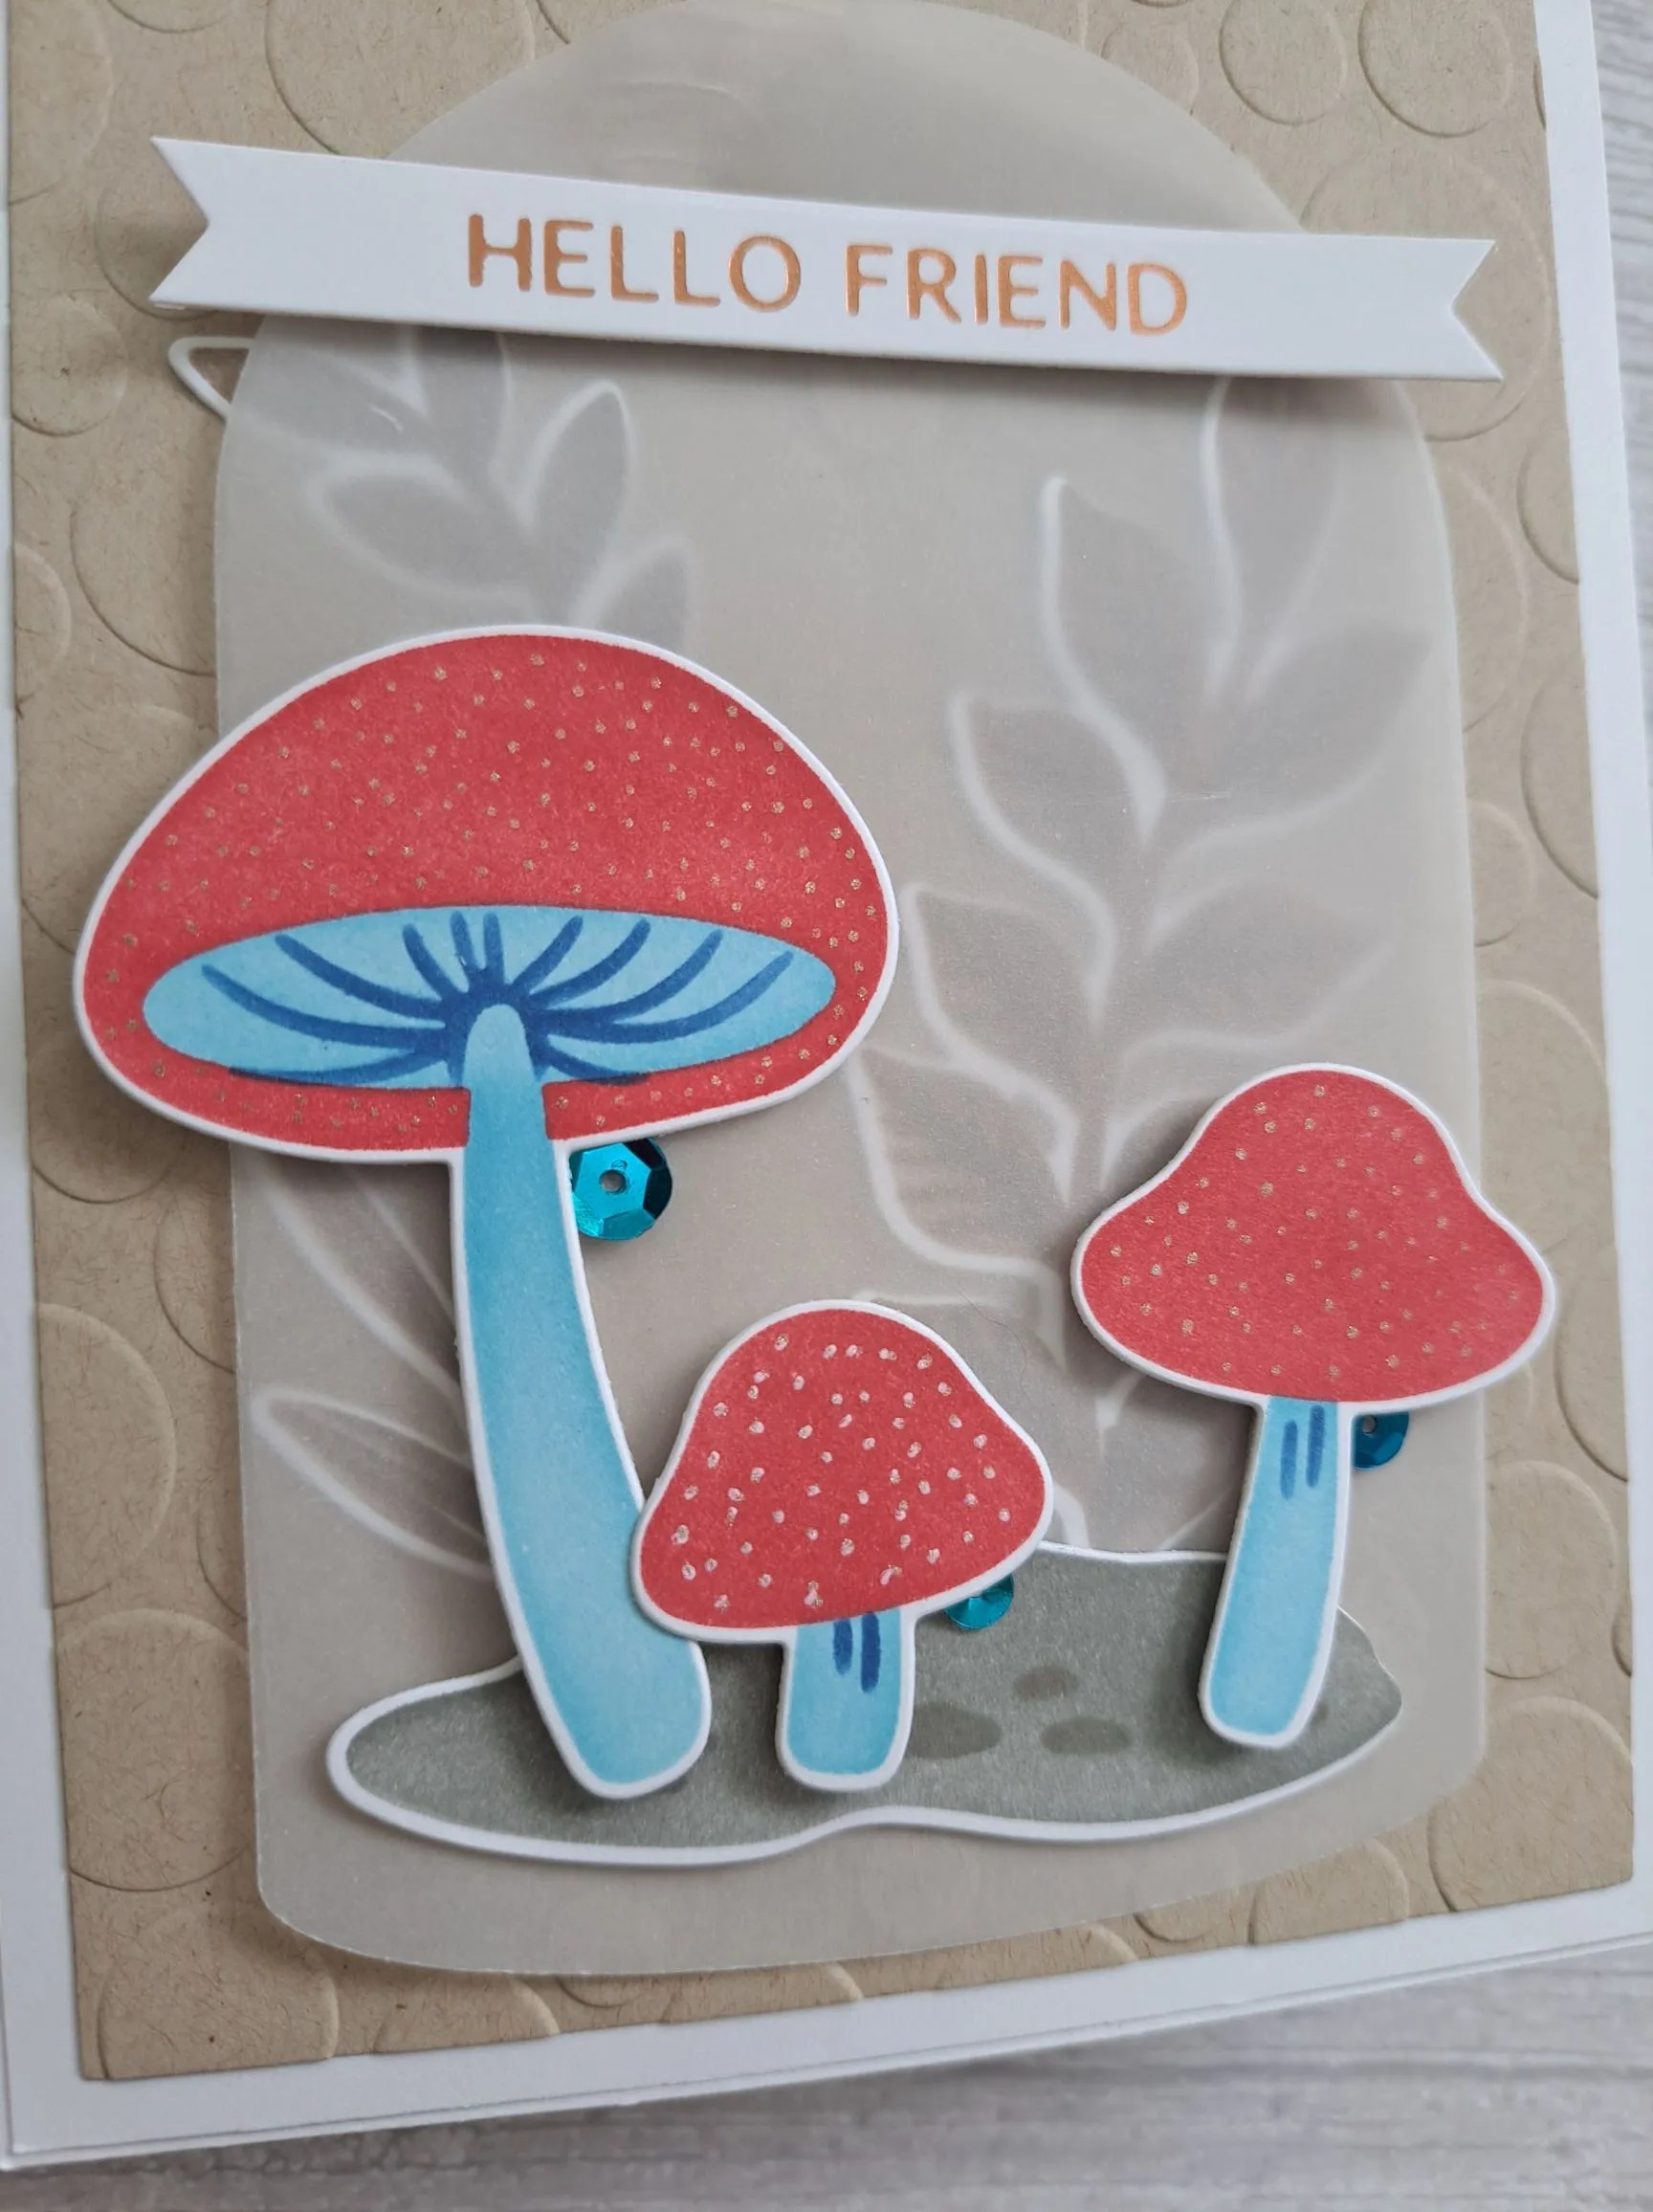
The mushrooms needed something more, so I added some gold shiny dots:

And juts a little more bling with some blue sequins.

This card looks deceptively simple – and yet it took me while to get the ink blending, the layering, and the final composition to where I was happy.

I shall be entering the following challenges:

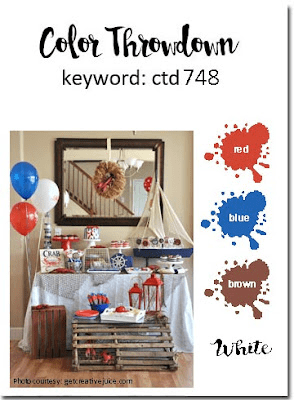
Color Throwdown – red, blue, brown, white

Crafts Galore – anything goes

Creative Fingers – anything goes

Stencil Fun – stencils – option layering stencils taken

Inkspirational – emboss your background

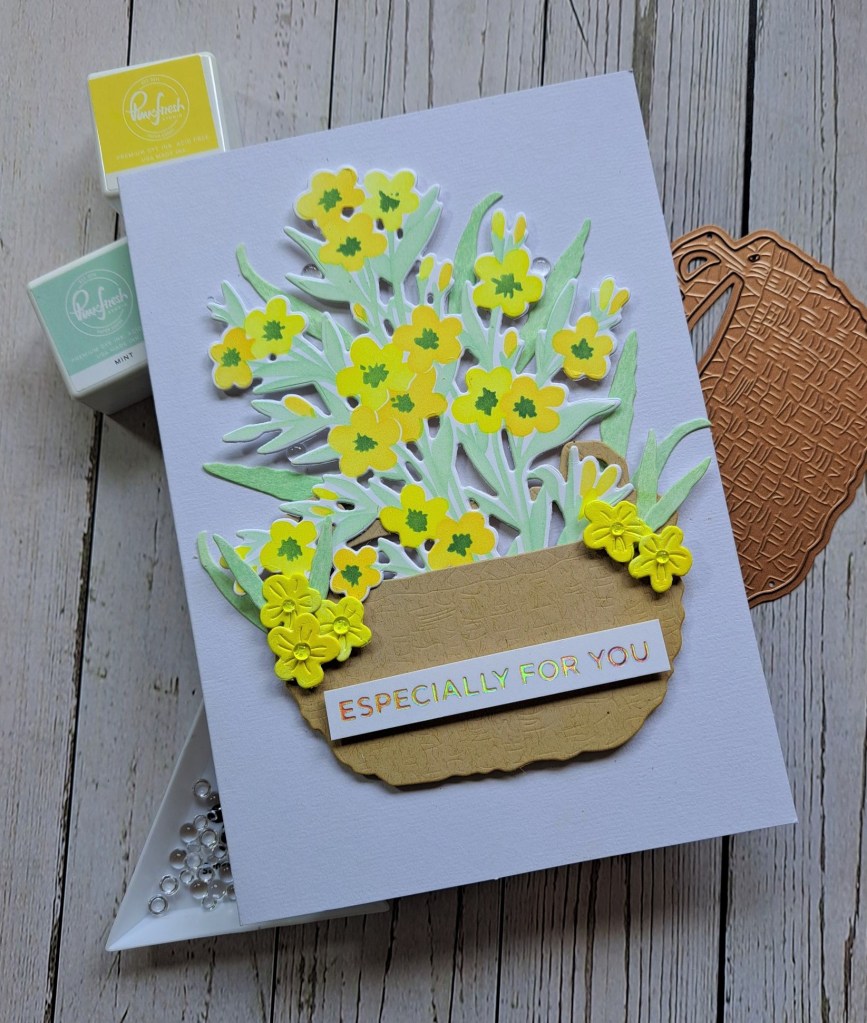
Especially For You

Hello, some crafty time today created this card:

I chose a 5×7 inch card base so I could get the basket and the floral image in their full glory.

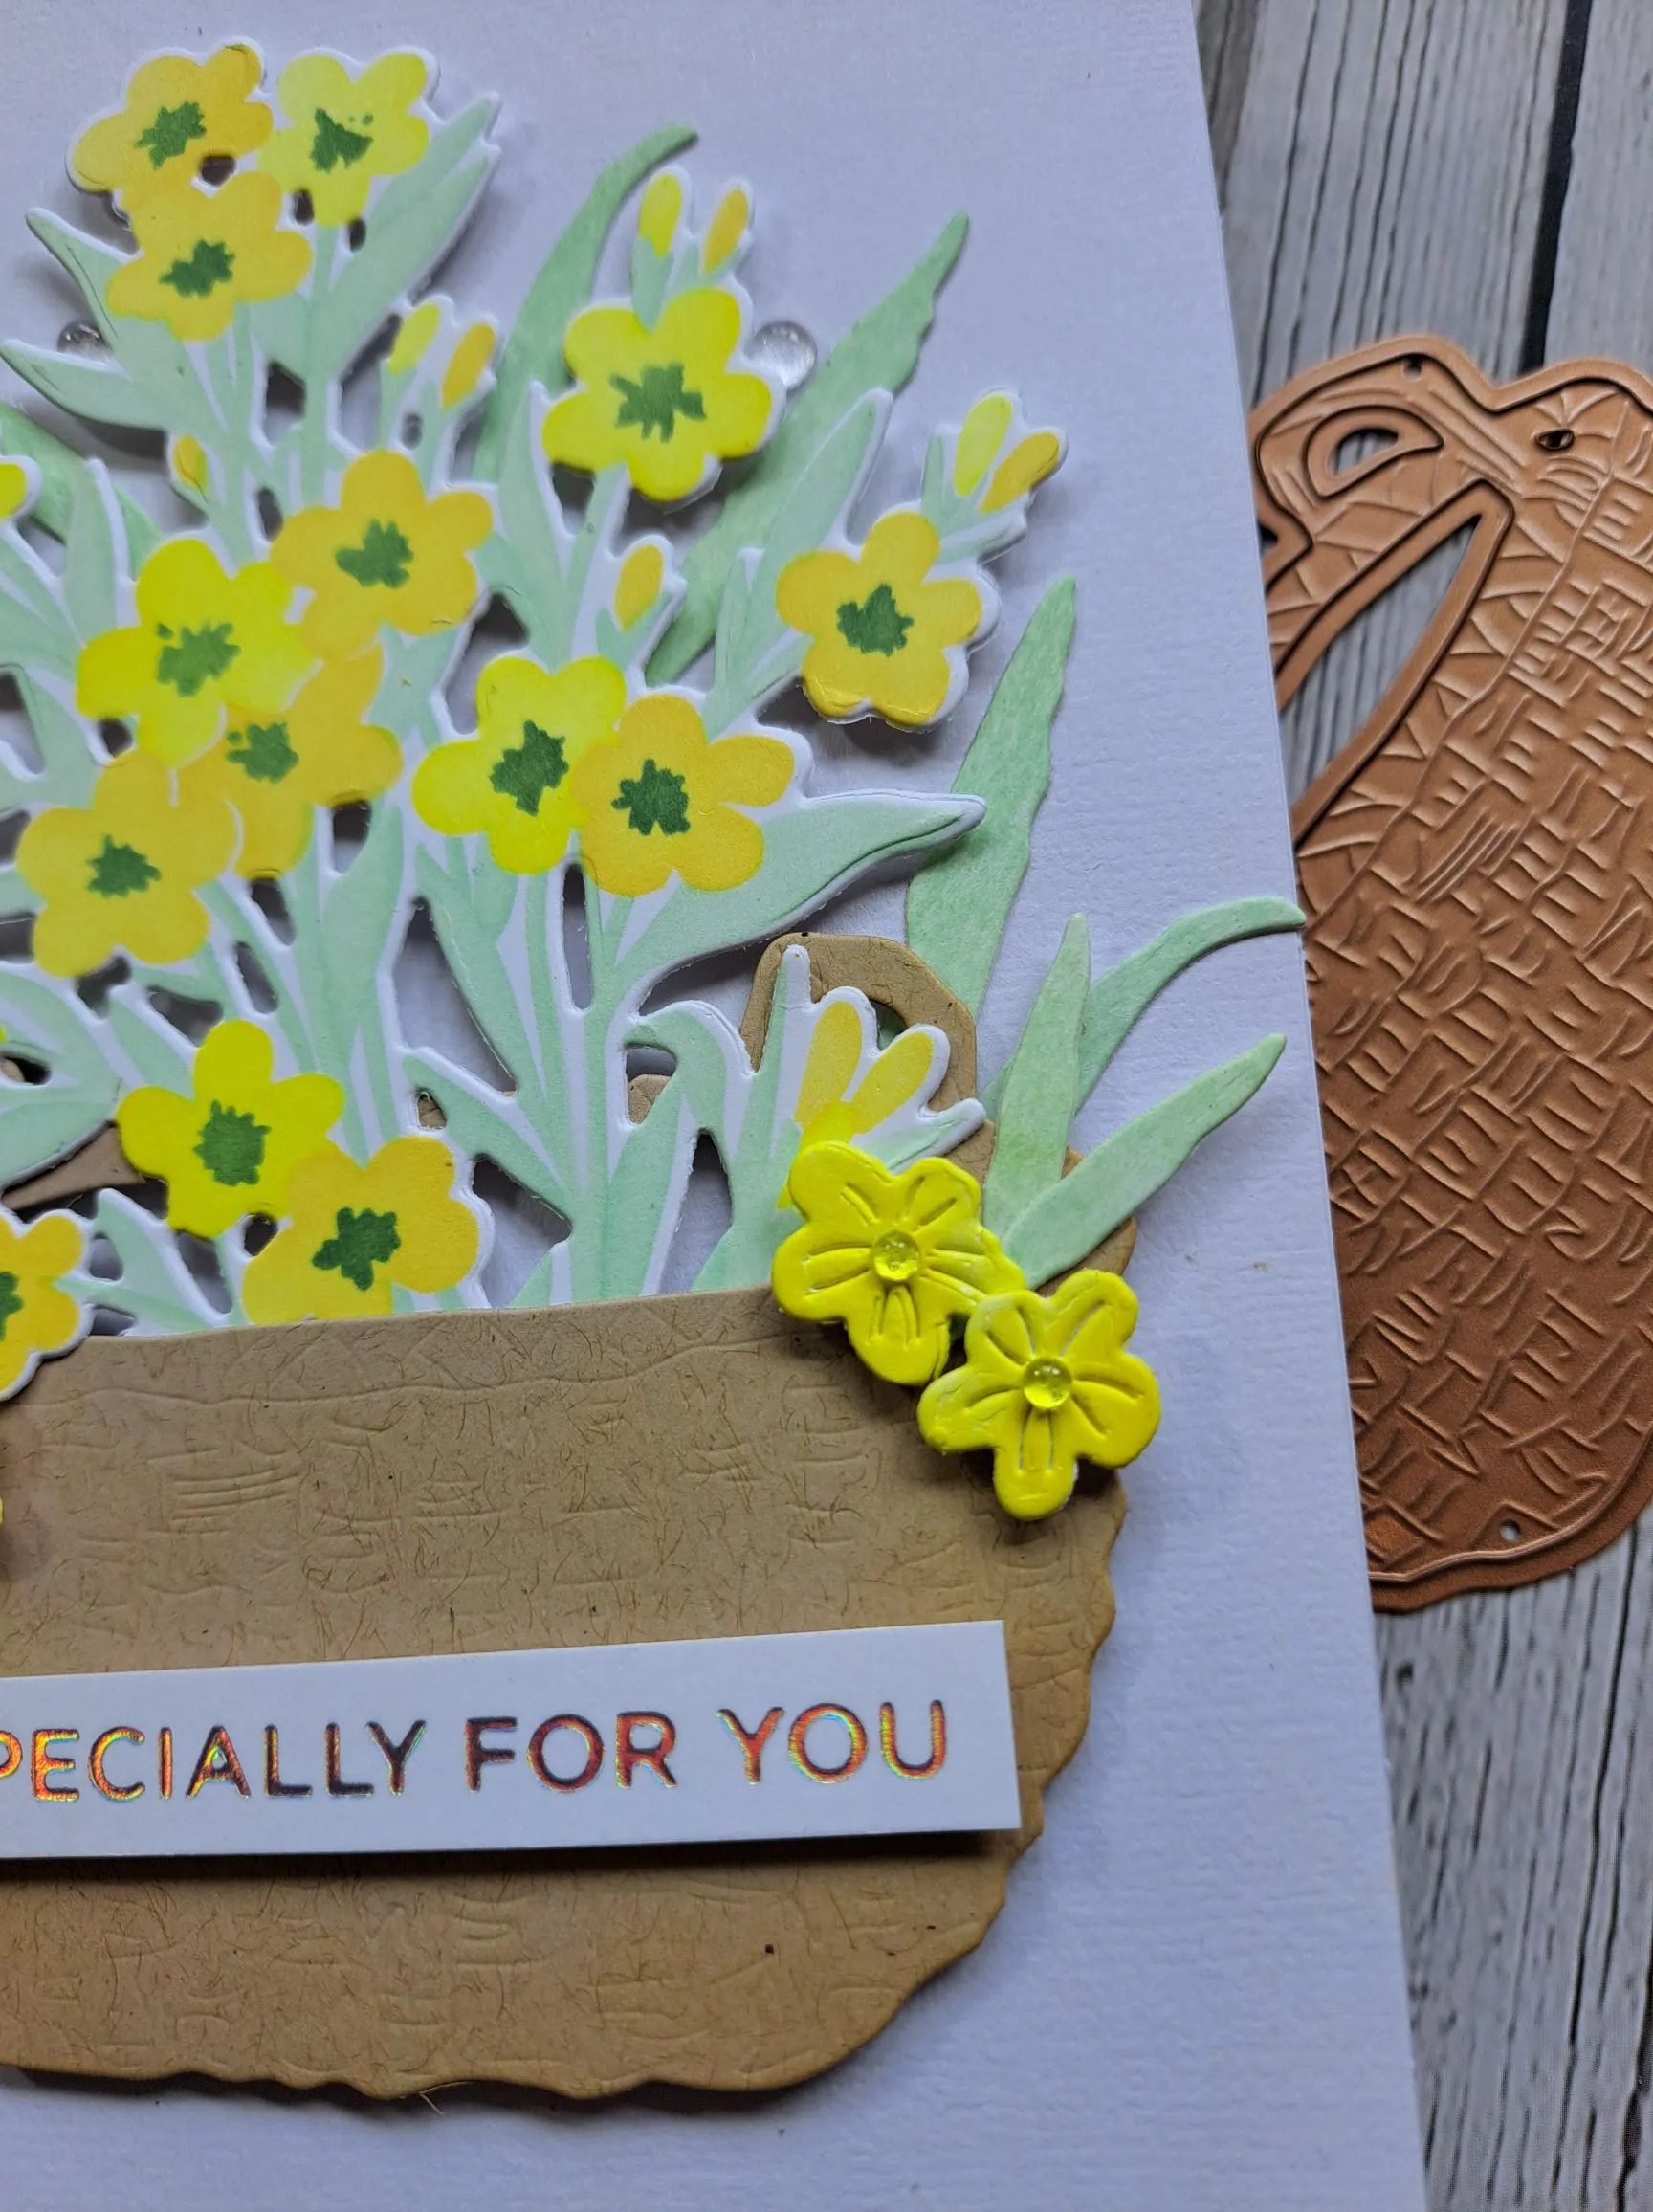
The basket is due cut from a light brown card stock with the Spellbinders die you see, and the edges inked slightly for a little dimension.

The floral image is from The Greetery, a stencil and die set. 6 layers in total, but I kept the floral layers two shades of yellow, with dark green centres and the leaves were all inked with the same mint colour from Pinkfresh Studio.

The main die cut image was inserted into the top of the basket and attached to the card base with 3D foam.

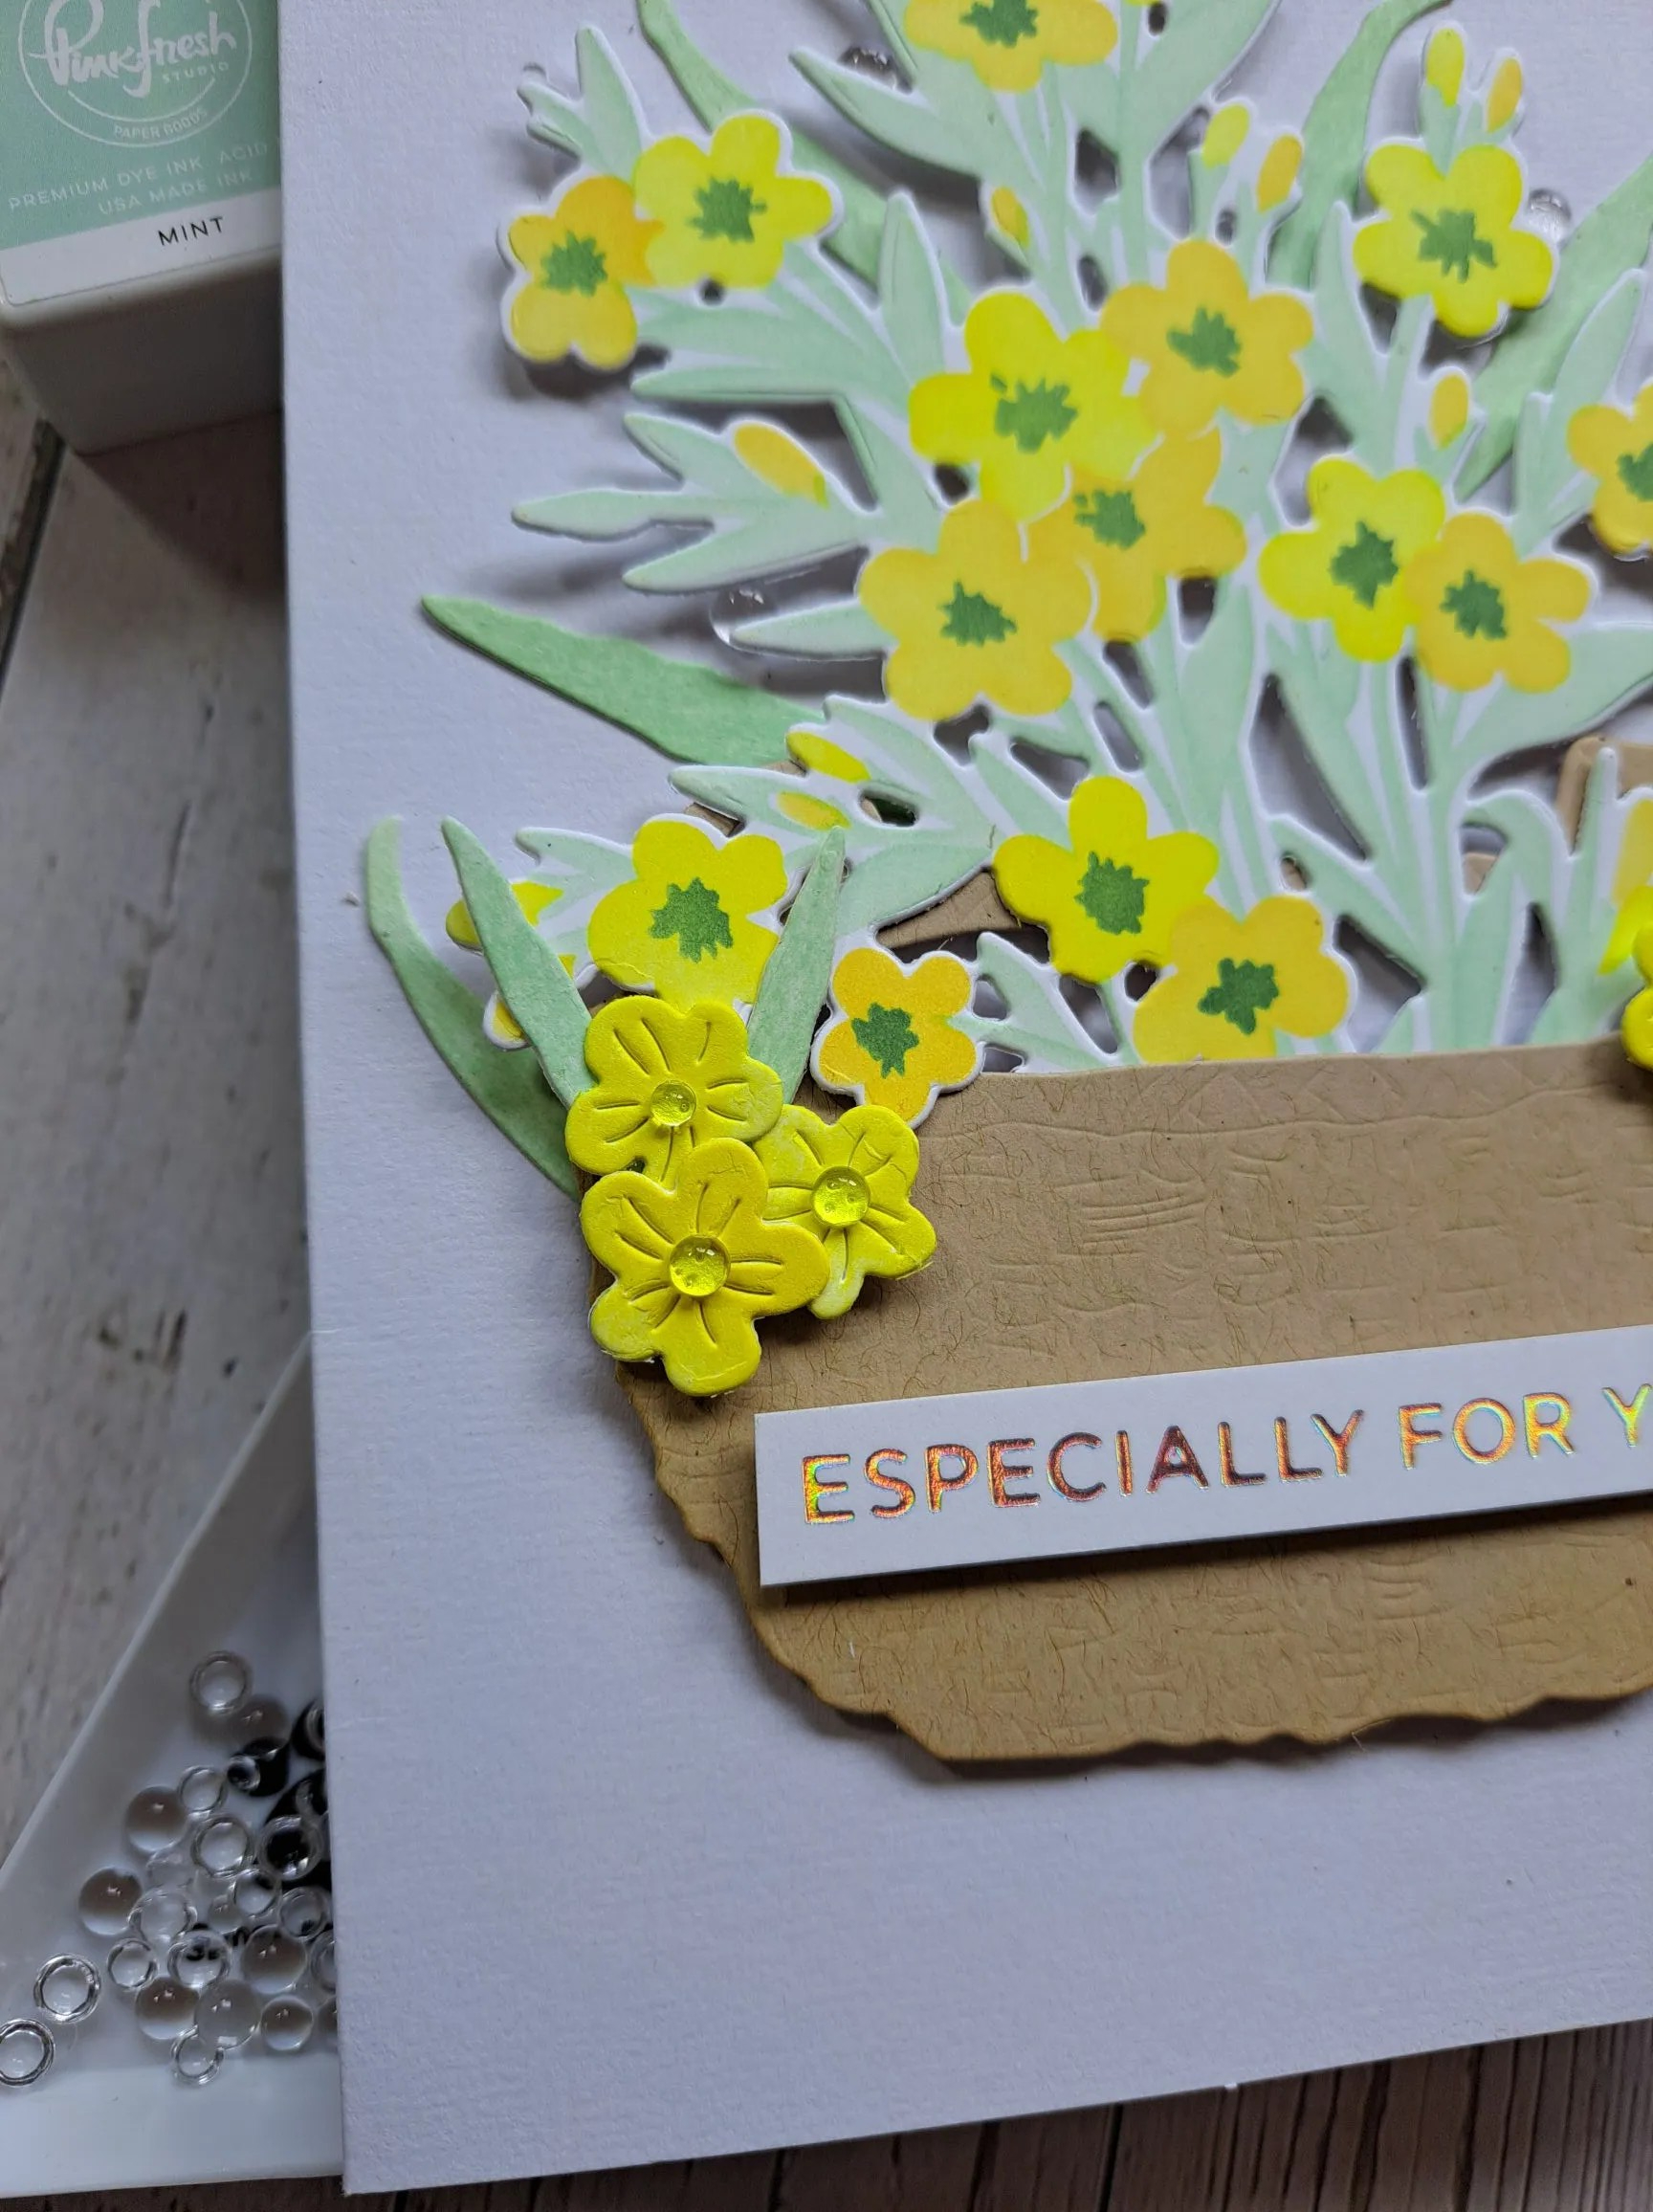
The die set also cuts some flowers, so I also ink blended those small flowers with a yellow ink, them added them to the top of the basket.

I thought some extra leaves were needed, so I searched the Color My Life app and found these leaves – also from Spellbinders – blended the mint green onto w white piece of card and die cut those extra leaves, adding them here and there throughout the back of the central image.

I added some clear gem thingies to the centre of the extra flowers, and also added three around the central image.

The sentiment is a previously foiled strip:

I shall be entering the following challenges:

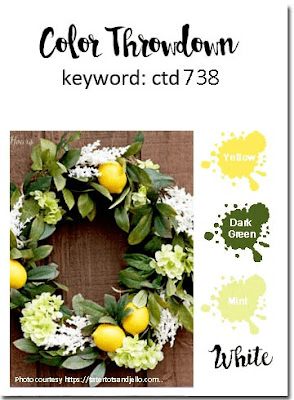
Color Throwdown – yellow, dark green, mint green, white

Lil Red Wagon – at least 2 layers

Daring Cardmakers – bloom and grow – flowers and/or plants

Craft Rocket – layer it up

Triple B – birds and/or butterflies and/or blooms

Ally’s Angels – anything goes

Easel Card Thanks

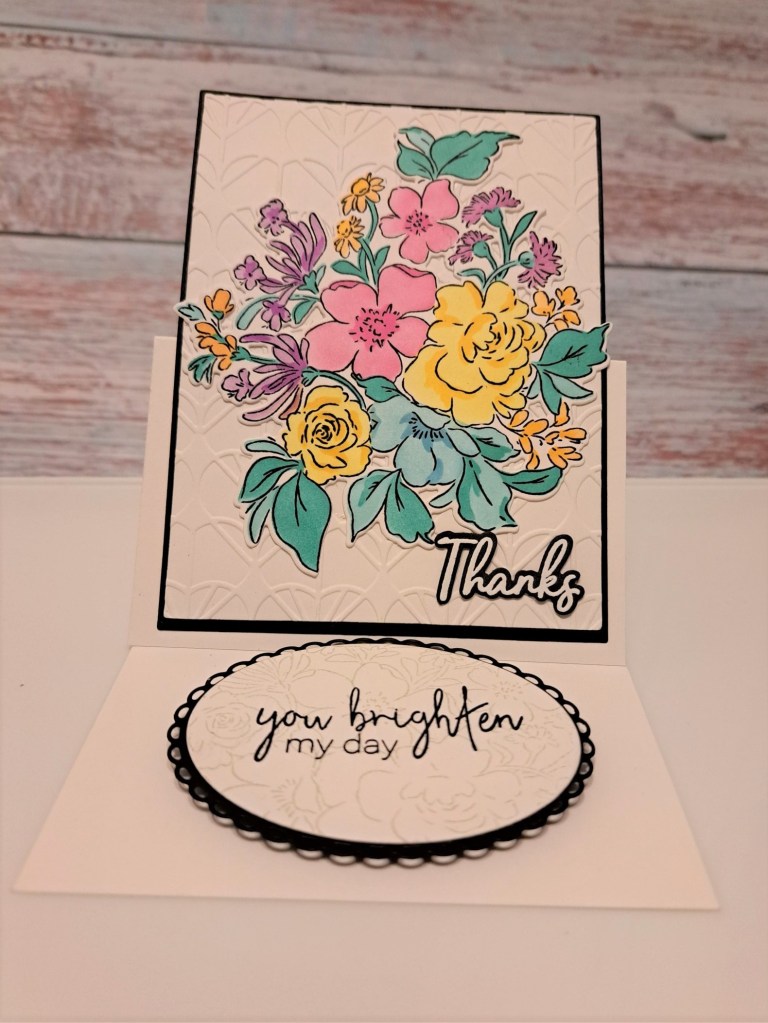
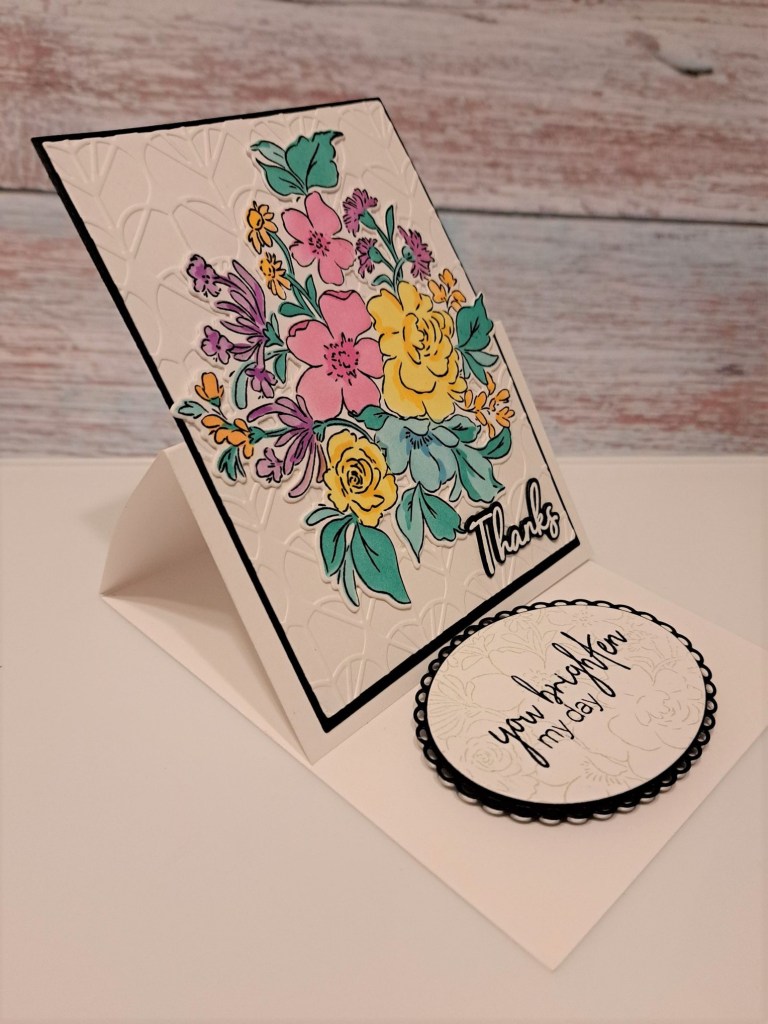
Hello once again. The new challenge at Cardz 4 Galz has started, and Caz has chosen the theme of ‘easel card’. Here is my card:

I first stamped the Pinkfresh Studio floral image, then used the layering stencils in a range of colours. I masked some of each layer off to create more colour variety in the florals, then die cut the image.

I used Gina K Designs ‘Master Layouts‘ to create the black and white panel, dry embossing the white panel with a Spellbinders embossing folder, before adding my die cut floral arrangement.

Onto a layered oval I stamped the same floral image in a very, very light grey ink, then stamped the sentiment, adding this to the base of the card with 3D foam as the stopper for the easel.

I hope you can come and join us with your easel cards. xx

I shall be entering the following challenges:

Ally’s Angels – anything goes

Beautiful Blossoms – flowers

Love To Craft – anything goes

Lil Patch Of Crafty Friends – anything goes

A Perfect Time To Craft – anything goes

Avenue 613 – anything goes – option of ‘let’s stencil’ taken

Peaceful Olive Branches and a Dove

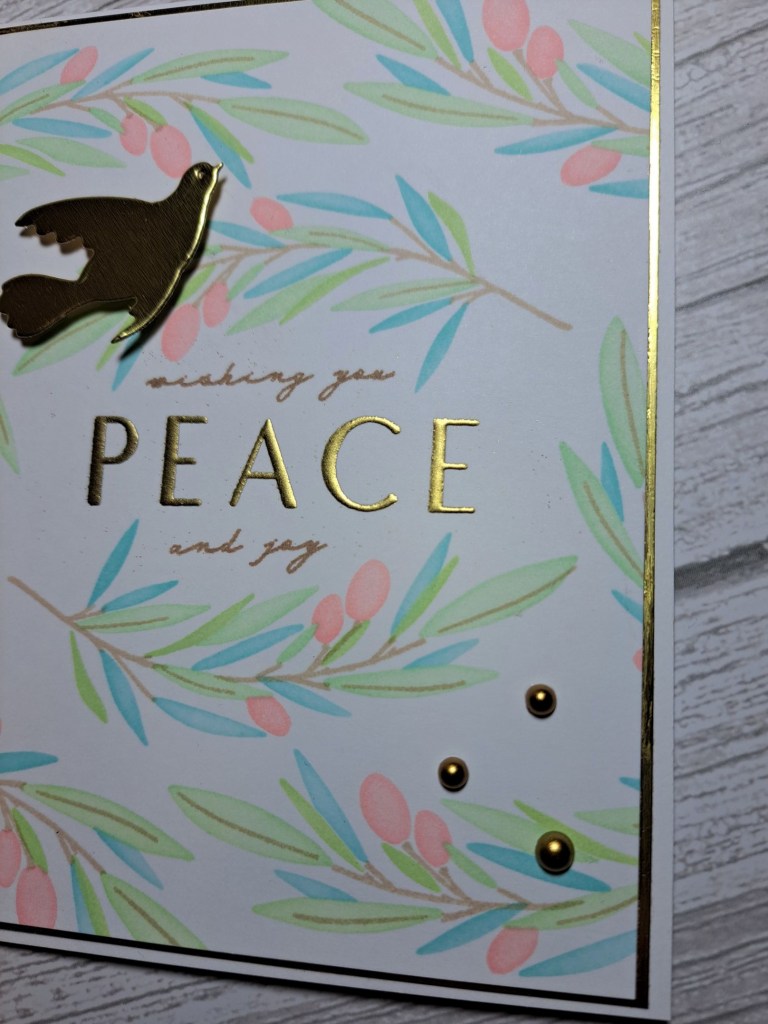
The new challenges has started at The Holly and Ivy Christmas Challenge. The theme is always ‘anything goes Christmas/festive‘. Here is my card:

I stencilled the olive branches onto a white panel using some more muted colours and ‘peaceful’ colours, then cut that panel and a black panel using Gina K Master Layouts.

I stamped and gold heat embossed the sentiment, then added some gold gems and a die cut gold dove.

I hope you can come and join us with your festive makes. xx

I shall be entering the following challenges:

Creative Fingers – anything goes

MMM Challenge – P is for…….Peace

Love To Craft – anything goes

Peace On earth Christmas Challenge – anything goes Christmas

Merry Little Christmas Challenge – anything goes Christmas

Butterfly Garden Birthday

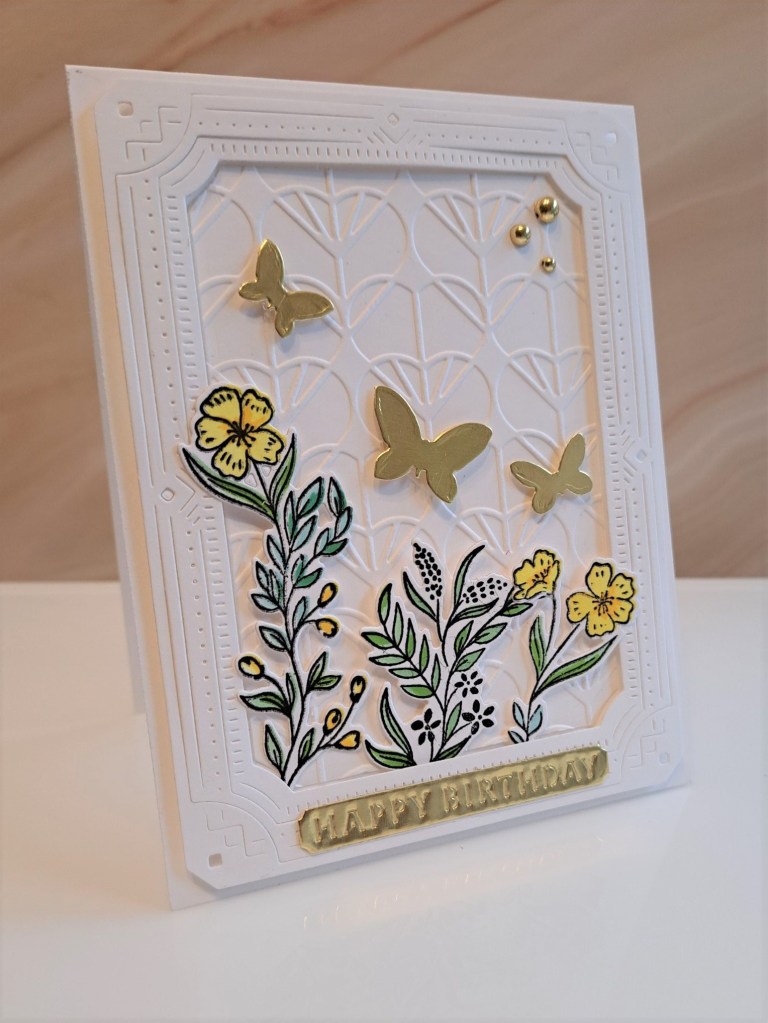
Hello there. Happy Little Stampers has started a new ‘anything goes birthday’ challenge. Here is my card:

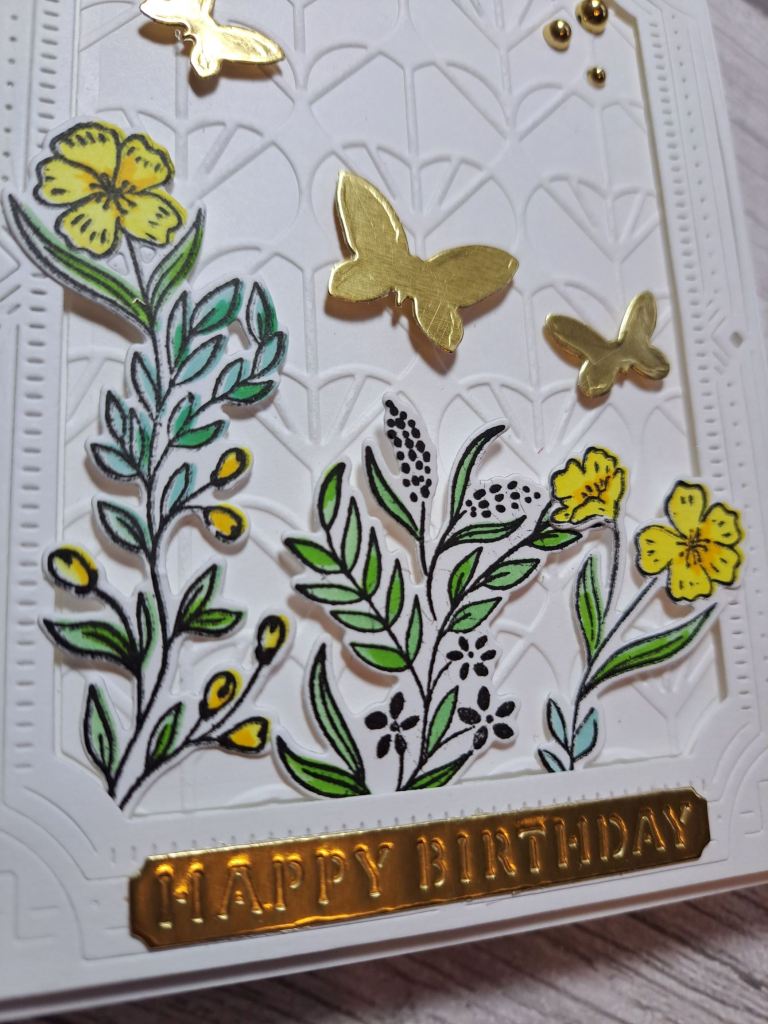
I used a Spellbinders embossing folder to create a panel, then added the Pinkfresh Studio deco frame from white card stock, raised with 3D foam.

The flowers were stamped, coloured using the matching stencils, then die cut. These were arranged as you see, adding some gold butterflies and some gold dots.

The sentiment is from Spellbinders, one of their debossed sentiments into their shiny gold card stock. Spellbinders gold card stock is a particular favourite of mine as it’s double sided, and die cuts so beautifully. It is sometimes a little tricky to glue down – sliding around – so you have to be careful until it ‘grabs’.

I hope you can come and join us with your birthday themed cards. I look forward to seeing you in our gallery. xx

I shall be entering the following challenges:

Simon Says Stamp Wednesday Challenge – anything goes

Seize The Birthday – birthday – option things in the garden

CYHTP – embossing folder – option of Easter not taken

Krafty Chicks – anything goes

Beautiful Blossoms – floral

Yummy…..!

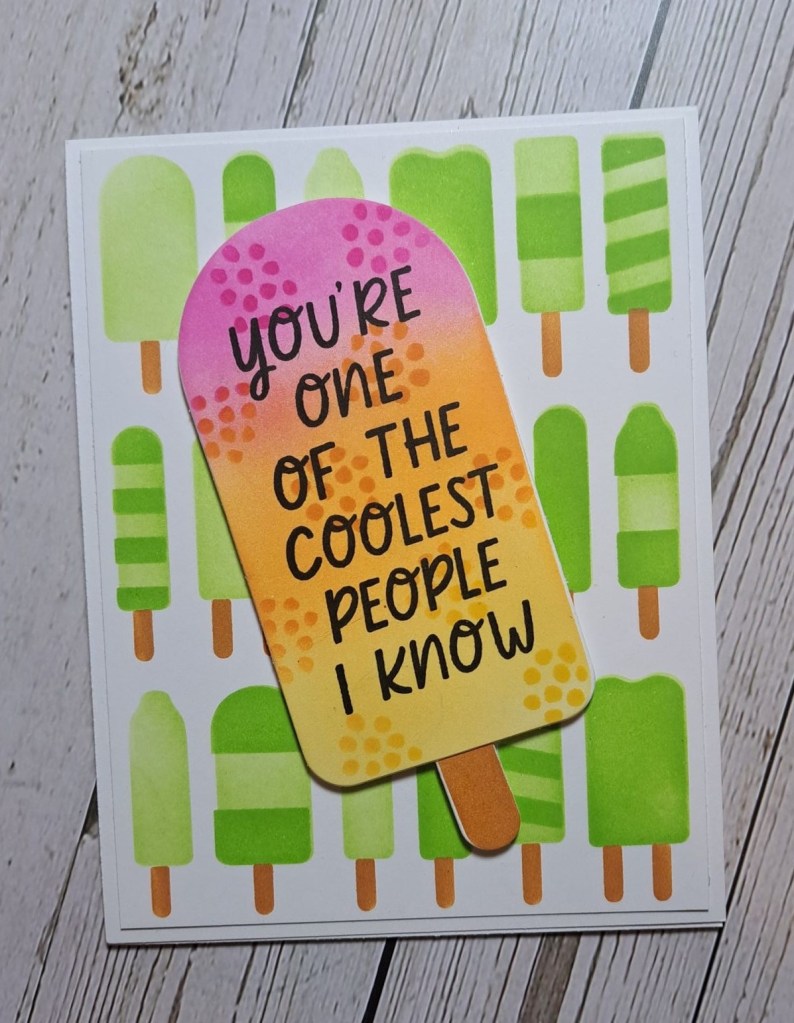
There is a new challenge at The Alphabet Challenge. Having reached the letter ‘Y’, Billie A has chosen the theme of ‘Yummy’. Here is my card:

I ink blended the base panel using the Concord & 9th ‘Popsicle Party’ stencil set onto a white panel, then adhered that to the card base.

The biggest popsicle is from the ‘Sweet Summer’ stencil and die set, ink blended, tone-on-tone stamping for the berry details, then die cut, adding the popsicle stick behind. The large sentiment added once the ink was dry.

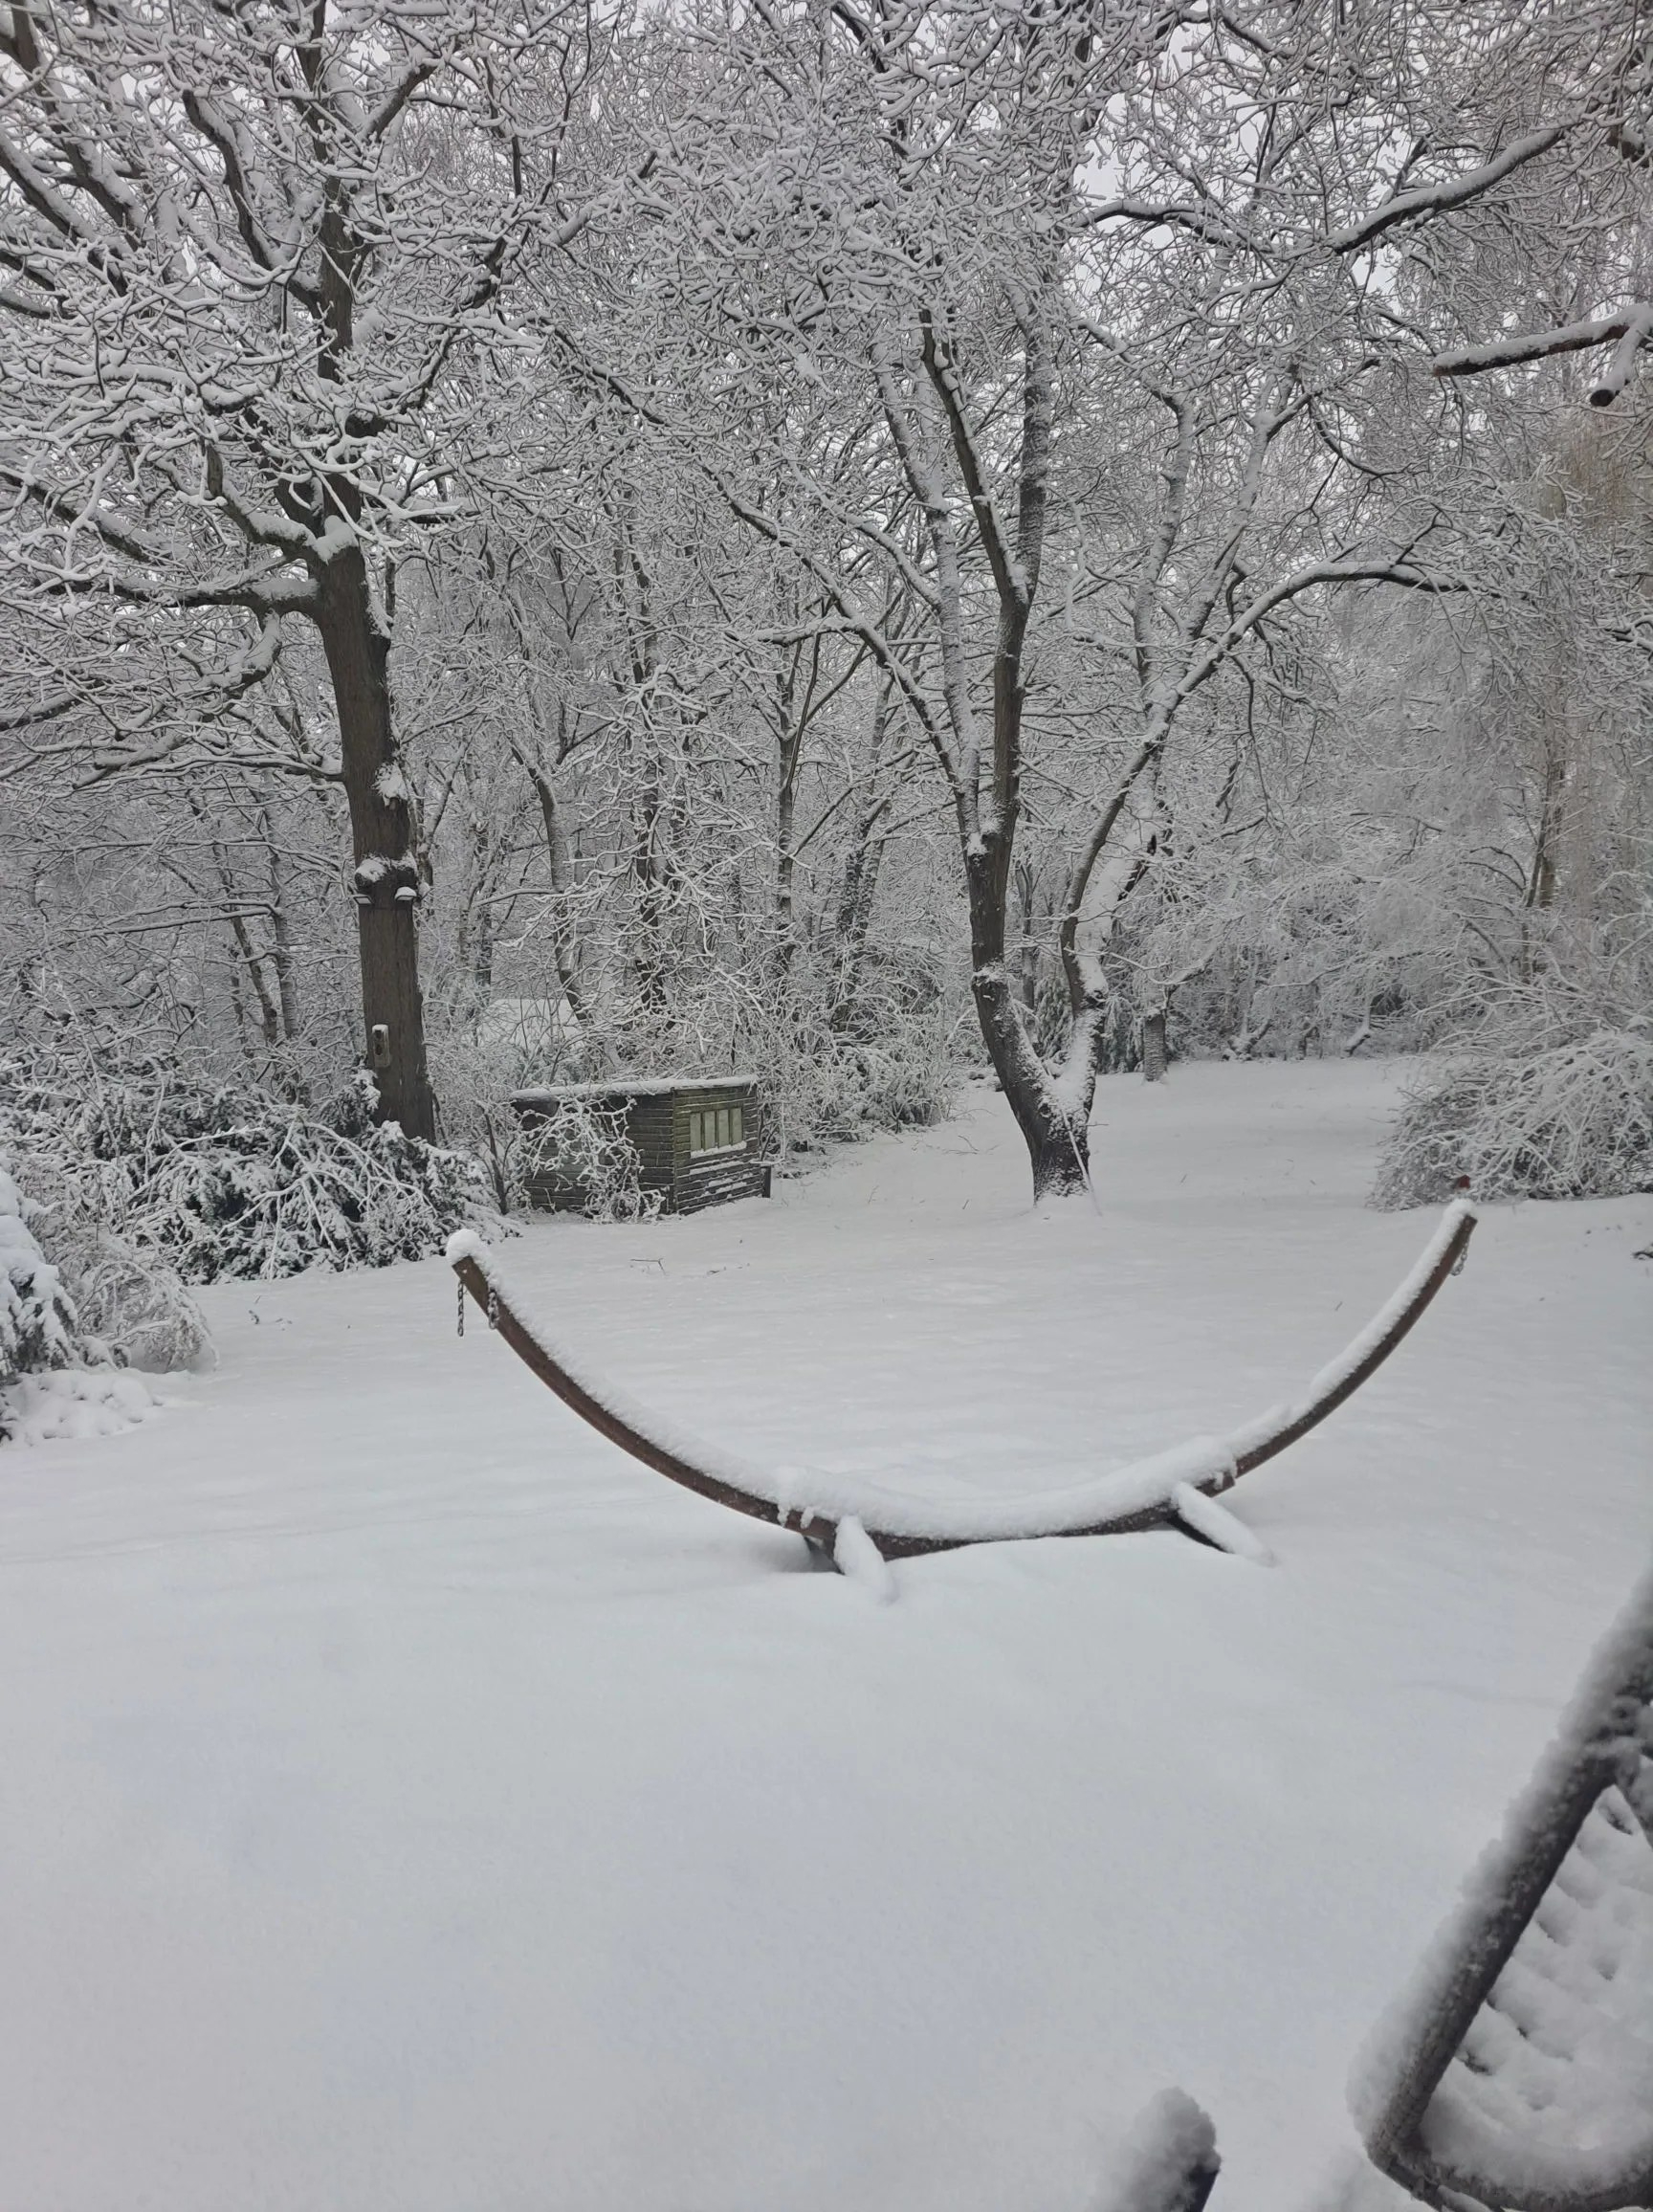
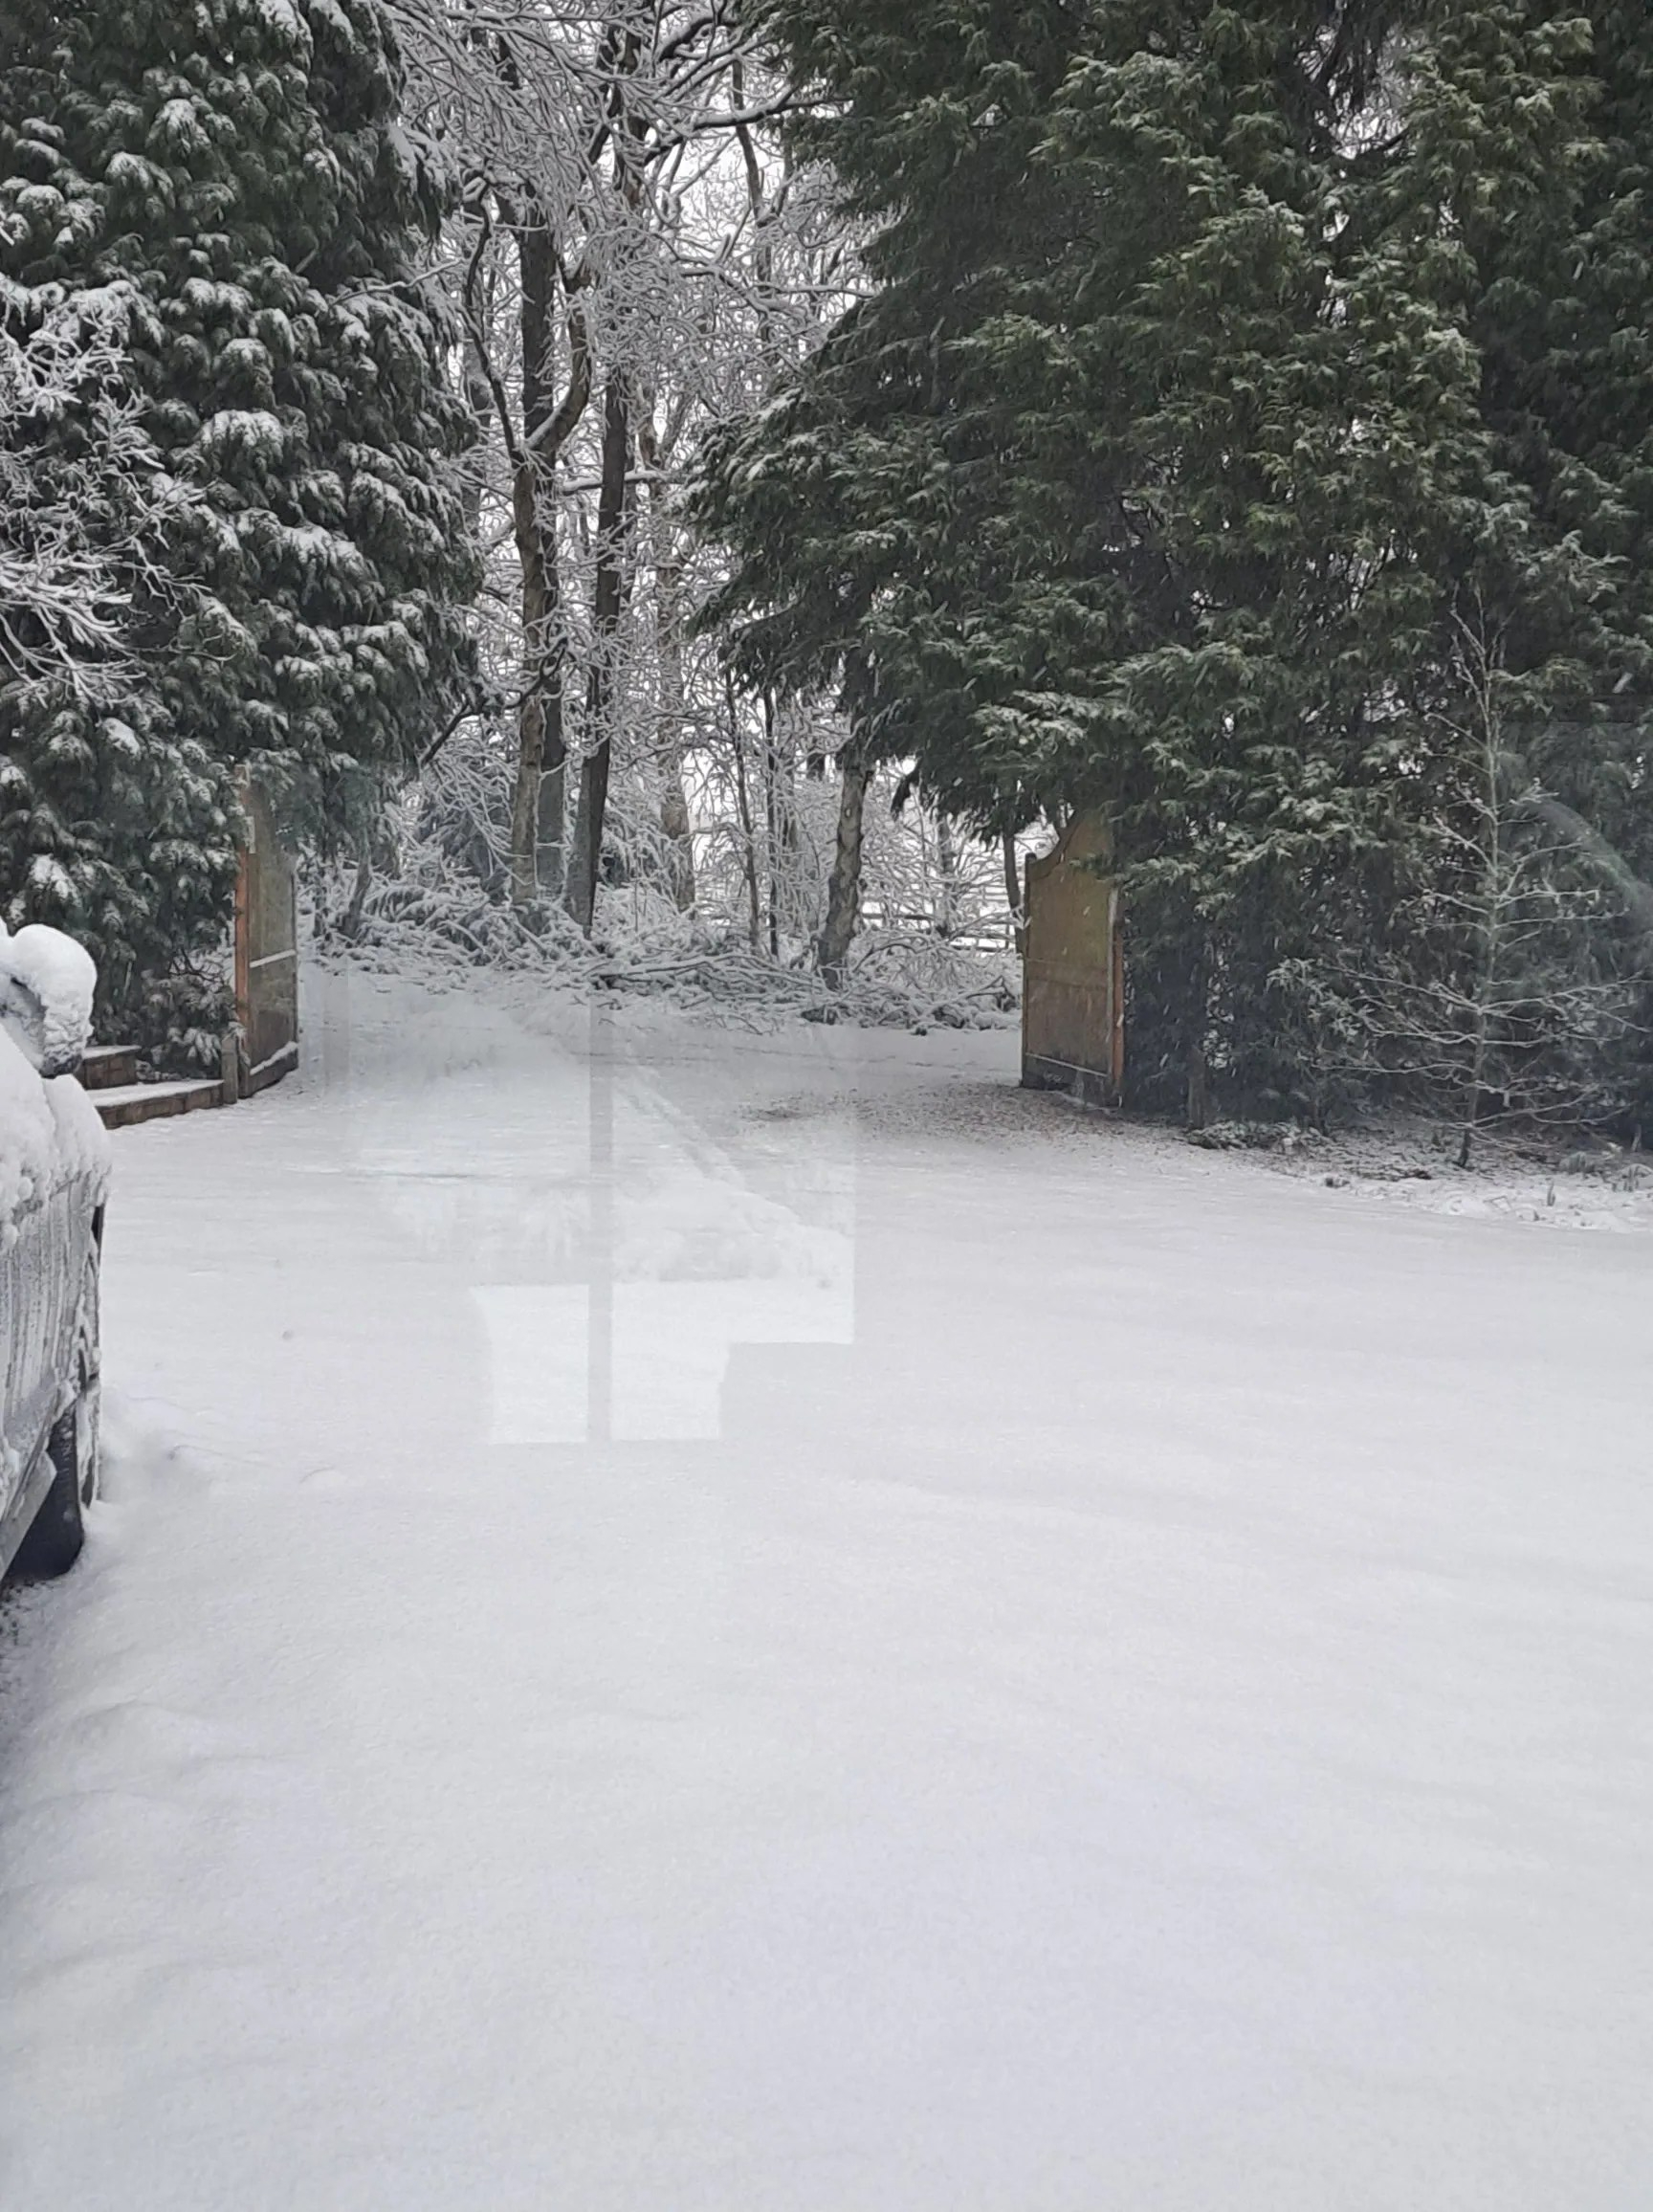
It would seem fitting that this post went live whilst we here in the UK are having some snow issues. We don’t have snow for very long, but it does seem to create havoc when we do get it. I took this picture whilst in front of a roaring log fire – the best way to view snow in my opinion:

I think it’s going to be a while before the hammock and swing chair are used again…….!
Excuse the window reflection – I wasn’t going to venture outside…. :)

I hope you can come and join us with your ‘yummy’ creations. xx

I shall be entering the following challenges:

Lil Patch Of Crafty Friends – anything goes

Crafting Happiness – lots of green
Avenue 613 – anything goes, option of CAS not taken

Here Is A Place To Start – anything goes
Stencil Fun – anything goes with a stencil, option of CAS not taken

Floral Frame Birthday

After a busy week, I was able to create a card over the past couple of days, and completed today:

The base colour is cream from my stash, a Creative Expressions cream coloured card stock. I first took an A2 panel and dry embossed it with a Spellbinders embossing folder. I then attached this to the card base.

I then took another cream panel, and ink blended the floral frame (The Greetery) using the layering stencils. I used a light pink for all the flowers, stamping them twice for the base layer, and then for the added detail layer – using the same light pink – stamped three times to create a darker pink. I then used the outer and inner edge dies to cut the frame out.

I then took another stencil set from The Greetery and ink blended the two yellow flowers, using the die panel to cut those out.

I was going to attach the frame straight onto the embossed panel, but I thought the centre looked too busy with the dry embossing behind it, so I die cut the outer edge of the frame from another piece of cream card stock and attached it to the back using 3D foam tape – to create a more solid centre, and create some dimension and shadow behind the frame.

The yellow flowers were inserted, the sentiment stamped and the sentiment strip adhered with glue on the edges, and 3D foam on the centre.

I added some yellow dots to balance the yellow above the sentiment strip.

I shall be entering the following challenges:

Color Throwdown – yellow, light pink, cream, green

CYHTP – embossing folder option of hearts not taken)

Inkspirational – use stencils

AAA Birthday – birthday and use stencils

Unicorn Challenge – birthday

Stencil Fun – stencils – option of hearts not taken

Beautiful Blossoms – flowers and mood board