Hello. I thought I had posted this card a day or two ago – but obviously forgot to even write it – never mind post it.
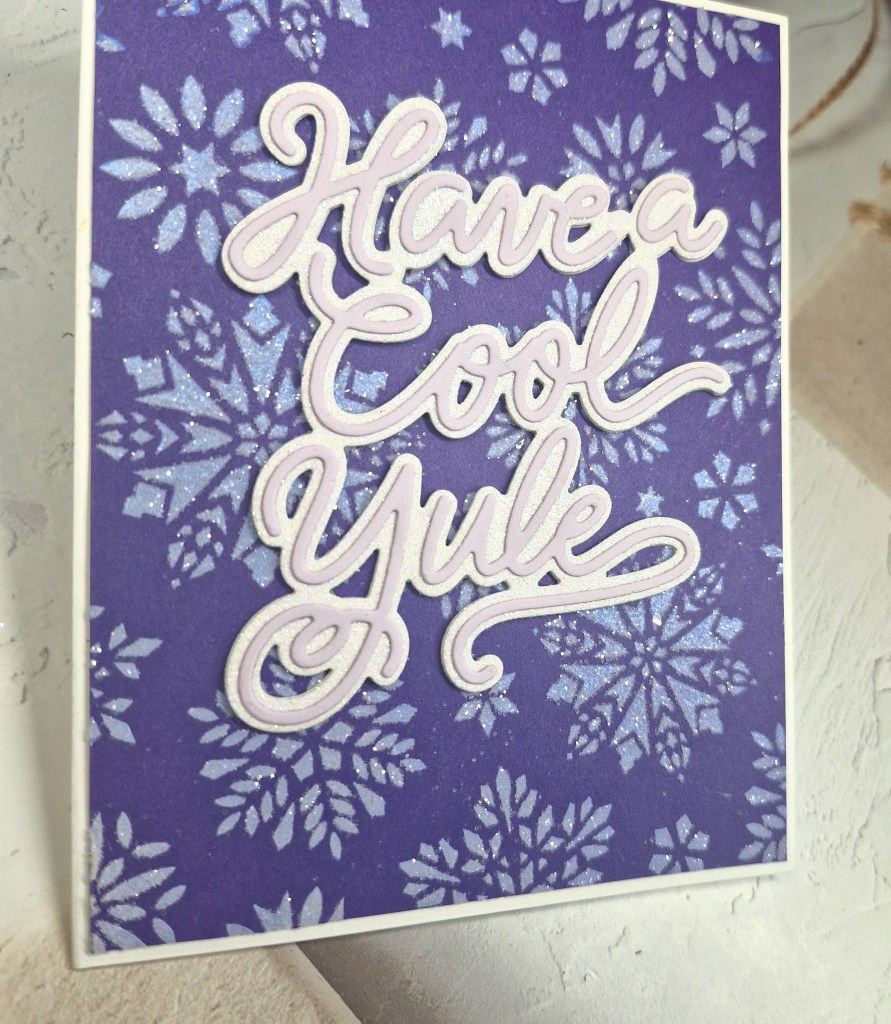
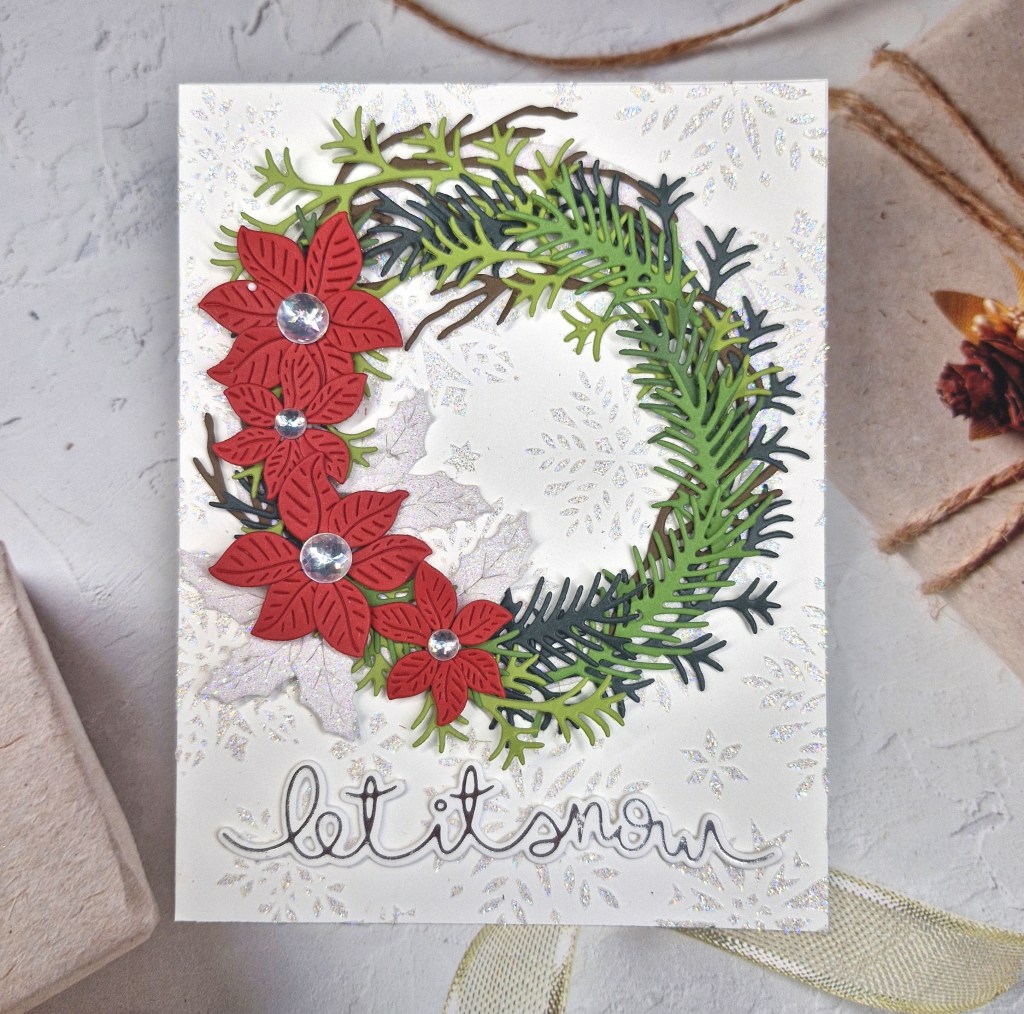
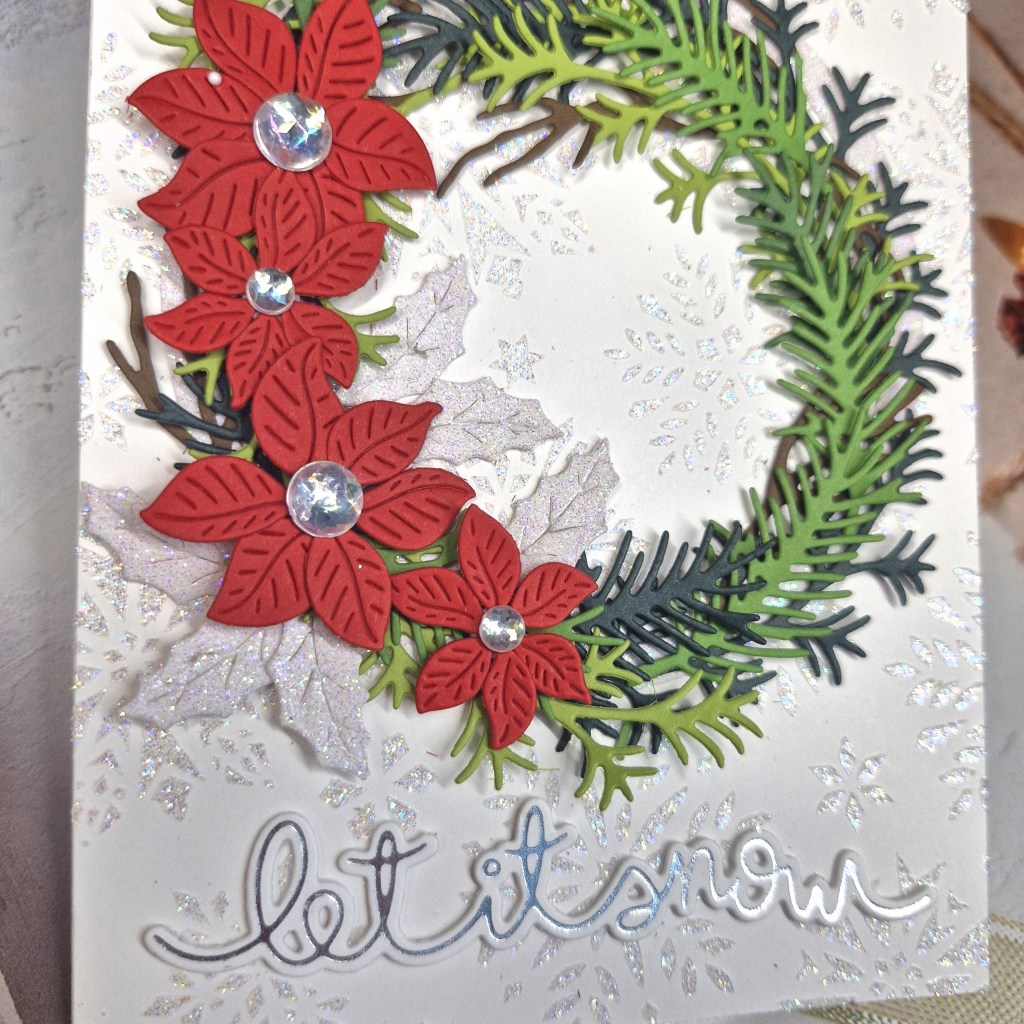
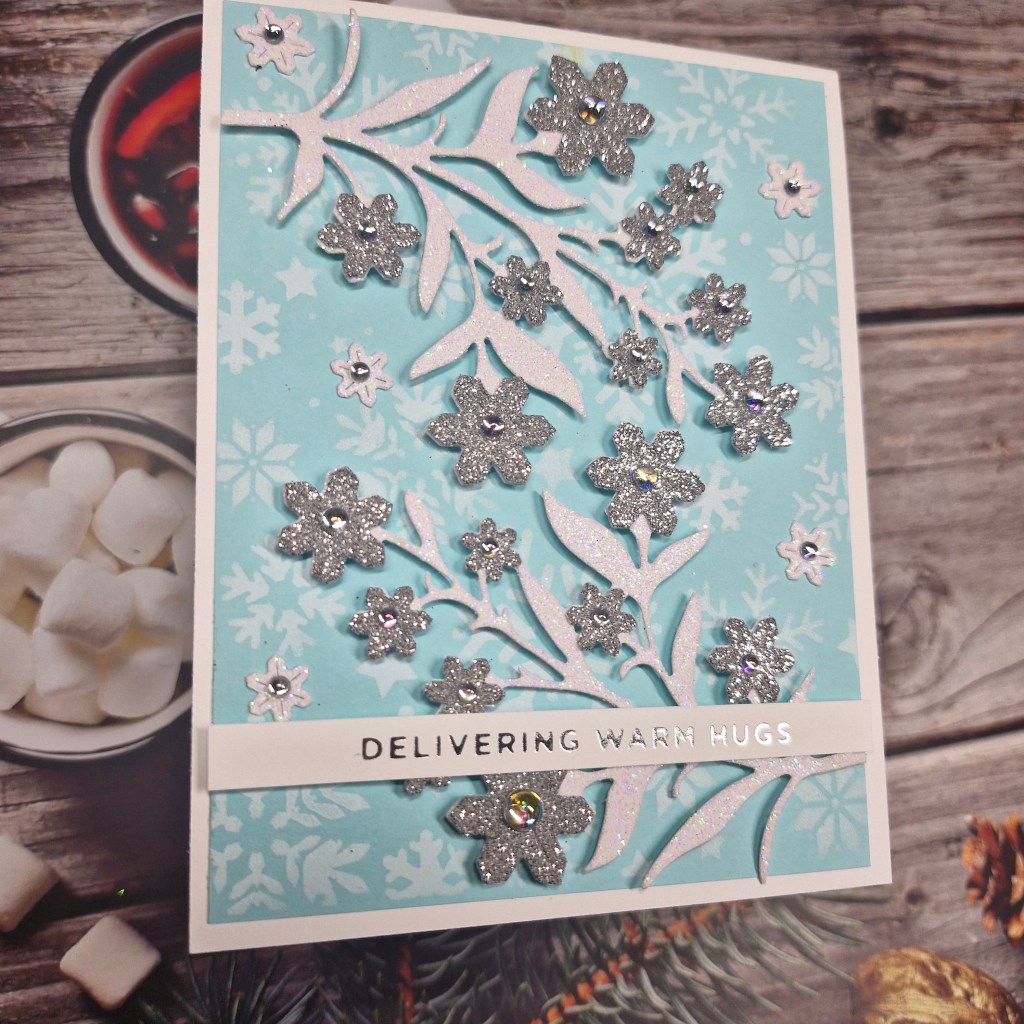
This card was created as I was intrigued by the current challenge at 52 CCT – their Christmas technique theme this time is for using heat emboss resist. I thought of a Gina K Designs stencil I had of a large snowflake, so decided to give it a go:

The first step was to tape the 6×6 inch stencil onto a piece of white card which measured slightly bigger, and pounce some embossing ink through it. I think I remember doing this on a previous virtual event, so I had a blending brush already set aside for using this embossing ink.
I first brushed some anti-static powder onto the card stock, then taped the stencil down round the edges. It took a little doing, a lot of pouncing instead of brushing, but I managed to get the whole image done, then used white embossing powder and heat set the design.
I then took three colours of Pinkfresh Studio inks and blended them all around, wiping it down between each colour to not cross-contaminate.
The blending was taken to the edge of the larger piece of card, so I could choose which part to use, and die cutting with a Gina K Designs Master Layout die set to get a stitched rectangle.
This rectangle was then matted with brushed gold card stock from Spellbinders, then a deep purple card, and attached to a white card base.
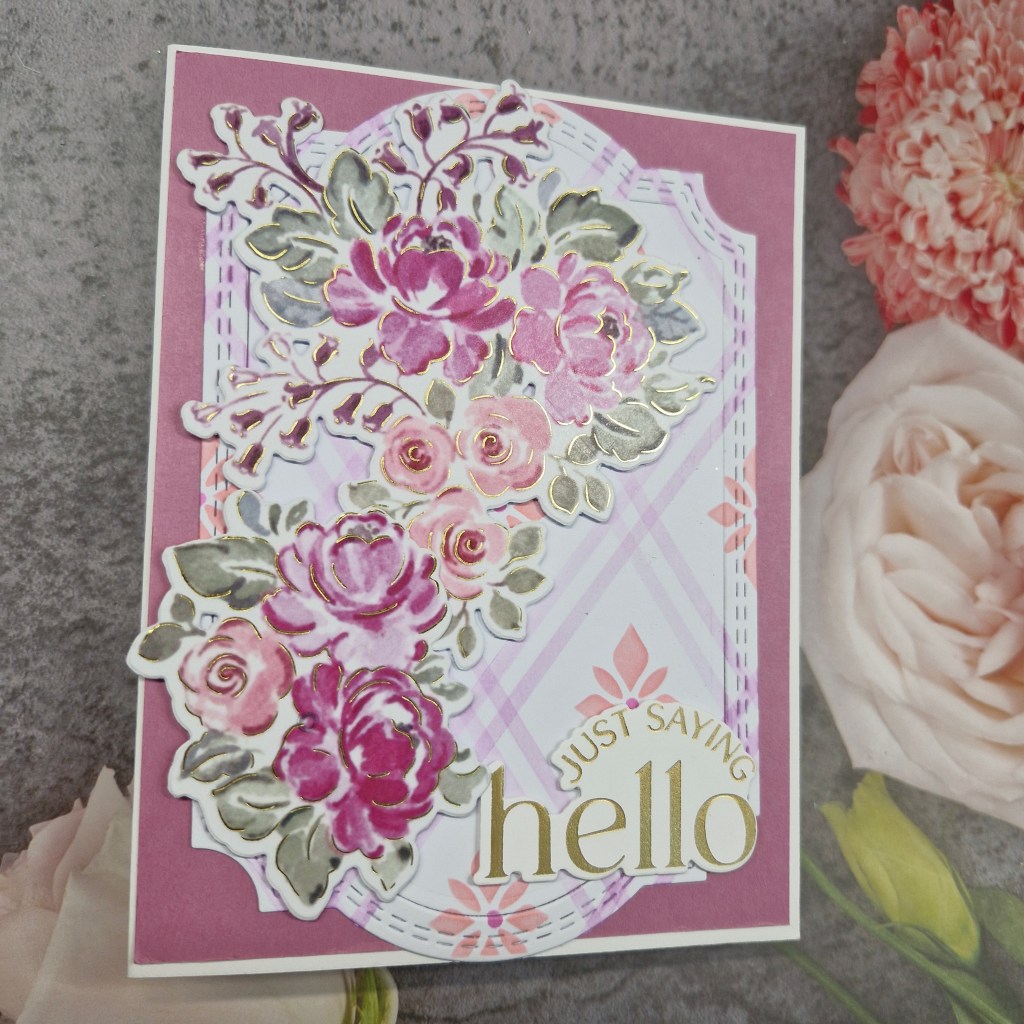
The foiled sentiment was then added.

I shall be entering the following challenges:
52 CCT – heat emboss resist
Inkspirational – use stencils – option of plaid not taken
Merry Little Christmas Challenge – anything goes Christmas