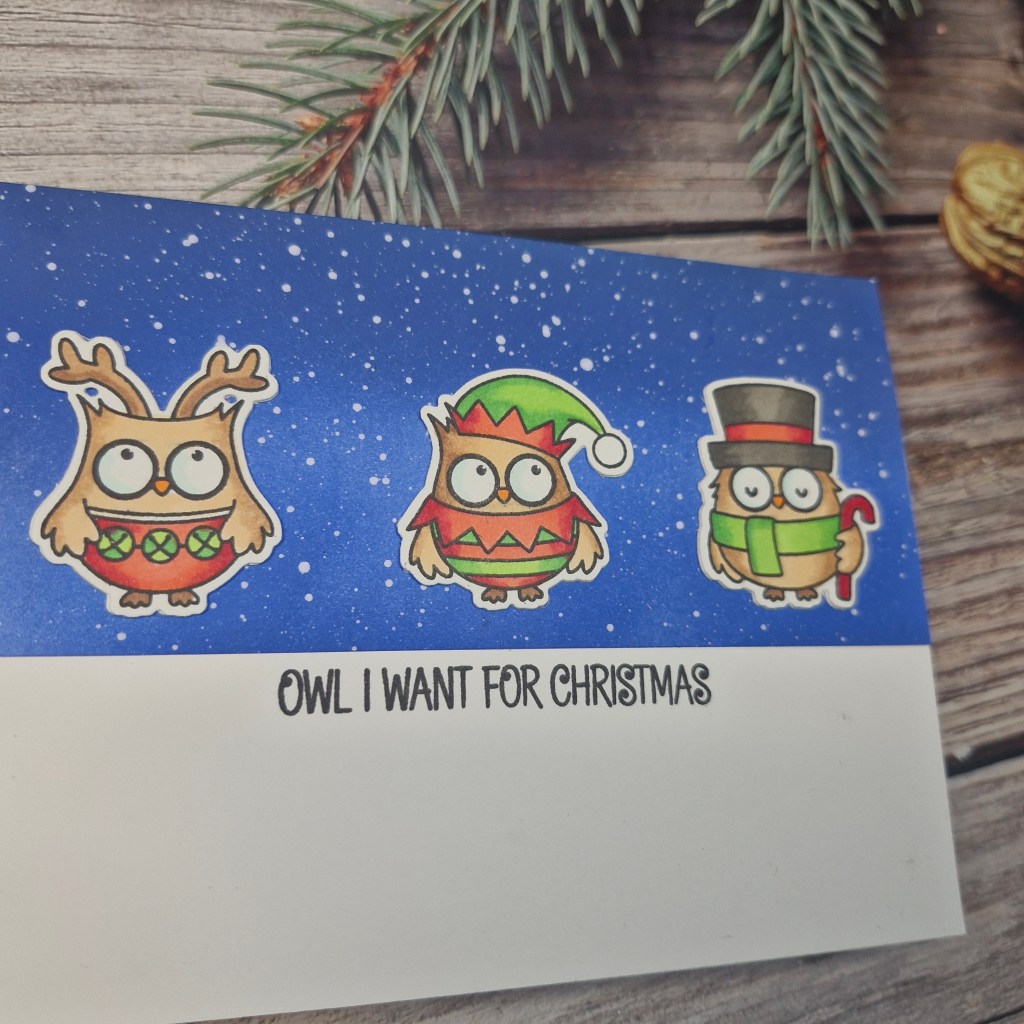
Hello once again. It is time for the new challenge at ABC Christmas Challenge. We have reached the letters ‘H’ and ‘I’, and we want to see your Christmas creations following these two themes:
H is for Ho Ho Ho (Santa) and/or I is for Ice
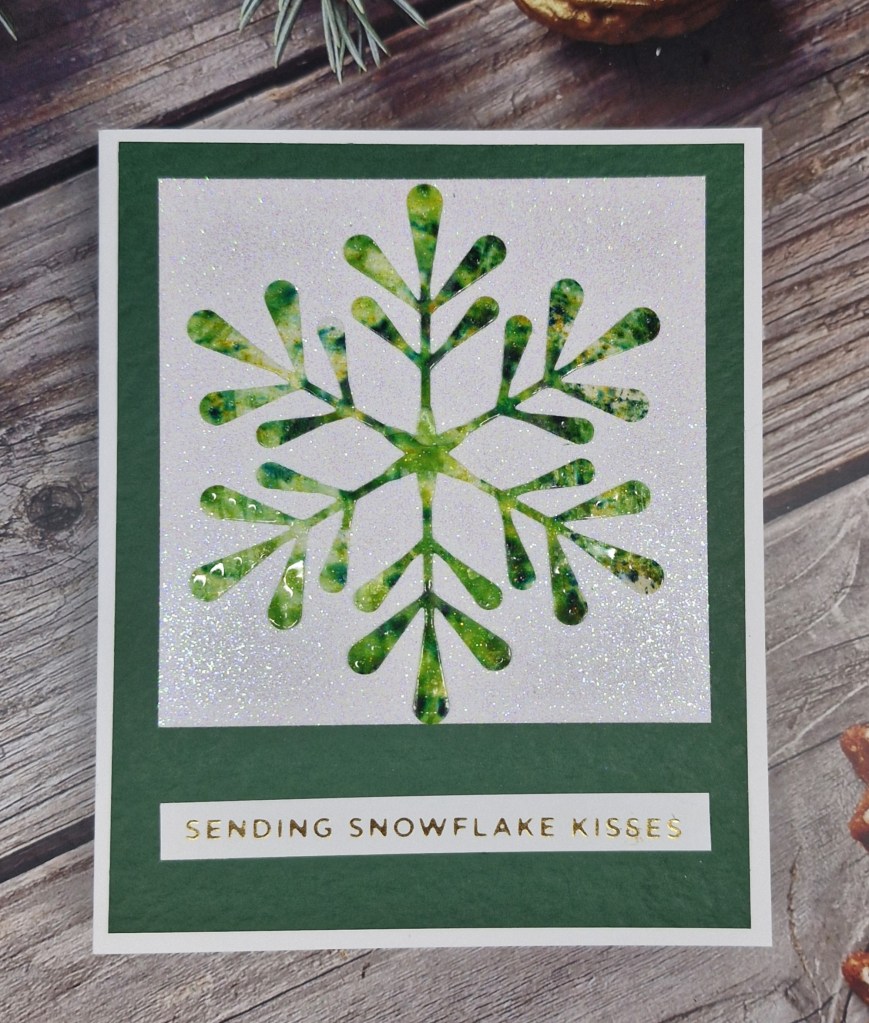
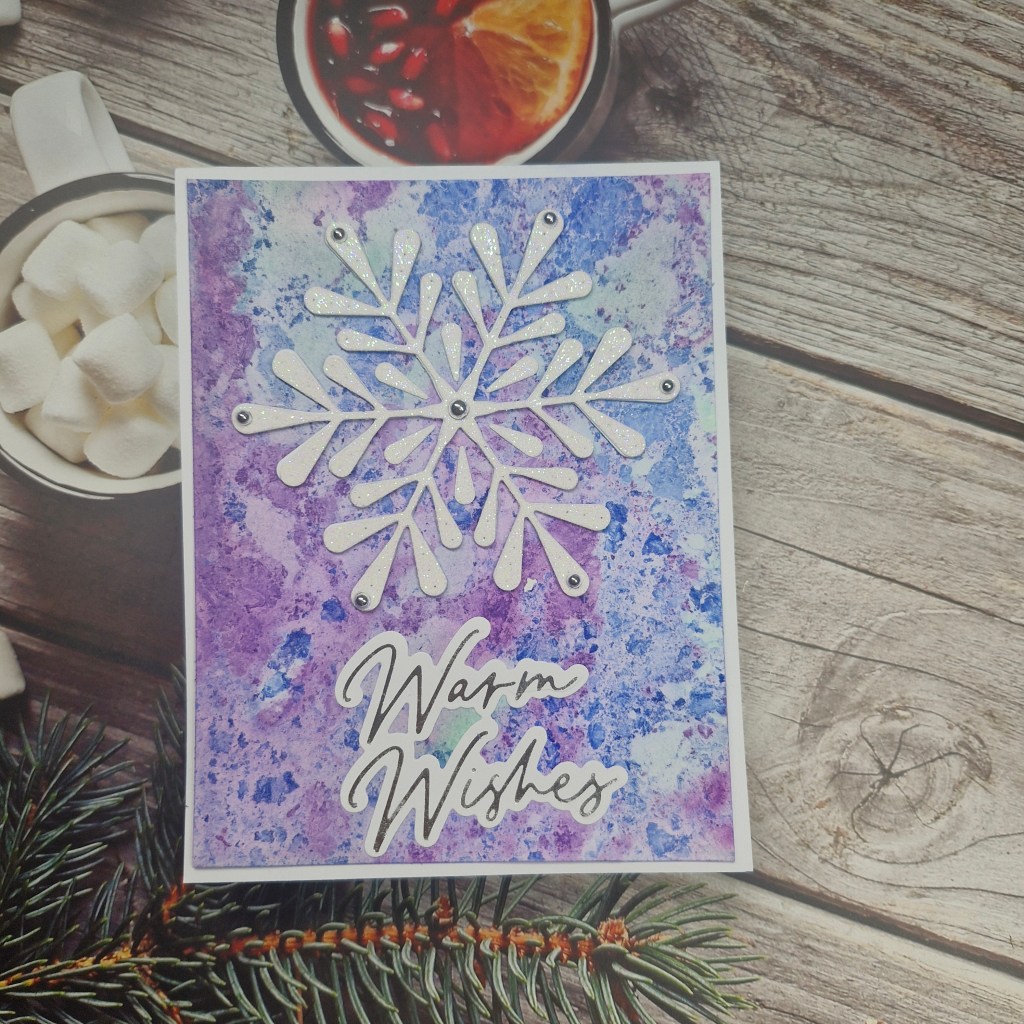
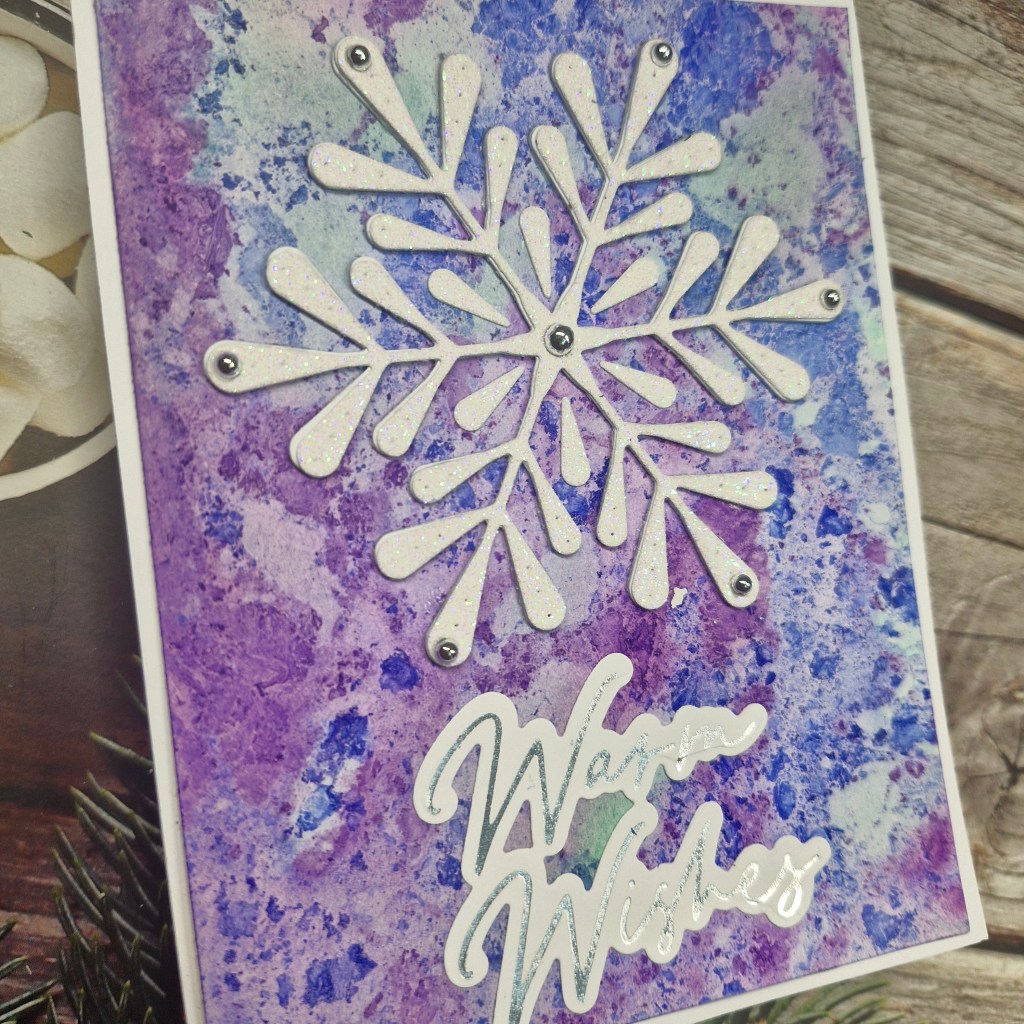
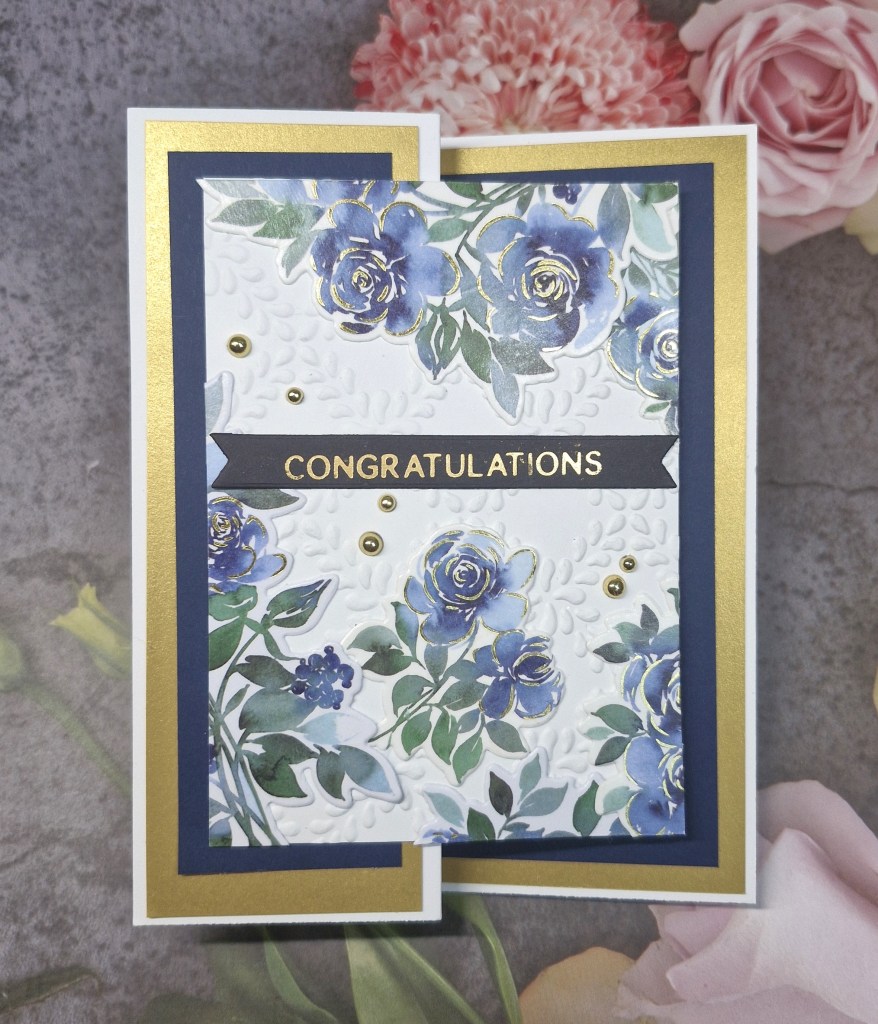
Here is my card for the theme of Ice:
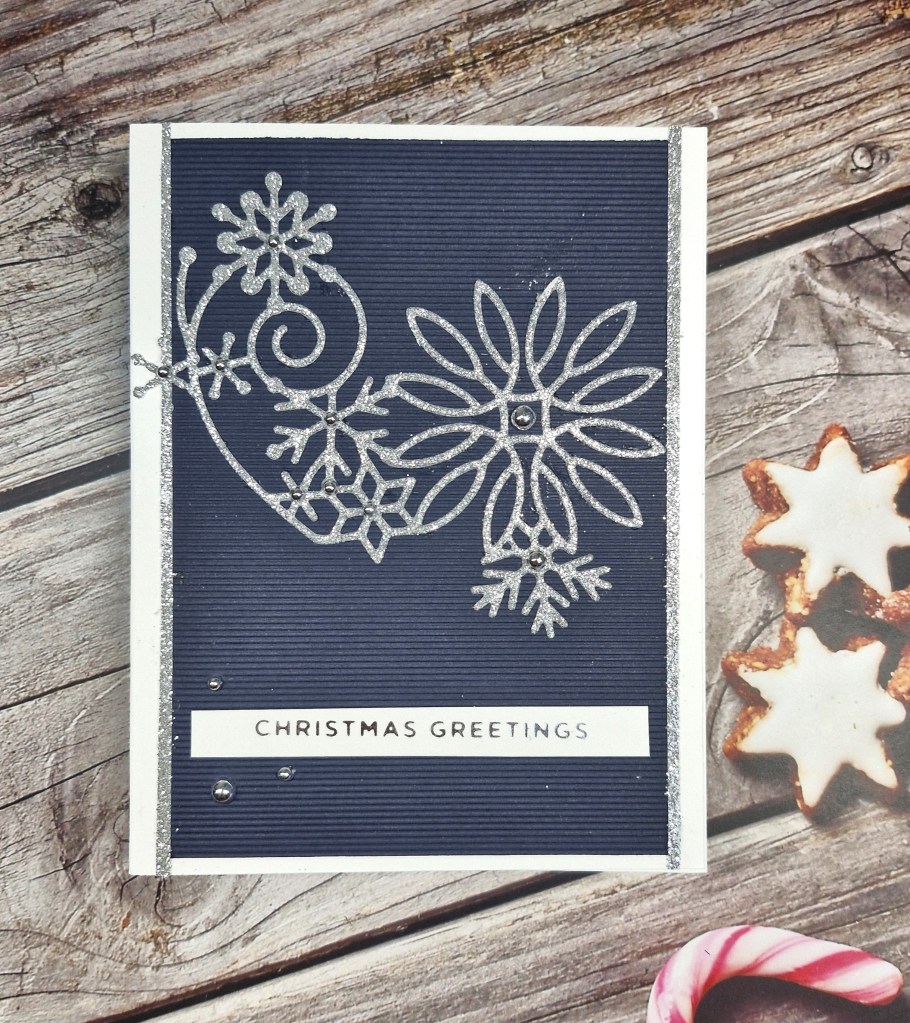
This is quite a clean and simple card for me, with only a few elements, but I do think it makes an impact.
I first die cut the Snowflake swirl die out of silver glitter card stock. This die is from Simon Says Stamp and is quite delicate.
I chose to highlight the die cut with a blue textured piece of card stock from my stash – goodness knows how old this card is – and used two strips of the same silver glitter card to run down each of the side edges.
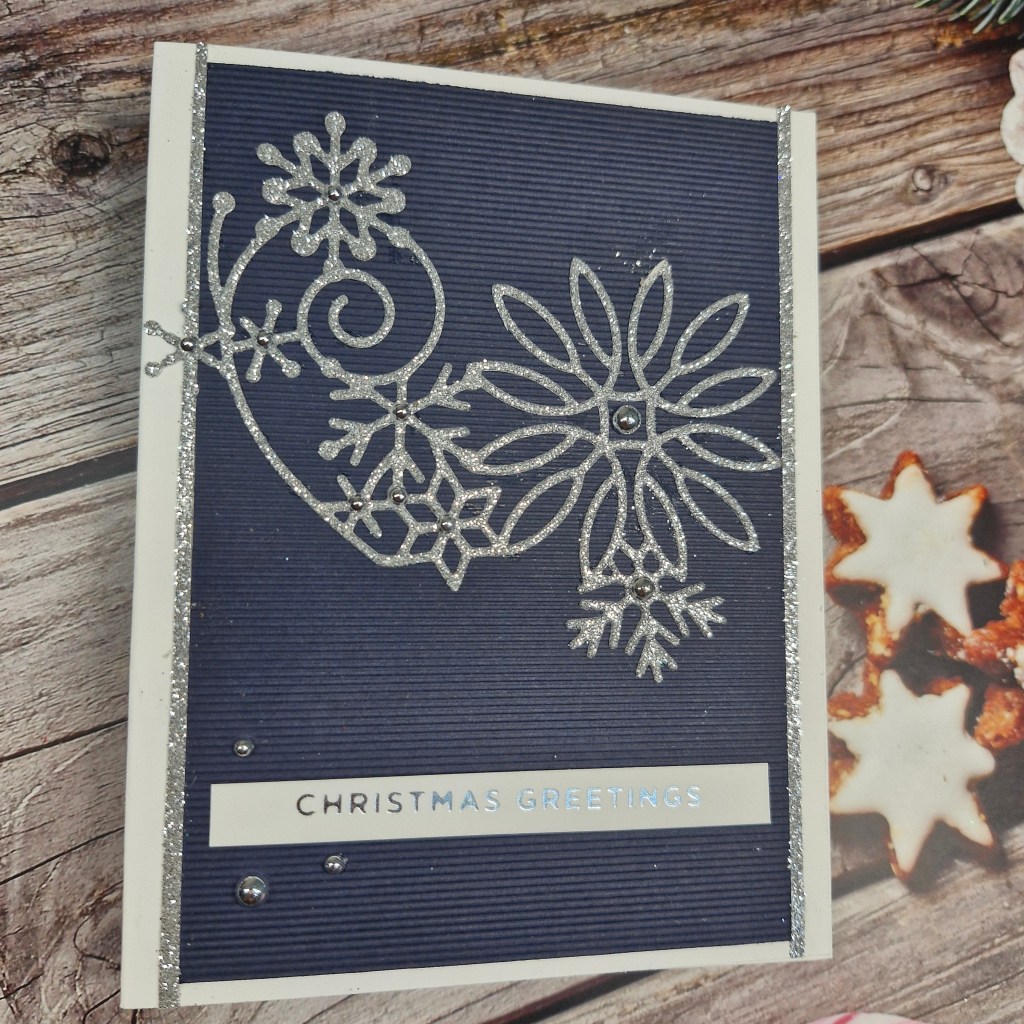
I added the silver foiled sentiment and some silver gems to the centre if the snowflakes, with some extra for the edge of the sentiment.
I hope you can come and join us with your Christmas creations following one of both of our themes. xx
I shall be entering the following challenges:
Ally’s Angels – anything goes
Crafters Café – anything goes – option of CAS
Christmas (or not) Bingo – column I – free, Christmas, no stamping
Merry Little Christmas Challenge – anything goes Christmas
Peace On Earth – anything goes Christmas
12 Months of Christmas Link Up – Christmas – option of vintage not taken