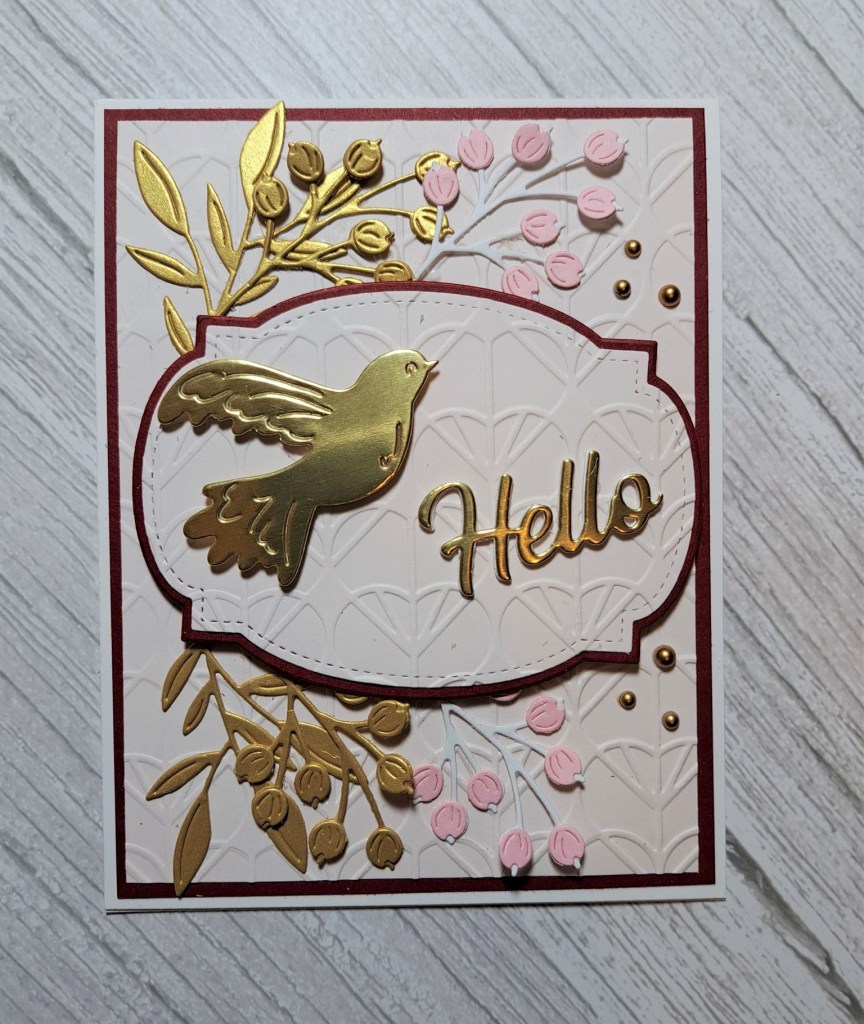
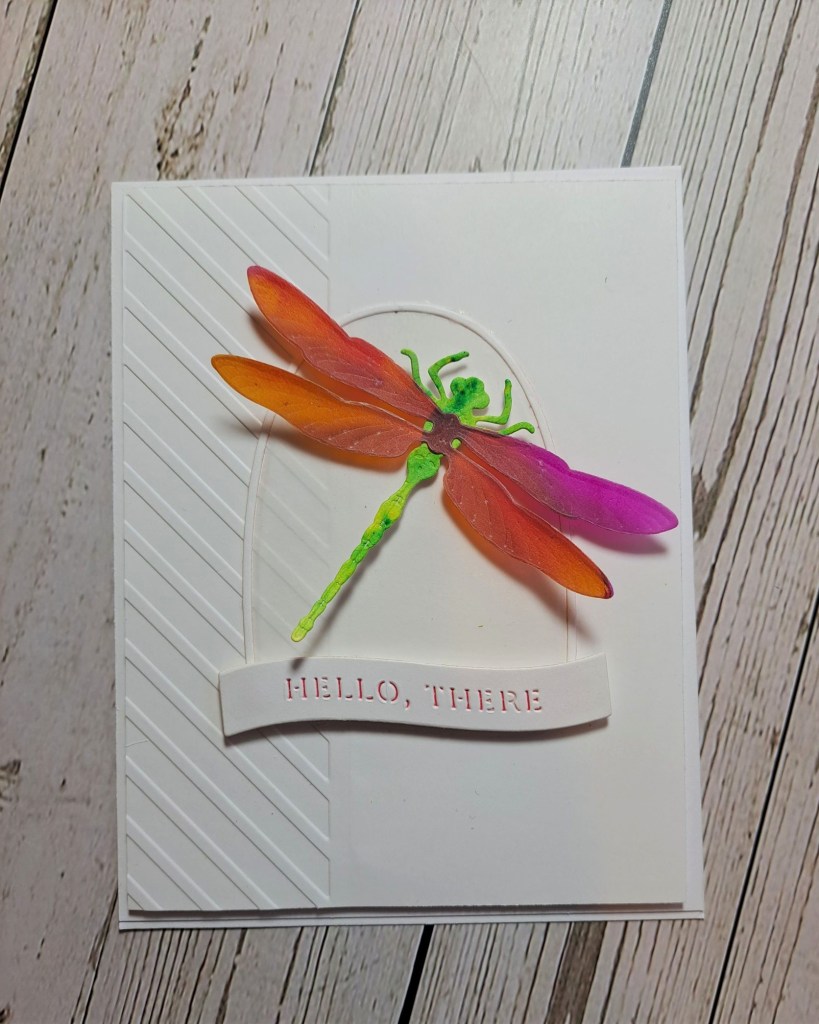
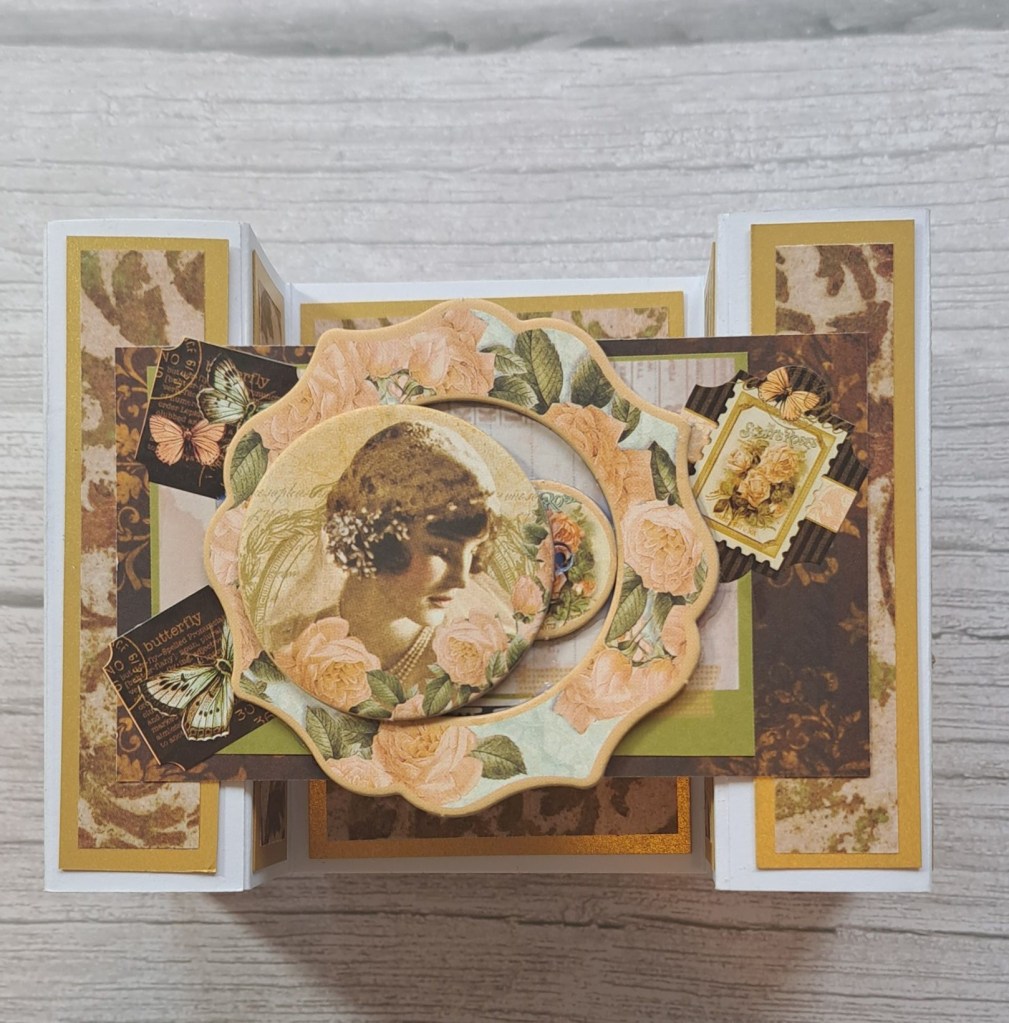
After a busy week, I was able to create a card over the past couple of days, and completed today:
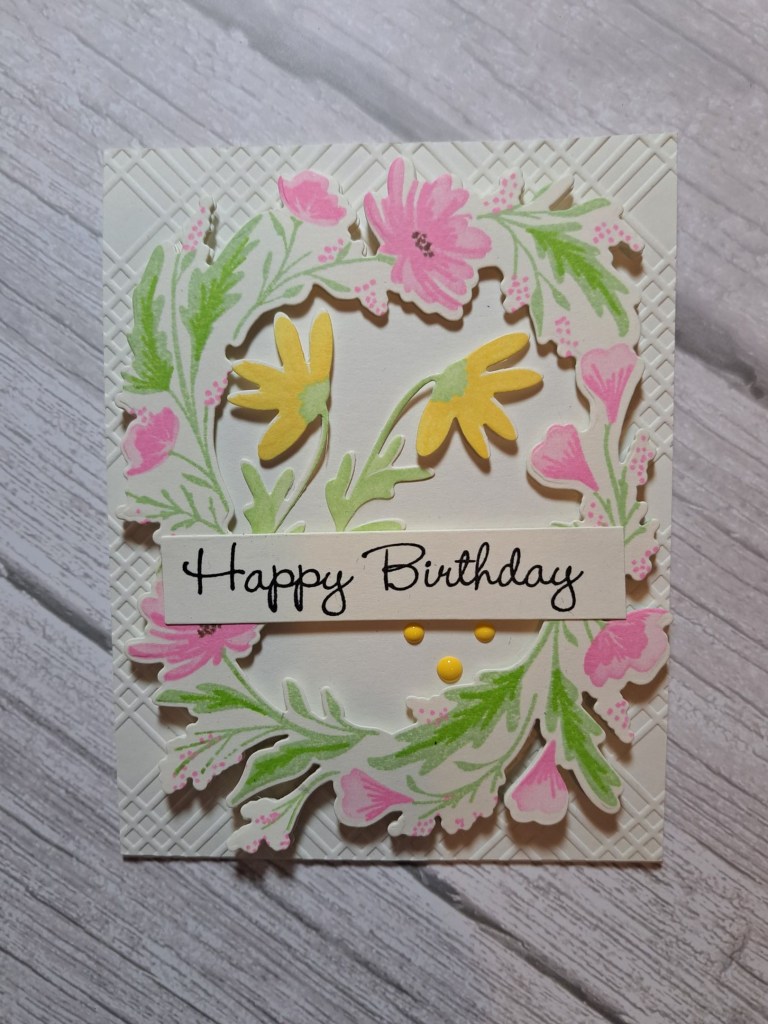

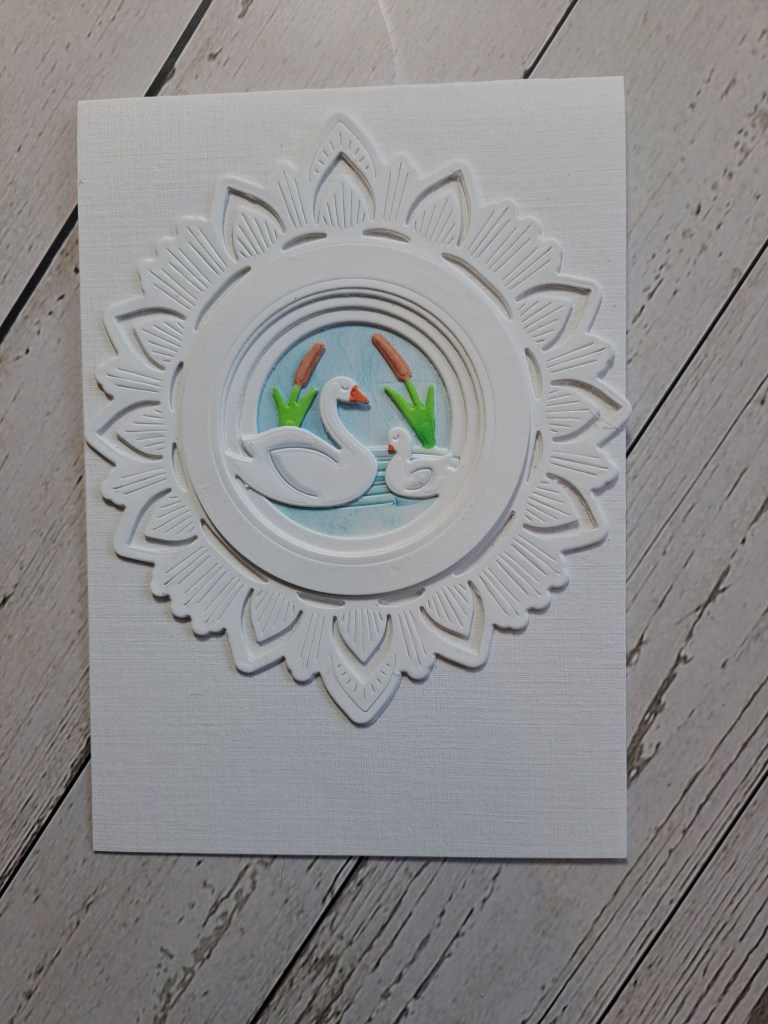
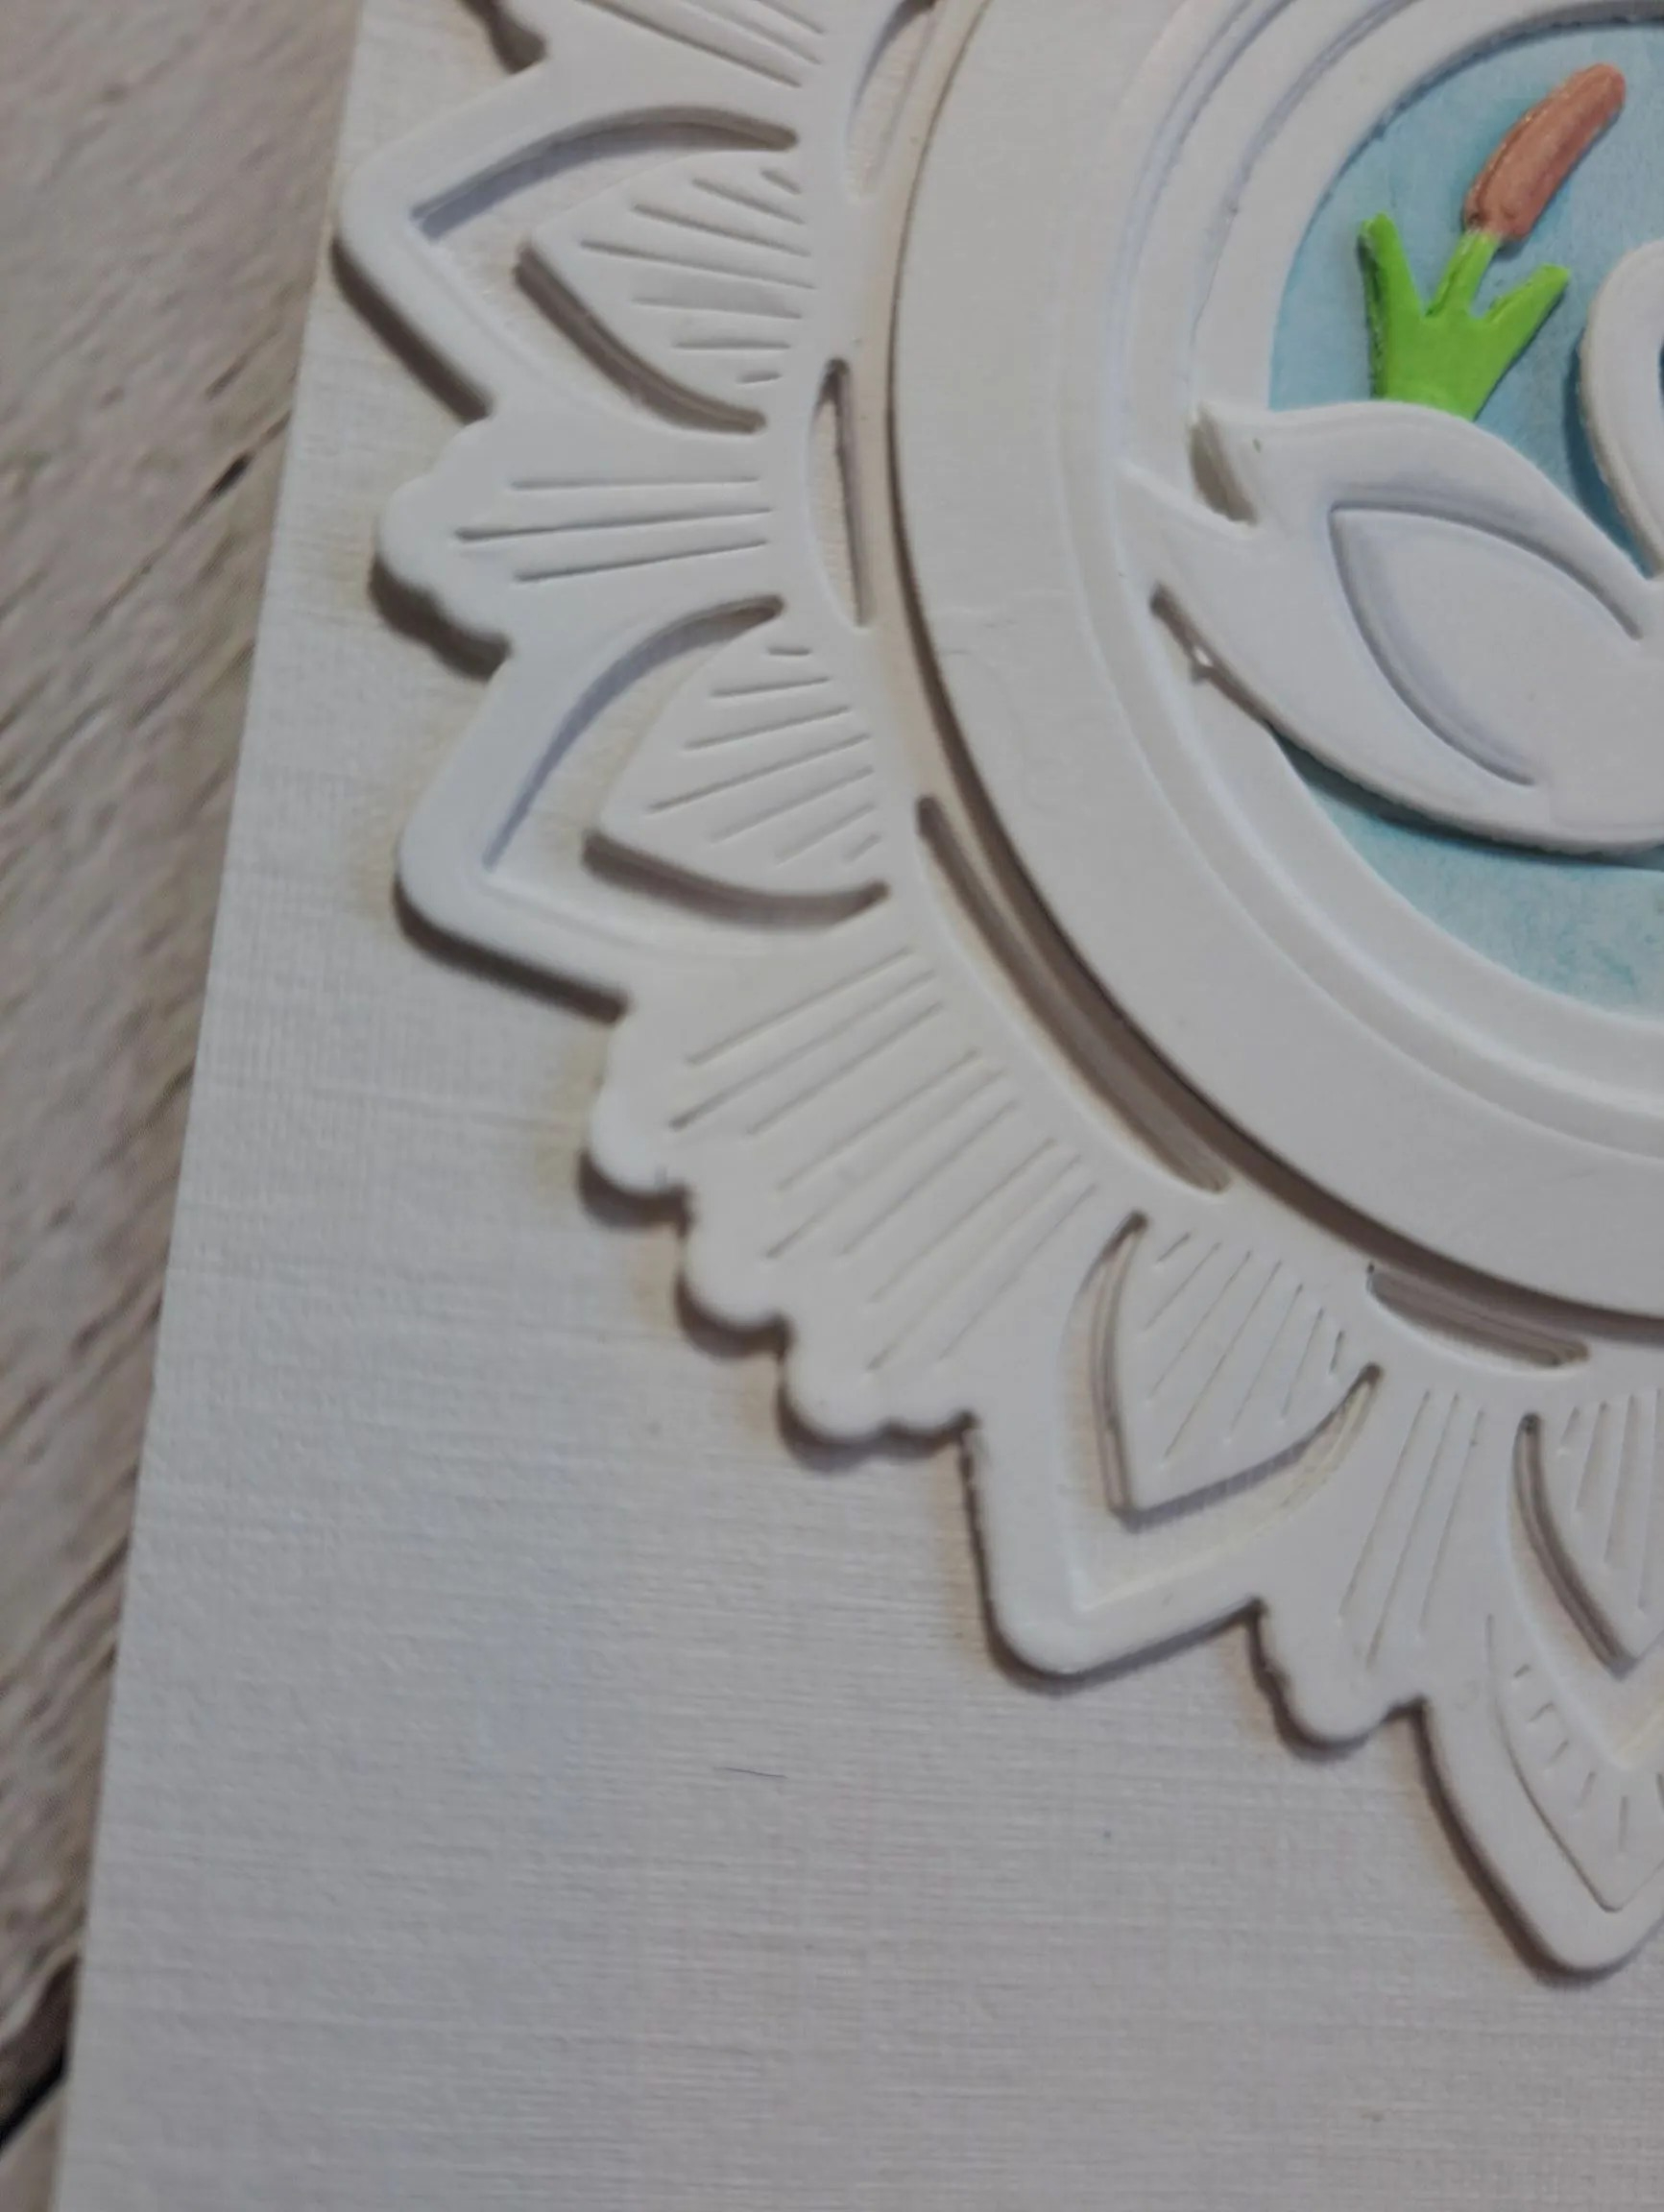
The base colour is cream from my stash, a Creative Expressions cream coloured card stock. I first took an A2 panel and dry embossed it with a Spellbinders embossing folder. I then attached this to the card base.
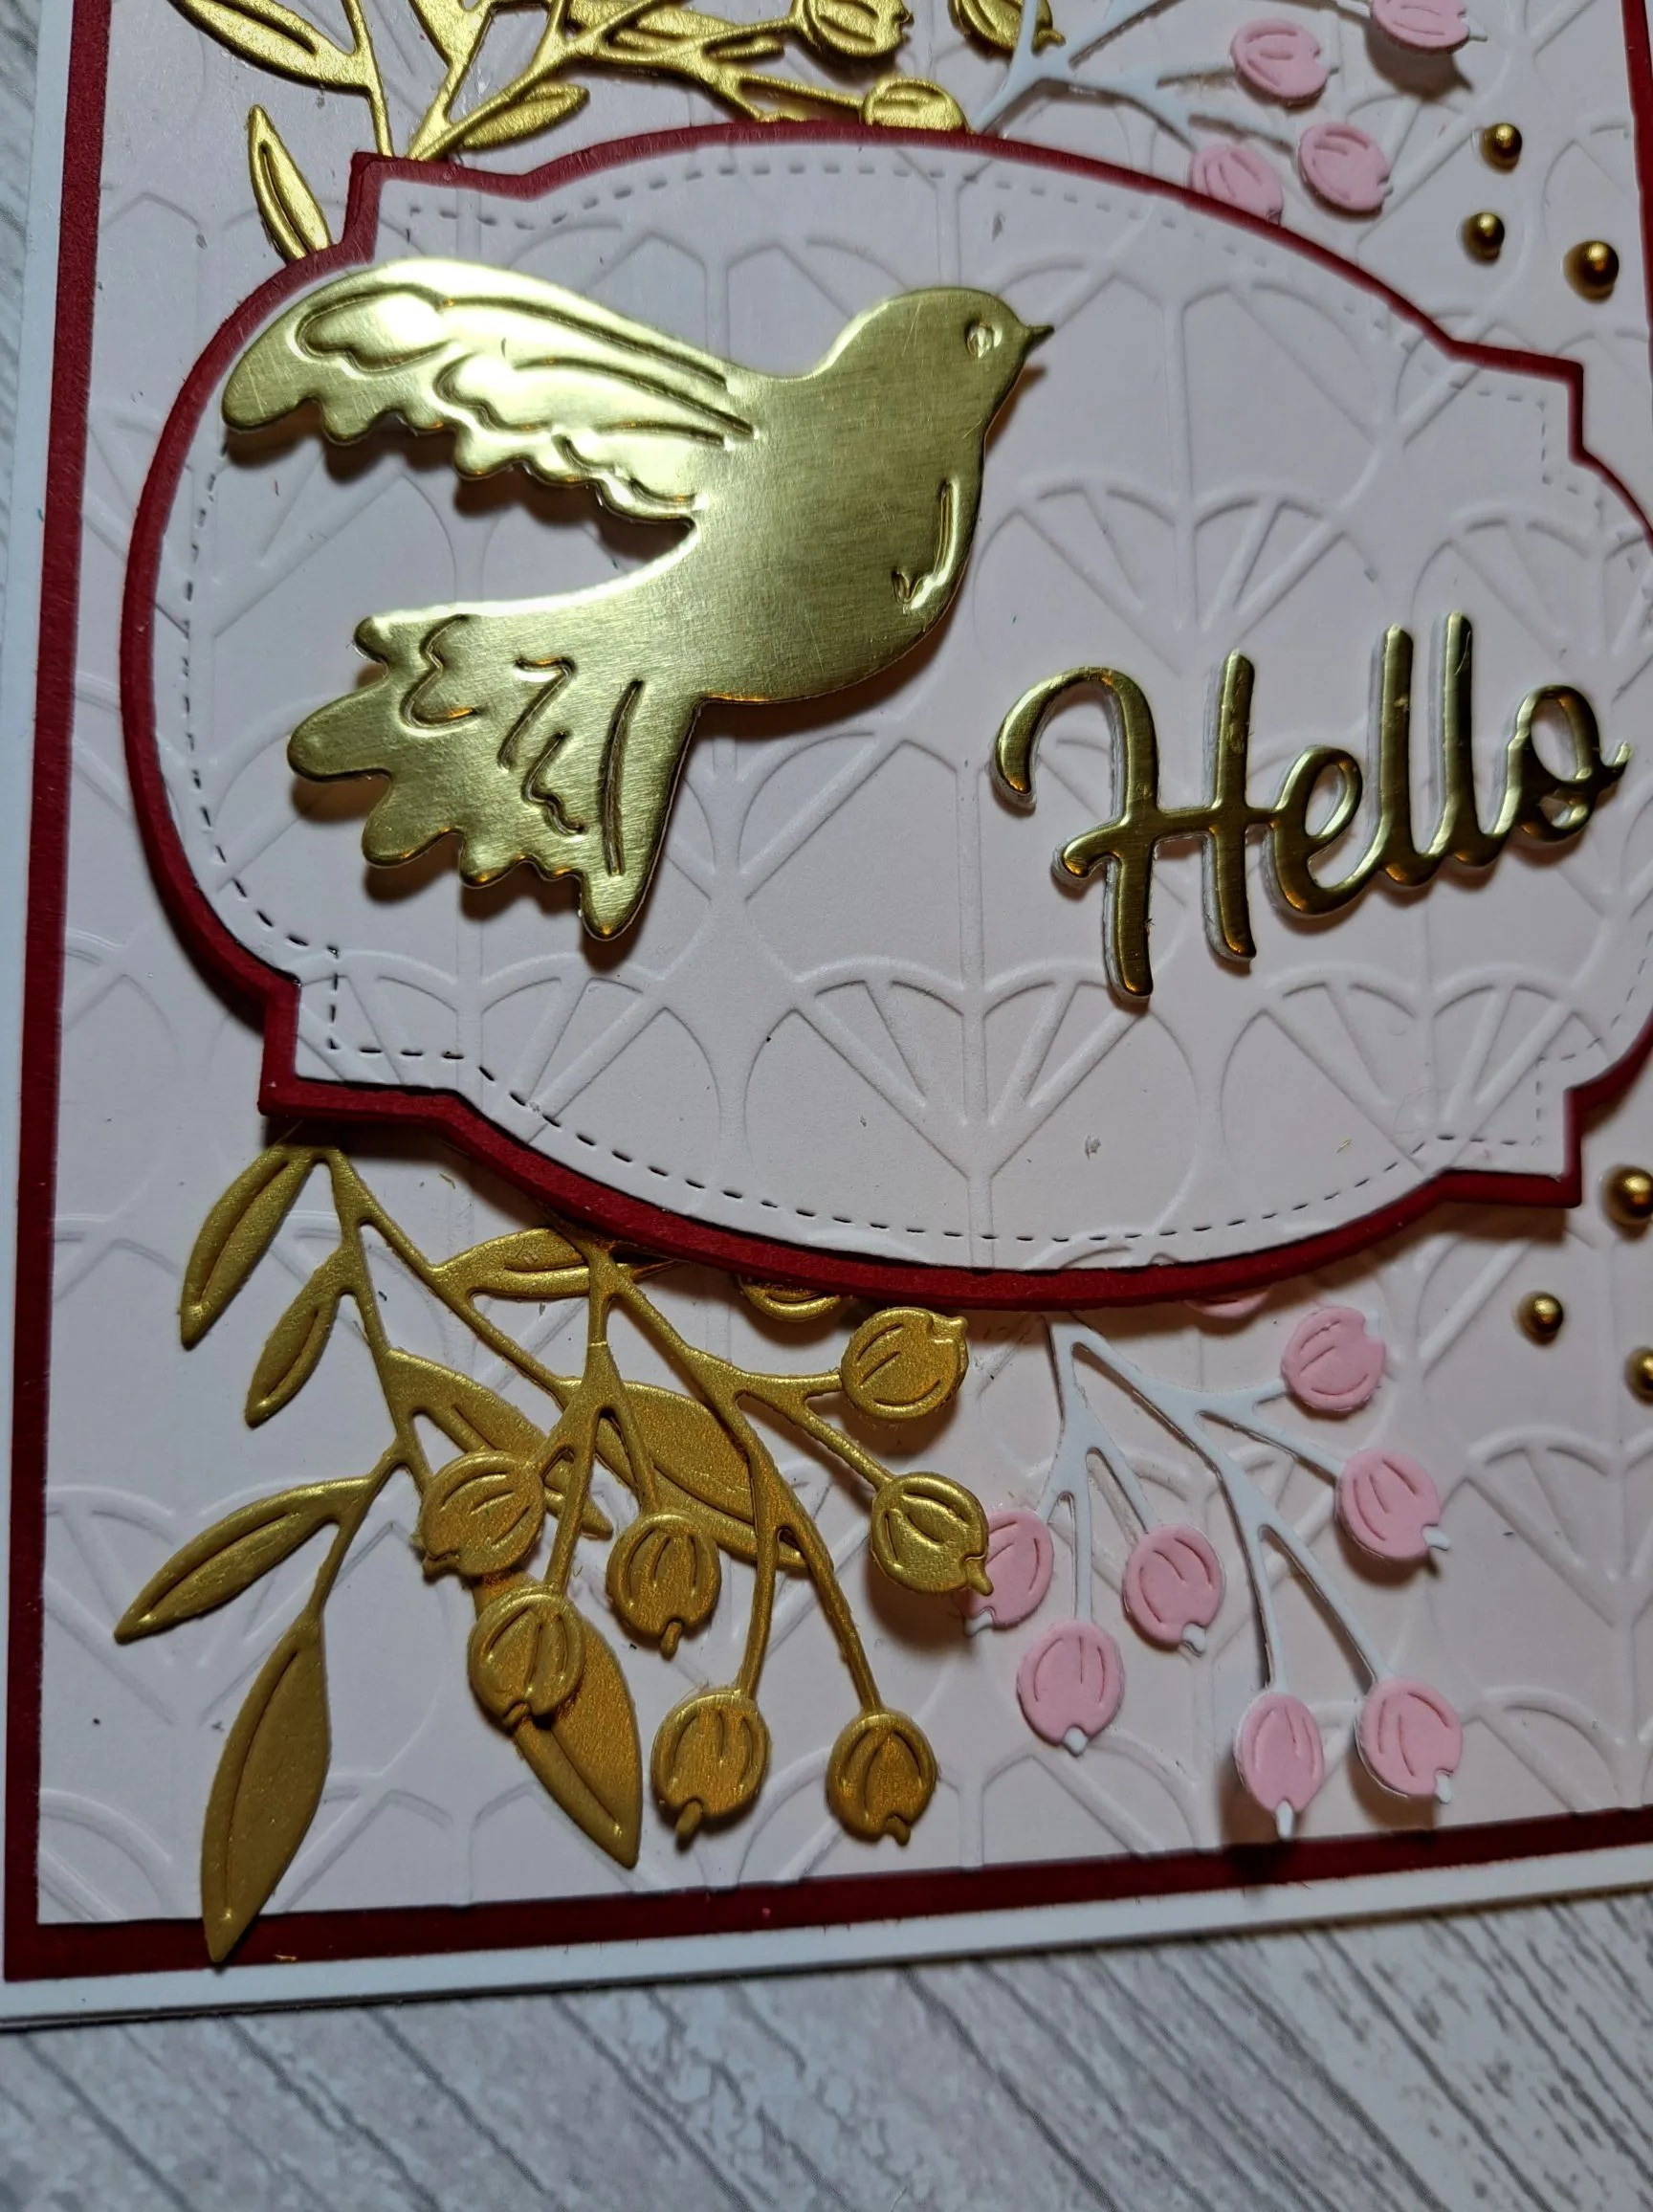
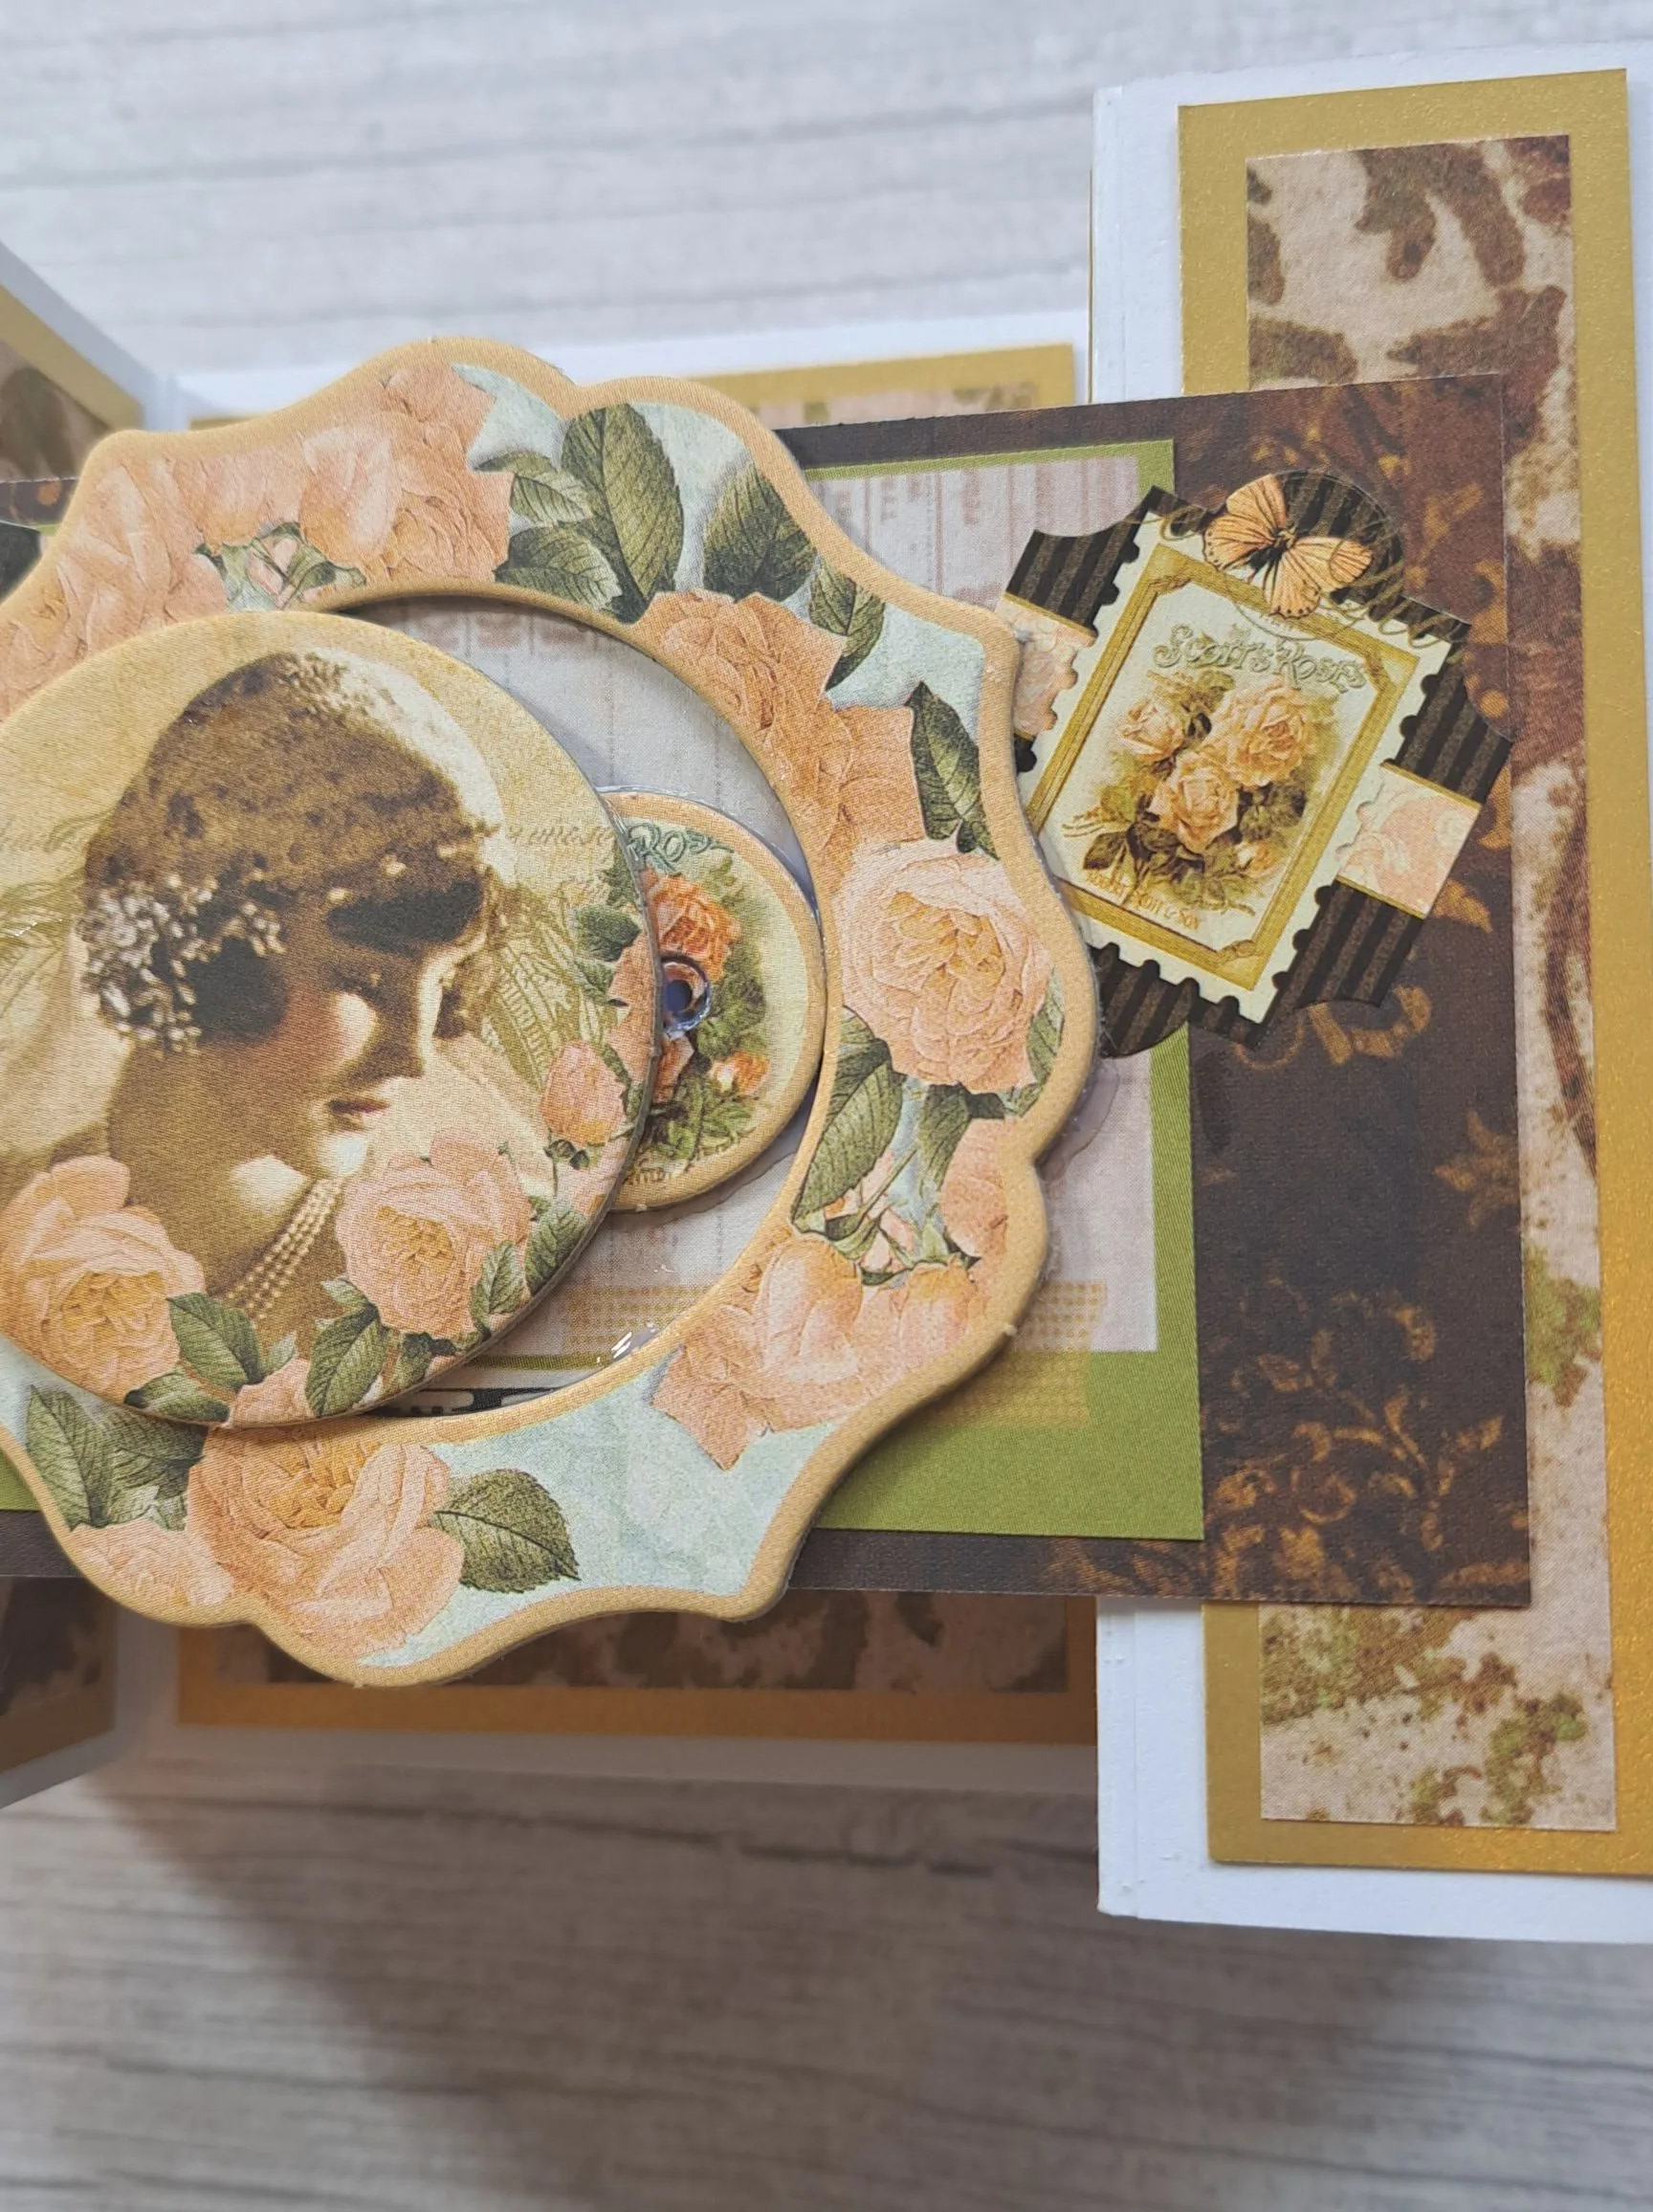
I then took another cream panel, and ink blended the floral frame (The Greetery) using the layering stencils. I used a light pink for all the flowers, stamping them twice for the base layer, and then for the added detail layer – using the same light pink – stamped three times to create a darker pink. I then used the outer and inner edge dies to cut the frame out.
I then took another stencil set from The Greetery and ink blended the two yellow flowers, using the die panel to cut those out.
I was going to attach the frame straight onto the embossed panel, but I thought the centre looked too busy with the dry embossing behind it, so I die cut the outer edge of the frame from another piece of cream card stock and attached it to the back using 3D foam tape – to create a more solid centre, and create some dimension and shadow behind the frame.
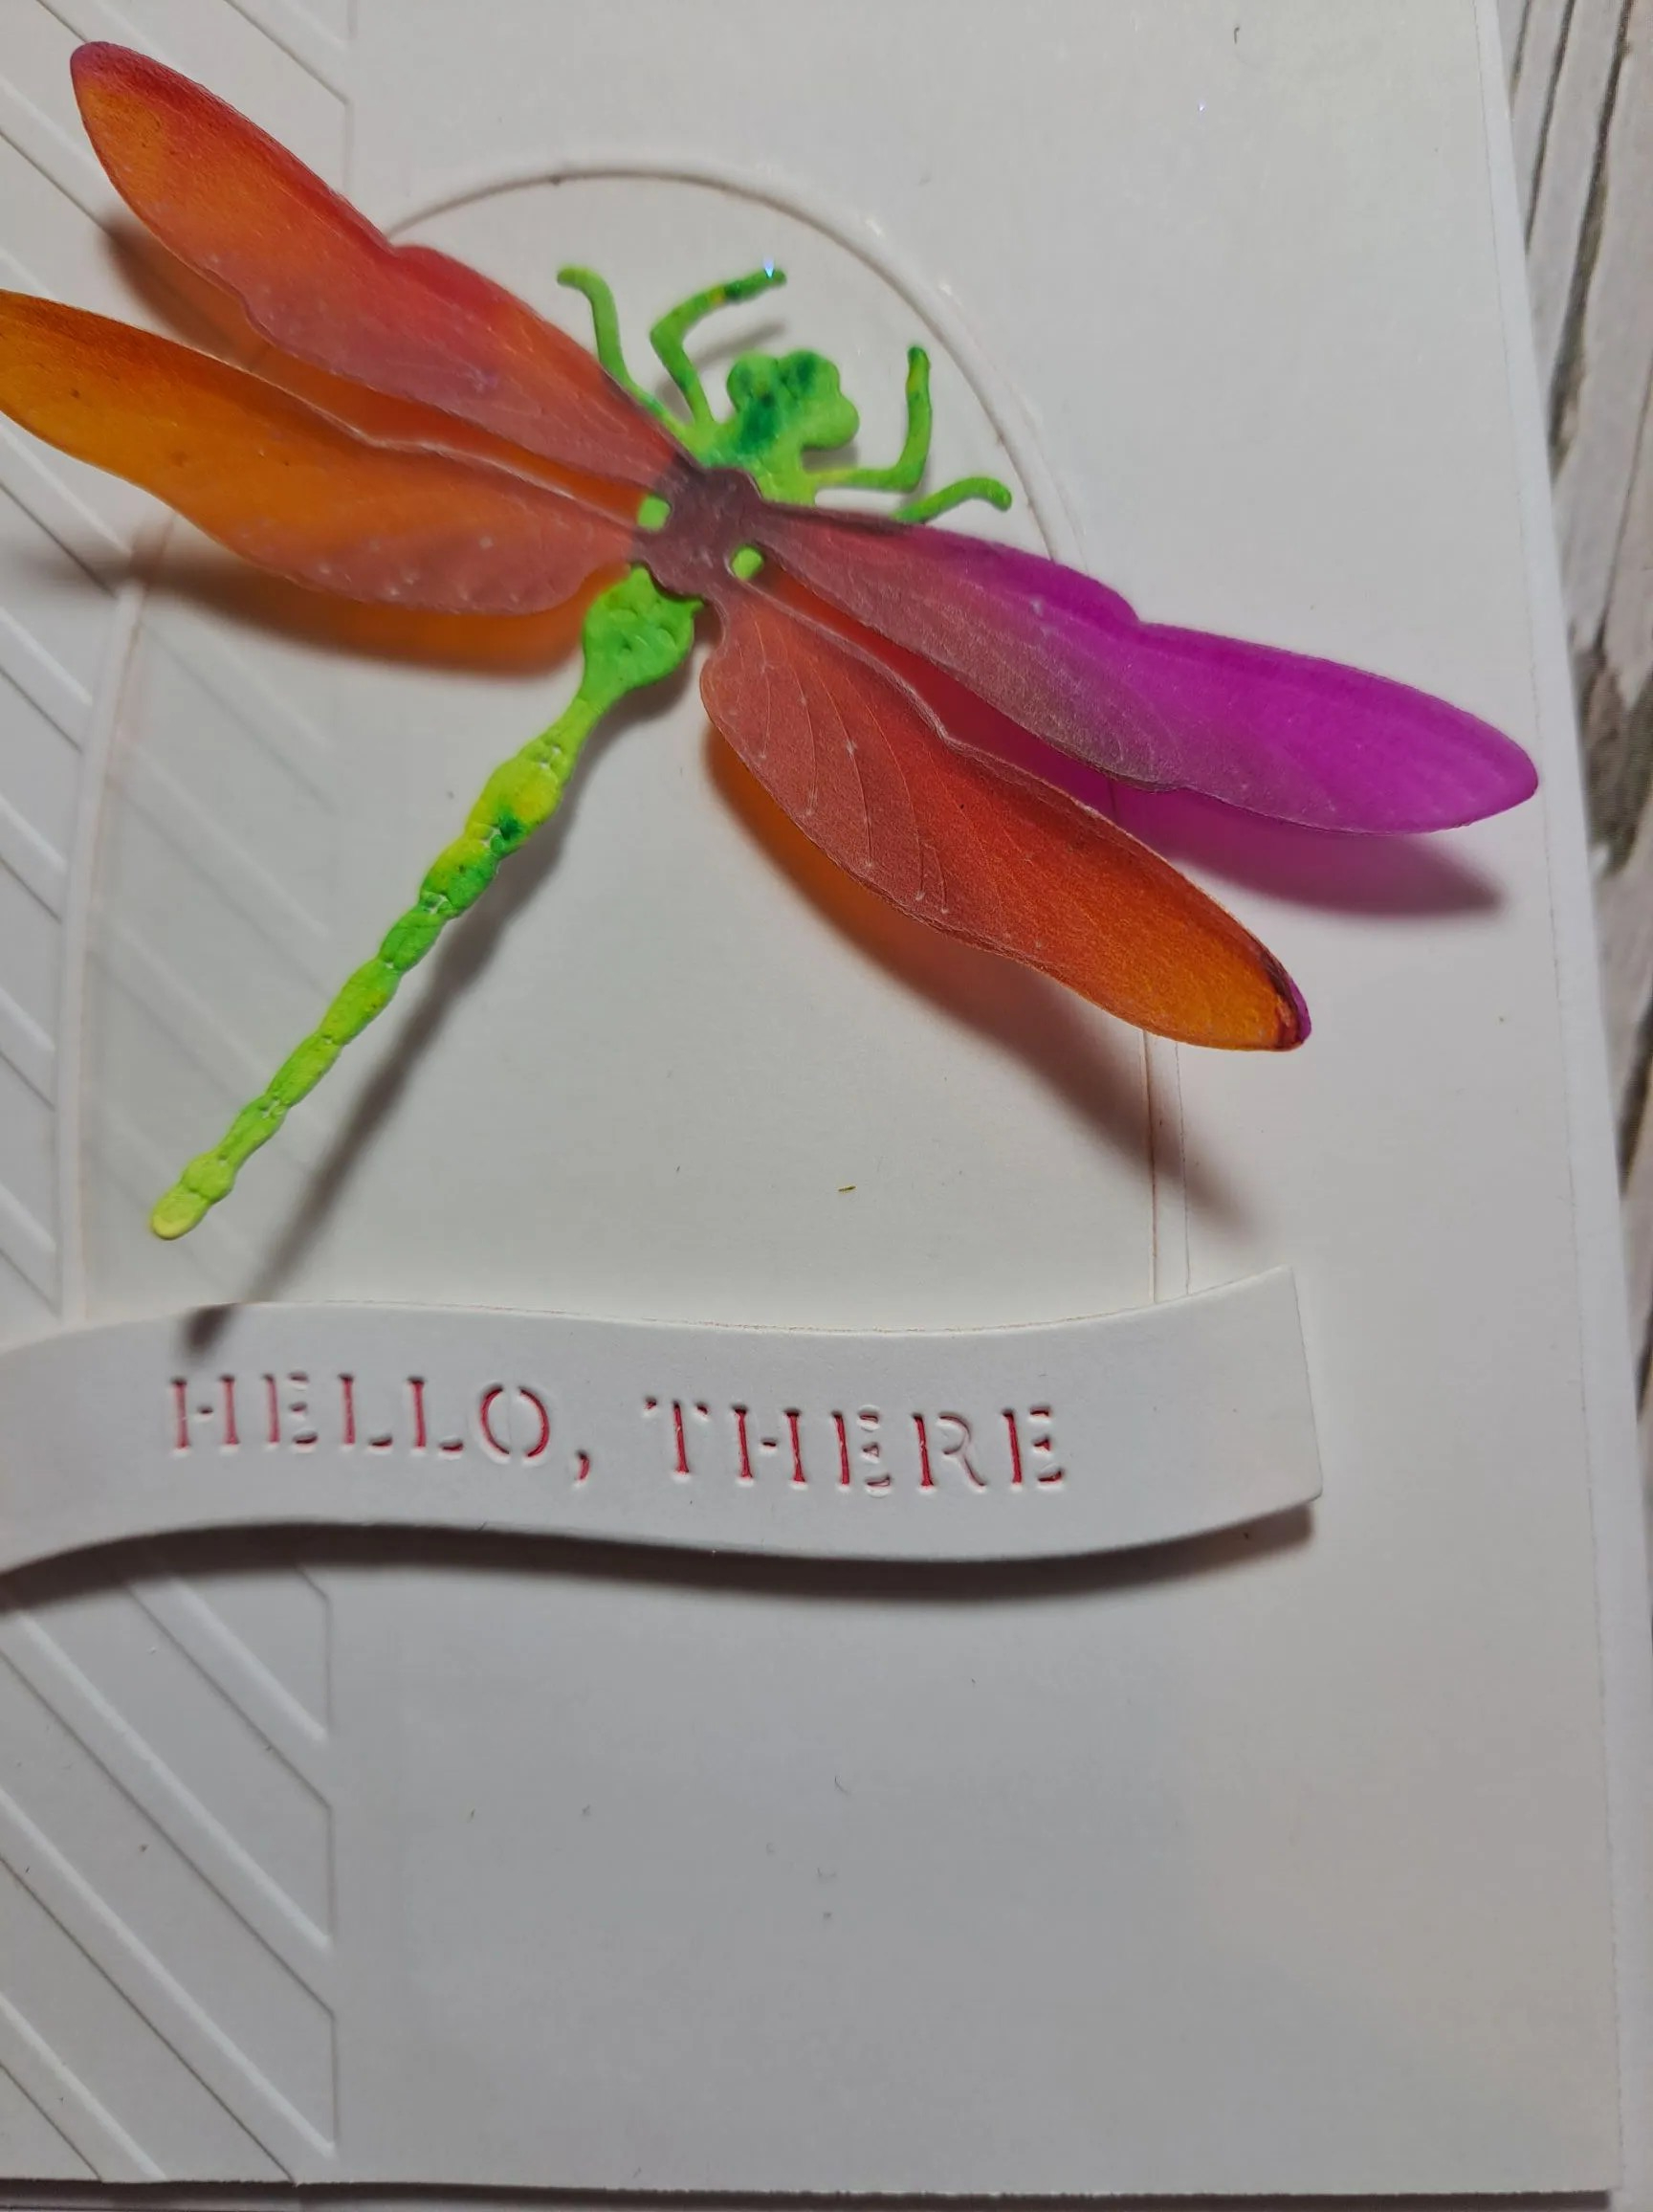
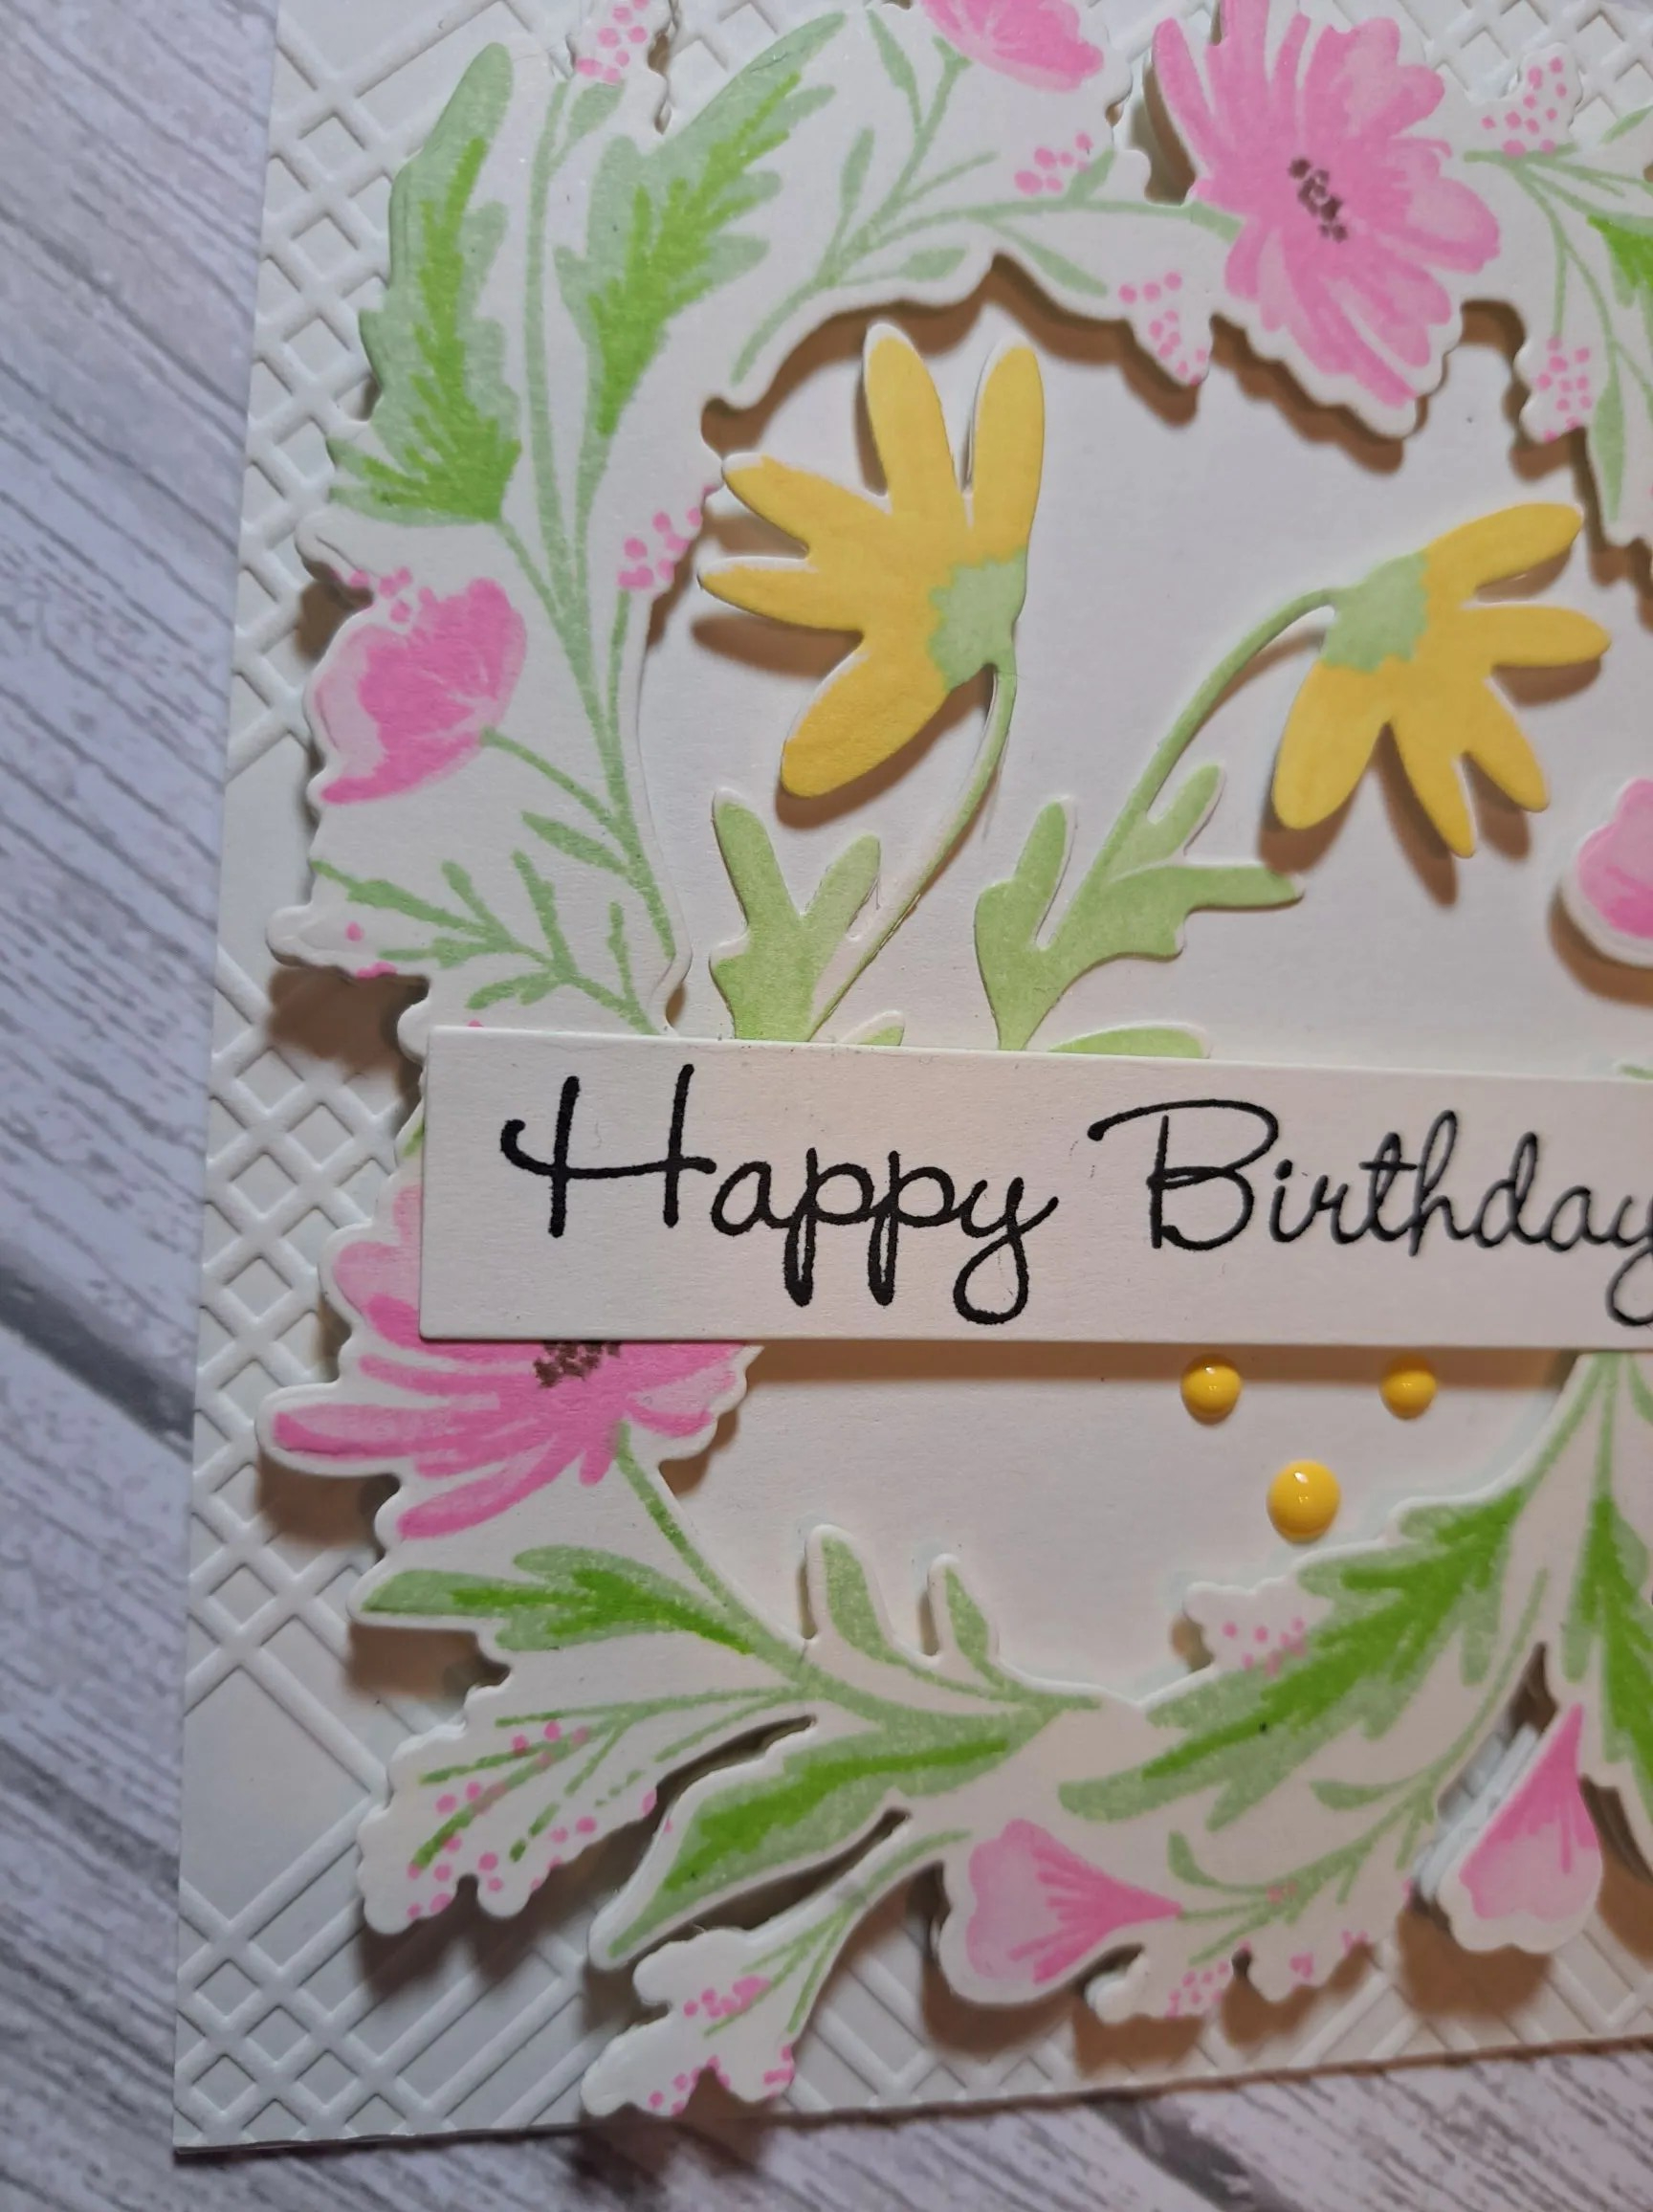
The yellow flowers were inserted, the sentiment stamped and the sentiment strip adhered with glue on the edges, and 3D foam on the centre.
I added some yellow dots to balance the yellow above the sentiment strip.
I shall be entering the following challenges:
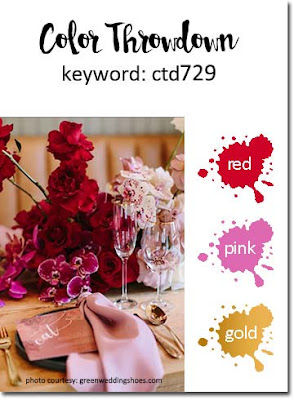
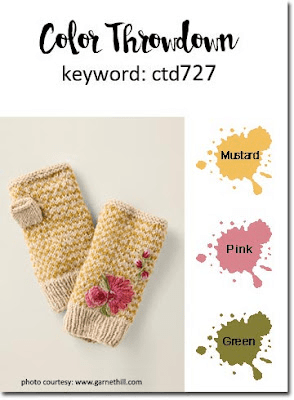
Color Throwdown – yellow, light pink, cream, green
CYHTP – embossing folder option of hearts not taken)
Inkspirational – use stencils
AAA Birthday – birthday and use stencils
Unicorn Challenge – birthday
Stencil Fun – stencils – option of hearts not taken
Beautiful Blossoms – flowers and mood board