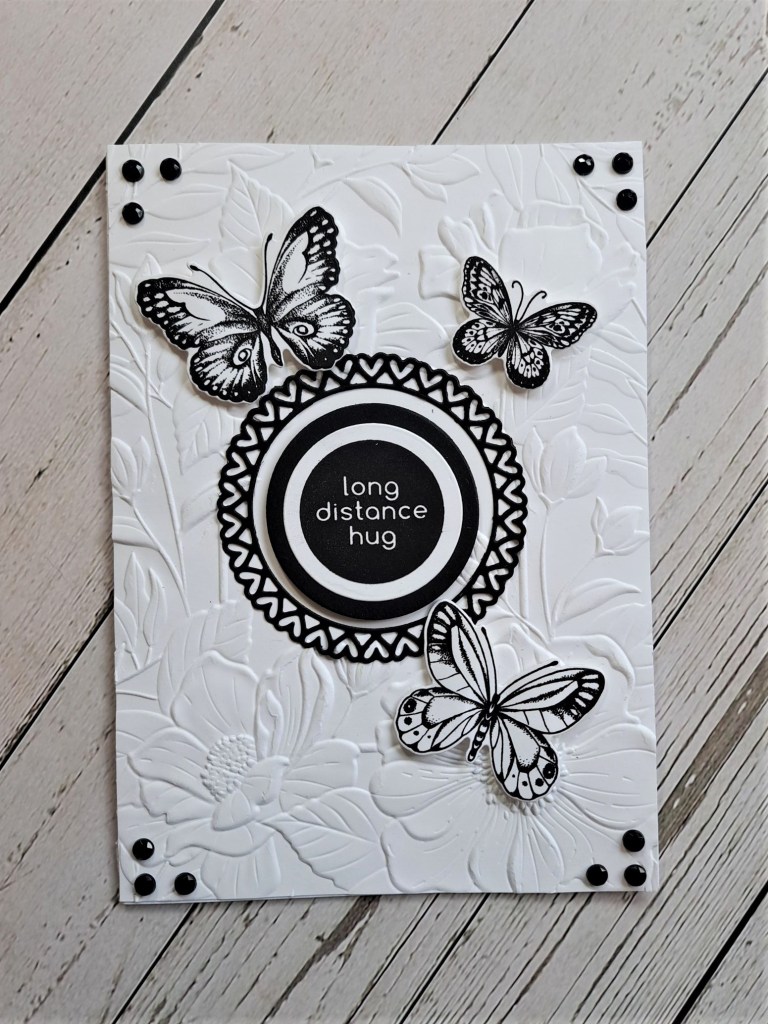
Hello. I have a card to share using some die sets from Honey Bee Stamps:
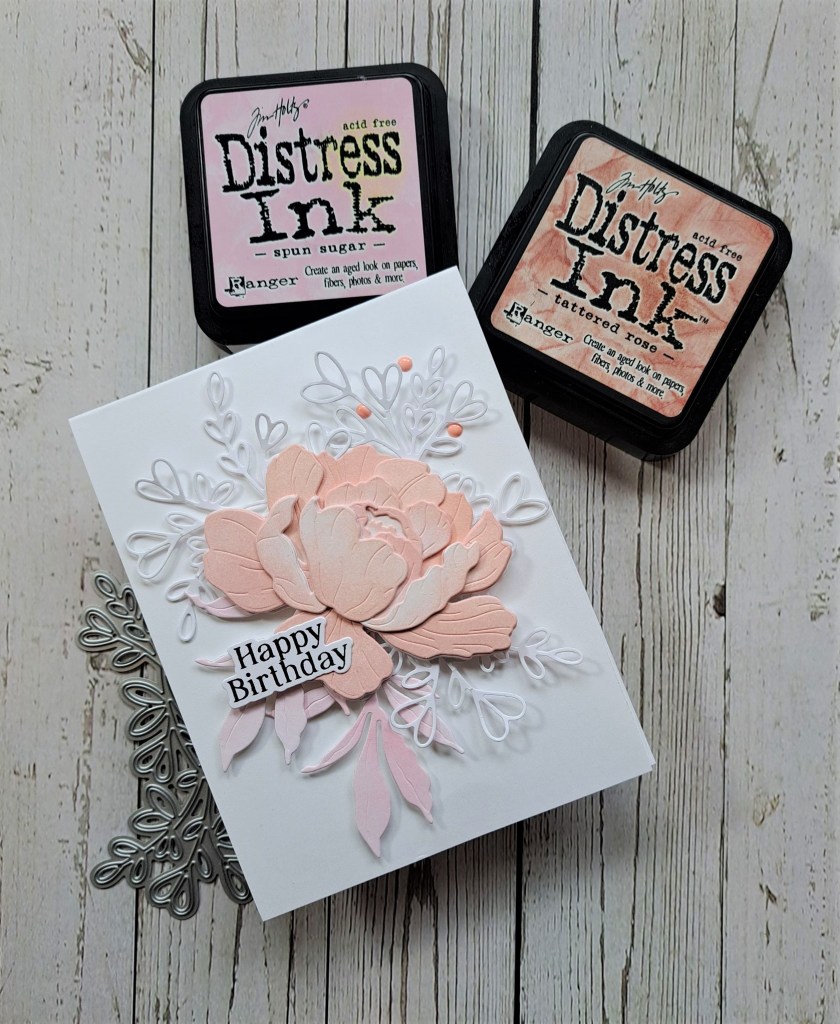
I wanted to use the three colours for the current Color Throwdown Challenge and was stumped. I mentioned the colours to a friend of mine, and she instantly said ‘peony’…….I searched the Color My Life app for what peony items I had (quiet a few actually) and this die set just spoke to me.
I ink blended a panel of Distress White Heavystock with Spun Sugar Distress Ink – keeping it quite light, and not being too perfect – and die cut the leaf from that due set twice.
On another panel I die cut the flower layers first, then ink blended the Tattered Rose Distress Ink afterwards – I wanted to vary how strong, how blended, and how smooth I wanted the blending to be, depending on which part of the flower showed when all layered together.
I die cut three of the ‘Lovely Layers Heart Vine’ outlines and arranged them behind the rose and leaves:
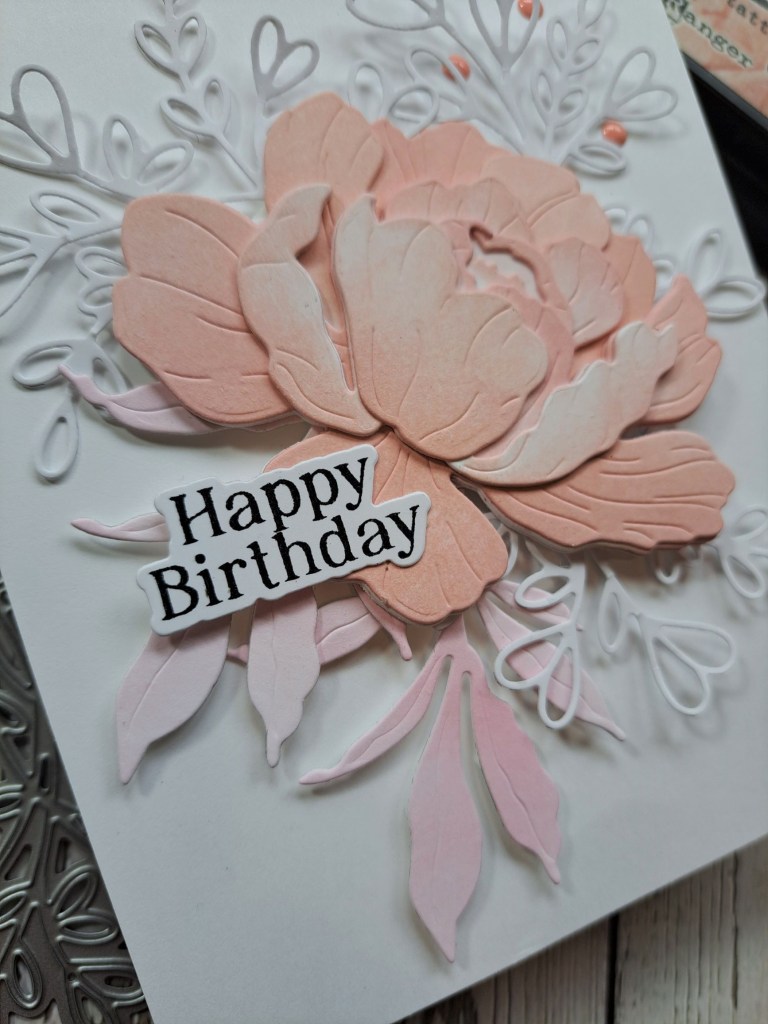
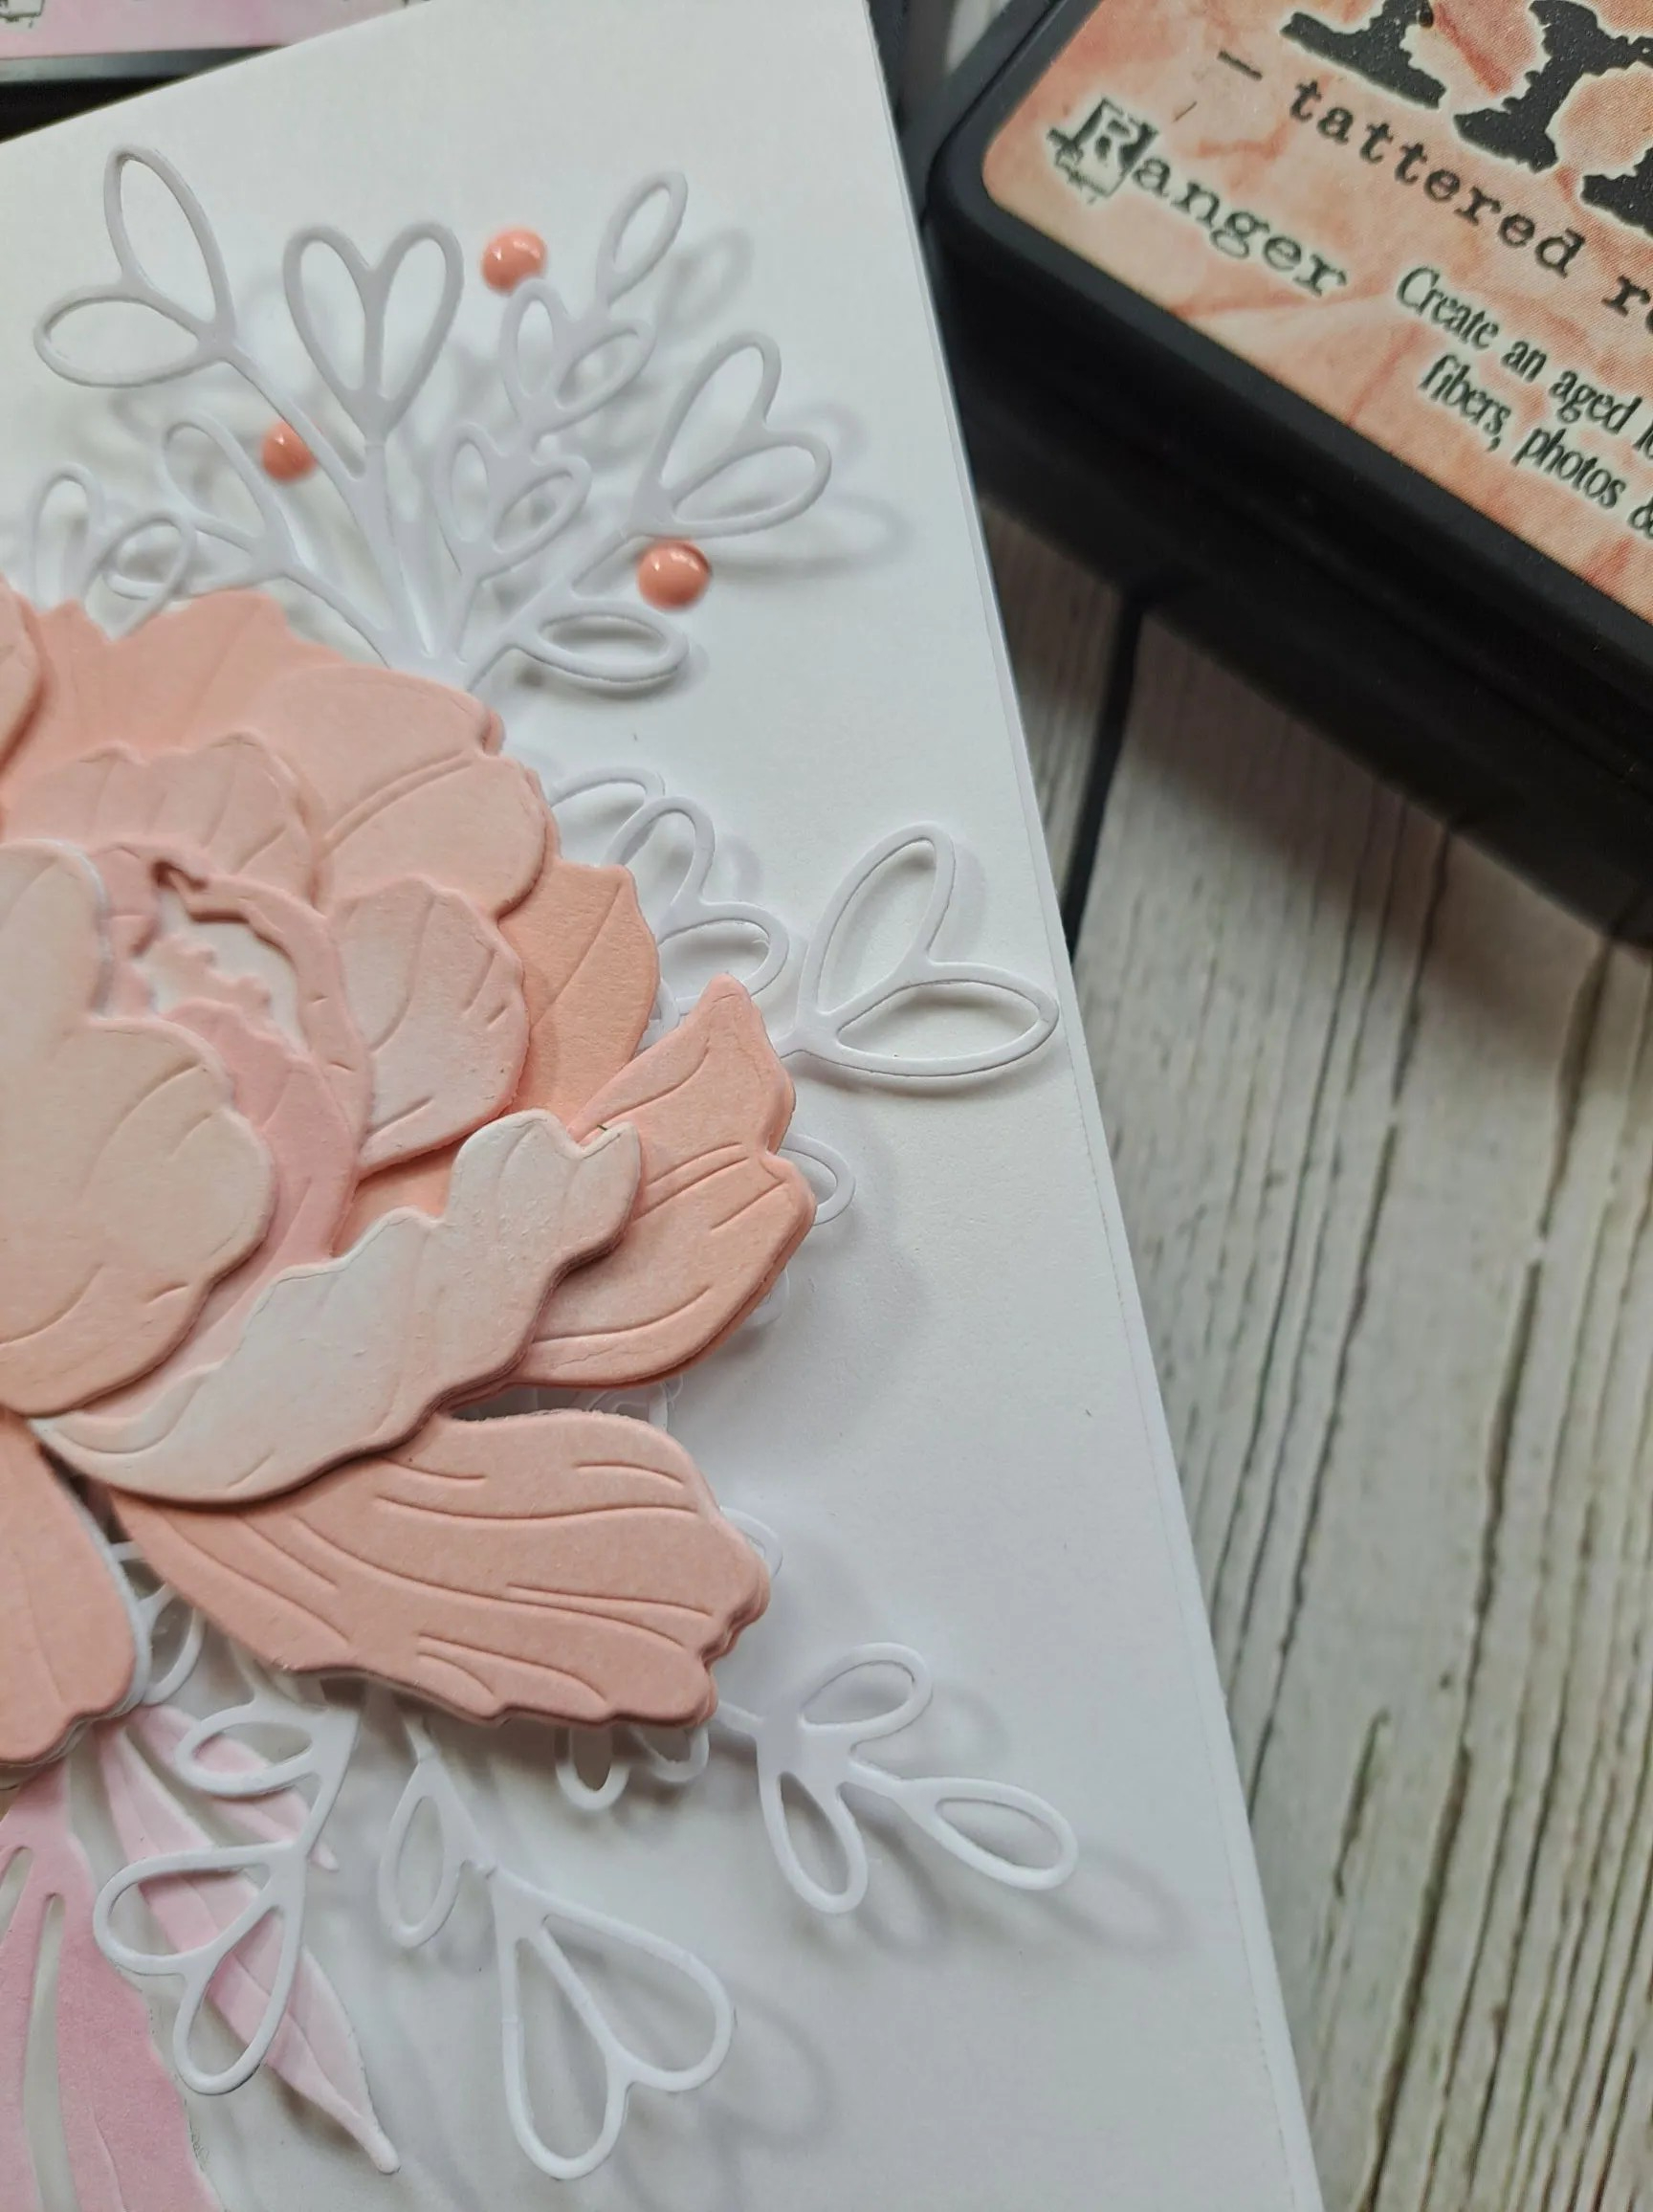
Once I had the placement I wanted, I used some ‘Press’n’seal’ to pick the whole arrangement up and attach 3D foam to the back, and then stick down. The leaves were not stuck down any other way and left loose to give even more dimension.
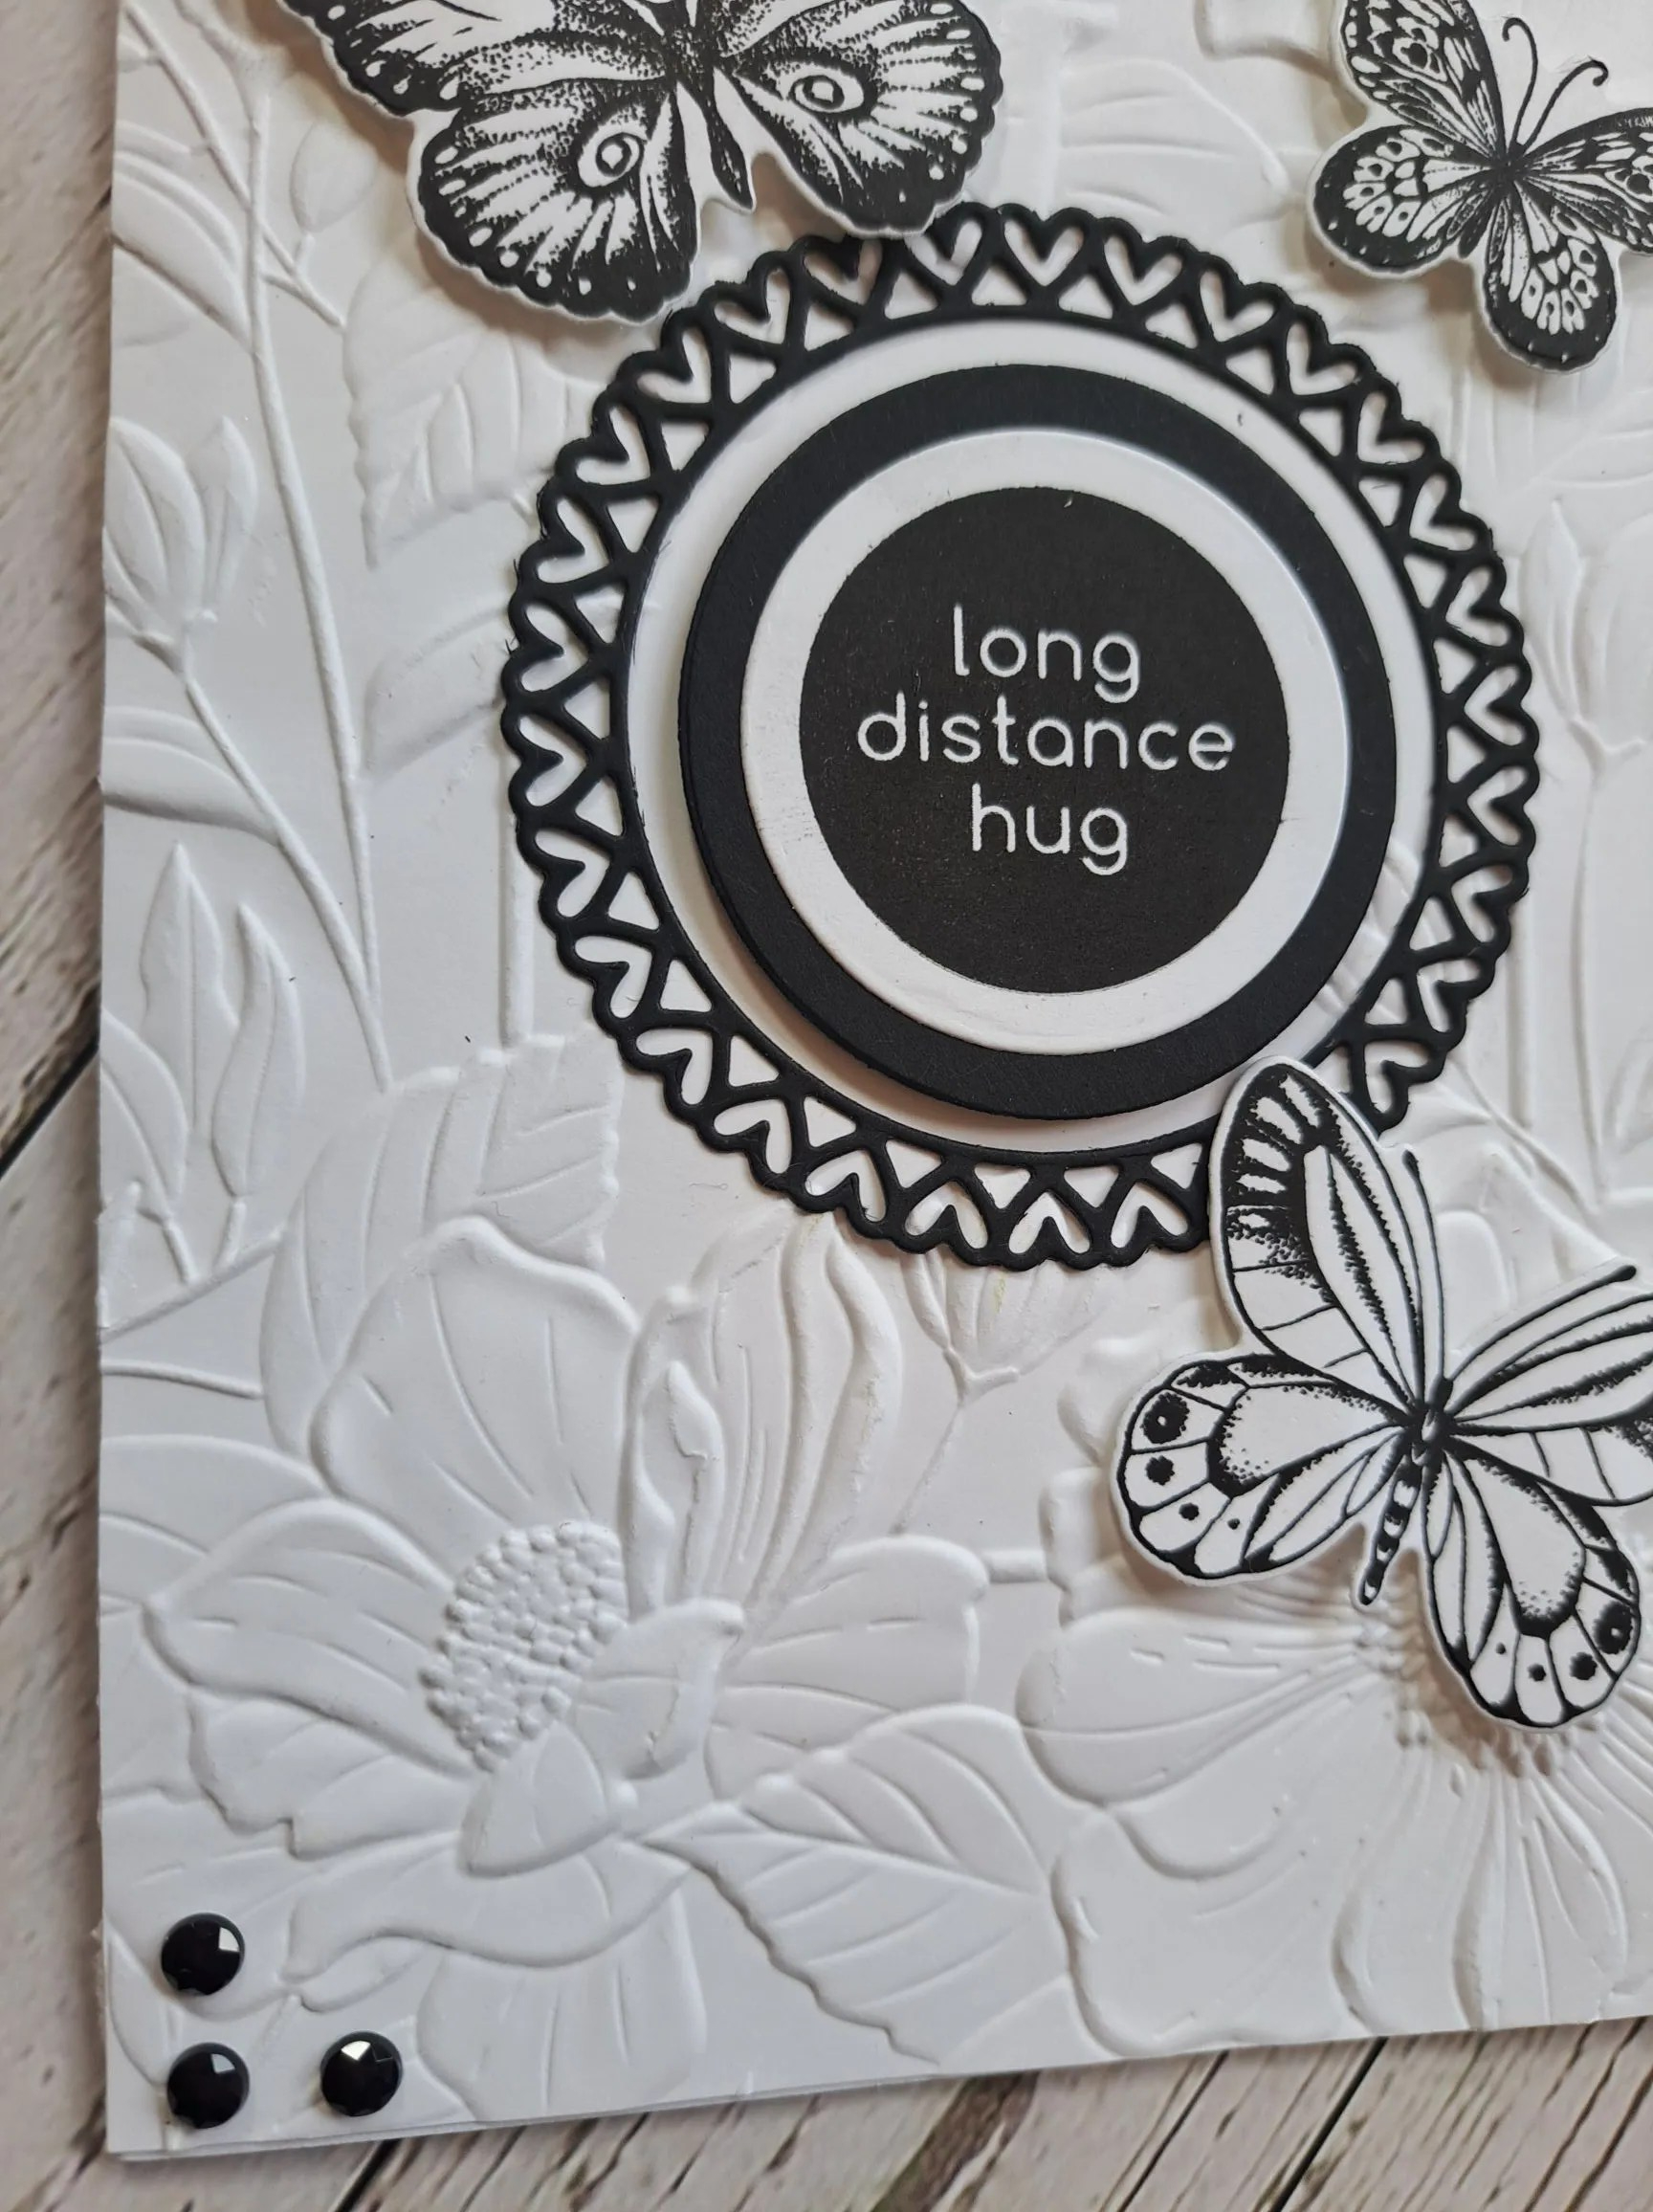
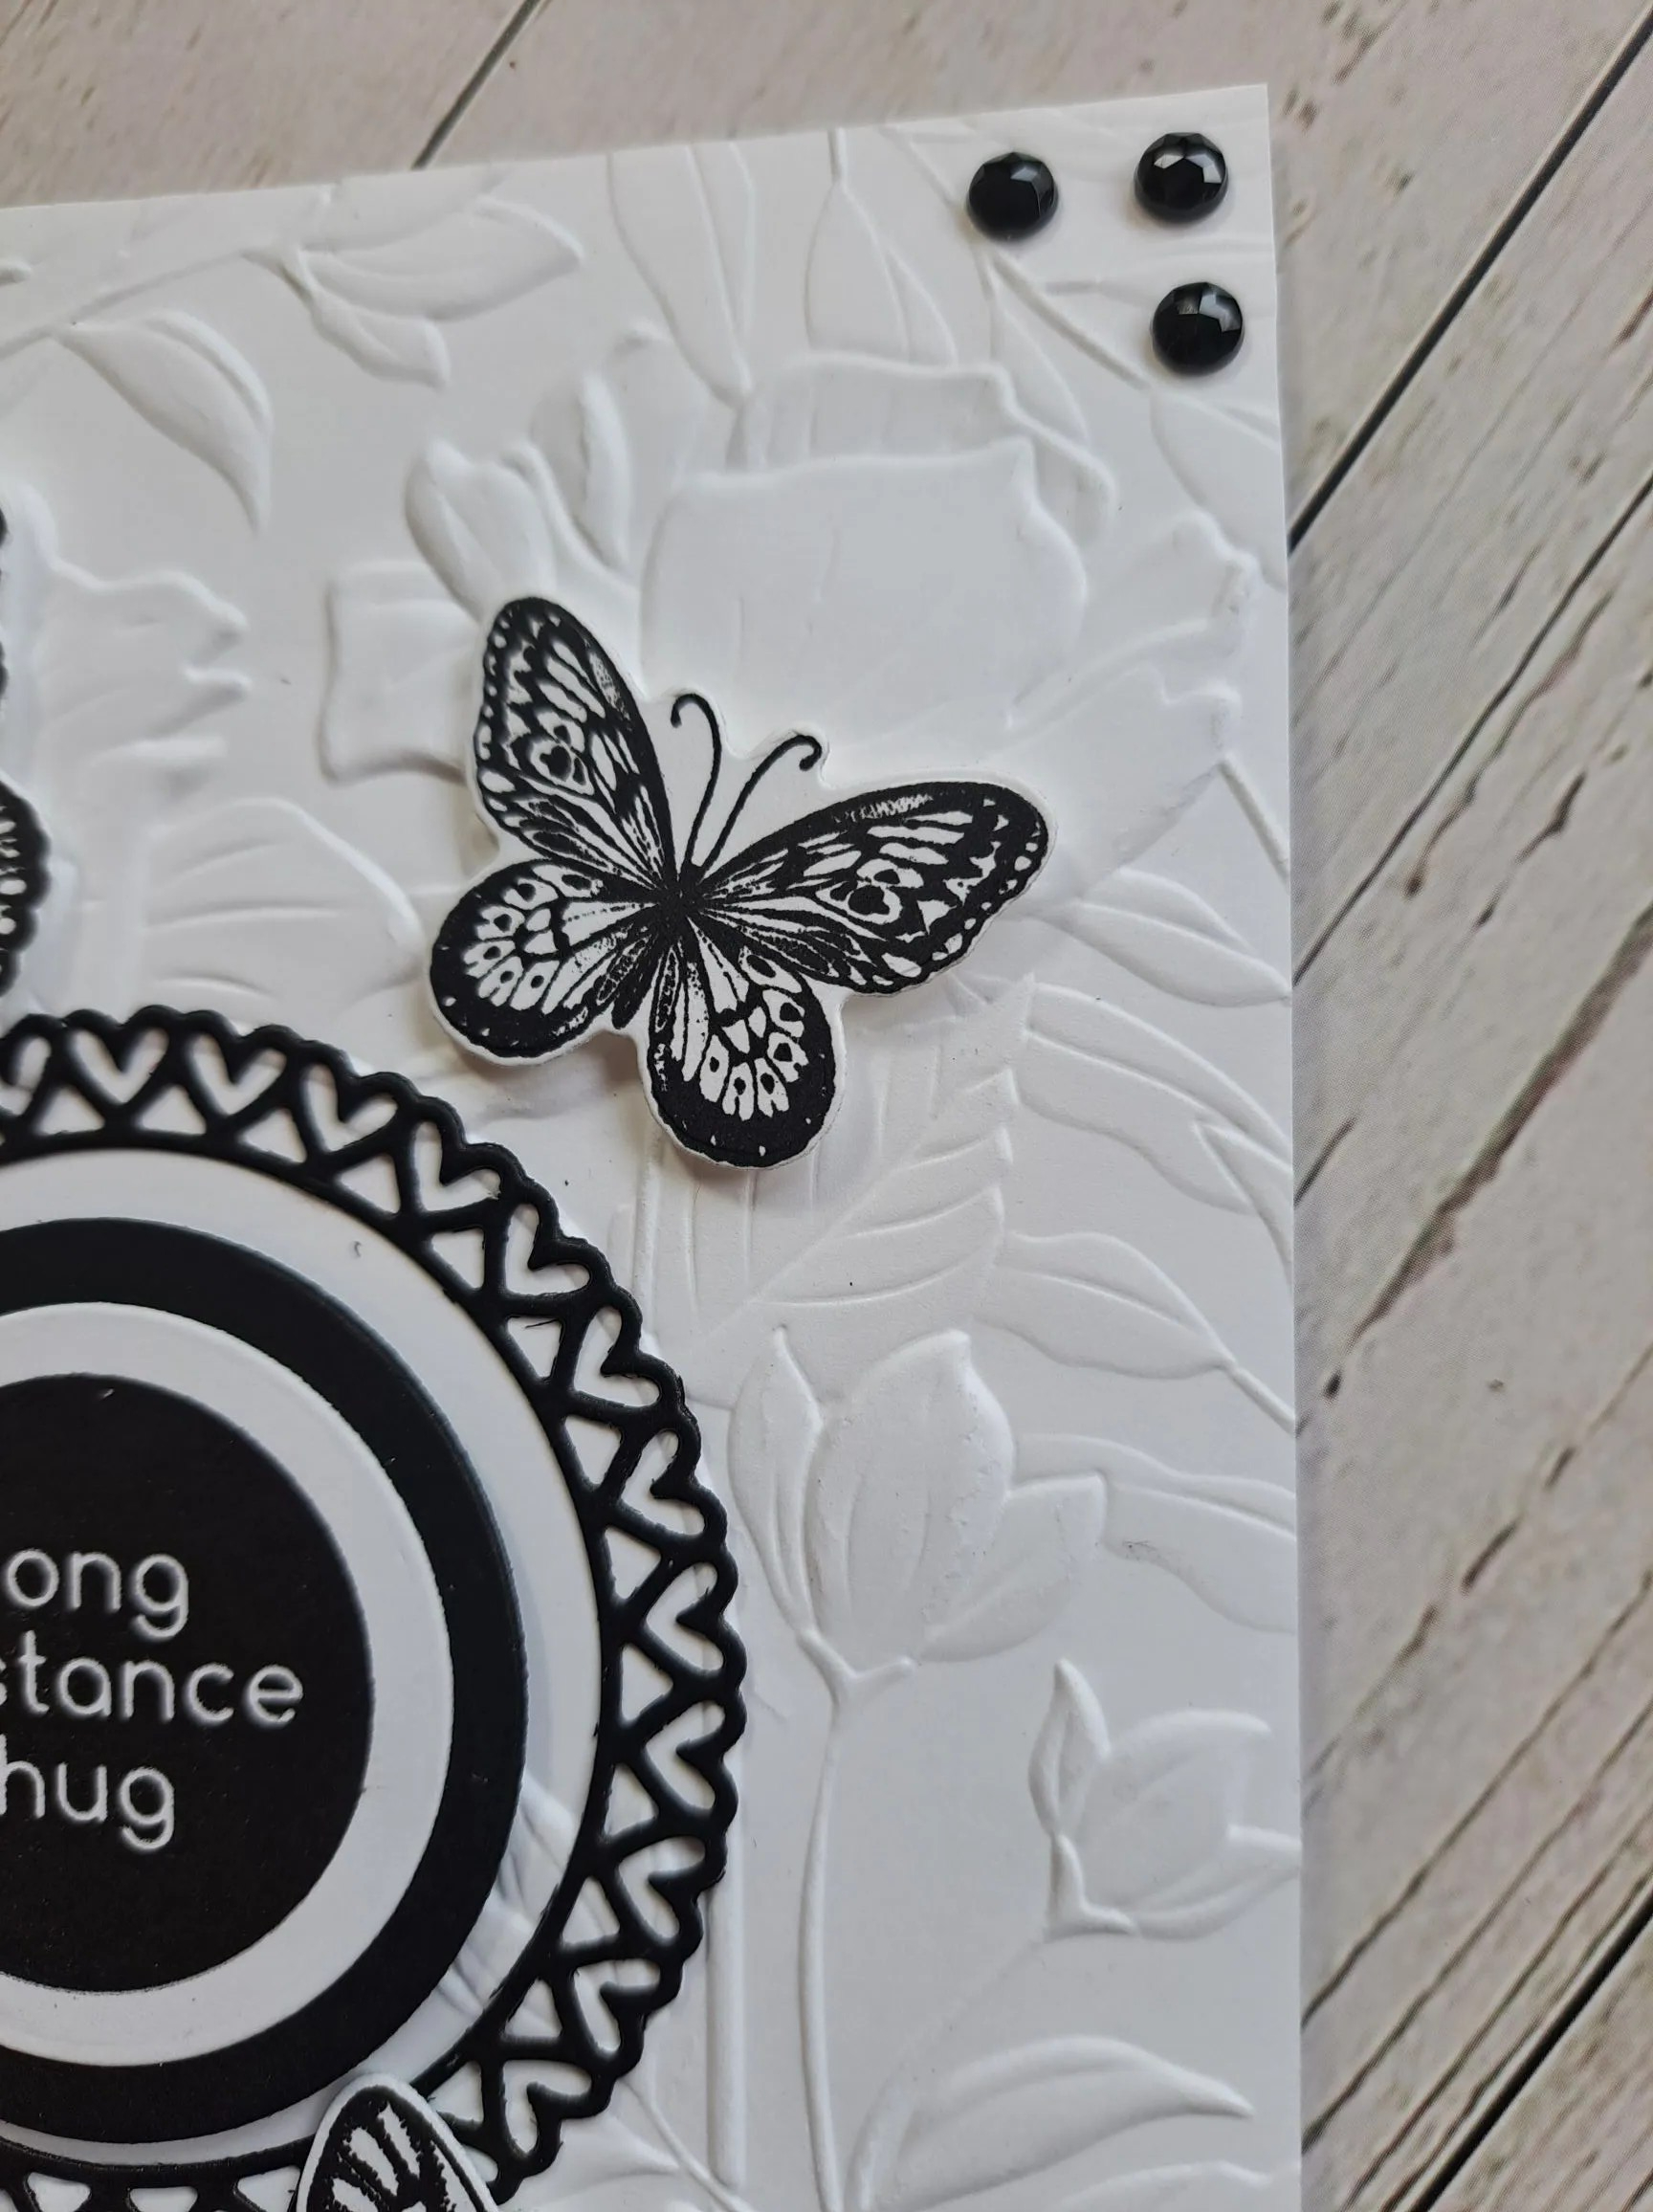
I stamped the sentiment then used the matching die to cut it out, and arranged as you see.
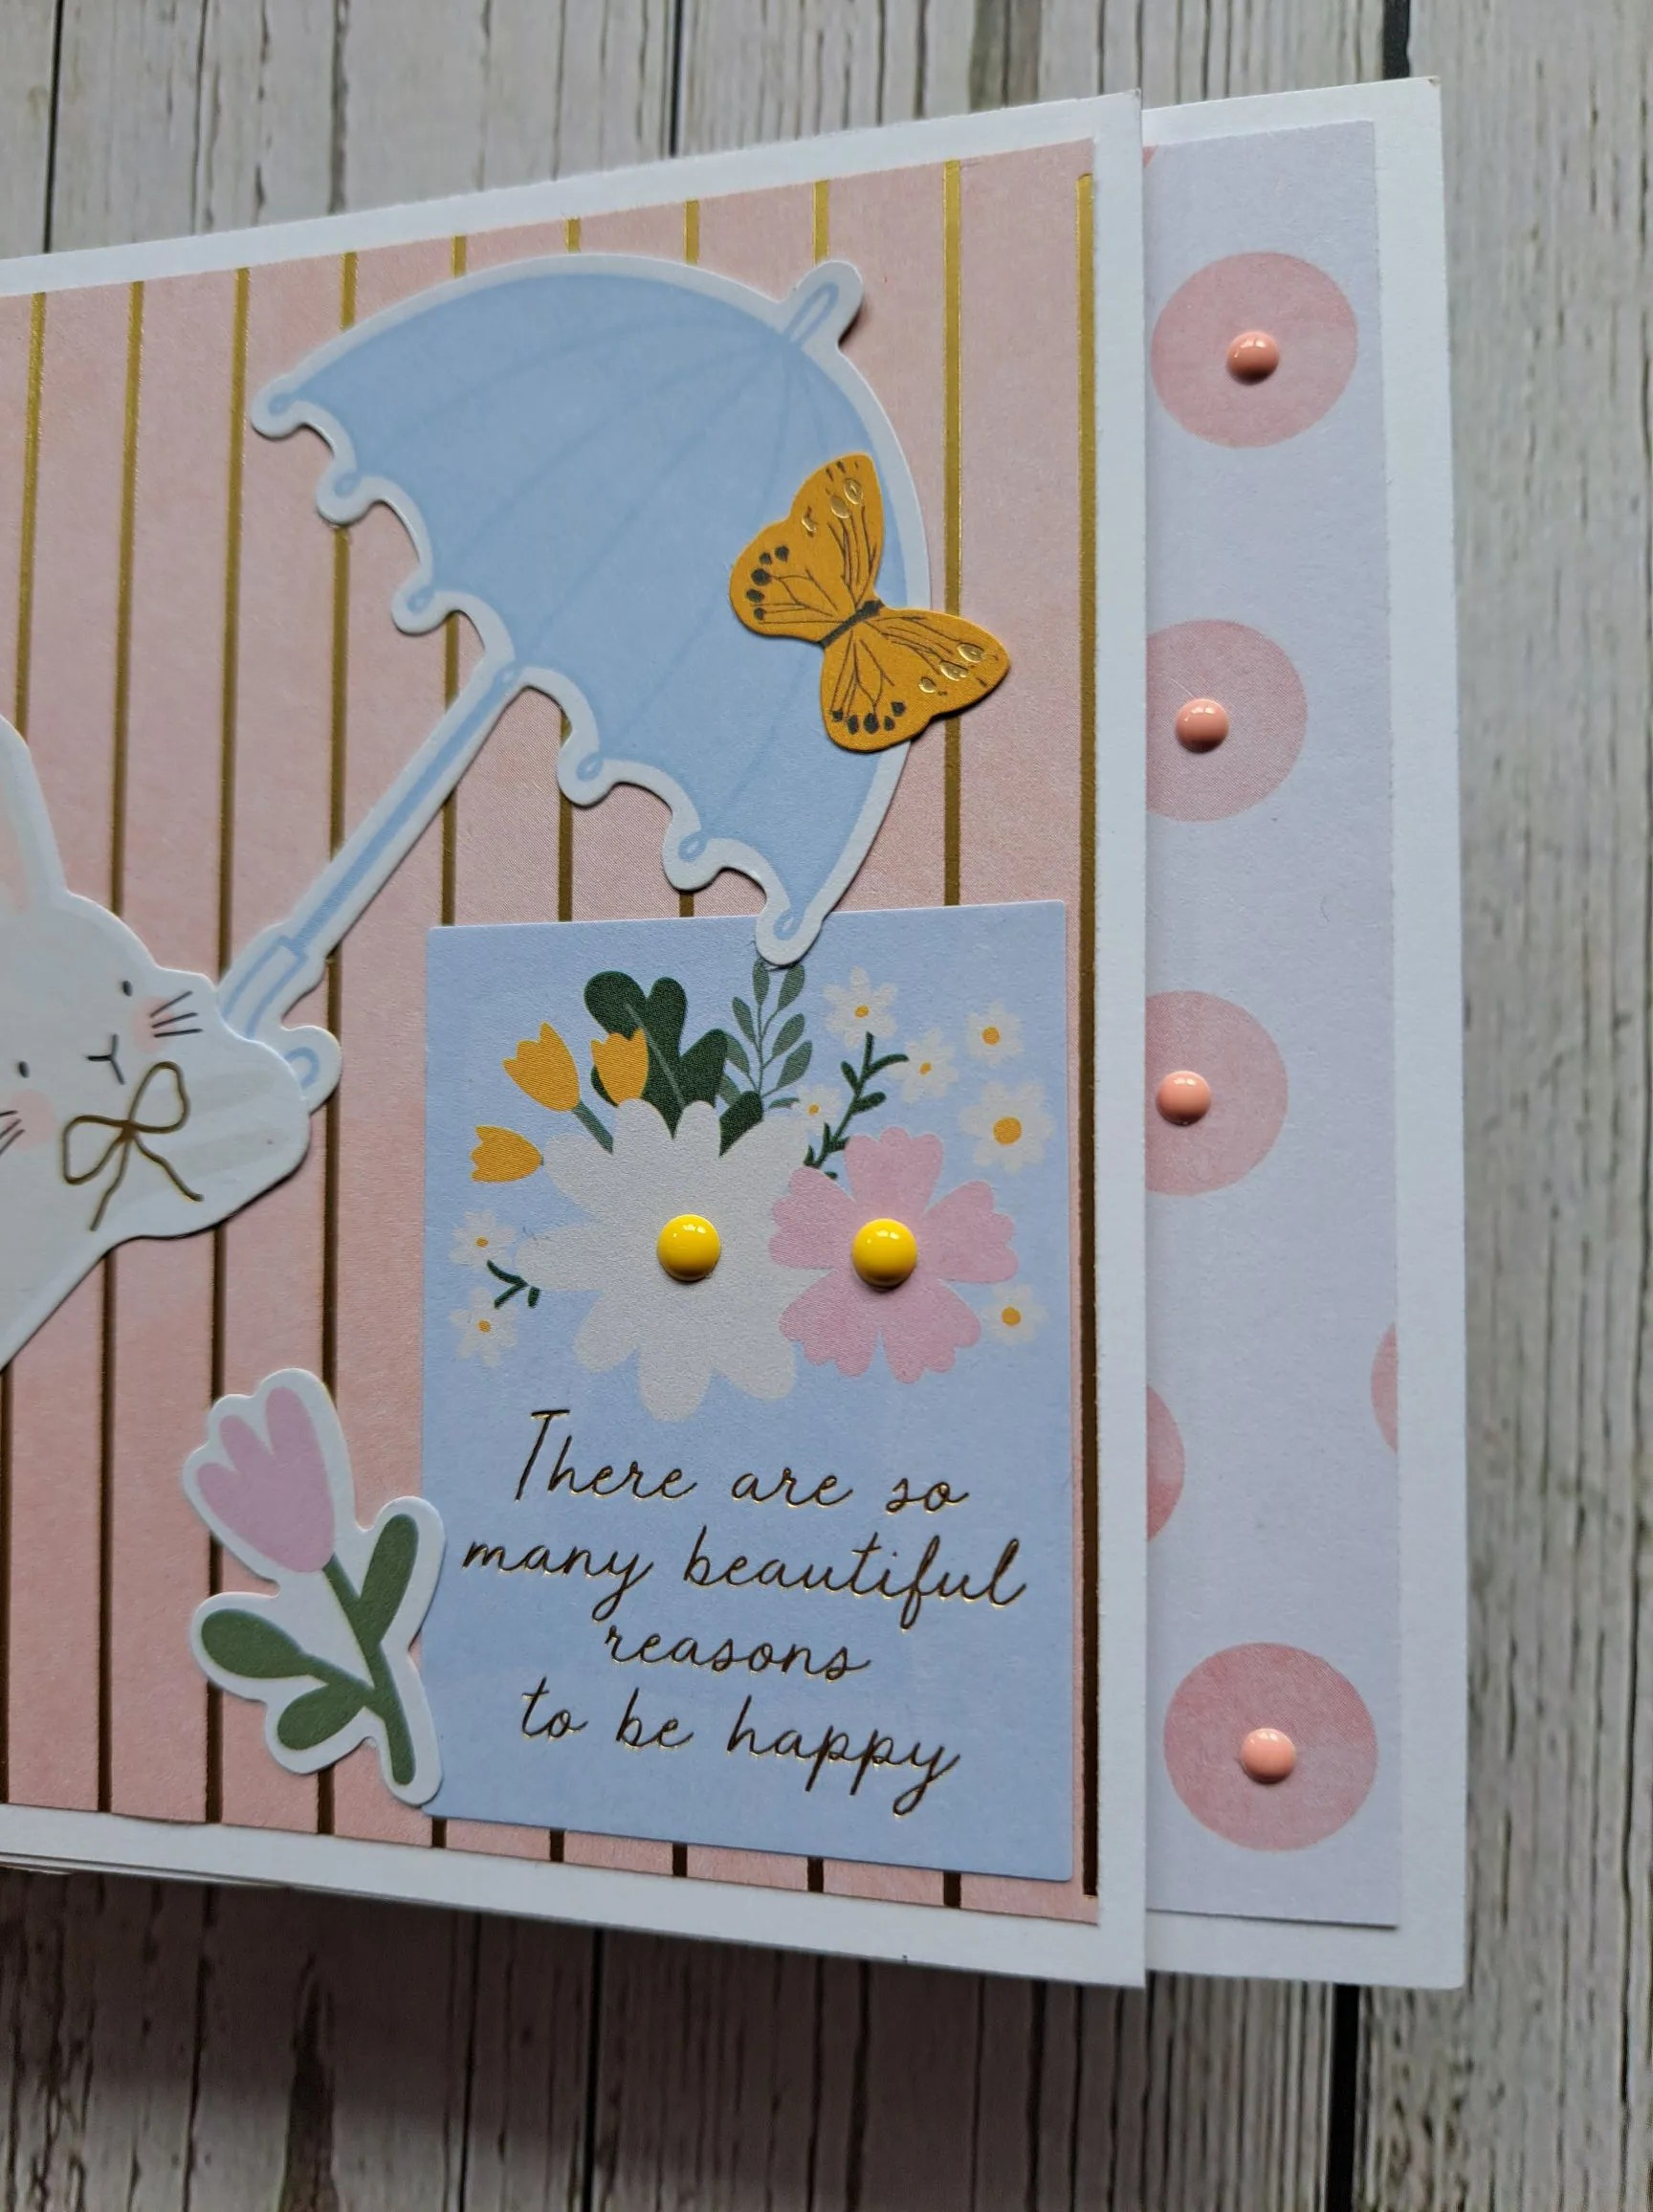
I also added some enamel dots to the top right corner.
I shall be entering the following challenges:
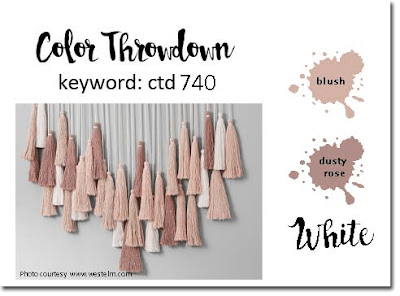
Color Throwdown – blush, dusty rose, white
Simon Says Stamp Monday Challenge – make your mark
Simon Says Stamp Wednesday Challenge – anything goes
Krafty Chicks – occasions
Make My Monday – flowers