Hello again. The ABC Christmas Challenge has reached the end of the alphabet, and therefore this challenge is for the letters ‘Y’ and ‘Z’. The Christmas themes for these letters are:
Y is for Yummy (food) and Z is for Zebra (black & white or stripes)
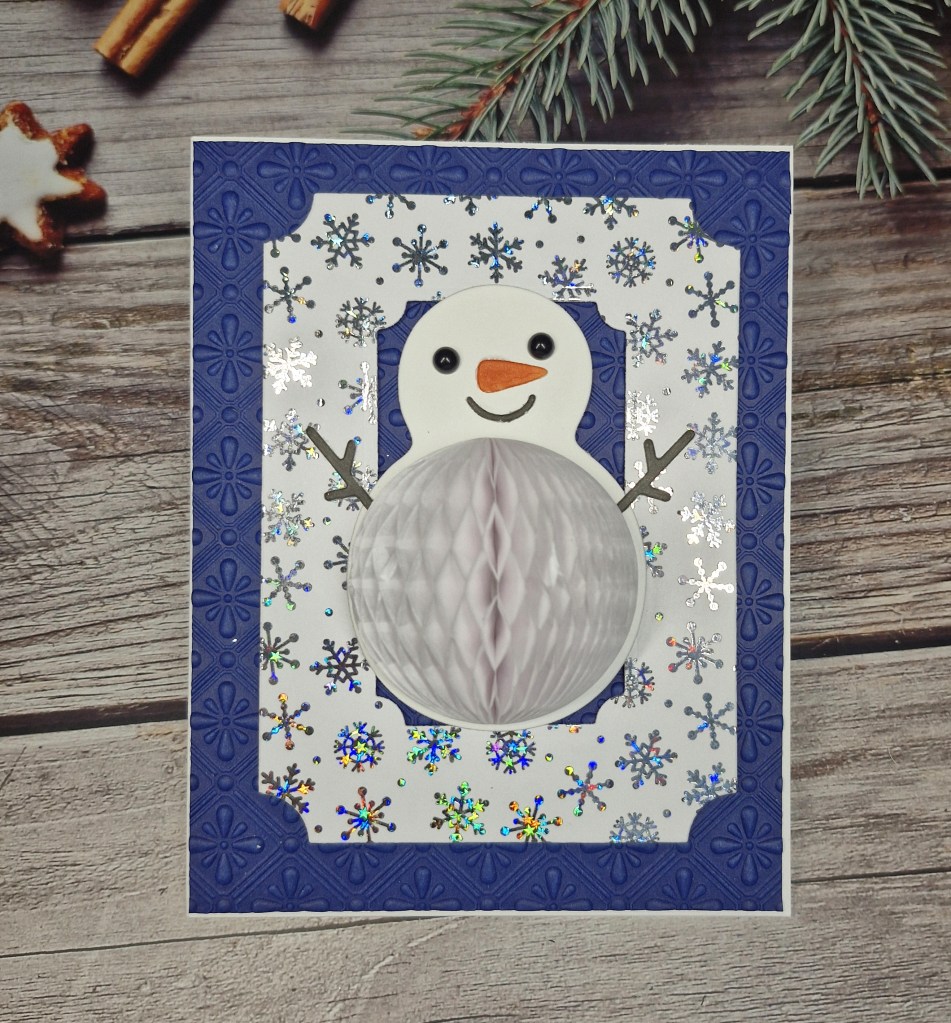
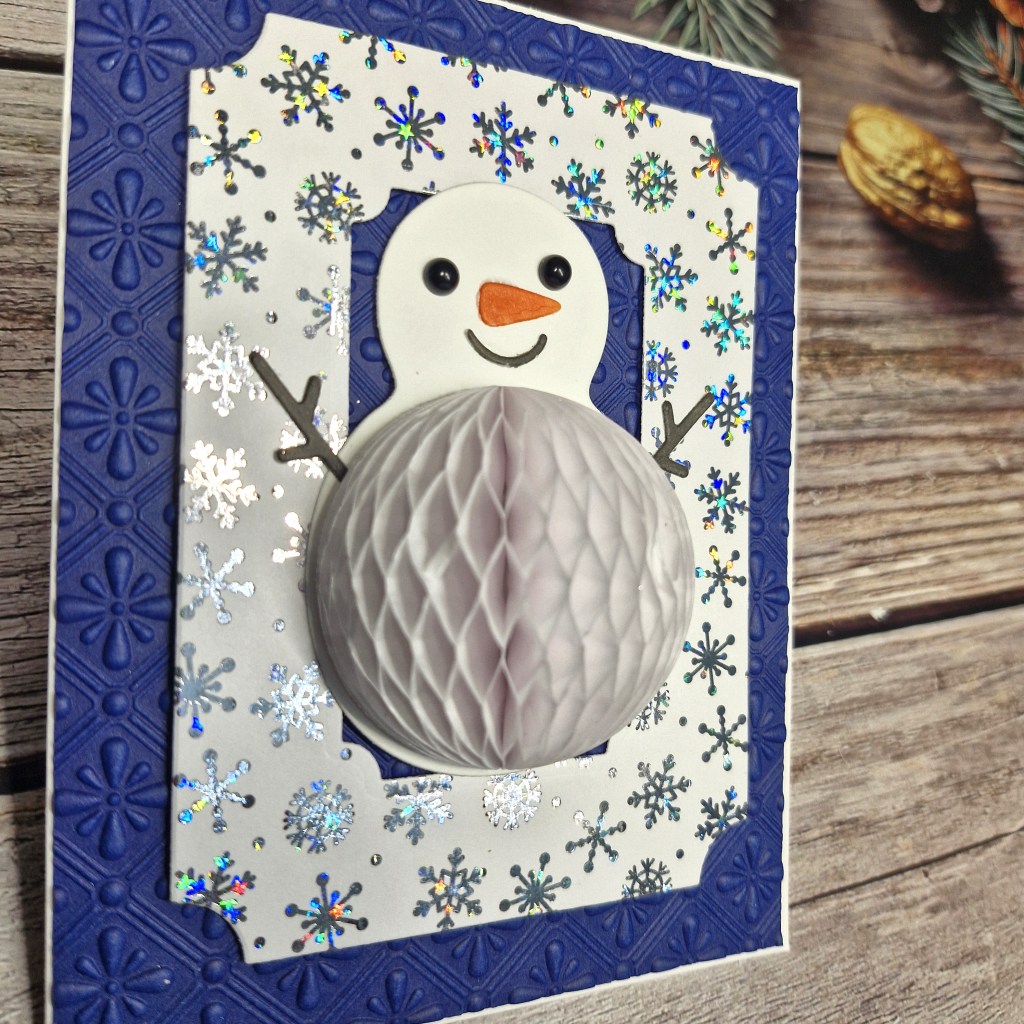
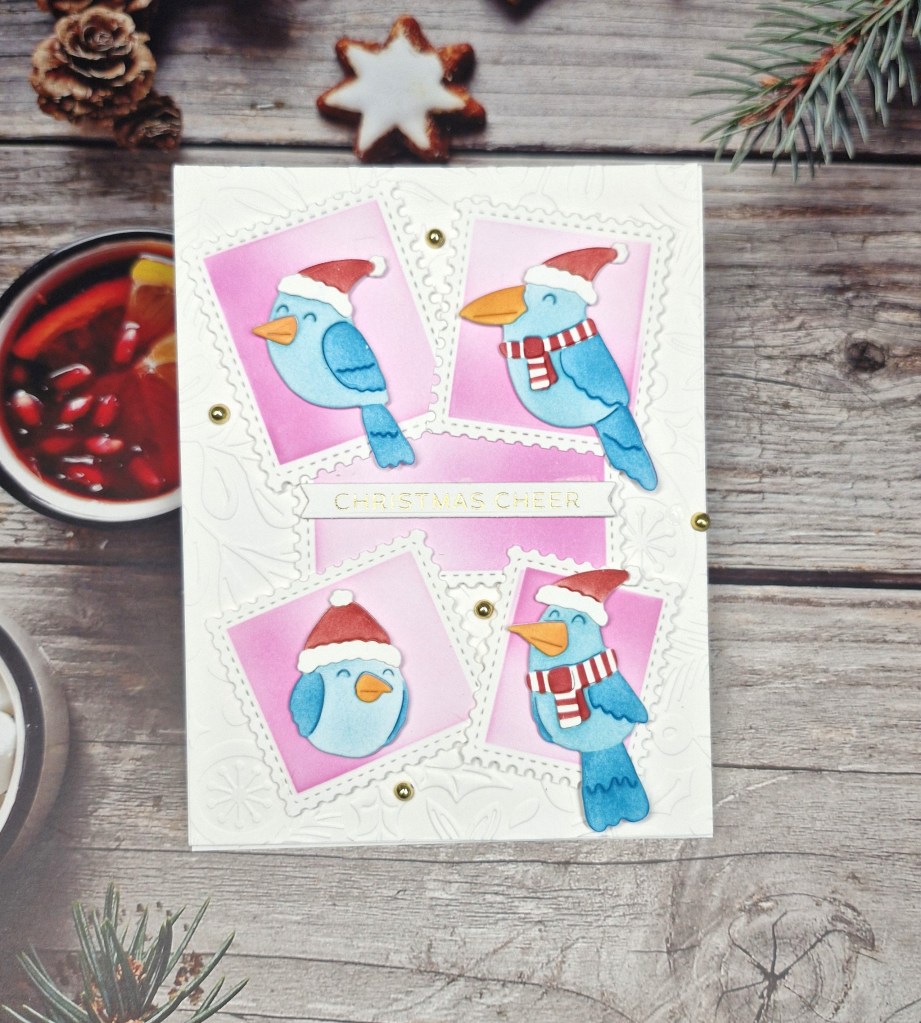
Here is my card:

I obviously followed the black and white Christmas theme, creating what I think is quite a dramatic card.
I took an A2 panel and stamped some Gina K Designs snowflakes on a random pattern all over it, then cut it down slightly and matting with a piece of black card to create the edge.
The black banner/label for the centre is from The Greetery, and the die cuts out this filigree frame – but I decided I wanted all the details of the frame to stay in place, so I placed them all back in and applied some double sided tape to the back – keeping them secure.
The sentiment was stamped, then die cut with the matching die.
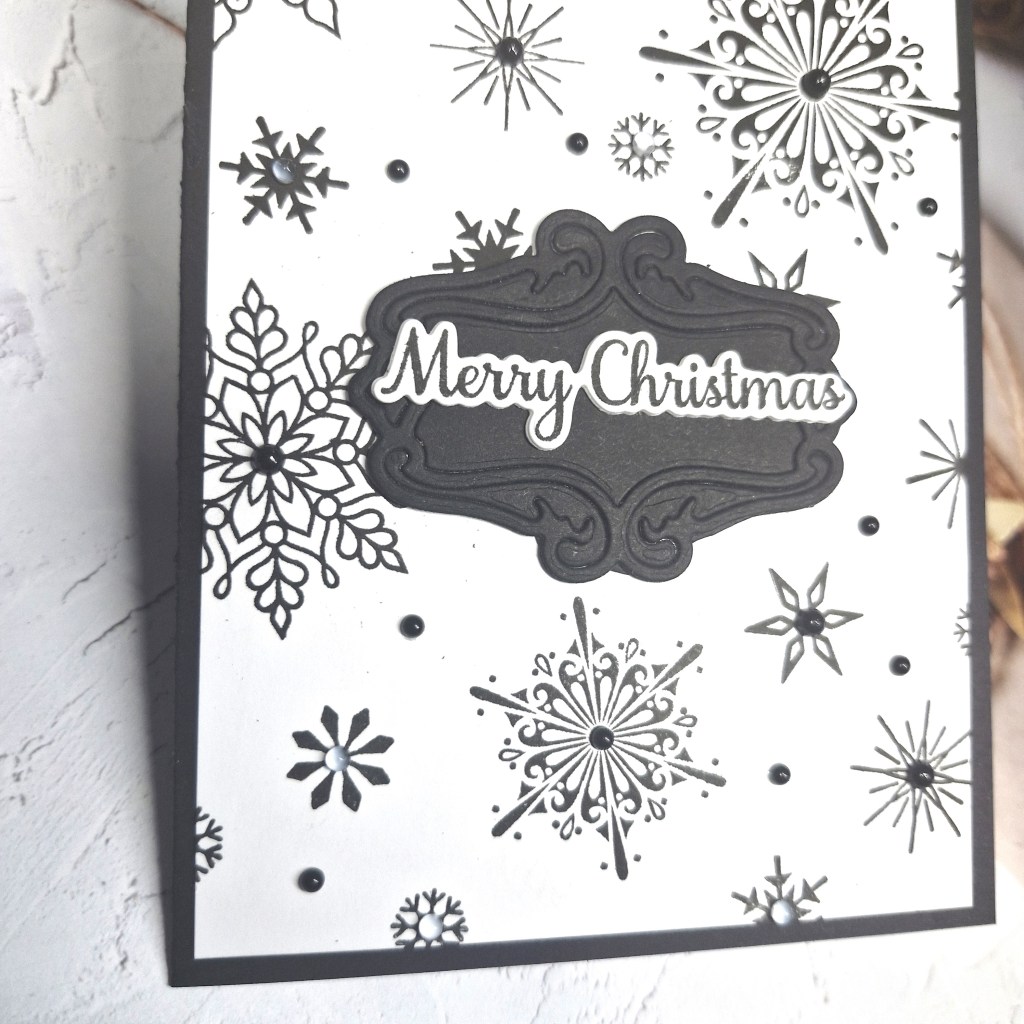
The final touch was to add some black gems to the snowflake centres, and a couple of smaller gems in some of the white spaces.
I hope you can come and join us for our final challenge of the year with your Christmas creations following one or both of our themes. xx
I shall be entering the following challenges:
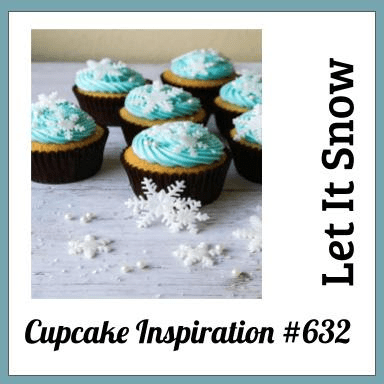
Cupcake Inspirations – let it snow
Merry Little Christmas Challenge – anything goes Christmas
Addicted to Stamps & More – Christmas
Fab ‘n’ Funky – Christmas
Peace On Earth – anything goes Christmas
Lil Patch Of Crafty Friends – anything goes