Hello everyone. It’s time for the next challenge at ABC Christmas Challenge. We have reached the letters ‘L’ and ‘M’. Our Christmas themes this month for those letters are:
‘L’ is for Lights, ‘M’ is for Music
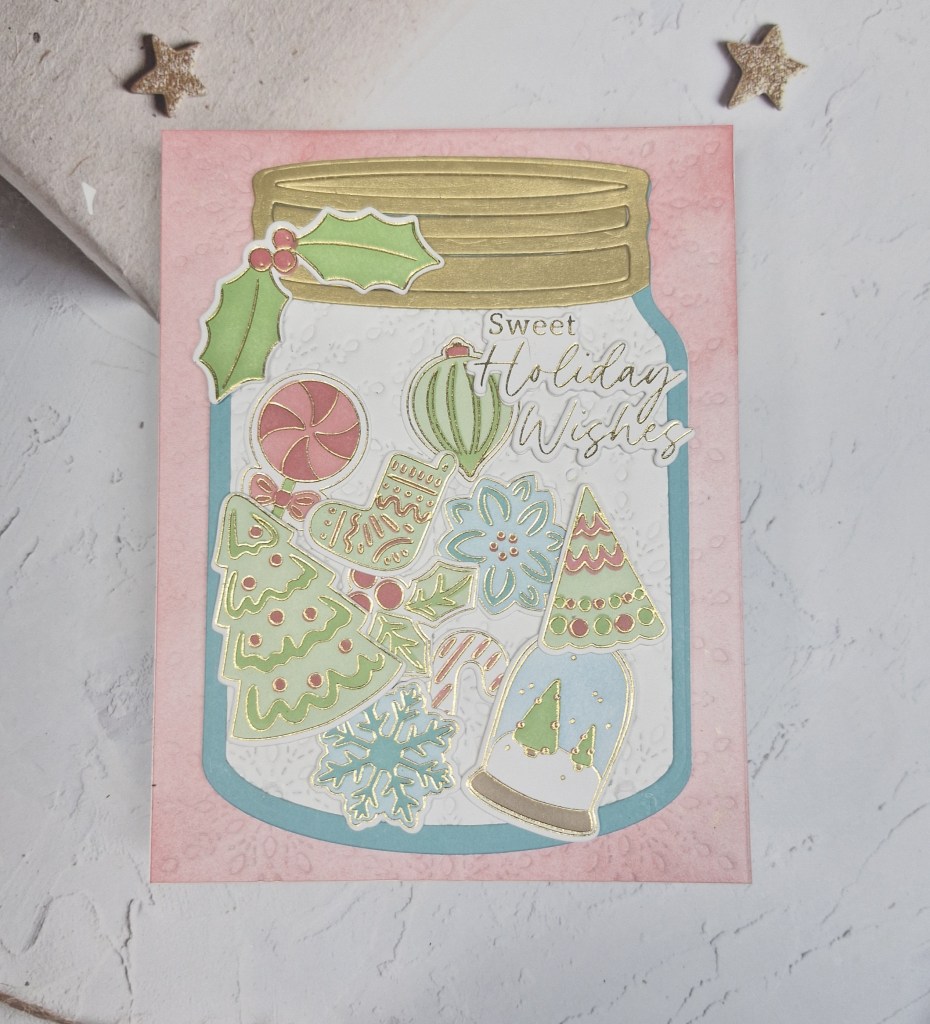
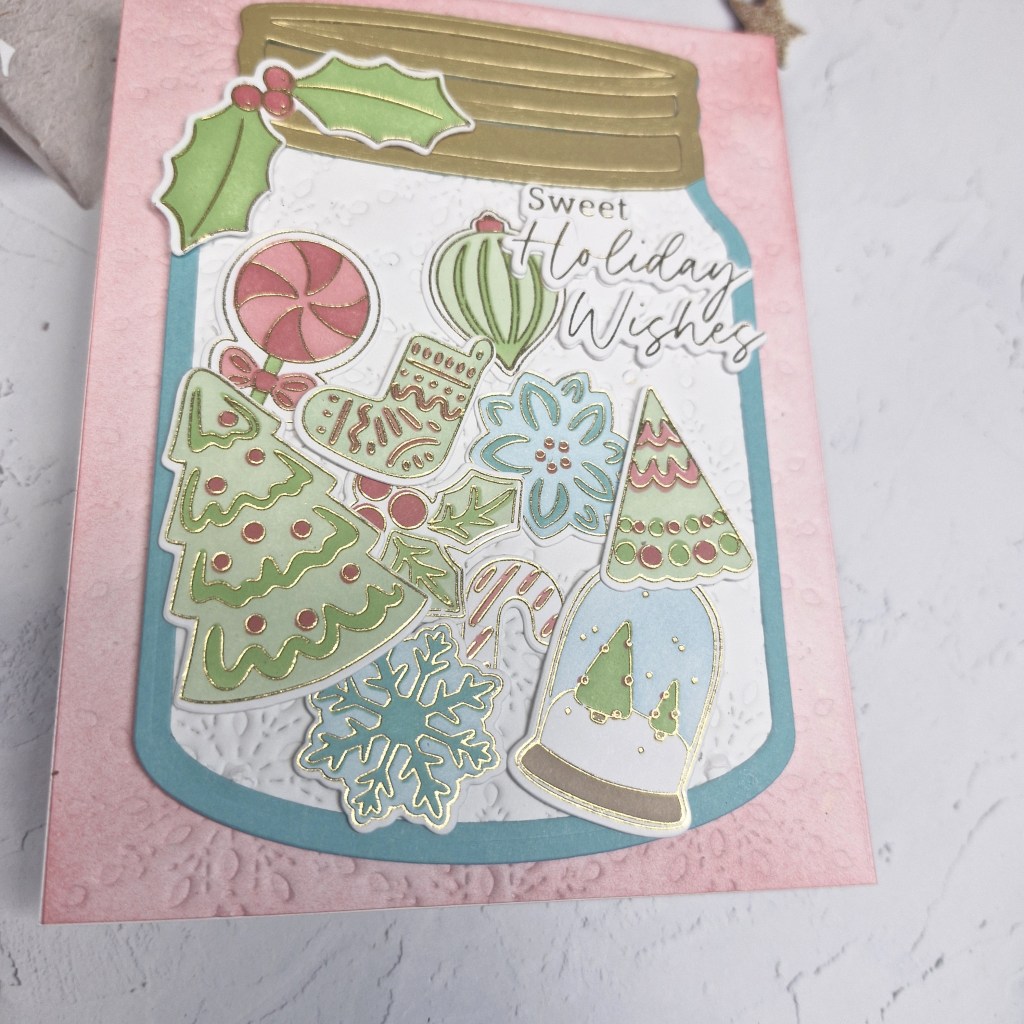
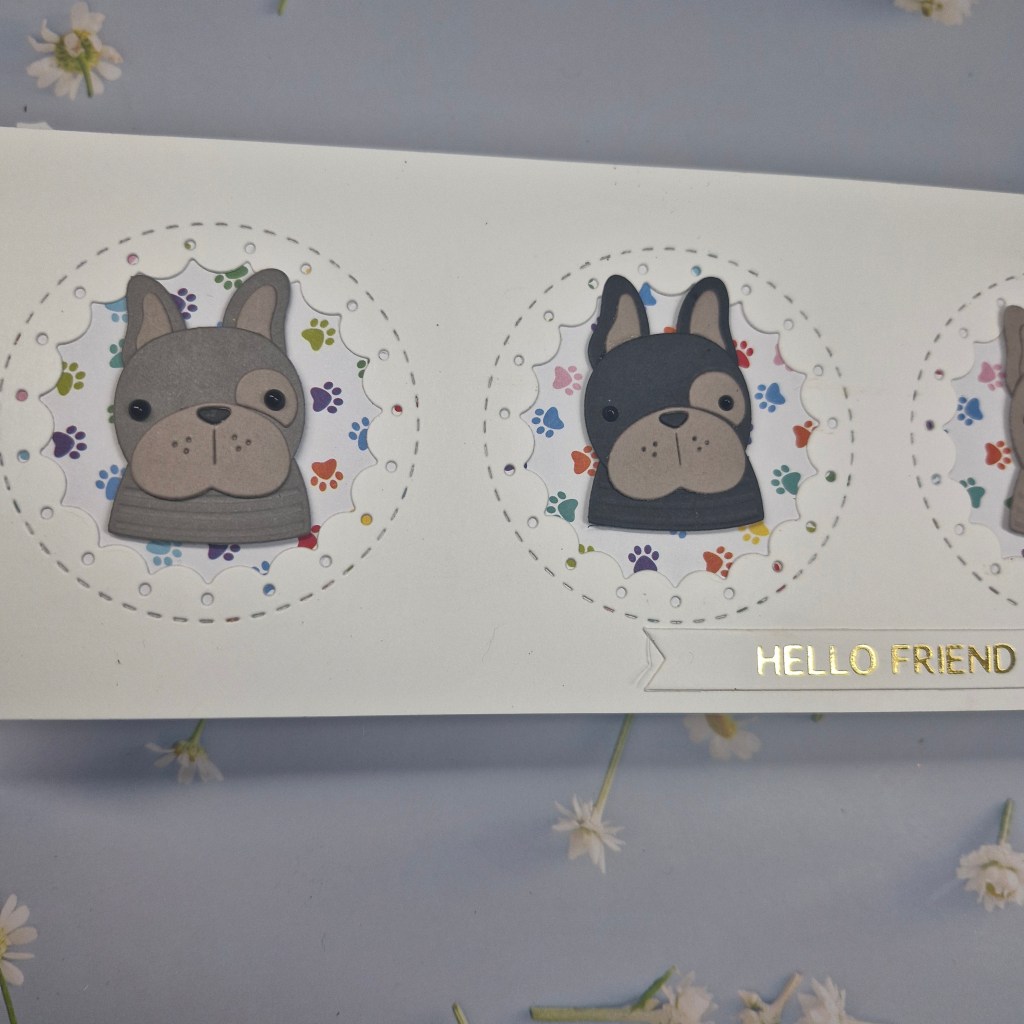
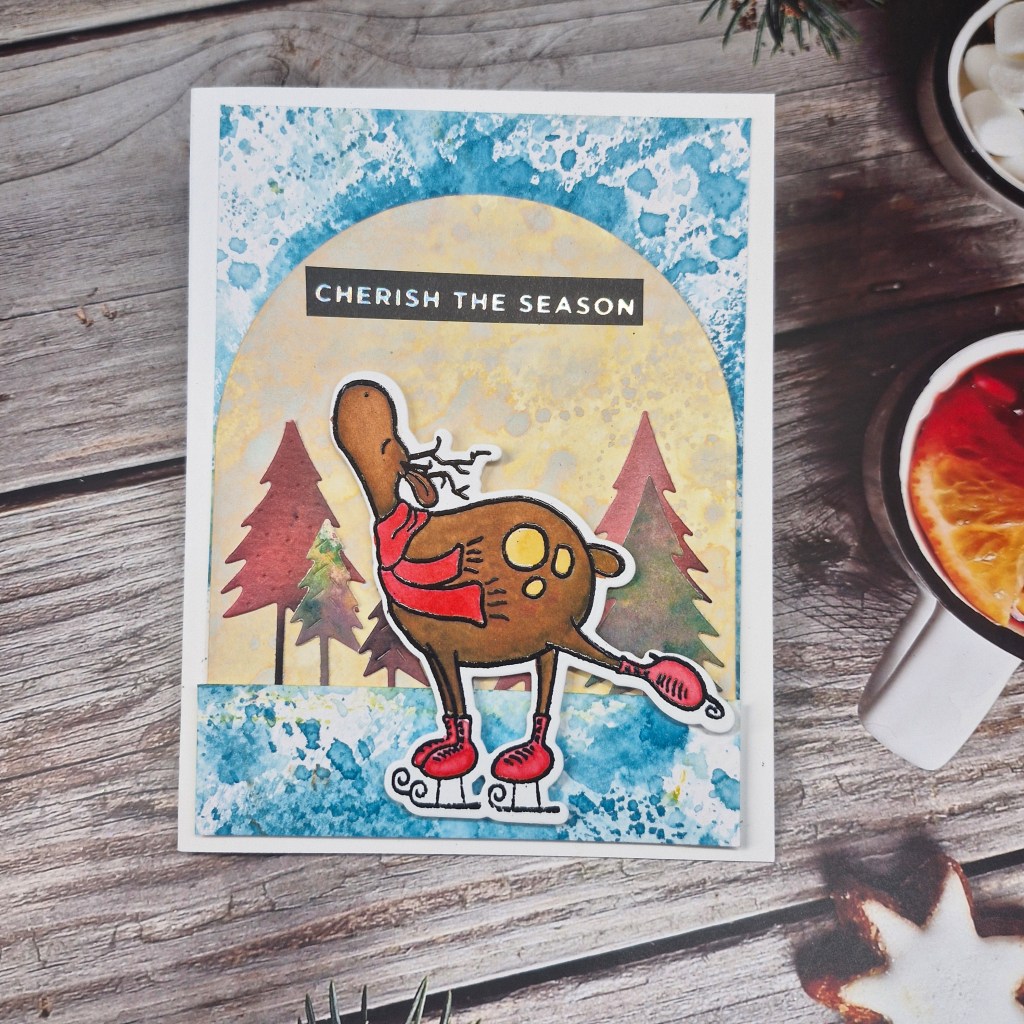
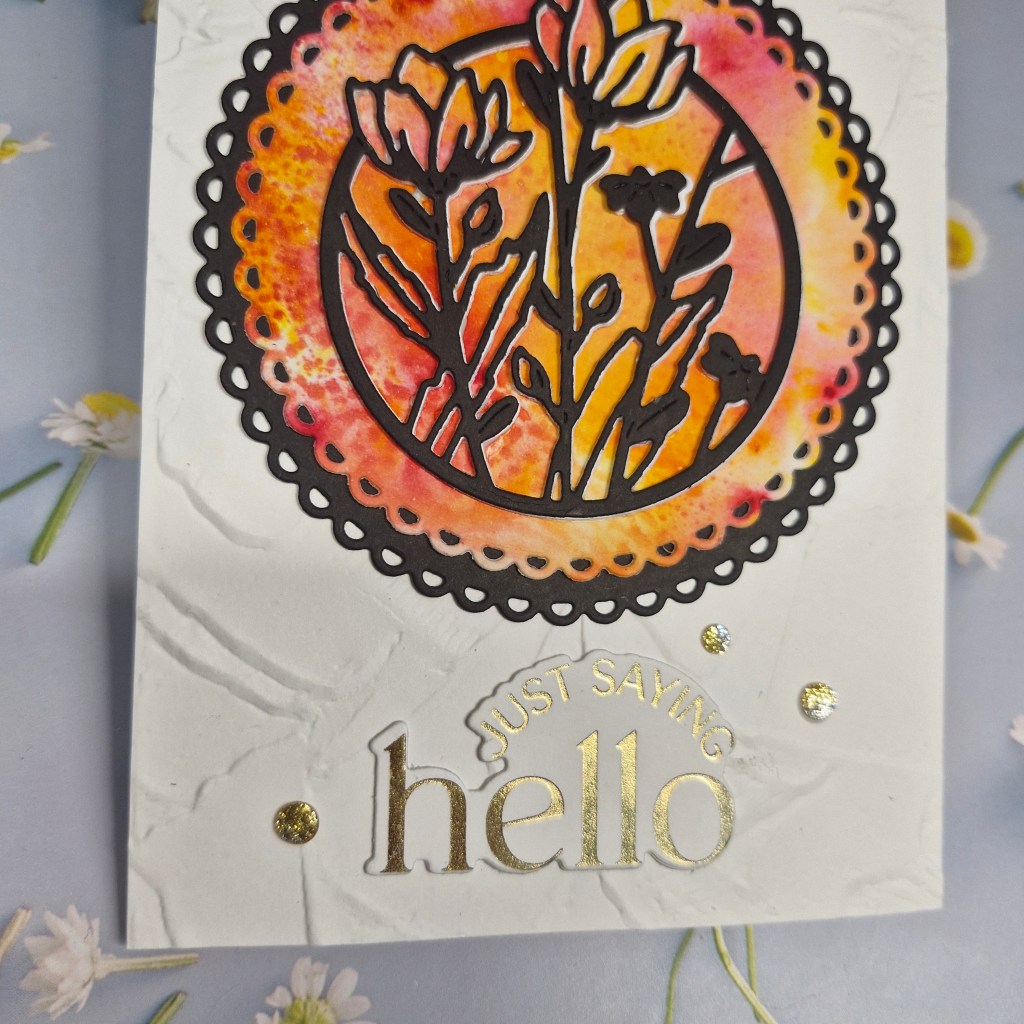
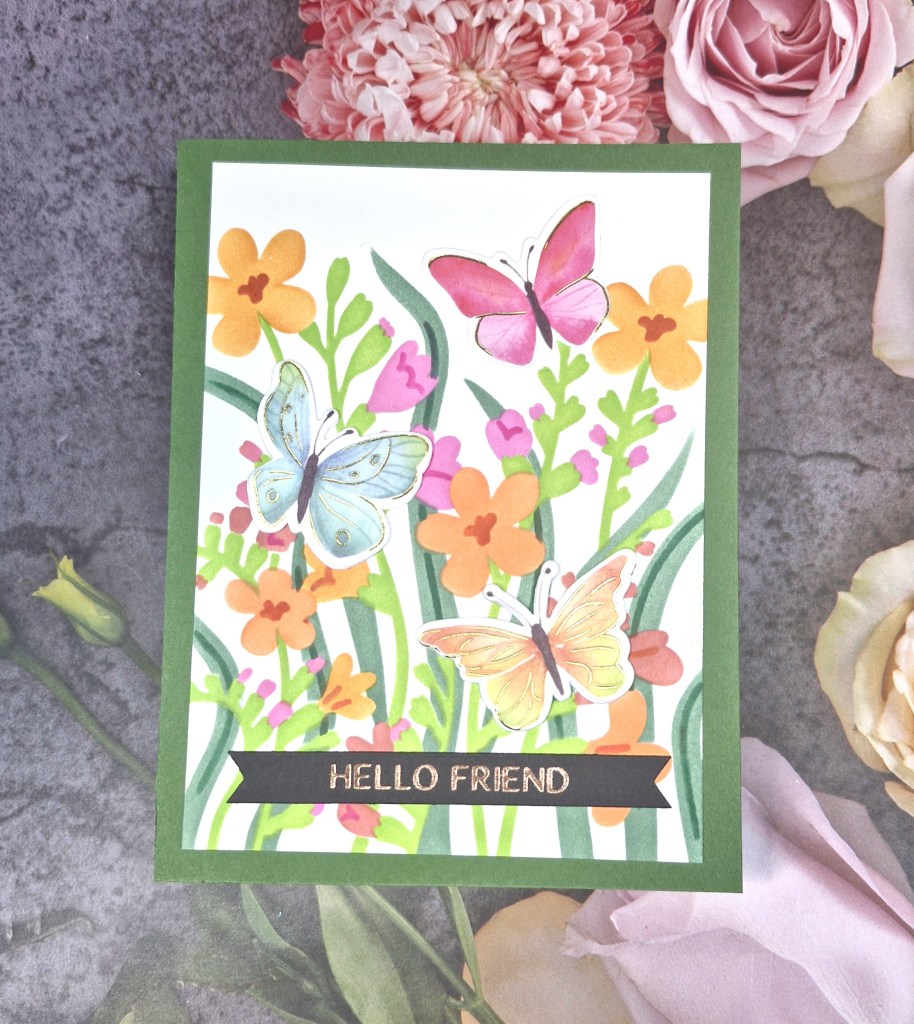
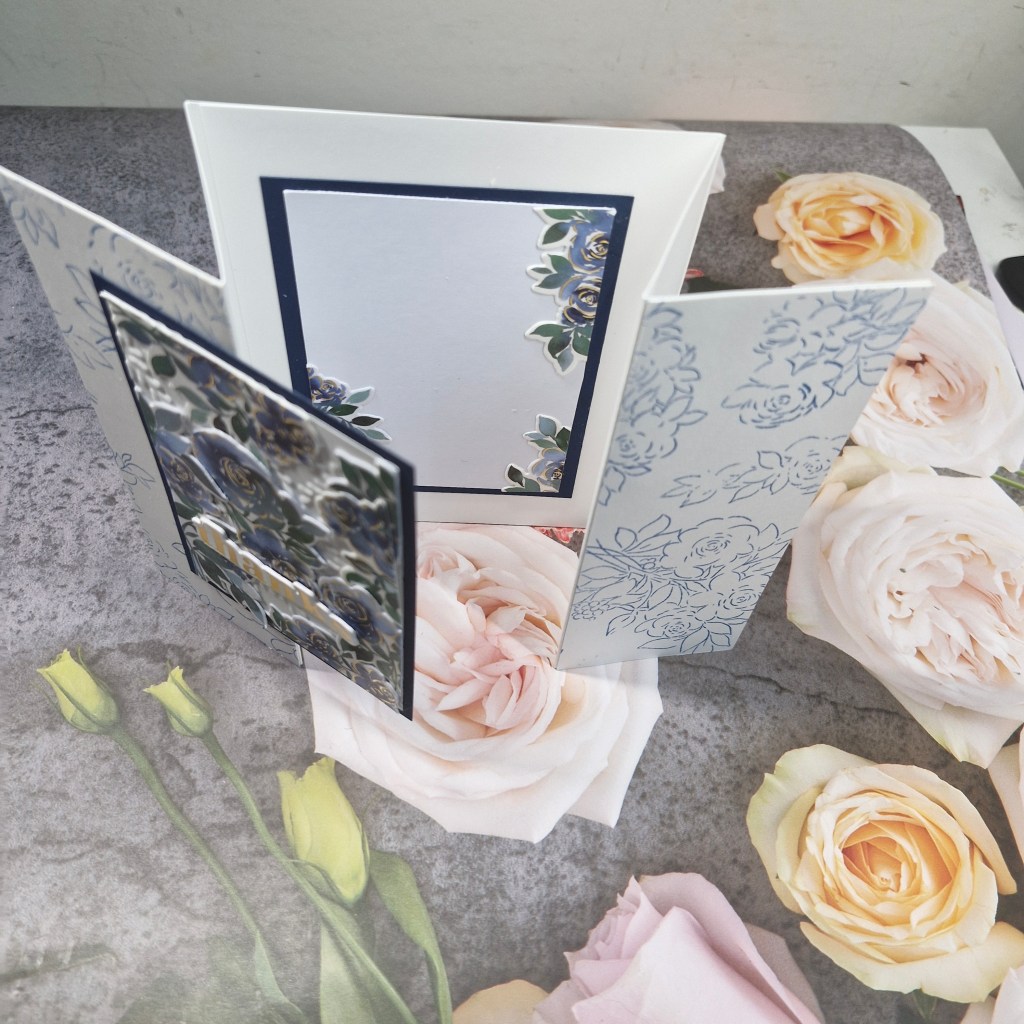
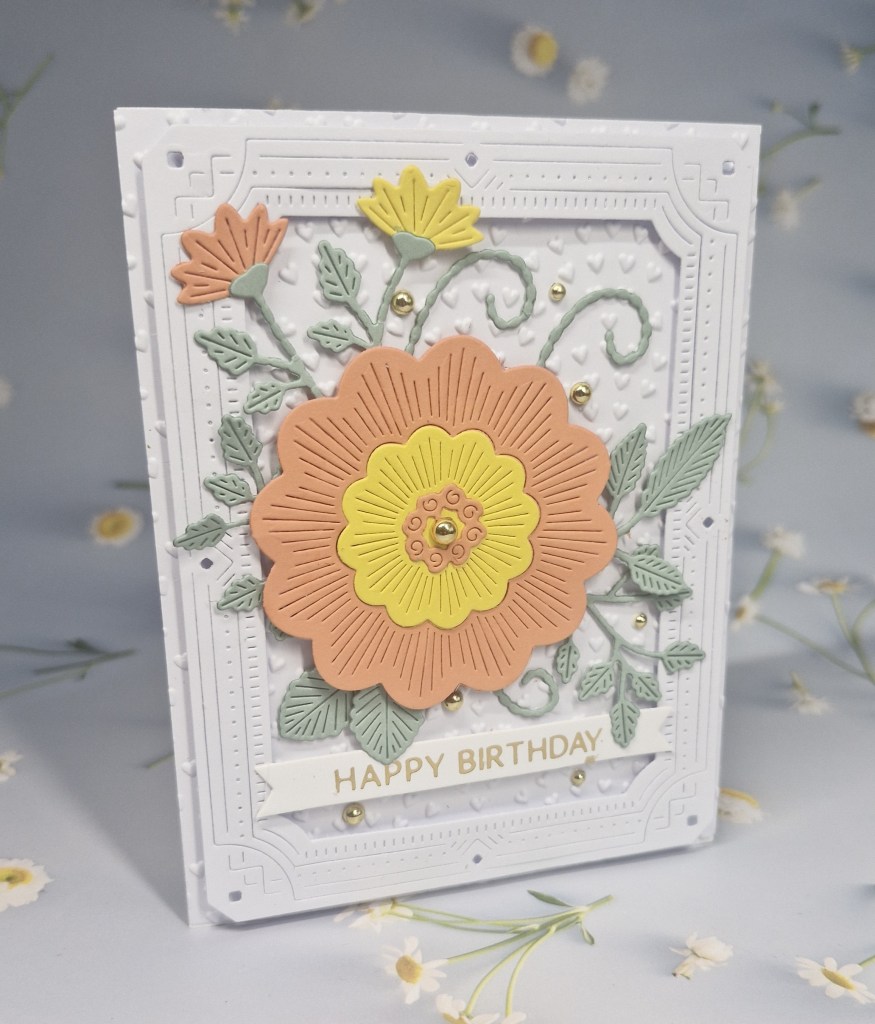
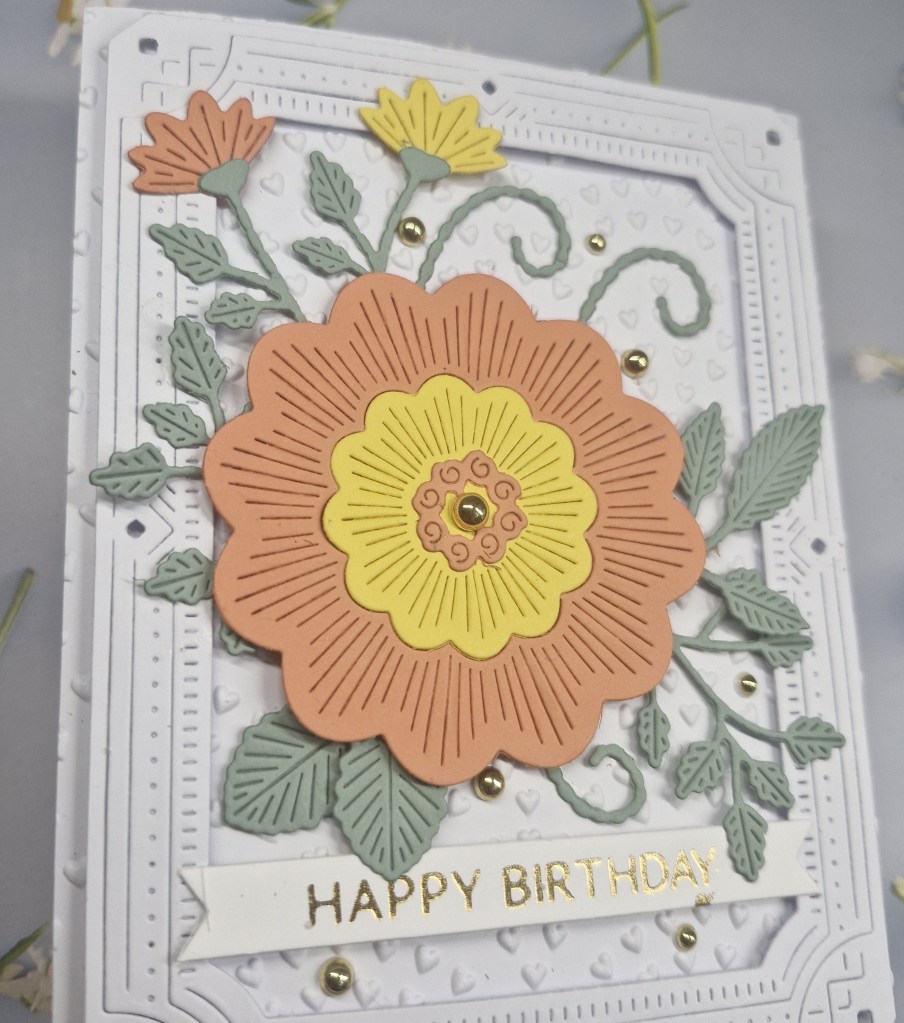
Here is my card:
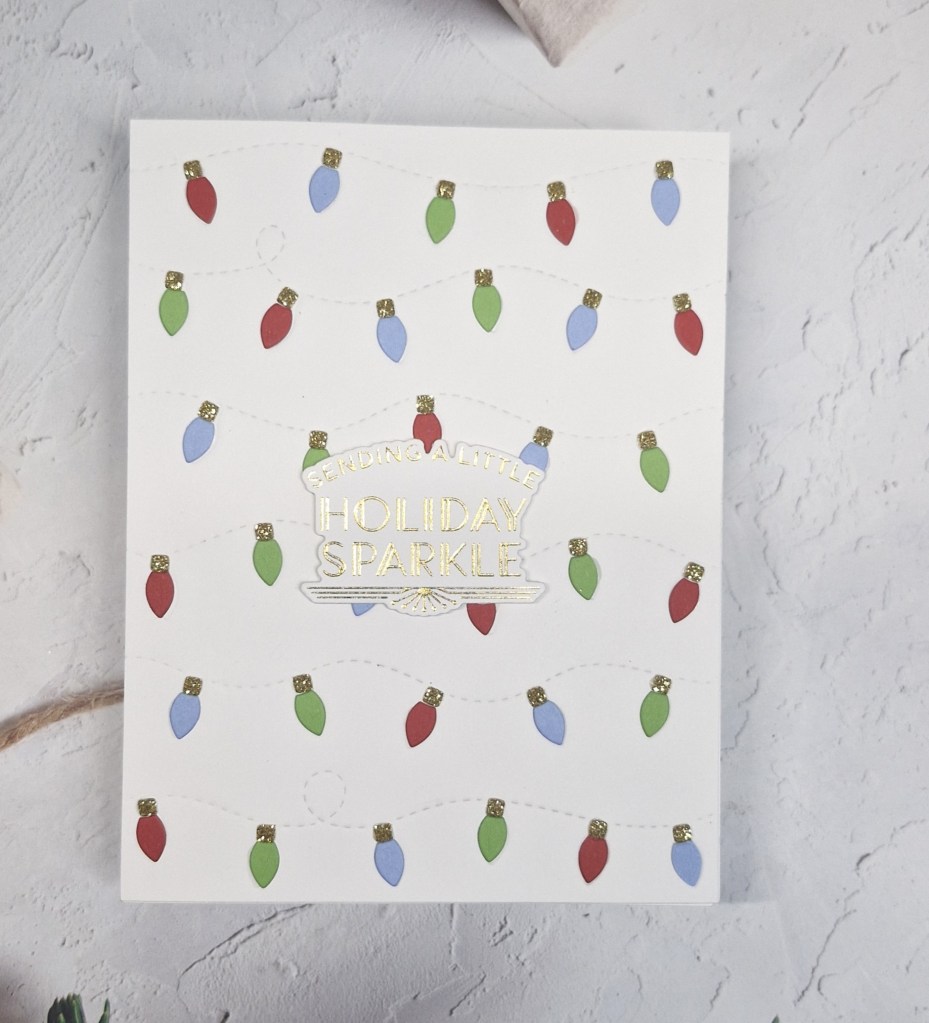
This background chock full of lights is using a die from Concord & 9th, but instead of die cutting the background panel and inlaying all those lights, I decided to dry emboss the panel to create the impressions for the lights and the strings.
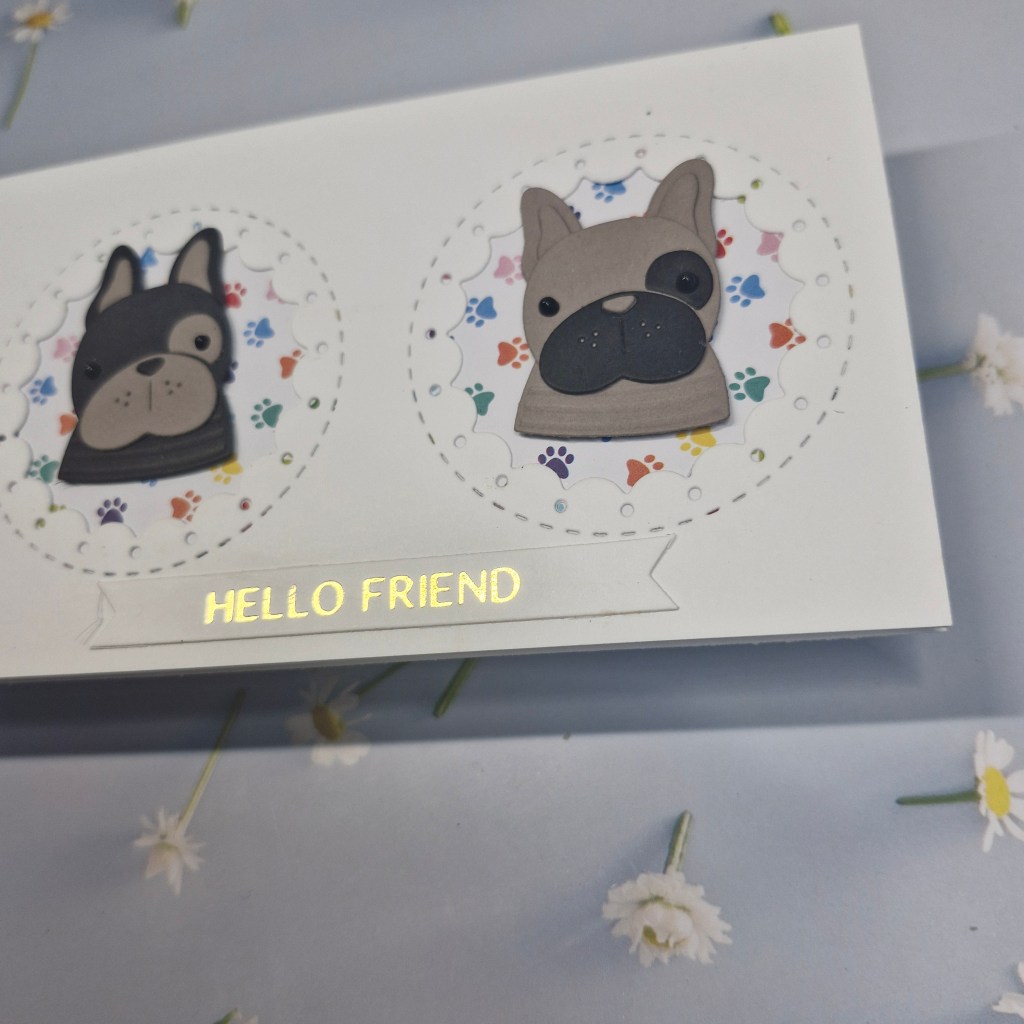
The lights were then die cut from colours of card stock, then placed on the impressions. The base of the lights was die cut from gold glitter card and then also glued into place.
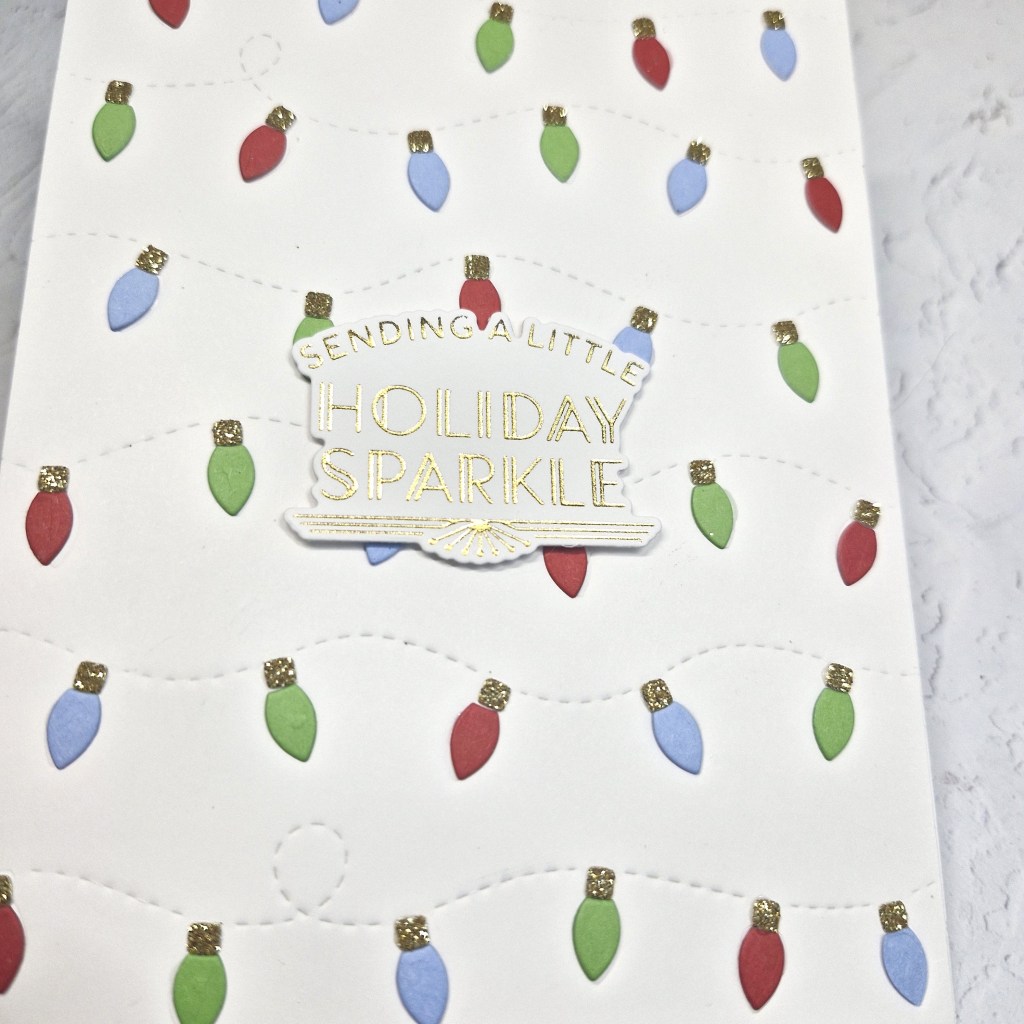
The gold foiled sentiment was added with some 3D foam.
I hope you can come and join us with your Christmas creations following one or both of our themes. xx
I shall be entering the following challenges:
Peace on Earth – anything goes Christmas
Lil Patch Of Crafty Friends – anything goes
Christmas (or not) Bingo – column ‘N’ – Christmas – free – glitter
Merry Little Christmas Challenge – anything goes Christmas
12 Months of Christmas Link-up – anything goes Christmas – option of one or two layers not taken