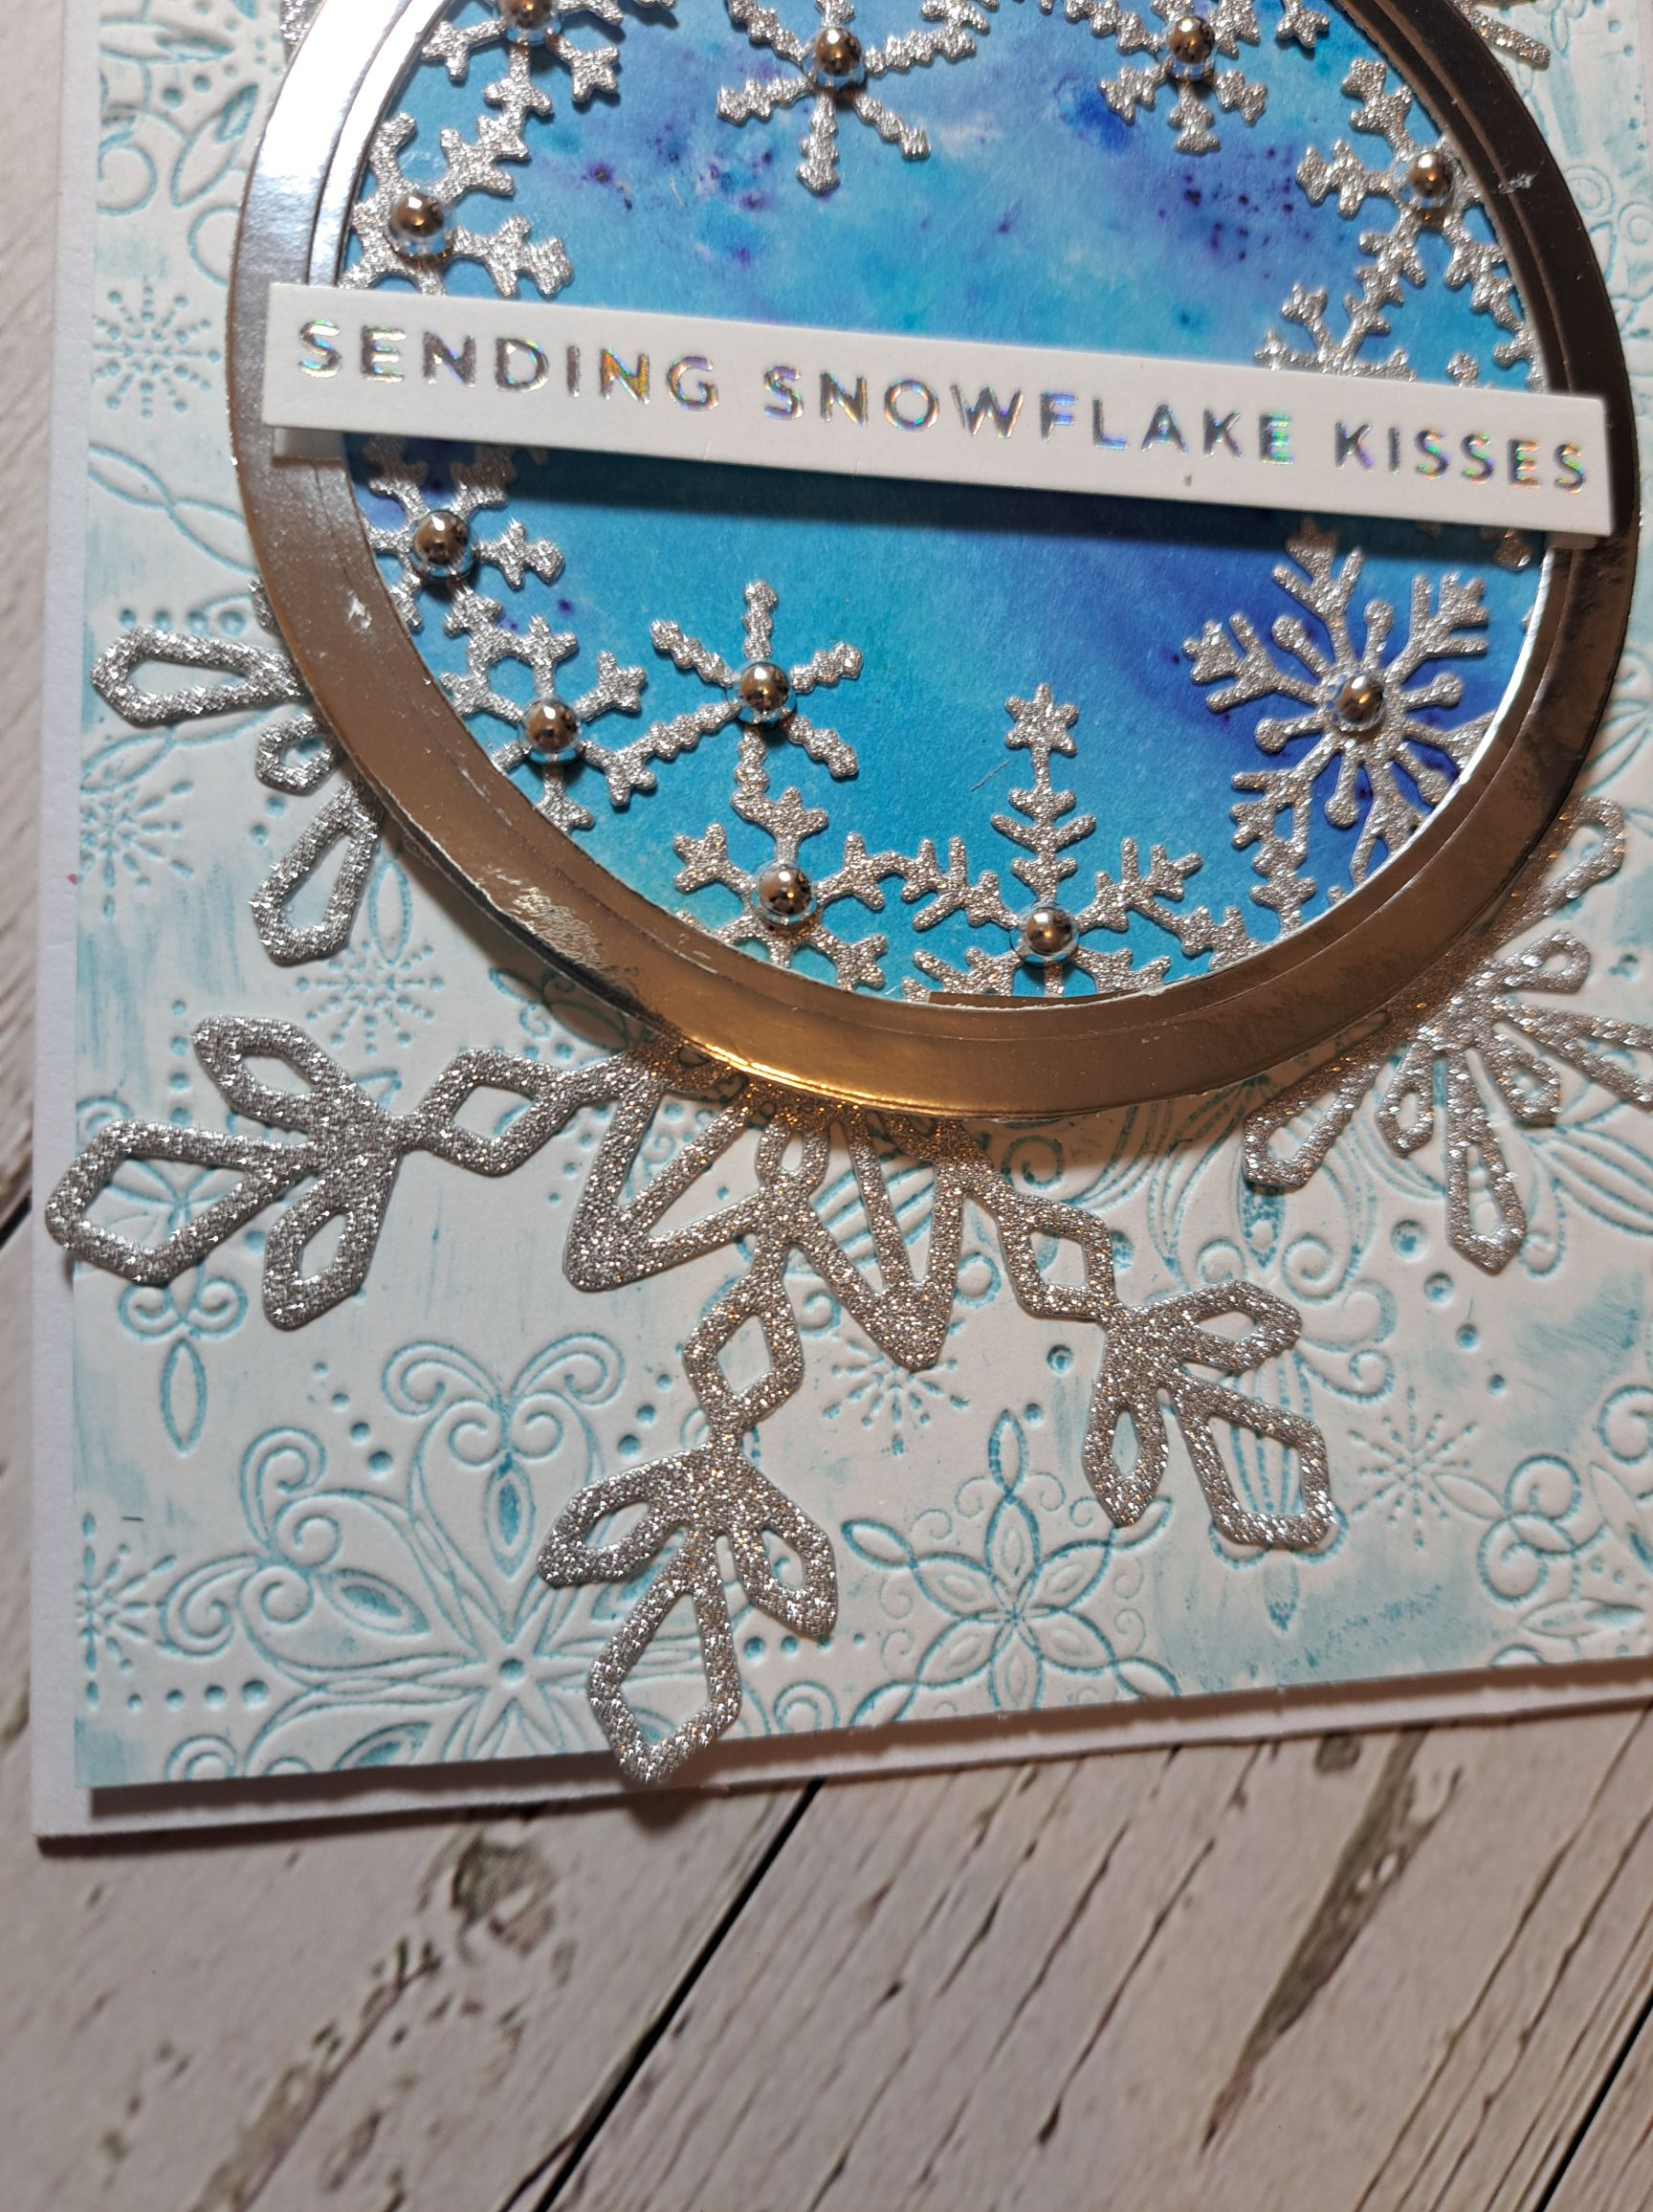
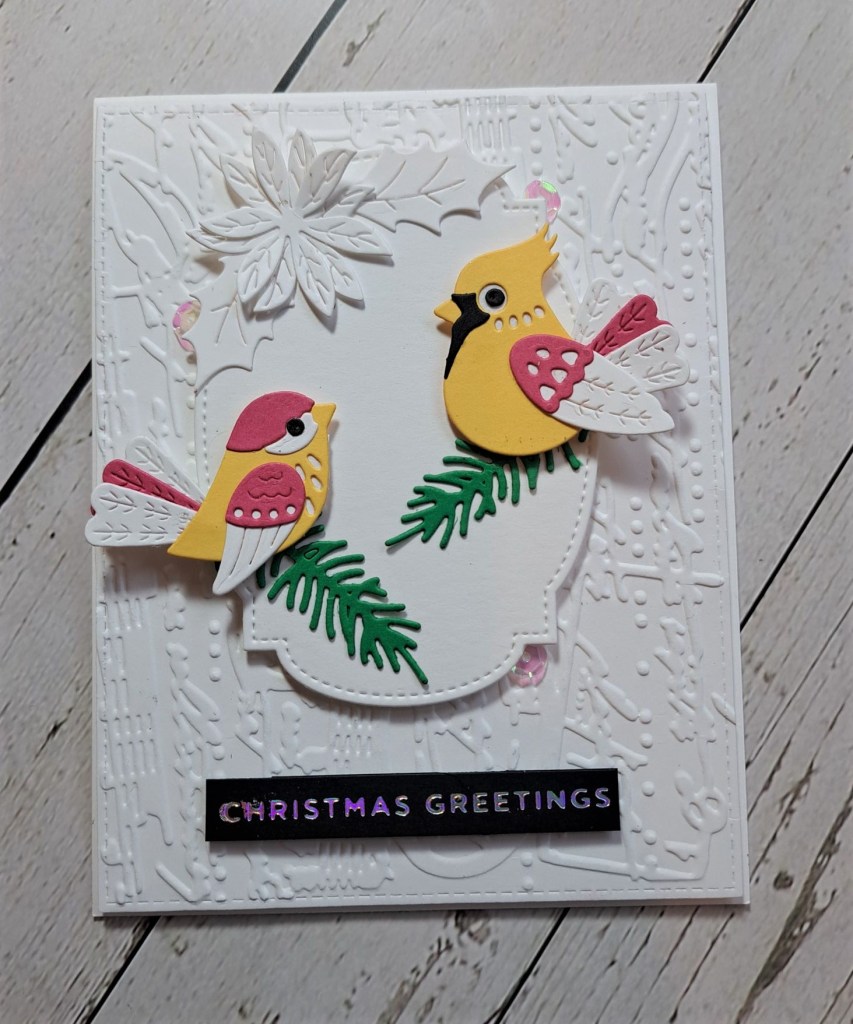
Hello. I have a slimline card to share with you today incorporating some new products from Spellbinders – dies and embossing folder:
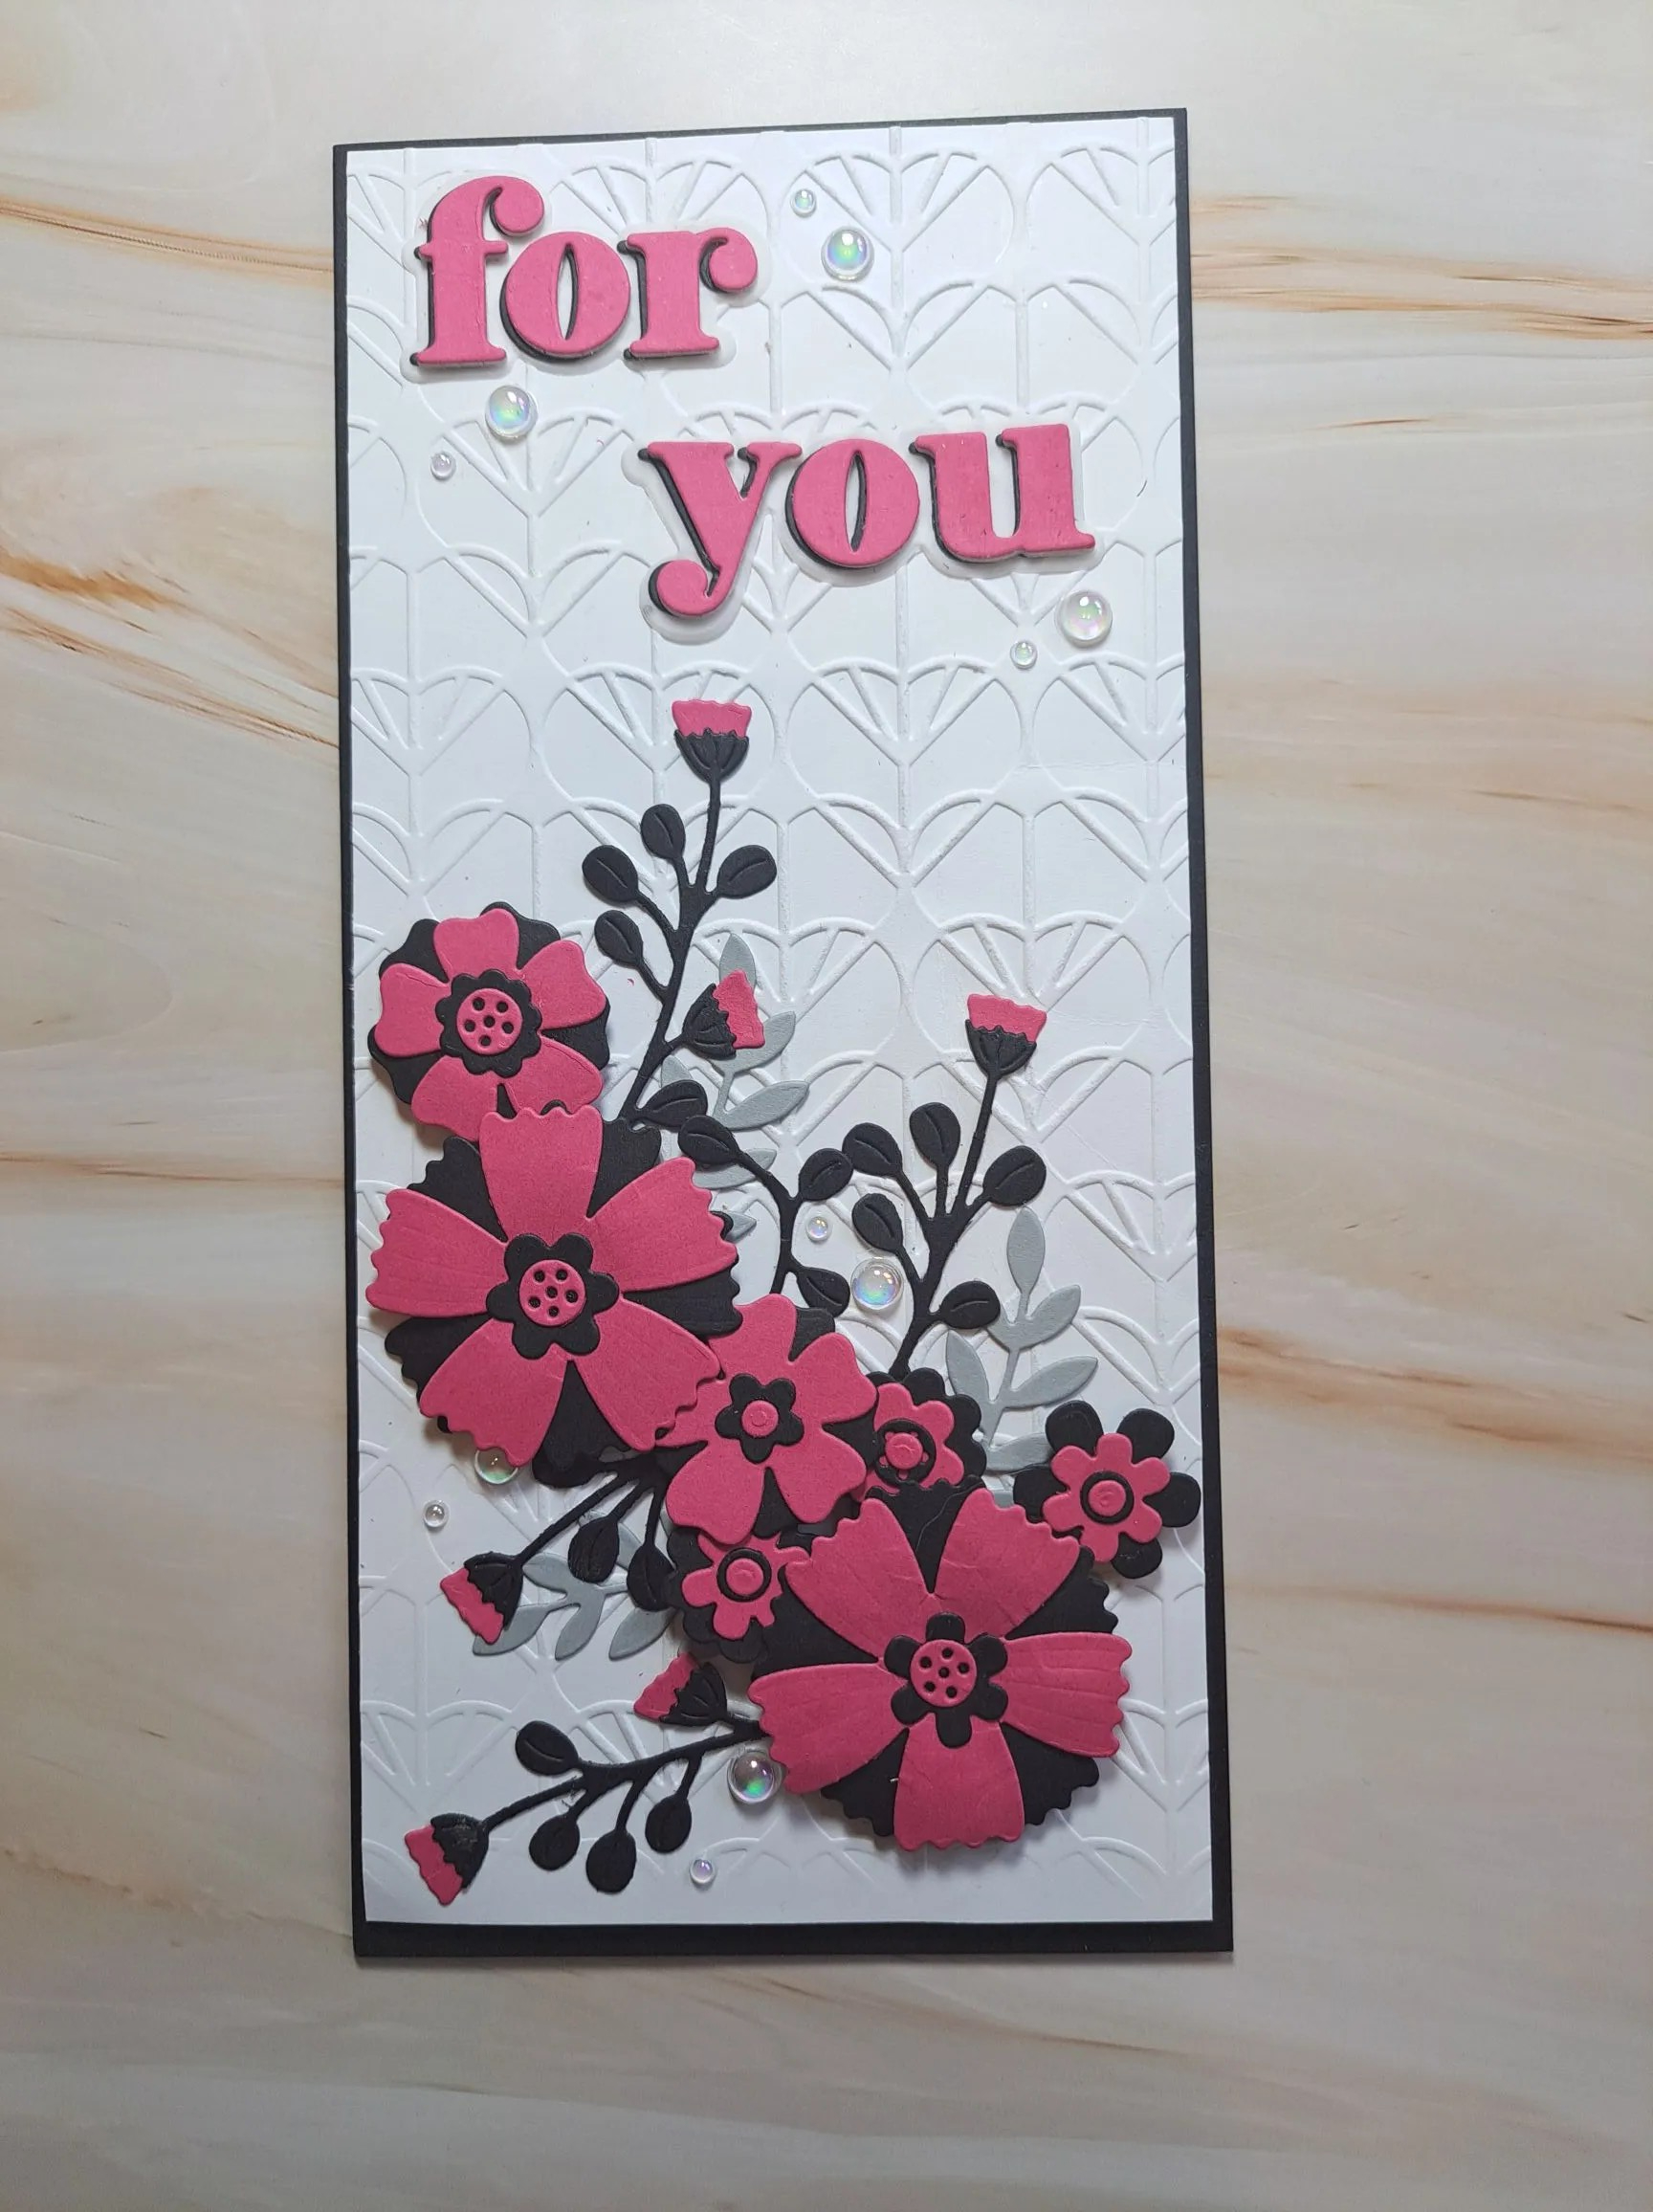
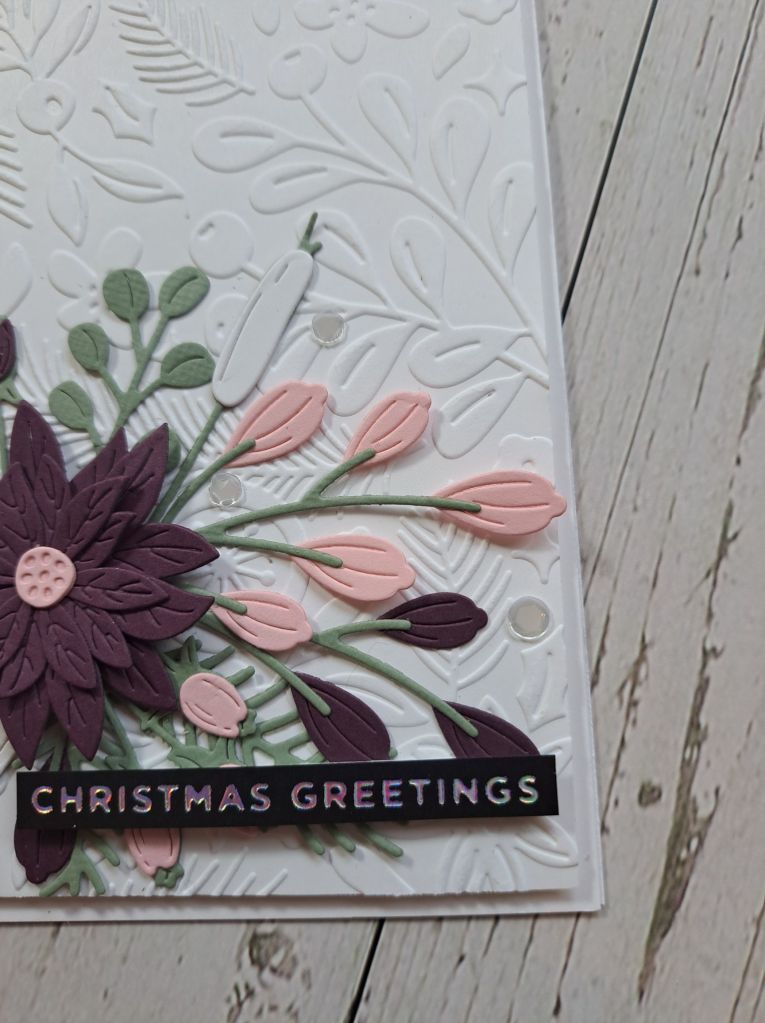
Onto a black slimline card base I adhered a dry embossed panel with 3D foam – this card has a lot of dimension – this is just the beginning….
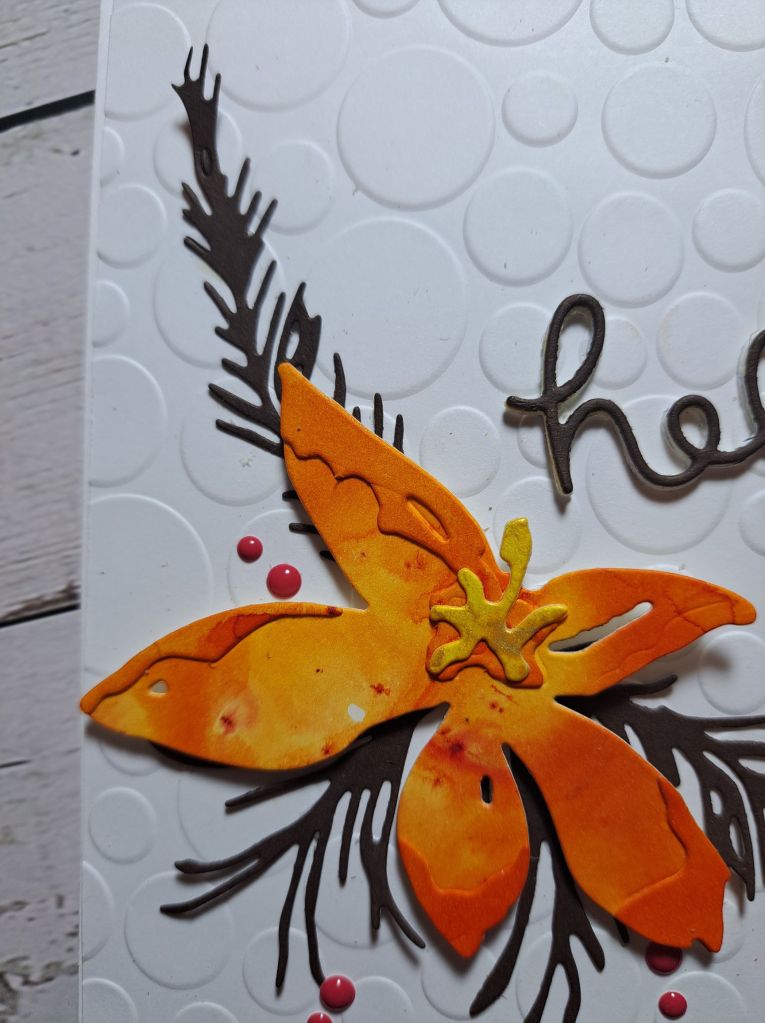
I die cut the flowers and leaves from various Spellbinder sets in black, magenta and grey, played a little with which colour for which layer, mixed and matched, then arranged them onto the card base.
The flowers were adhered with 3D foam squares, with the leaves and stems attached using glue.
The sentiment is from the Spellbinders Advent Calendar, die cut with a top layer of magenta, two layers of white, then a bottom black layer – slightly off-set.
A final touch was to add some gems – in groups of two – around the sentiment and the floral arrangement.
I shall be entering the following challenges:
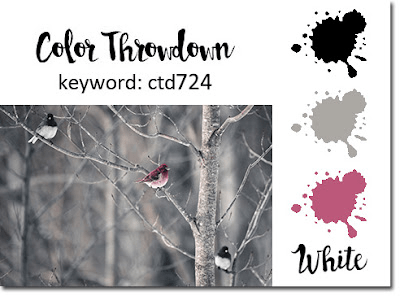
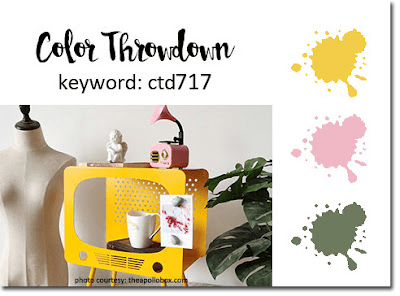
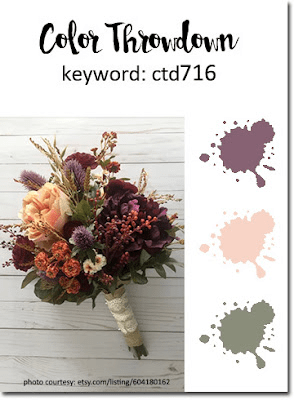
Color Throwdown – magenta, black, white, grey
Simon Says Stamp Wednesday Challenge – something new
Crafty Catz – anything goes – option hobbies/pastimes not taken
Lil Patch Of Crafty Friends – anything goes
MMM Challenge – use something new
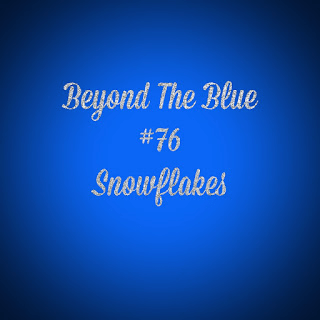
Beyond The Blue – use some new craft supplies
A Perfect Time To Craft – anything goes