Hello again. Caz is hosting the new challenge at Cardz 4 Galz, and she has chosen the theme of:
Build Me A Snowman
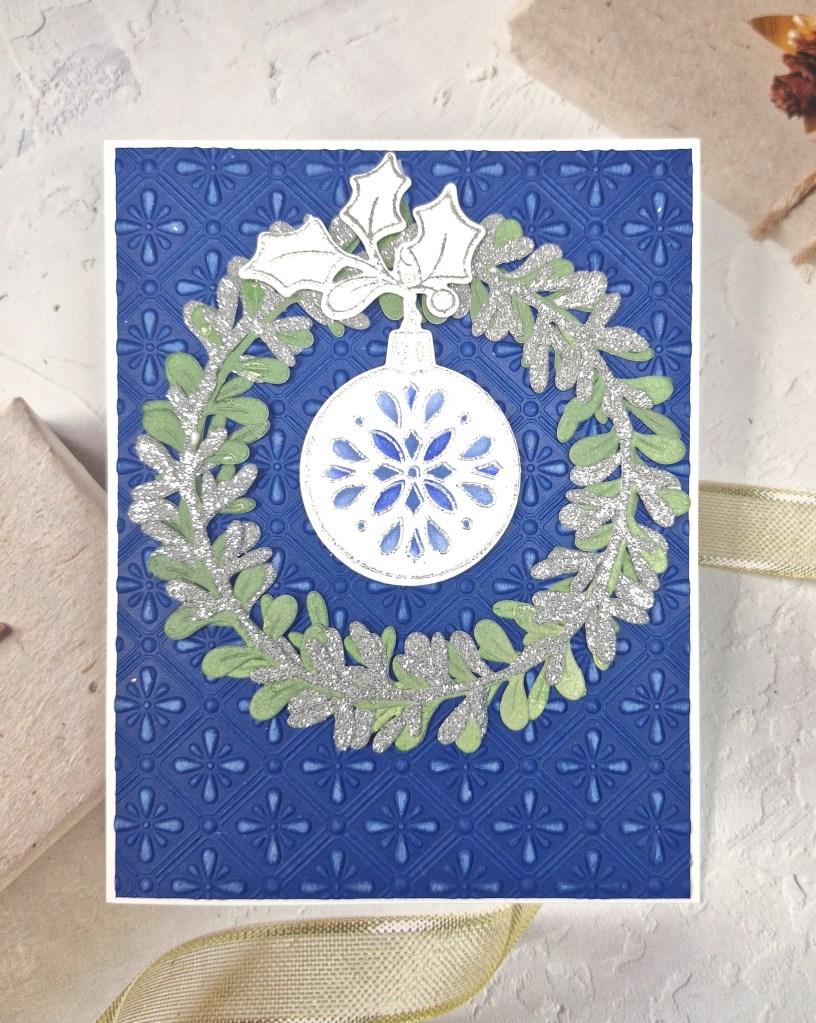
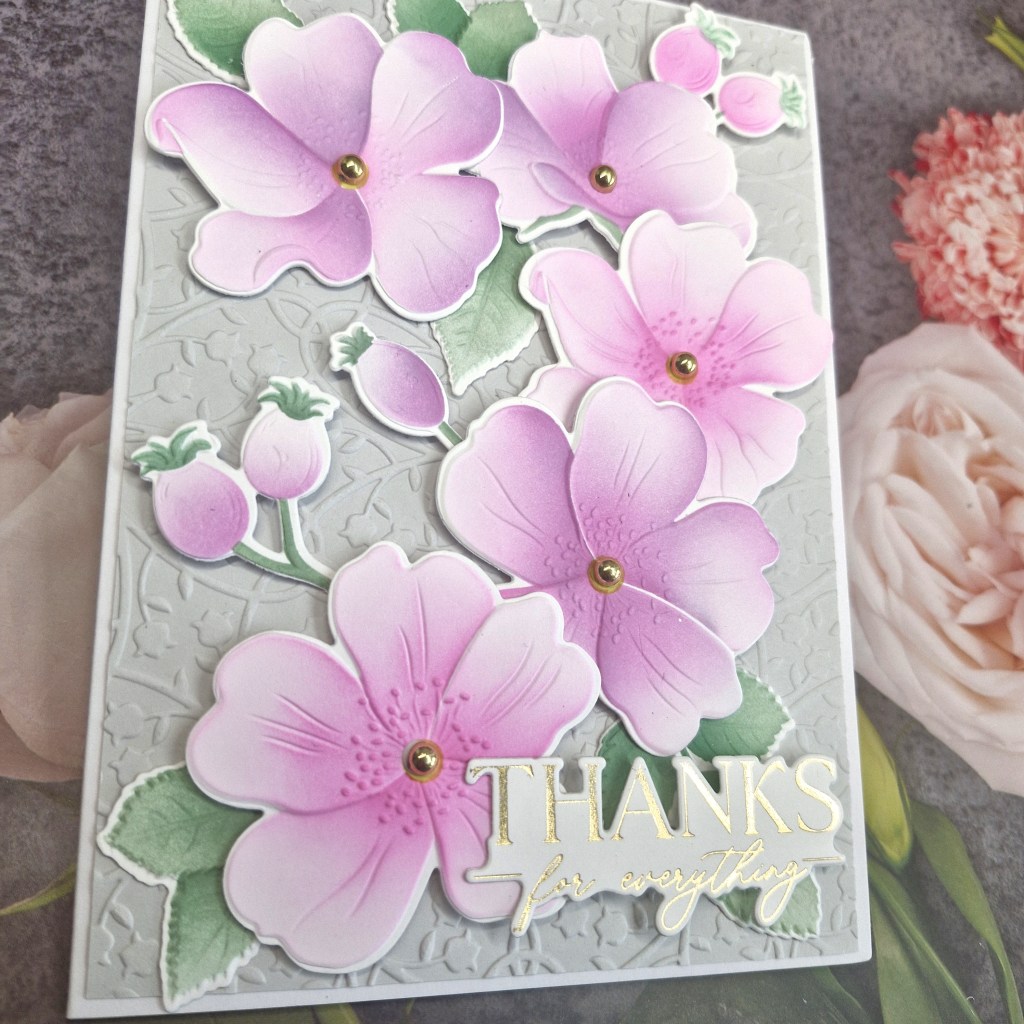
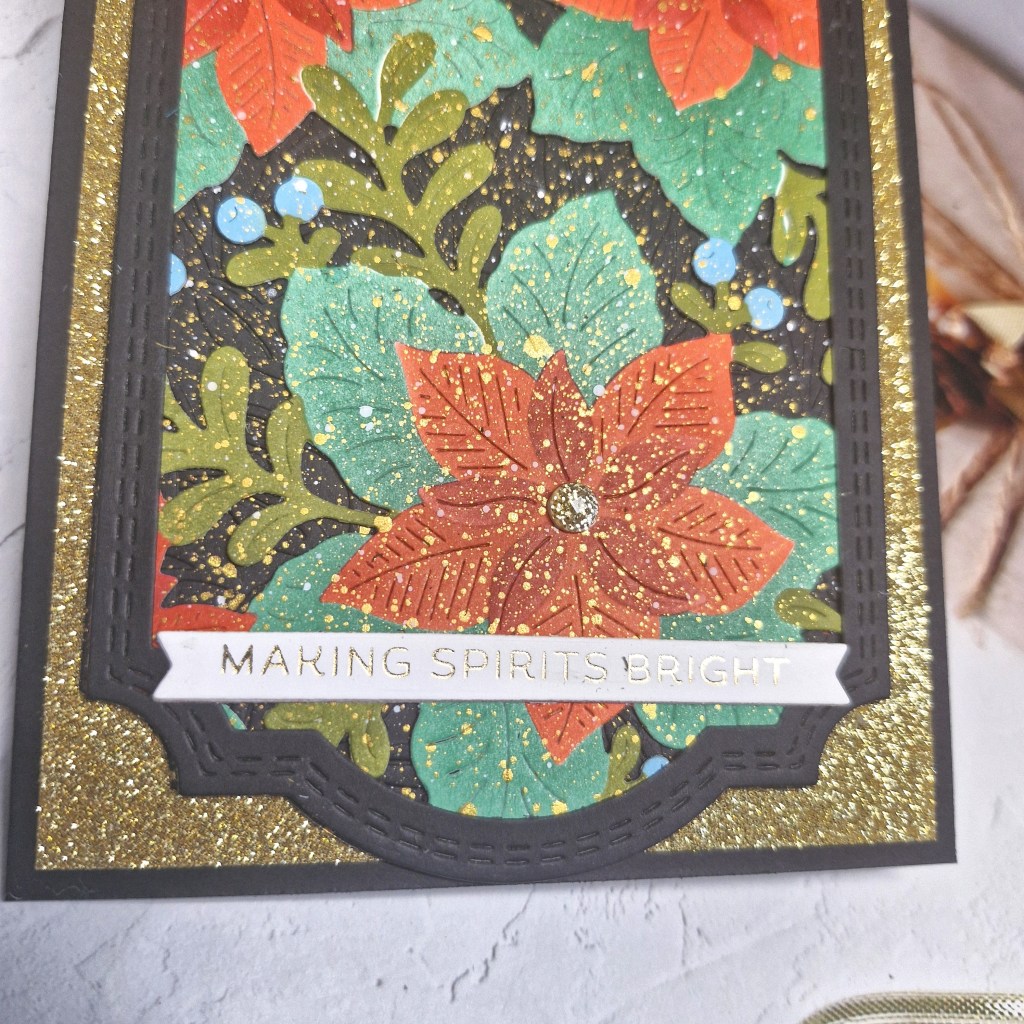
Here is my card:
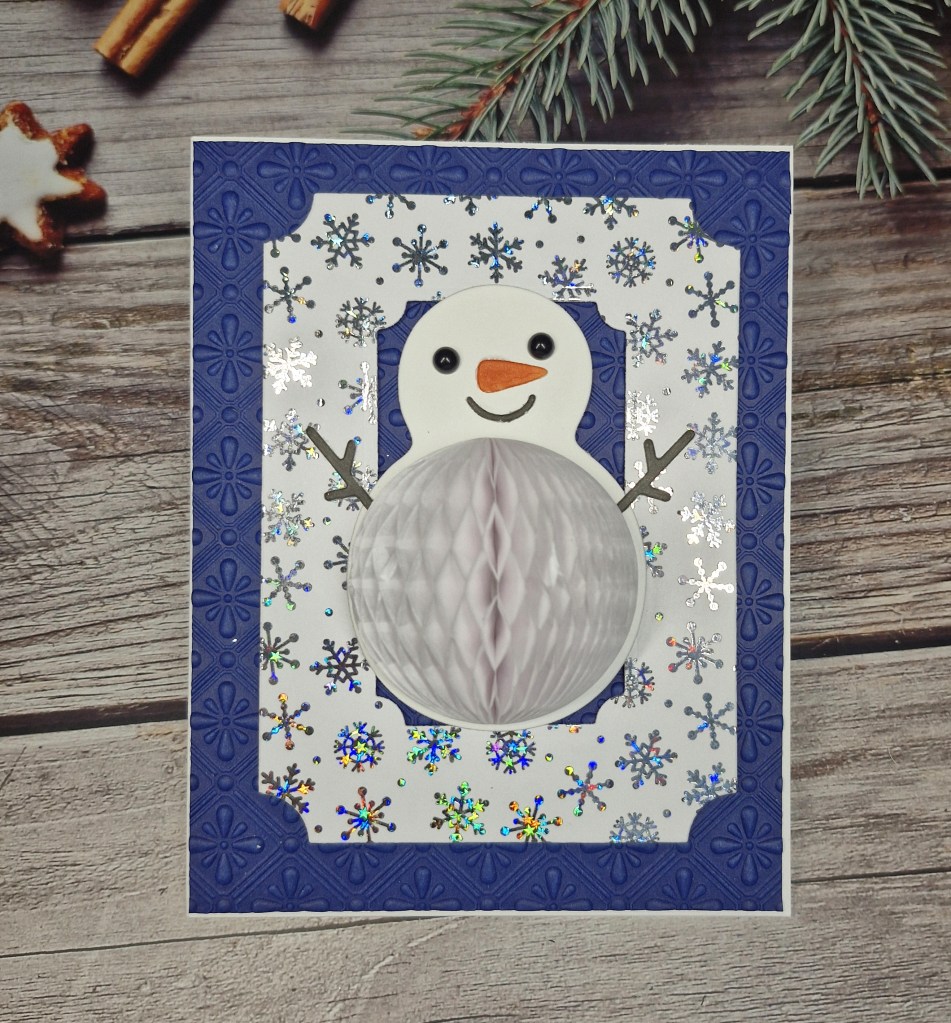
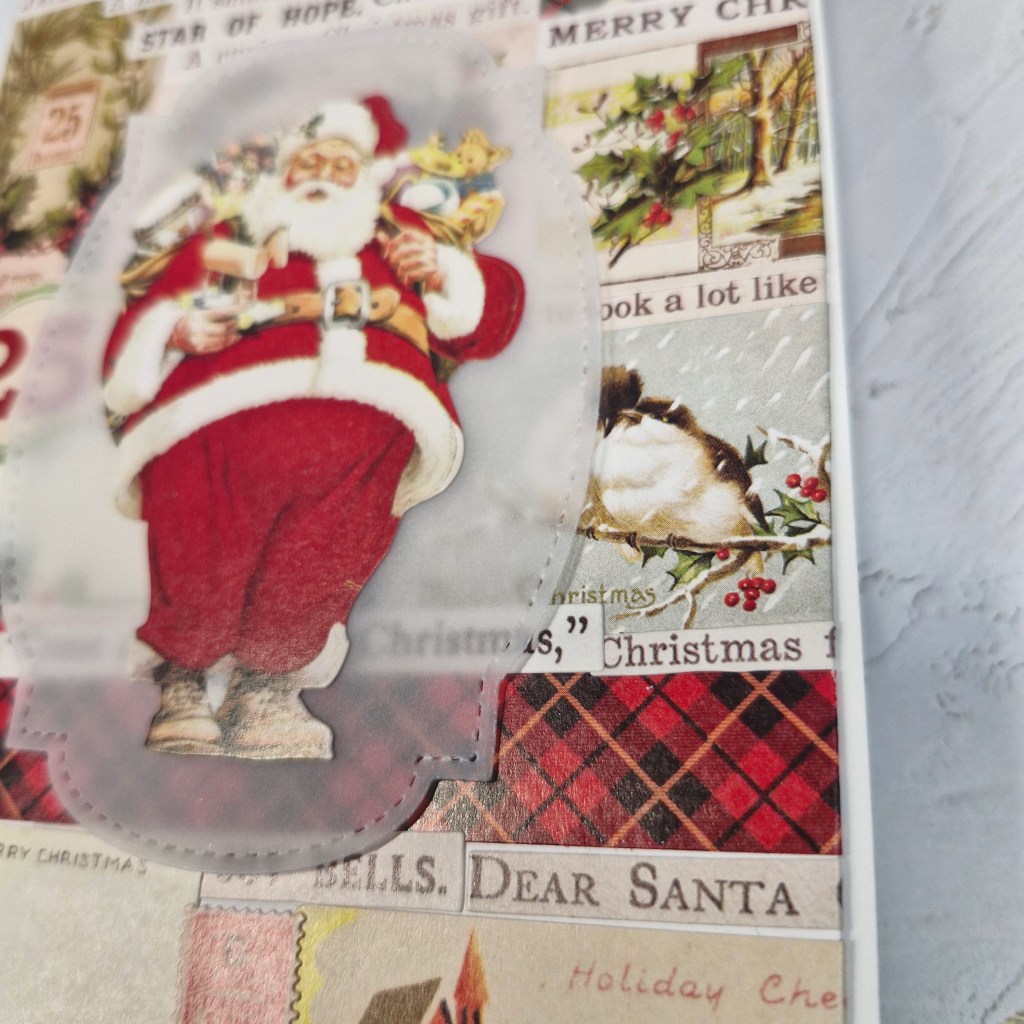
I wanted to try out the die set from The Greetery I had for a while, and finally managed to obtain a few of the honeycomb additions.
The snowman was die cut and assembled, then the honeycomb added. I used small black gems for the eyes. These honeycomb elements are fun, but I definitely have to hand this to the recipient…….
The background blue was embossed using a Spellbinders embossing folder, the silver foiled panel was created by using a background toner panel – I think from Picket Fence Studio, but I may be wrong there. It’s the first time I’ve used the toner panels with my Gina K Fuse machine – how quick and easy is that? I did have to watch one of her YouTube videos just to make sure I had the correct heat setting, but I did play with several panels on this machine and therefore have a few on hand for future projects.
I cut the snowflake foiled panel with a Pinkfresh Studio die, and cut the centre out – the snowman kinda got lost without die cutting that centre out.
No sentiment, I think it’s pretty clear what time of year this is meant for….
I hope you can come and join us with your projects following our theme. xx
I shall be entering the following challenges:
Addicted To Stamps & More – die cuts and/or stencils
12 Months of Christmas Link-Up – Christmas – option of sleigh not taken
Christmas Bingo – column O – no stamping – free – gems
Love To Craft – anything goes
Merry Little Christmas Challenge – anything goes Christmas