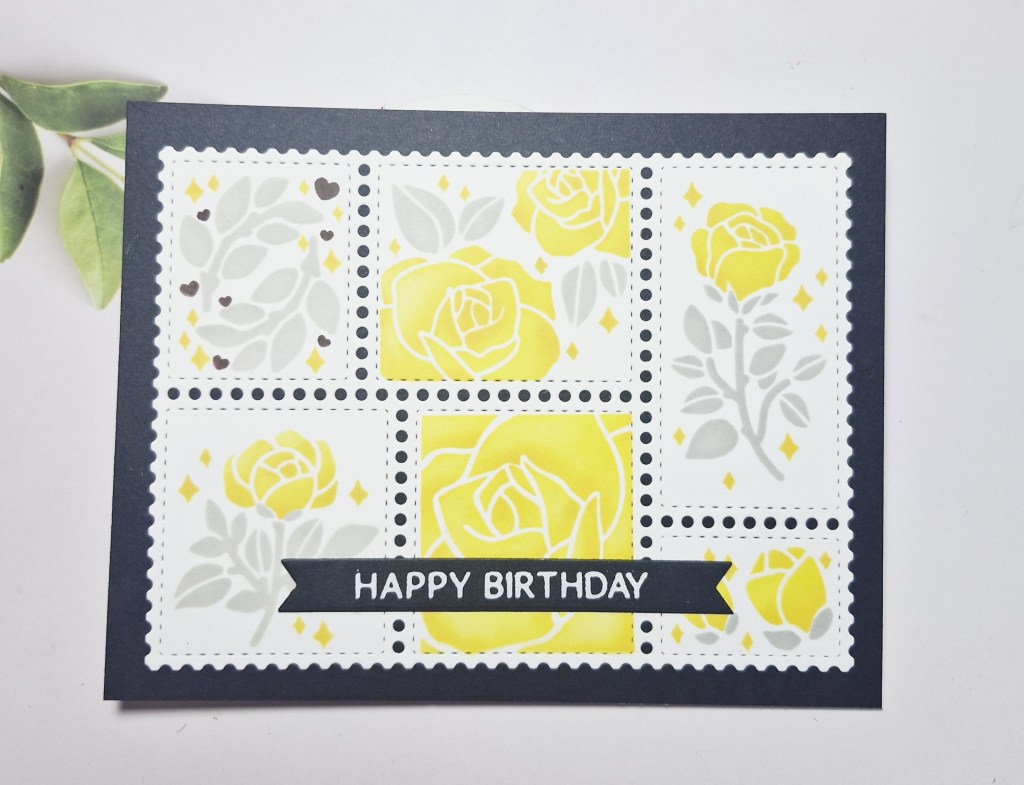
Hello once again. Craft time has produced the following card:
Following the current colours at Color Hues, I used Waffle Flower products.
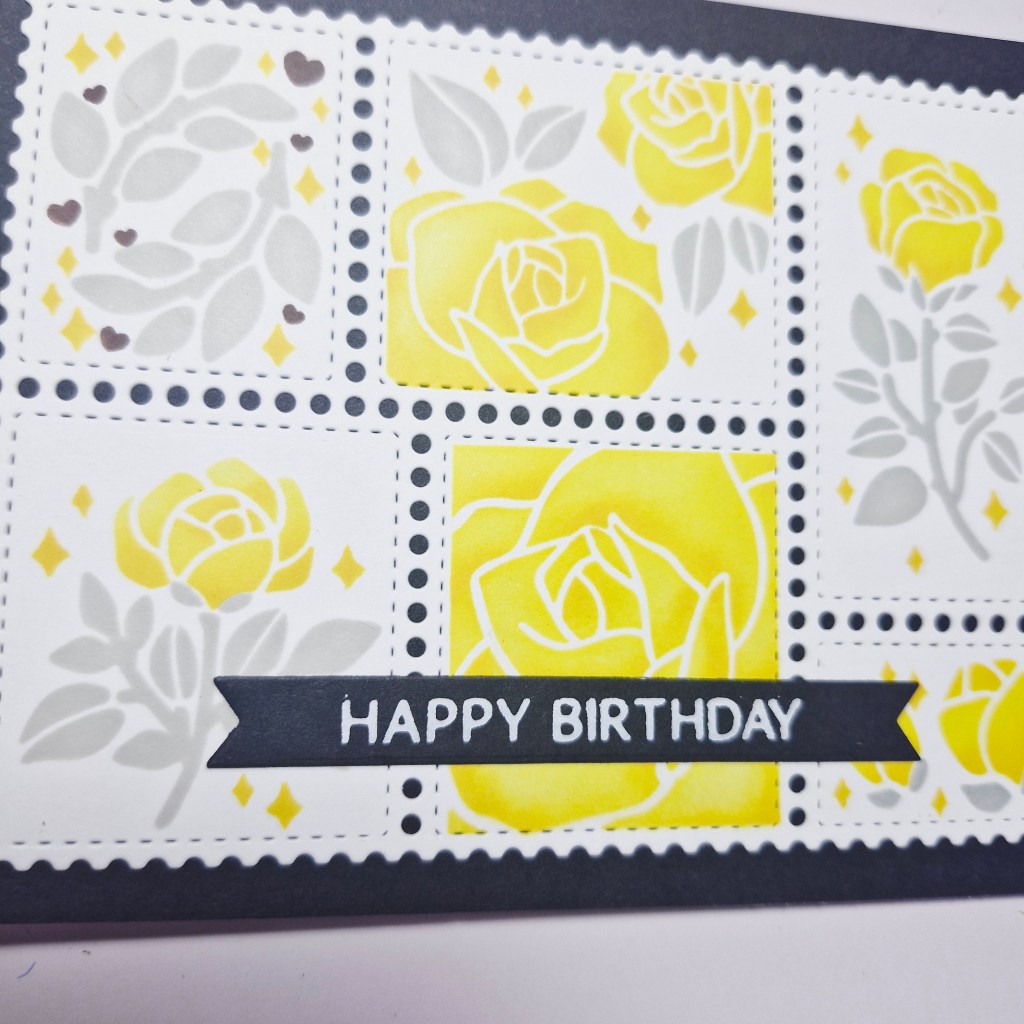
I first die cut the collage panel out of white, then used the layering stencils for the roses. I inked the florals themselves in a lighter yellow, then used a darker yellow in smaller areas to create some dimension.
The leaves were ink blended with a light grey. The sentiment is white foiling.
This panel was adhered to a black panel, then adhered to a card base.
I shall be entering the following challenges:
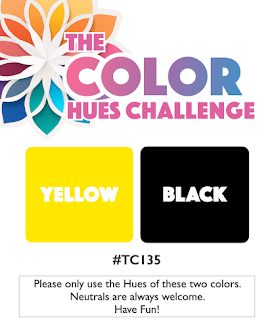
Color Hues – yellow and black – certain neutrals allowed
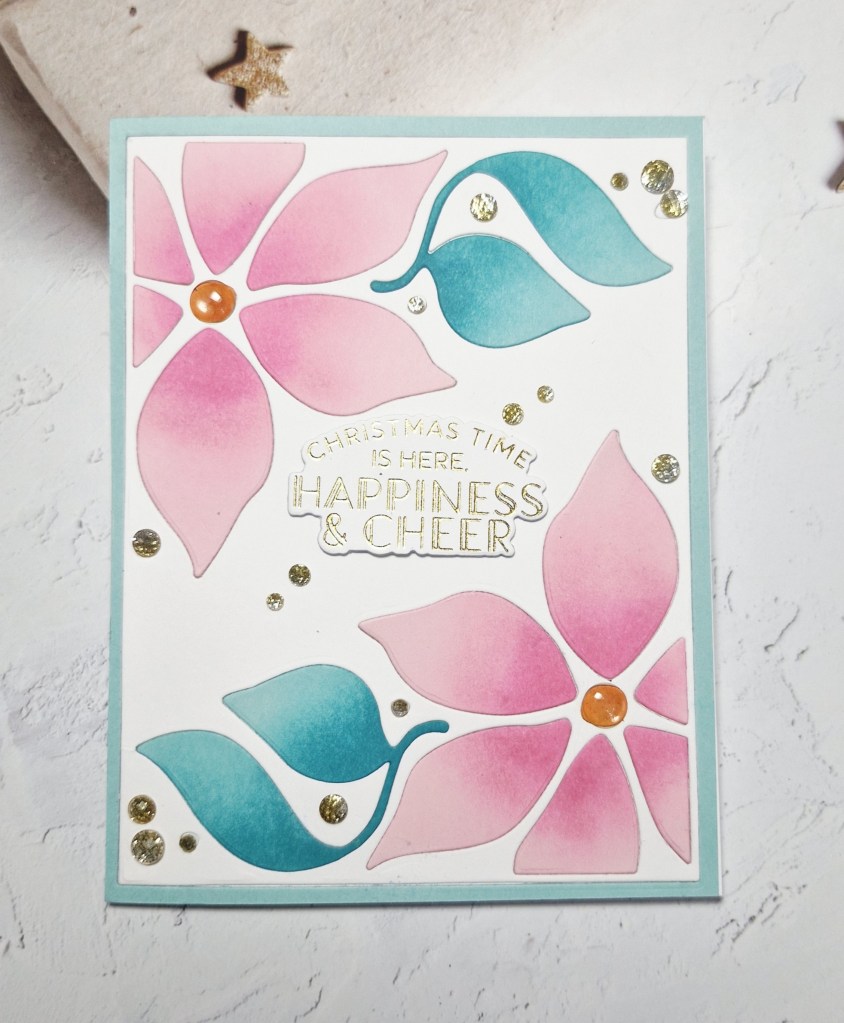
I have created a Christmas card inspired by the non-traditional colours for the current challenge at 52 CCT:
For some reason, when I saw the colours required – orange, pink, turquoise – I immediately thought of a poinsettia. I’ve no idea why, but I went with it.
I searched the CML app for the key word ‘poinsettia’, and this inlay die from Simon Says Stamp jumped out at me. It is called ‘Poinsettia Cover‘ and I have had it for quite a while, maybe played with it once before.
This time, I die cut the whole plate in white, light pink, and turquoise.
I used ‘Press’n’seal’ to take each colour out of the die, which left all the pieces in place. so I could pick and choose which I wanted to take off and ink blend.
I stated with the leaves of the poinsettia, placing them onto a grip mat, and ink blending Pinkfresh Studio light pink, then a slightly darker pink onto each petal.
I then took the leaf elements and ink blended a turquoise, and put them aside to dry.
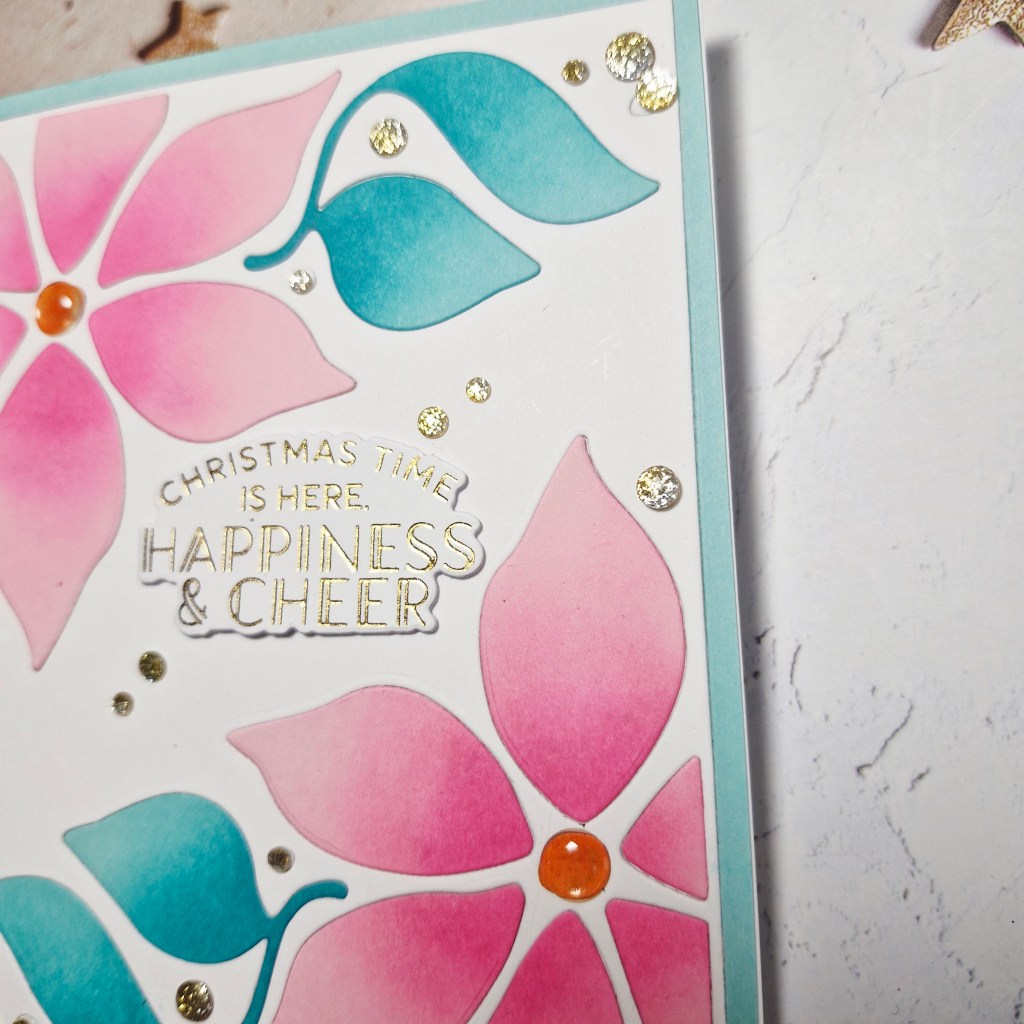
Taking a white card base, I added the turquoise frame first, then the white background panel from the white die cut, and then inlaid each of the floral ink blended elements.
I also placed back into position the small white dots, but covered each of those with ombre gems from Pinkfresh Studio.
The centre of the flowers was ink blended in orange, and placed back into position, then a clear enamel dot – from Altenew – added on top for a little more shine. This also allowed the orange to show through.
The gold foiled sentiment was added – from a previous crafty foiling session, and some more of the ombre gems.
Hello there. The Alphabet Challenge has reached the letter ‘D’, and Melanie has chosen the theme of:
D is for Double – include 2 of the same thing
Here is my card, which has two flowers on it:
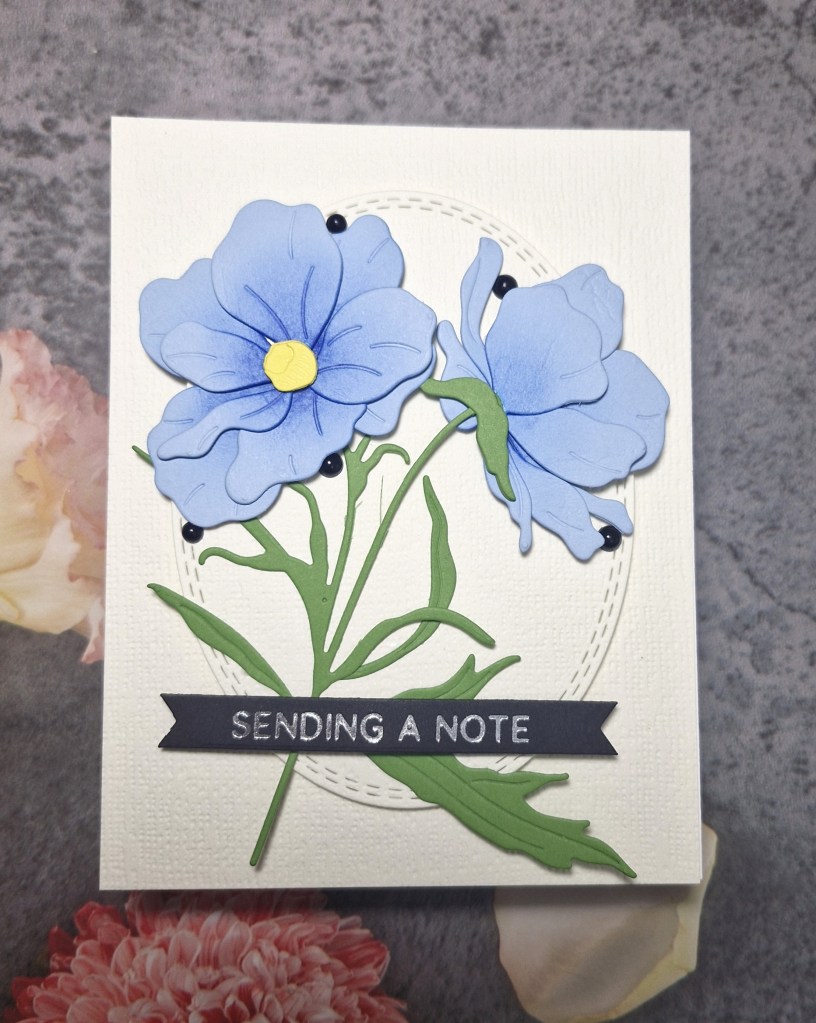
These flowers are from an Altenew die set called ‘Butterfly Ranunculus‘. I used a blue card stock to cut the petals, and added some darker blue ink blending to the middle of each layer. These were easy to put together due to the #keyhole system’ which Altenew uses. The stems were die cut, and placed to one side whilst I decided what I wanted to put on the background to show case these gorgeous flowers.
I decided to go with a cream textured card stock, placing one layer as the back panel on a card base, then die cut the stitched oval in the same card stock.
The oval was glued to the back panel, and the flowers arranged to my liking, added with 3D foam.
The silver foiled sentiment added, then some small black gems for added interest, and to bring in the black of the sentiment strip.
I hope you can come and join us with your creations following our theme. xx
Hello everyone. We are starting a new challenge at ABC Christmas Challenge. Our challenge is all about Christmas, and getting your stash ready for the end of the year, and we always have themes to follow for each of the letters. This time, our themes for the two letters are:
L is for Let It Snow
&
M is for Mice
Here are my cards:
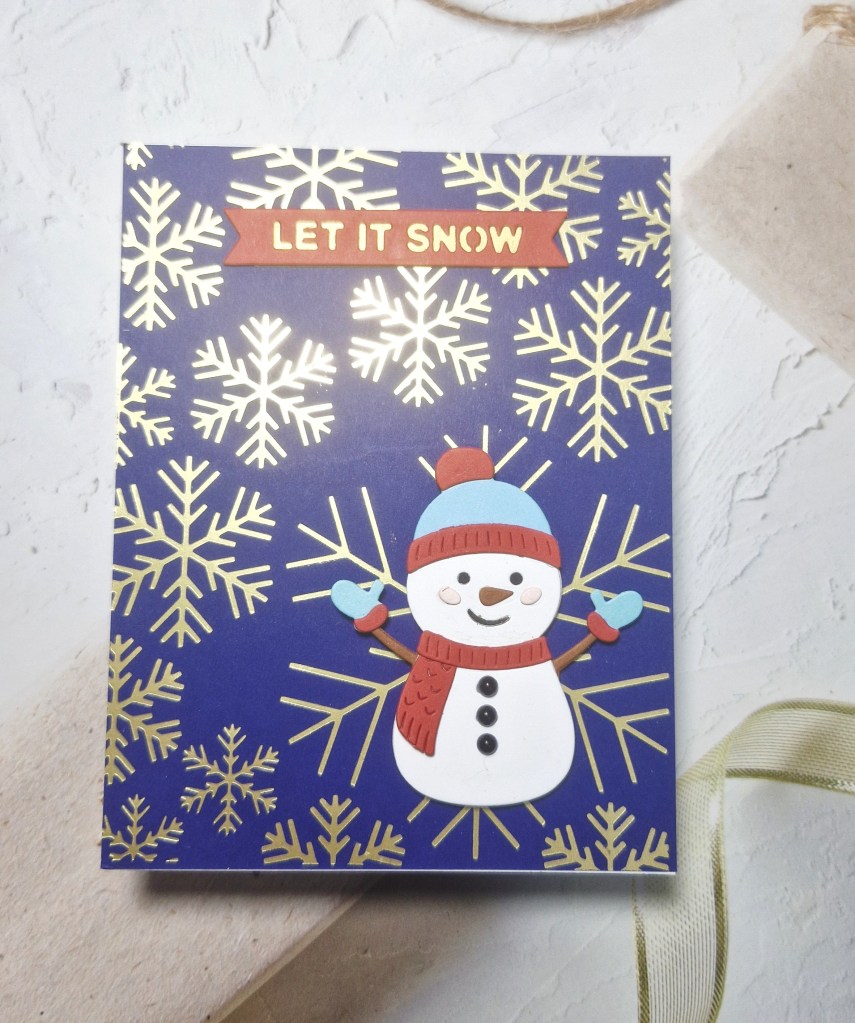
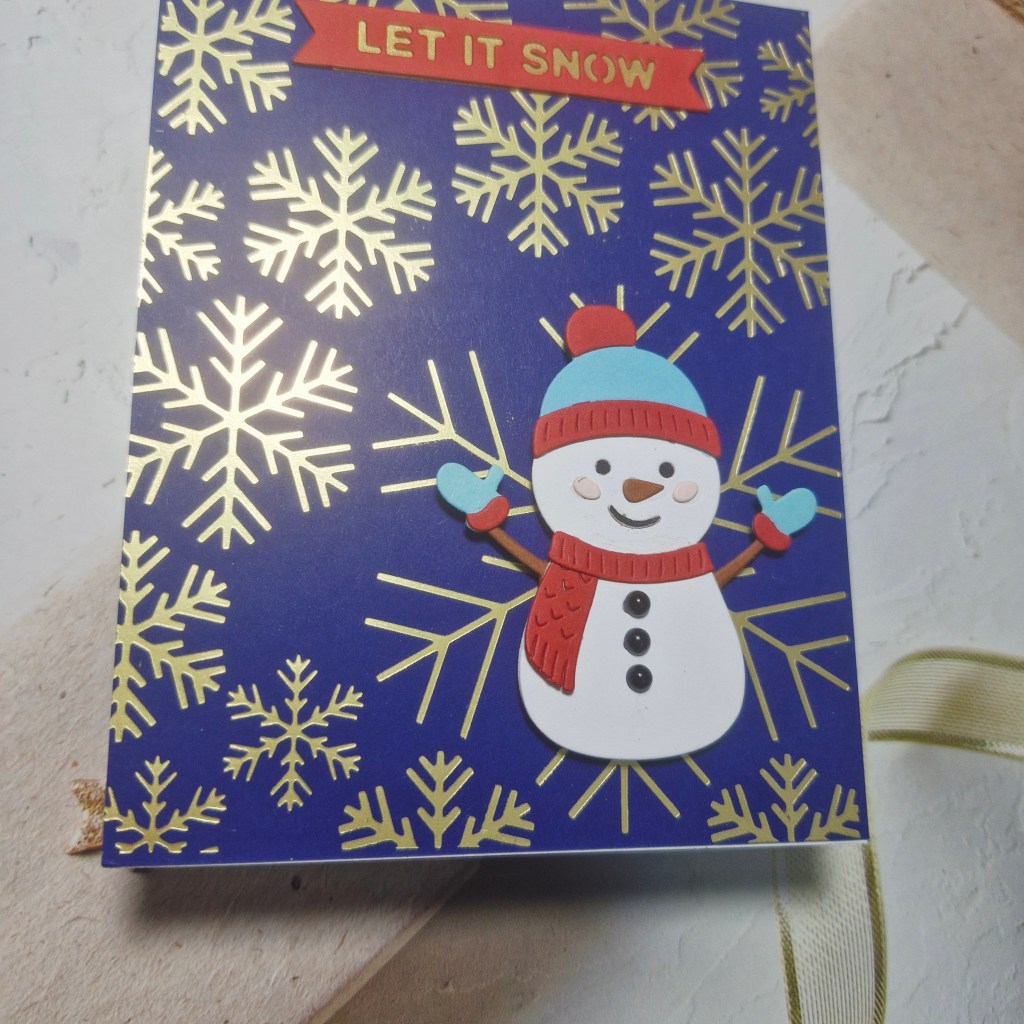
L is for Let It Snow
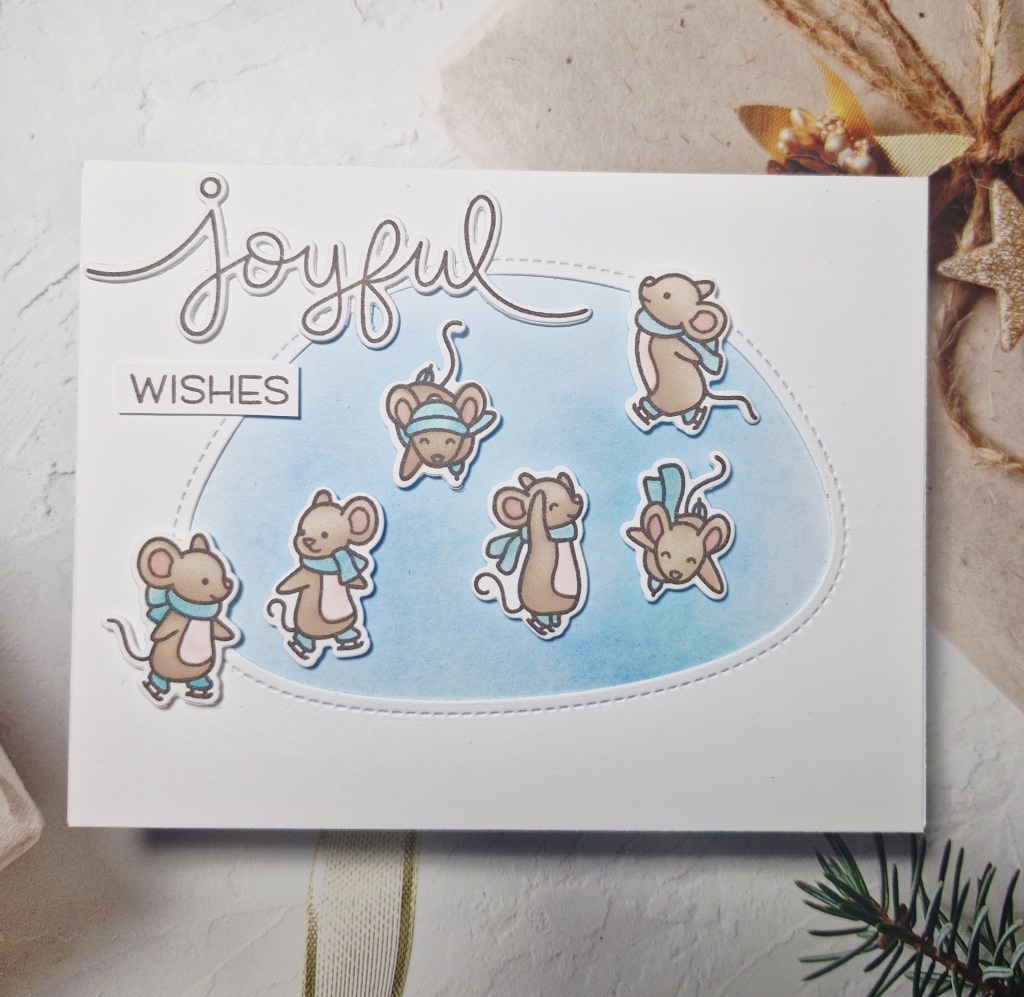
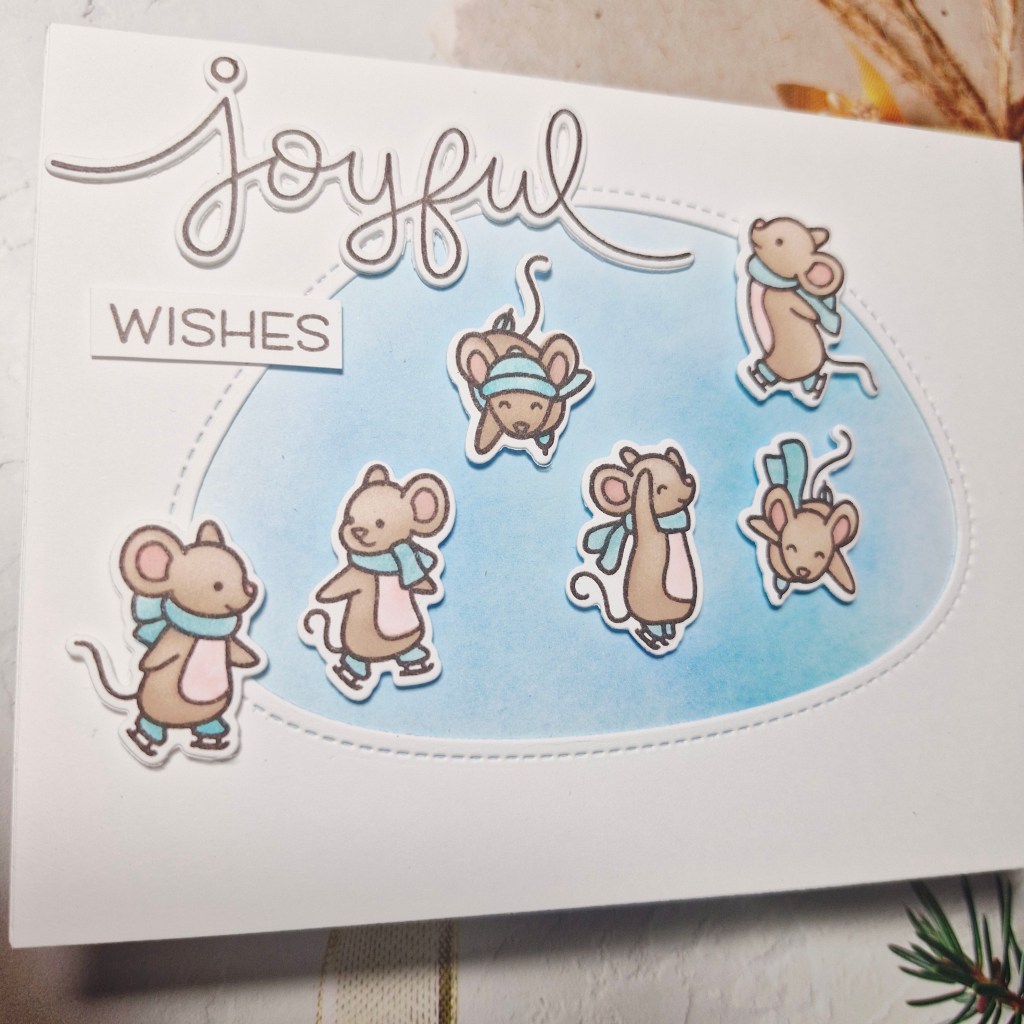
M is for Mice
For my first card, I used a Spellbinders hot foil plate and gold foil onto a dark blue panel. I also went around the edges of the panel after foiling with a lightly darker blue to create a halo effect.
The snowman is from a Simon Hurley/Spellbinders die set, and Concord & 9th card stock. The sentiment is also from the same die set, and backed with a piece of gold. Little black gems were added for the buttons on the snowman.
For my second card, I absolutely had to go with some Lawn Fawn mice and the stamp, die and layering colouring stencils called ‘Mice On Ice‘.
The images were stamped, then the stencils used to ink blend their colouring, then the matching dies to cut them out.
I also used one of their ‘Stitched Den‘ dies to create the opening in the white panel to represent iced lake, and backed that with a piece of light blue card stock which I ink blended slightly with a light blue ink.
The blue panel was adhered to the card base, the white layer added on top, then I played around with the placement of the mice until I was happy, adding them with 3D foam.
The sentiment was stamped and die cut then added as you see.
I hope you can come and join us with your Christmas creations following one of both of our themes. xx
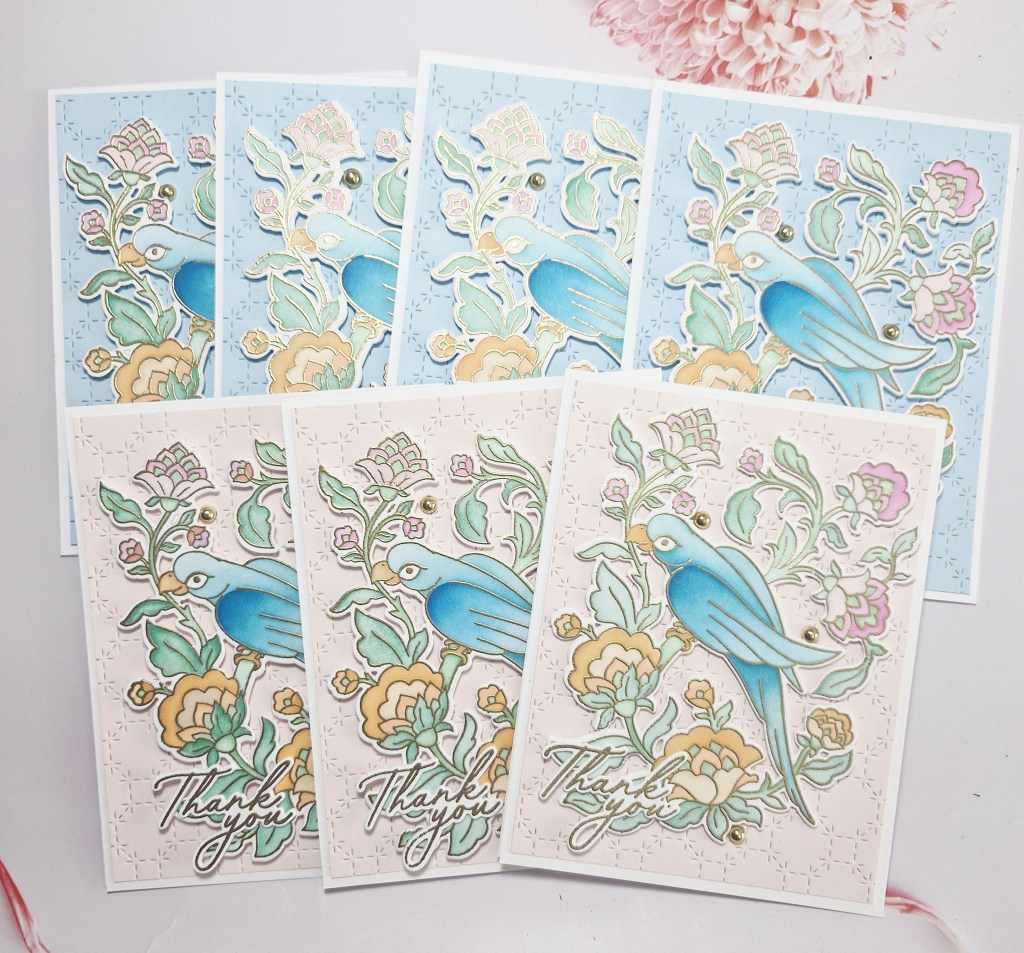
Hello there. I had the need for quite a few ‘thank you’ cards. Having recently retired from the NHS after over 40 years, I had a small leaving meal last Saturday. There was the nurse practitioner team I first started 26 years ago – now a team of 8 people. There were consultants there who I did clinics with up until my final day – who actually paid for the whole thing…….to say I was emotional is putting it lightly. Such a lovely gesture….
Anyhoo – I wanted to batch make some thank you cards for them, and decided to go down the route of complicated. These cards actually took me over 3 hours to make – why did I go with heat embossing and ink blending? Well – I enjoyed the process – but I don’t usually like to make the same card more than once. Here are the cards:
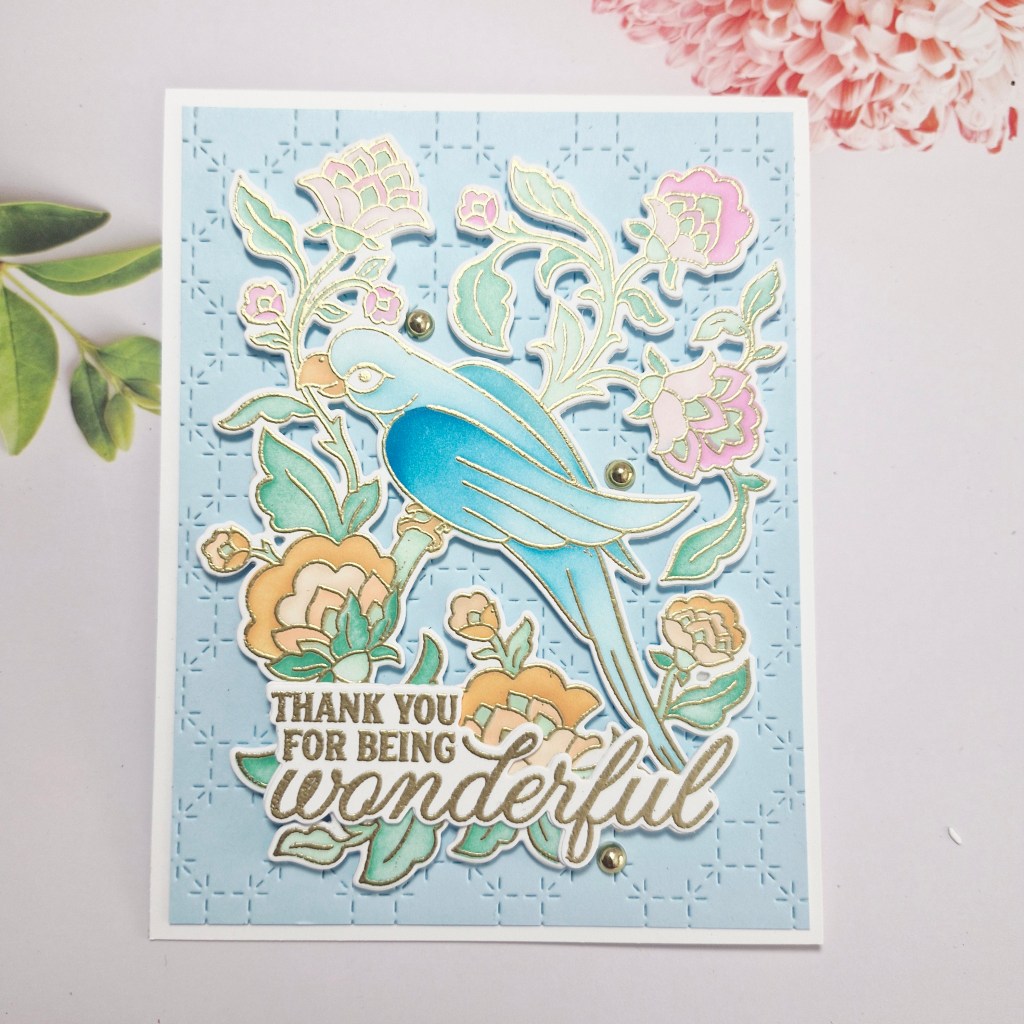
The stamp, die, and stencil set called ‘Chirpy Mithu‘, is from Pinkfresh Studio, and was part of their Create & Connect event in February this year. I hadn’t played with them yet, so I though it was time to bring them out.
I began by stamping and heat embossing the image in gold, then colouring with the provided layering stencils. Pinkfresh Studio inks were used for this. As there were seven images, and there were 6 stencil layers – this took quite a while, especially as I used different ink colours on some of the stencils.
Once coloured, I then used the die to cut them out, cutting out an extra white layer to make the image a little more sturdy.
I then used a couple of the sentiments from that same event, heat embossed those in gold, then die cut them, also adding an extra white layer.
For the background, I used a over plate to create the stitch details in two colours of card stock – just for a little variety.
The background was adhered directly onto the card base, after cutting down slightly to create a white edge. The image was added with 3D foam – another fiddly job of cutting pieces to fit – and then the sentiment was glued down.
The final touch was to add some gold gems.
I shall probably pop in and give them out one day this week.
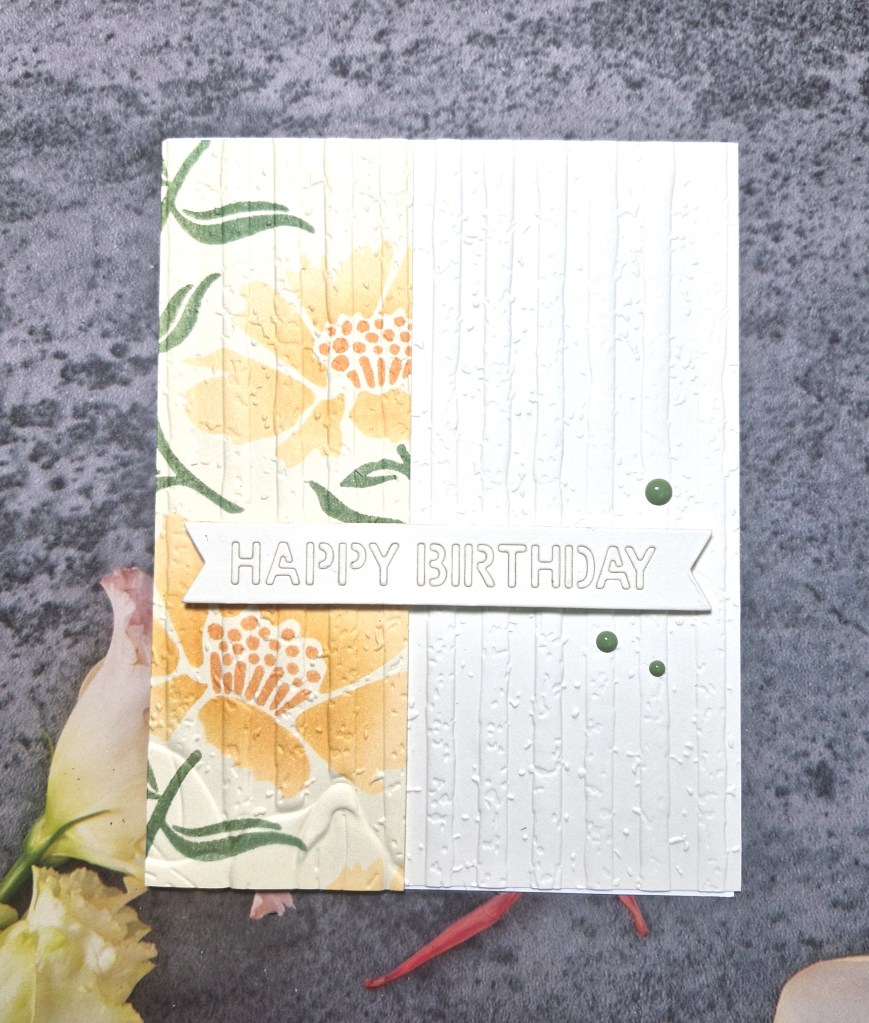
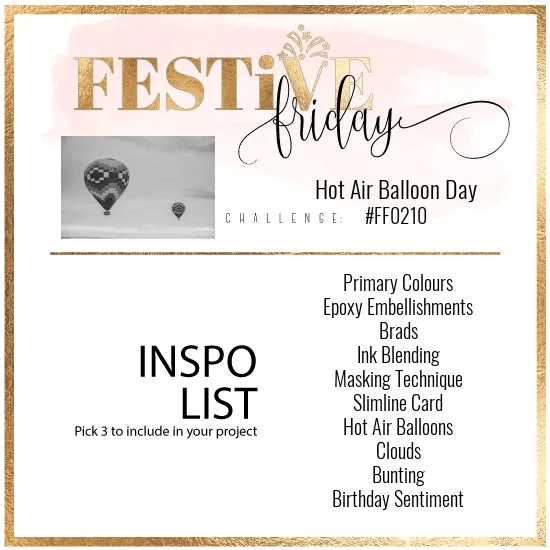
Hello there. I have a card to share inspired by the current challenge at Festive Friday:
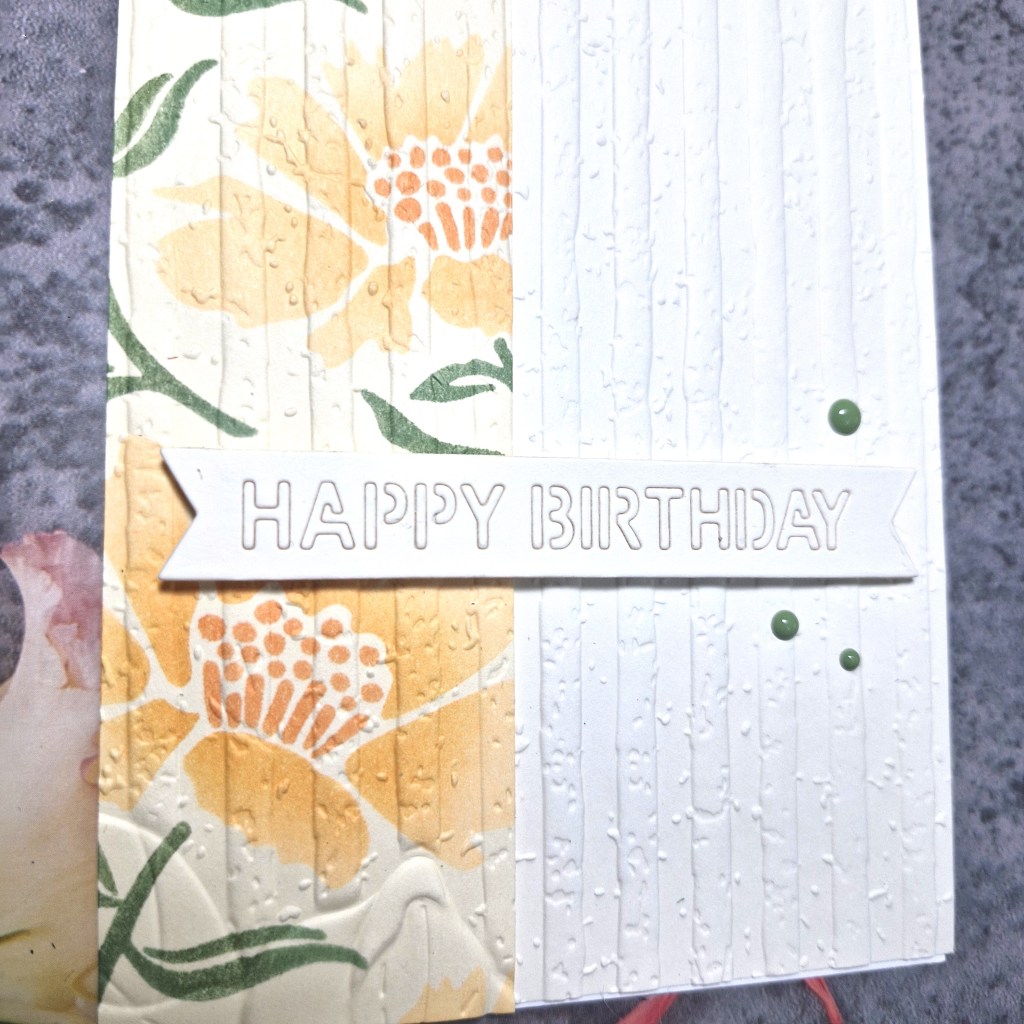
This floral strip is an off-cut from a previous card I ink blended, using a Kristina Werner layering stencil set (Aubrey Blooms). I thought these florals looked too good to be thrown away, so came up with this layout.
I took a white panel and ran it through my machine with a Spellbinders embossing folder. I then aligned the floral strip with that panel, and ran that through too.
I then took a sentiment die from a Simon Hurley/Spellbinders set. Usually the letters would fall out – but they stayed in – so I stuck them in more securely at the back with sticky tape, then added another sentiment banner die.
This was then adhered to the card, and three green gems from Concord & 9th added to complete the requirements of the challenge.
Festive Friday – 3 items from list – ink blending + epoxy embellishment + birthday sentiment
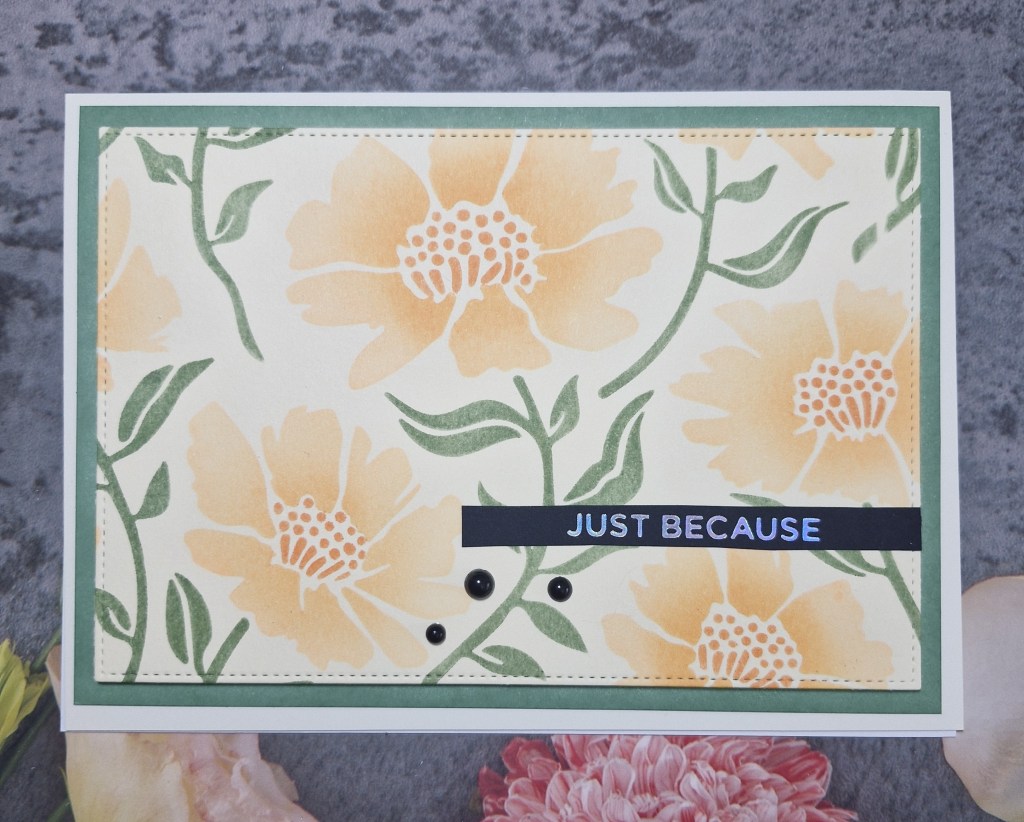
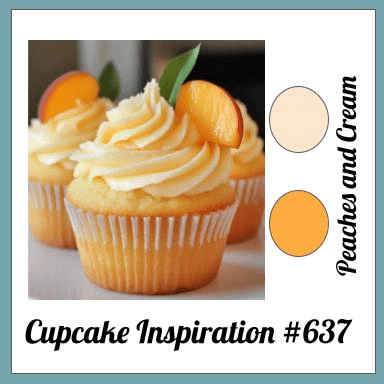
Hello once again. I have a card to share inspired by the colours at Cupcake Inspirations:
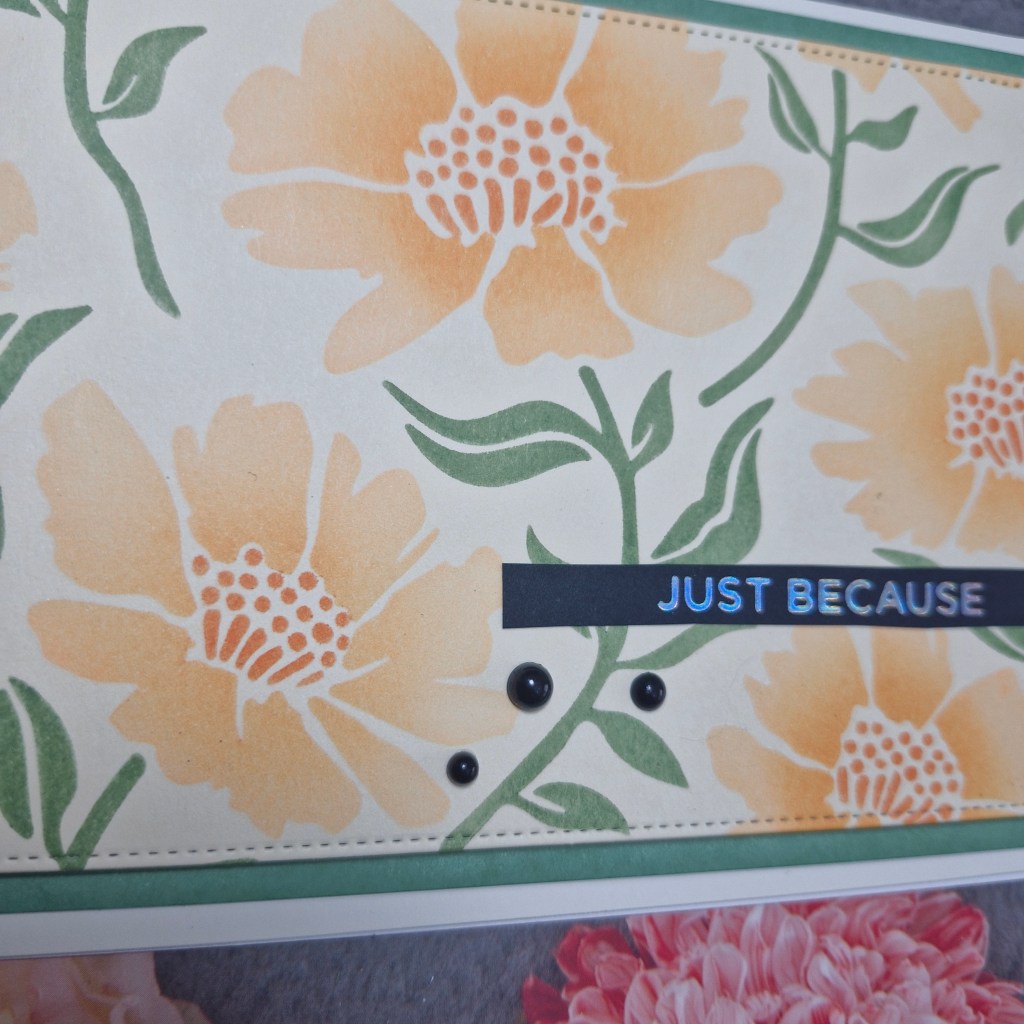
For the cream part of the theme, I used Ivory card stock from Concord & 9th, and stencilled the florals on using a Kristina Werner stamp and stencil set ‘Aubrey Blooms‘. I didn’t use the stamp, just stencilled the florals using two peach tones from Pinkfresh Studio, adding slightly darker blending towards the centre of the flowers.
For the green, I initially used Sage from Pinkfresh, but decided it wasn’t dark enough on the ivory card, so I used the next green up in the family – Eucalyptus.
The panel comes out even larger, and you can get two A2 pieces pout of the blended panel, but I created a 5X7 inch card so I could get as much of the design on there as possible.
I layered a piece of card onto the card base, and to match the green on the design, I ink blended around the edge of a piece of white card, then matted the design onto the top of that.
The foiled sentiment was added, silver foil on black for a little drama, and then added three enamel dots, to include items in the current Festive Friday challenge.
Even though the background card stock is not smooth enough for perfect ink blending, I felt the outcome gave an almost vintage feel.
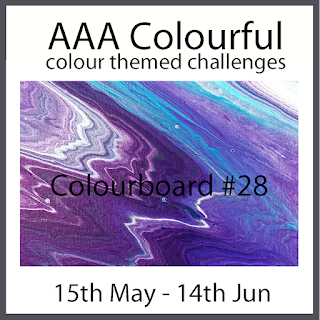
Hello again. I have been crafting a lot these past few days, mainly because it has been so hot in the UK, and my craft room has air con…..Here is a card created following inspiration from the colour board at AAA Colourful:
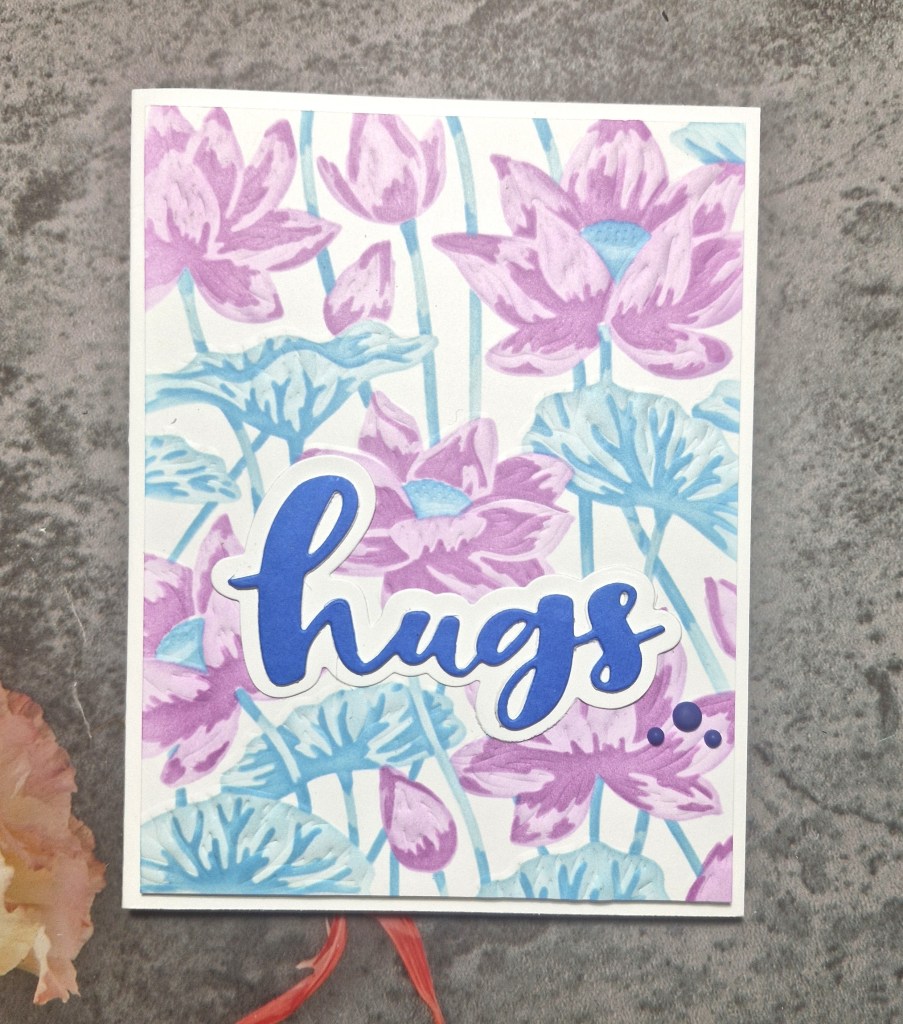
For this card I used a new product suite – to me, anyway – from Hero Arts. This couple of items includes a Letterpress Plate and ;layering stencil set.
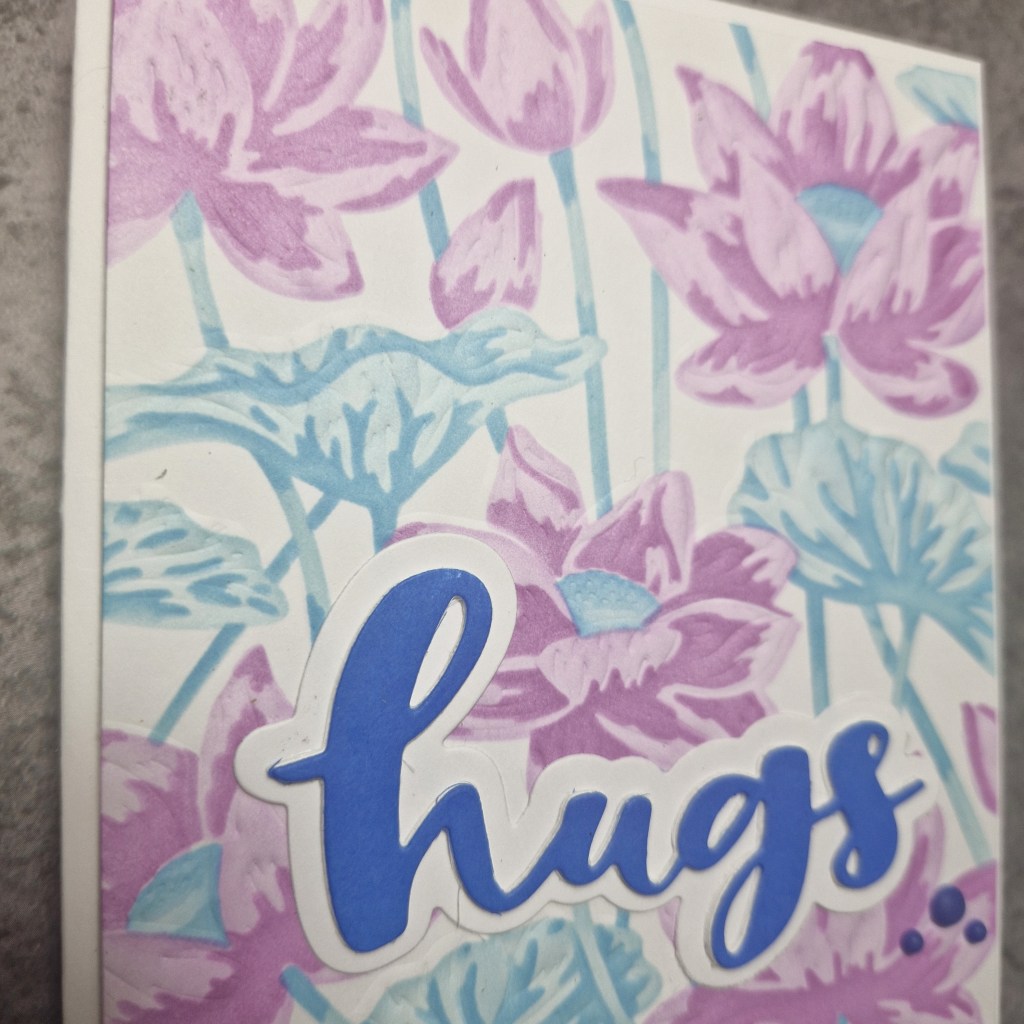
I first used the press plate to dry emboss the image onto white card stock, then used the layering stencils and Pinkfresh Studio inks to ink blend.
This panel was then cut down slightly and adhered with 3D foam to a card base.
For the sentiment, I used a Time 4 Tea Designs die, the shadow being cut out of white, and the word die cut once I had used an ink pad to colour a piece of white card, as I wanted a blue from the same colour family as the two other blue tones used on the background.
This was adhered, then some blue gems added for interest.
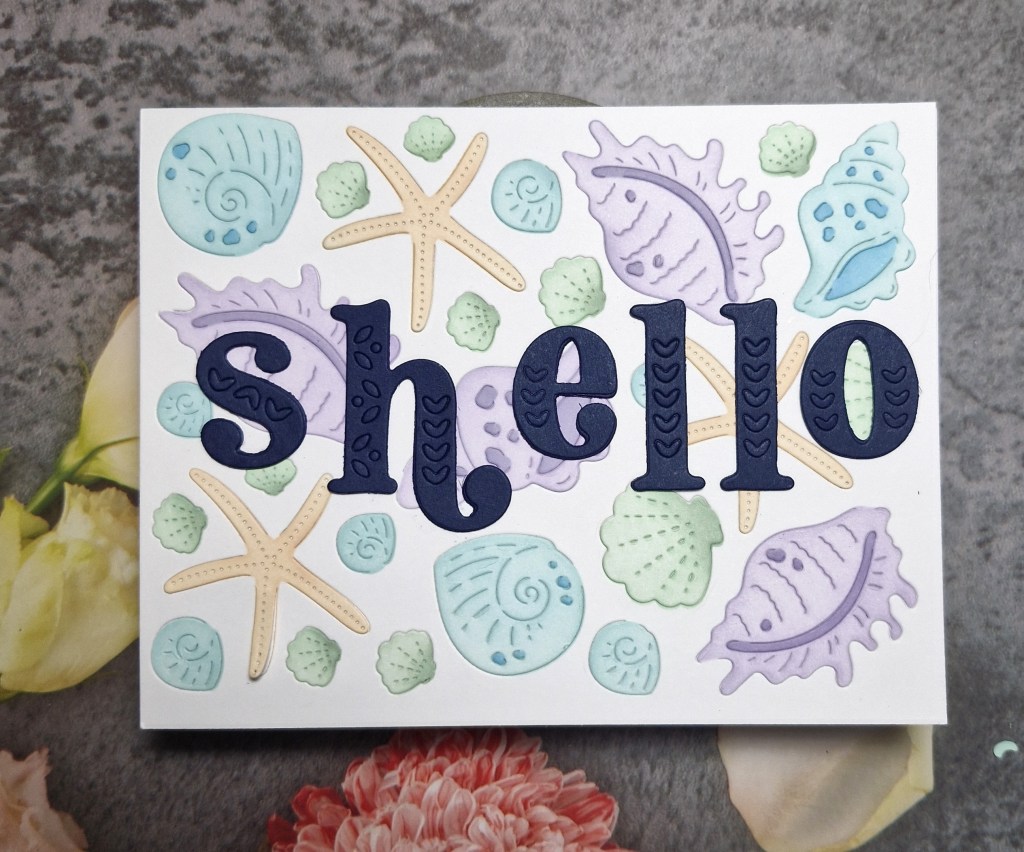
Hi everyone. I am here with a card to share following the inspiration theme from As You See It, and using some layering stencils to enter the Stencil Fun challenge:
The theme for As You See It is ‘Beach Combing‘, and I knew I had plenty of shell ‘stuff’ in my stash, so I searched through the CML app and found this background die from Waffle Flower. The die is called ‘Seashell Texture‘ and comes with a layering stencil to colour the images in.
I used Neenah card stock, die cut the panel, then used Pinkfresh Studio inks in pastel or more muted colours for the shells. Some of the shells had layers with the stencils, but with the other smaller shells, I added my own bit of darker shading for a little dimension.
I searched again in the CML app for suitable sentiments – wanting a bigger and bolder look – but couldn’t find anything big enough. So – I used a Pinkfresh Studio alphabet die set ‘Kelly Alpha‘ and die cut the letters to create this word out of Concord & 9th ‘Blueberry‘ card stock.
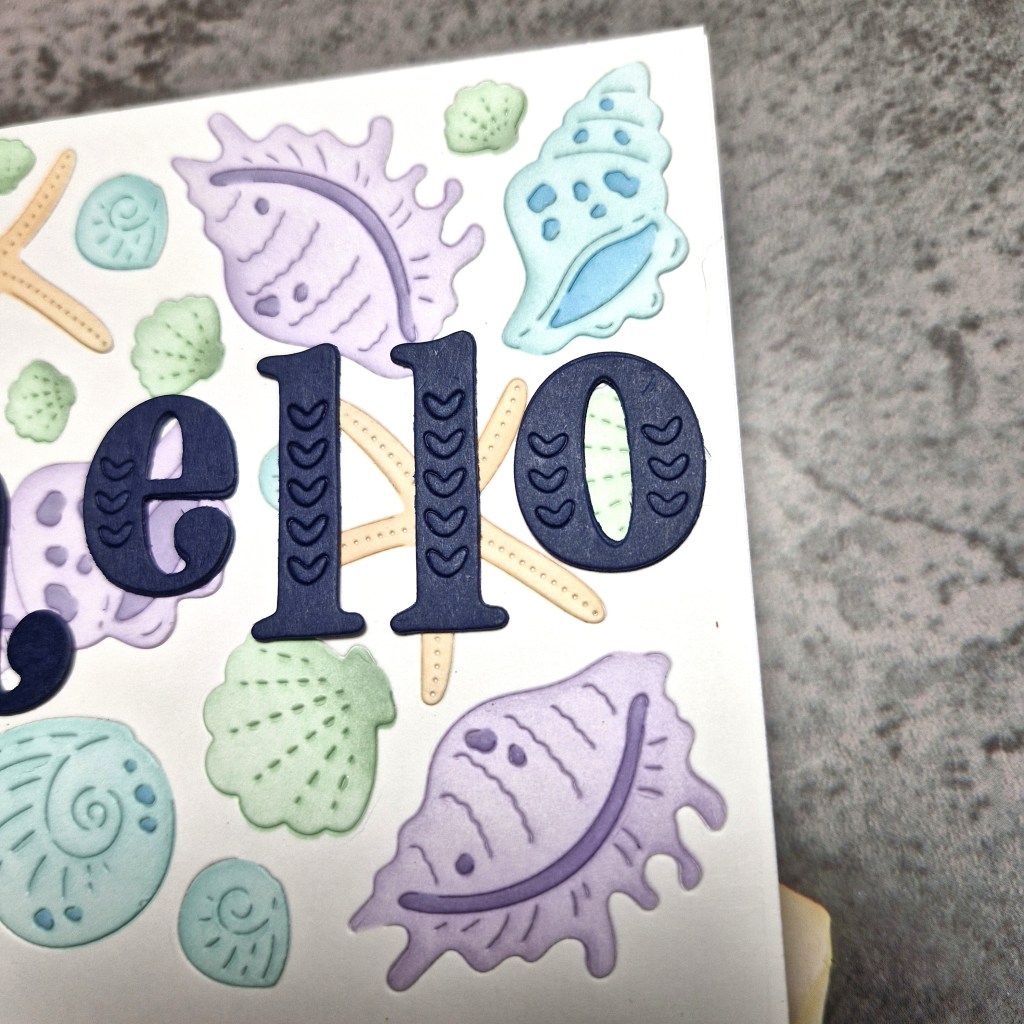
The little hearts on each letter actually stayed in the die cut – so I left them there, and die cut each of the letters two more times and layered them together to create a make them thicker and more sturdy.
As the letters weren’t all the same height, and instead of placing them all on the same line – I went a little quirky and put the smaller three letters in the middle of the height of the larger letters.
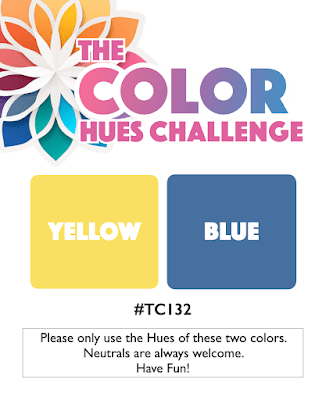
Today’s card is using the current colours at Color Hues – yellow and blue. Certain neutrals are allowed:
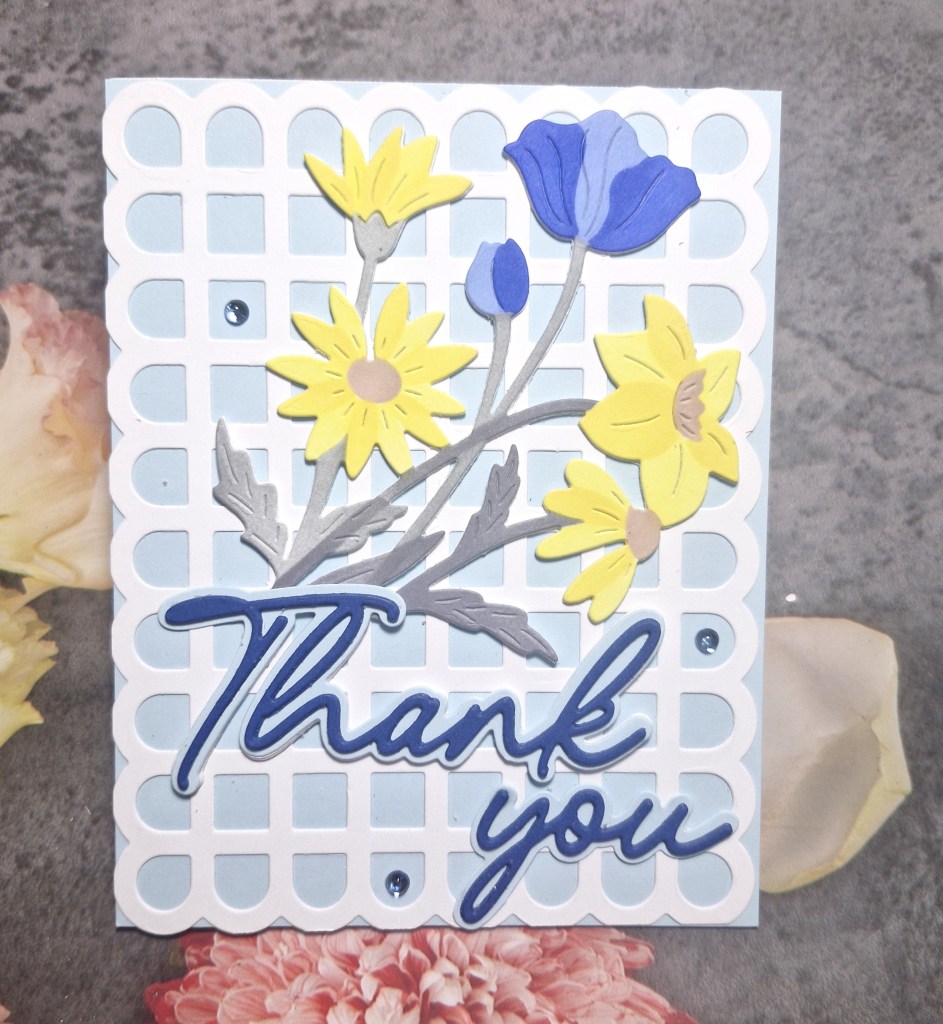
I chose to use a Pinkfresh Studio stencil and die set called ‘Wildflower Elegance‘. There is no stamp with this set, so once you have ink blended the image and cut it out – there are no white areas.
I chose a selection of blue and yellow inks from Pinkfresh Studio, and used two tones of grey for the stems and leaves, and a light brown for the centre of the flowers. The die also adds some details to the flowers and leaves.
I also die cut two more layers to add stability to the floral arrangement.
Now for the background – this was a light blue piece of Concord & 9th card stock, onto which I glued a Pinkfresh Studio die cut to act like a trellis, called ‘Scalloped Grid cover plate‘.
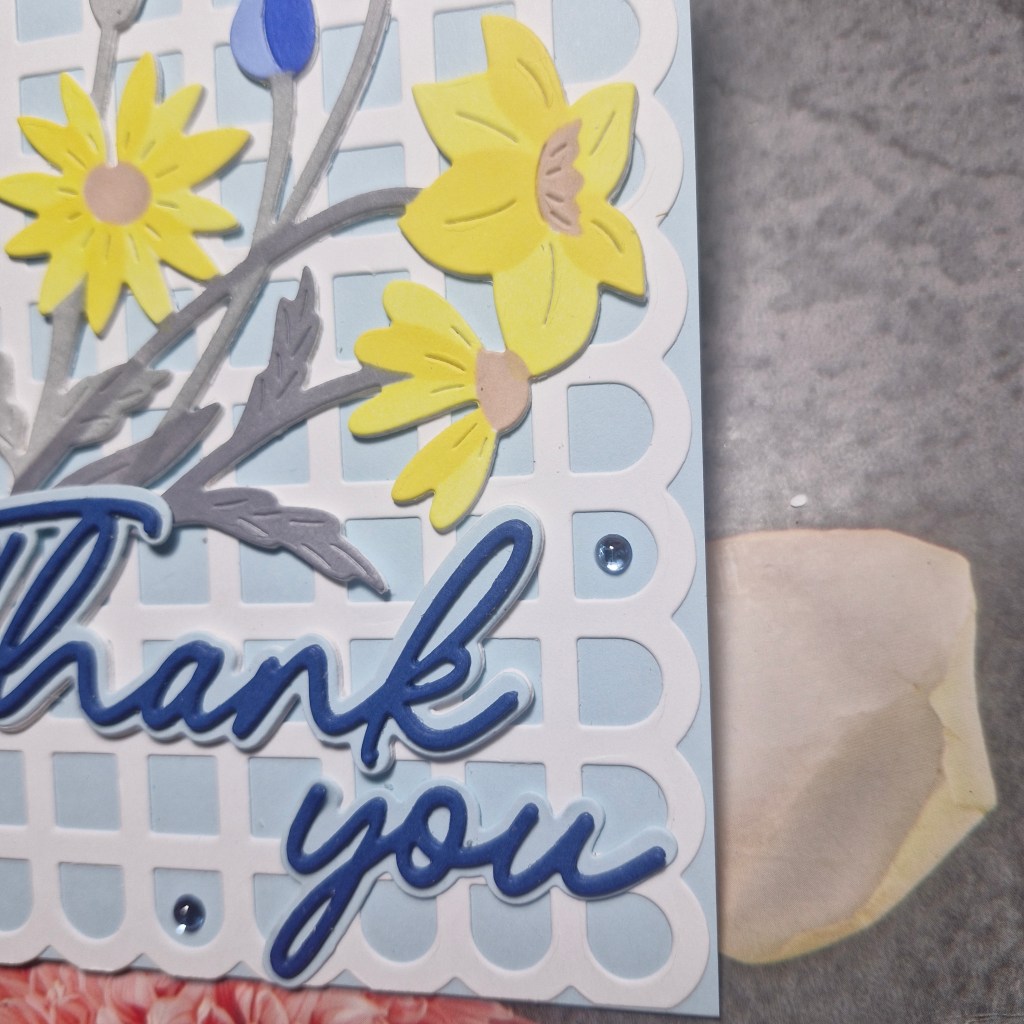
The sentiment is a stand-alone die, cutting the shadow layer out of the light blue card, and using a darker blue for the words themselves. The words were layered three times -a little fiddly – but I do like the look this gives.
The sentiment was placed, and I snipped the bottom of the florals off so they would lie better behind the sentiment.
I did have to die cut the shadow layer three more times so it would sit evenly when glued down – just snipping off the top of the letters T & H as that area would be sitting on the base of the floral stems.
Looking now at the photos, I maybe should have gone with a darker yellow for the second layer on the florals – something else to remember in the future.
The final touch was to add three blue gems – also from Pinkfresh Studio.