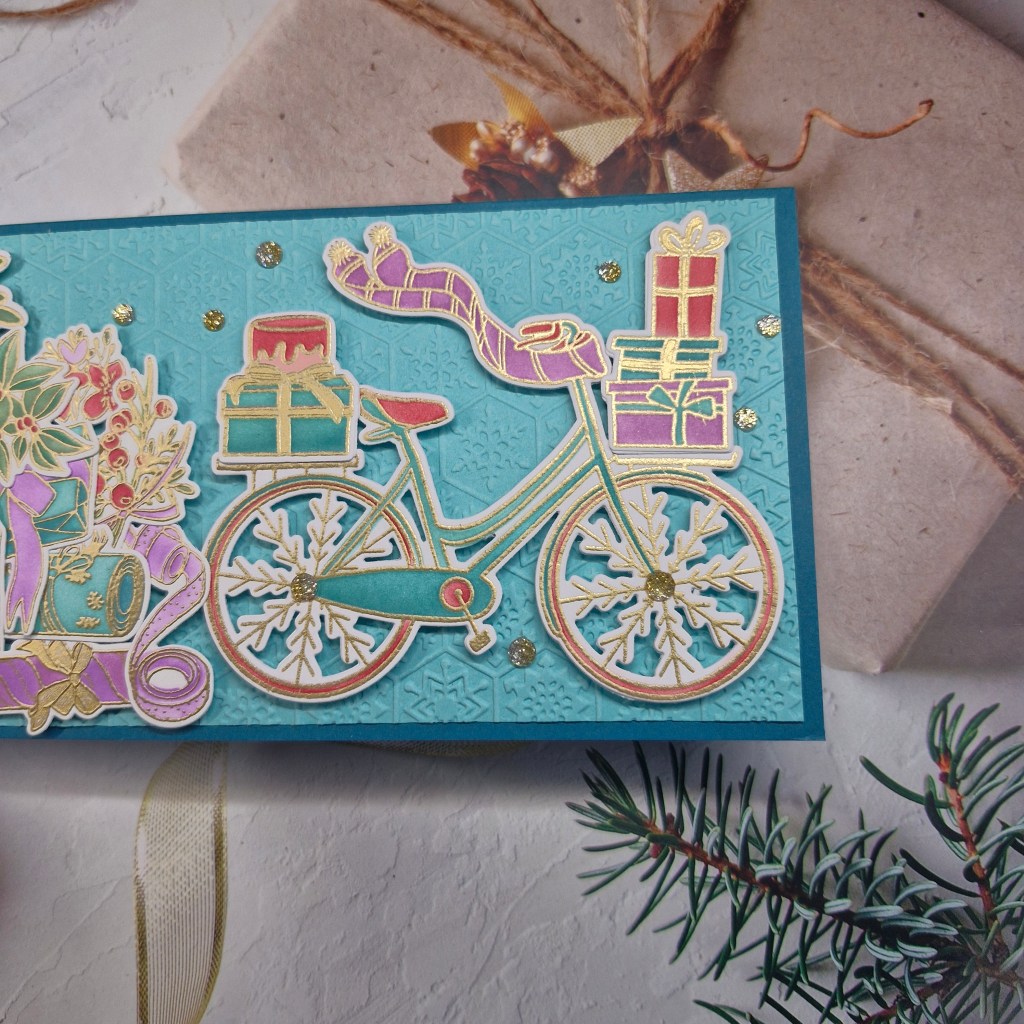
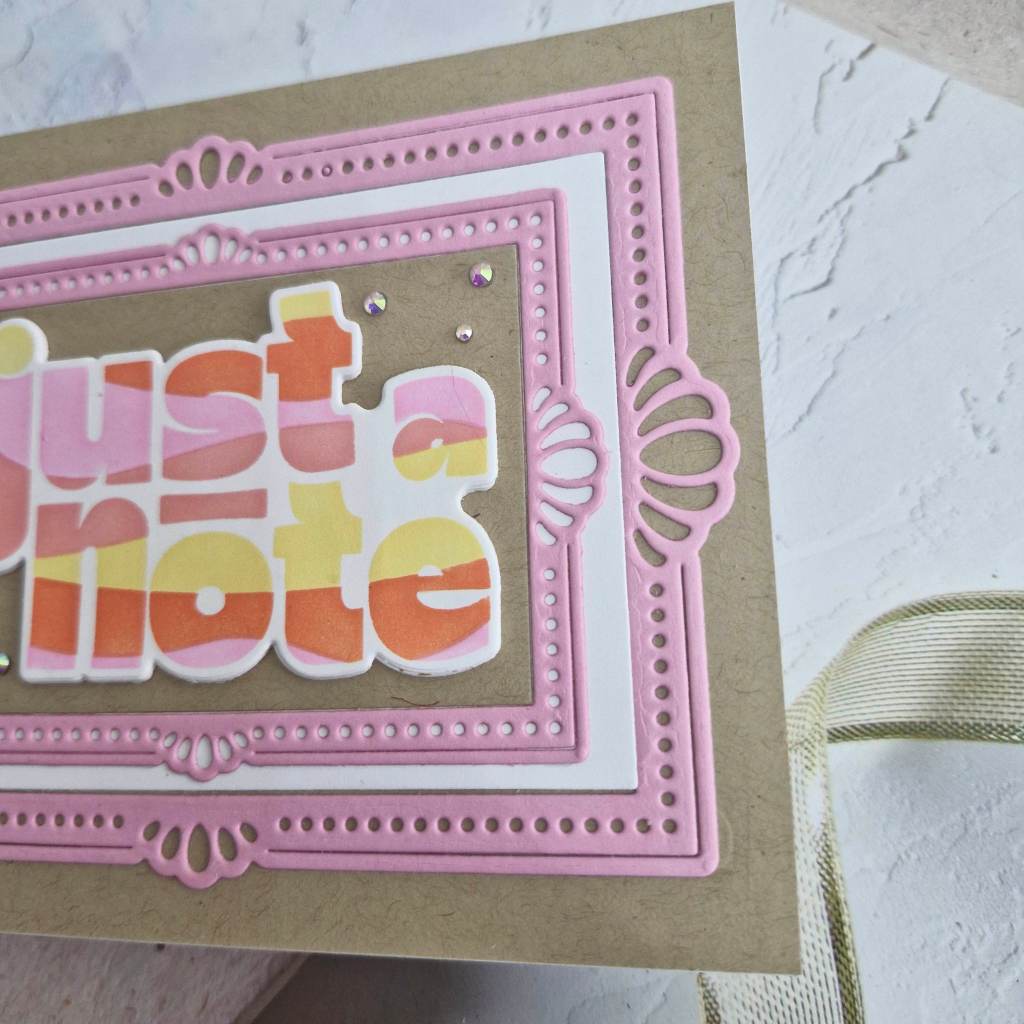
Hello there. I have been playing with a collage stencil from Waffle Flower Crafts:
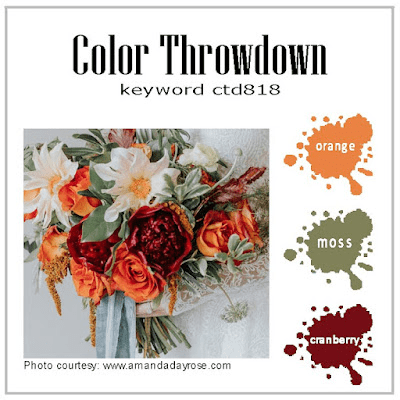
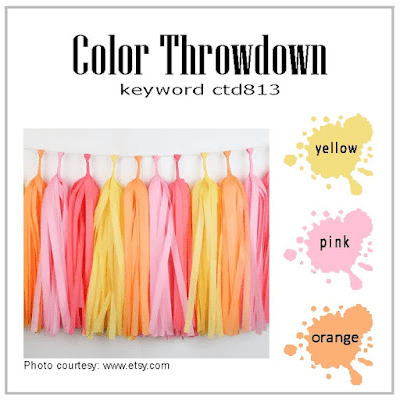
Following the colour choices for the current Color Throwdown Challenge, I made a couple of variations.
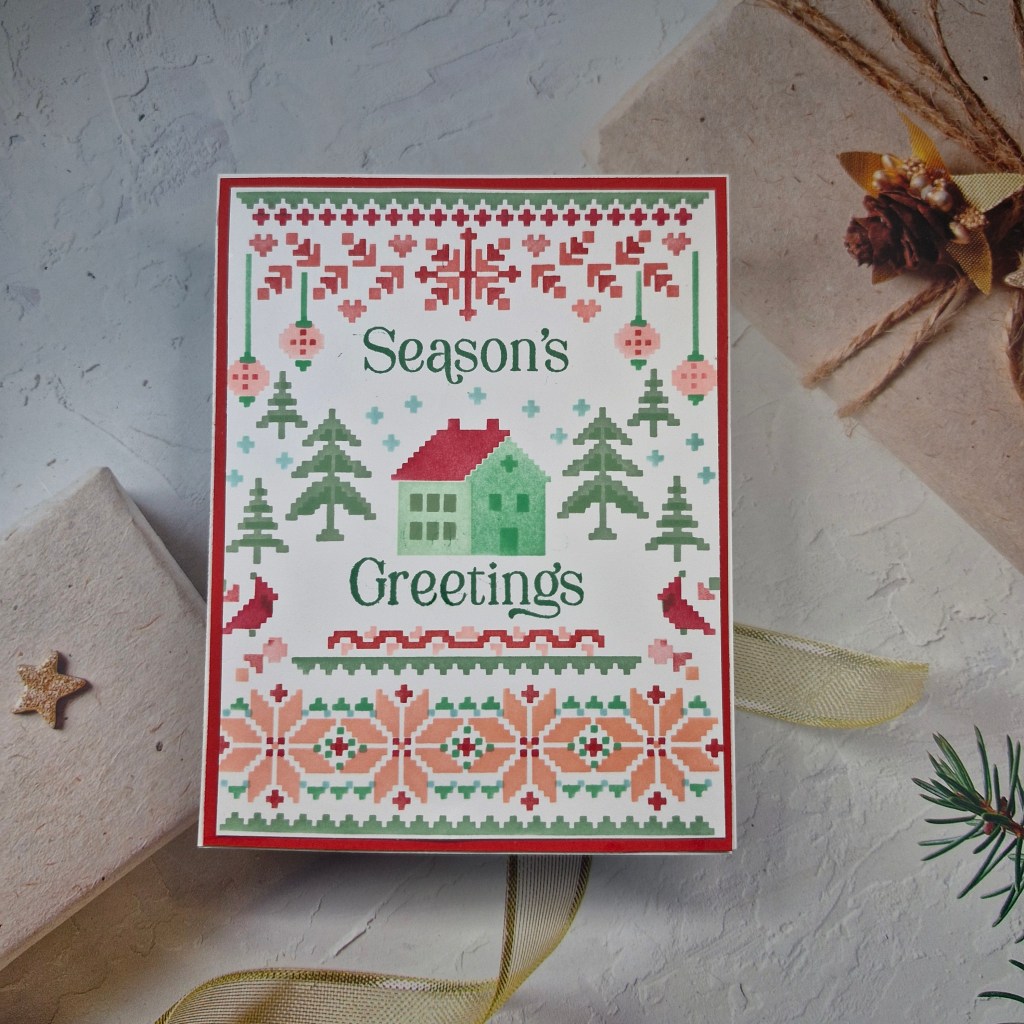
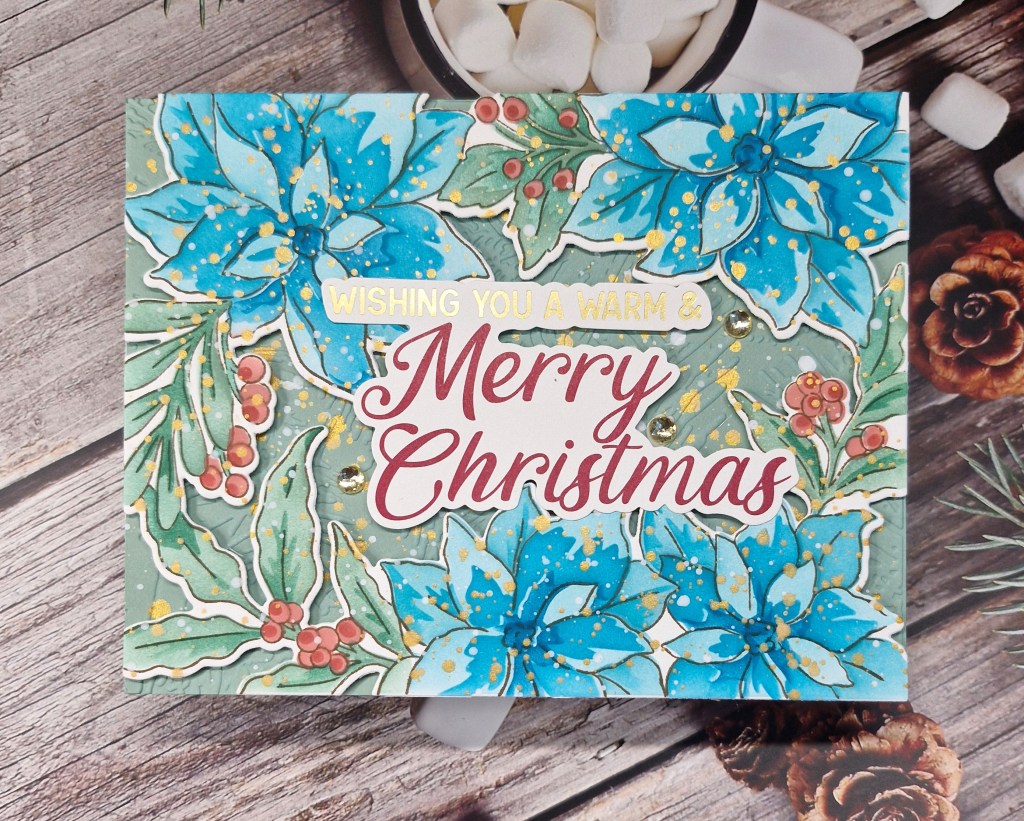
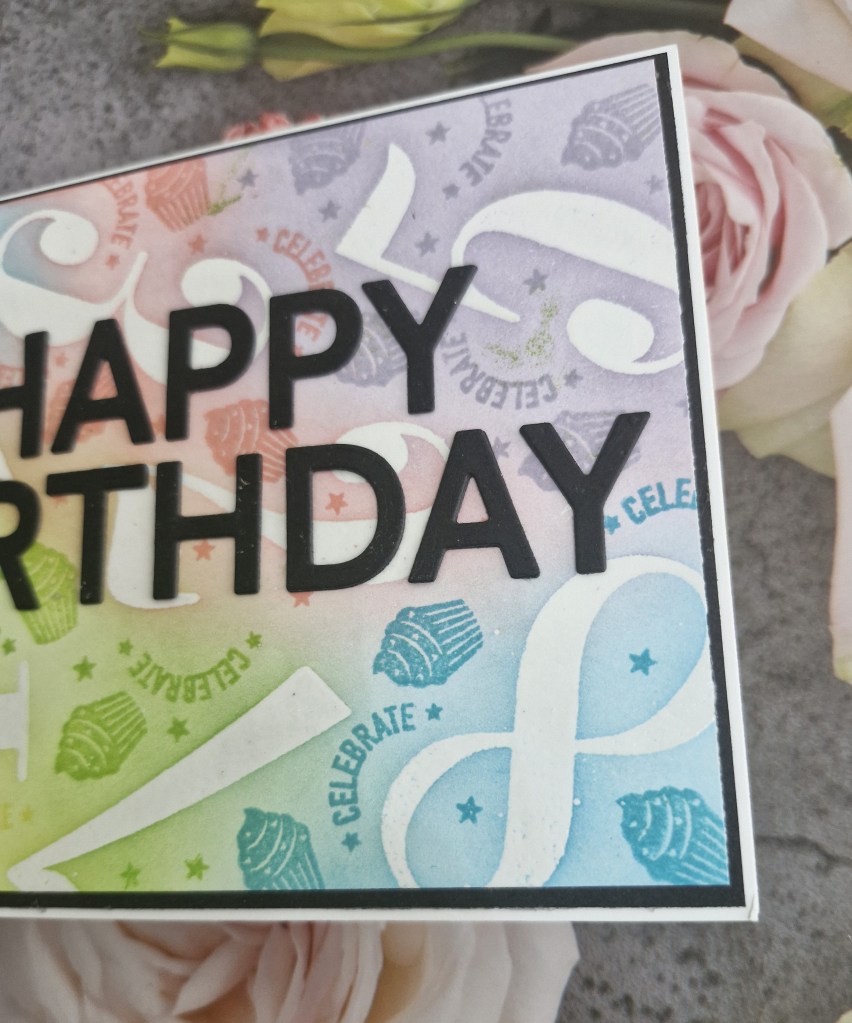
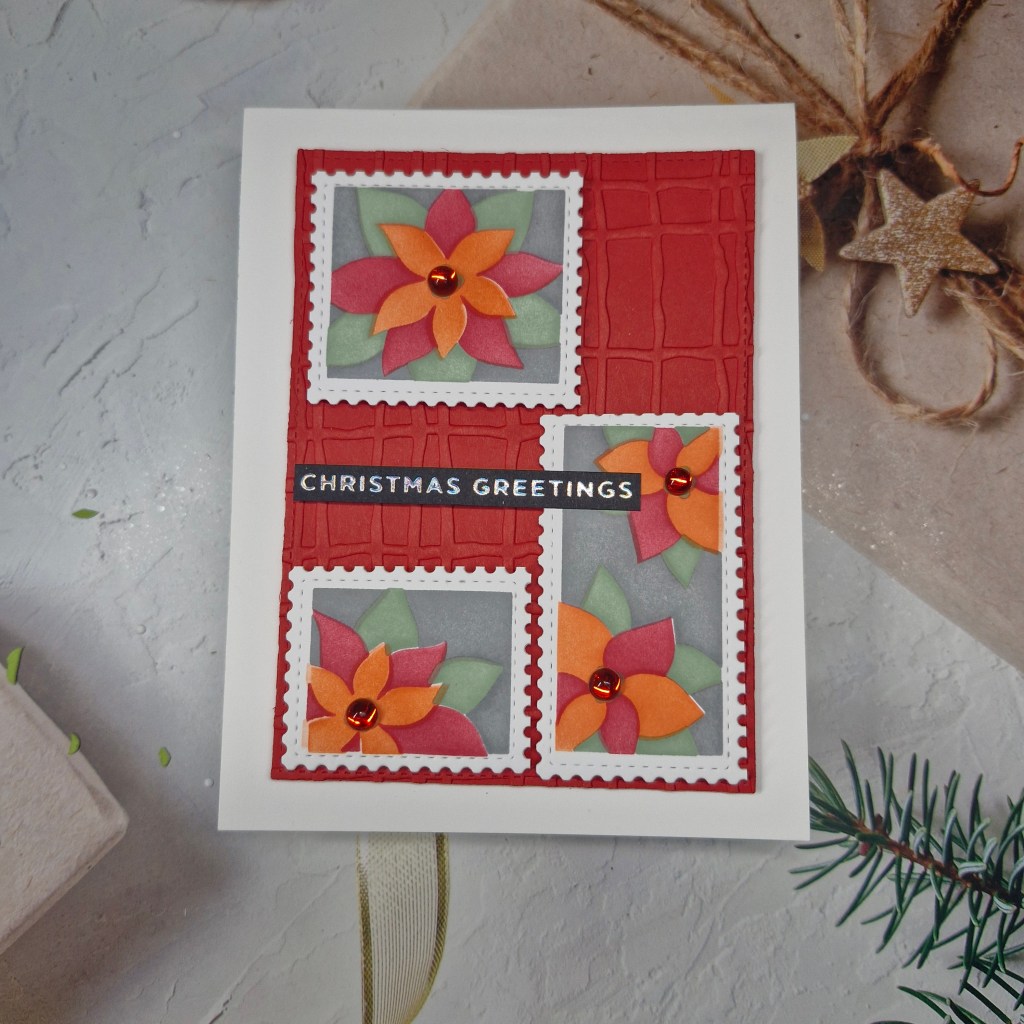
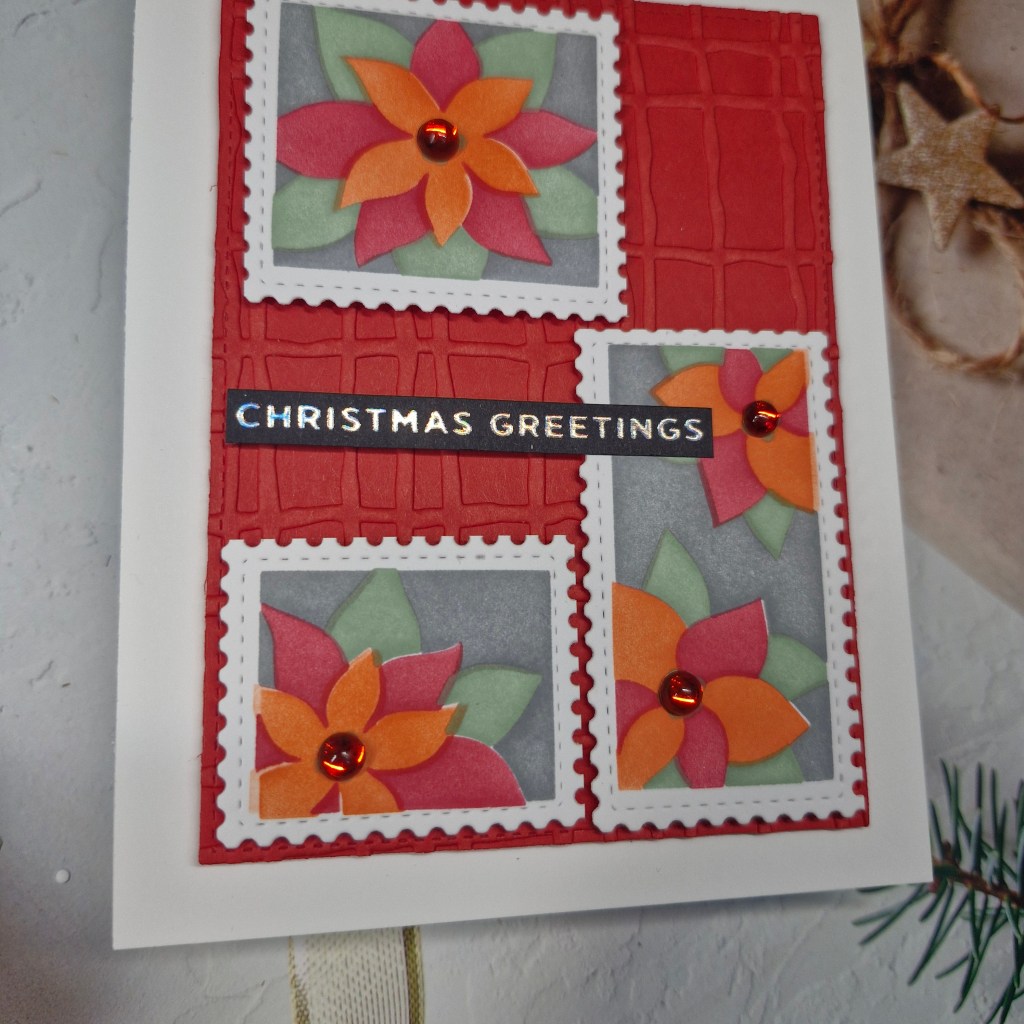
The first card, I used all the stencils, including the background for each tile. Using Pinkfresh Studio inks, I stencilled the background with a medium grey, then used the orange, red, and green on the next layers. I cut apart the collage tiles, and chose the images I wanted for the card.
The background panel was cut down and then dry embossed using a Spellbinders embossing folder. The images were then laid out and attached with 3D foam pieces, before adding the foiled sentiment. The final touches were some red pearls in the centre of the flowers.
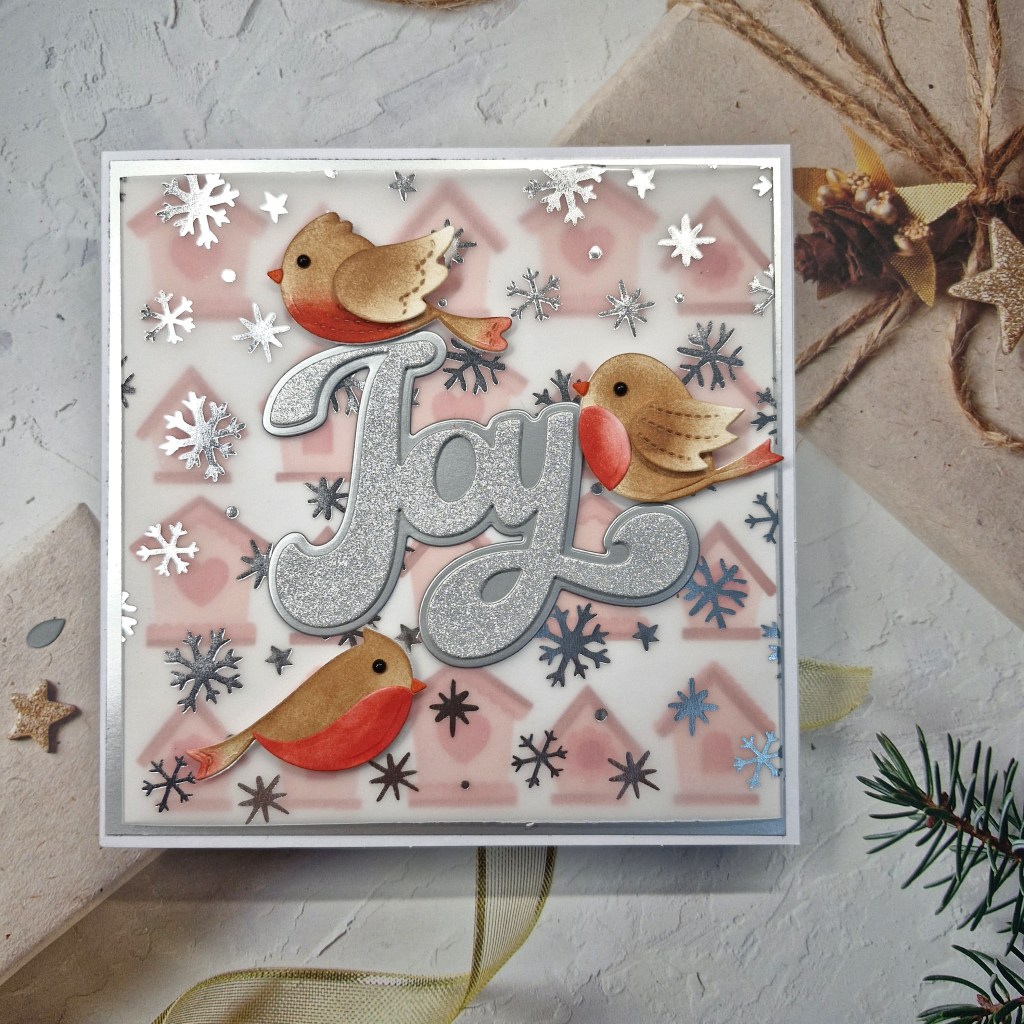
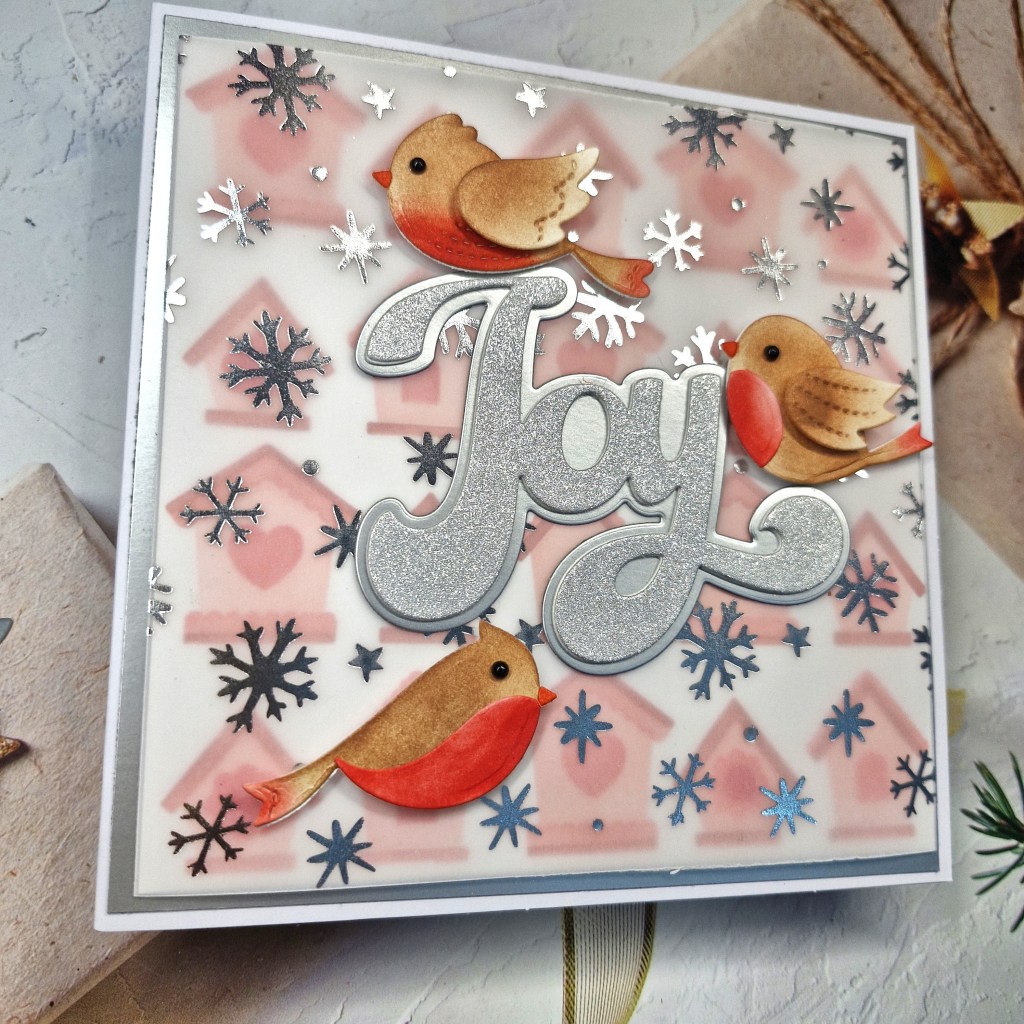
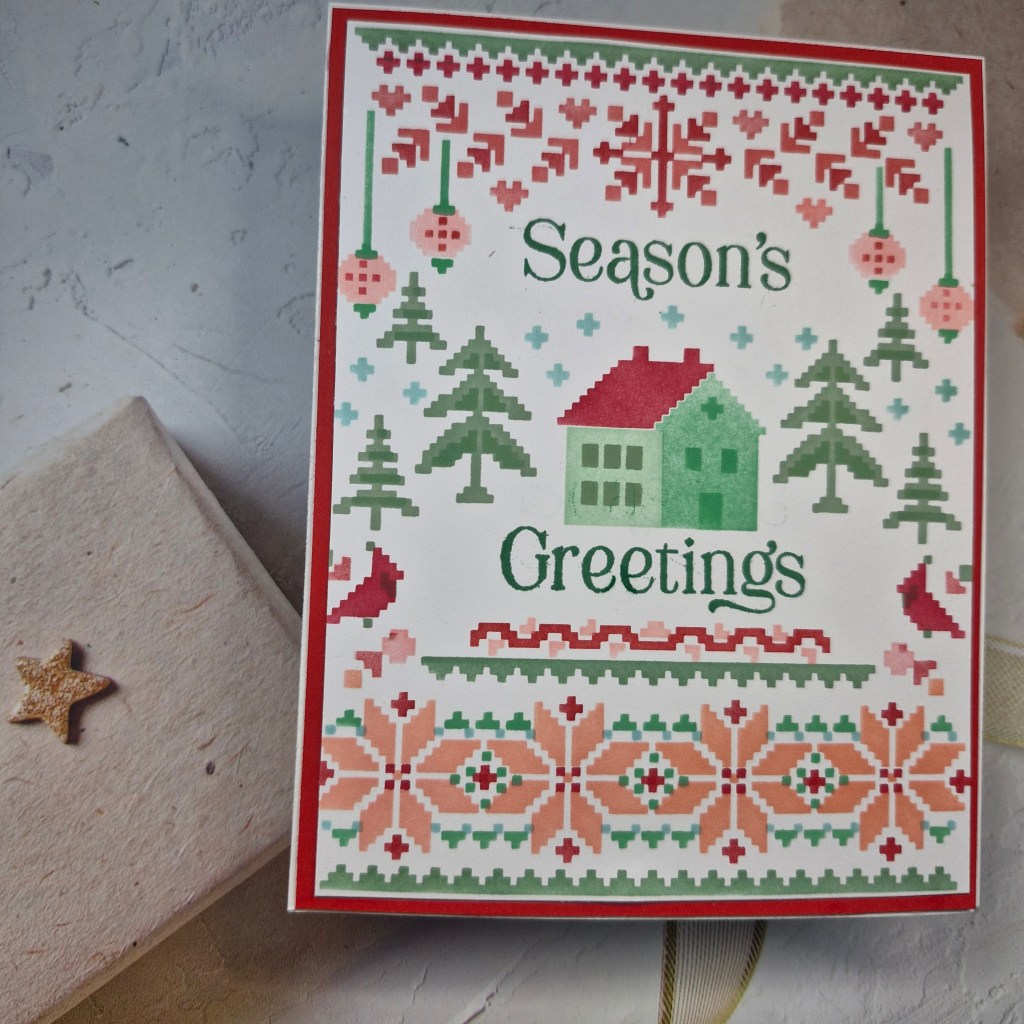
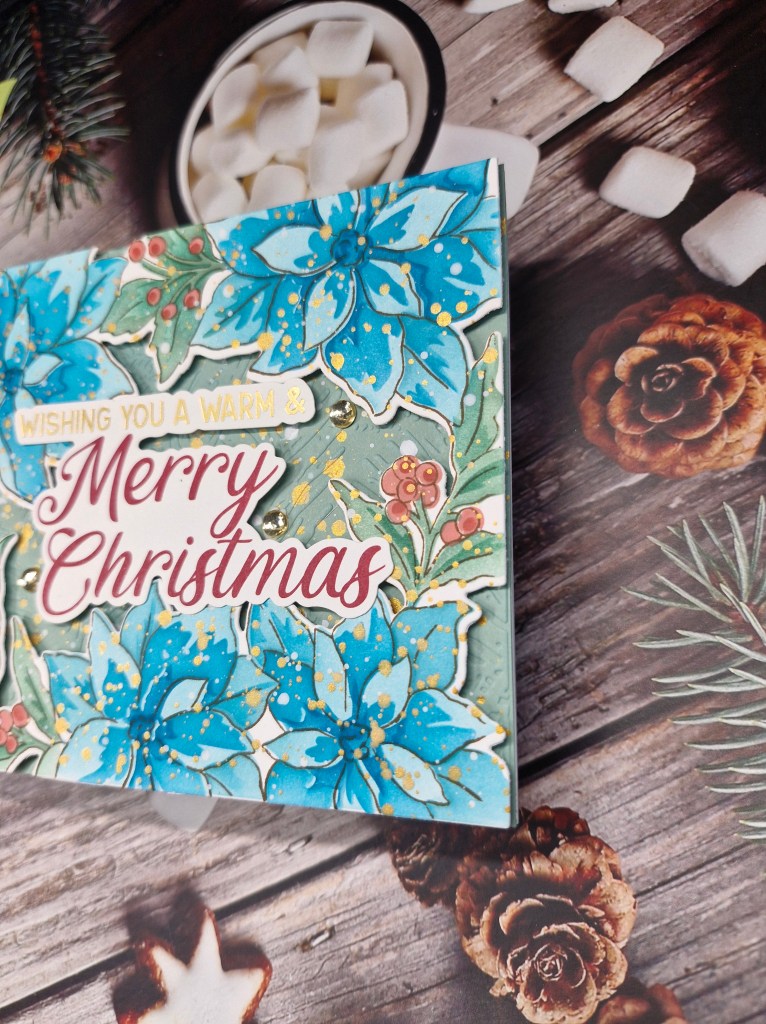
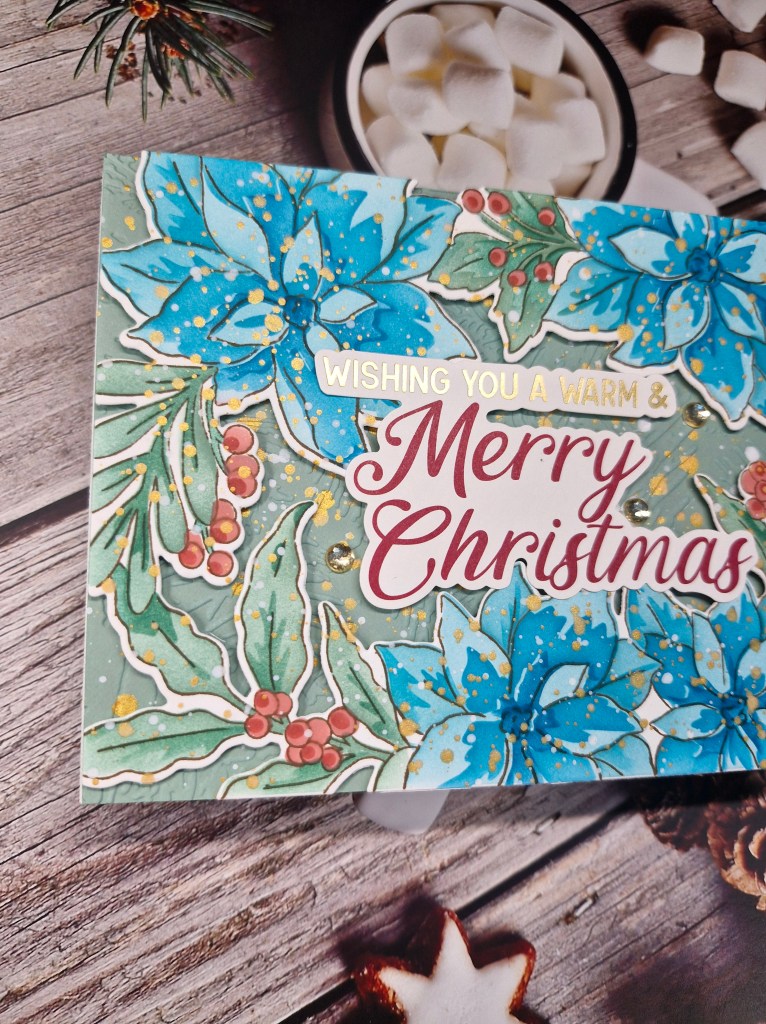
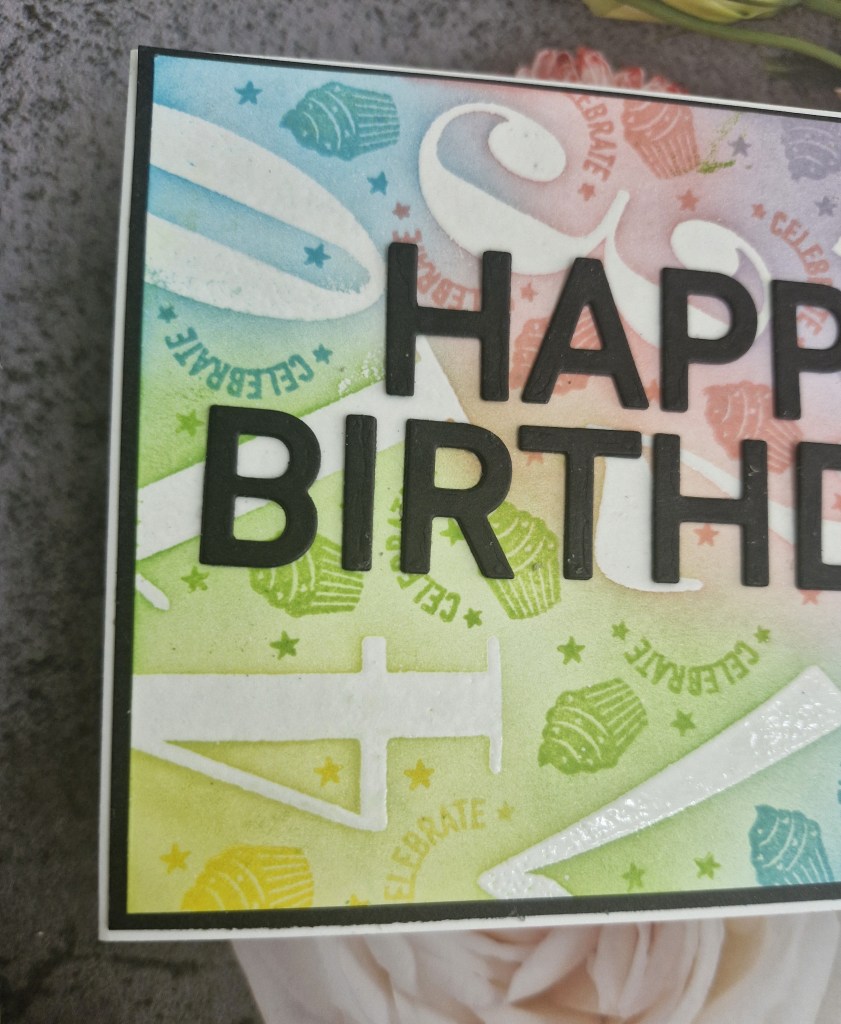
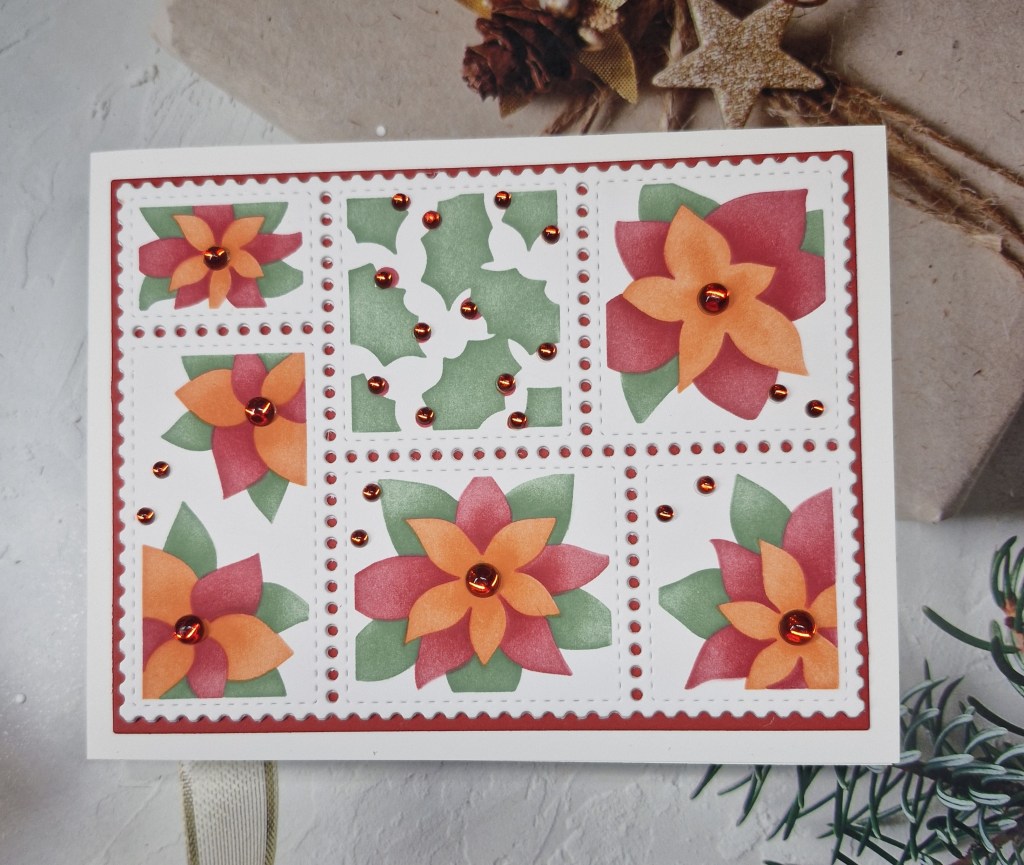
For the second card, I didn’t use the background stencil, only the three layers for the leaves and the flowers, and I also used the same three colours of inks.
I die cut the background collage die several more times and layered them together with the stencilled piece, instead of using 3D foam pieces.
The white card base, a red panel showing around the edge and through the holes of the collage die, and glued together.
I added more of the red pearls – the centre of the flowers, the red berries on the holly, and a few more for good luck……

Personally, I think I prefer the stencilling without the grey background – but that may be the colour choices I made. I will play around with colours a little more – loving the collage stencils – and perhaps post some more variations.
I shall be entering the following challenges:
Color Throwdown – orange, moss, cranberry
Beautiful Blossoms – florals
Addicted To Stamps – die cuts and stencils
Creative Fingers – anything goes
Polkadoodle – anything goes
Aud Sentiments – glitter and/or Christmas and a sentiment
Christmas (or not) Bingo – column O – stencilling, free, pearls
Love To Craft – anything goes
Merry Little Christmas Challenge – anything goes Christmas