Hello everyone. Cardz 4 Galz has started a new challenge. Dawn is hosting this time round, and has chosen the theme of:
Scenic – create a scene or use a scenic topper or paper
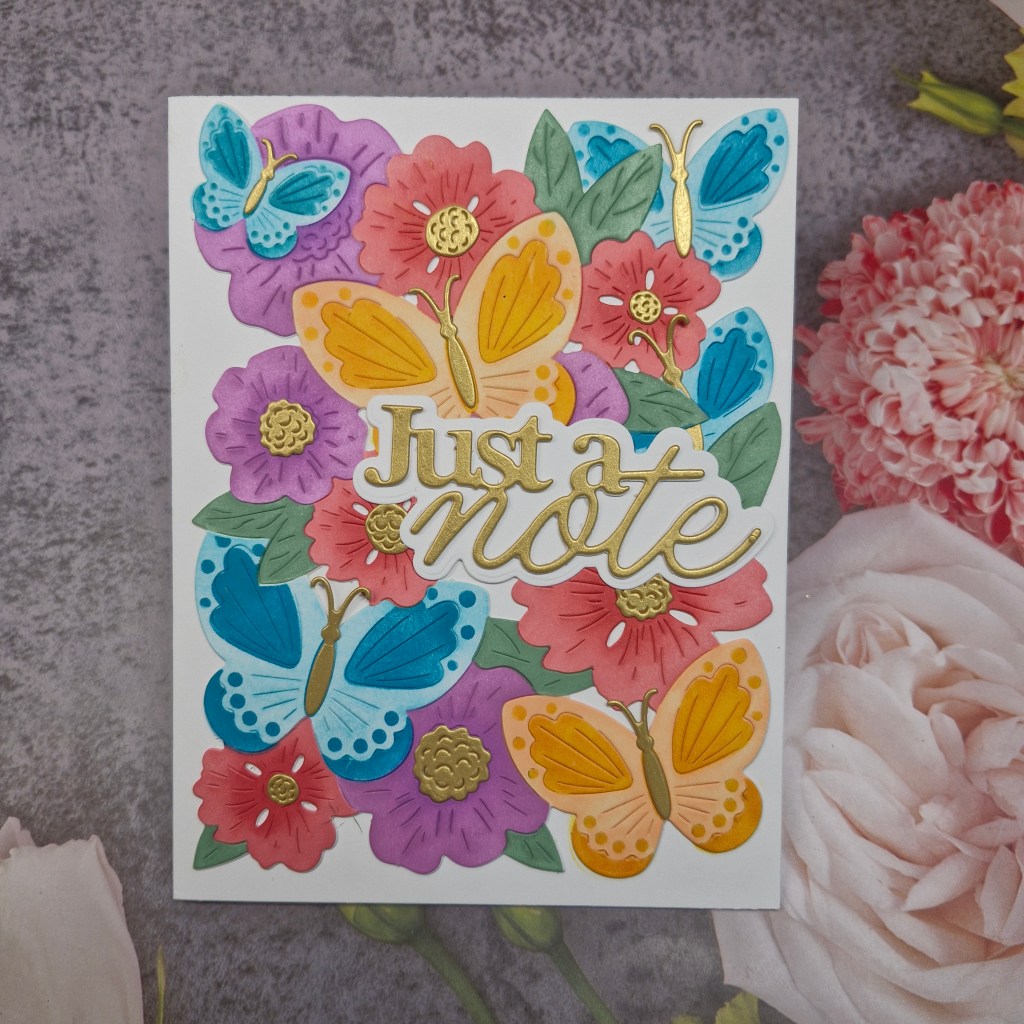
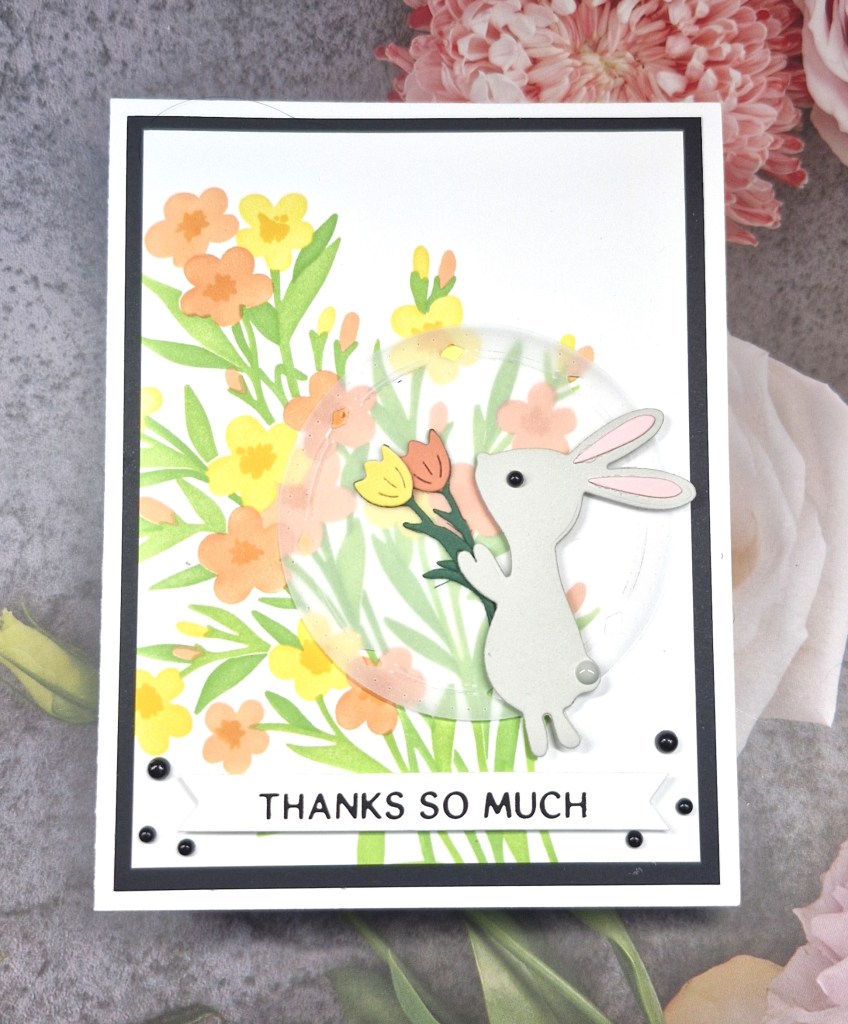
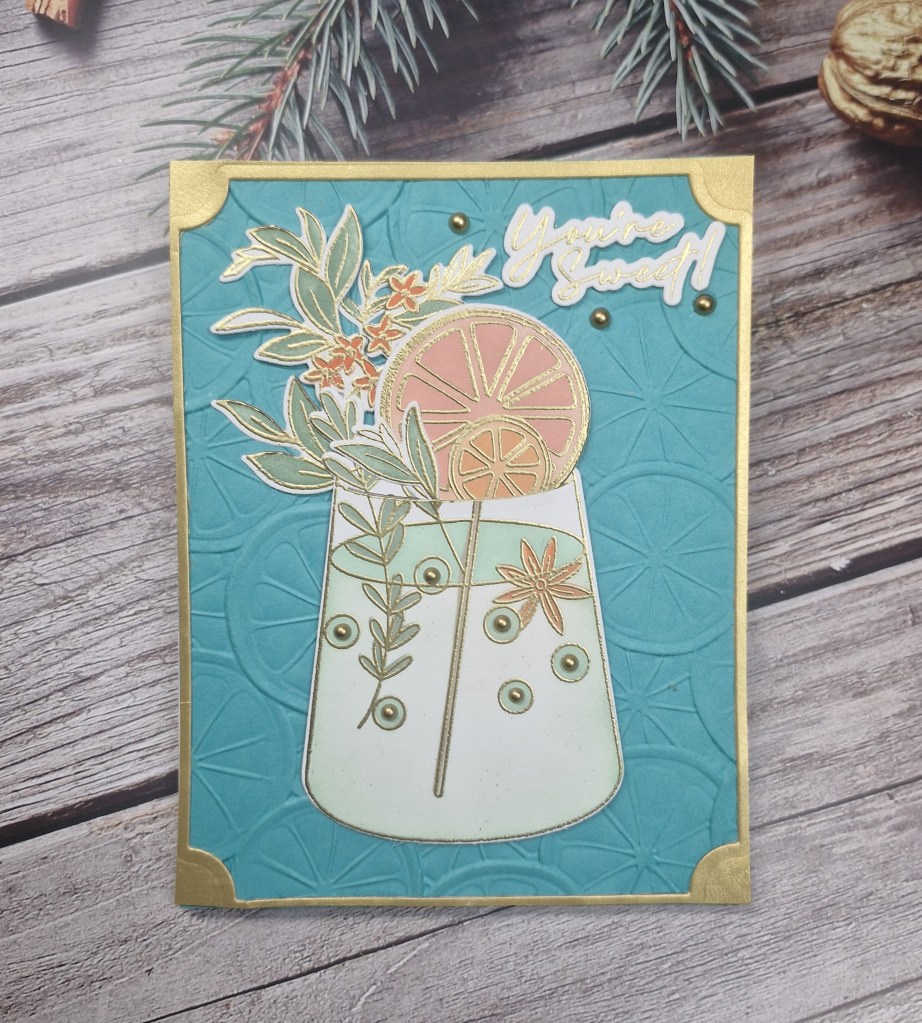
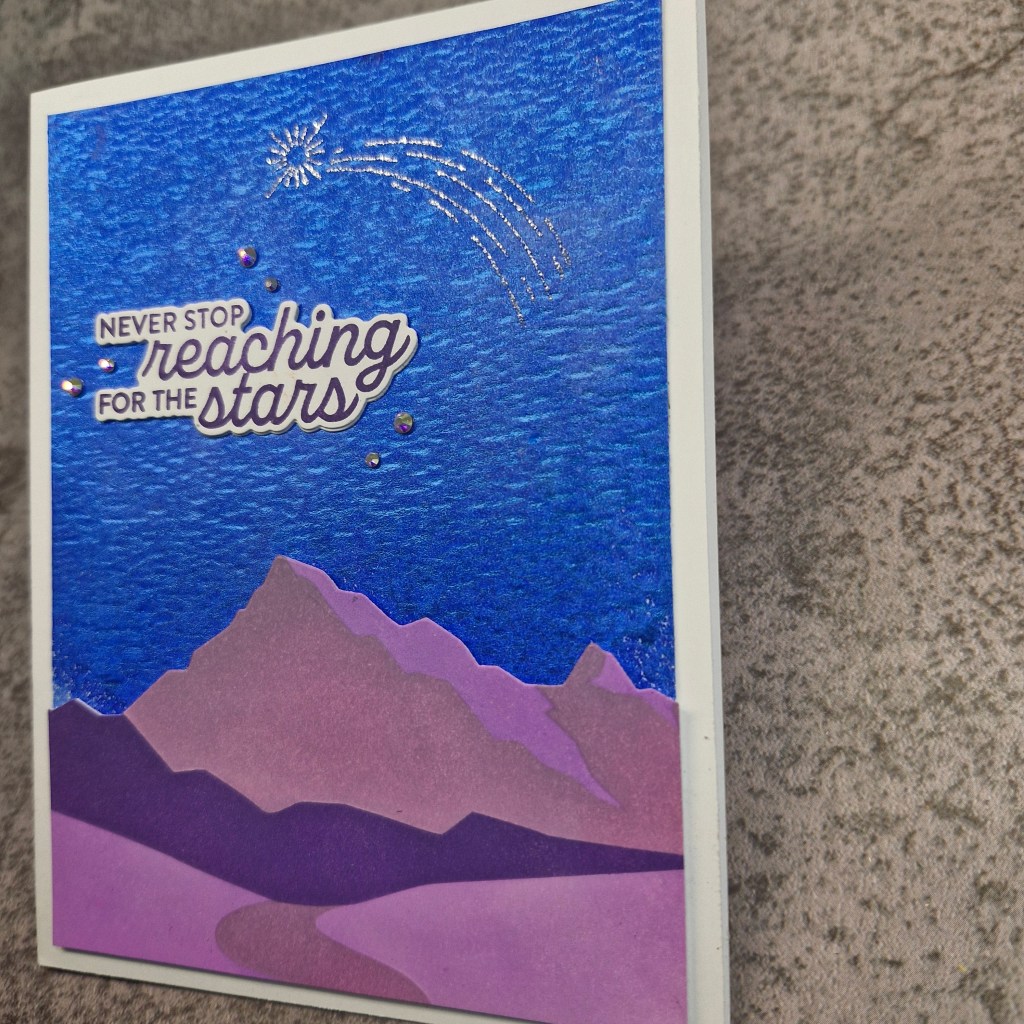
Here is my card:
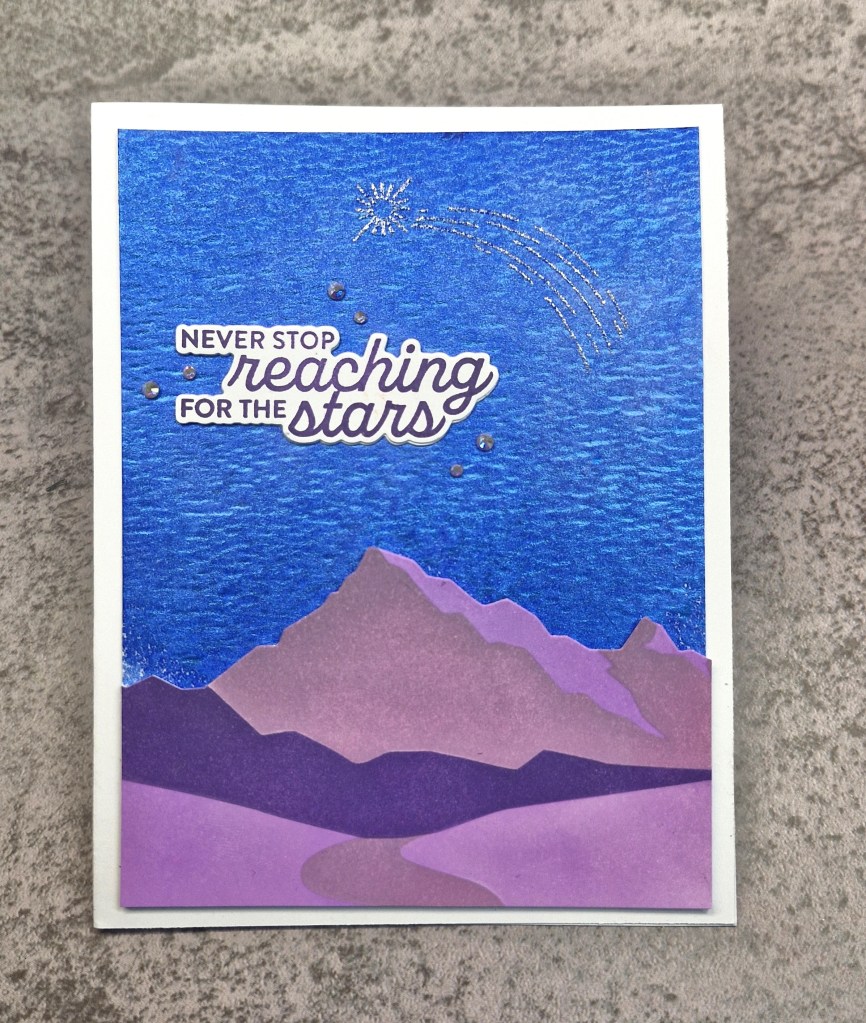
I started by creating the background panel. For this I used water-colour card stock, and sprayed some Hero Arts shimmer spray – quite liberally – to create a vivid and shimmery background.
Whilst this was drying, I created the mountain scene using stencils from Pinkfresh Studio and the recent ‘cards for him‘ event. I wanted purple mountains against the blue background, so used a selection of Pinkfresh Studio inks for the ink blending on the layering stencils. then used the matching dies to cut them out.
before adhering the blue panel to a card base, I took some stamps from the same event and heat embossed the shooting star in a silver glitter embossing powder – a subtle effect but there none-the-less.
The panel was then glued down to the card base. the mountains glued flat also, the the sentiment stamped and die cut with the matching dies, also adhered flat.
The final addition was some facetted gems.
I hope you can come and join us with your creations featuring a scene. xx
I shall be entering the following challenges:
Ally’s Angels – anything goes
Tic Tac Toe – middle row – any colour – free – sentiment
Mix It Up – anything goes – option of mixed media taken (shimmer spray, ink, embossing powder)