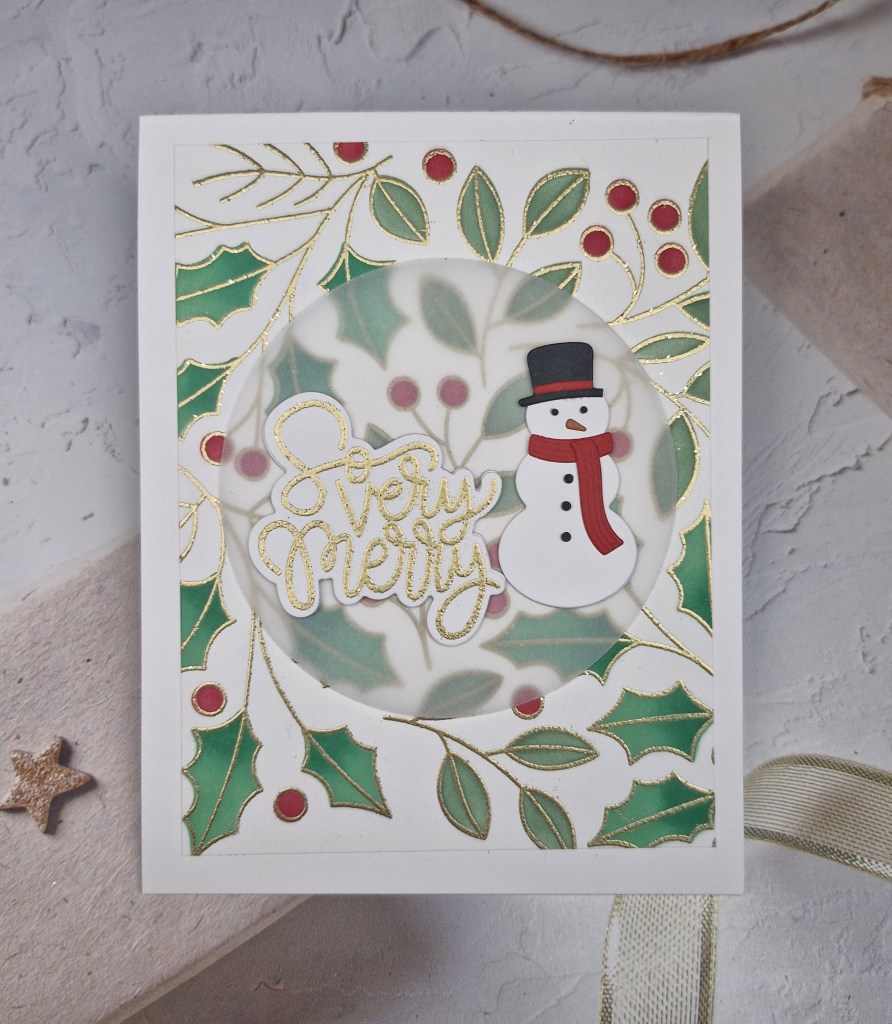
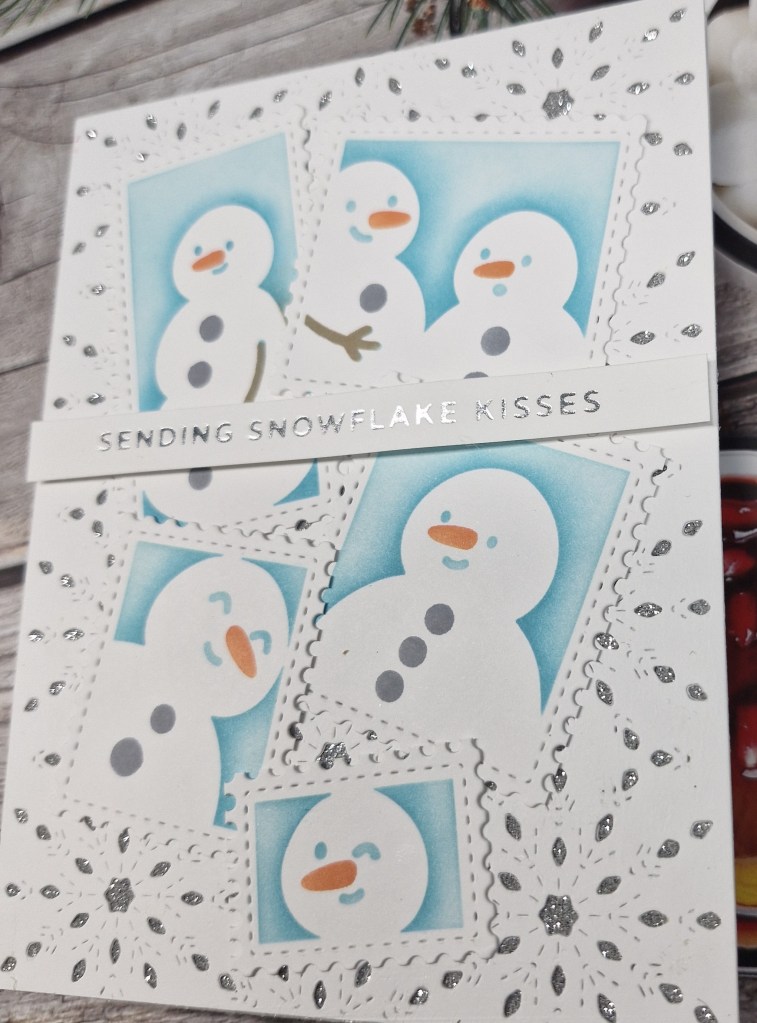
Hello everyone. I was able to create a shaker card using an older product suite from Pinkfresh Studio:
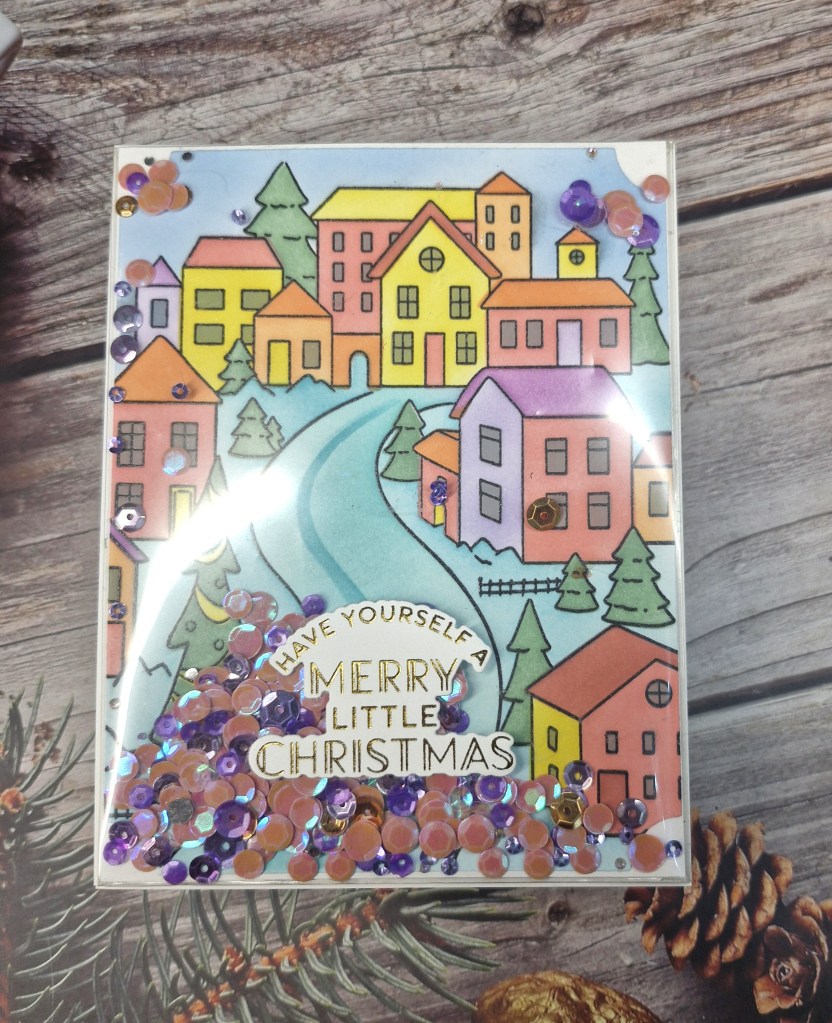
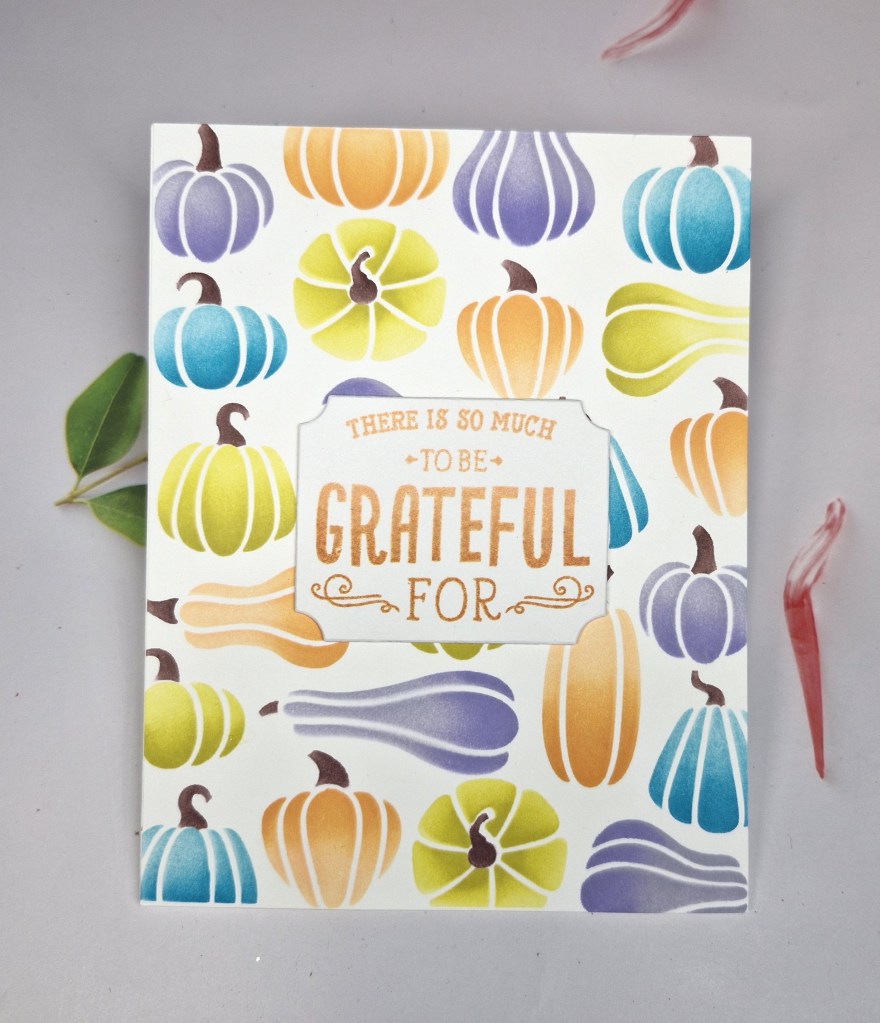
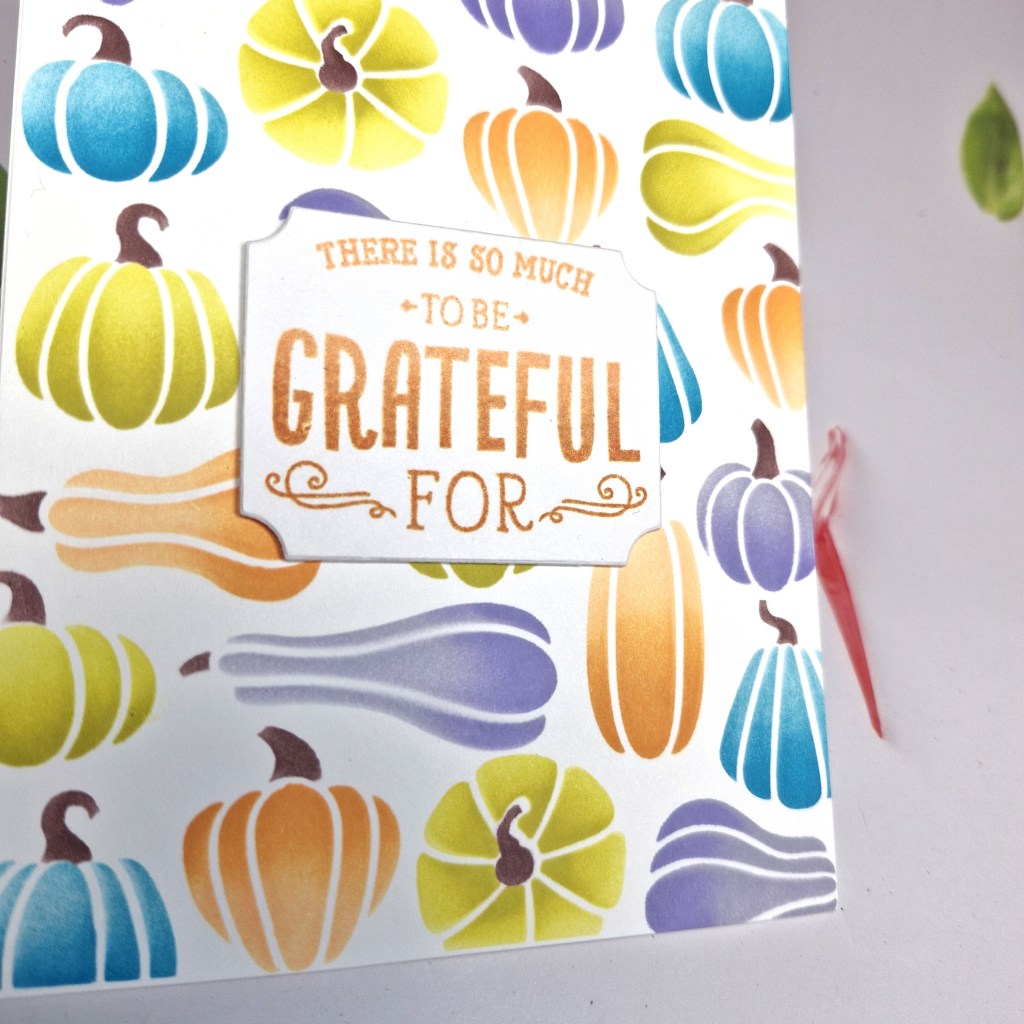
I first stamped in black then clear heat embossed the image. I find that no matter what black ink I use – and I have several – and if I just heat set the ink, I still get some bleeding around the outlines. The heat embossing solved that problem for me.
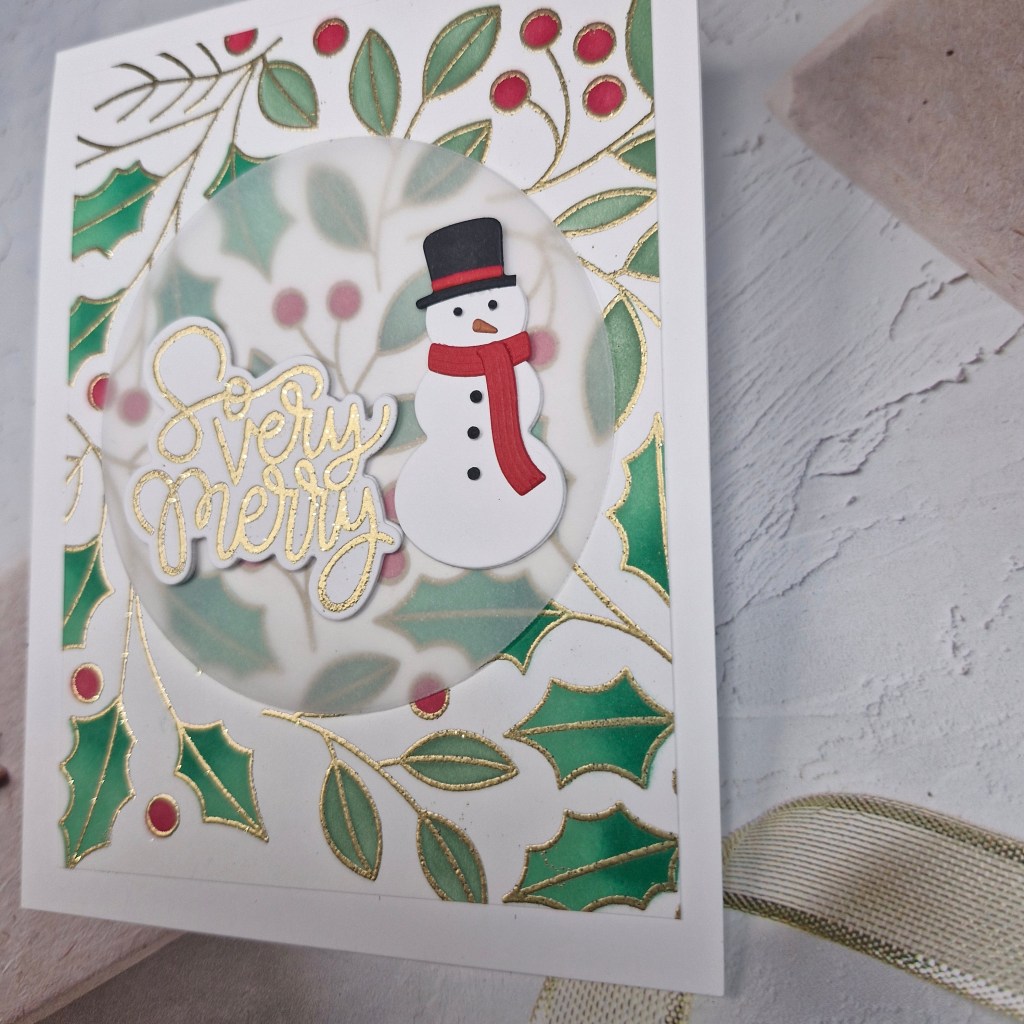
I then used the layering stencils to colour on the image, different colours on each stencil to get more variety, but I wanted a bright little village so used the brighter colour tones.
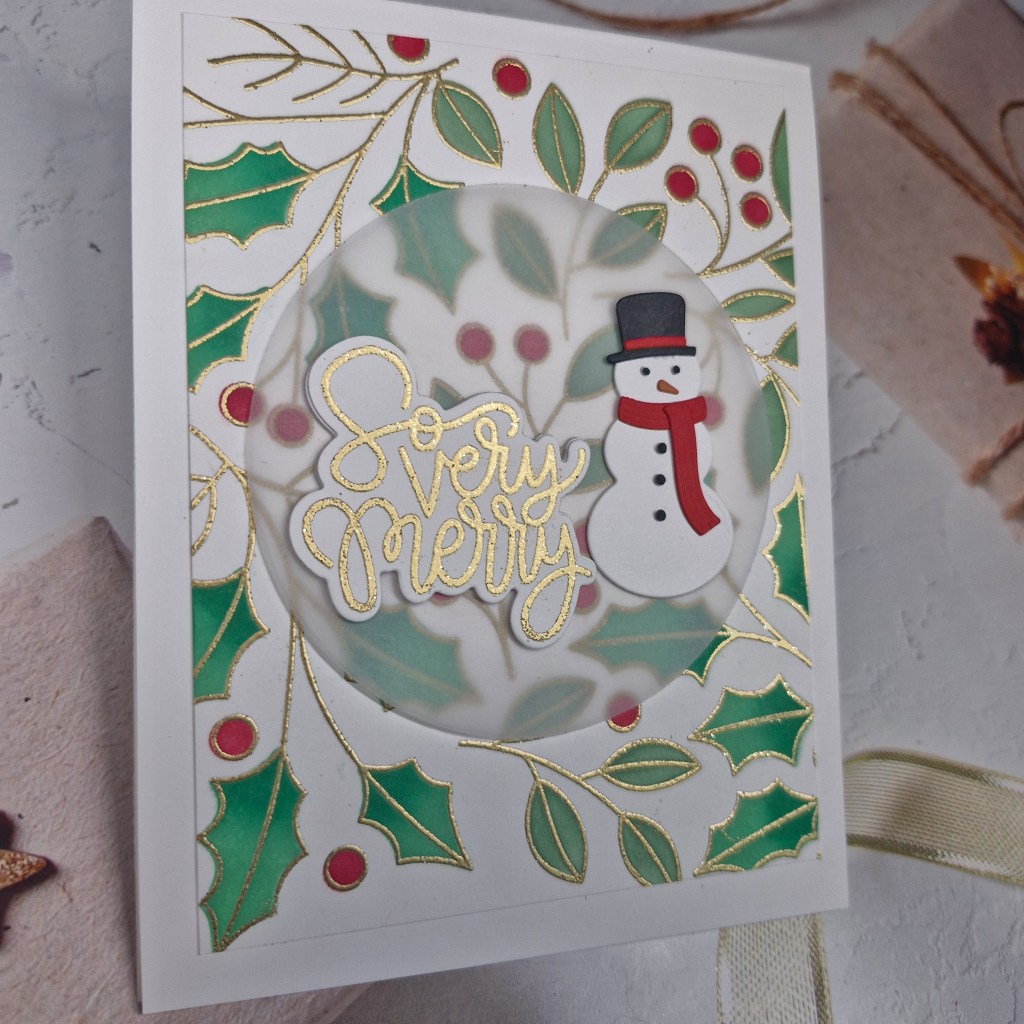
Once coloured, I used a notched fram3e die to cut it down a little, then hunted out my Toni Studios shaker pouches – stored ‘safely’ but found none-the-less.
I created the pouch, added some colours of sequins which I felt matched some of the colours of the image, sealed the pouch, then attached to a white card base.
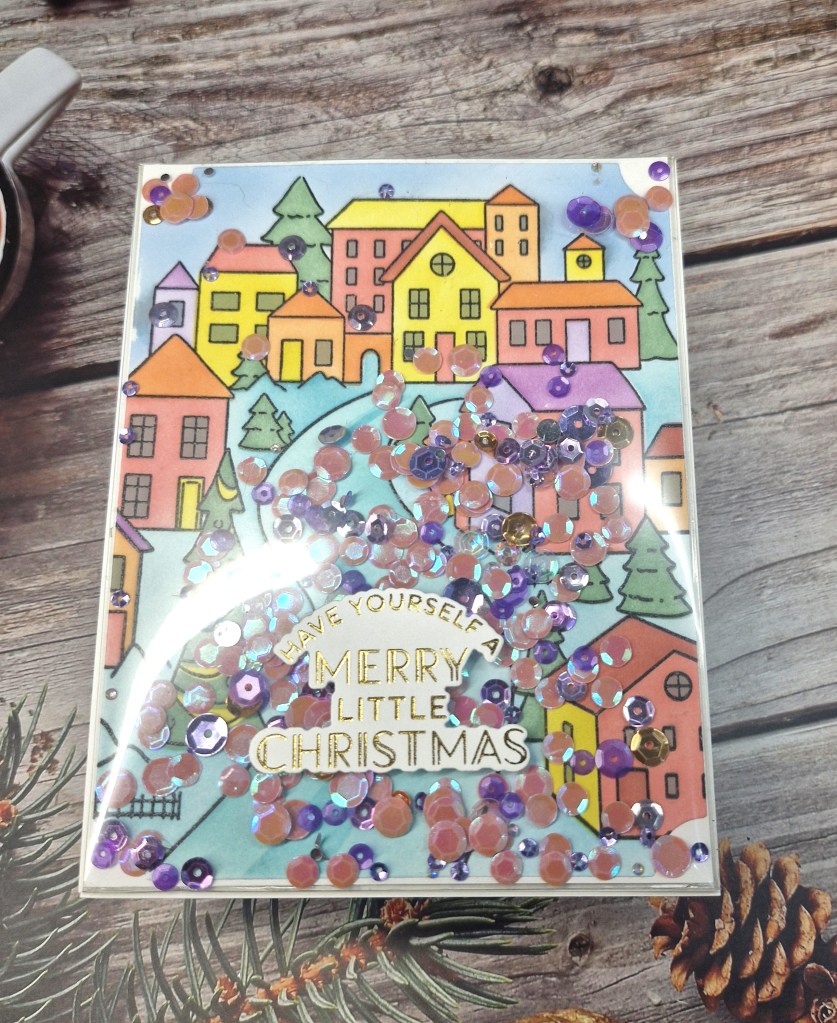
The sentiment is gold foiling.
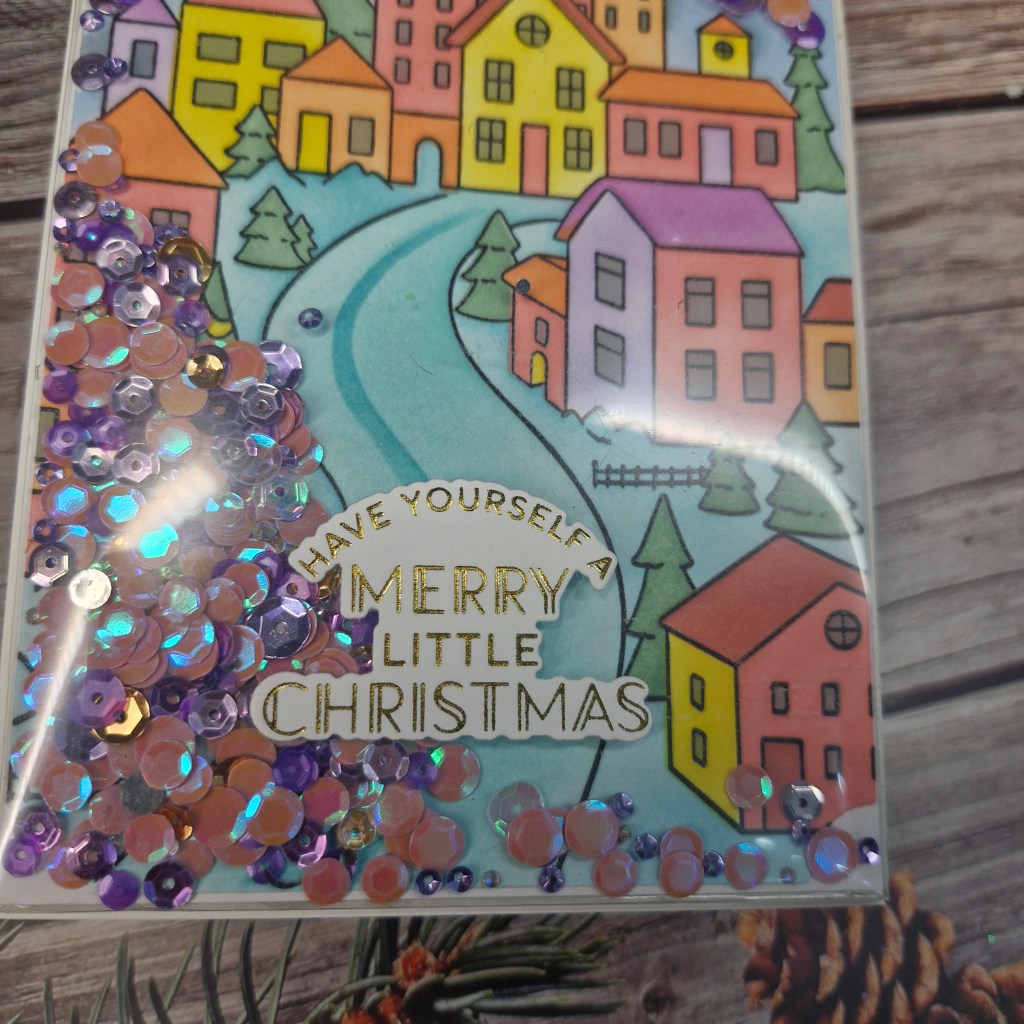
These Tonic pouches really do make shaker cards so very easy – the hardest part was selecting which colours of sequins to use.
I shall be entering the following challenges:
Lil Patch Of Crafty Friends – anything goes
Ally’s Angels – anything goes
Mix It Up – anything goes – option of CAS not taken
Addicted To Stamps & More – Christmas
12 Months of Christmas Link-Up – anything goes Christmas