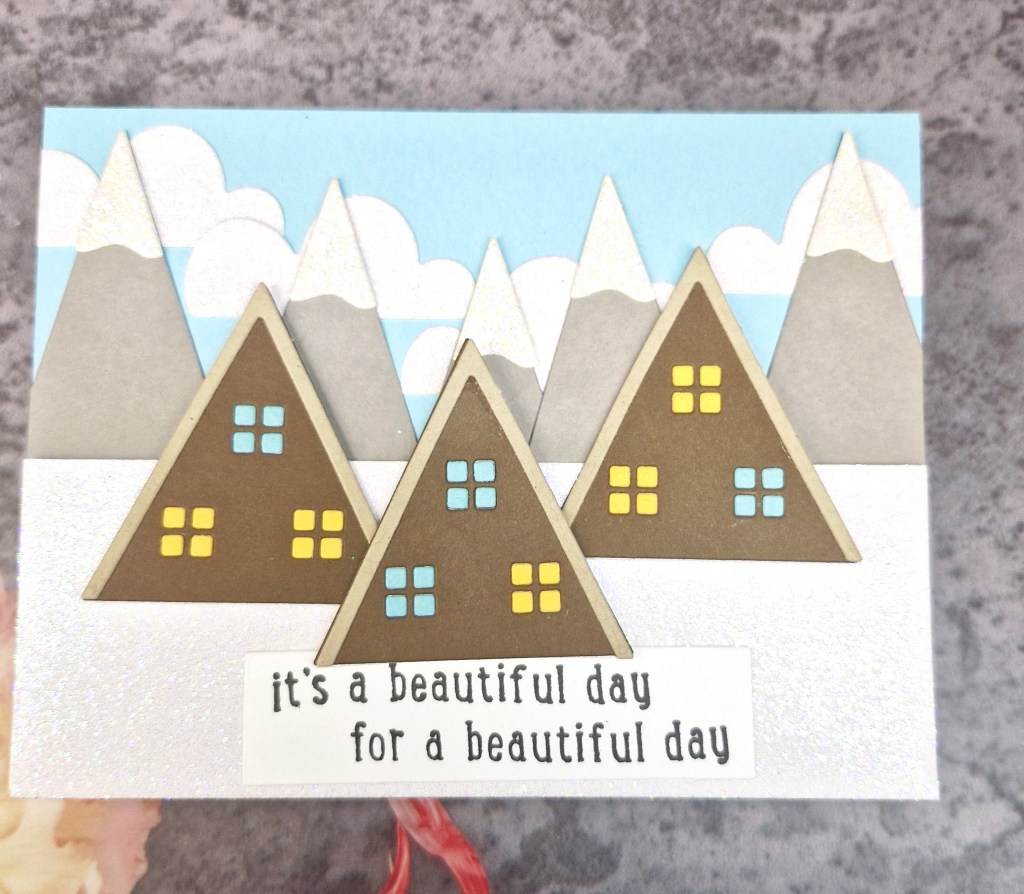
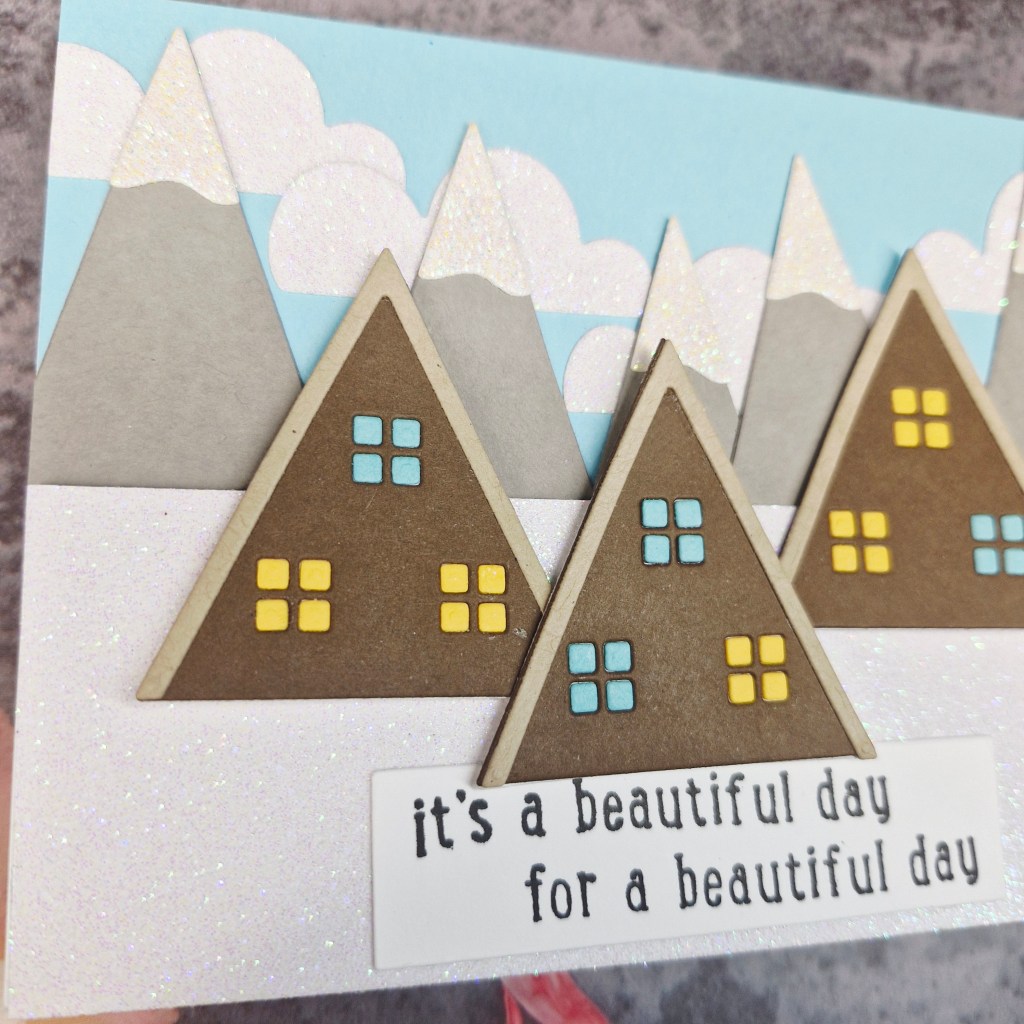
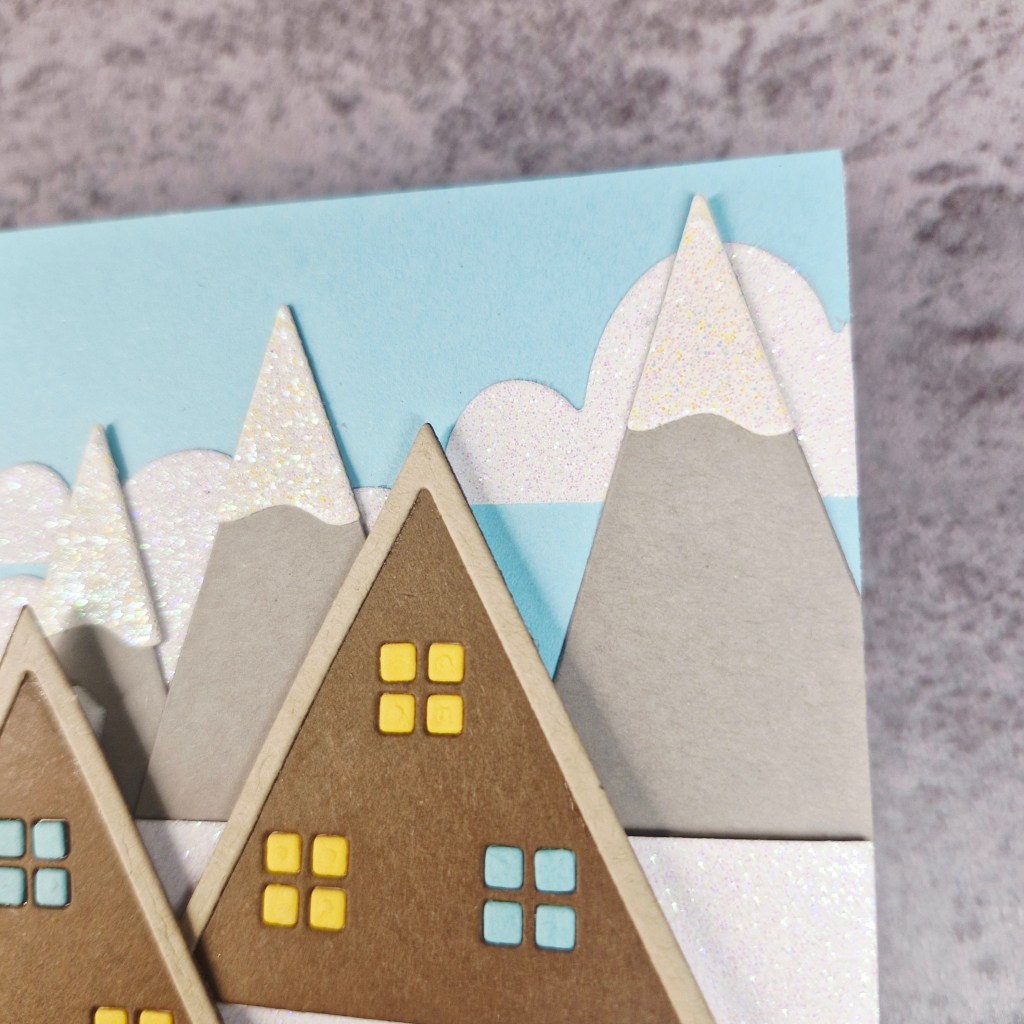
Hello again. Here is a card I created using dies from the Concord & 9th ‘Winter Retreat’:
The cabins, mountains and clouds were die cut and assembled, then put to one side whilst I thought about the layout and what kind of scene I wanted to create.
I decided to go with a winter scene, with clear blue skies, so I cut the blue card and attached the clouds flat, then took some white glitter card for the ground.
I added some champagne glitter card for the tops of the mountains so they would look a little different to the snow on the ground.
The layers were all added, attaching the cabins and mountains as you see, before stamping and adding the sentiment.
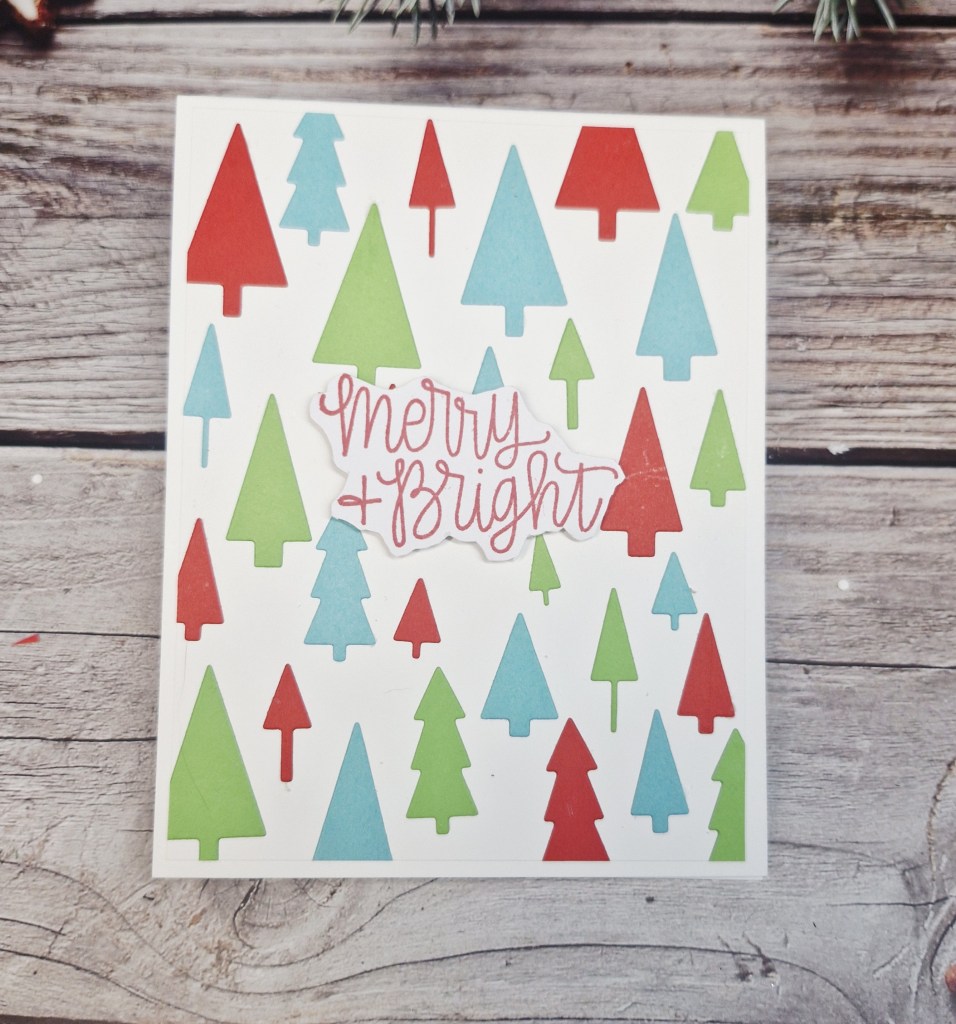
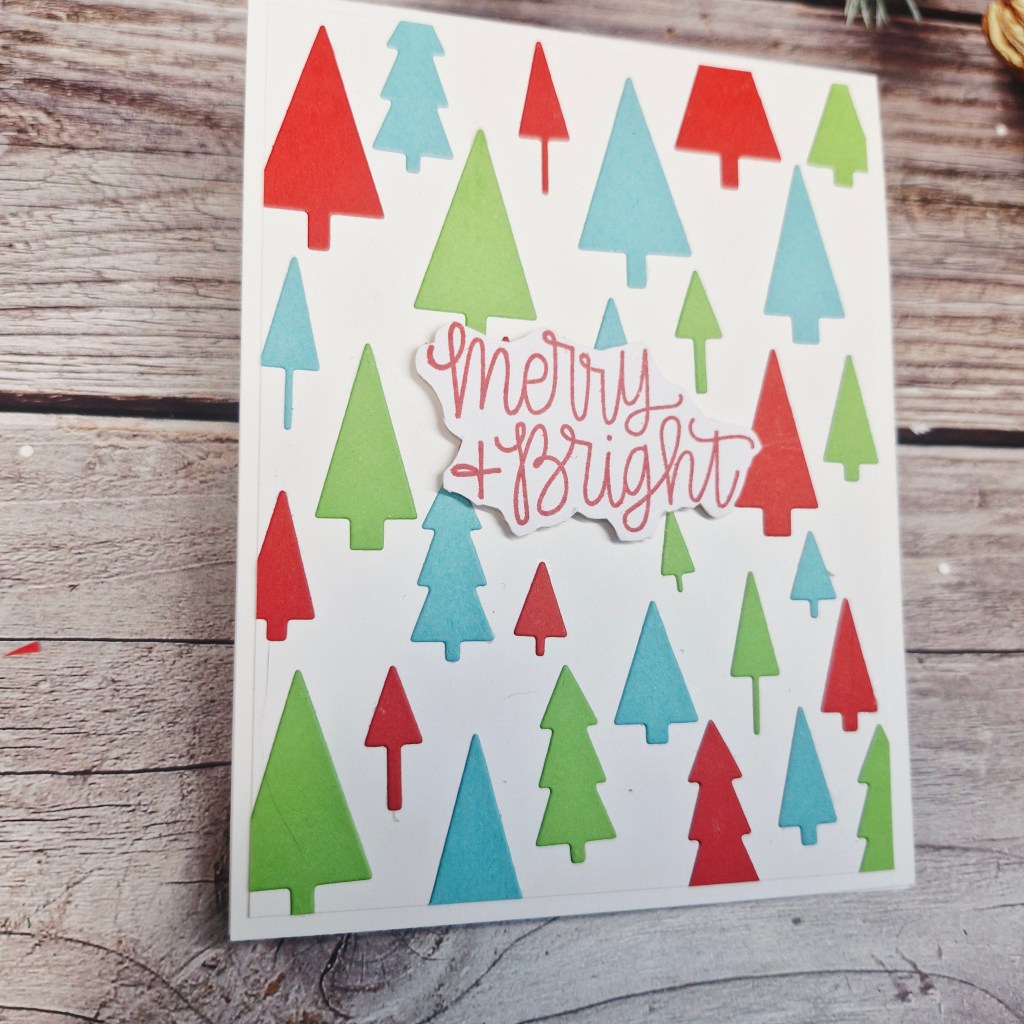
Hello and welcome to the first challenge of the year at ABC Christmas Challenge. Helen is hosting, and for the letters ‘A’ & ‘B’, we have the Christmas themes of A is for Anything goes, and B is for Bright. Here is my card following the theme of ‘Bright’:
I created this card using this inlay die of Christmas trees, die cutting the whole panel in white, then used strips of coloured card stock to die cut the trees.
The white layer was then added to a piece of card with a piece of double-sided sticky sheet – leaving the opening for the trees sticky – then each tree inlaid.
The sentiment was stamped then die cut with the matching die and attached as you see.
I hope you can come and join us with your Christmas creations following one or both of our themes.
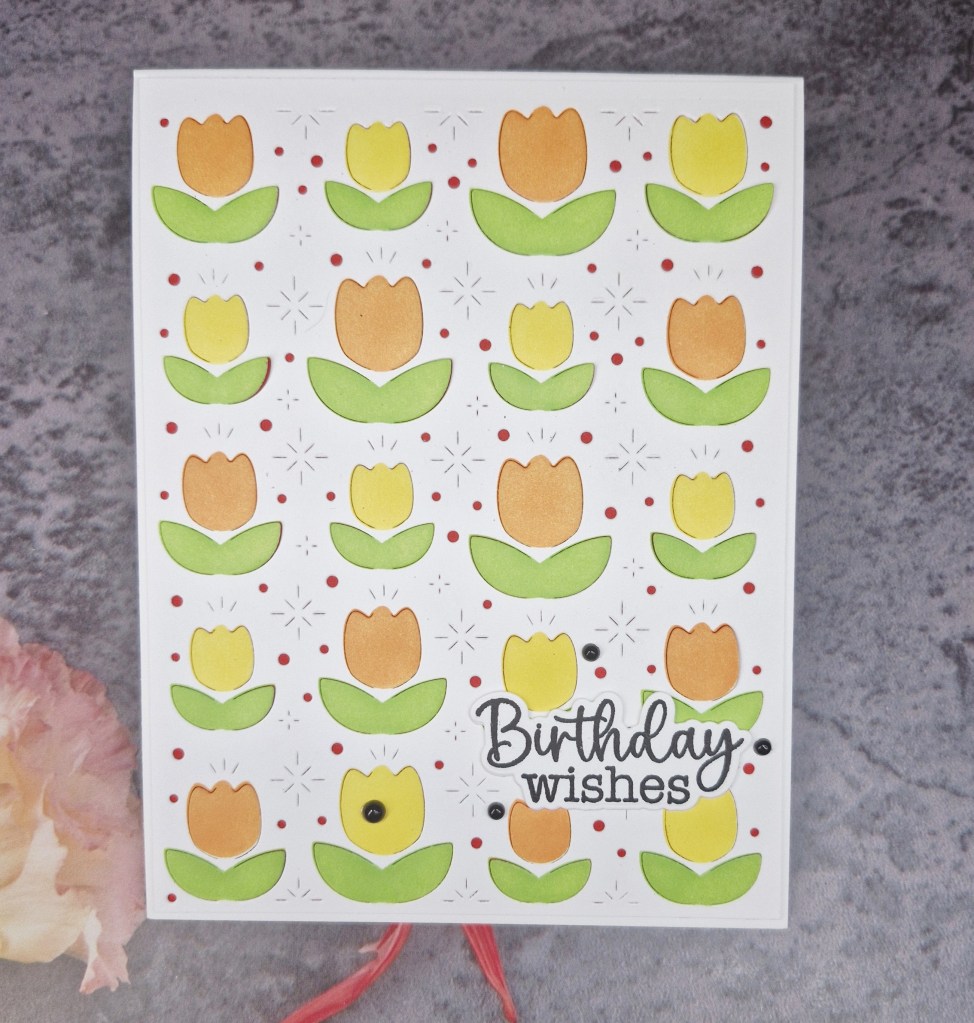
I have a card to share inspired by the current challenge at Festive Friday. When I saw their them was National Tulip Day, and aw the list to choose three items from the list, I remembered I had this die and stencil set from Waffle Flower that I have never used – time to play:
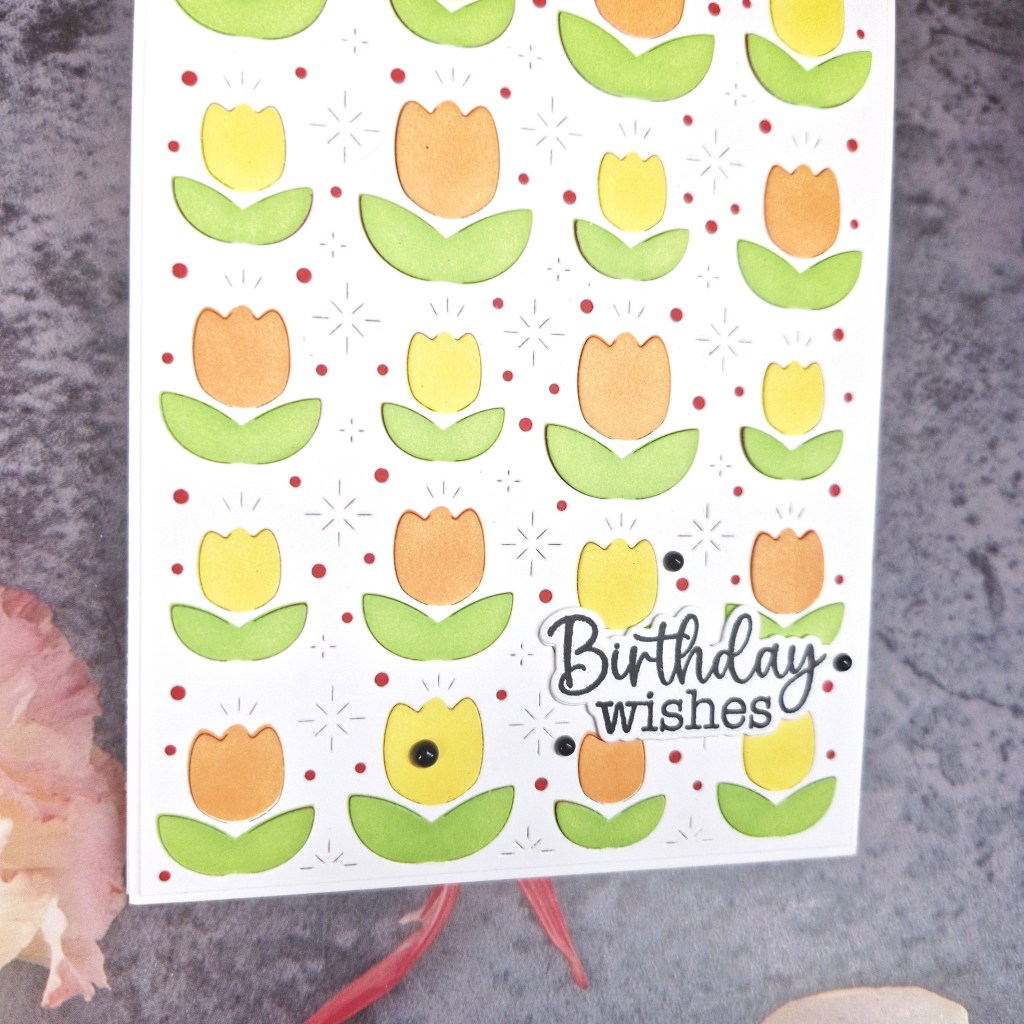
The first step was to die cut the panel, and then ink blend using the matching stencil set. I chose to use orange and yellow for the flowers, two colours from the provided list, but then I also added a backing piece of red paper which you can see behind the die cut panel.
Once all attached to a card base, I stamped and die cut the birthday sentiment – another item from the list – and adhered as you see.
I wanted the sentiment to be quite bold, which is why I chose black, so I also added some black enamel dots.
Quite a bright and cheery card to help get over this snow hump we are having in the UK at the moment. xx
I shall be entering the following challenges:
Festive Friday – at least three items from inspiration list – orange, yellow, red, birthday, tulips,
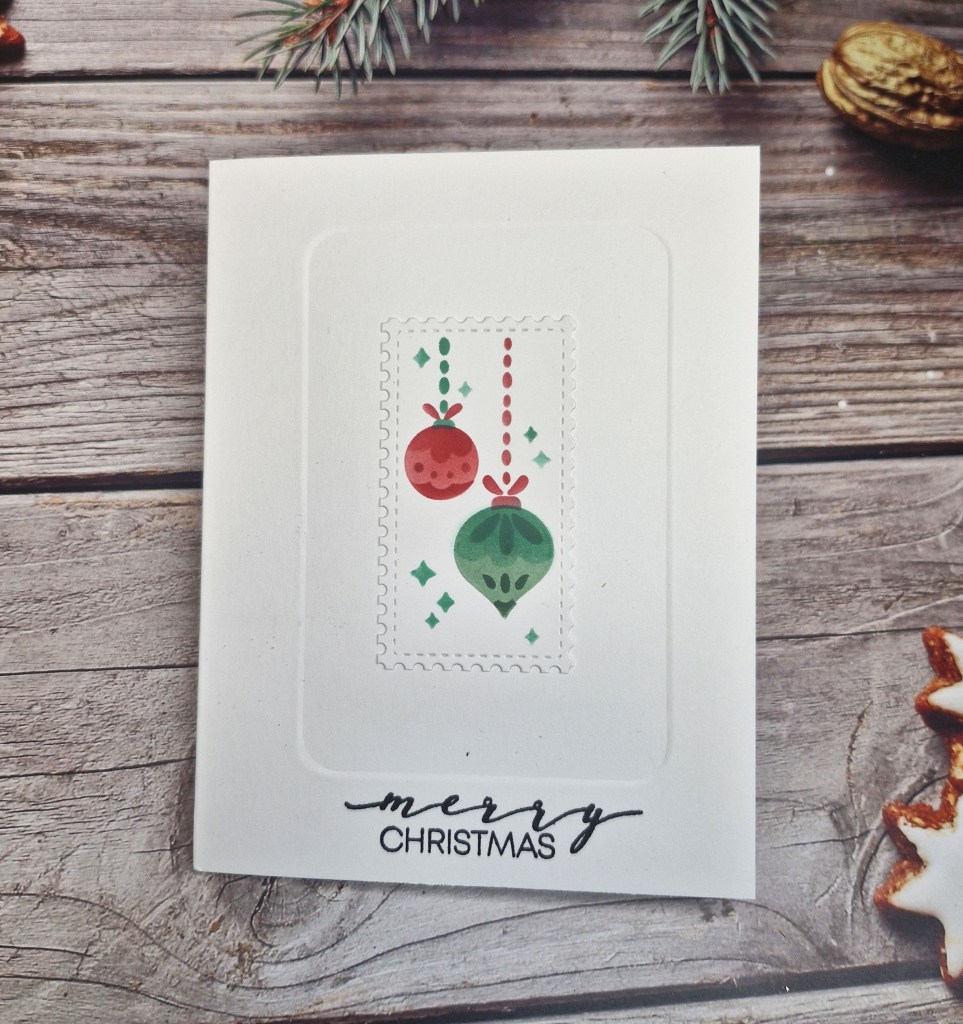
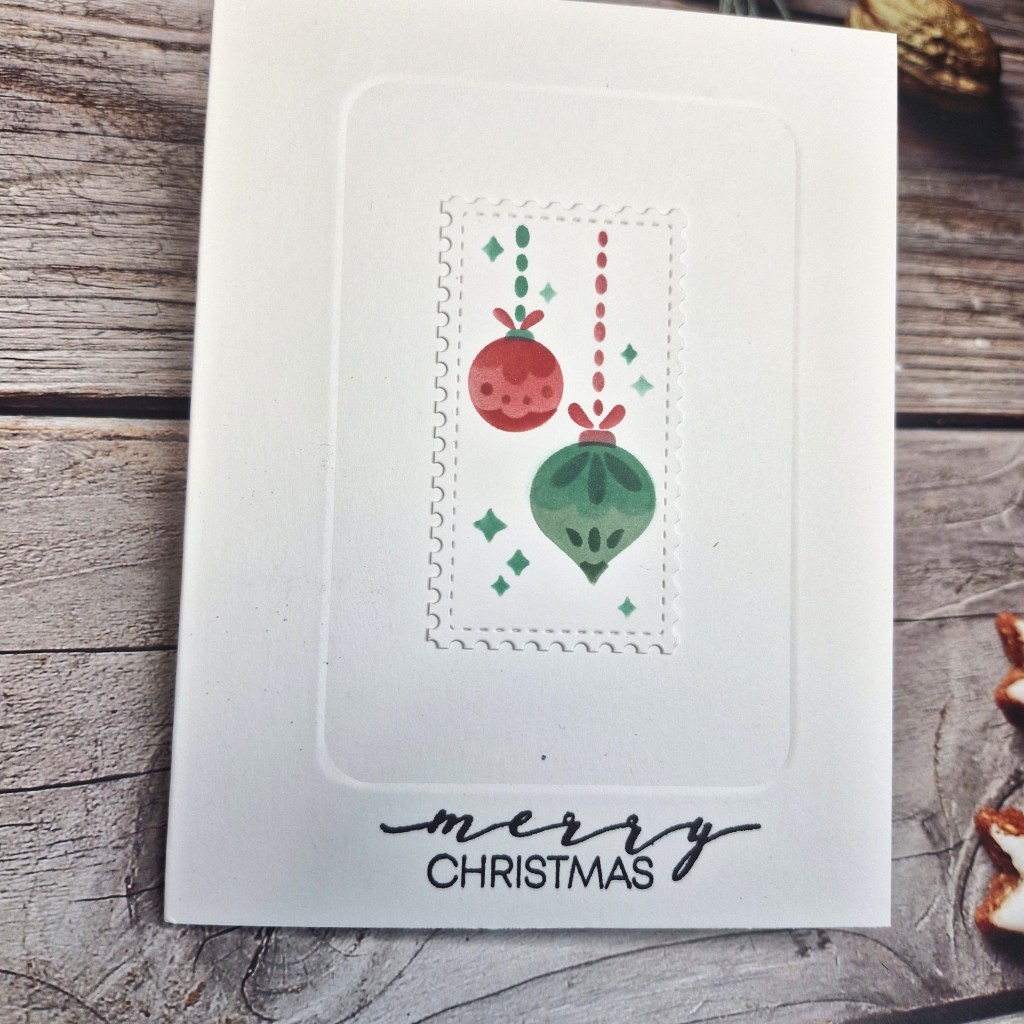
Hello. I am venturing into the CAS realm again with this card:
For the image on this card, I ink blended the whole of the Waffle Flower Christmas Collage stencil, then chose this one image for this card. The other images will be used on another card.
I first took a A2 card base, and used Clarity Crafts embedders to create the impression. I have a DT friend who is on the Design Team for Clarity Crafts, and she does some fabulous CAS cards – you might want to check our her blog here. Anyway, she uses the embedders and has given hints and tips – which I try to follow – and this time I think it worked….
After using the embedder, I stamped the sentiment, then attached the image with glue.
I find it hard not to add plenty of things and not add dimension -but I will persevere with the CAS look sometimes – just for fun…
Hello again. The ABC Christmas Challenge has reached the end of the alphabet, and therefore this challenge is for the letters ‘Y’ and ‘Z’. The Christmas themes for these letters are:
Y is for Yummy (food) and Z is for Zebra (black & white or stripes)
Here is my card:
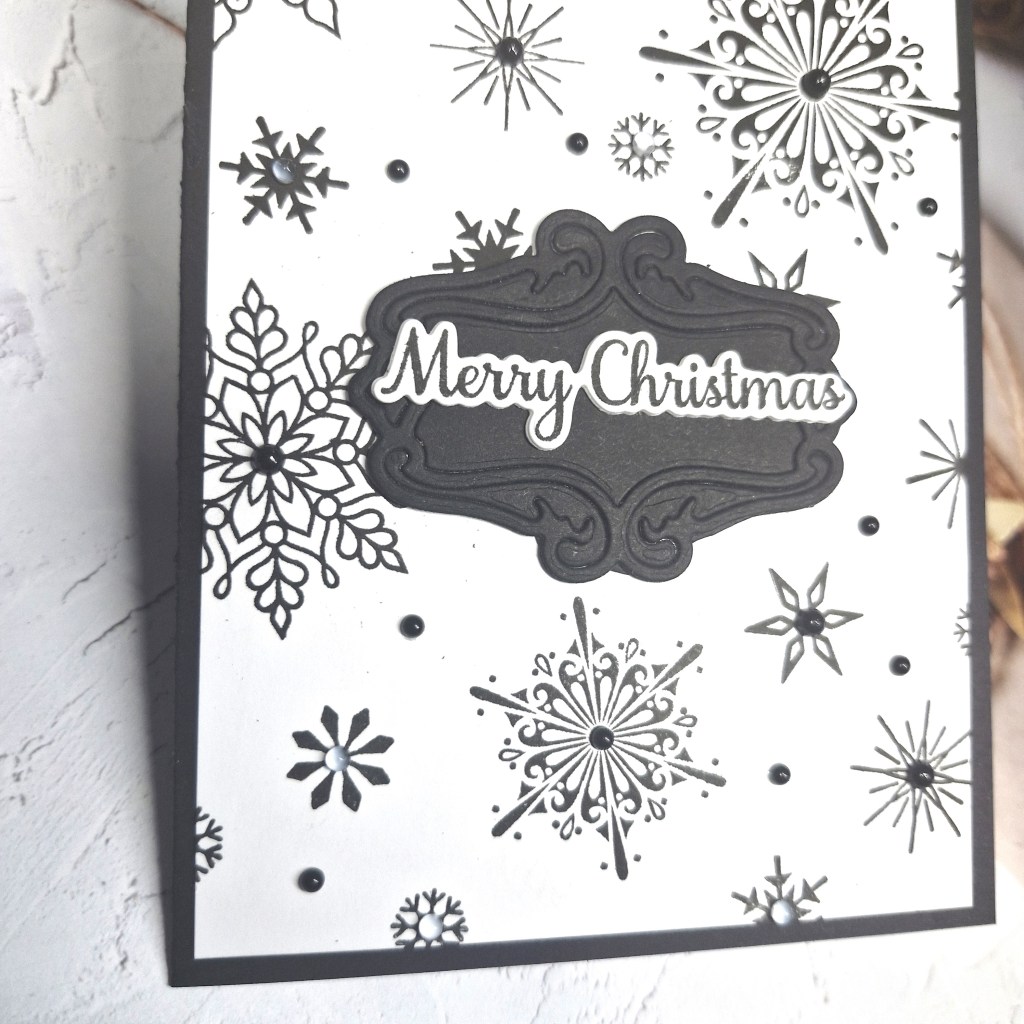
I obviously followed the black and white Christmas theme, creating what I think is quite a dramatic card.
I took an A2 panel and stamped some Gina K Designs snowflakes on a random pattern all over it, then cut it down slightly and matting with a piece of black card to create the edge.
The black banner/label for the centre is from The Greetery, and the die cuts out this filigree frame – but I decided I wanted all the details of the frame to stay in place, so I placed them all back in and applied some double sided tape to the back – keeping them secure.
The sentiment was stamped, then die cut with the matching die.
The final touch was to add some black gems to the snowflake centres, and a couple of smaller gems in some of the white spaces.
I hope you can come and join us for our final challenge of the year with your Christmas creations following one or both of our themes. xx
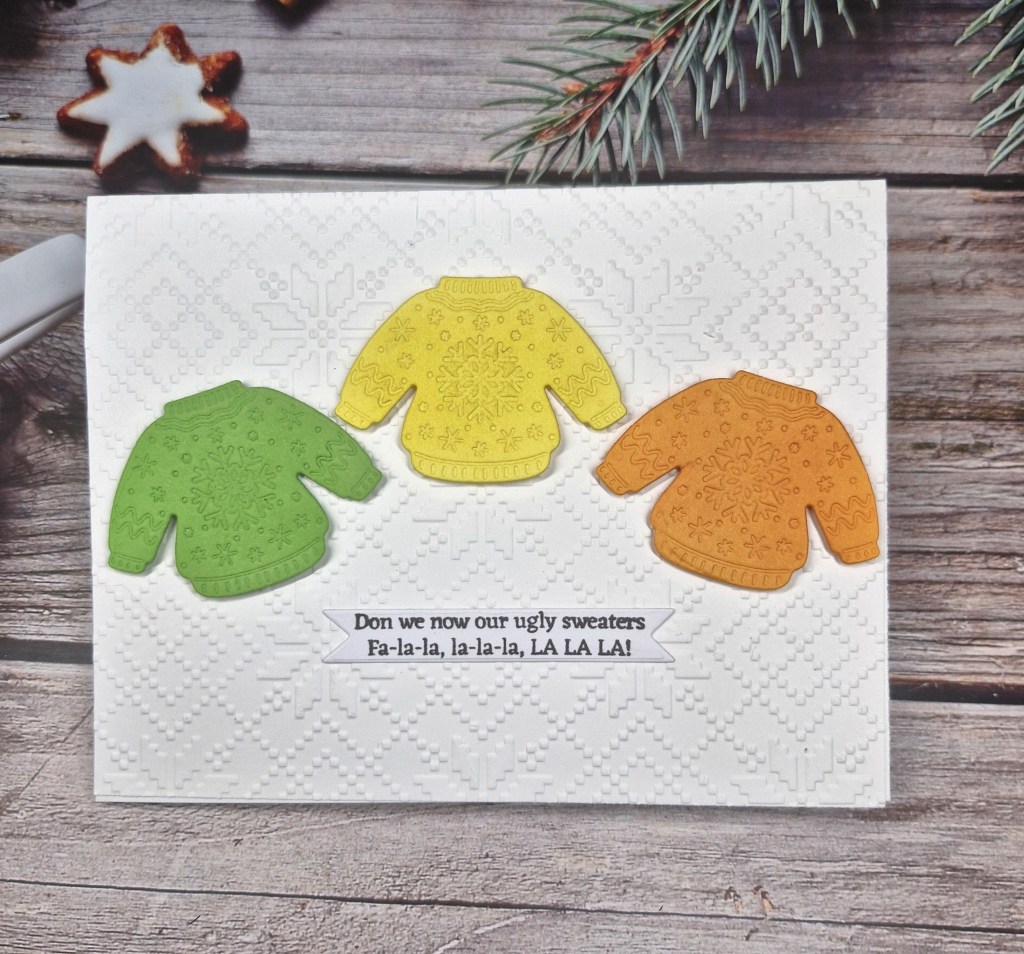
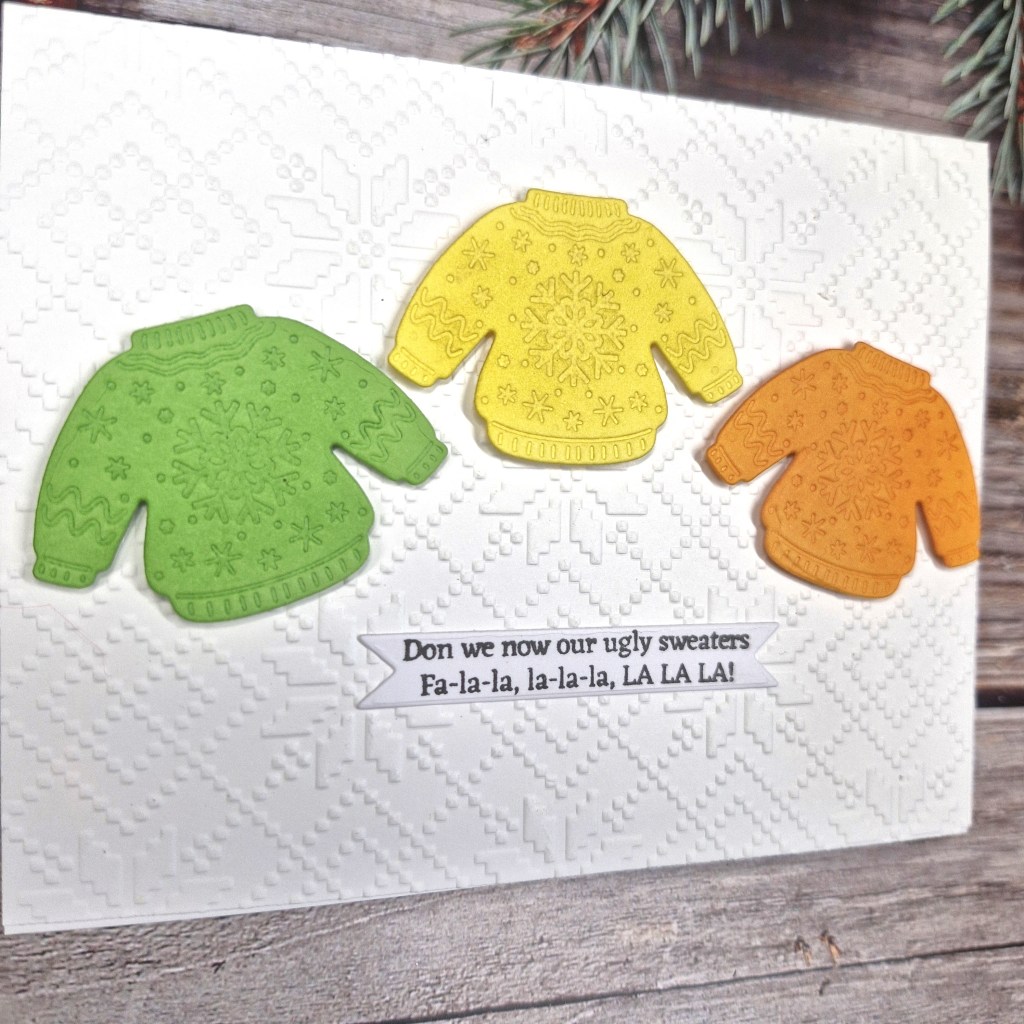
Hello. I received this sweater die as part of a Simon Says Stamp kit, and thought it was adorable, so I had a play with it yesterday:
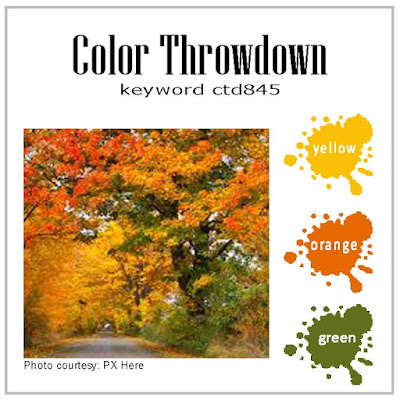
I chose to follow the colours at the current Color Throwdown Challenge, by die cutting the sweater in the colours you see, and I also ran the die cut back through with the embossing mat to make the details stand out a little more.
I also ink blended each sweater in a slightly darker matching colour, to again enhance the details.
Keeping it fairly CAS – for me anyway – I used a Spellbinders embossing folder to create the background panel, then added the three sweaters with 3D foam.
The sentiment is from a Gina K Designs stamp set – stamped then cut out with a banner die from one of her Master Layouts die sets, glued directly down to the background.
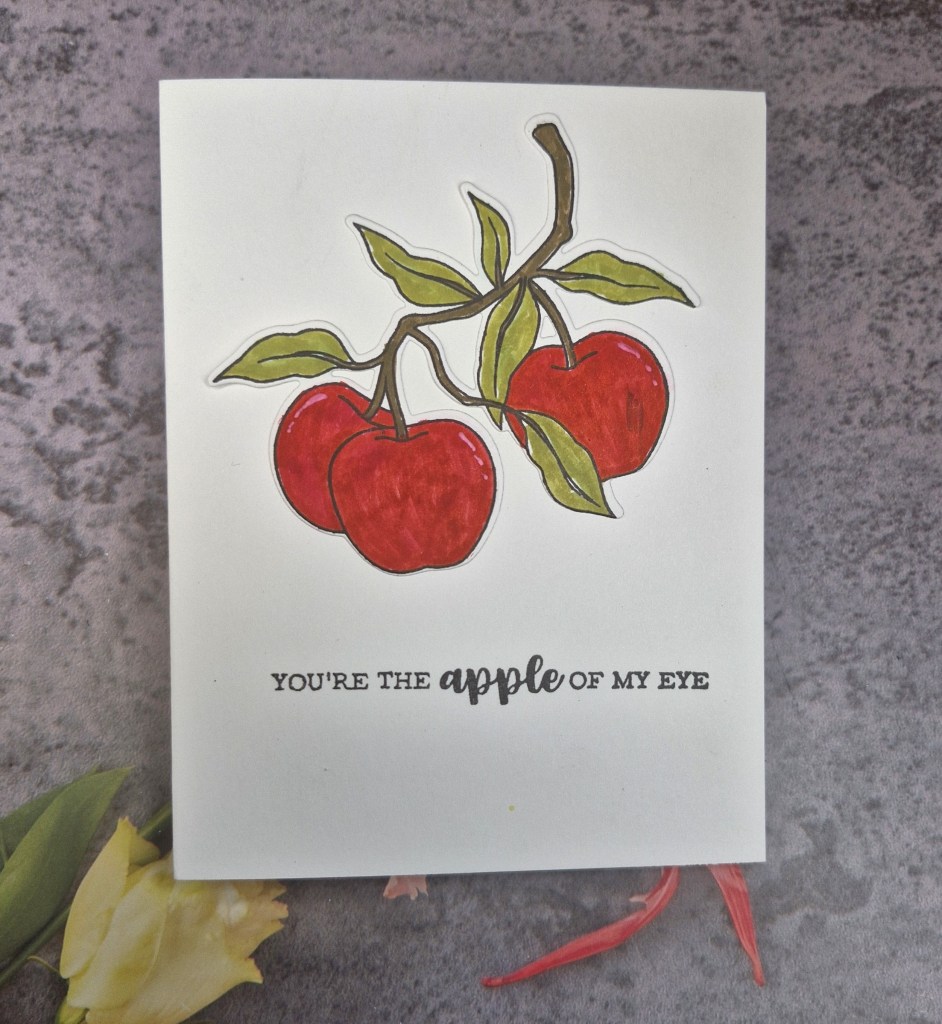
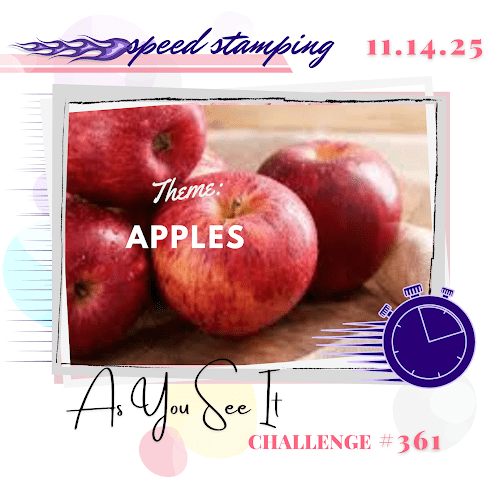
Hello. I was intrigued by the challenge at As You See It – this time, they wanted the theme of apples, and it was also a timed challenge – had to be created within 10 minutes…
I did a search through the Color My Life app, and found this stamp and die set from Clearly Besotted – an old one from 2017, but I thought it would fit the bill.
I’m not particularly proud of the colouring on this – but I was conscious of the time so went with it.
I got all my supplies together, started the timer – off we go.
The first thing was to stamp the image, quickly heat set, then I used my Zigs to colour them in – very basic colouring. I chose Zigs as I thought they would spread the colour around quite quickly.
Once coloured, I used the matching dies, grabbed a card base, stamped the sentiment directly onto the card base, then attached the die cut image with glue. I had a few seconds left over, so I took a white gel pen and made some ‘shine’ on the apples. This didn’t turn out as white as I’d hoped, as the colouring was still a little damp, but you can certainly see the marks.
As you can see – very close to the wire – but success none-the-less.
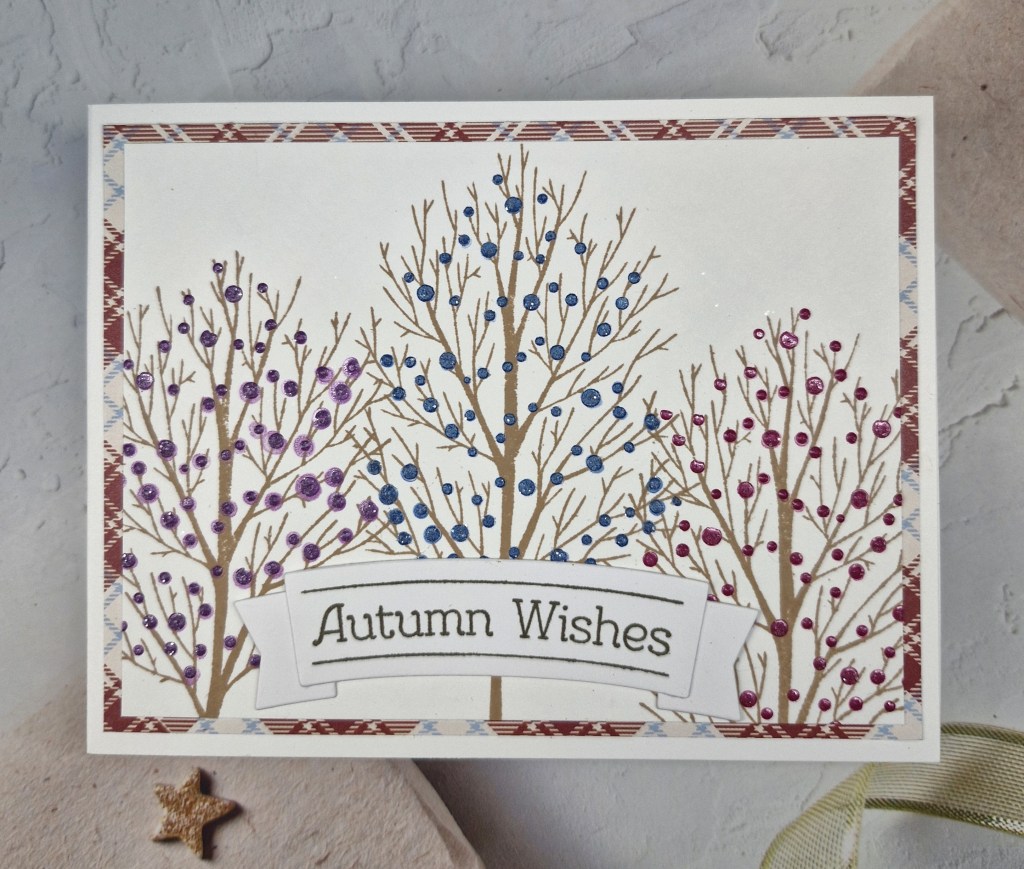
Hello. I want to share a card created using a Simon Hurley stamp and stencil set, obtained for a virtual event recently, and to enter the current challenge at The Four Seasons Challenge. The current theme is ‘fall’:
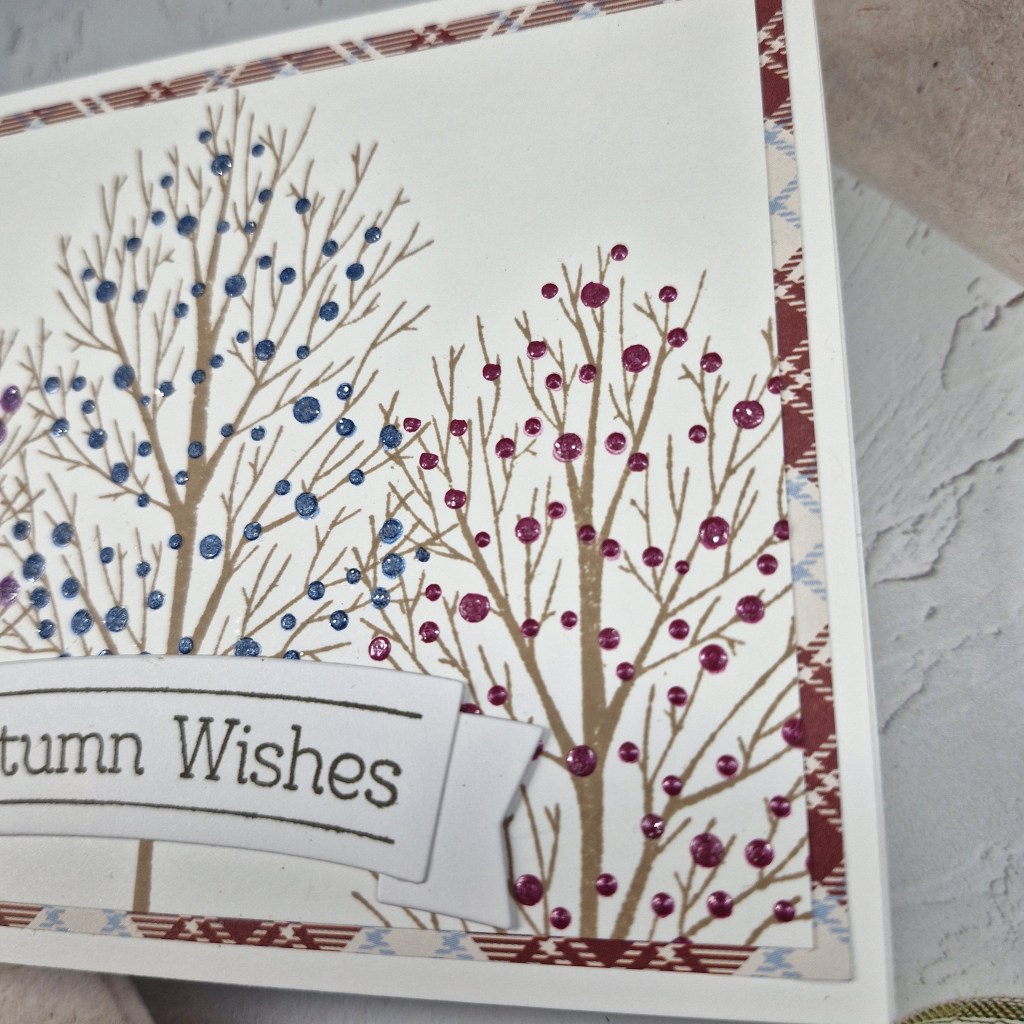
The first job was to stamp the bare trees, which I inked with brown, then stamped in different positions. The leaves are added with a matching stencil, so I actually used Nuvo drops for the so-called leaves.
I squeezed some of the purple out, scraped through the stencil with my palette knife – then had to wait for that to dry before moving on to the blue, and then the red – something I generally don’t like to do – wait for things to dry. I am very impatient when creating….
Once the three colours were dry, I cut the panel down slightly, then layered it with a patterned paper onto a white card base.
The sentiment was stamped, then the banner die cut and attached.
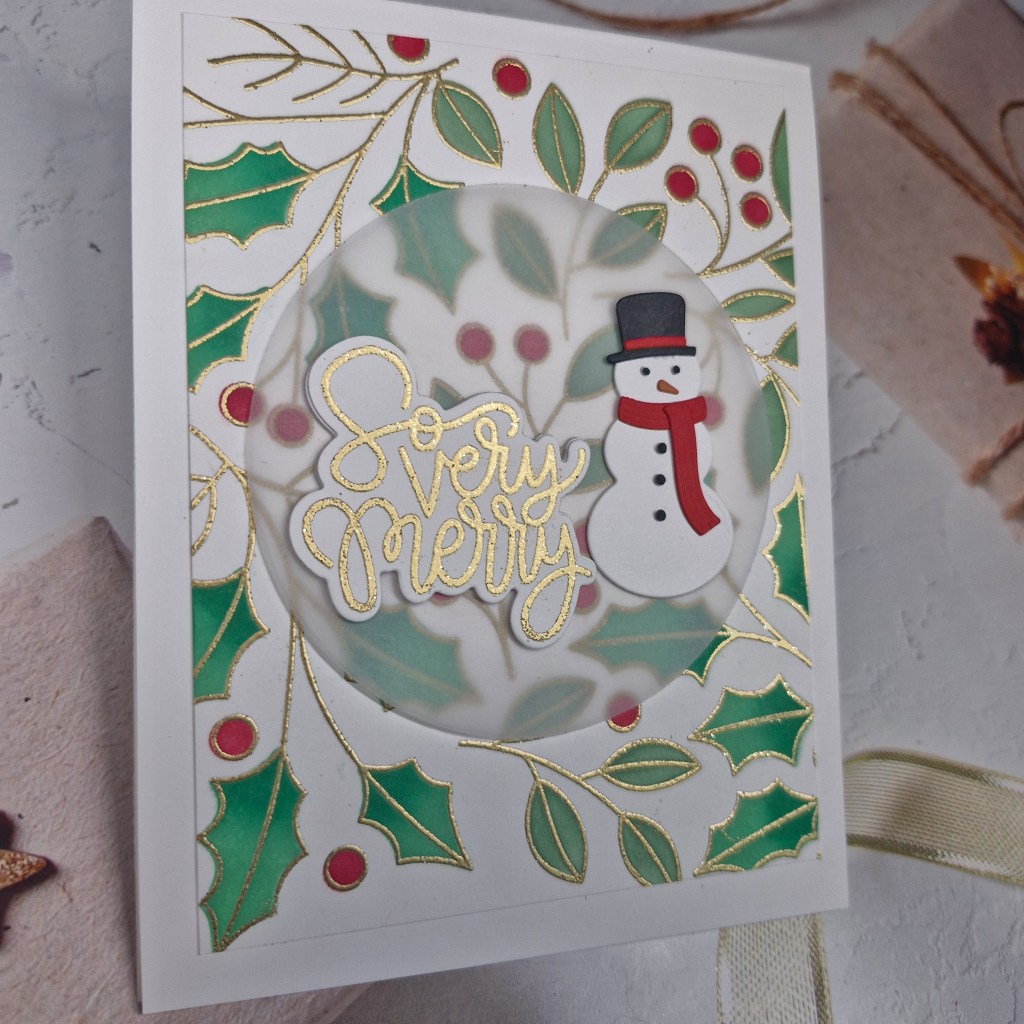
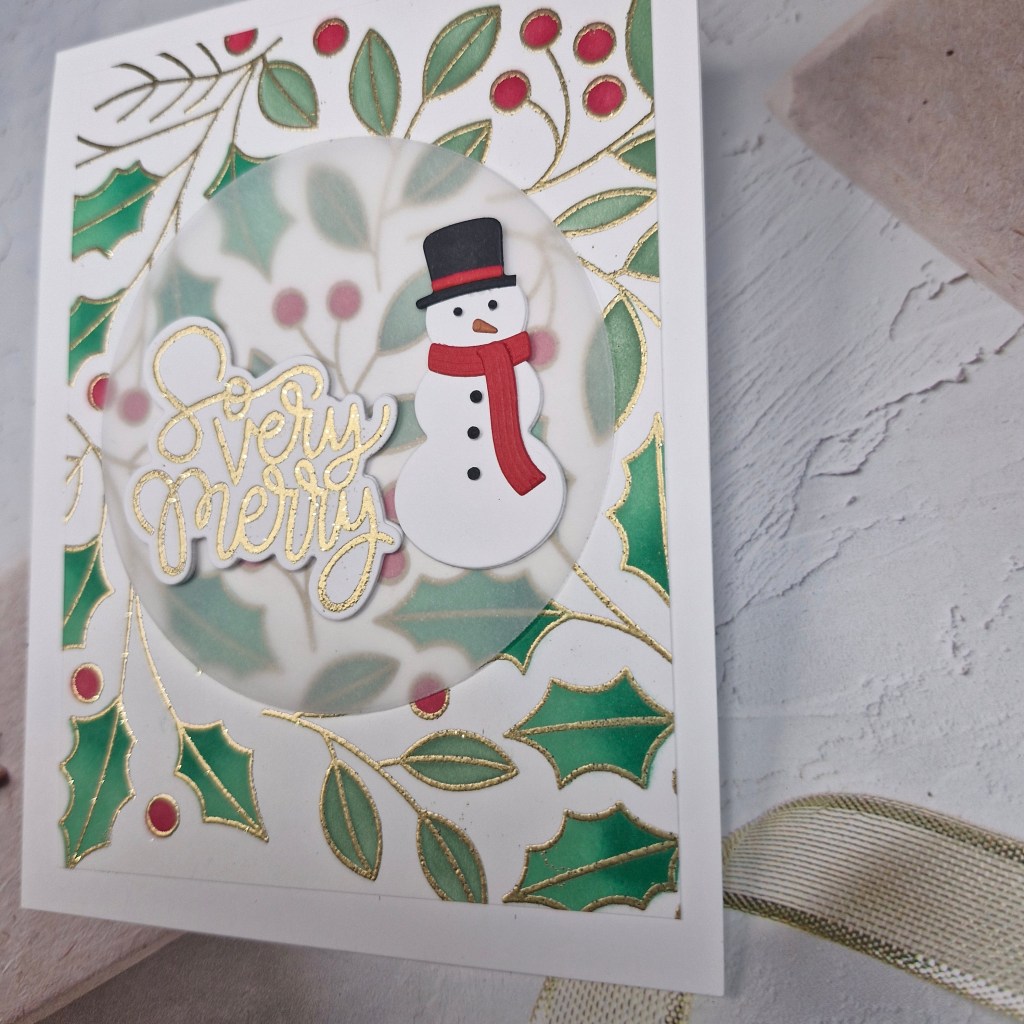
Hello again. Having just returned from a few days away with hubby to Tenerife, I was itching to get into my craft rom and play with some new products which were part of a recent Online Card Classes class. I watched the first day of class whilst away, but still have to catch up on the rest.
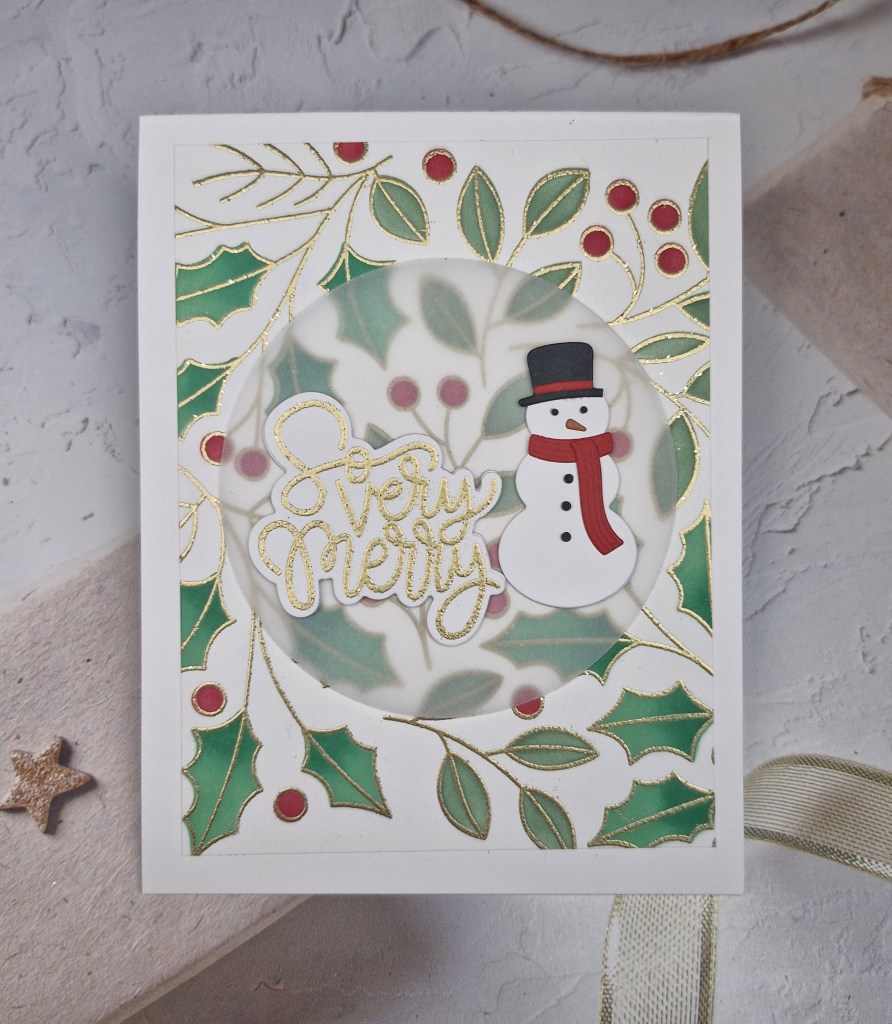
I started by gold heat embossing the ‘Easy Repeat Holly‘ background stamp from Concord & 9th and Kristina Werner using the Taylored Expressions ‘Gold Sparkle’ embossing powder, then used the matching layering stencils to colour the image. On the holly leaves, I used two tones of green, the darker towards the base of the leaves to create some dimension.
This panel was then cut down slightly and attached to a white card base.
The snowman was die cut, glued together, and set to one side, whilst I gold heat embossed the sentiment, then used the matching die to cut it out.
When I placed the snowman and the sentiment on the background, they seemed to get a little lost, so I die cut a circle of vellum, attached the snowman and sentiment to the front of it, then glued it down – applying glue only behind the two die cut pieces.
I shall certainly be watching the rest of the lessons for the class, and I’m sure I shall be utilising some of the techniques demonstrated with these products.
I shall be entering the following challenges:
Tic Tac Toe – top right diagonal to bottom left – snowman/snow – gold – Christmas sentiment
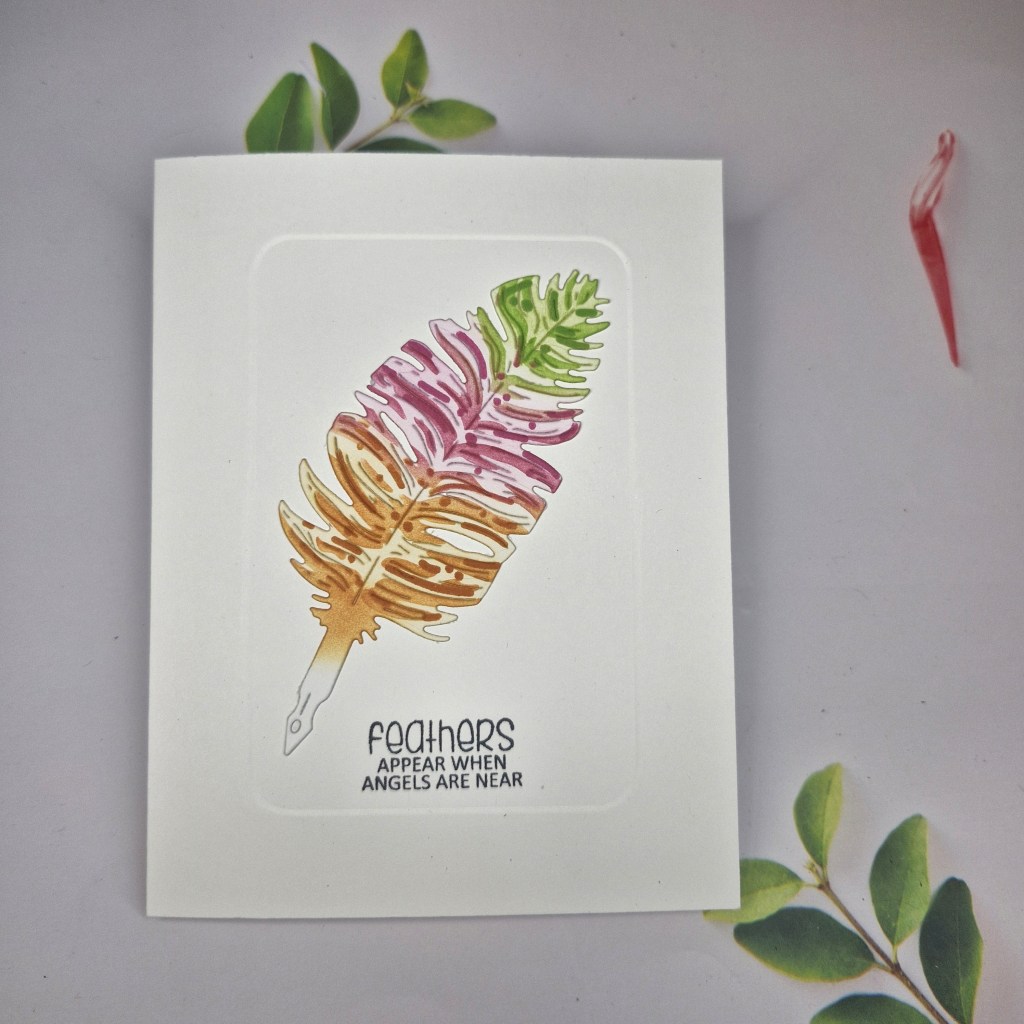
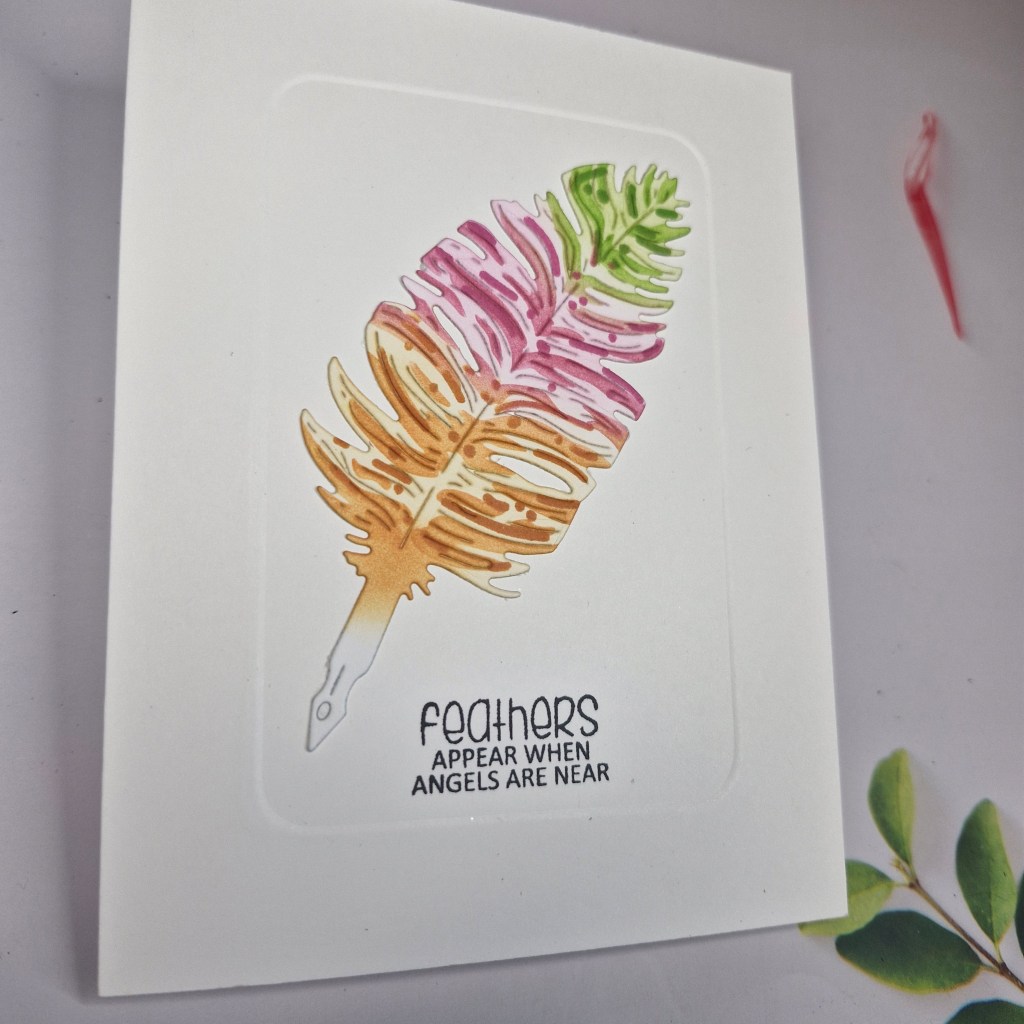
After my die cutting saga yesterday, I decided to try my hand at a more CAS card today:
You know that CAS is not my usual style, and I actually find this style more challenging, but I was inspired by the current challenge at CAS on Friday, as their theme was ‘feathers’ and I just love this die and stencil set from Waffle Flower Crafts.
The card base is an A2 side folding – my choice is asked – and into that I embossed a rectangular frame using Clarity Crafts embedders. I really, really need to practice this technique, as I failed on the first card base – a couple of panels to use later – but I do like the effect. It adds a little something-something without adding too much detail or dimension.
I then stamped the sentiment from a Clearly Besotted stamp set directly onto the card base, at the bottom of the embedded rectangle.
The feather was die cut, placed on my grip mat, and the colours from the Color Throwdown used – lime, pink, then orange – using Pinkfresh Studio inks.
The two layers for the stencil set first does the lighter details, whilst the second layer does the darker details, and after those two were blended, I went back over very, very lightly with the same inks to make the background white on the feather less harsh.
I decided to keep the nib of the feather pen on there, but did ink down a little with the orange, then glued directly into the embedded rectangle.
So – no gems, no jewels, no 3D foam tape – my goodness – I must get back to doing that tomorrow…..!