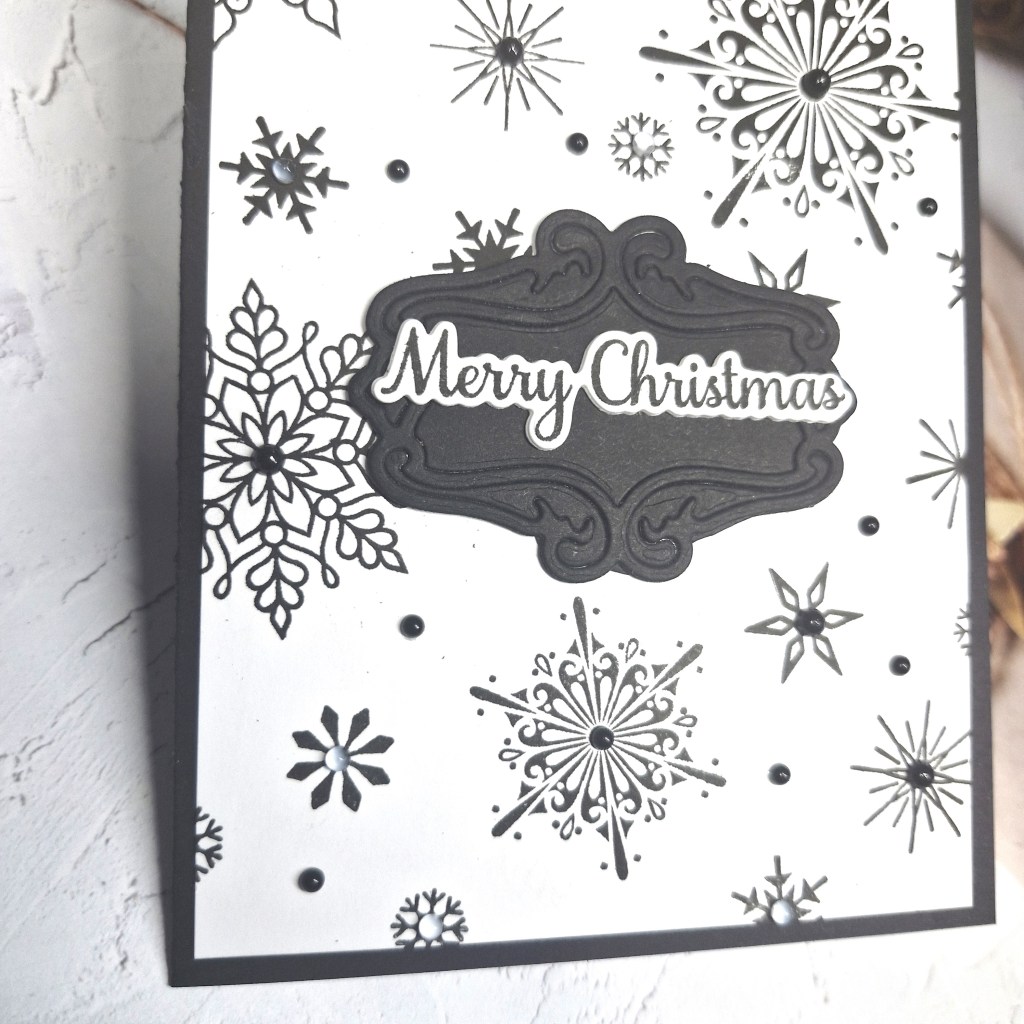
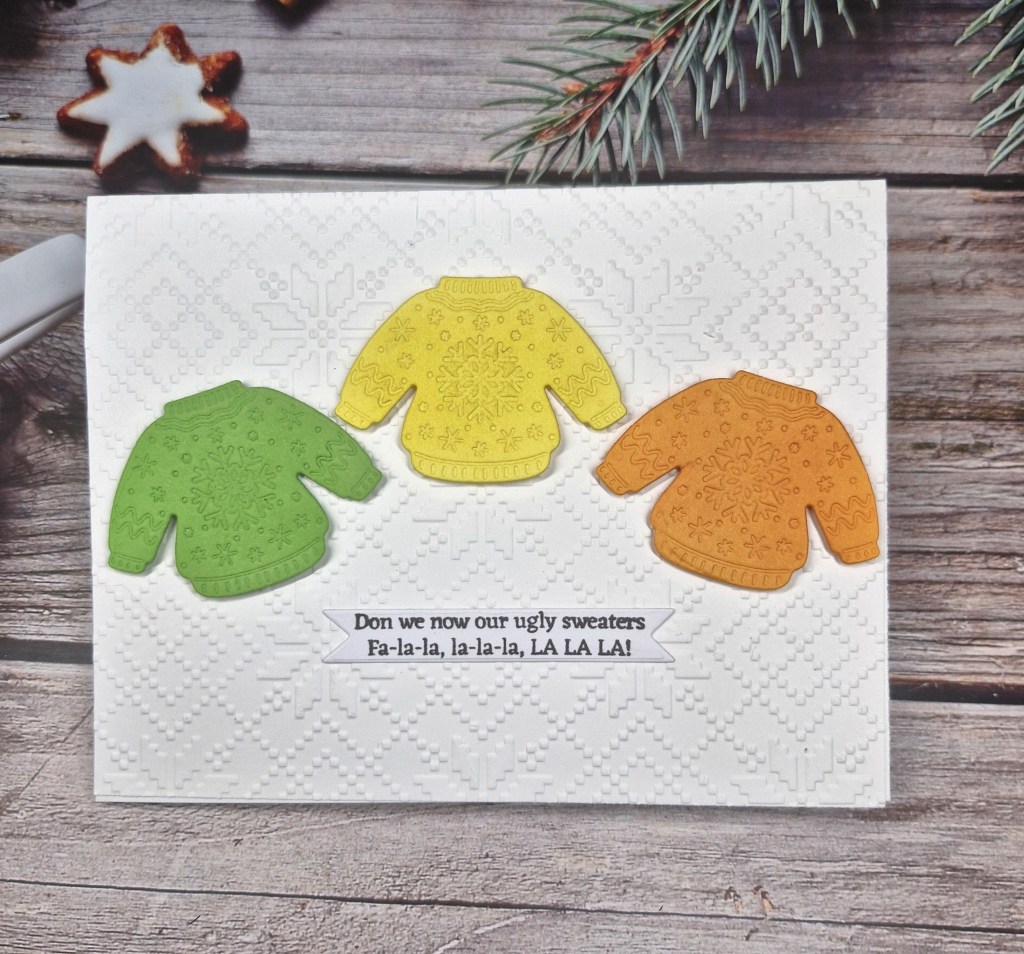
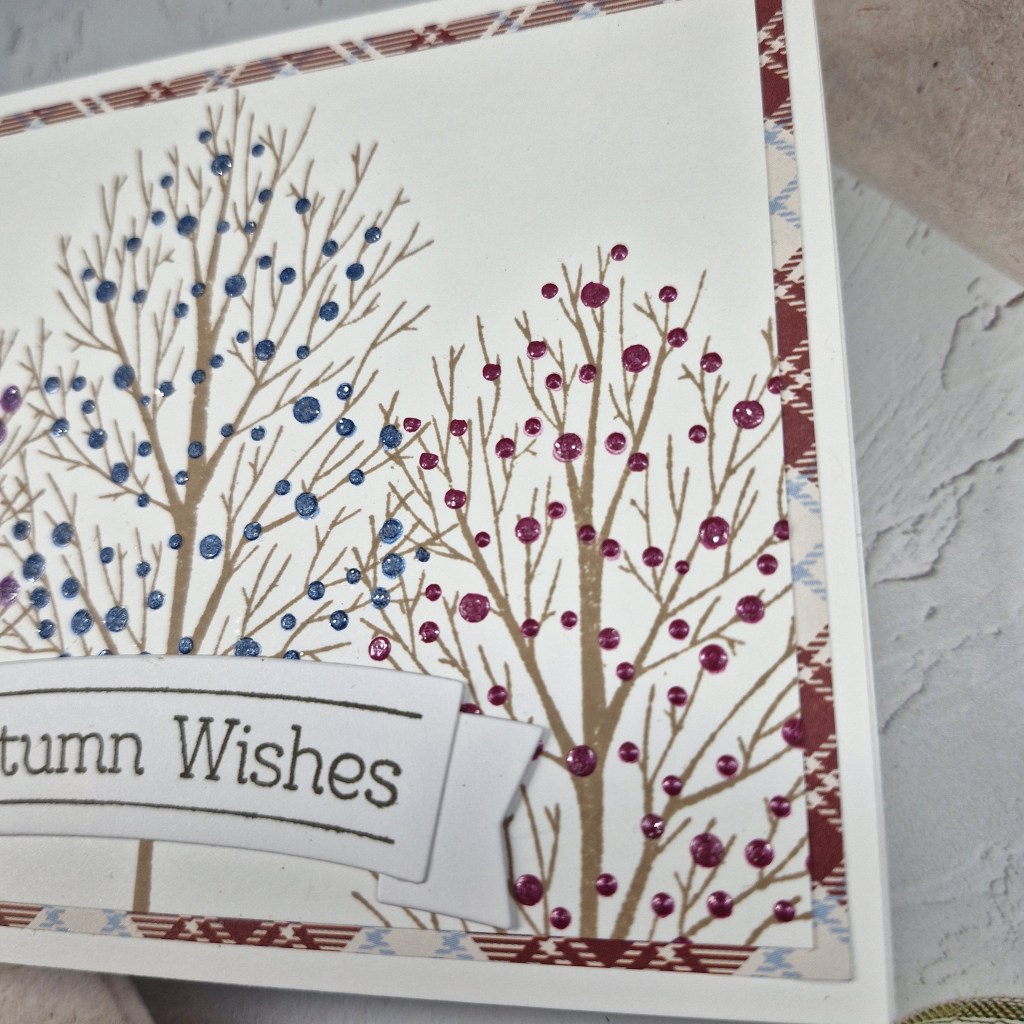
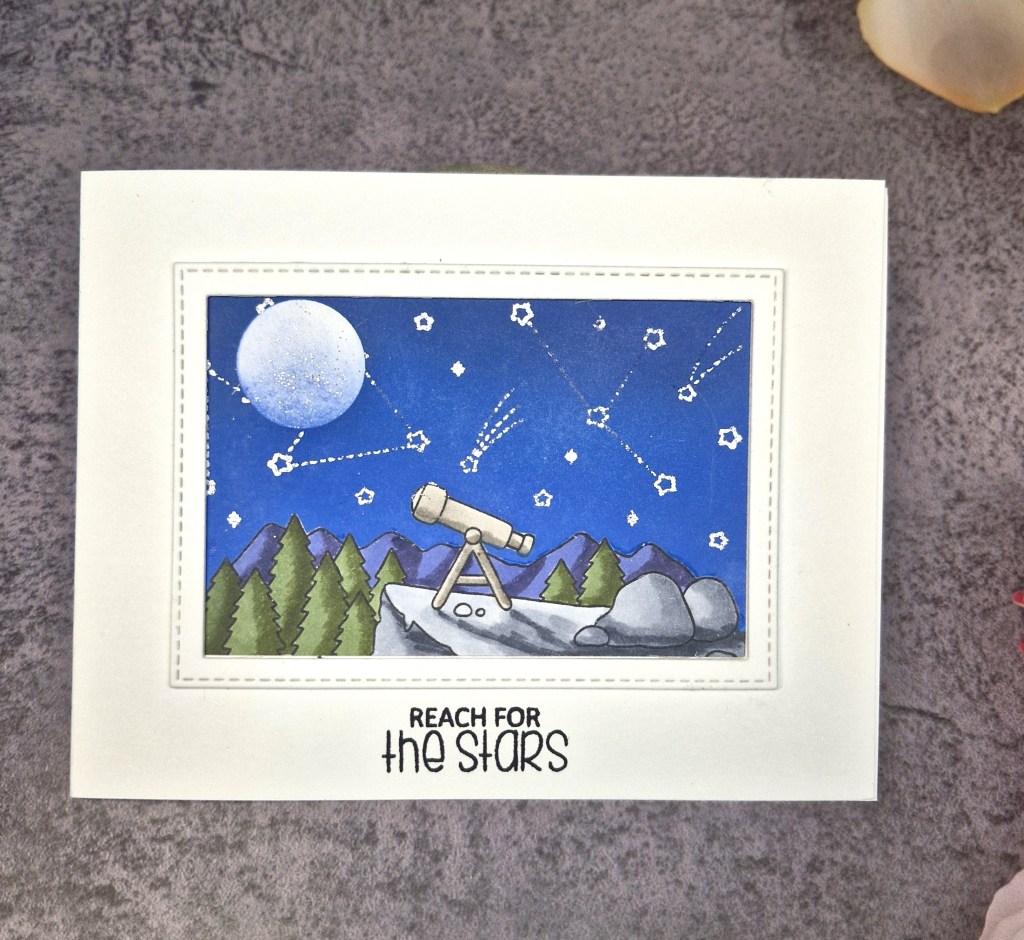
Hello. I am venturing into the CAS realm again with this card:
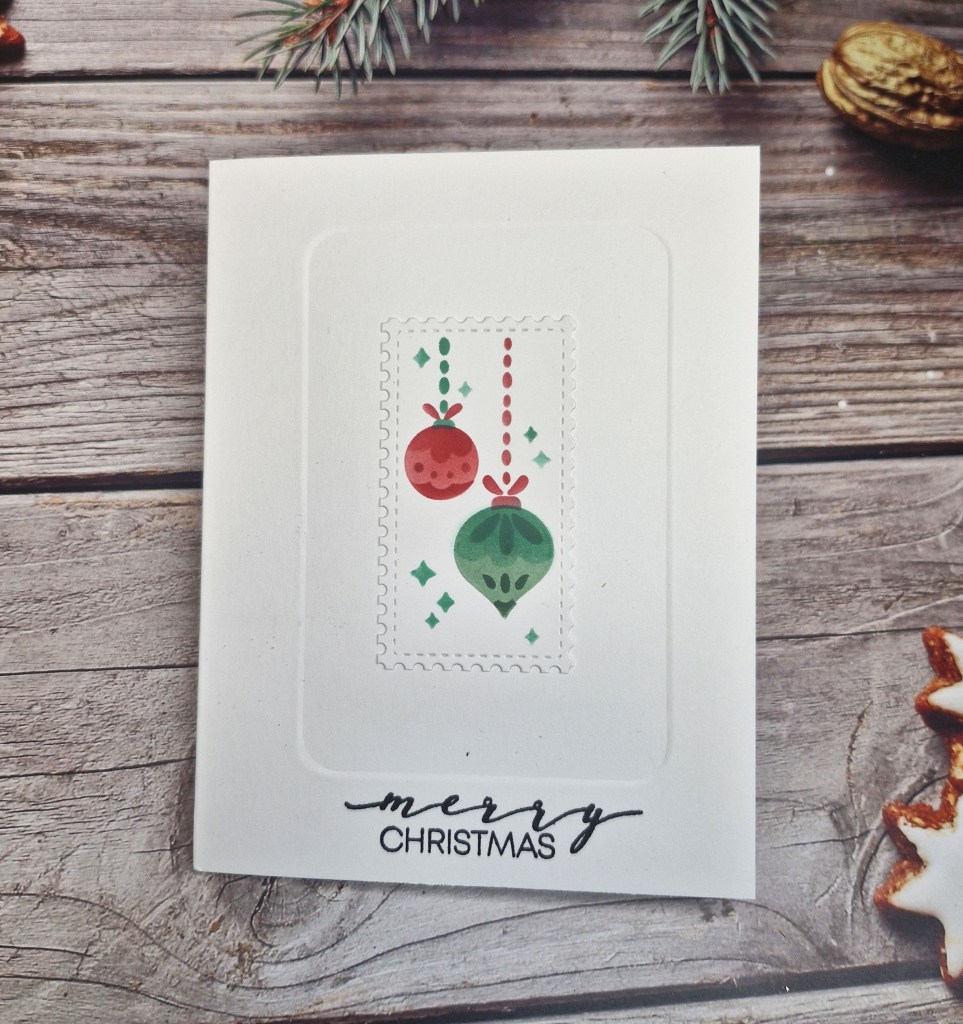
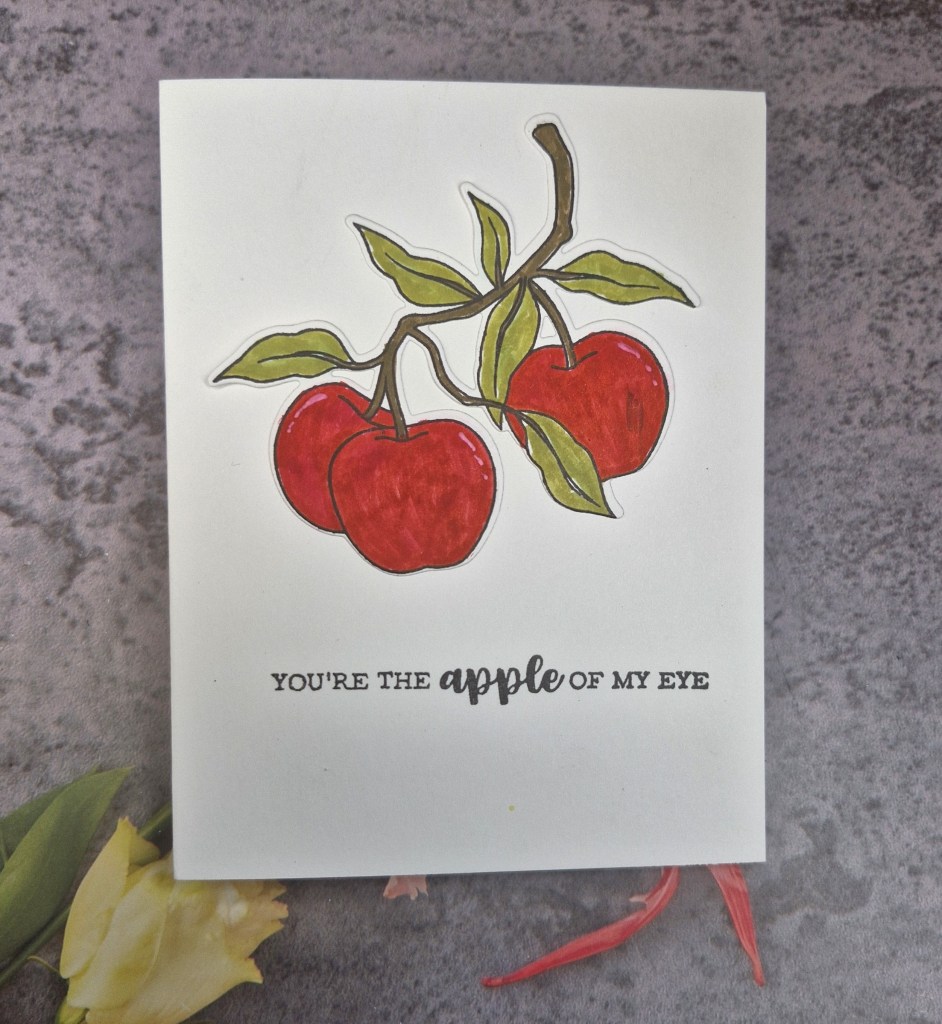
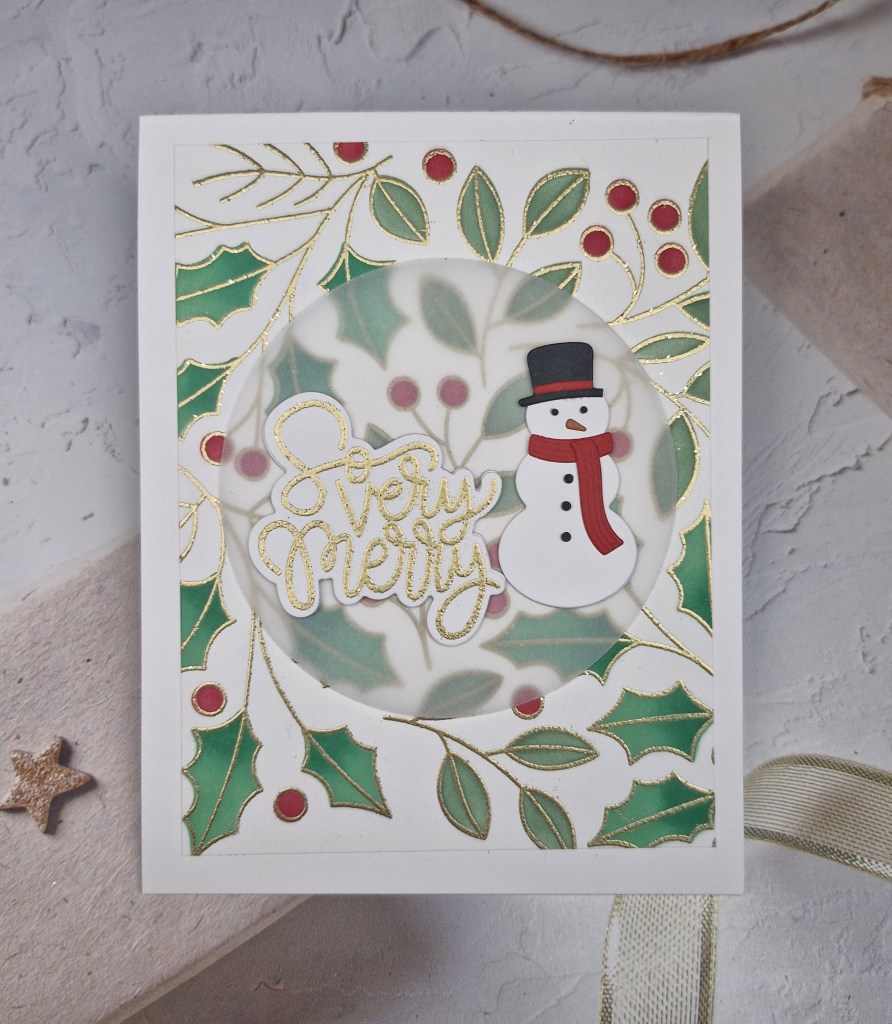
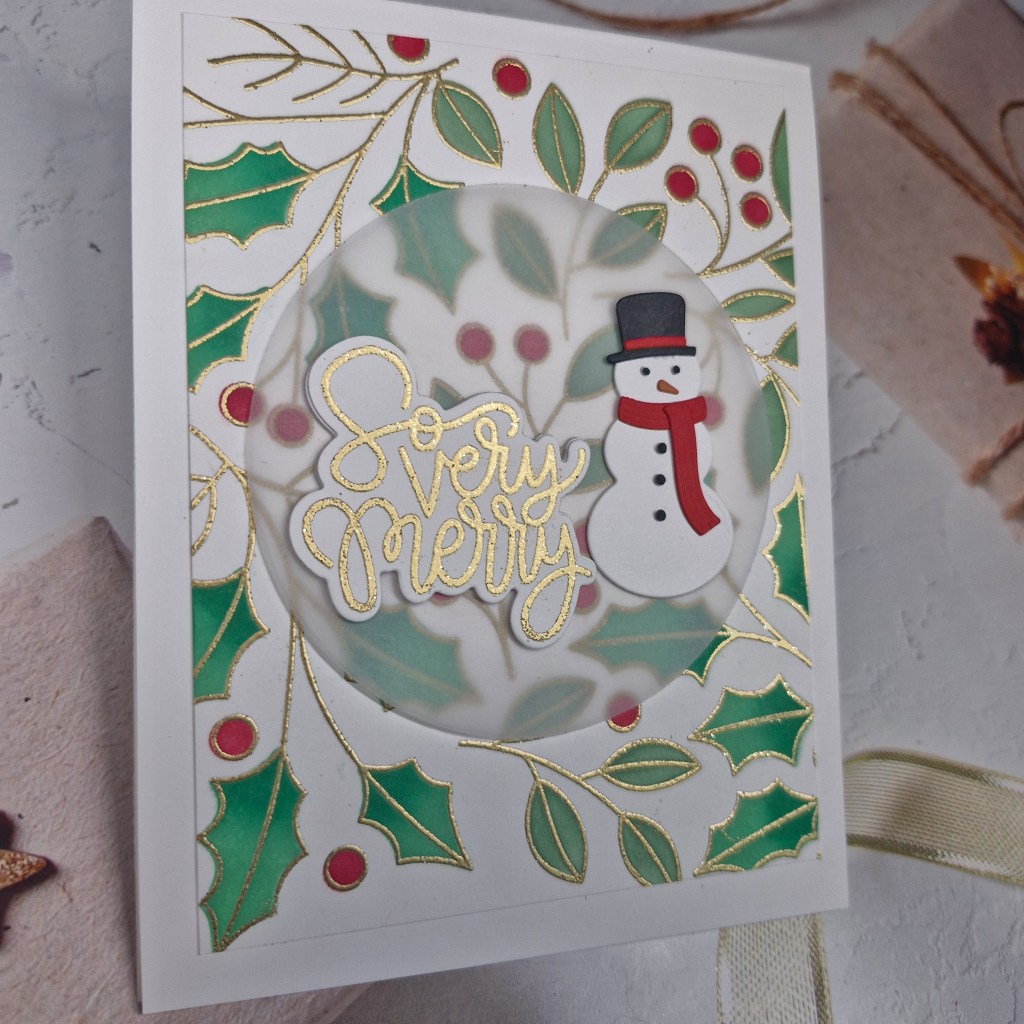
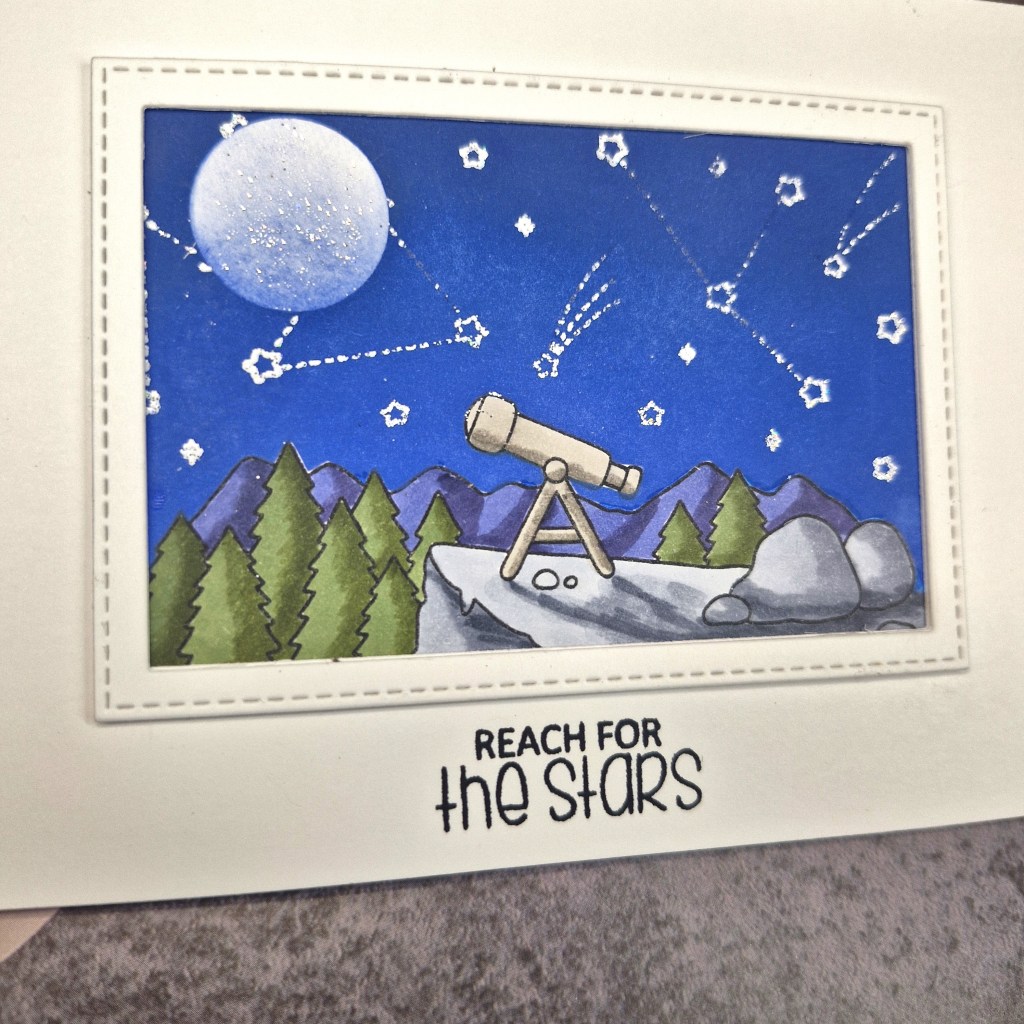
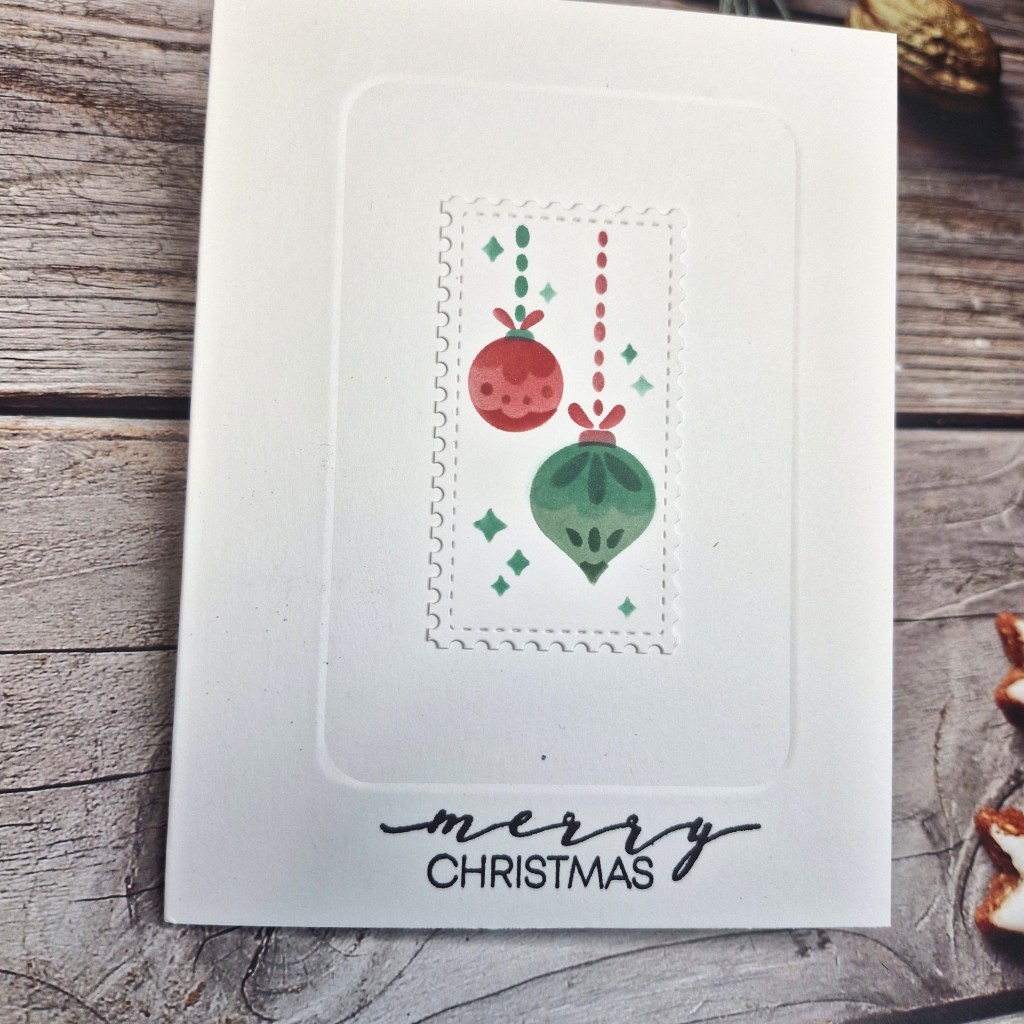
For the image on this card, I ink blended the whole of the Waffle Flower Christmas Collage stencil, then chose this one image for this card. The other images will be used on another card.
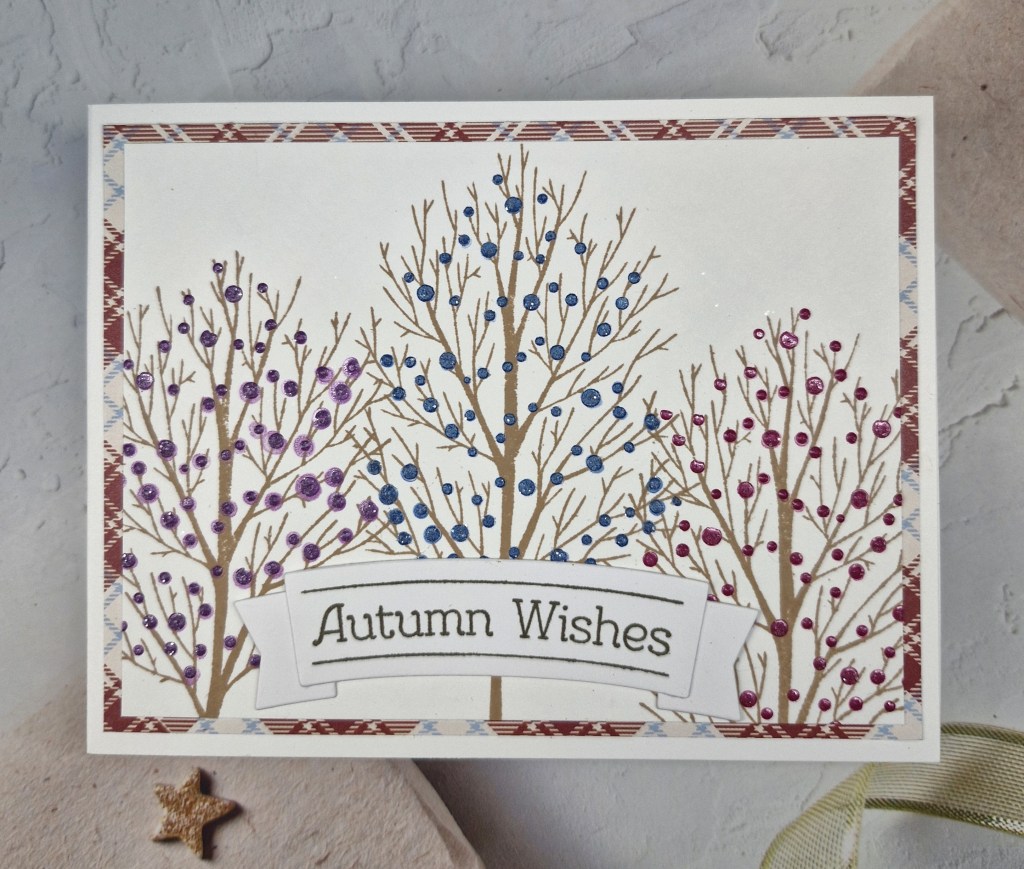
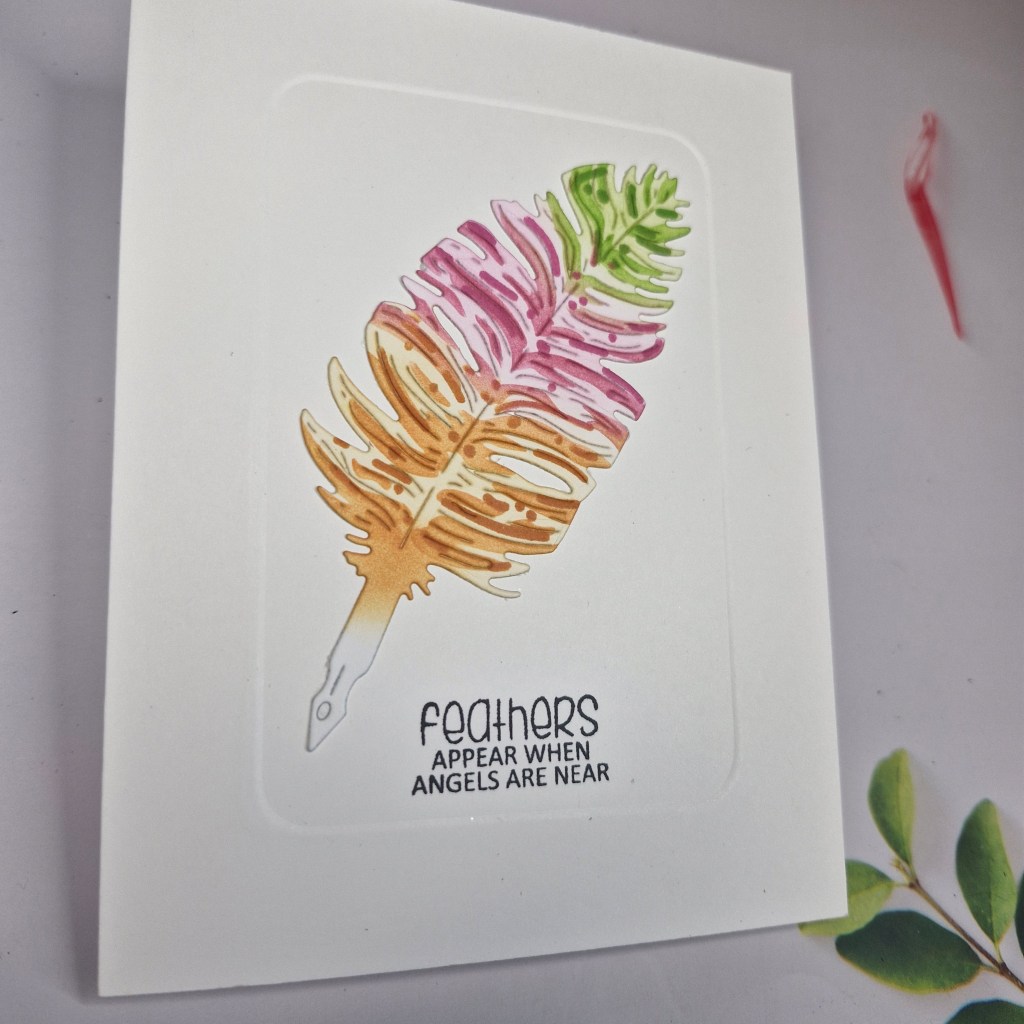
I first took a A2 card base, and used Clarity Crafts embedders to create the impression. I have a DT friend who is on the Design Team for Clarity Crafts, and she does some fabulous CAS cards – you might want to check our her blog here. Anyway, she uses the embedders and has given hints and tips – which I try to follow – and this time I think it worked….
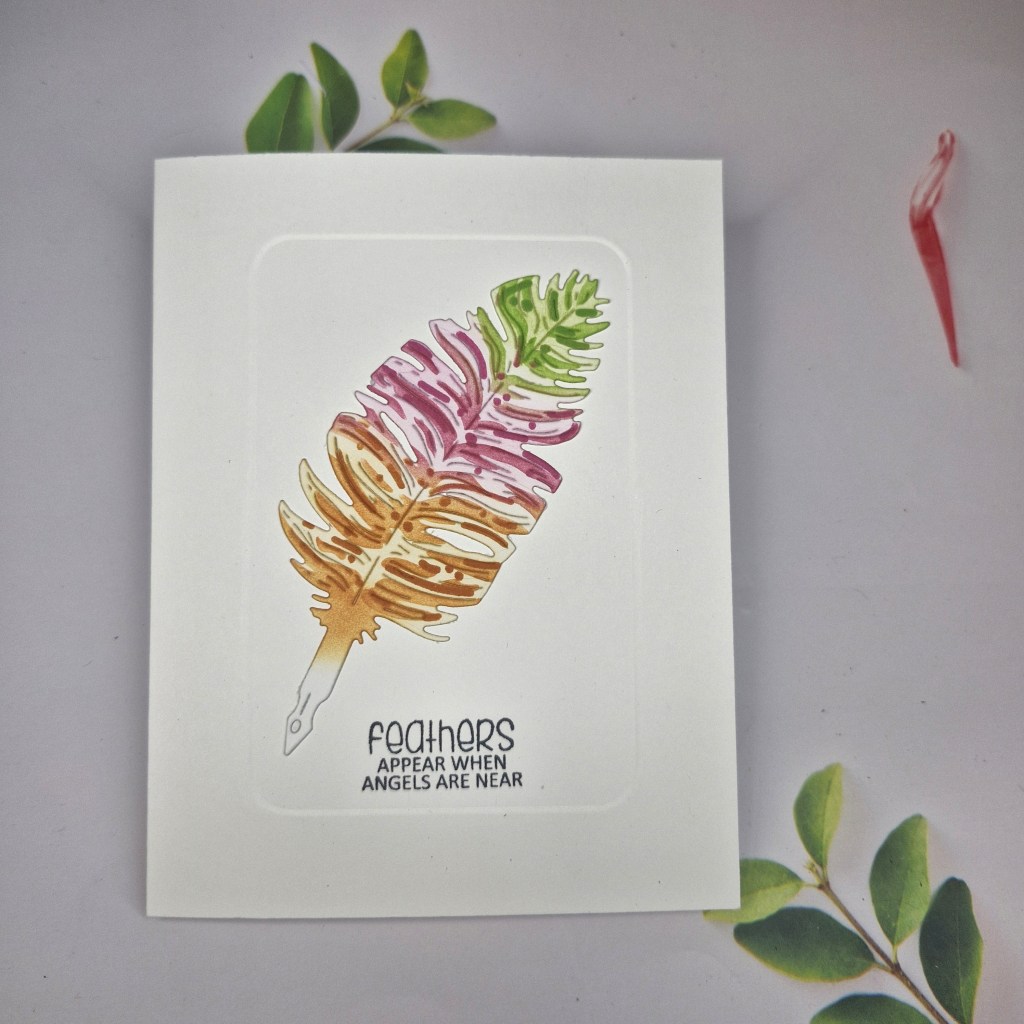
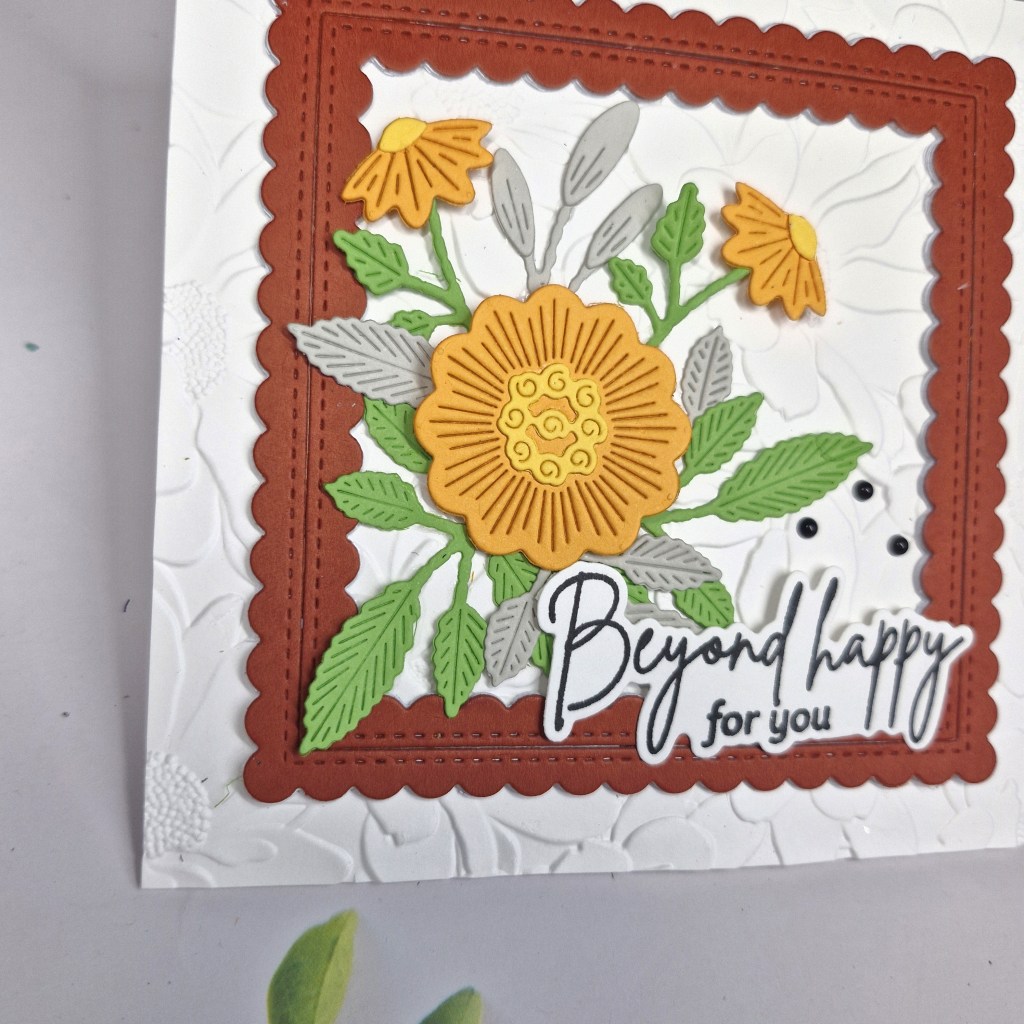
After using the embedder, I stamped the sentiment, then attached the image with glue.
I find it hard not to add plenty of things and not add dimension -but I will persevere with the CAS look sometimes – just for fun…
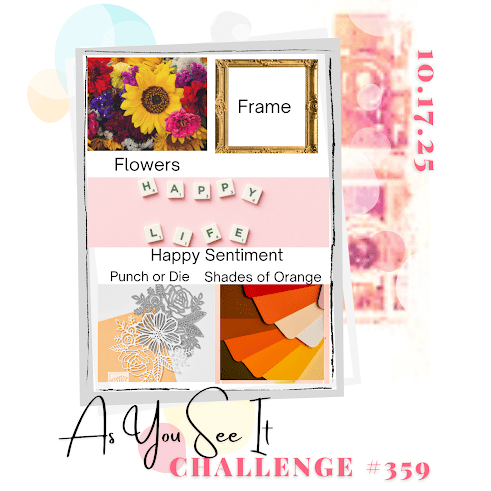
I shall be entering the following challenges:
Mix It Up – anything goes – option of CAS taken
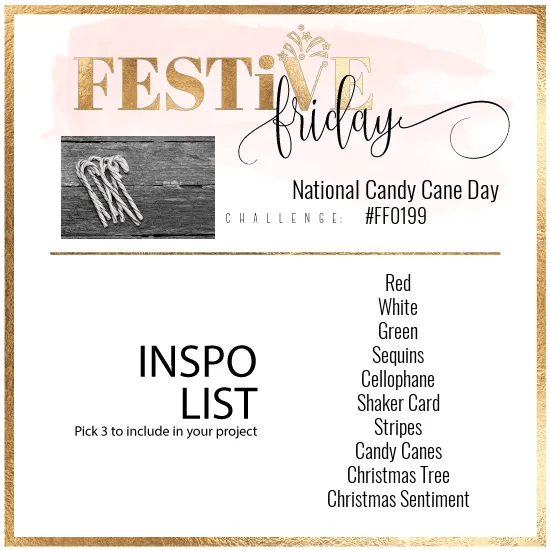
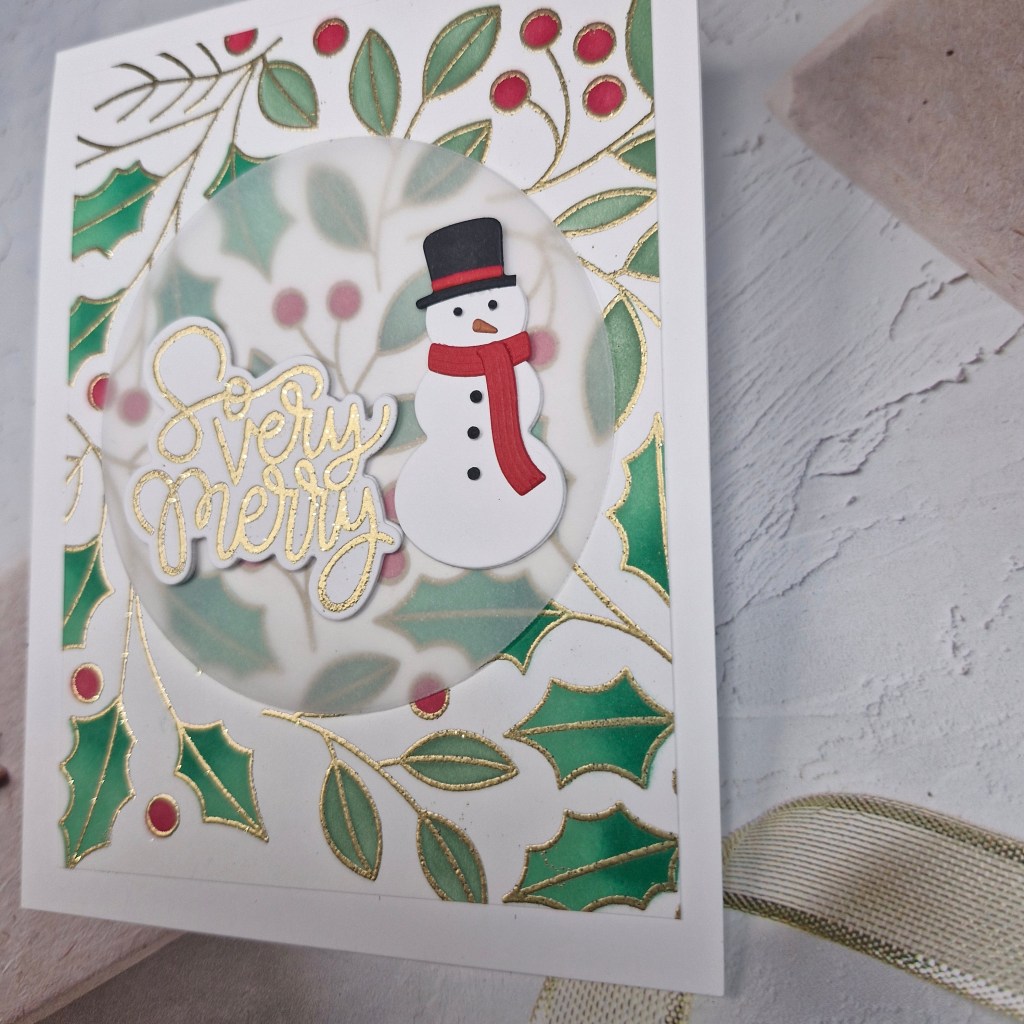
Festive Friday – at least 3 items from the list – red, green, white, Christmas sentiment
Simply CAS – anything goes CAS – option to use reds and greens taken