Hello once again. Cardz 4 Galz has started a new challenge. Sue J is hosting, and she has chosen the theme of
A Cute Christmas
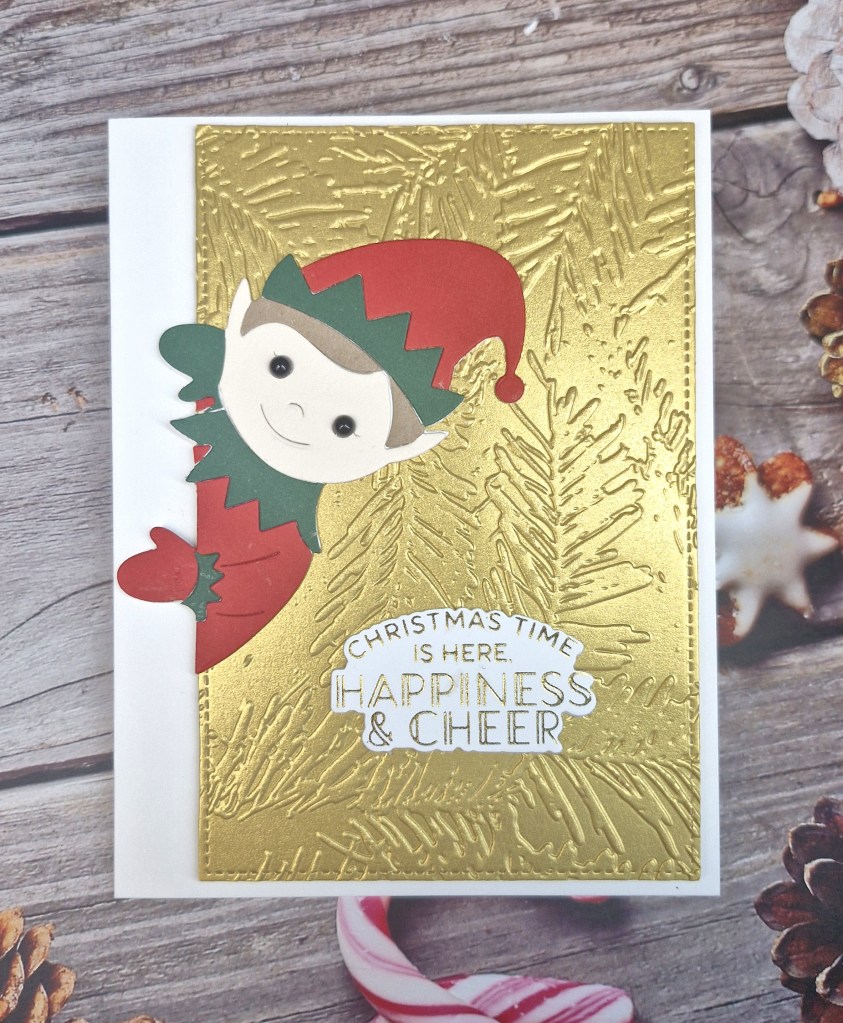
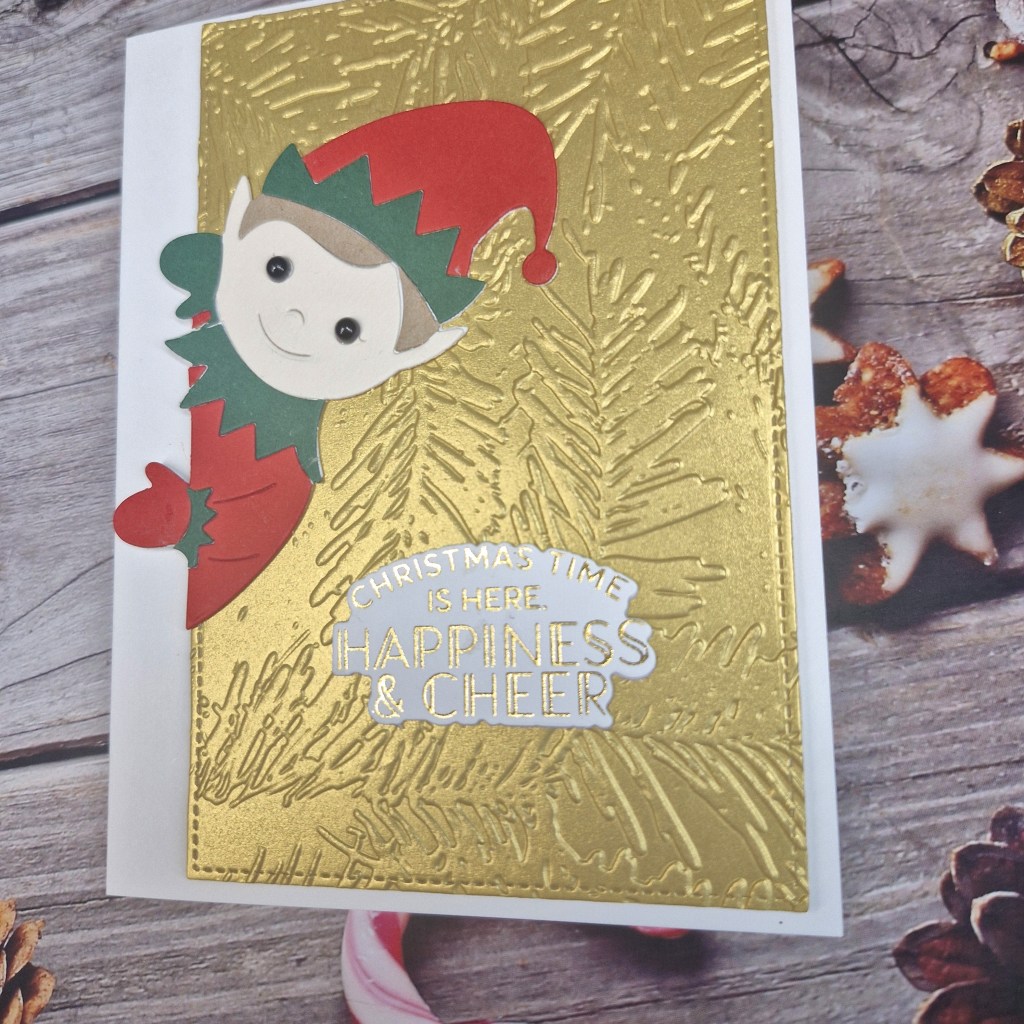
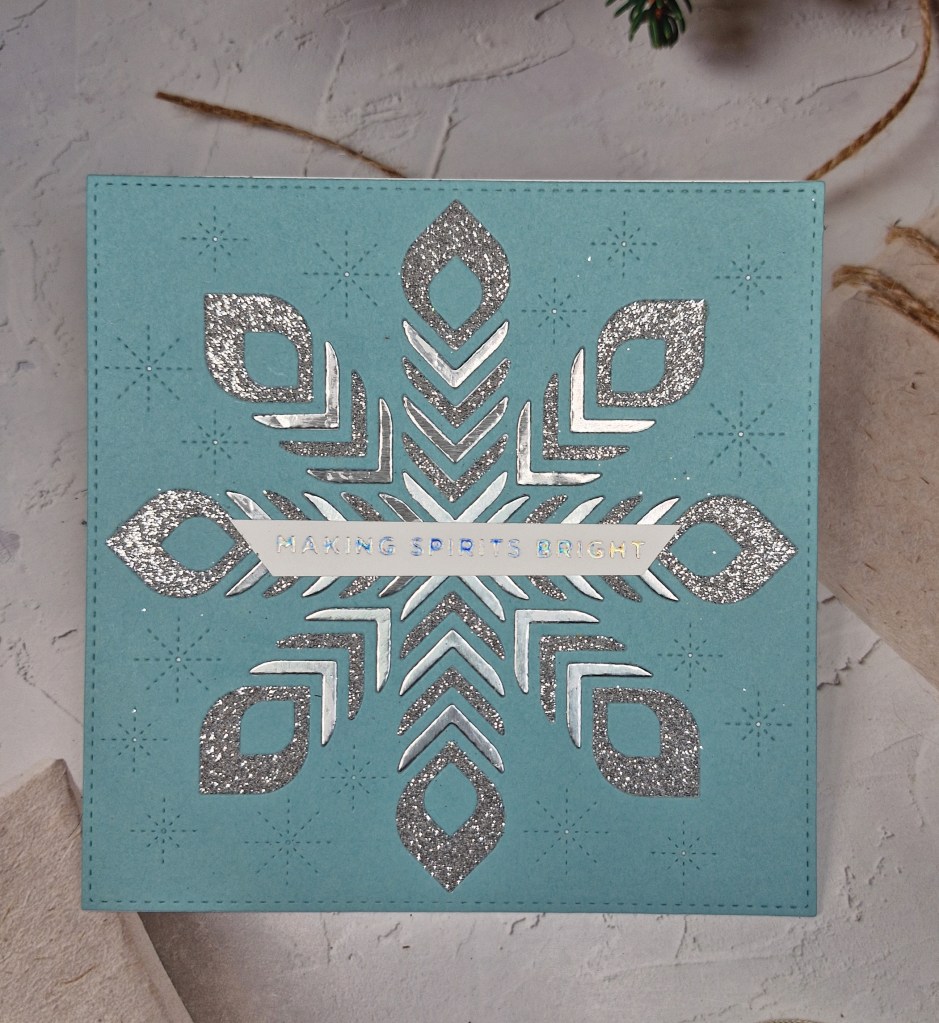
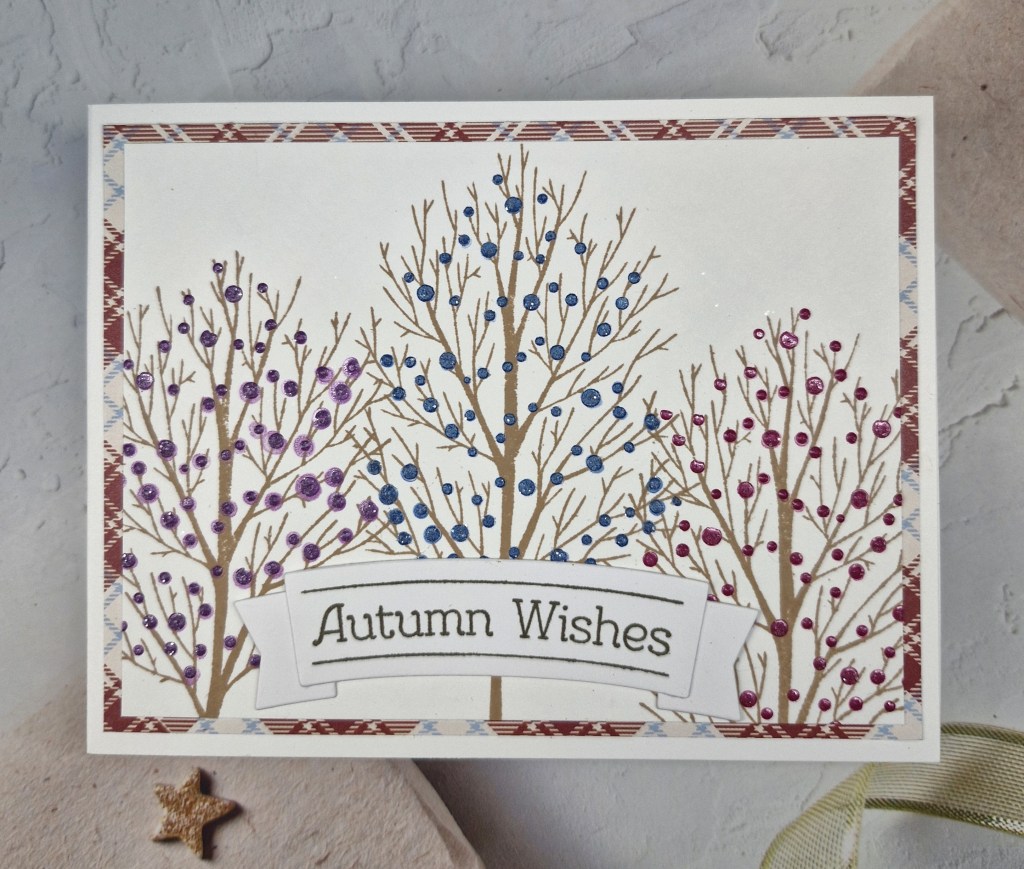
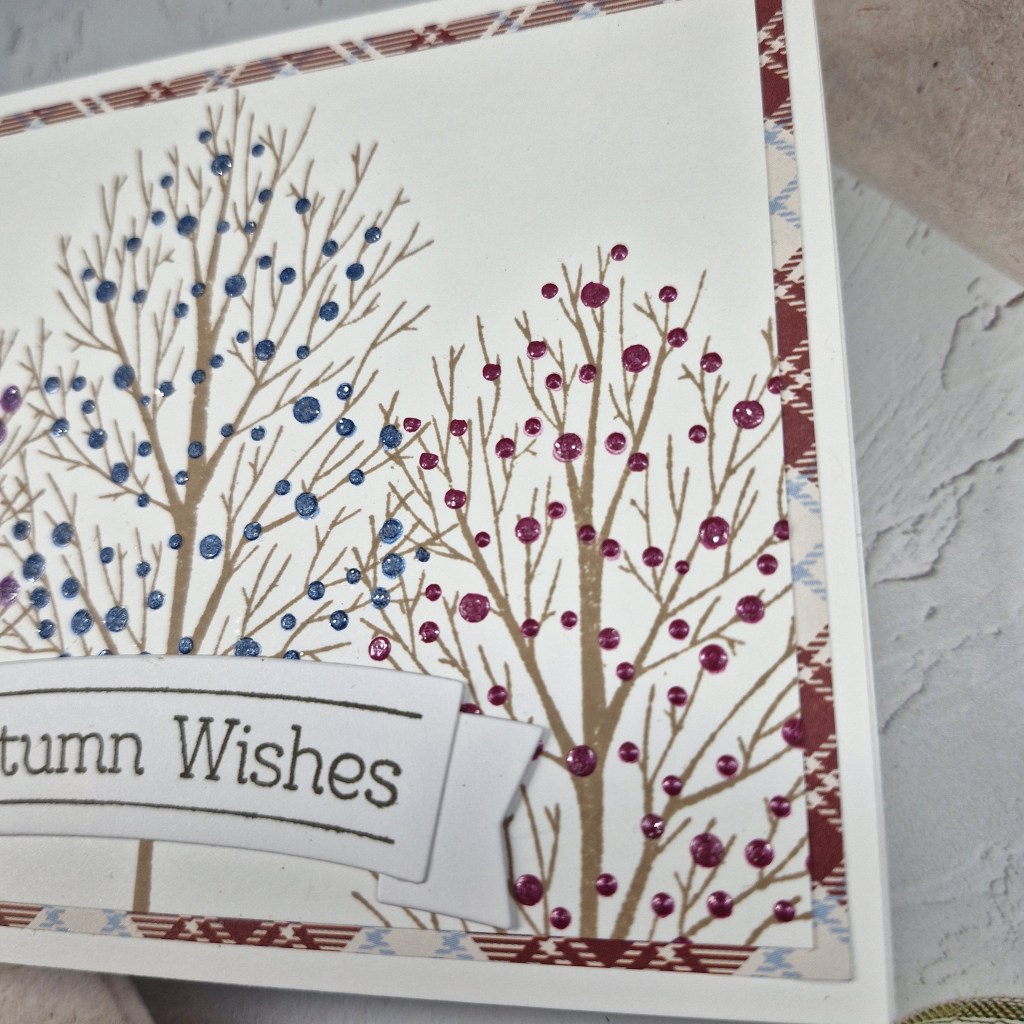
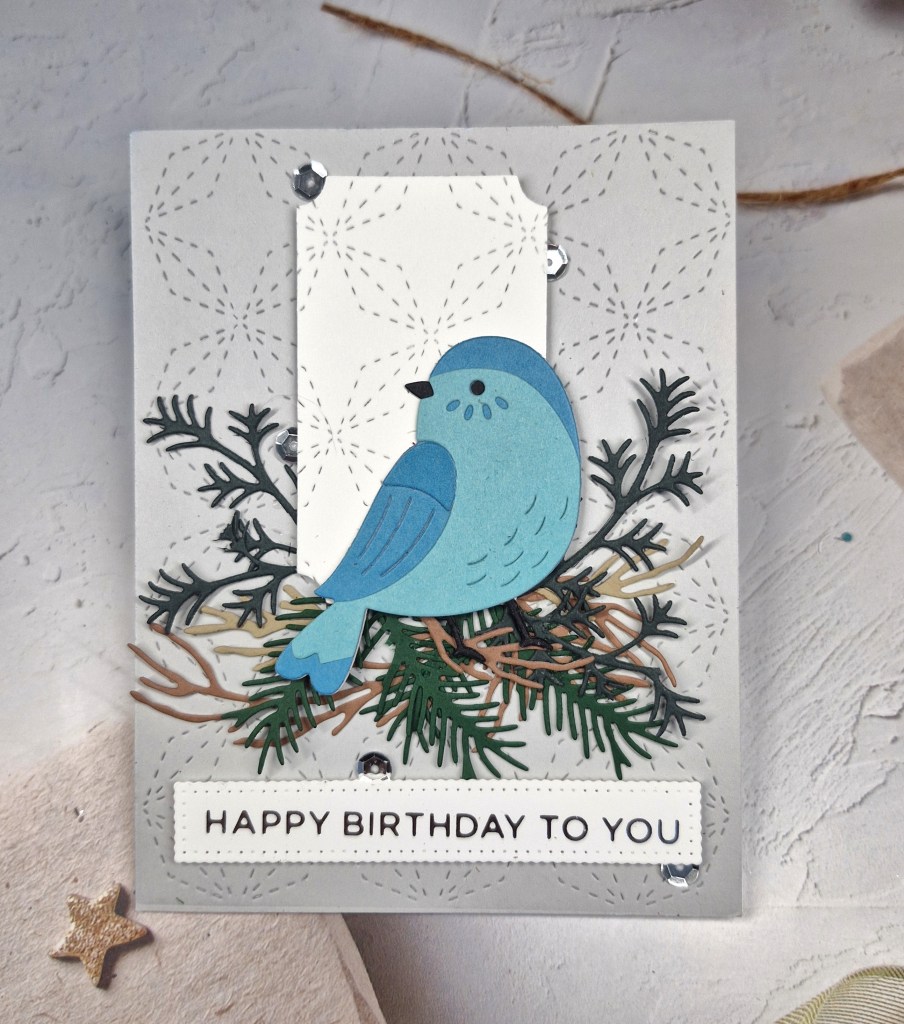
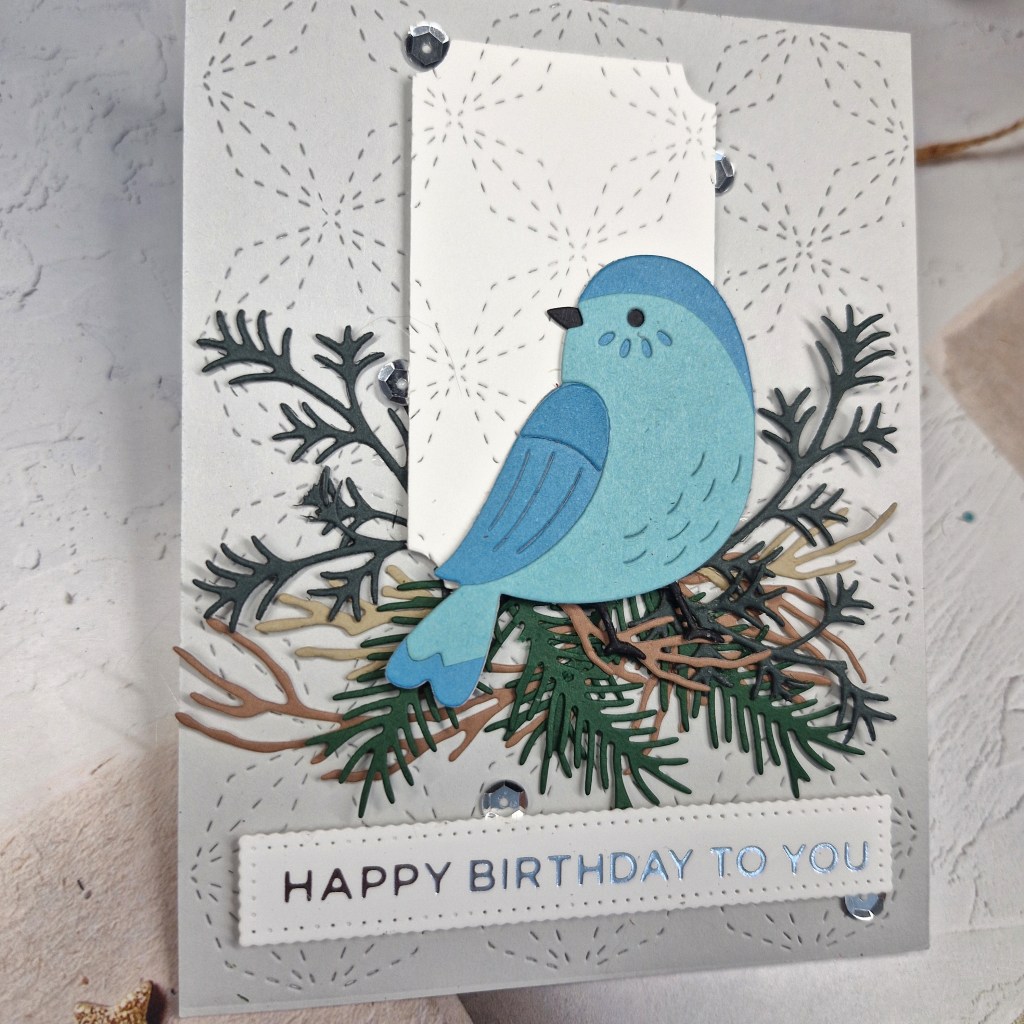
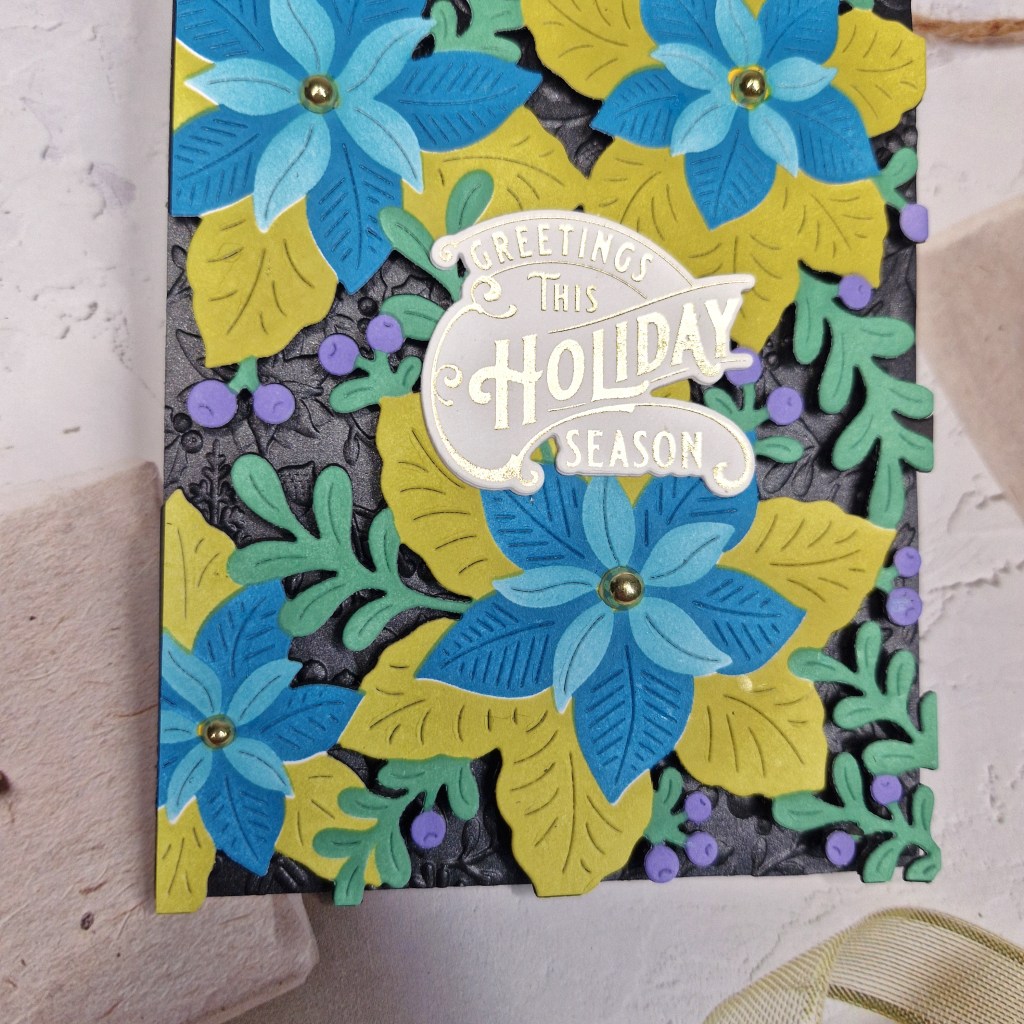
Here is my card:

After my sojourn into CAS cards the past few days, I went all mixed media for this one – a little messy crafting.
The blue card base was created by using glitter stencil paste through a Simon hurley snowflake stencil. This was put aside to dry, then I created a panel with mica sprays, some water droplets, some dribbling of water, let that dry, then used the same snowflake stencil and the same glitter paste on top. As the paste is translucent, it gave some shimmer and shine, whilst also allowing the background colour of both panels to shine through.
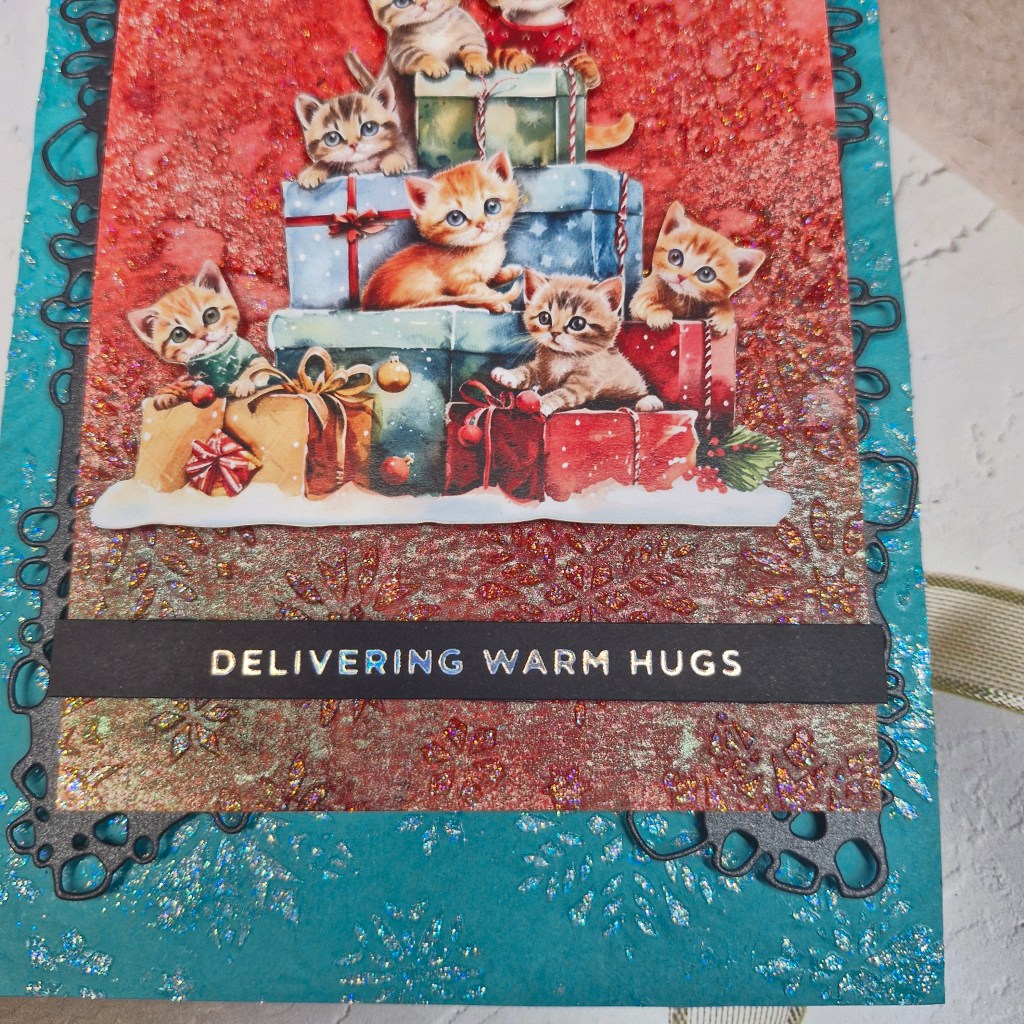
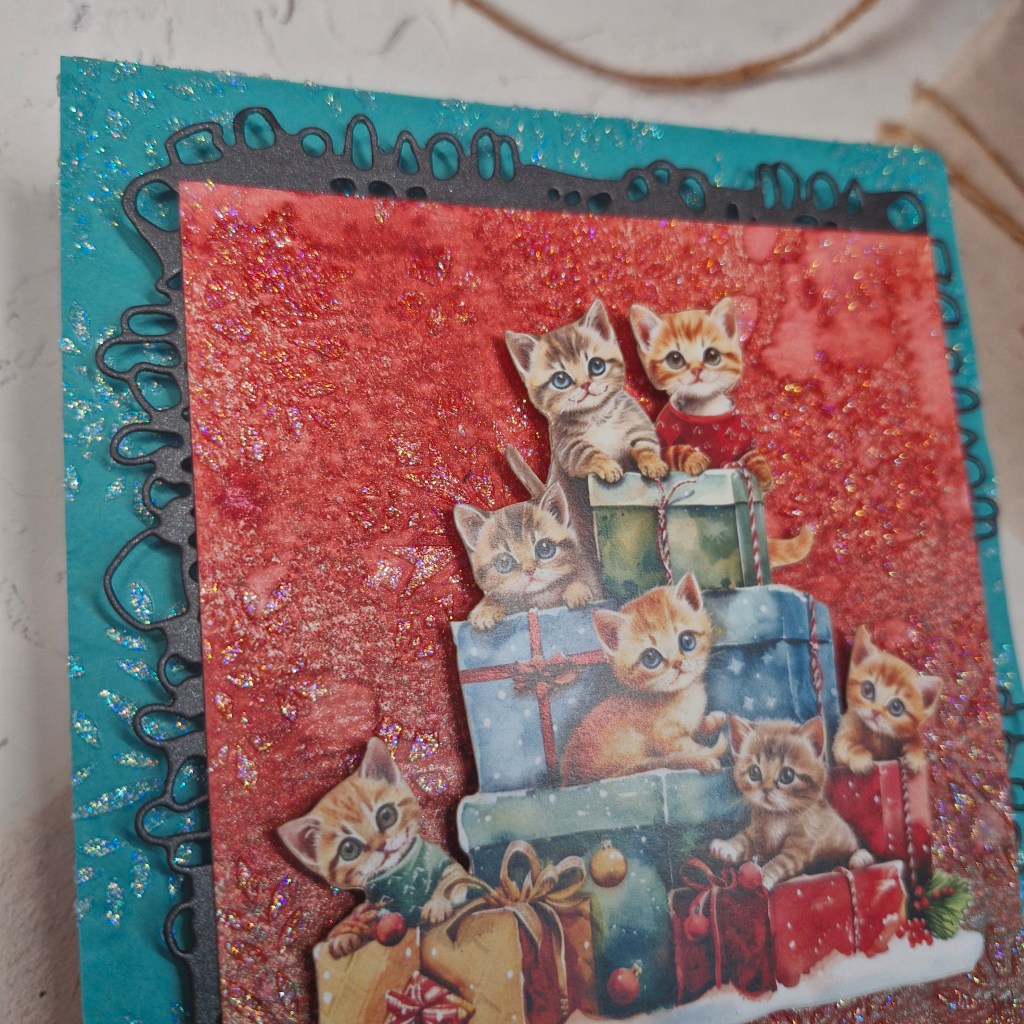
To frame the red panel I cut it down so it would exactly into a black die cut tag frame from AALL & Create, cut out of a black shimmer card stock.
The main cat image – more cats there than I actually have – but only just…….is also from AALL & Create, pre-die cut, added with 3D foam, then the foiled sentiment added to the top of that.
I hope you can come and join us with your creations following our ‘cute Christmas’ theme. xx
I shall be entering the following challenges:
Die Cut Divas – die cuts and critters
Crafty Animals – anything goes with an animal
12 Months of Christmas Link-Up – Christmas – option of ‘sleigh it’ not taken
Creative Artiste – anything goes mixed media
We Love 2 Create – anything goes mixed media