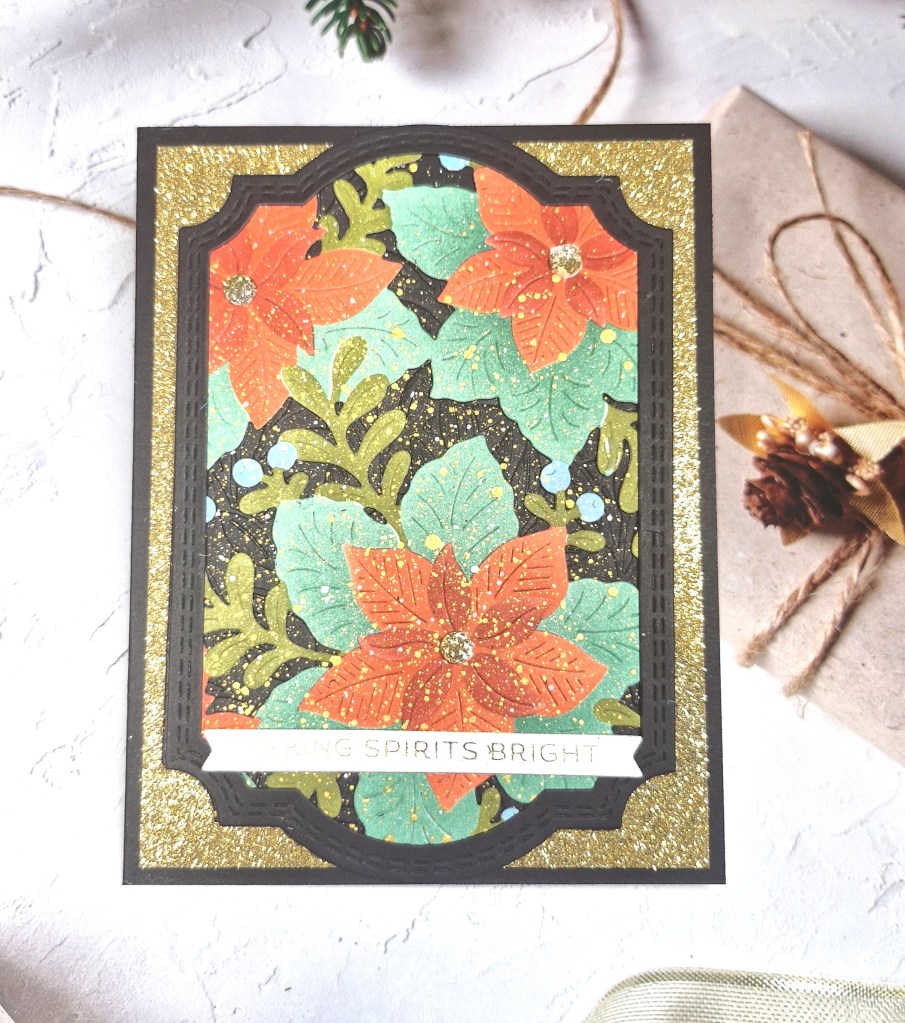
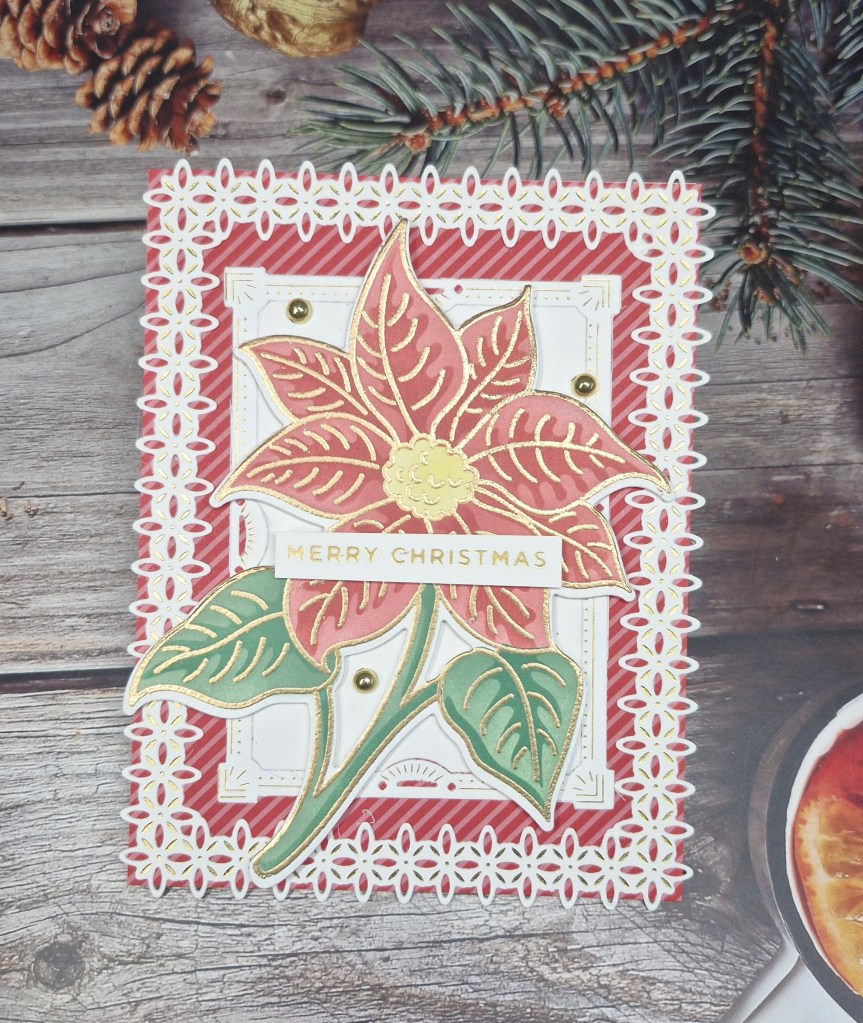
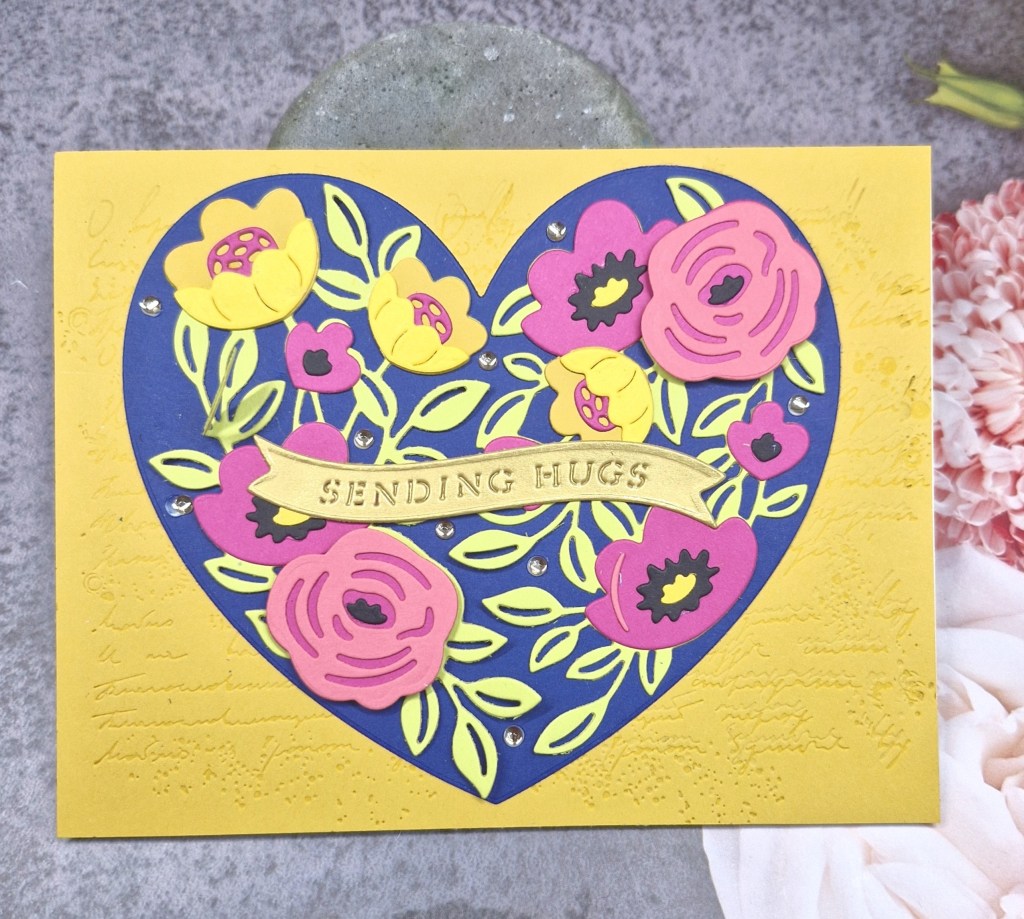
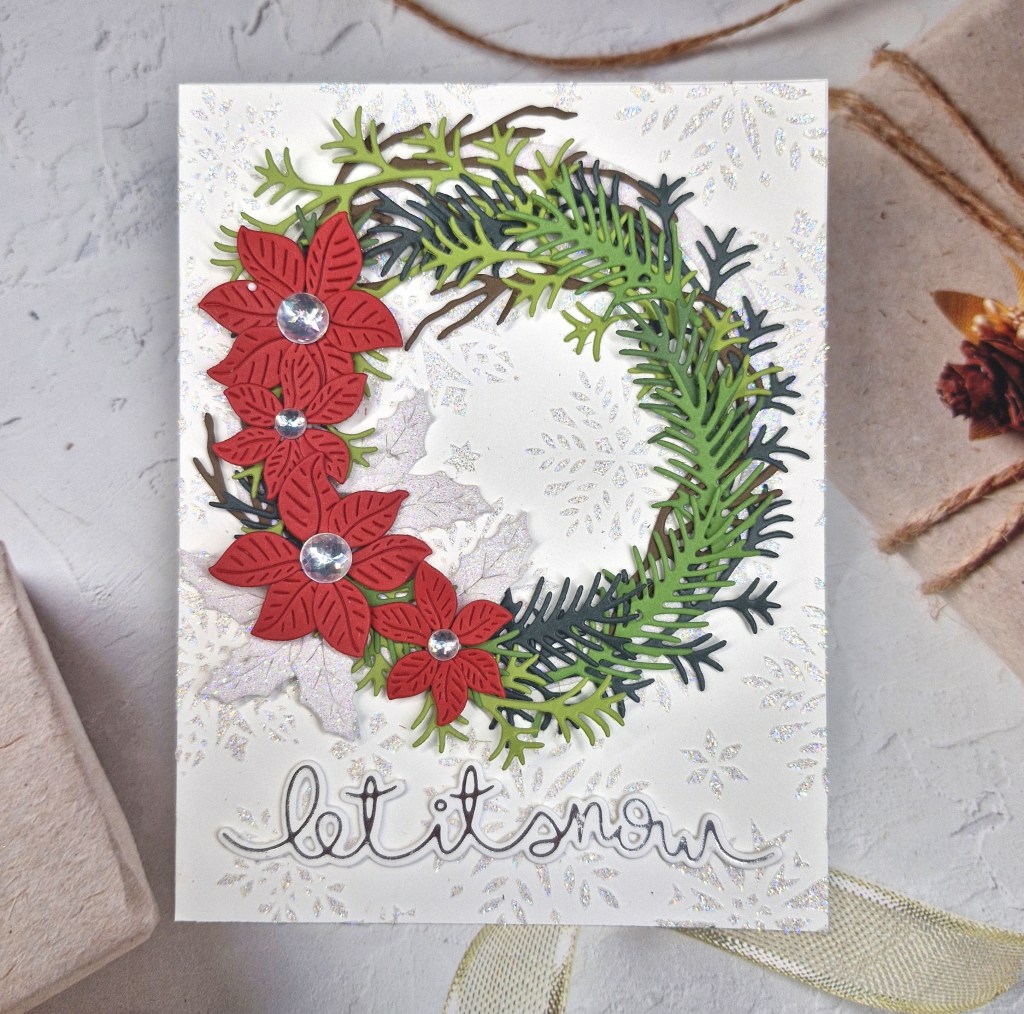
Hello everyone. I have a card to share that I have been procrastinating over for the past few days. I finally managed to decide on how I wanted the wreath to look:
The starting point for my card was the top row of the current challenge at Tic Tac Toe – wreath – foliage/leaves – stencil.
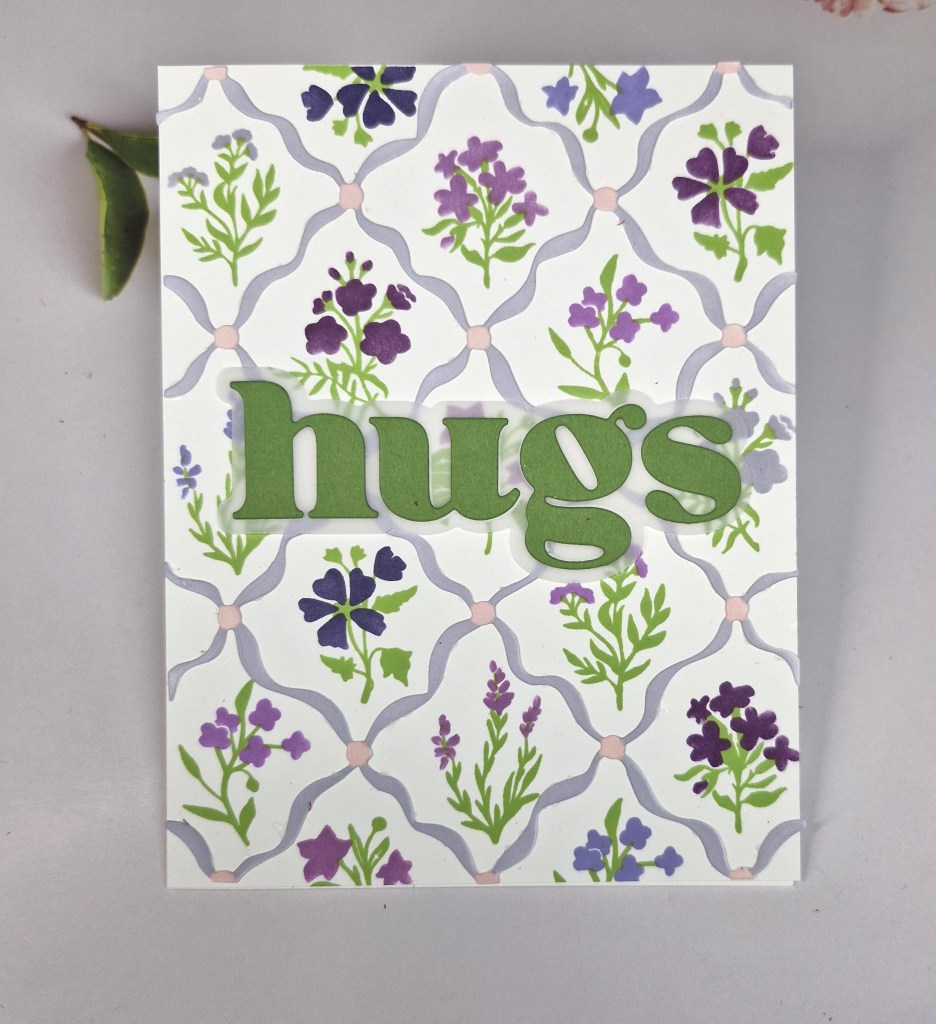
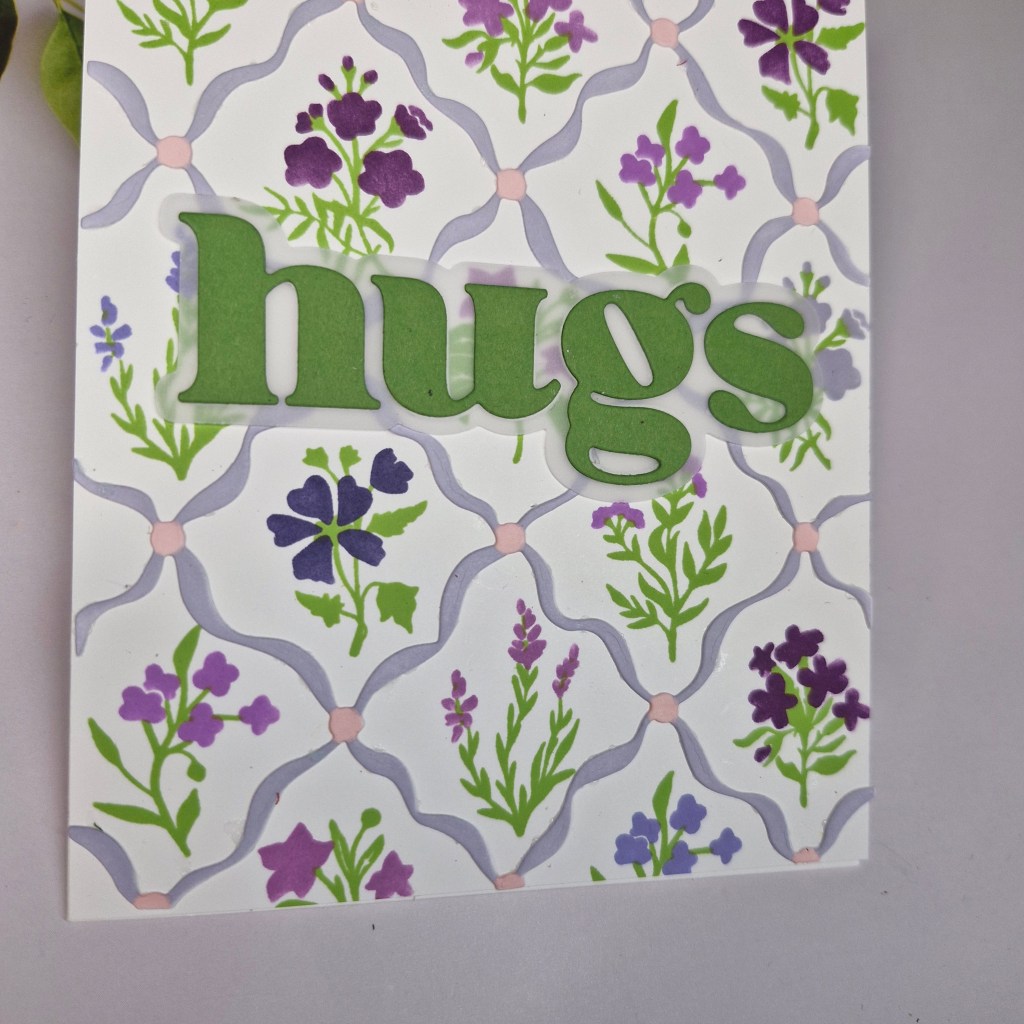
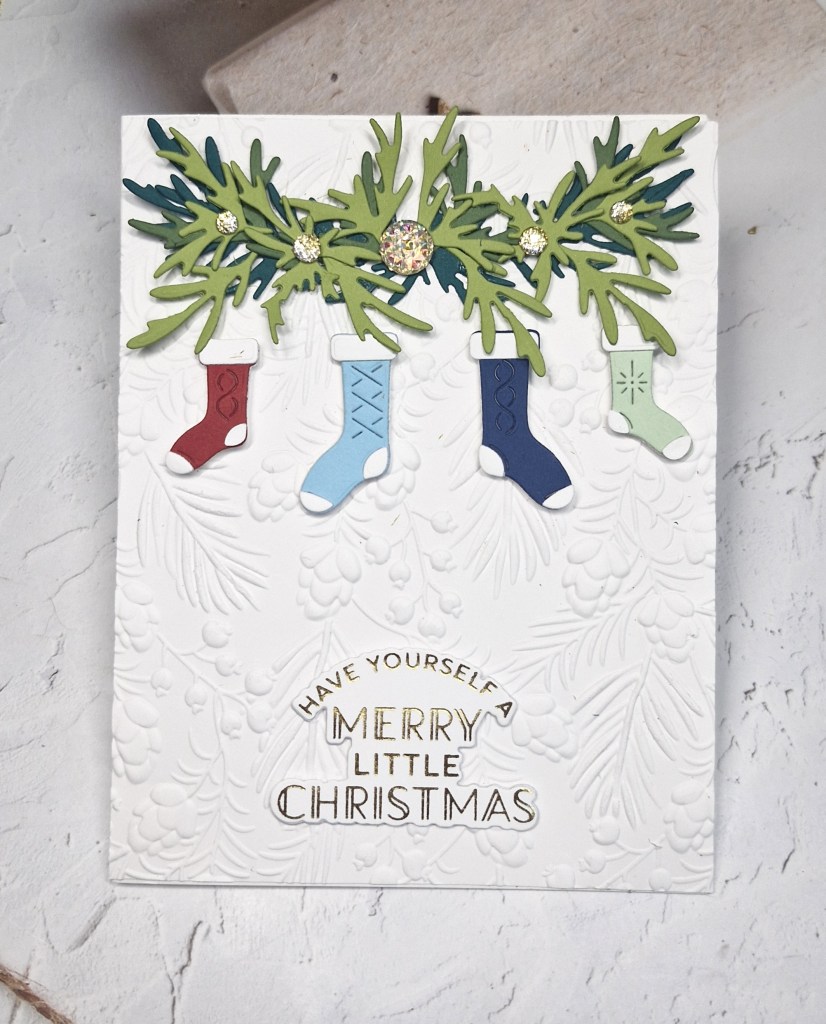
The background is using a Simon Hurley stencil received from a recent virtual event, and also using his Unicorn Horn Lunar Paste. Whilst this panel was drying, I searched through the CML app for foliage, branches, leaves, poinsettia and holly, and picked out three or four of the Spellbinders die sets I have.
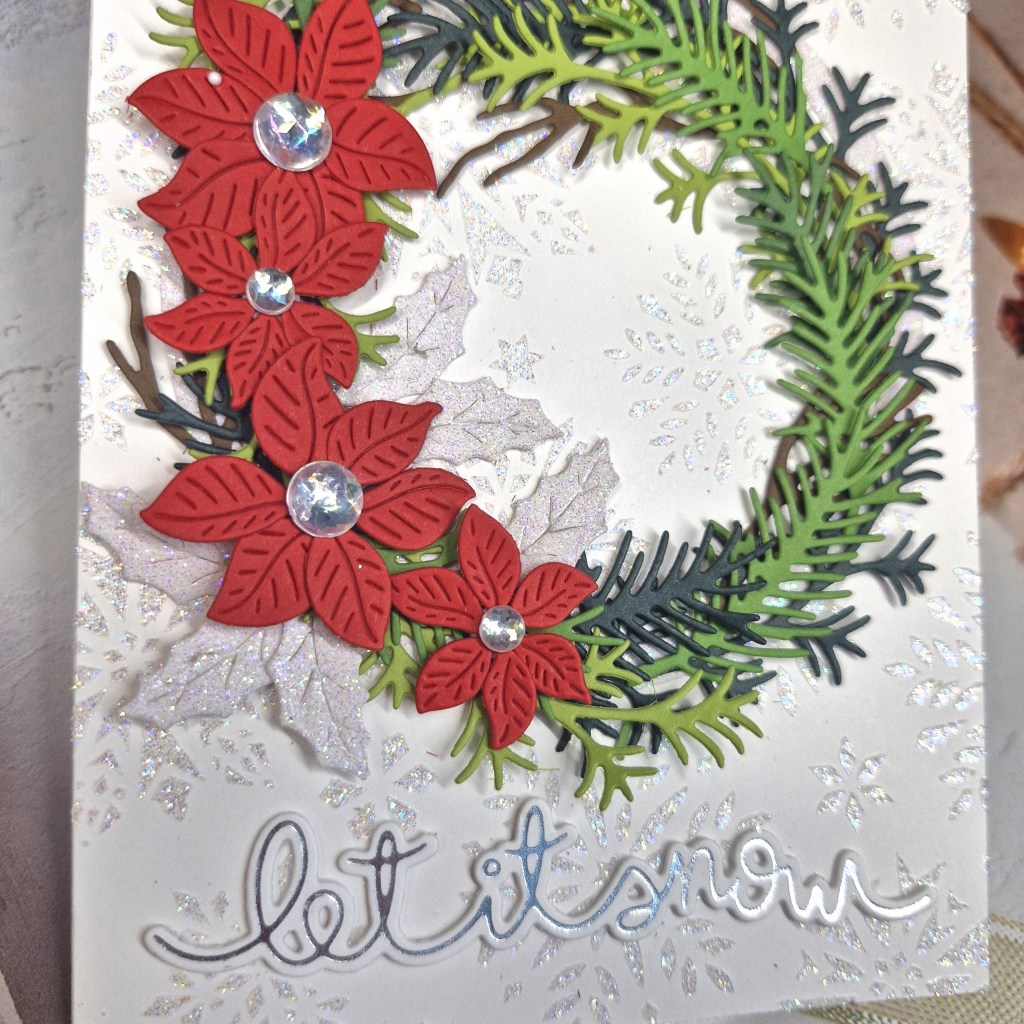
I used a few shades of green for the foliage, a brown for the branch dies, red for the poinsettia layers, and I used silver glitter card for the holly leaves. Once all die cut, and the back panel was dry, I created a circle frame using some nesting circle dies and stuck that down, so I had something to follow when arranging all the elemnts.
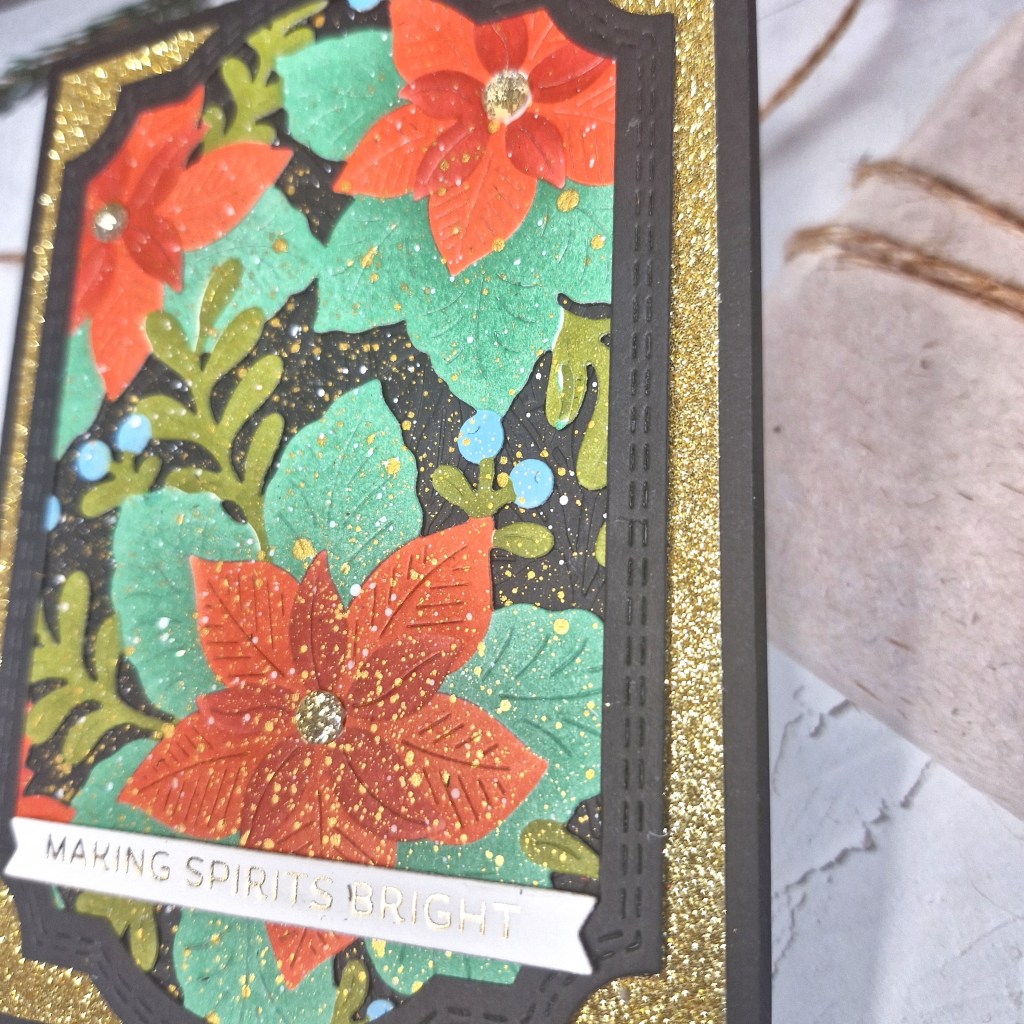
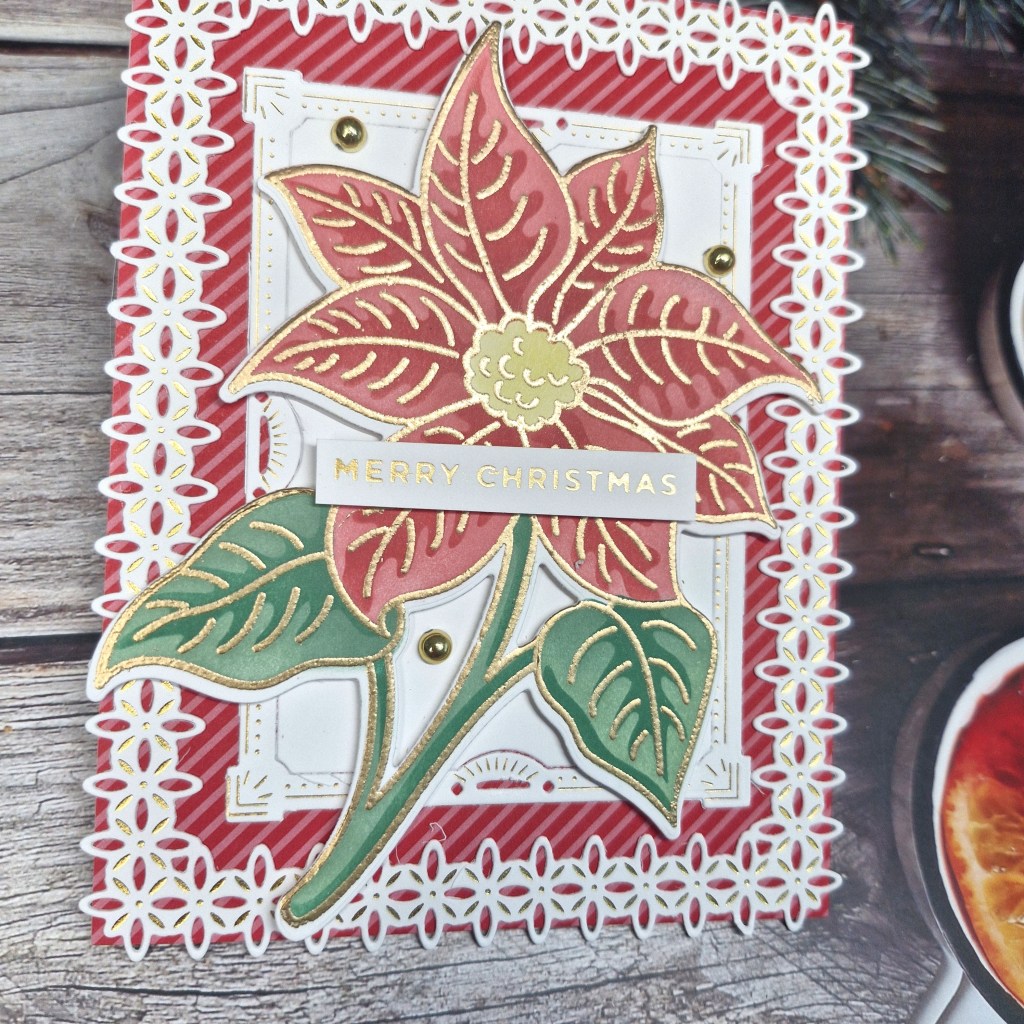
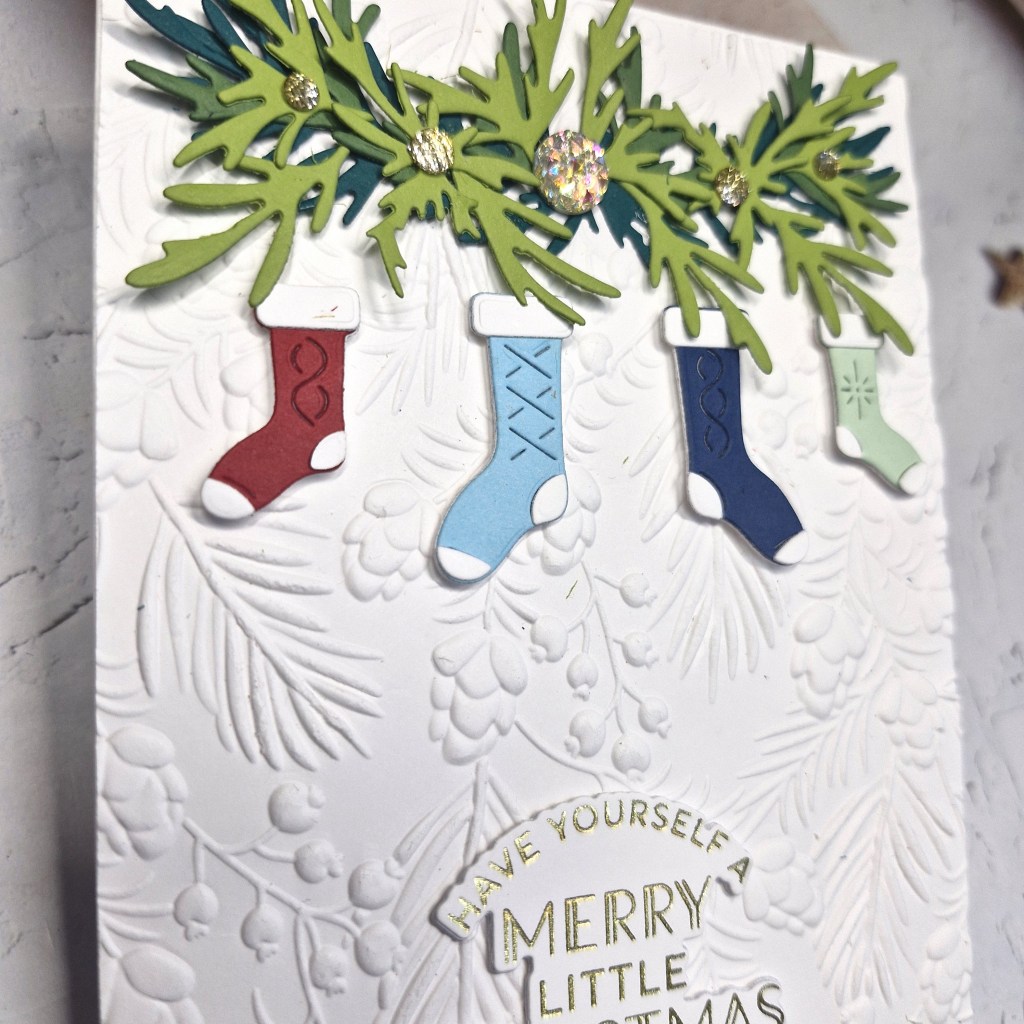
The branches and leaves were glued down – just the tips so there was movement and dimension, then the poinsettias attached with a little circle of 3D foam, the holly leaves added lastly.
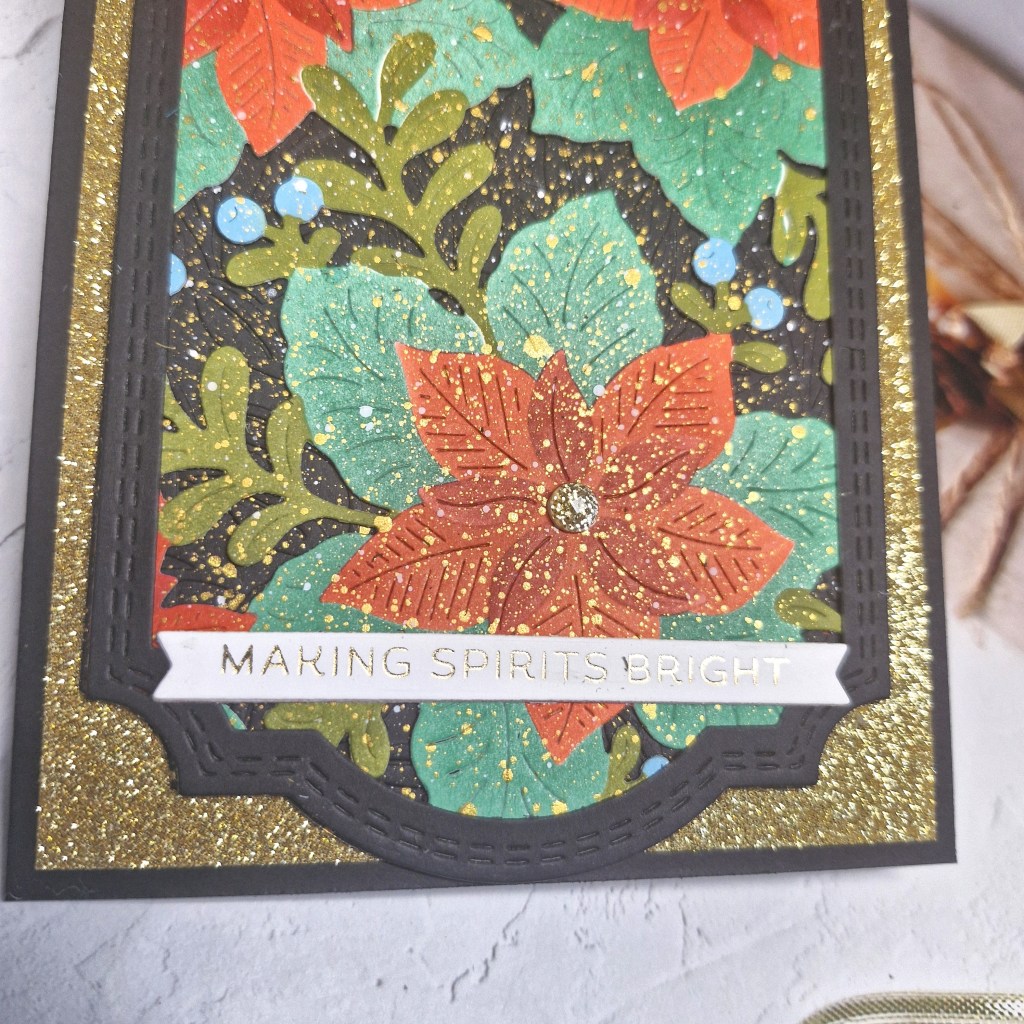
Silver gems were glued to the centre of the flowers, then the silver foiled sentiment from Lawn Fawn – stacked a couple of times – was glued down to the bottom of the card.
Lots of glitter and shine on this card, and I’m so pleased I actually managed to finish it…
I shall be entering the following challenges:
Tic Tac Toe – top row – wreath – foliage/leaves – stencil
Die Cut Divas – anything goes with die cuts
A Cut Above – anything goes with die cuts
12 Months of Christmas Link-up – anything goes Christmas – option of snowfall taken
Crafters Café – anything goes – option of Christmas taken