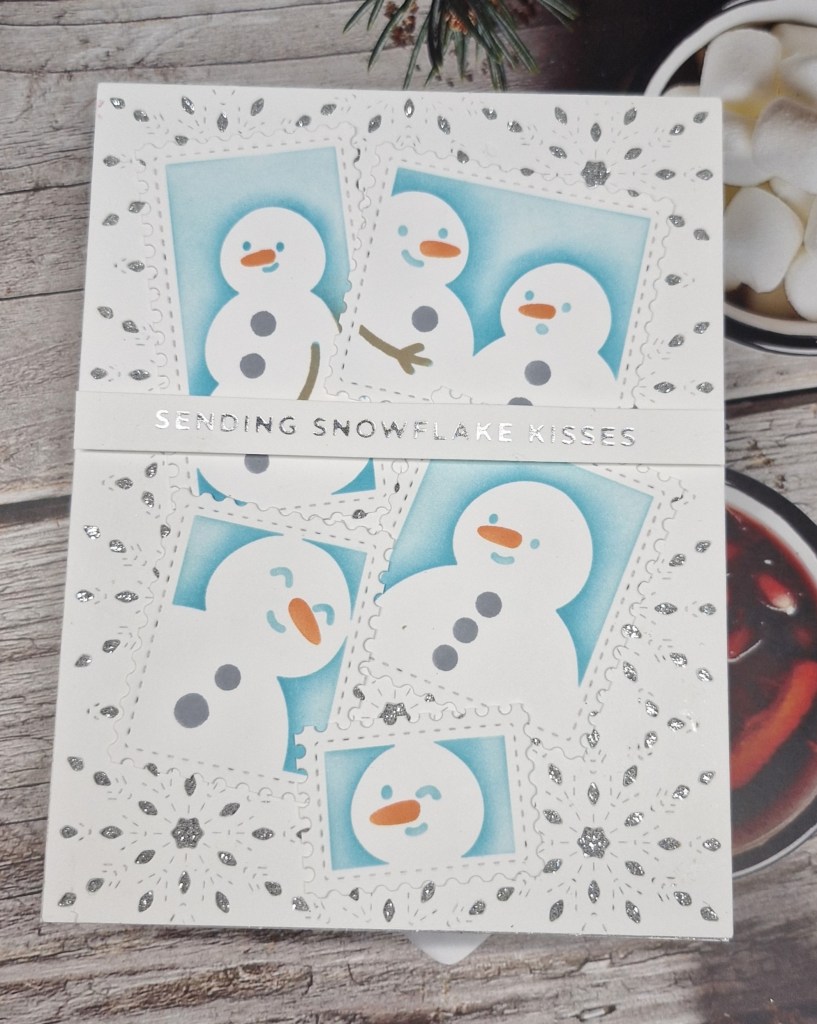
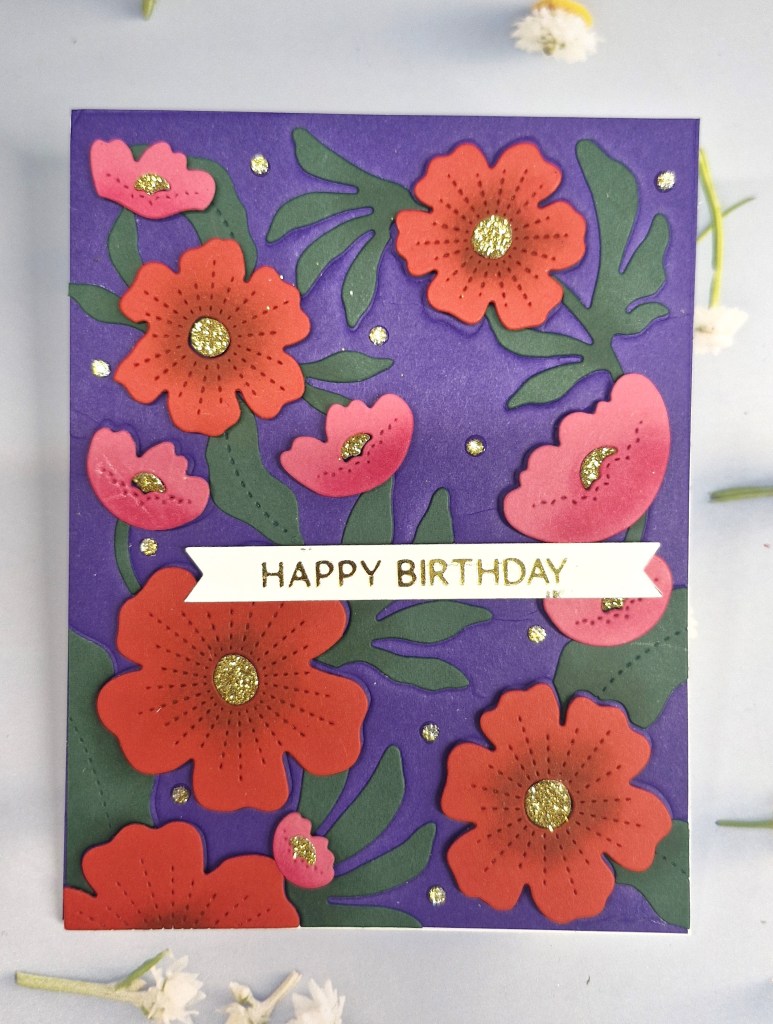
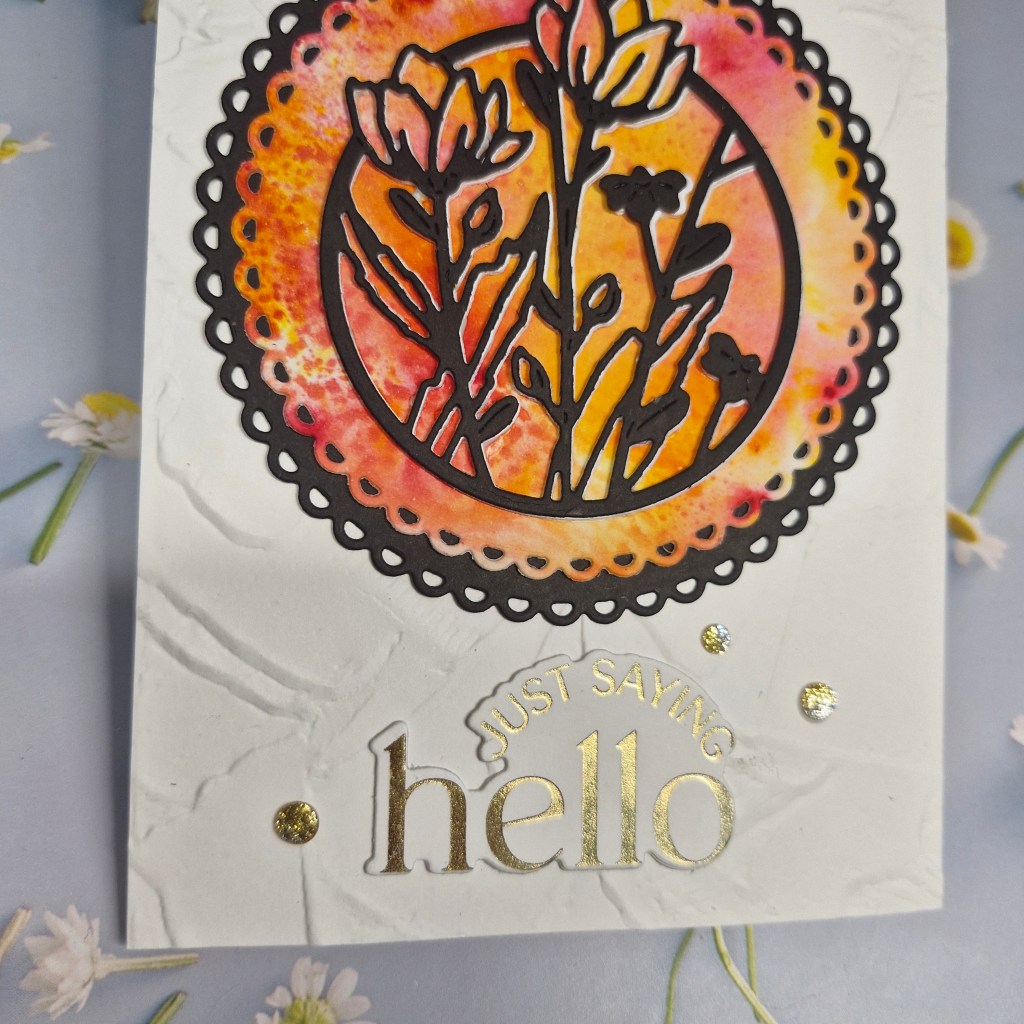
I started off with a lilac panel, and Pinkfresh Studio cover plate ‘Stitched Pinwheels‘ to the stitched background.
The frame image was hot foiled, then coloured using the matching layering stencils. I went a little darker with the blending for the centre of the larger poinsettias.
Once coloured, I used the matching die to cut it out, and also cut out the sentiment from the same suite – also hot foiled.
The lilac panel was attached to a white card base, the frame image added, then the sentiment, and some gems to add some more interest.
I hope you can come and join us with your Christmas creations. xx
Hello once again. The Alphabet Challenge has started a run through the alphabet again. For this challenge, hosted by Helen, we want you to choose your own letter from the alphabet, and create a card from your own choice of theme for that letter….
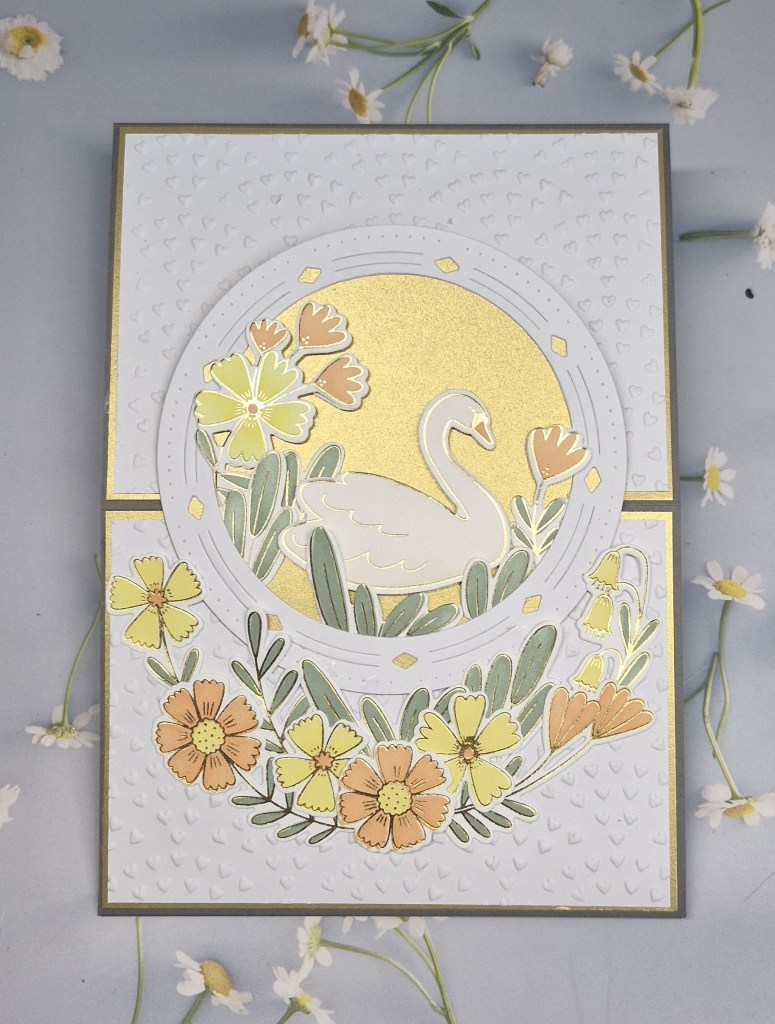
I chose ‘F’ is for Flowers’, and created this card:
This is actually a gate-fold card, so I created the blue card base first, then ran that through the machine with an embossing folder. This created an all-over pattern for the whole of the card base.
The front panel was created using the same embossing folder, onto which I adhered some Pinkfresh florals from one of their washi tape suites – attached to a white piece of card, then die cut.
Once the images were laid out onto the white panel, with images over-hanging the edge, I cut the over-hangs off. The foiled sentiment was added, as were some gold gems.
I placed another white panel on the inside of the card, also decorated with some of the washi florals.
I hope you can come and join us this time round – choose your own letter and your own theme following that letter – the world is your oyster. xx
Hello everyone. Cardz 4 Galz has started a new challenge. Johanna is the host, and she has chosen the theme of ‘Art Deco’.
I had to do an internet search as I really didn’t know what that actually meant. I see that it describes bold colours, geometric or simple lines……I had a search through the products in my Color My Life app and came up items to create this card:
I used a Pinkfresh Studio suite of products (Overlapping Geo Leaf) which included a foil plate, layering stencils, and a die.
I first used the foil plate on white card stock, then the layering stencils, and then the matching die. The inks used were also from Pinkfresh Studio, and I chose bold colours which would work well when layered together.
Once die cut, I then used some Spellbinders brushed gold card stock, and used the die again, placing the gold outer frame ‘off cut’ onto a white card base. I decided to die cut again in white, and layered that with the ink blended panel then inlaid it into the frame, adding the smaller gold pieces. This made the ink blended piece stand a little proud of the background.
The foiled sentiment was added as you see.
I hope you can join us with your projects in the Art Deco style – I am looking forward to seeing all the bold and bright colours on our gallery. xx
The snowflake was created using a Simon Says Stamp die (Pixie Snowflake) and die cutting that out of a previously created panel of acetate, tissue paper, Brushos, and glue……
You take a piece of acetate, add some dries clear glue or lacquer, then alcohol inks or water-colour powder – the colours of your choice – then sprinkle on some glitter. Here is a Sue Wilson video to check out if you wish.
You then add some wrinkled tissue paper and press down so the tissue paper sticks to the glue and alcohol inks. This is the messy part, so I wore some disposable gloves and some kitchen roll.
This needs to then dry over night – I usually make several pieces at one time to have some available when I want them.
Once that acetate and tissue paper had dried, I used a Simon Says Stamp die (Grand Pixie Snowflake) and die cut out of the middle of an A2 sized piece. I did have to use my chrome plate for die cutting as the acetate and the layers it has on it needs a little more help than the usual plates.
I created a white card base and added a green panel slightly smaller. The white glitter card I cut down to a square just larger than the snowflake, then die cut the snowflake out of the centre, and inlaid the acetate die cut into the glitter square.
The sentiment is a previously foiled strip.
I have the ‘off-cut’ here ready to add another sentiment when the time is right:
I hope you can come and join us with your Christmas themed creations. xx
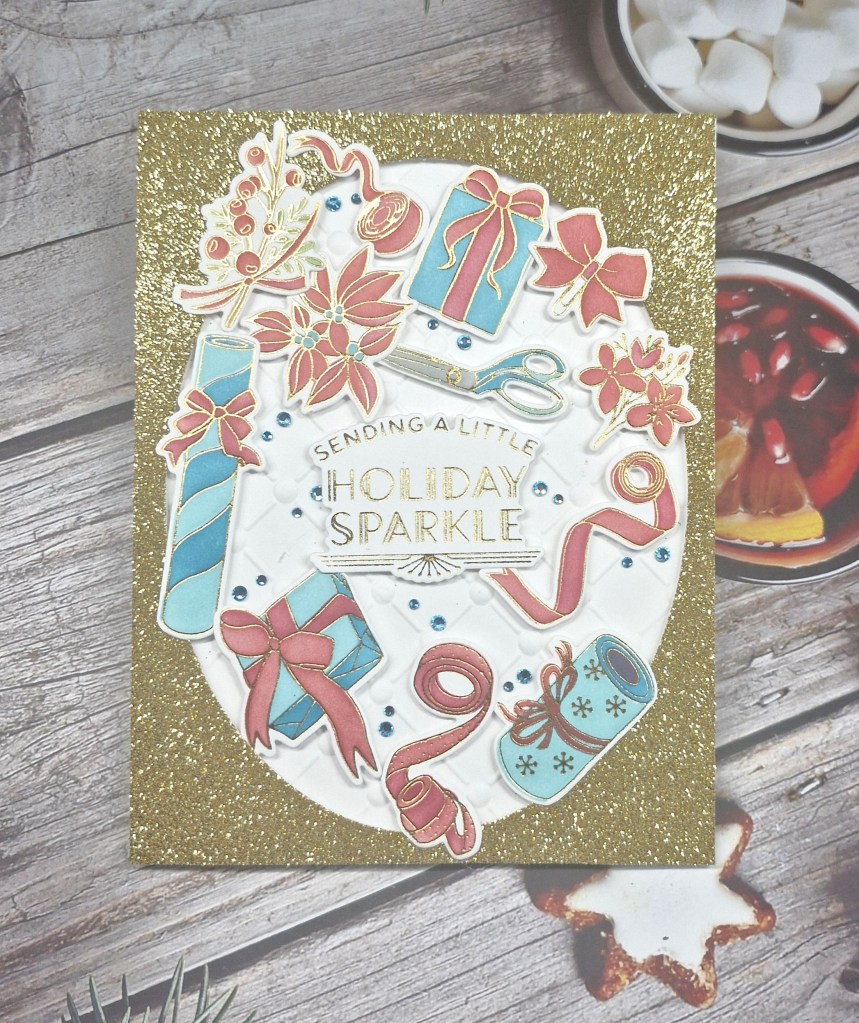
Hello there. Popping in to share a card for the new challenge at Cardz 4 Galz. Dawn has chosen the theme of ‘Stripes’. Here is my card:
My use of stripes is in the background foiled panel. I layered that onto a piece of gold glitter card stock. I added another frame from a Pinkfresh Studio die set, then created the images.
These images are from another Pinkfresh Studio suite – washi tape onto white card, then die cut with the matching dies.
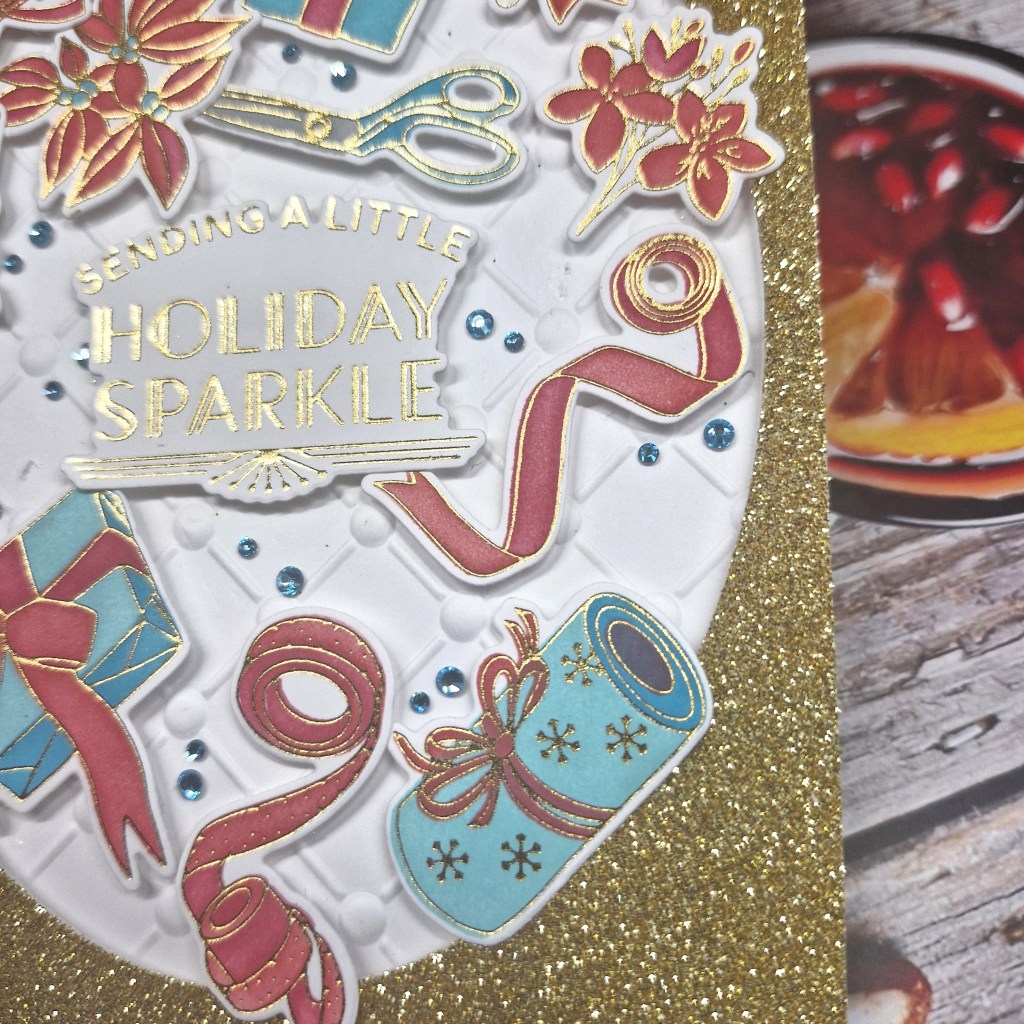
The images were arranged as you see, and some ombre glitter gems added.
The sentiment is also gold foiled, and stacked with two or three die cuts instead of 3D foam.
There is a lot of gold going on in this card – I must have been in one of my blingy moods.
I hope you can come and join us with your take on our theme of ‘stripes’.
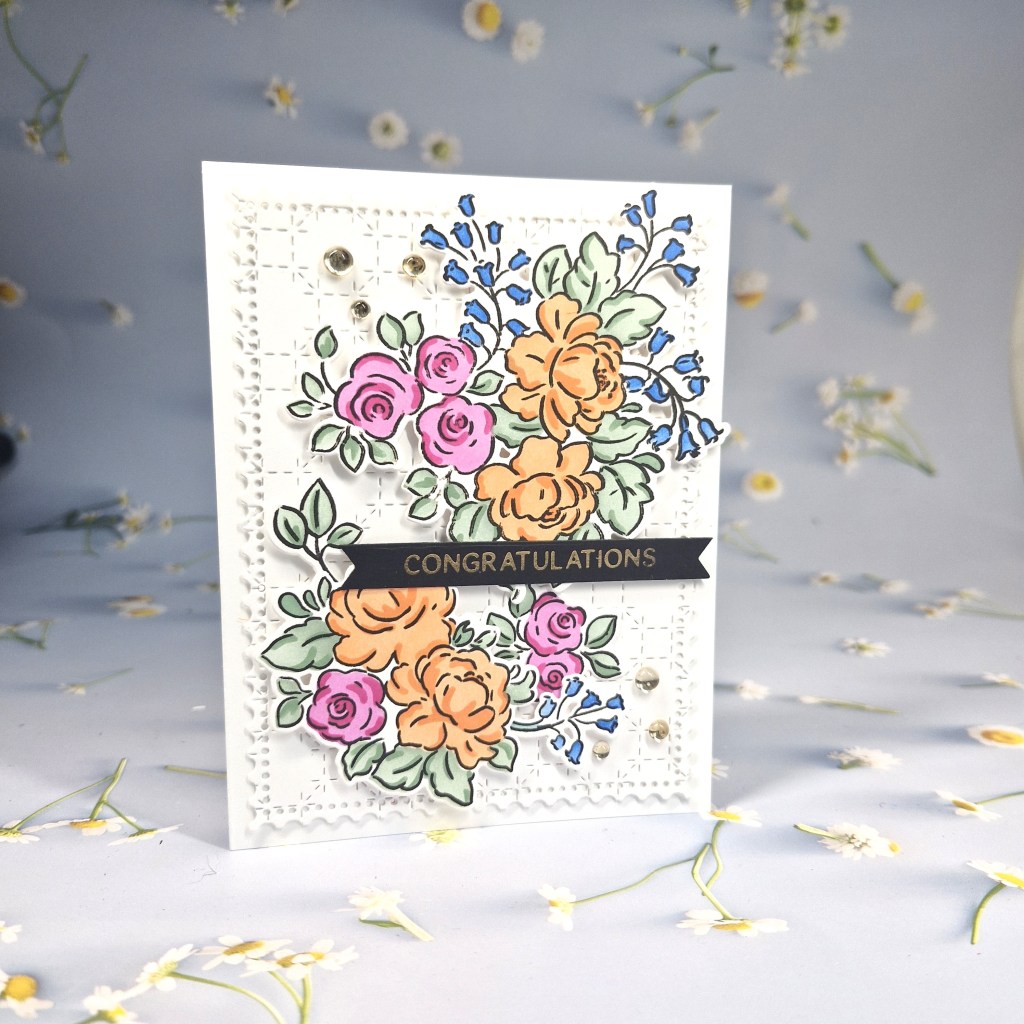
Hello everyone. You remember how I said yesterday that I wouldn’t be using any more Pinkfresh washi for a while…..? Well – I may have just told a little fib. I watched a Jennifer McGuire video and totally inspired to create – but this was using more Pinkfresh washi. I changed the washi to another product suite – Indigo Roses – and created this card:
There are also three other panels I am working on, but this card came together first.
I first attached the washi tape to white card stock, then used the matching dies.
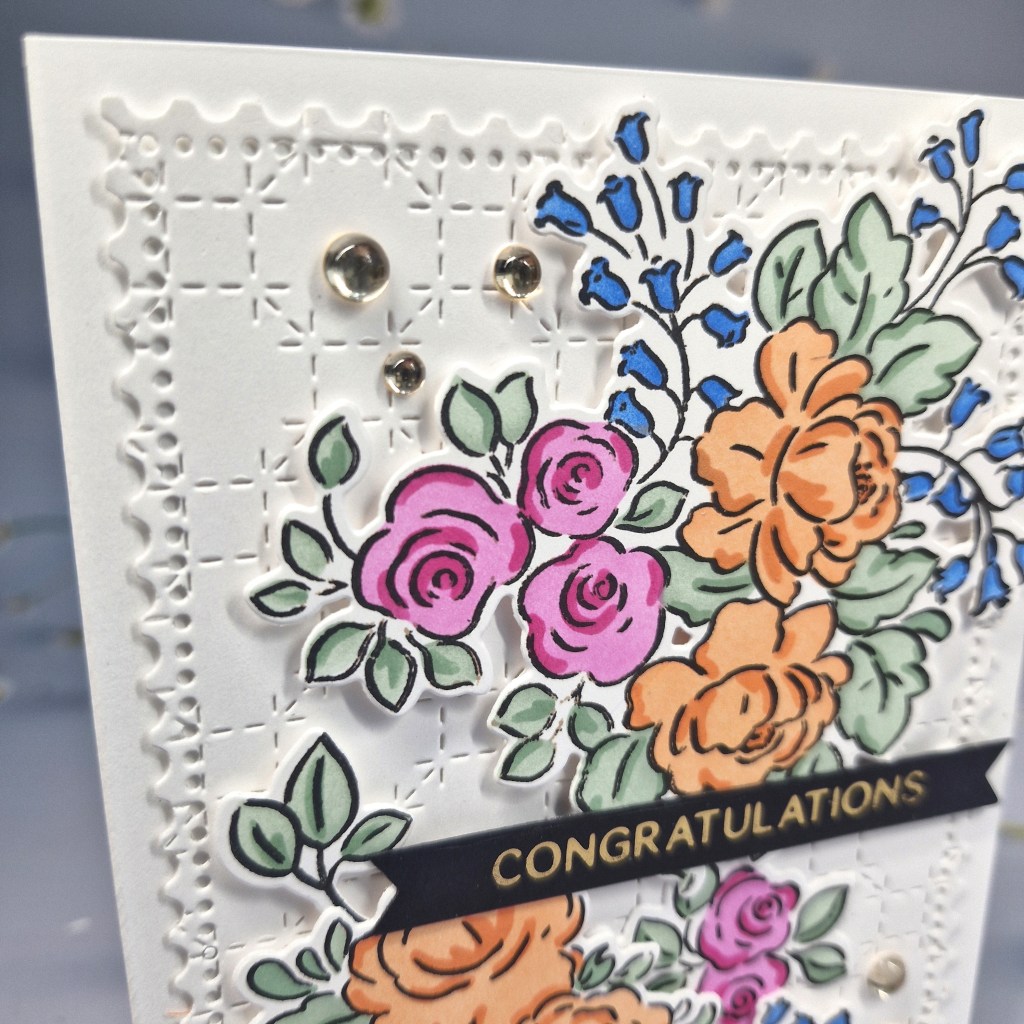
I followed Jennifer’s examples of cutting down another white card to four rectangles. I used an old Spellbinders embossing folder on each of the four rectangles. This one has the date of 2012 on the back……!! It is an ‘M-Bossabilities’ reversible embossing folder called Garden Lattice – two designs for the price of one, and is A4 in size. It’s amazing what you find in your stash when looking for something else, isn’t it?
Taking guidance from the YouTube video, I taped the four rectangles together, attached the die cut washi images, cut the rectangles apart – then attached more images. The video explains it in far more detail and is very easy to follow.
Once the panel designs suited my eye, I created the folded card base, matted some gold, then found some blue card stock from Time 4 Tea Designs which matched the indigo roses.
The mats and layers were created and attached to the card base, then the floral panel adhered to the left front.
A previously created foiled sentiment was added, and some gold gems. I also finished the inside – very unusual for me – but I was in the zone.
It really is hard to put away products you are having fun with, and I have several rolls of washi from different product suites at Pinkfresh Studio. A few of them were from virtual events – there is a lot of washi on each roll…
Thank you for bearing with me for the past few days.
I shall be entering the following challenges:
CYHTP – embossing folder – option of lucky/St Patrick’s Day not taken
Hi there. I am sharing the final project – for now – using the remainder of the Pinkfresh Studio washi. I am sure I will be using their washi tape for future projects, but this is the last project for now:
The background panel was created using some Concord & 9th card stock, and a Spellbinders embossing folder. This adhered flat to the card base.
I used the frame die set from the event to create the white outer frame, and then die cut the smaller label with the same gorgeous gold glittery card stock I have used previously.
Once the middle gold and the outer white pieces were attached, I played around with the large and two smaller images until I was happy, and added a sentiment stripped foiled in black – previously created.
I shall be entering the following challenges:
CYHTP –embossing folder – option of lucky/St Patrick’s Day not taken

Hello, I am still working through some of the remainder of the Pinkfresh Studio washi tape received as part of a recent virtual event. I only die cut the entire images twice – and there are lots of florals to be used.
Here is my card for today:
For the background on this card I used previously created foiled panel and a Honey Bee Stamps plaid foil plate.
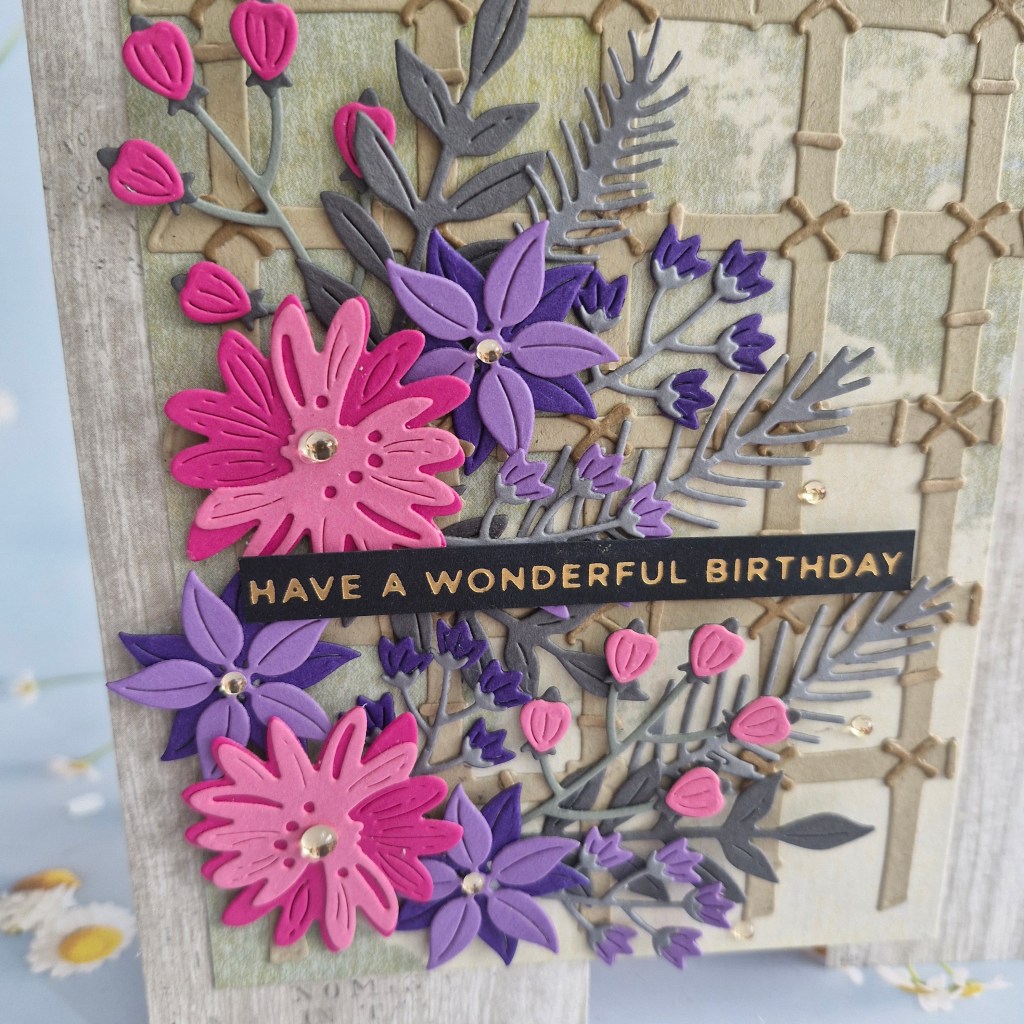
I then created the glittery gold panel using a Pinkfresh Studio die set, and arranged the floral images around and about until I was happy with the design.
I added the foiled black strip sentiment as a stand-out piece – no other black on the card – but I liked how it stood out.

Hi there. I have another project to share using some of the pieces left over from a previous project:
I again used the stencil from Pinkfresh Studio and there recent virtual event, as well as the washi tape suite.
The washi was adhered to some white card, then the images die cut using the matching dies.
The background panel was created using the layering stencils received as part of this event, and die cut using a couple of frame dies. For this frame, I also inserted the middle back into the frame.
There was too much white visible around the frame and flowers, so I added a panel of Concord & 9th card stock, and glued everything down. The sentiment is a foiled sentiment previously created.
I thought I would have a go at using the Color Cubes by Sarah Renae Clark. My sister bought them for me a year or two ago – and I have never even opened the two boxes. Here is the photo with the card from the cube box I used:
I thought it was quite dramatic and so I went with it.
The background panel was created using a panel of Spiced Cider card stock from Concord & 9th and a Spellbinders embossing folder.
The mistletoe layering dies are from The Greetery, die cut using Concord & 9th card stock and some white glitter card from a UK company called Pink Frog Crafts. (This company is very local to me actually, and they have a fabulous range of glitter card – even non-shedding – and is quite handy when I am almost running out.
The bow is from another die set from The Greetery, also die cut out of white glitter card.
The final touches were the added foiled sentiment, and the clear gems.
I hope you can come and join us with your Christmas creations. xx
I shall be entering the following challenges:
Jingle Belles Rock – Christmas and Bling It! – (glitter card stock and gems)