Blue & White Christmas

Hello there. I have a card to share for the new challenge at 52 Christmas Card Throwdown. I was lucky and fortunate enough to win their February colour challenge, and as such was invited to be Guest Design Team Member for this challenge.

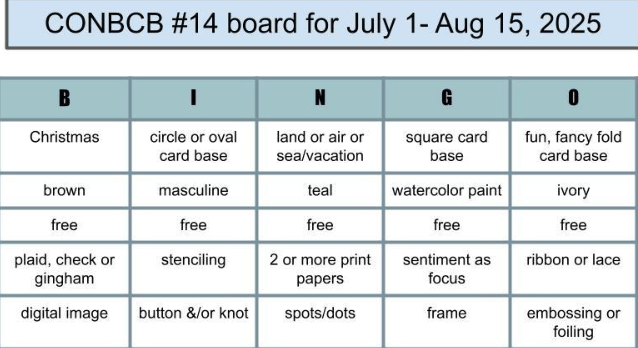
The theme is: Blue & White Christmas
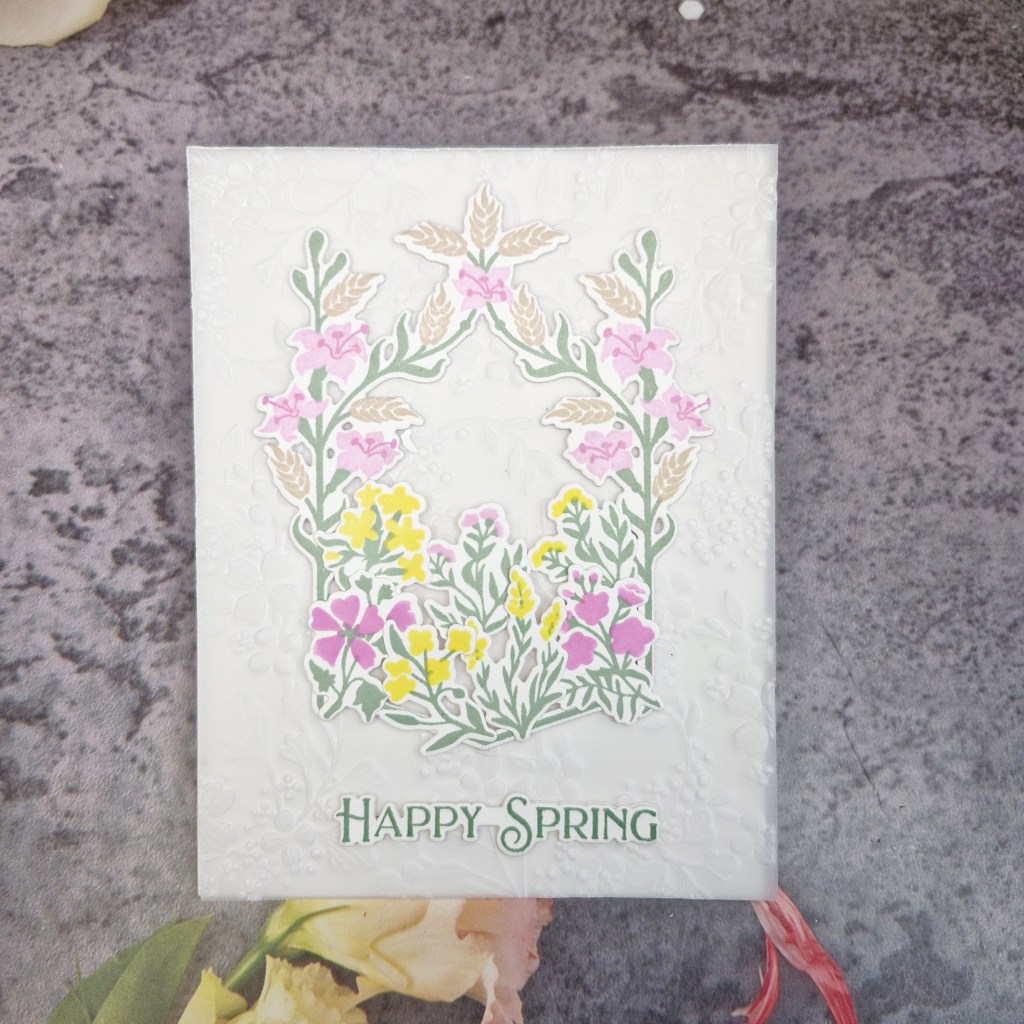
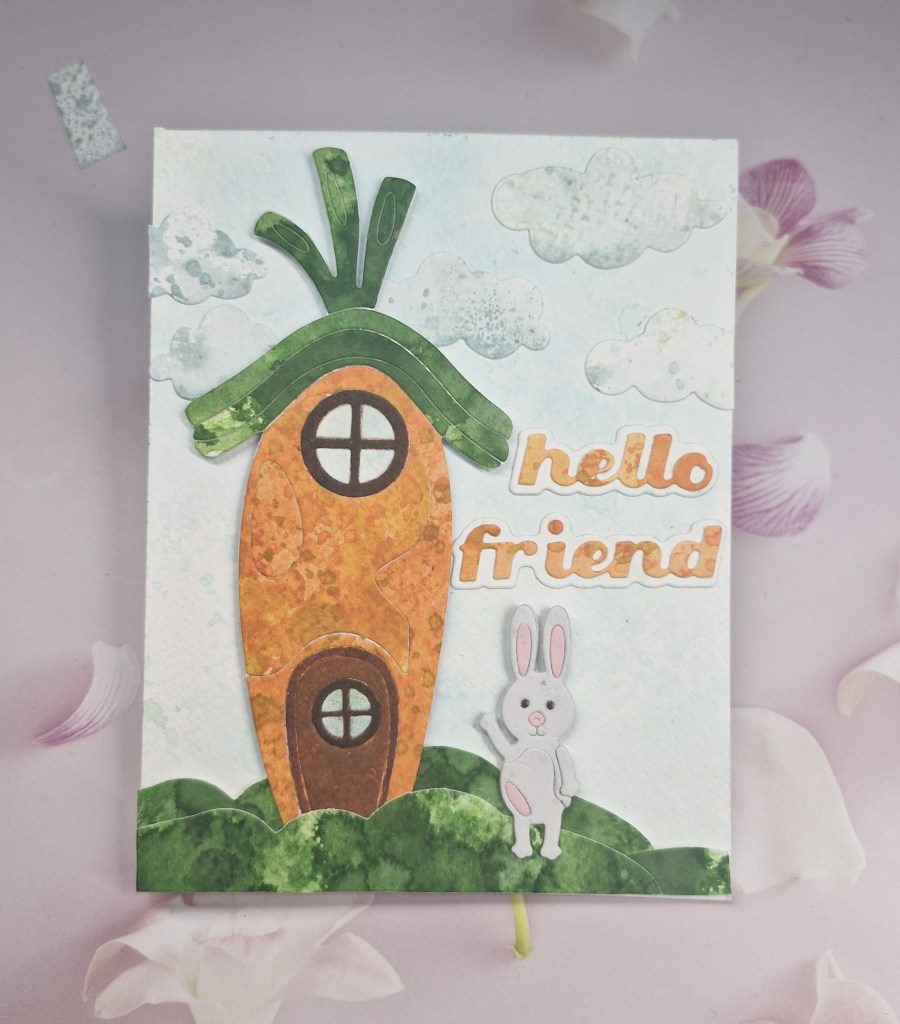
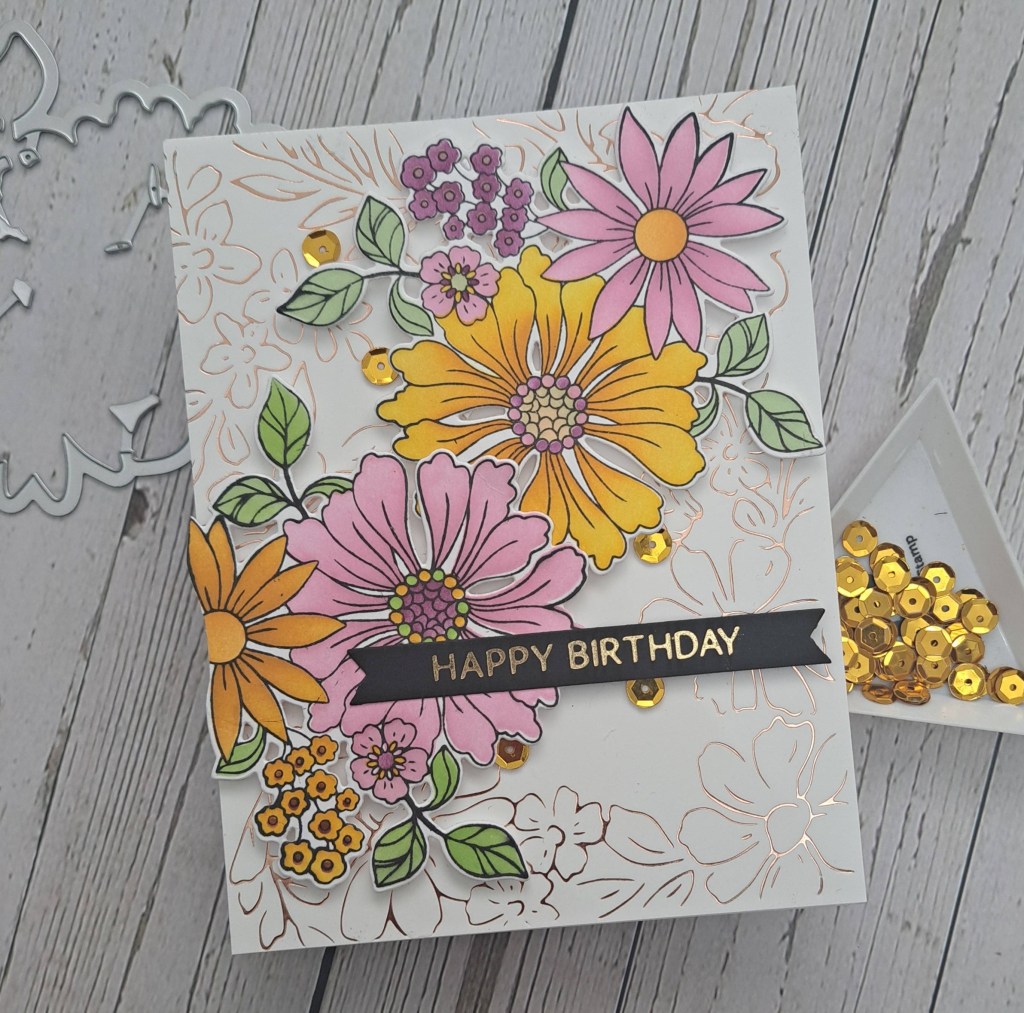
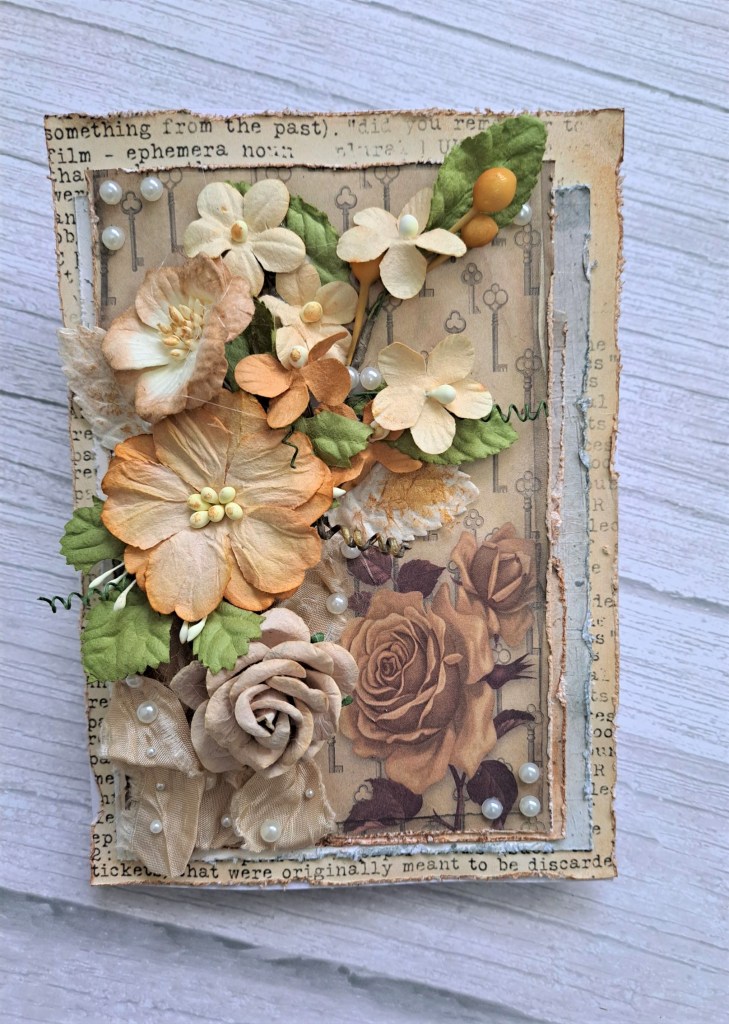
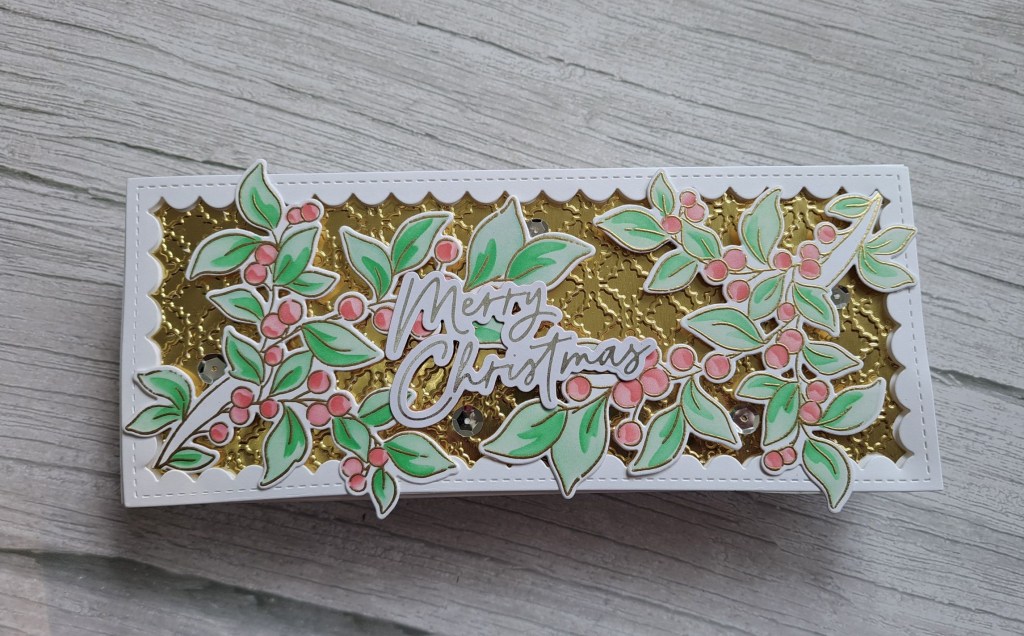
Here is my card:

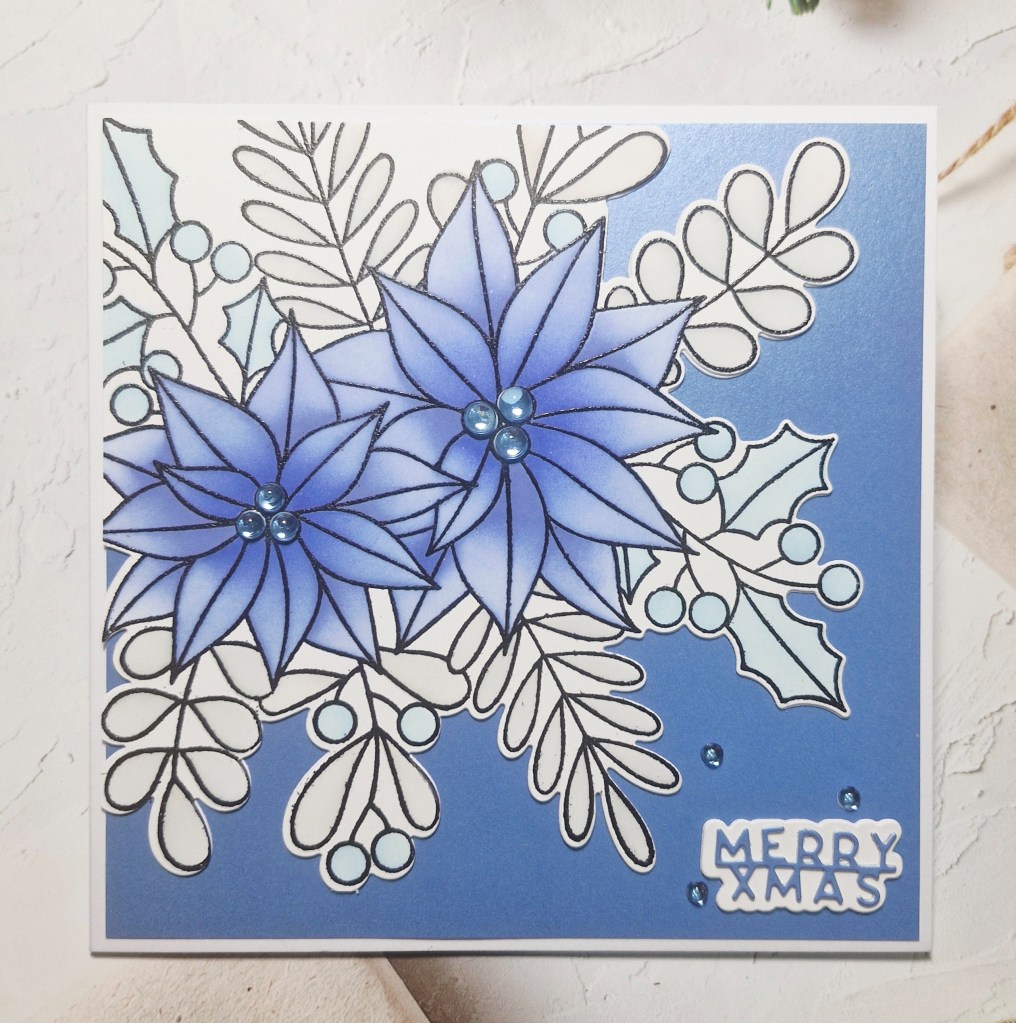
I first started by stamping the image from Kristina Werner/Concord & 9th in black, then heat embossing with a clear powder. I prefer to do this if I am going to ink blend straight away, to stop any smudging.

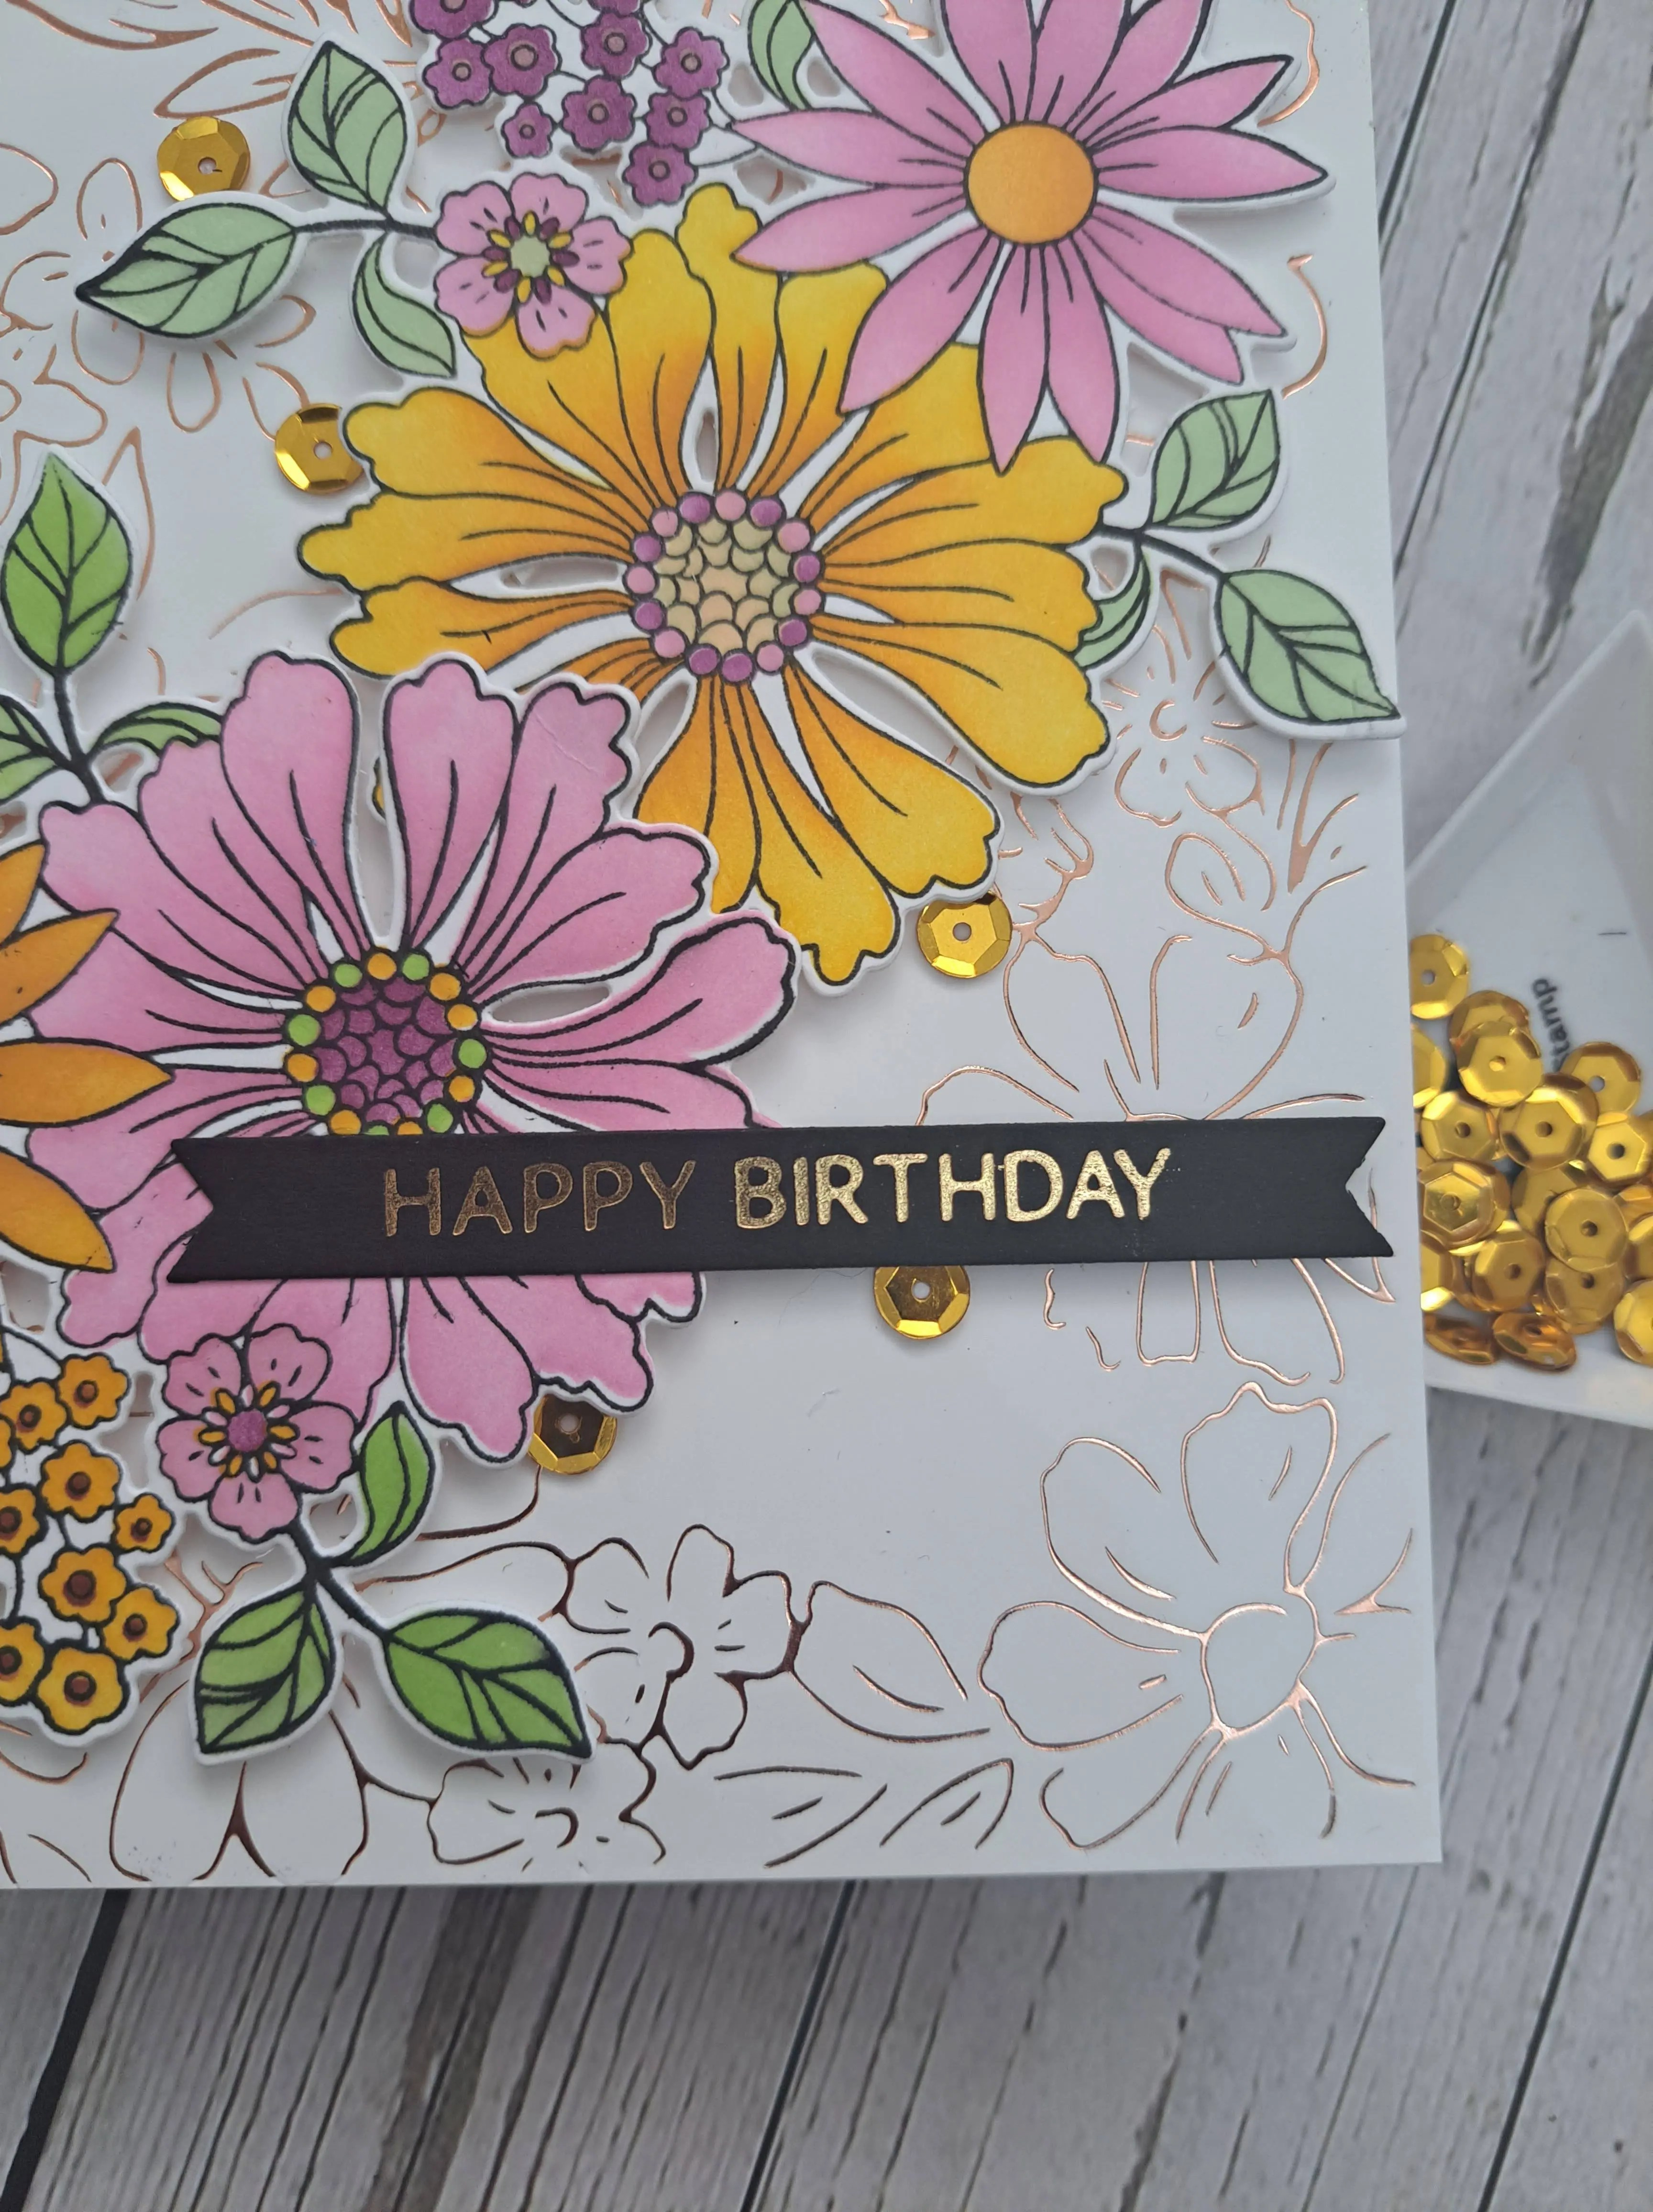
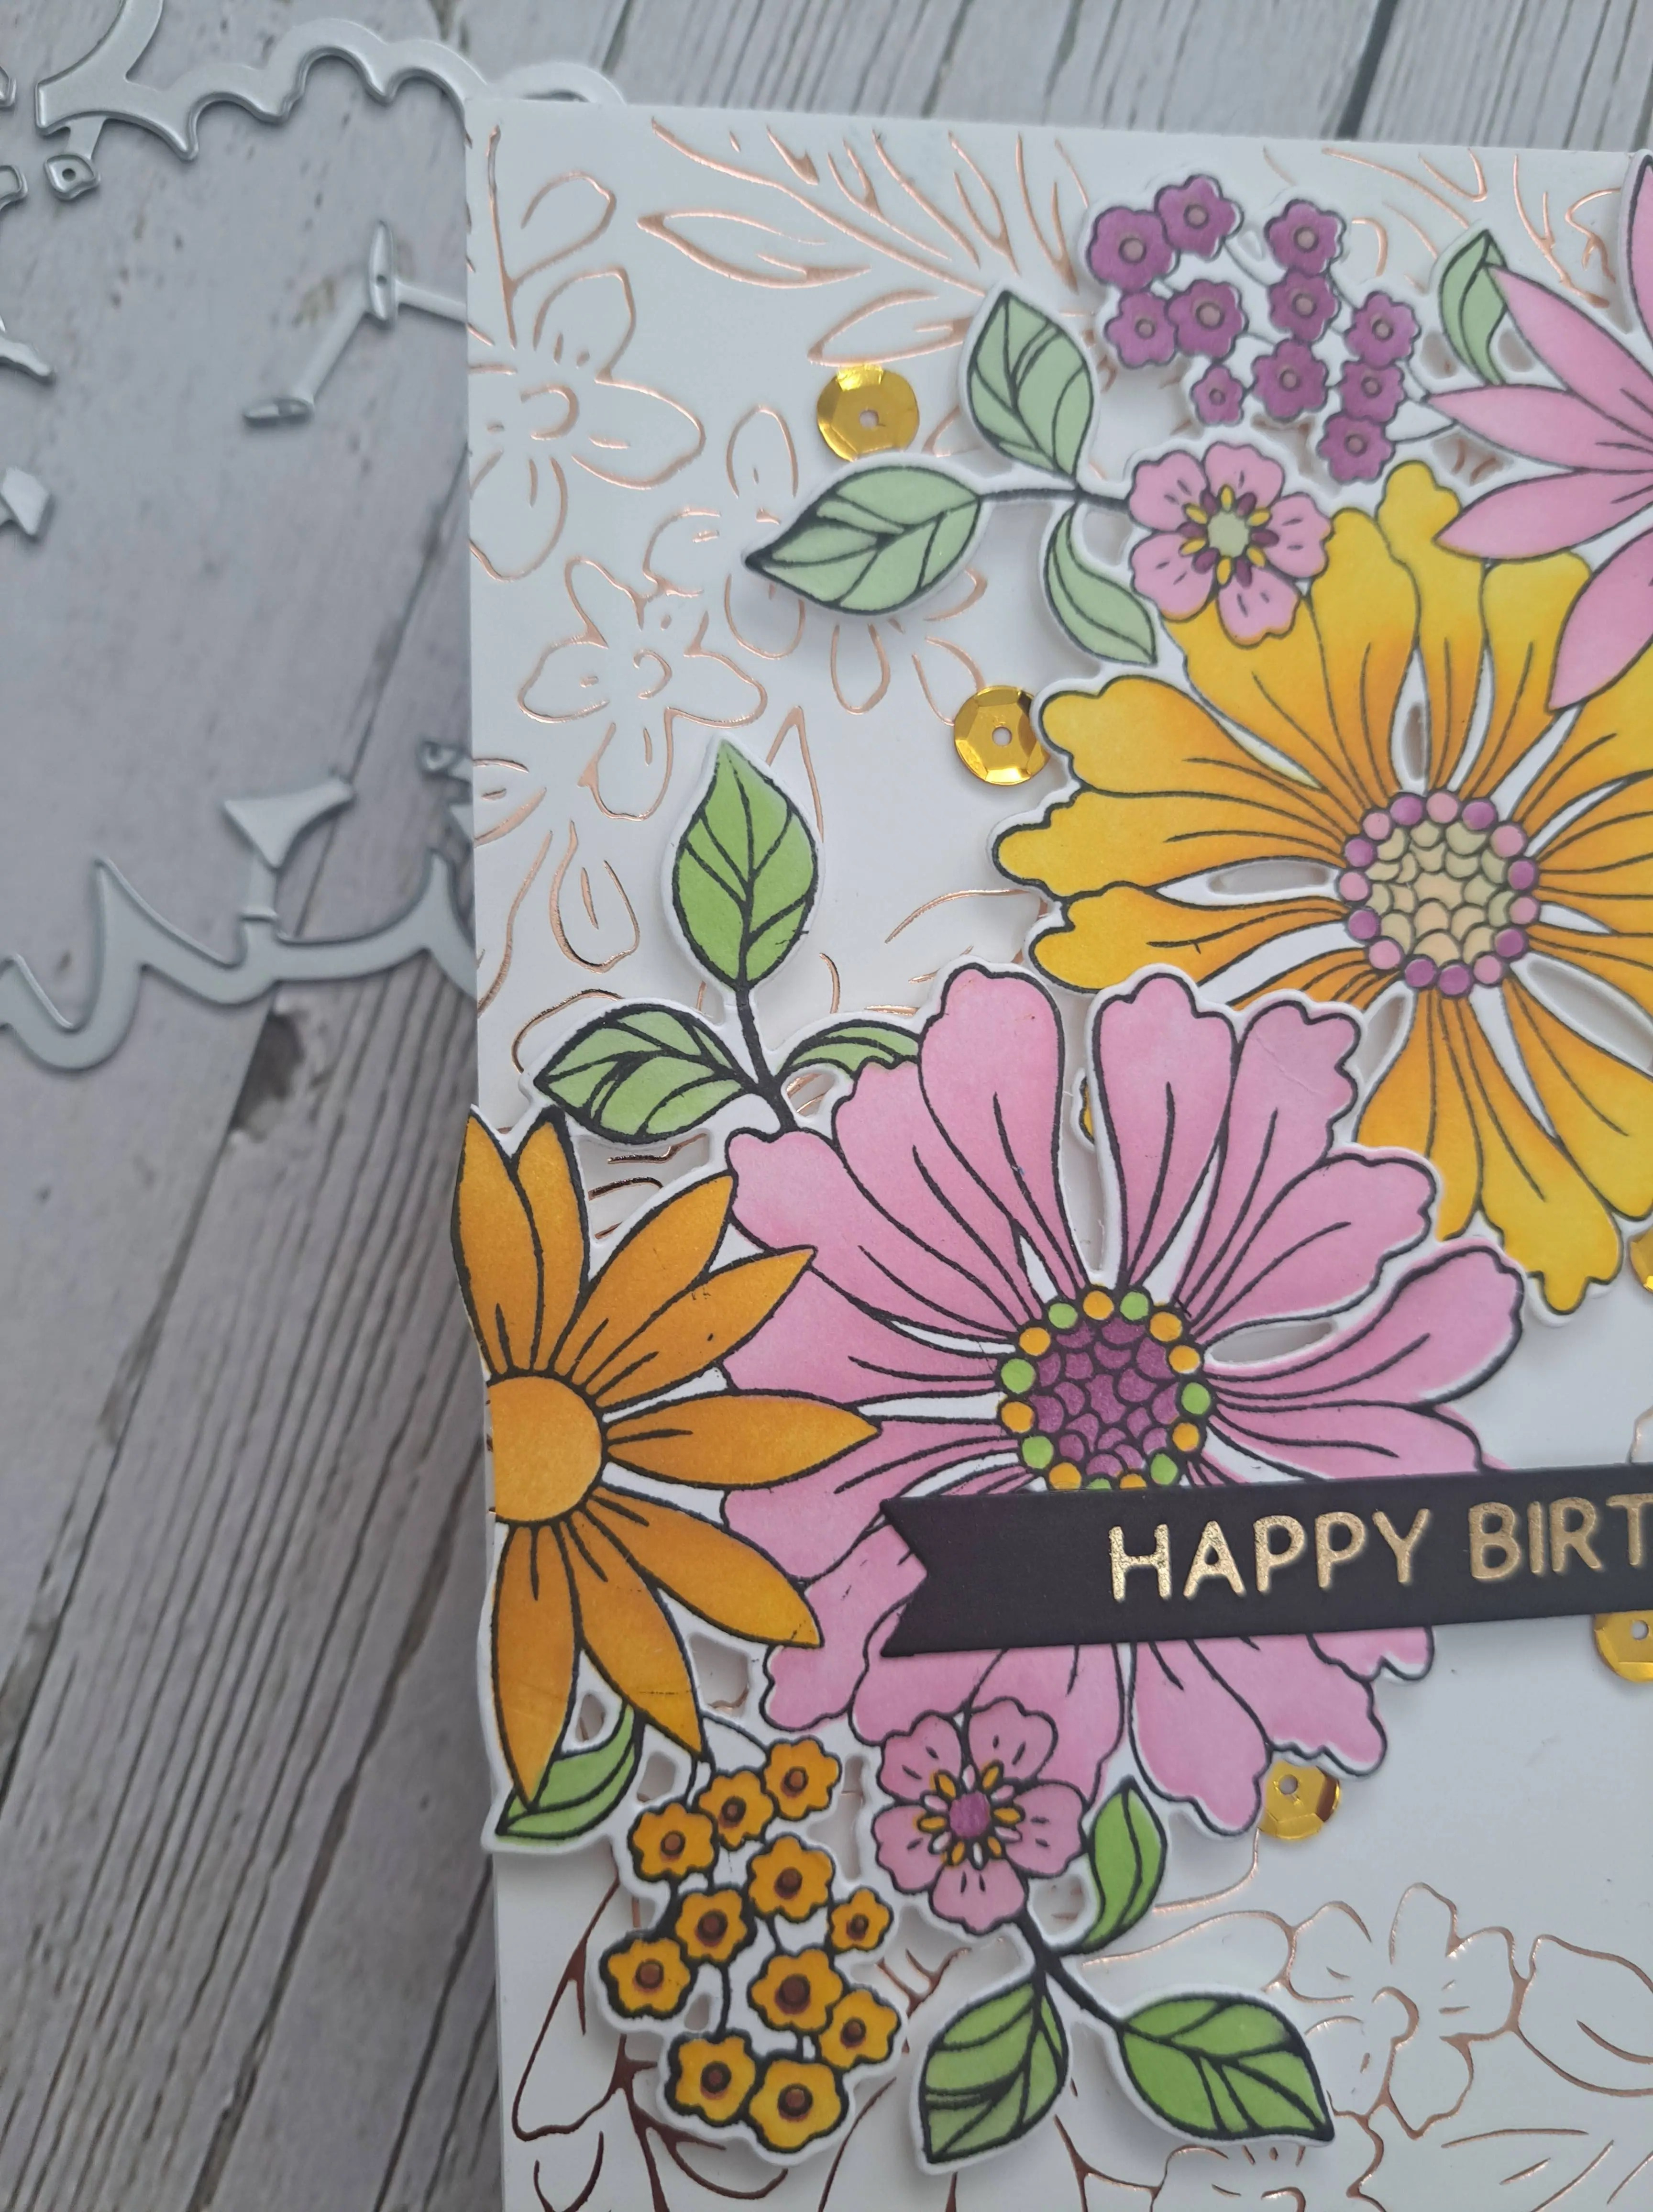
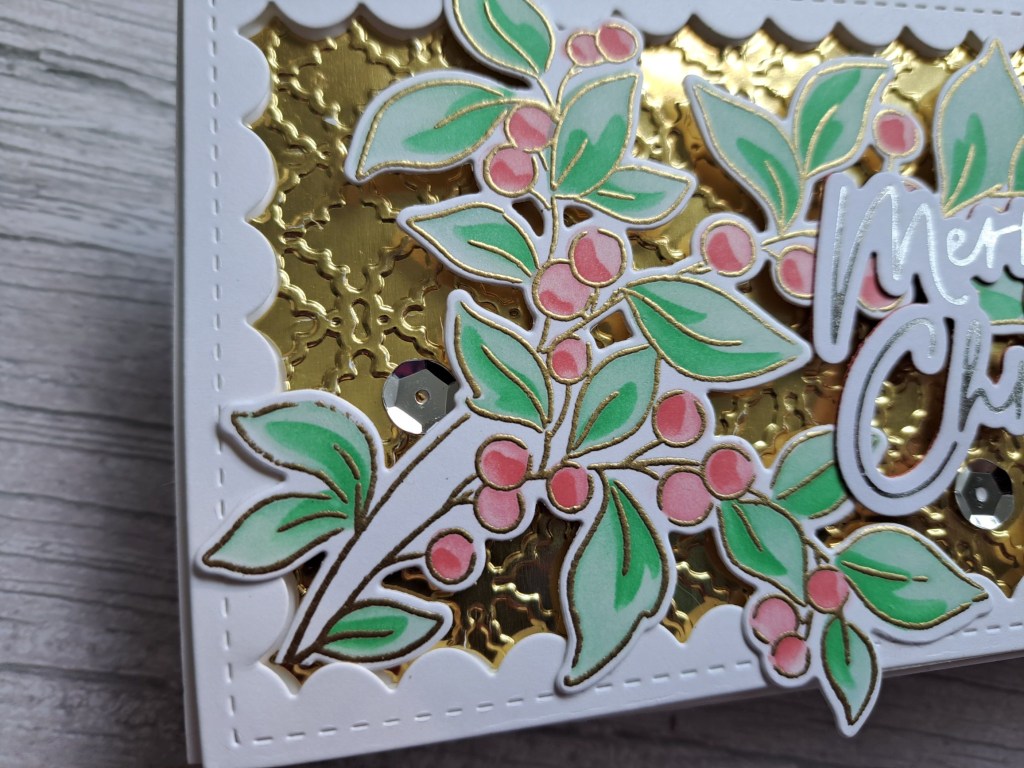
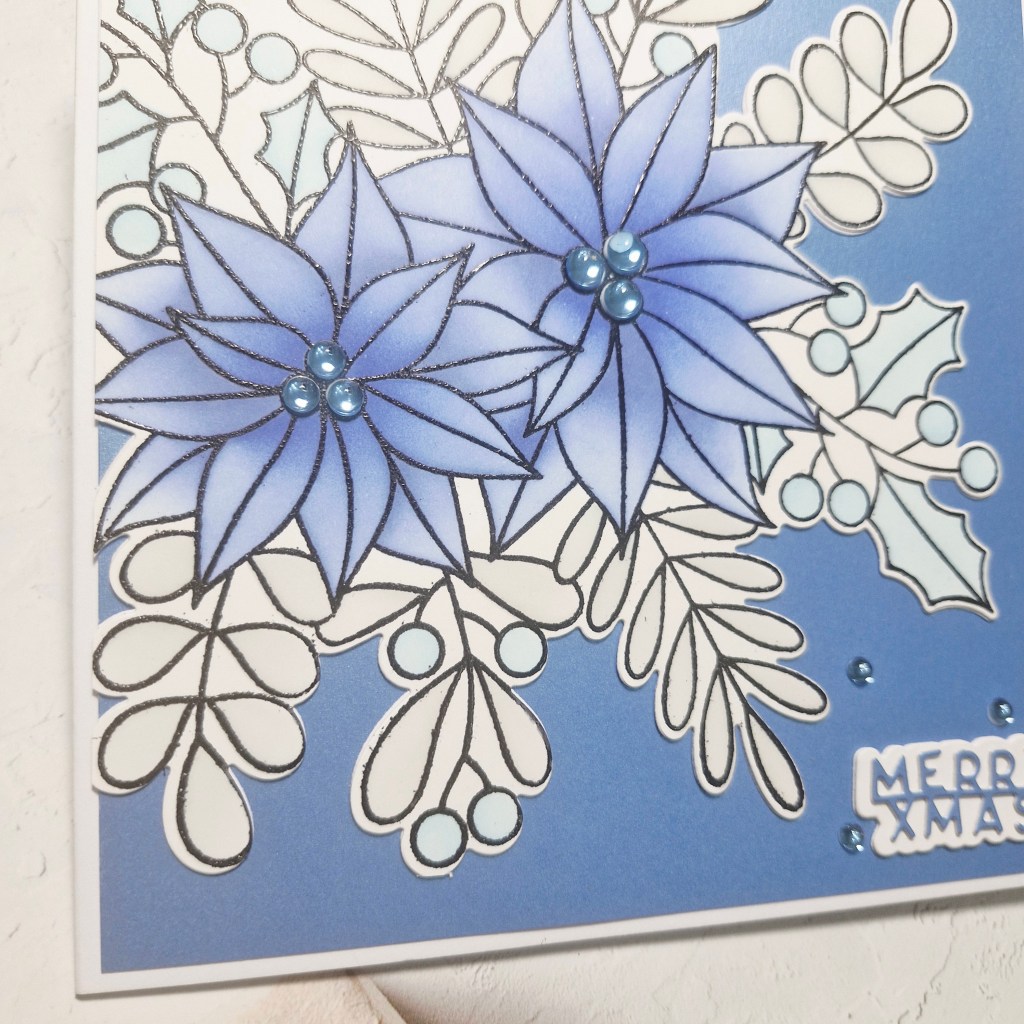
The matching layering stencils were used to colour the image in, using blue inks from Pinkfresh Studio, adding a light shade to the whole flower petals, then a darker shade towards the centre.

The foliage was ink blended using a light grey ink, and a lighter blue for the holly leaves and berries.

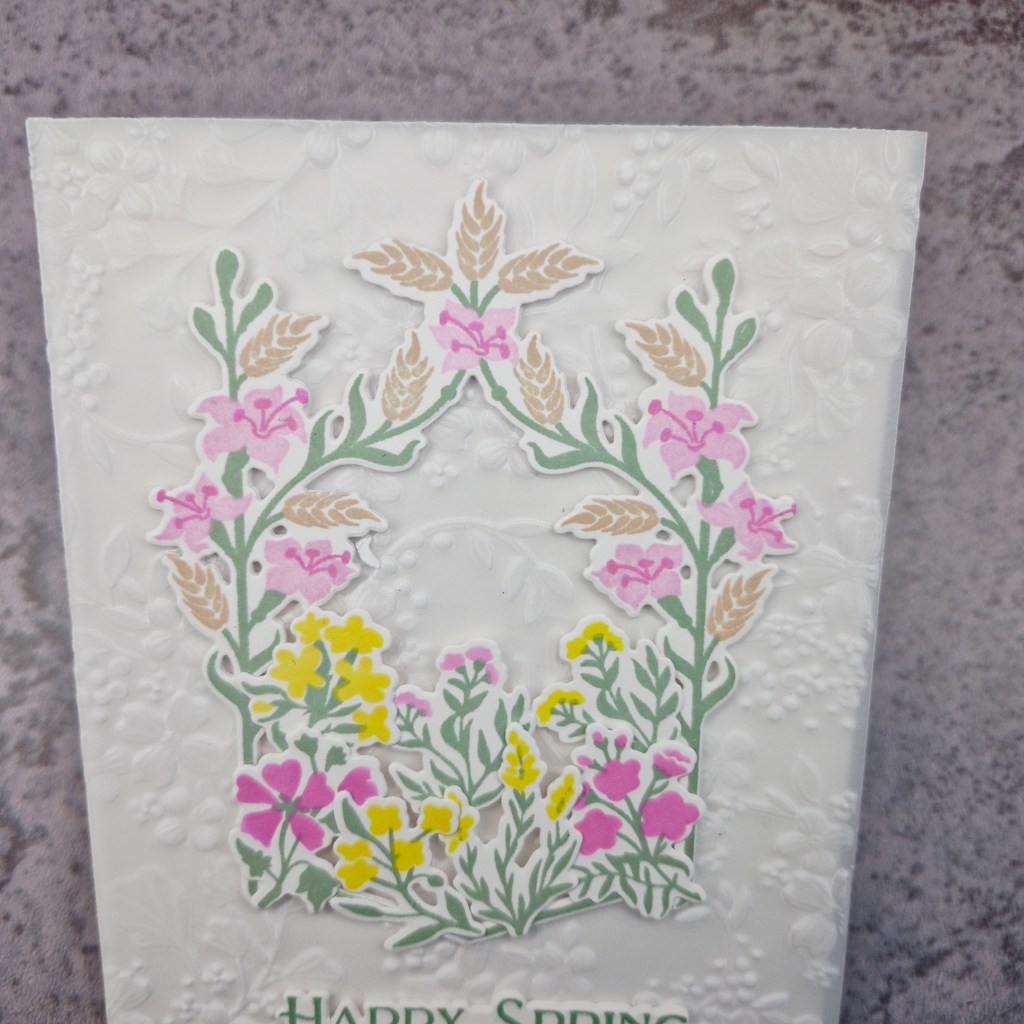
Once the image was coloured, it was die cut using the matching die, and a second piece die cut out of white card stock to add some stability and thickness.

Onto the square white card base, I added a shimmery blue piece of card, then glued the coloured image straight onto that.

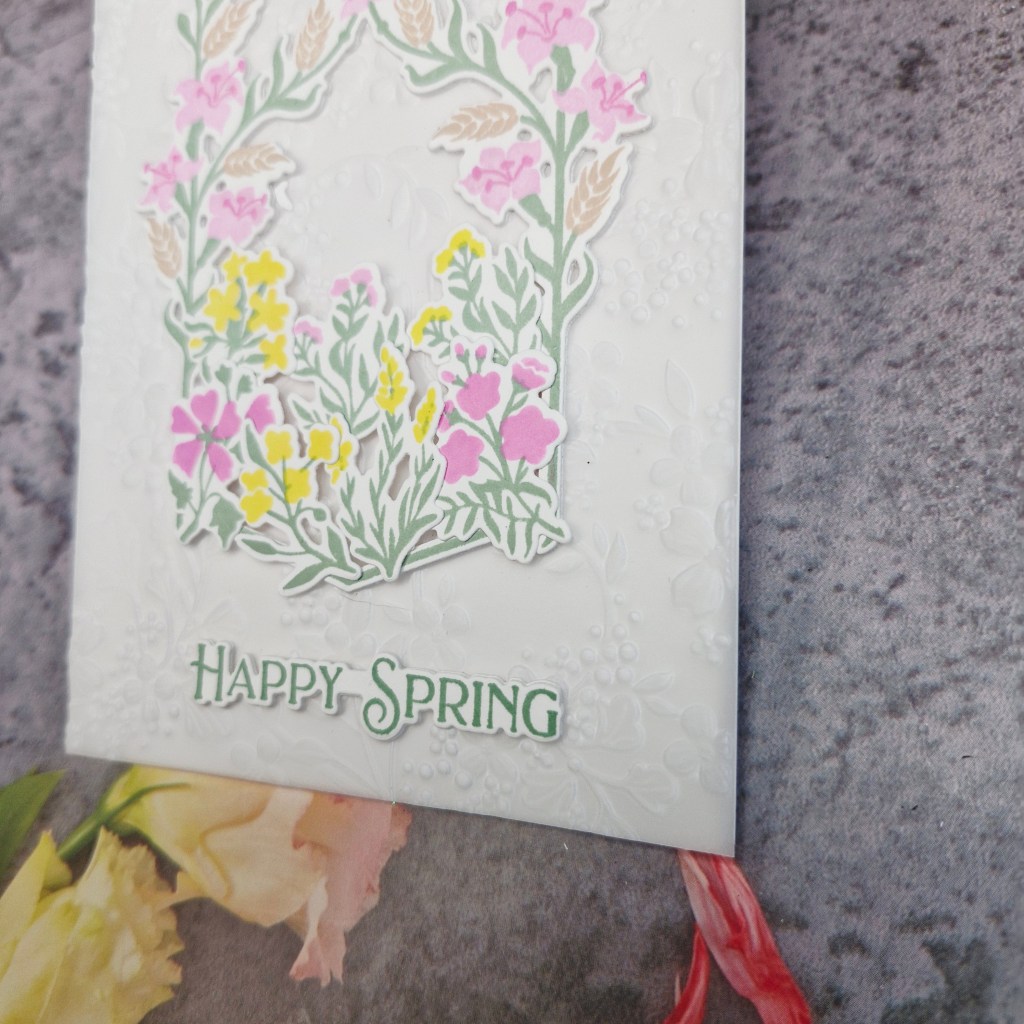
The sentiment is also from the same stamp/die/stencil set, die cut and attached as you see.

For added interest and a little sparkle, I glued blue gems from Pinkfresh Studio onto the centre of the poinsettia, and three smaller gems surrounding the sentiment.

I hope you can join the team with this colour challenge. I look forward to seeing you in their gallery. xx

Happy Spring

Hello everyone. I was thrilled to be the random winner for the November – December challenge at Christmas (or not) Bingo, and as such, invited to be Guest design team member for an upcoming challenge.

The new bingo board for March 1st is:

I chose to follow column ‘O’ – Easter/Spring/free/foil or vellum with this card:

I first created the vellum panel, by using a Spellbinders embossing folder, and set to one side whilst I then created the main image.

This stamp and die set is from The Greetery, and is called ‘Spring Crest’. It is a layering stamp set and I chose light colours for the florals, a sage green for the greenery, with a light brown for some of the other accentes.

I also used the ‘Bitty Botanicals’ stamp, stencil and die set to create some small florals to use at the bottom of the frame.

The first step was to add the frame to the vellum, then tuck the separate bitty floral in place. This way, I knew what I could add to the back of this arrangement to be able to stick the vellum down onto a white card base. The vellum is not, therefore, stuck down completely, only at the back of the arrangement on the front.

The final step was to stamp and die cut the sentiment – also adding more glue on the back of vellum behind the sentiment.

So quite a soft and ethereal make for me – obviously inspired by the Spring theme.

I hope you can visit the challenge and have a go at joining, the Bingo board is such a novel idea, and there are so many different ways of playing. The challenge runs from March 1st and finishes 15th April. xx

I shall be entering the following challenges:

Ellibelle’s Garden Party anything in of from the garden

Happy Birthday to a True Classic

Hello everyone. I have a card today to share as Guest Design Team member for the new challenge at Christmas (or not) Bingo.

This is the board for you to choose a column, and use at least three items from that column. I chose column I – masculine – free – stenciling:

The products I used for this card are from a recent online event by Pinkfresh Studio. I generally attend their virtual events, but wasn’t sure about this one. It was called ‘Cards For Him’ and as I rarely make masculine cards I wasn’t sure – until I saw the sneak-peeks and the range of products for the event.

I used the ‘dotted nested deckled rectangle‘ dies to create the grey frame – layered a couple of time for dimension. I took a white piece and die cut again, and this time I stencilled some light blue clouds onto it to create a background for my little scene. I then stamped the sentiment.

The car was stamped and ink blended using the matching layering stencils, then die cut. This stamp set is called ‘True Classic‘.

The houses behind were ink blended with their matching stencils, then die cut. I didn’t stamp them first as I wanted less defined outlines for those. It did make the layering of the stencils more of a challenge, but thankfully as they were all straight lines it wasn’t a major issue.

The frame was attached to the card base, the inner cloud area inserted, the car added, then the houses tucked in behind.

Hubby and I have had quite a few sports cars in our time, never a blue one though, but when you are grunting every time you try to get out of them low slung things – knees, back, hips – we decided it was time to move to cars which were higher. We have some fabulous memories though.

I hope you can come and join the team and I with your creations following one of the columns. xx

Bunny Thanks

Hello once again everyone. I have a card to share as Guest Design Team for this new challenge at Dragonfly Dreams. I was lucky enough to be chosen as one of the Top 3 for the January challenge and was invited to join them for a future challenge.

Their new challenge theme is ‘animals’. Here is my card:

I wanted to use a new to me die set from The Greetery of this cute little bunny called ‘Bunny Kisses’. This die set includes the bunny and a few other elements for the bunny to hold – I chose to use the flowers for this card, but there are also some little eggs.

The bunny was die cut and assembled, and I also put several flowers together in different colours to be able to choose how many and which colours I wanted once the card was assembled.

I created the background florals using a layering stencil and Pinkfresh Studio inks, then cut that down so I could layer it with a black panel, and then layered that onto a white card base.

When I lay the bunny onto the background, I felt it was too busy behind him, so I added a circular vellum die cut, then the bunny. This circle die is also from Pinkfresh Studio.

I added the flowers then the black foiled sentiment, as well as some black enamel dots.

I hope I see you in the Dragonfly dreams gallery with your creations featuring animals. xx

I shall be entering the following challenges:

Beautiful Blossoms flowers – optional mood board

Ally’s Angelsanything goes

Crafters Caféanything goes – option of CAS not taken

Mix It Upanything goes – option of lots of layers taken

Love To Craft anything goes

Crafty Animalsanything goes with an animal

Give A Crafter A Cookiephoto Inspiration – bunny was my inspiration

Hello Friend

Hello everyone. I have a fun card to share with you made as Guest Designer for the new challenge at Ellibelle’s Corner I Spy challenge. The new theme is ‘no designer paper‘ Here is my card:

When I saw this carrot house and bunny from Picket Fence Studio – ‘Welcome Home Bun Bun‘ – I just had to have it. Such a fun and different die set.

Rather than using different coloured card stock, I created some panels using Distress Inks and played with ink smooshing. I used a couple of orange and a couple of green ink pads, wanting the panels to have lots of texture, and lots of layers, also adding some brown to the orange panel, just for more interest and dimension.

Once these panels were dry, I used the dies for each section then used the back shadow layer to glue all the parts together. I am glad this back layer was added as it makes gluing all the layers so much easier.

The background panel was created using Speckled Egg and again ink smooshing to give a soft pale blue sky, and the clouds were die cut from an ink smooshed panel using Salvaged Patina – or was it the other way round……?!

The window frames and door – die cut from the orange panel – were rubbed into some dark brown Distress Ink to make then stand out a little more. The windows were also die cut from the light blue piece of card and the ‘glass’ areas inlaid.

The bunny was die cut from a light grey card stock with the pink areas die cut and inlaid, and the sentiment from Spellbinders was created by using some left over spare orange and blue ink smooshed panels.

This was actually quite a fiddly card to make – you can see where all the die cuts are, and making them different colours, inlaying some of the die cuts – a little time consuming, but I must have been in a fiddly mood as I enjoyed the process,

I hope you can join us with your creation following the new theme. xx

Foiled and stencilled birthday

Hello there. I am Guest design Team Member at Dragonfly Dreams challenge for this coming month.

The theme for the challenge is ‘birthday‘. Here is my card:

The main floral images are from Pinkfresh Studio, stamped twice, then coloured using the matching layering stencils. I varied the colours on each layer of the stencils, not just sticking to one colour each layer, and used a liberal amount of masking/low tack tape to cover some areas up – I am quite a robust ink blender when it comes to stencils.

I gave a deeper pressure towards the centre of the flowers to try and give some dimension, then die cut with the matching die set.

The background is a hot foil plate – also from Pinkfresh Studio – and used as more of an interest in the background. Once this panel was adhered to the card base, I attached both of the floral images as you see with 3D foam, added a foiled sentiment strip, and some gold sequins dotted around.

I hope you can come and join us in the challenge this month with your birthday themed projects.

I shall be entering the following challenges:

Addicted To Stamps and More birthday

Krafty Chicks anything goes

Beautiful Blossoms flowers

Challenge Up Your Lifeanything goes

Pinspirational birthday and leaves

Die Cut Divasanything goes with die cuts

Shabby Chic……GDT Craft Challenge

Hello there. I was lucky enough to be chosen as winner of a previous challenge at The Craft Challenge, and invited to be a Guest Design Team member for an upcoming challenge. The challenge theme is ‘Shabby Chic’ – here is my card:

So – I am hearing you ask ‘is this really Loopyloo? Has someone taken over her blog for a day?’ Well – this was certainly a challenge for me – but I’m giving it a go – and I really had fun with this card….

I asked for hints and tips from Jo and the CRAFT Team – and was advised to be posh in a tatty way, some torn paper. I also had a look through Pinterest – quite a bit of research to give me ideas – and then I played….!

I hunted out some patterned paper, some paper flowers, some pearls, my edge distress tool, and my ribbon.

My card base is 5×7 inches, and I added several pieces of patterned paper, various but muted colours, distressed the edges, inked those distressed edges just a little with some Distress Ink and glued them down. I offset them so you can see the layers, and so that the large rose on the top piece of paper could also be seen.

I found some shabby ribbon which I have ‘stored’ for the past 3 years, and used a muted brown colour as a base for the flowers. Using my hot glue gun I added the ribbon, the flowers – cutting and bending until I was happy with the outcome. I added some gold wax to some of the leaves which I thought were too bright

I found some pearls in varying sizes and attached them with wet glue – dotted them all around the flowers, and onto the ribbon.

I really had fun adding all the embellishments and details. It was a challenge for me – but I think I rose to the occasion…..

I hope you give it a go and join us at The Craft Challenge. xx

I shall be entering the following challenges:

The Crafty Addicts anything goes

Avenue 613 Createanything goes

Creative Fingersanything goes

Beautiful Blossomsflowers

Believe In The Magic Raccoon

Hello. I was proud to be the winner for the Christmas Craft Creations May 2023 challenge, and therefore offered a Guest design Team spot for July.

The July theme is ‘anything goes Christmas’.

Here is my card:

The background was created using a Simon Says Stamp embossing folder and some light blue card stock. I cut that down slightly and adhered with 3D foam to the card base.

I die cut the ‘Christmas Bandit‘ from Spellbinders layered together – fiddly but I persevered – and added some red glitter foam and silver glitter card for the hat.

I used another Spellbinder die set for the cloche, the frame itself from silver glitter card, and I die cut it again to get the white inner piece, and dry embossed that with another Simon Says Stamp embossing folder. I created a hill by cutting some glitter card to size.

The sentiment is a silver foiled strip, and I chose that sentiment because who doesn’t want to believe in the magic of a Christmas raccoon…….?

I hope you can come and join the team with your Christmas creations. xx

I shall be entering th3e folloowing challenges:

Inkspirational Christmas in July

My Time To Craft ChristmasChristmas and Christmas animals

Crafty Animals anything goes with an animal

Country View Challenge 4 legged friends

Merry Little Christmas Challengeanything goes Christmas

Slimline Christmas

Hello there. I am a Guest Designer for the new challenge at Most Magical Time of The Year with this card, having been one of the top picks in a previous challenge:

I decided to go slimline with this, as I wanted to use two of the berry branch sprigs.

The sprigs are from Pinkfresh Studio, stamped and gold heat embossed, coloured with the matching stencils, then die cut.

The outer frame is from Time 4 Tea Designs, and the inner portion was dry embossed with an old Sue Wilson embossing folder.

I struggled a little with the sentiment. If I used a gold sentiment, it got lost, if I used a coloured sentiment, it stood out too much – so I decided to go with a silver sentiment, and added some silver sequins to tie it in to the card.

The theme is always ‘anything goes Christmas or Halloween‘, and I hope you can come and join us. xx

I shall be entering the following challenges:

Inkspirational Christmas in July

Craft Rocket Christmas in July

12 Months of Christmasanything goes Christmas

Sparkles Forum ChristmasChristmas and include gold

Get CreativeChristmas in July

Flower-Butterfly-Vase

Hello again. I am delighted and honoured to be the Guest Designer for the new challenge beginning at All Fun Challenges.

For this challenge – the theme is always ‘anything goes’ and we were given a choice of images from Bugaboo. I chose this gorgeous ‘Flower Butterfly Vase’ digital image.

Here is my card:

I began by printing out the image onto ‘Make It Colour Blending card’, then picked colours of Copics………several greens, several blues, some pinks, and a couple of reds – not forgetting the grey for the shadow.

The blue patterned paper underneath the panel is a cut-down piece from Craft Box UK – and I even added a blue then grey Copic edge to it to try to match to the colours I had already used on the image.

The little sentiment tag is from a package of tags – I have no clue where they came from, and no clue how long I’ve had them – I found them during my Covid-19 lock-down ‘tidying’.

Well – I say tidying – but I then find things I haven’t seen for ages, or even forgot I had – and then of course you have to create something then and there – don’t you? Or is it just me……………..?

I’d love to see your creations for this challenge – I look forward to seeing you there. xx

I shall be entering the following challenges:

Paper Minutes Butterflies

Lil’ Red Wagon flowers

Digi Doodle Studios – flower power – must include a hand coloured image

Crafts Galore anything goes

Colour Crazy Challengeanything goes colouring