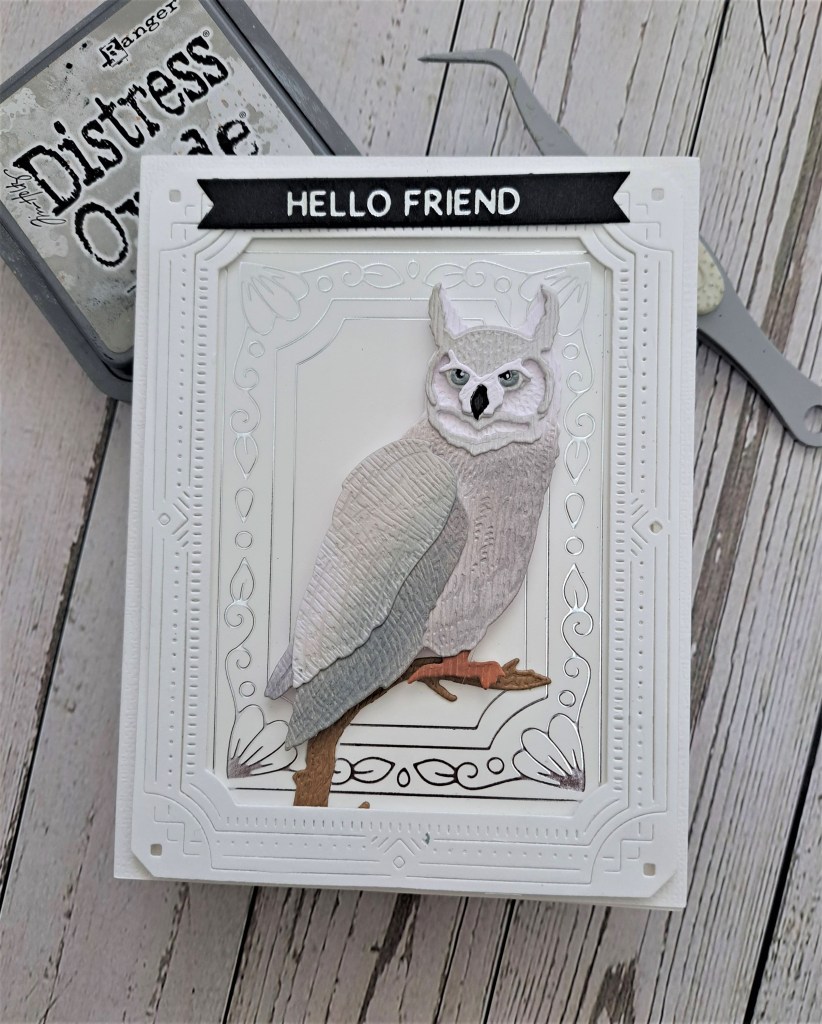
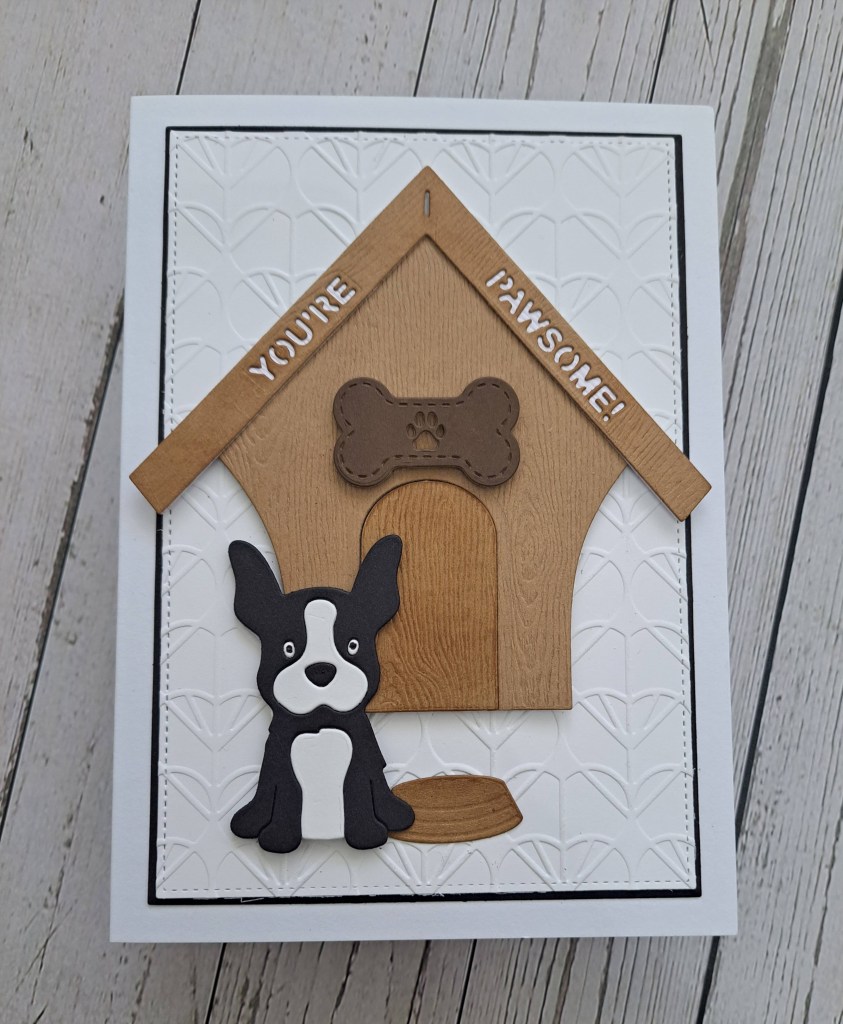
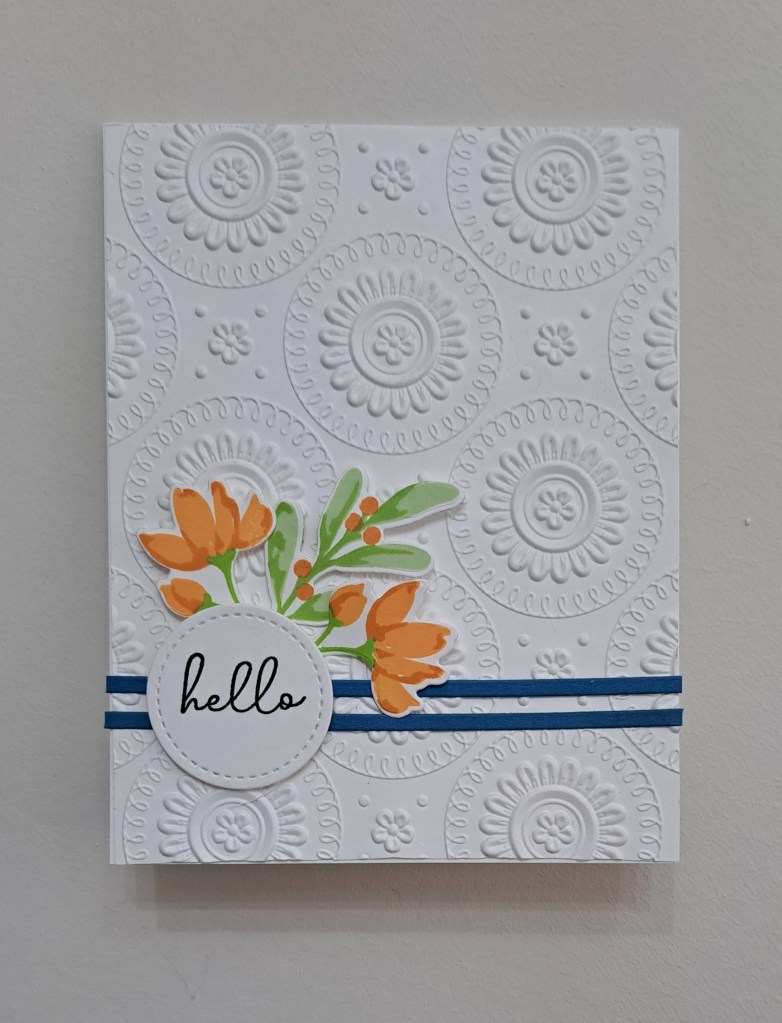
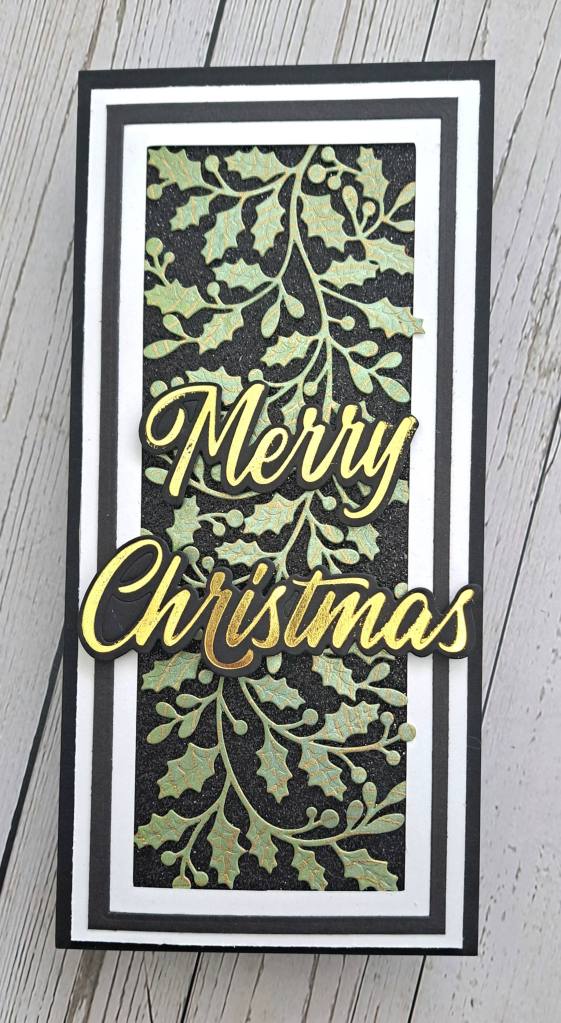
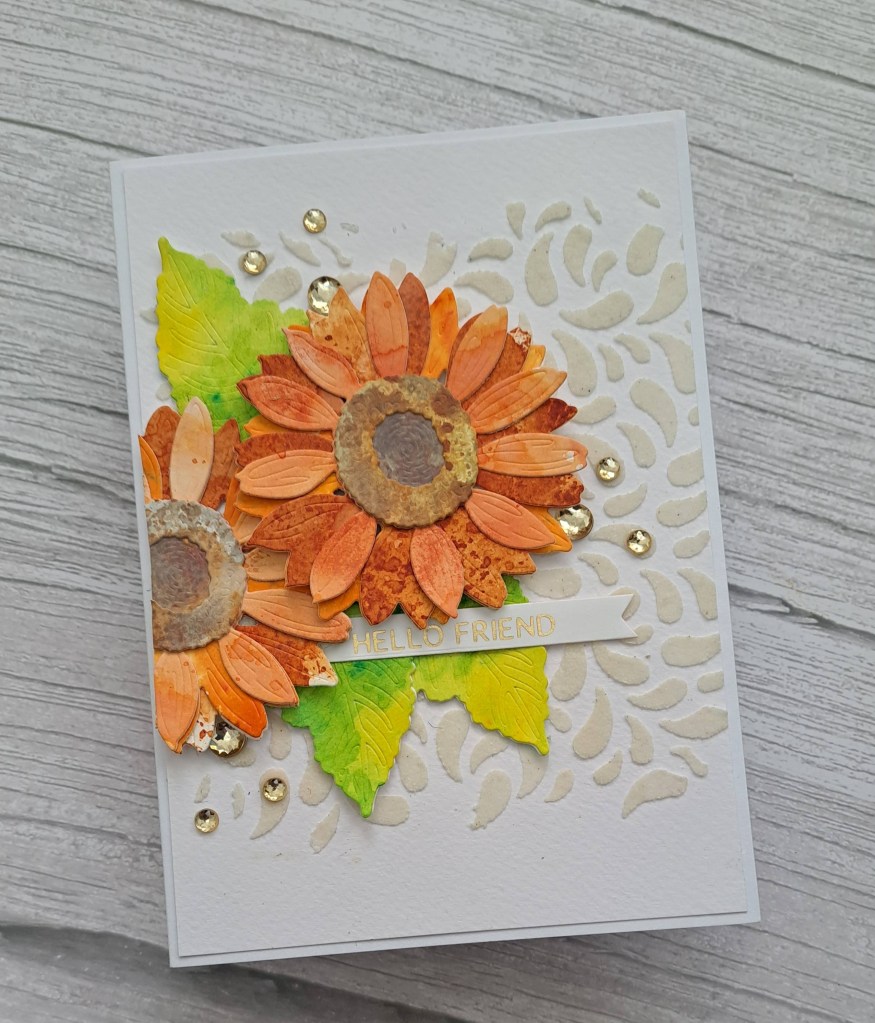
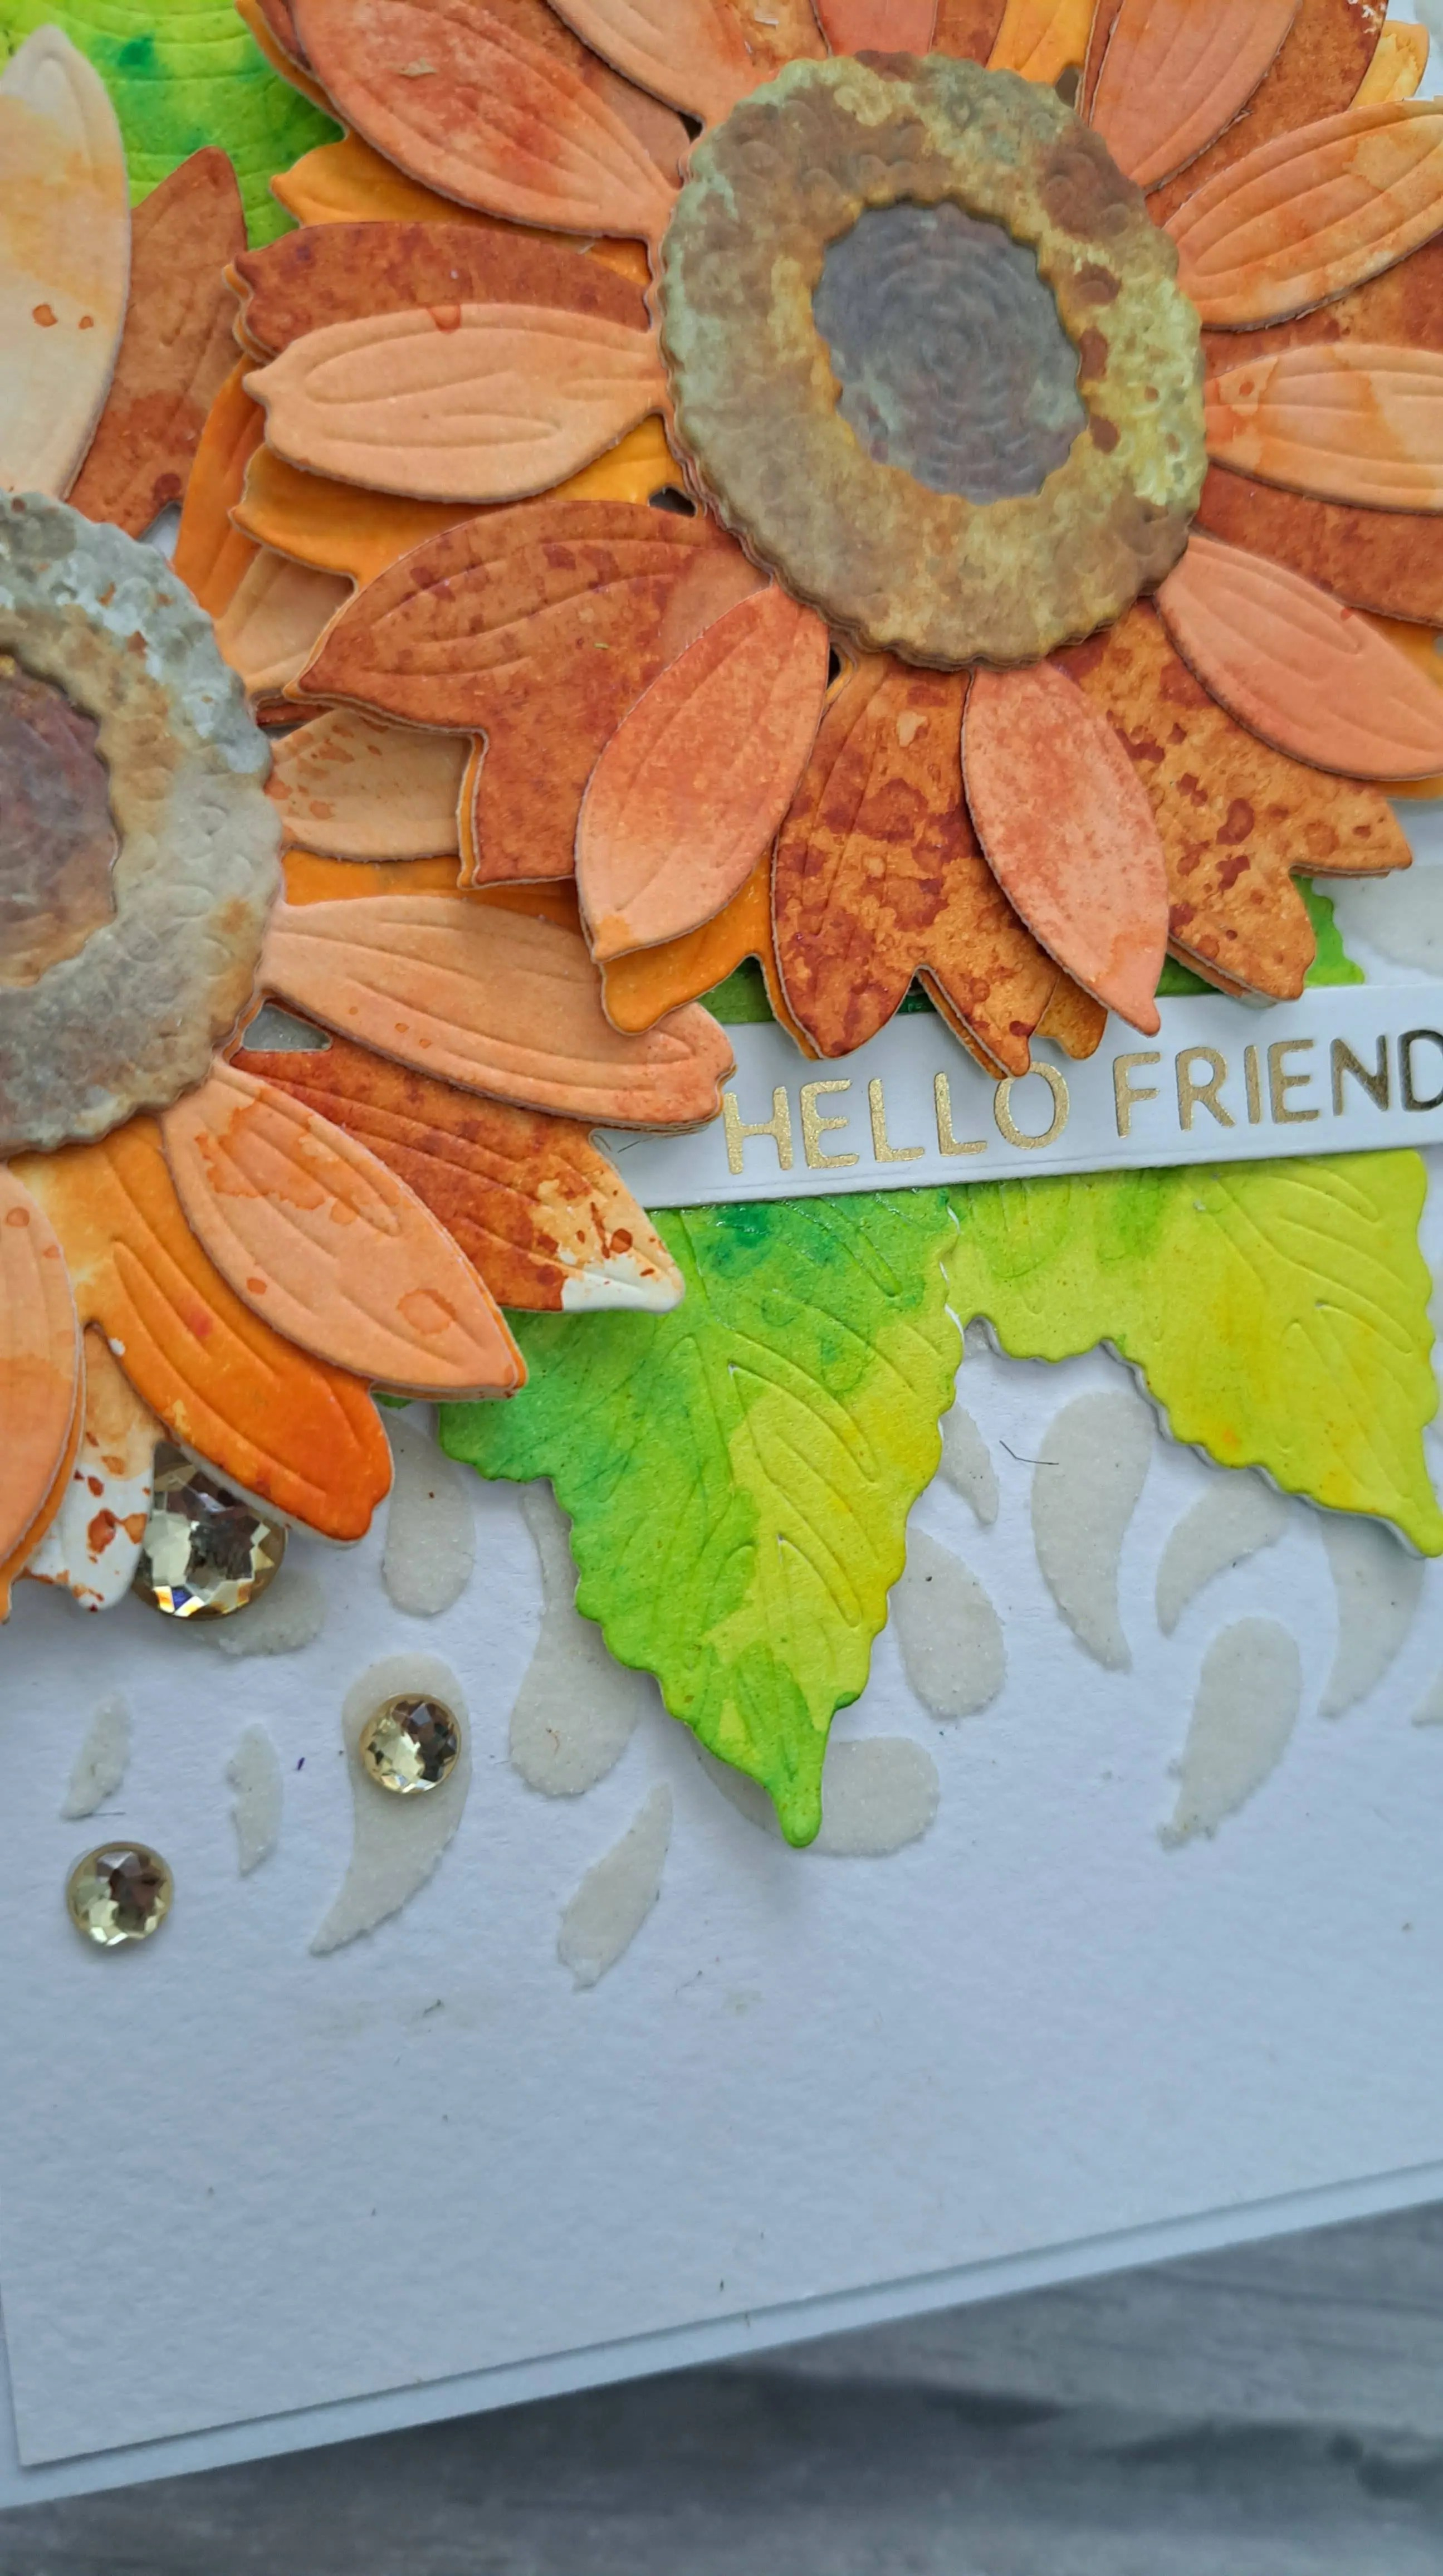
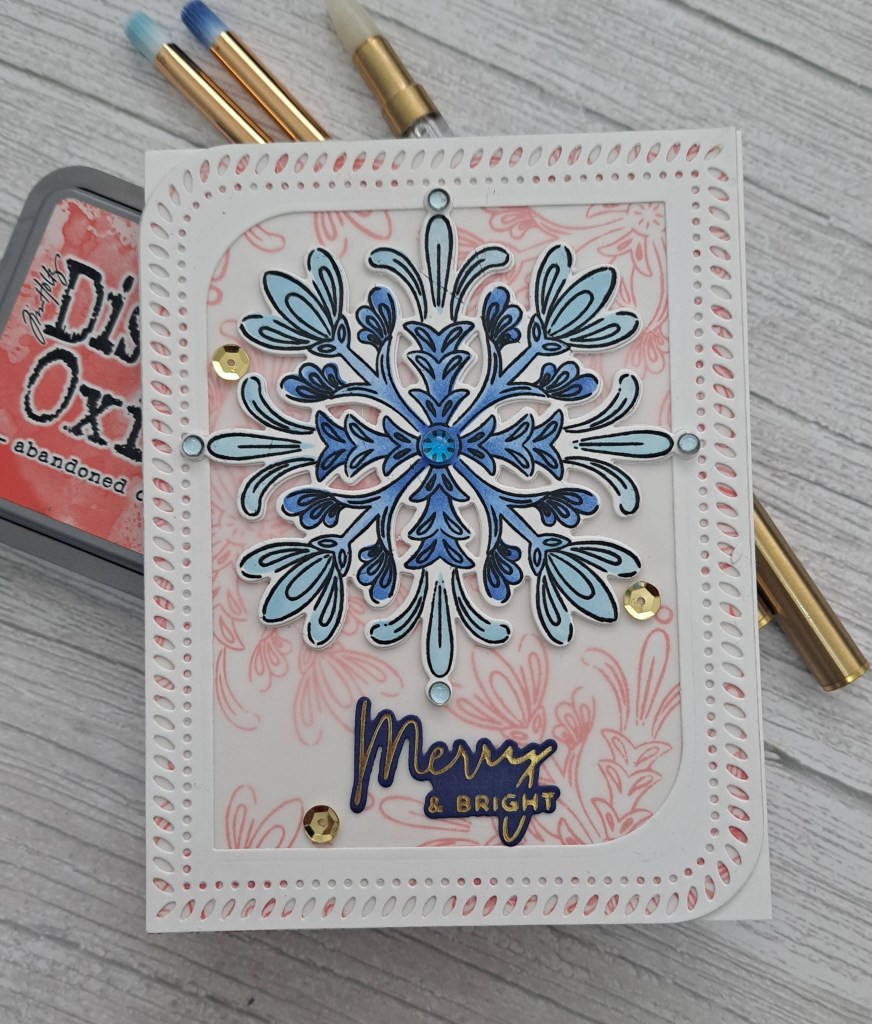
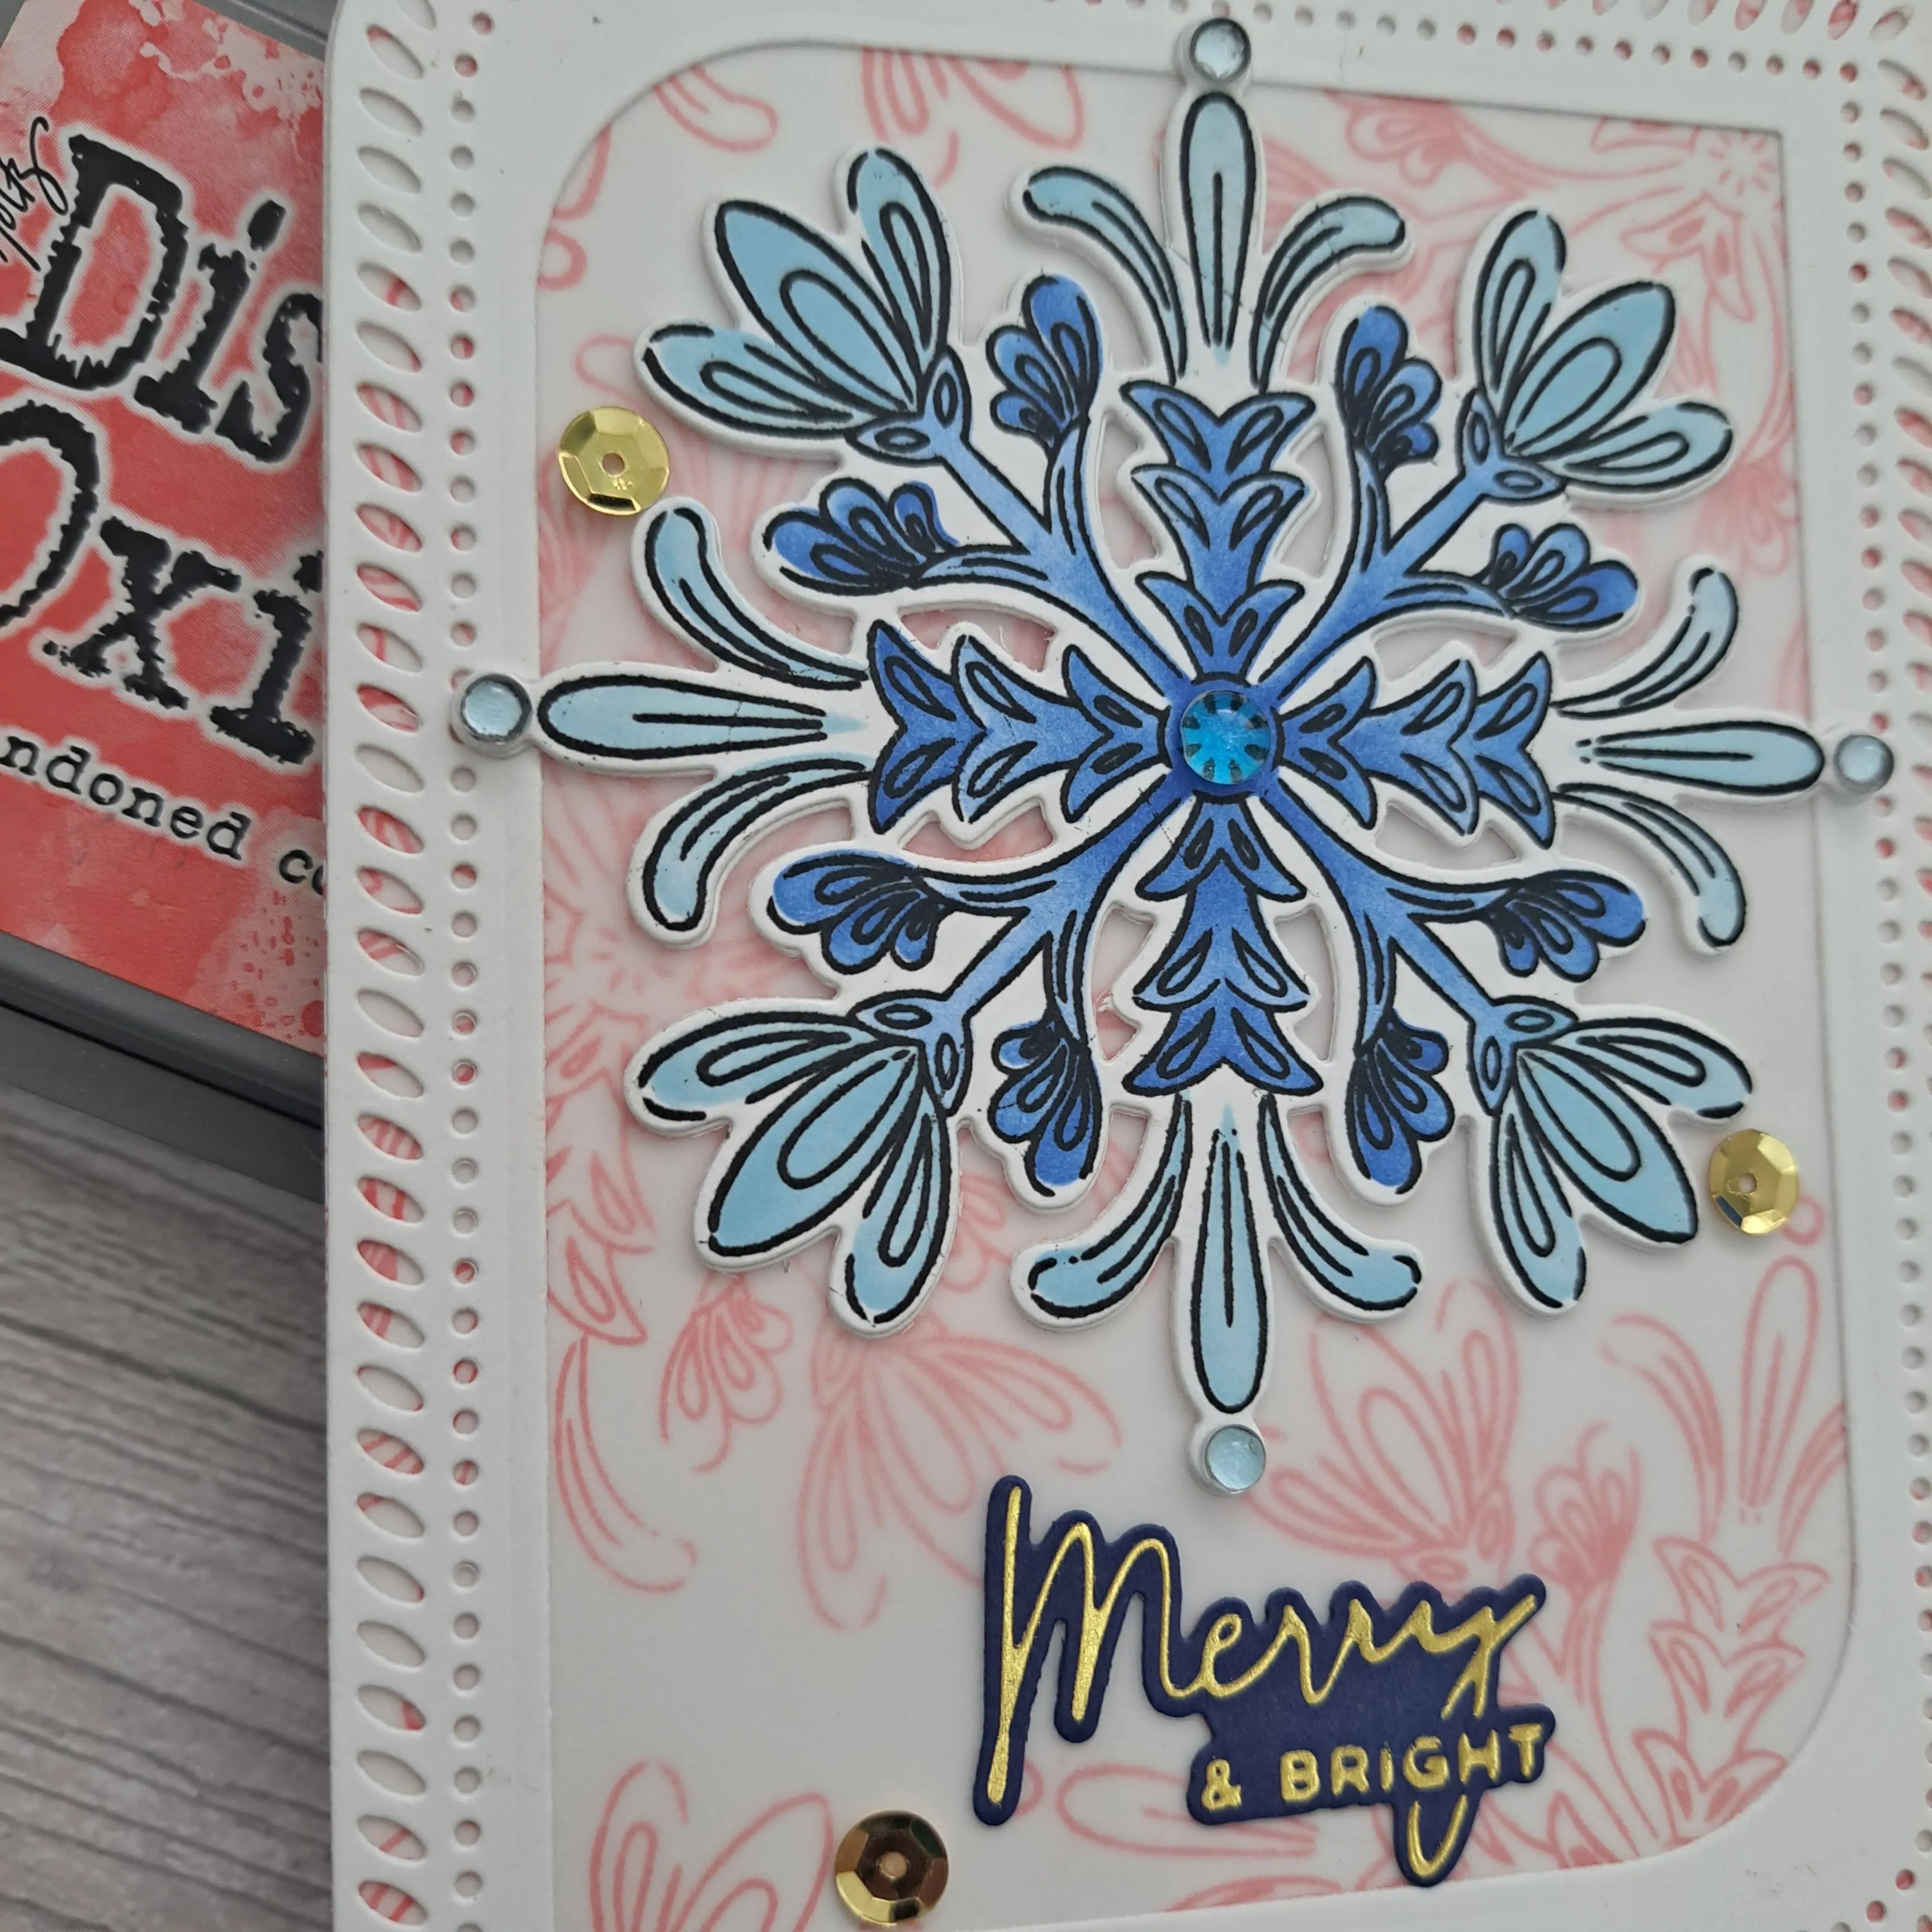
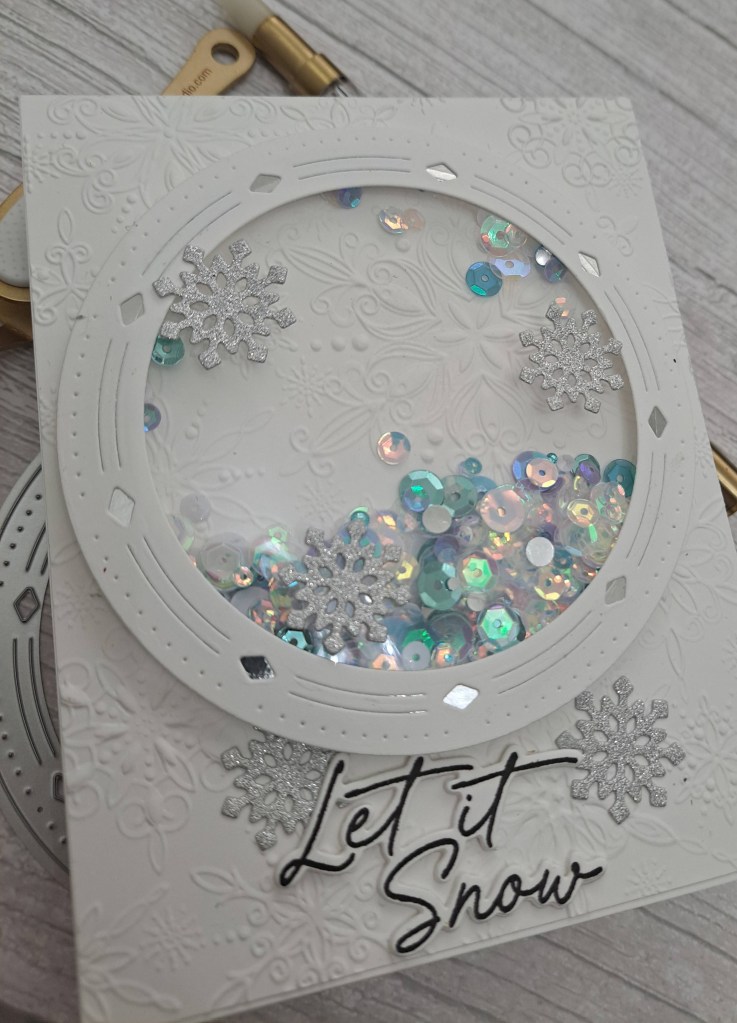
Hello. I have created a card using some Taylored Expressions products from the March 2023 Crop & Create:
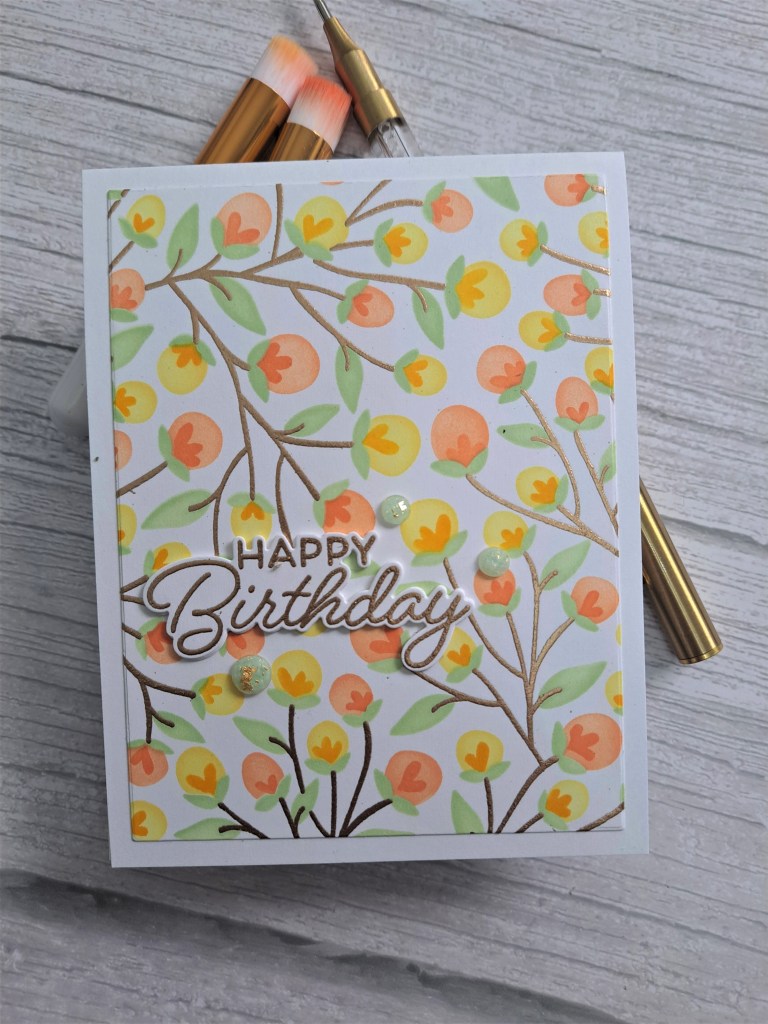
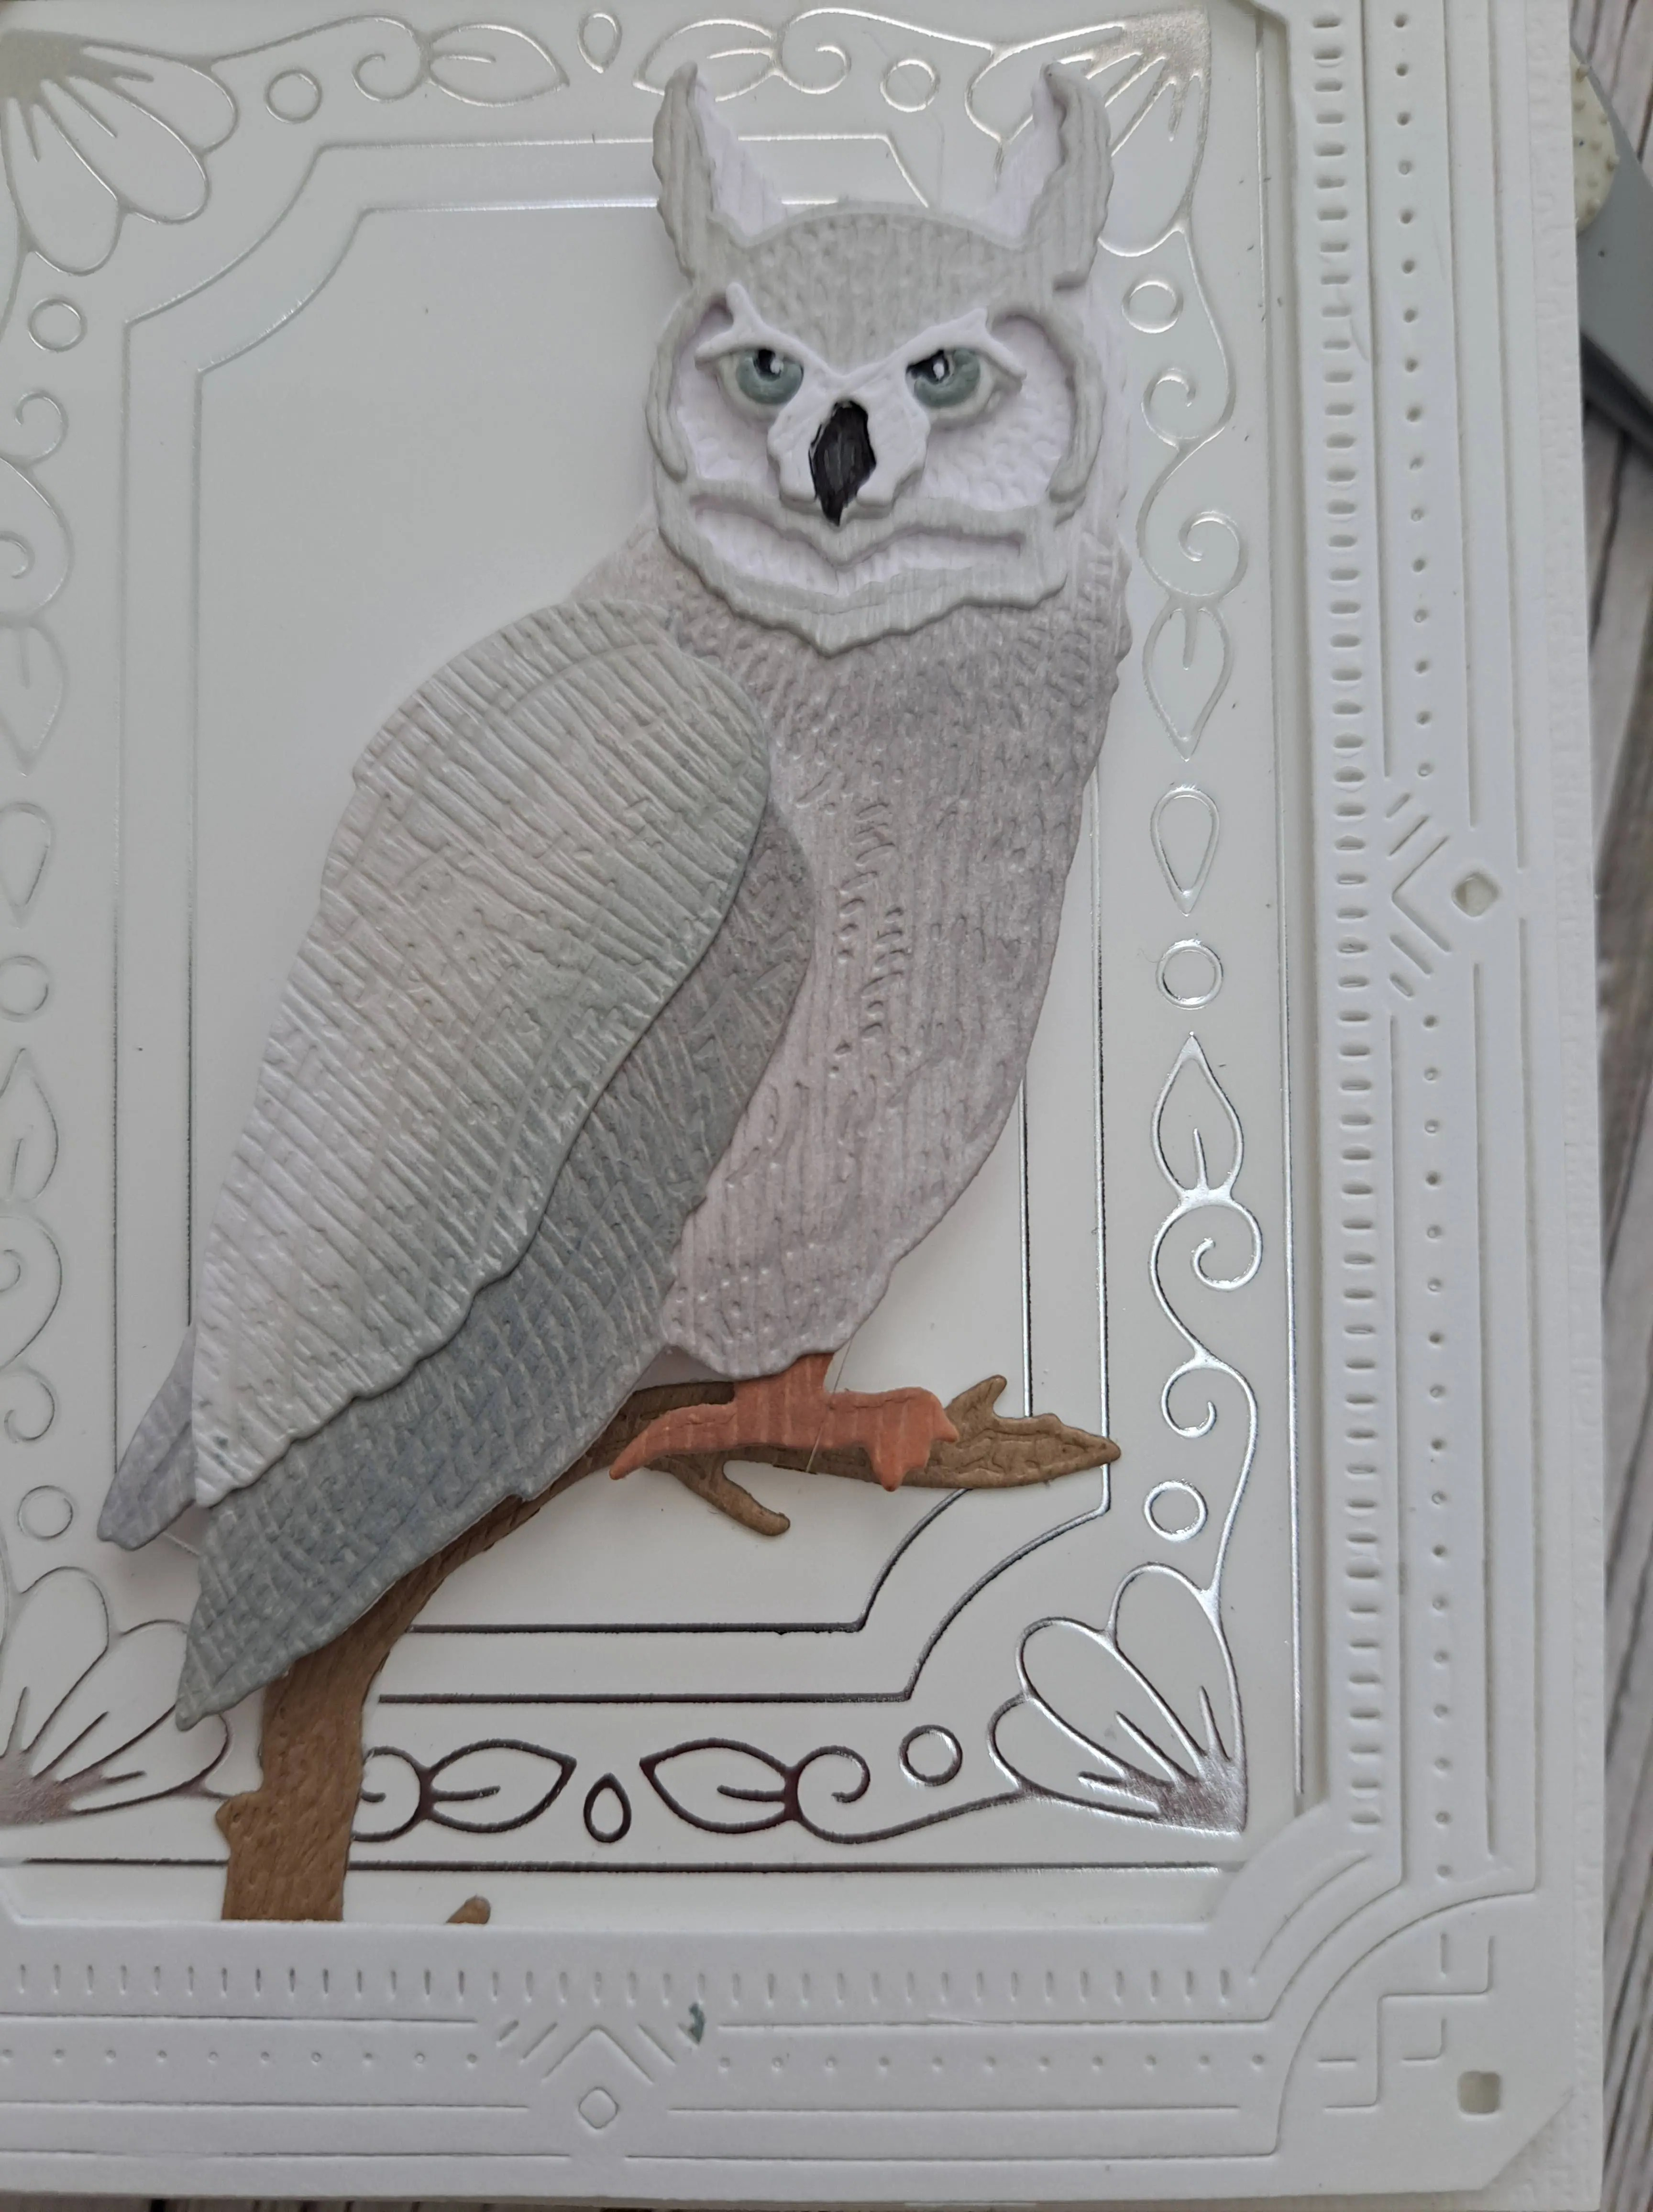
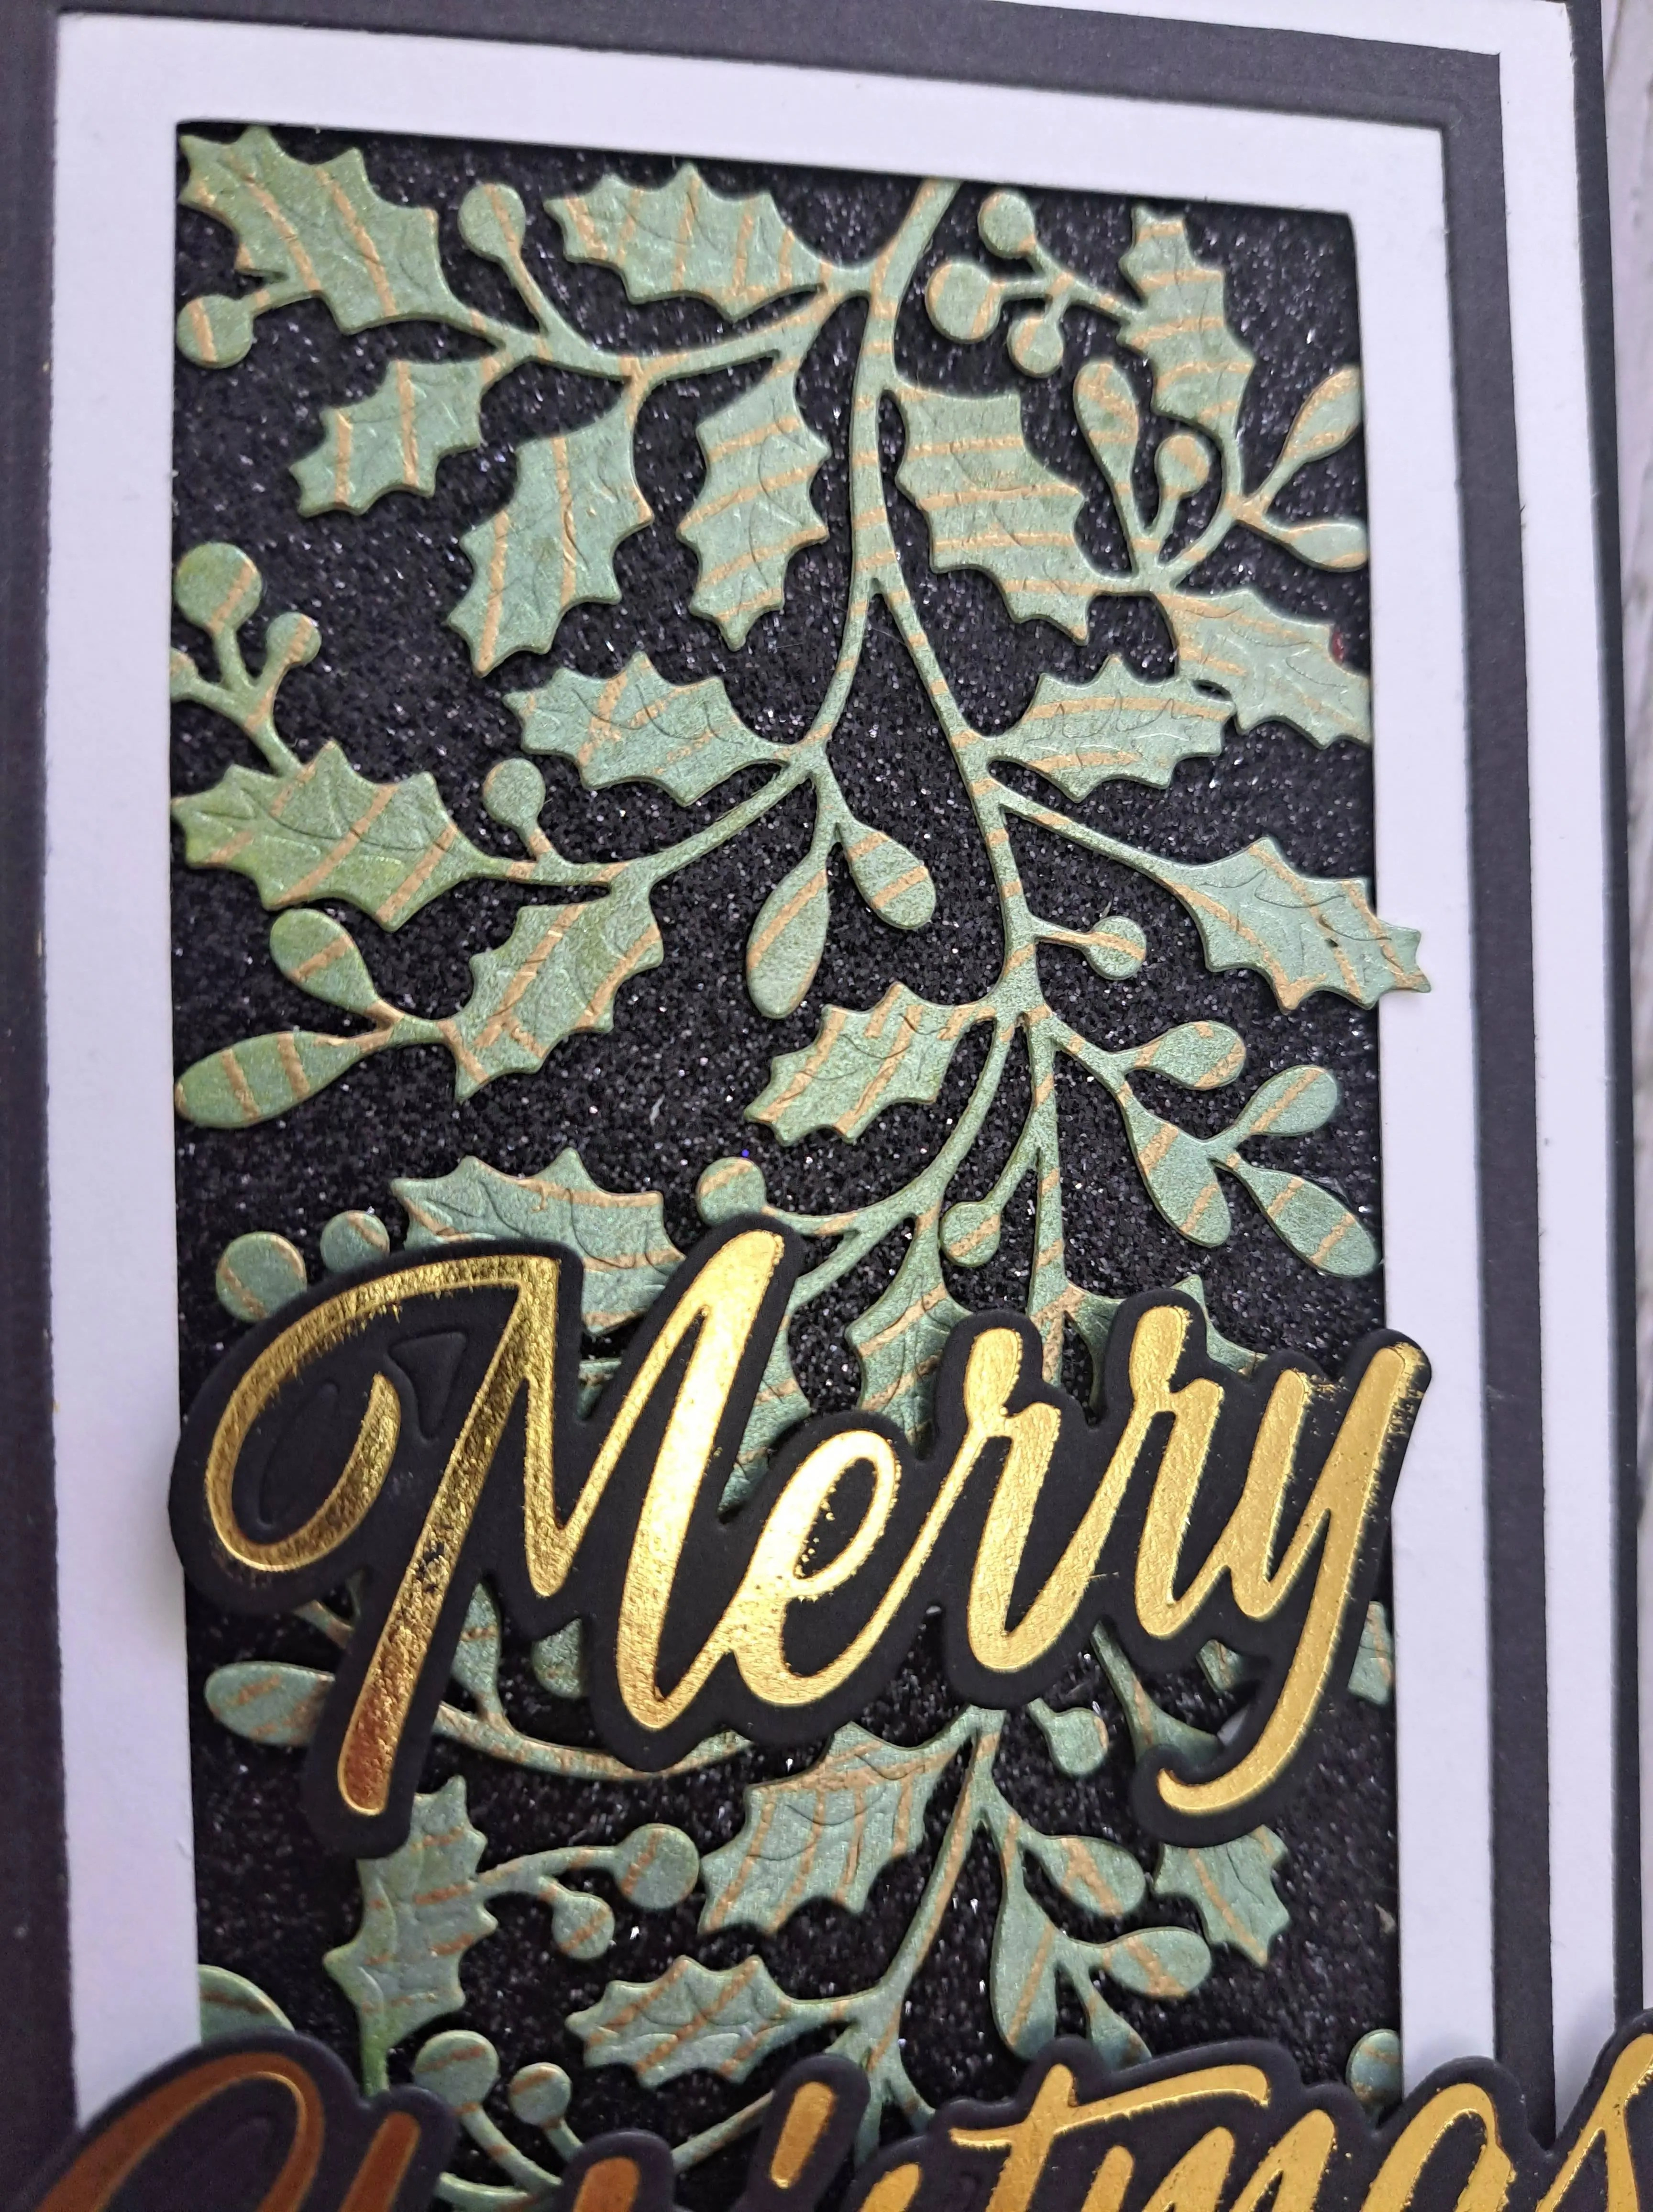
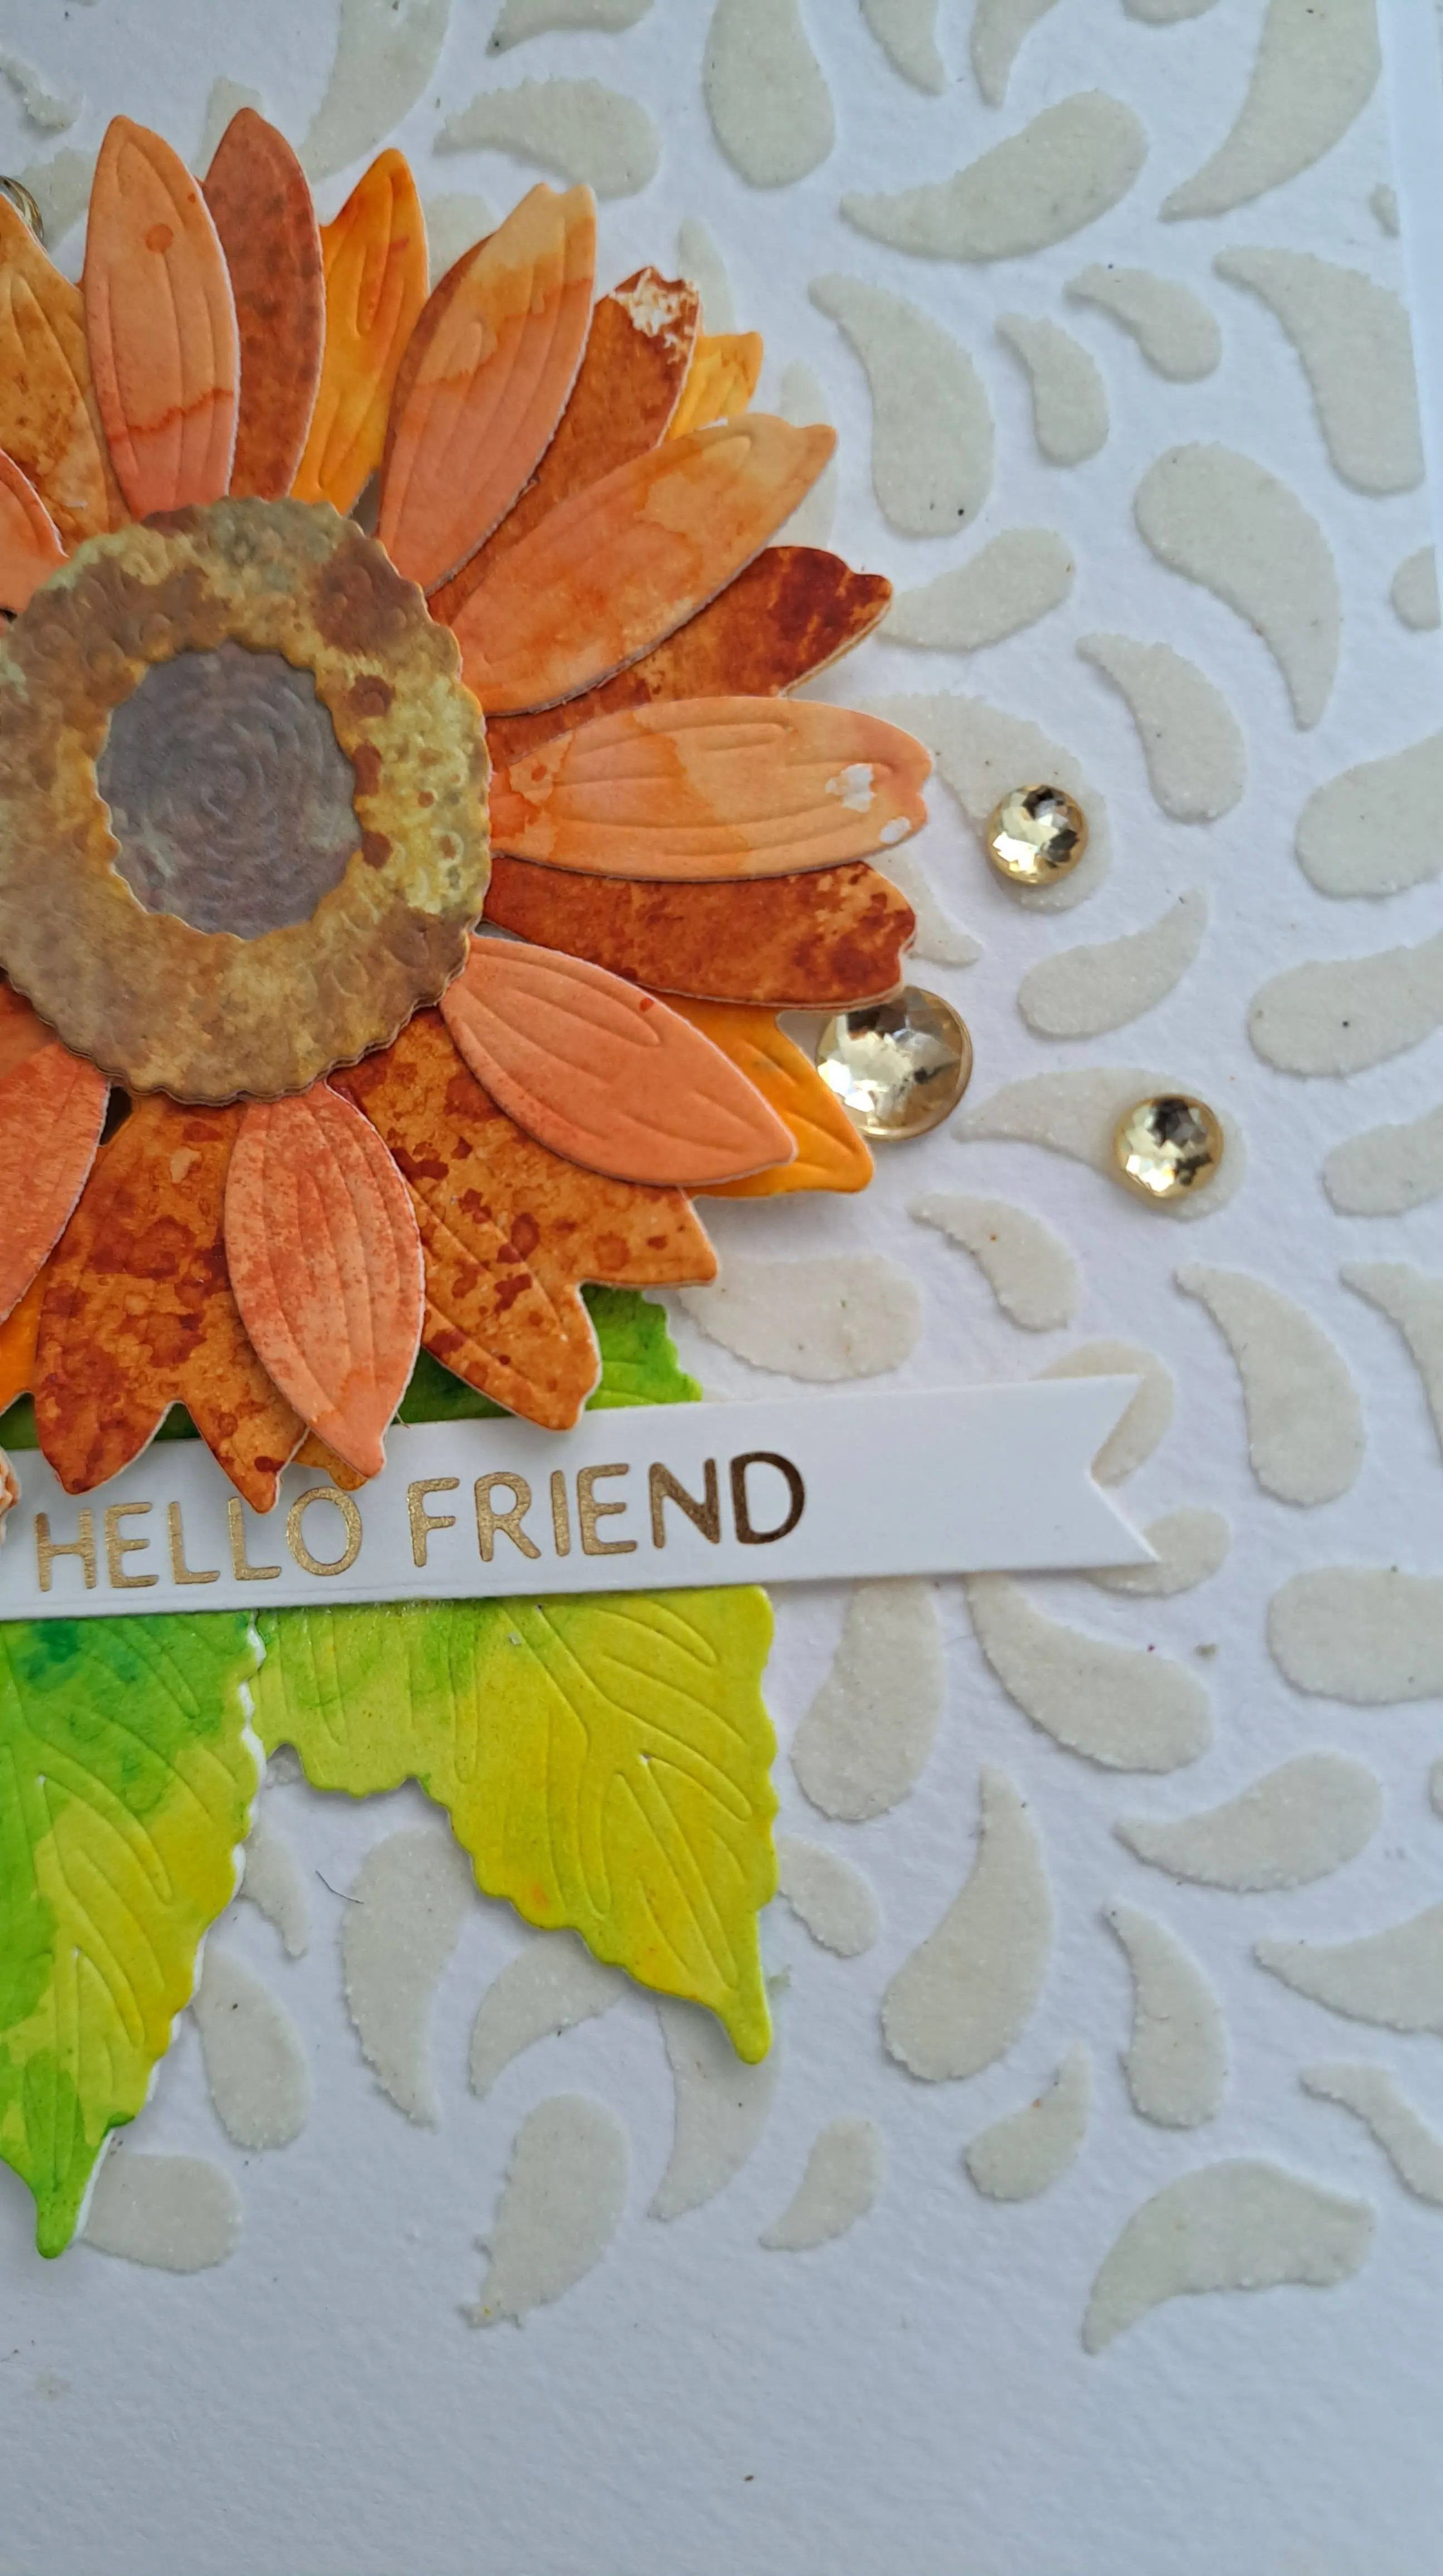
The background stems are stamped and heat embossed with brass embossing powder.
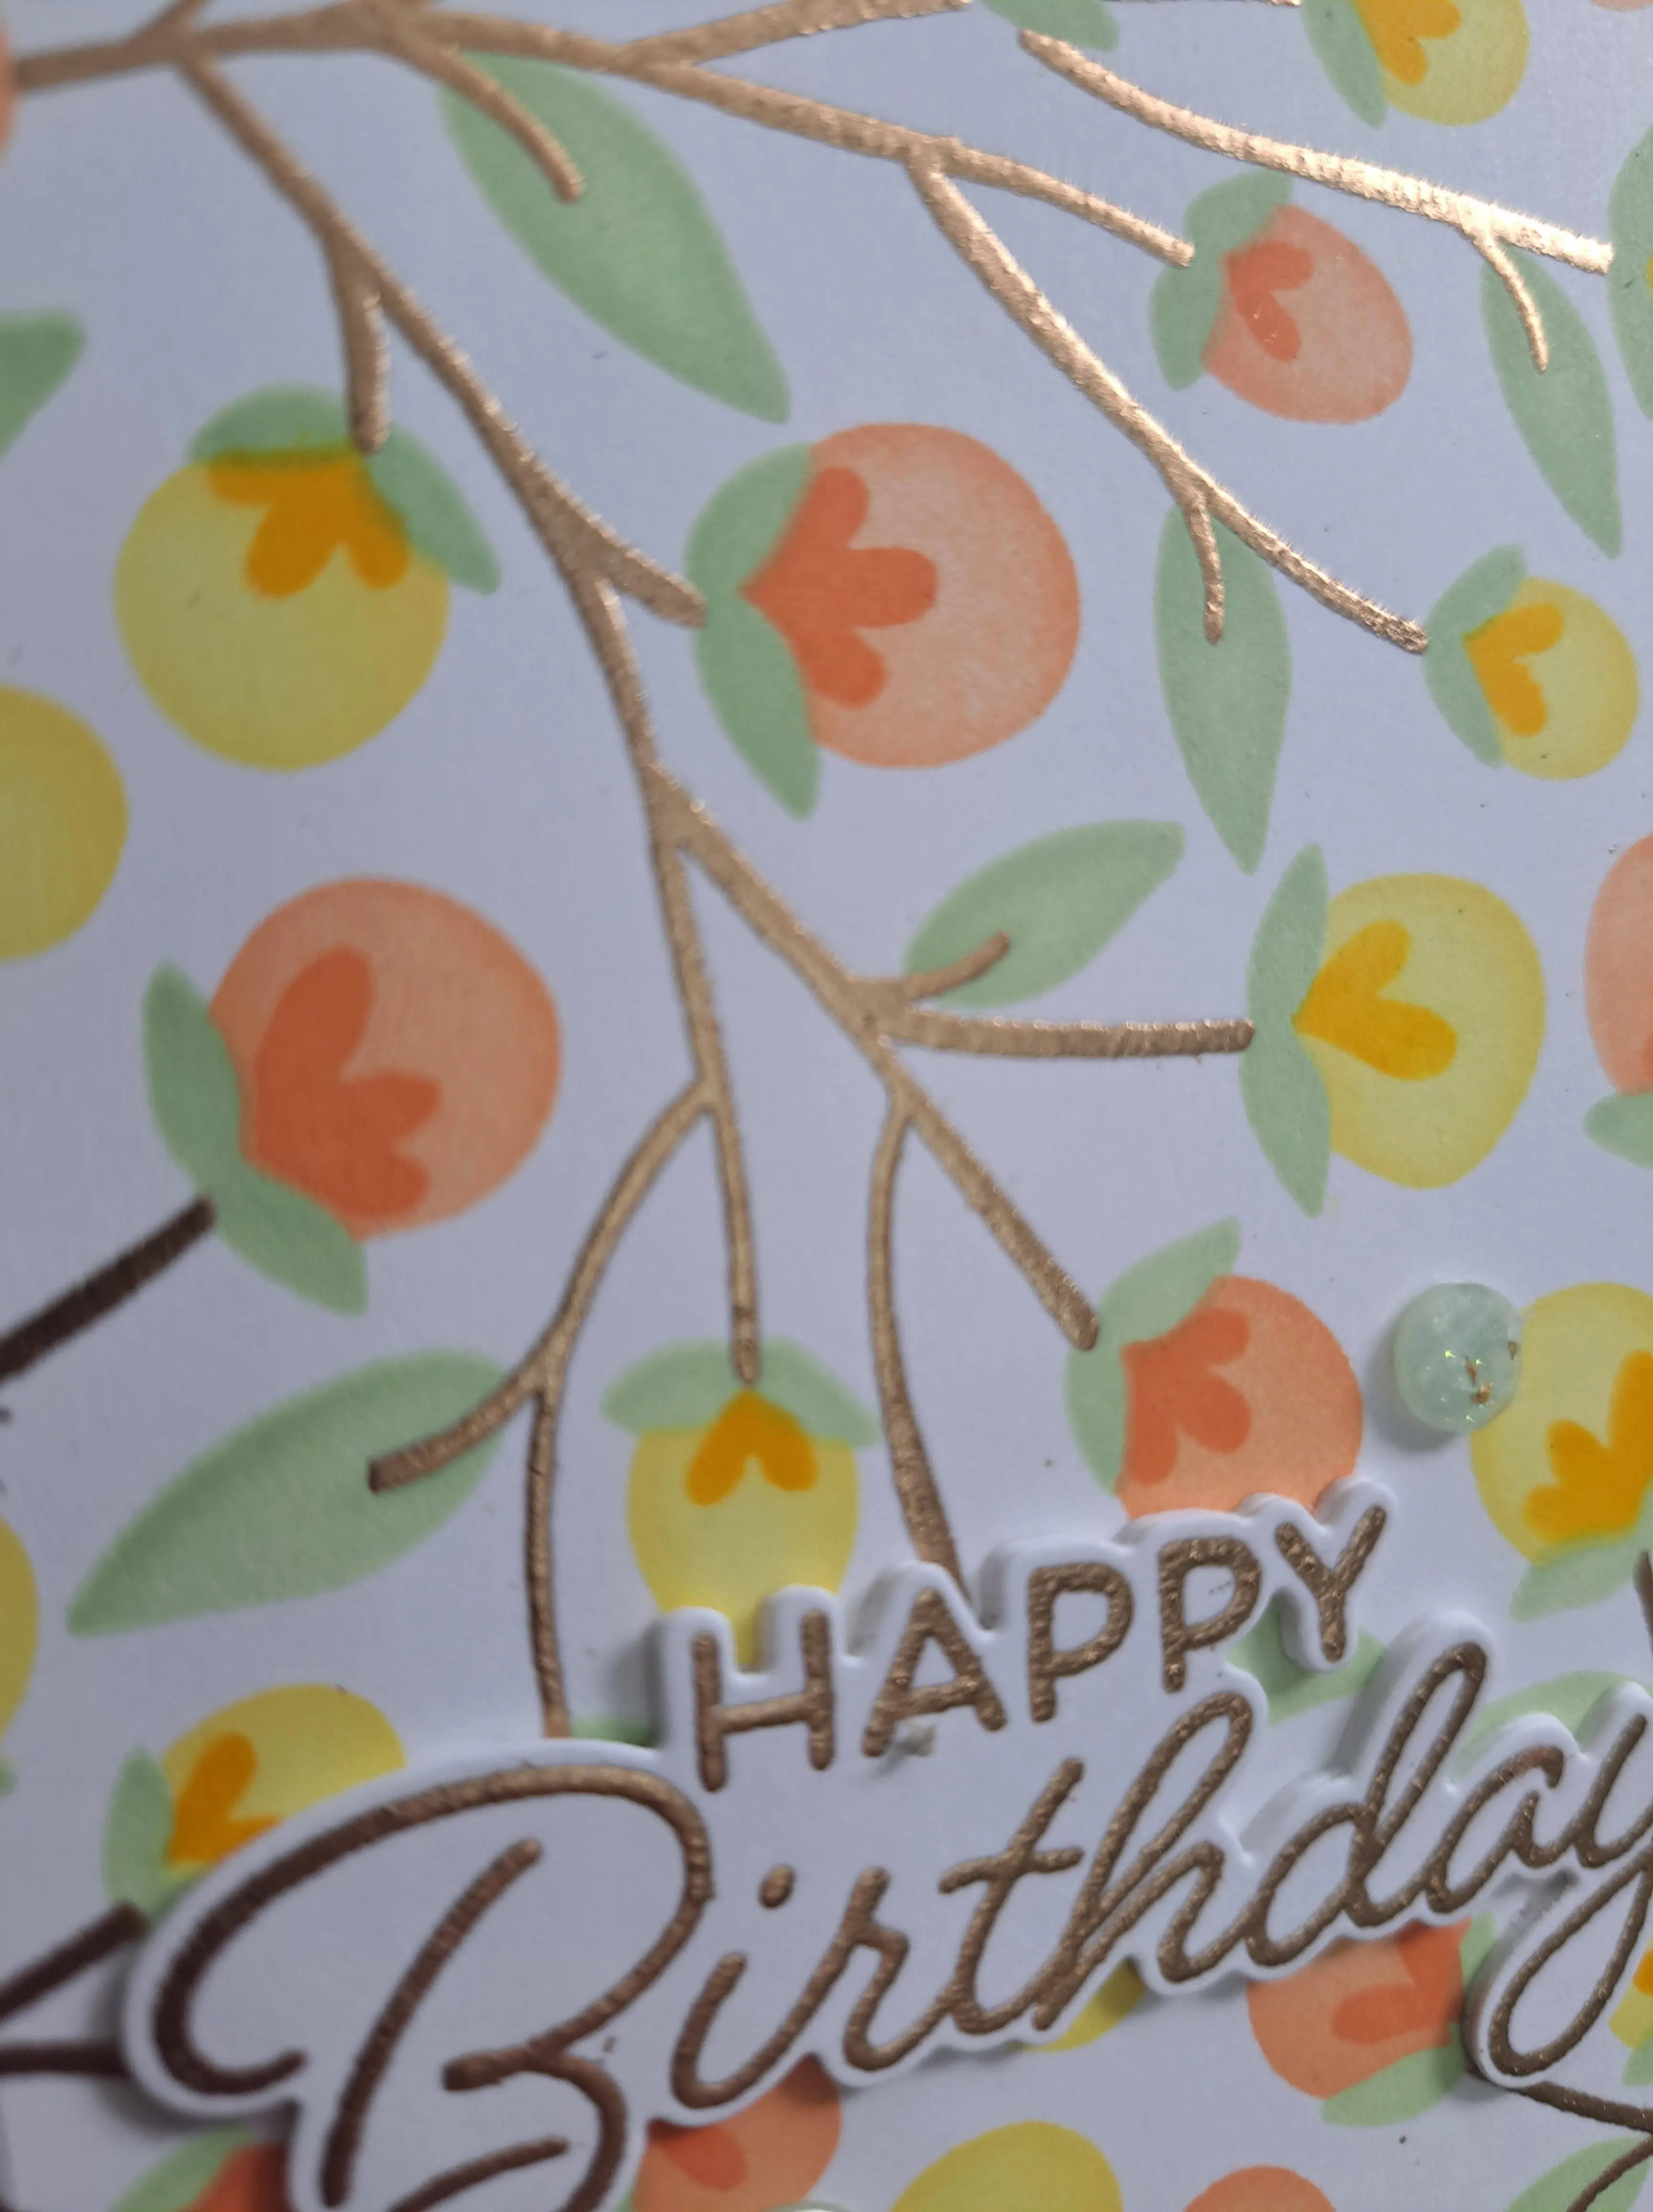
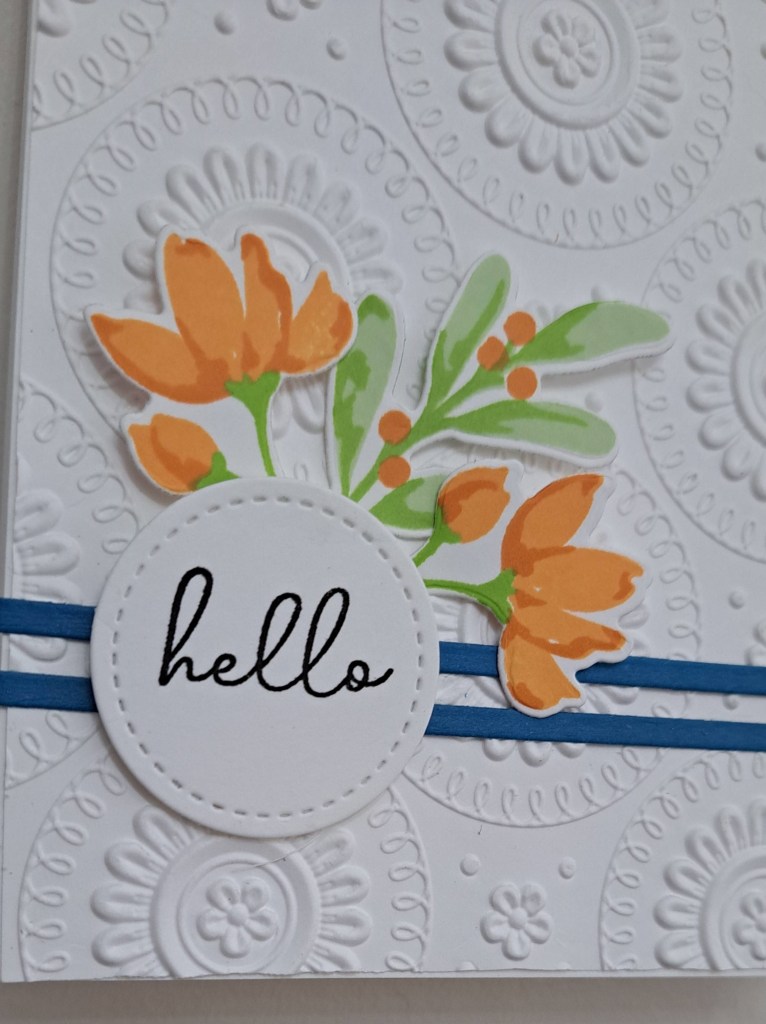
I then used each of the four stencils to ink blend the flowers and leaves using a light yellow and a light orange ink from Pinkfresh Studio.
The layer for the darkest part of the flowers are on one stencil, but I used an itty bitty blender brush – also from Pinkfresh Studio – and blended a darker orange and a darker yellow onto the respective flowers. This wasn’t as daunting as you may think – those teeny tiny blending brushes worked a treat.
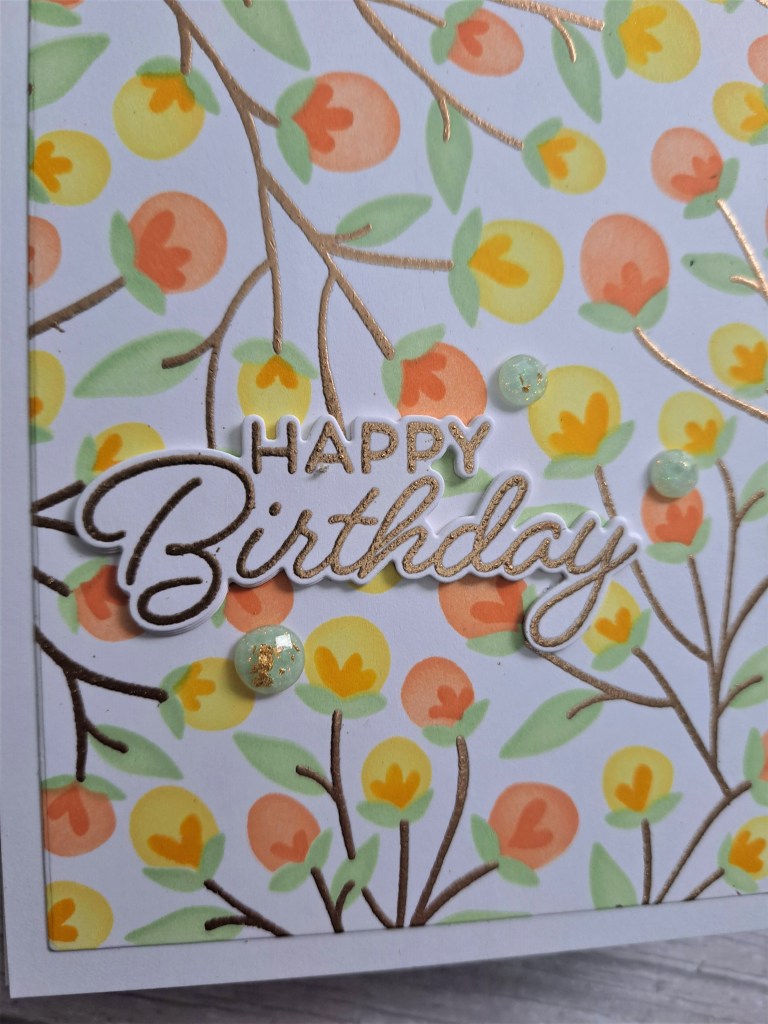
I then cut down the panel and mounted onto a white card base, adding the heat embossed sentiment – layered three times for extra thickness – and added some green gems which has some gold on them. I think these are from Spellbinders, and another virtual event – but I may be wrong…..
I shall be entering the following challenges:
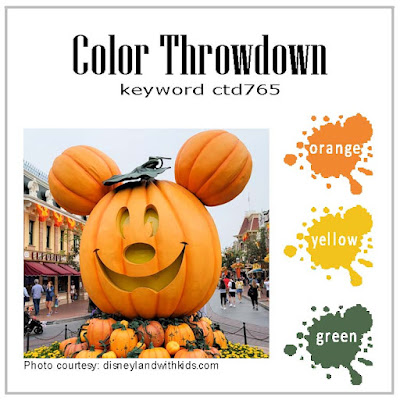
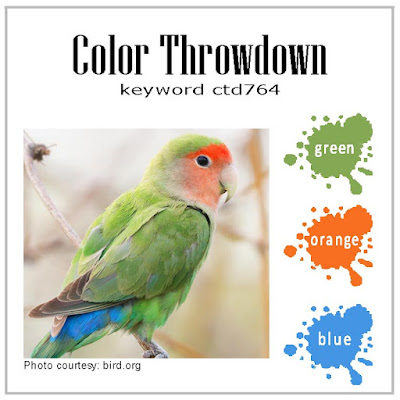
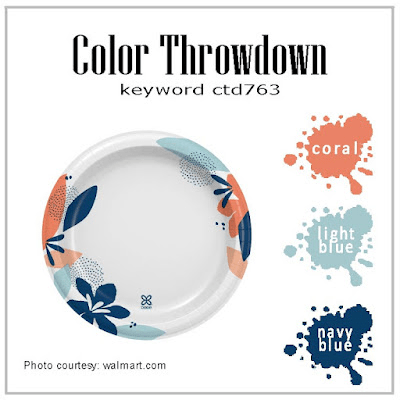
Color Throwdown – orange, yellow, green
The Flower Challenge – anything goes with flowers
Pinspirational – birthday and orange
Stencil Fun – use a stencil, option to use orange taken
Beautiful Blossoms – anything goes with flowers
Crafters Café – flowers