Hello everyone. The Holly and Ivy Challenge is back with their first challenge of the year. There was quite a lot of blogger issues with our leader at the end of last year, and a few of us weren’t able to comment or even find where to add things. We apologise if your entry over the past couple of months wasn’t commented on – it was a nightmare for us all.
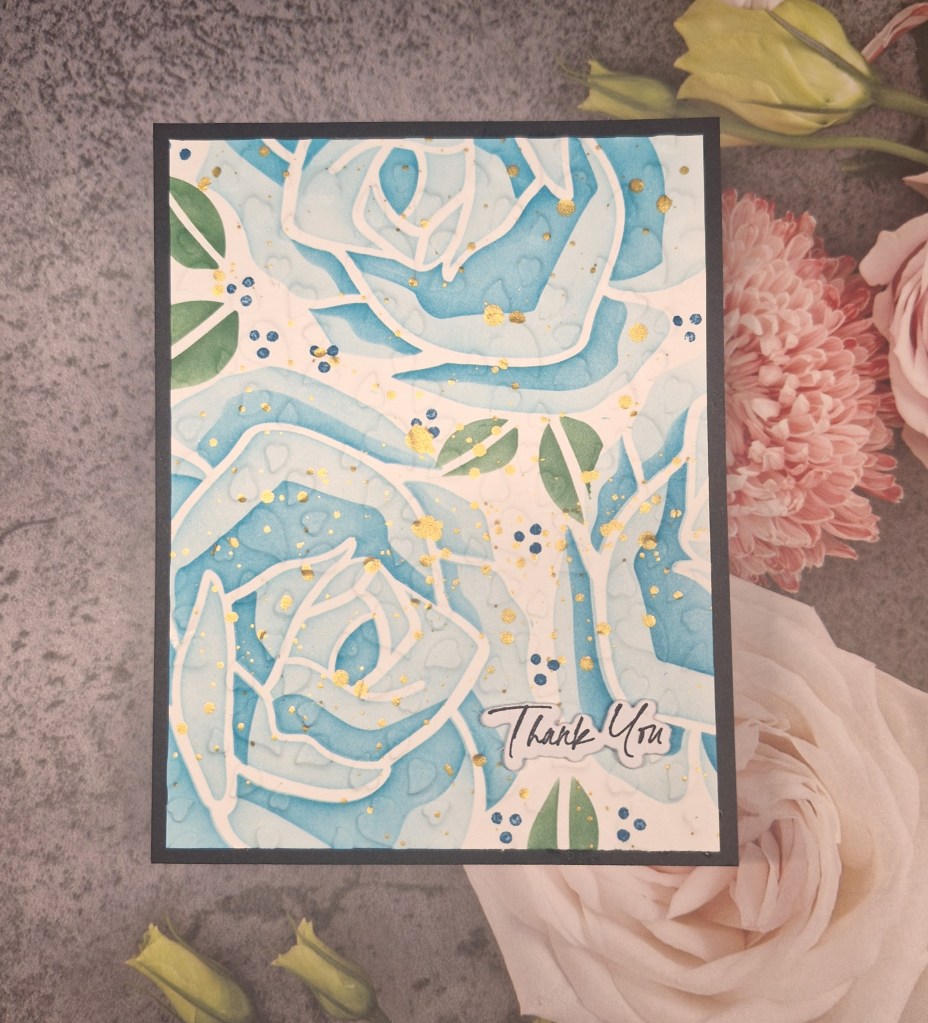
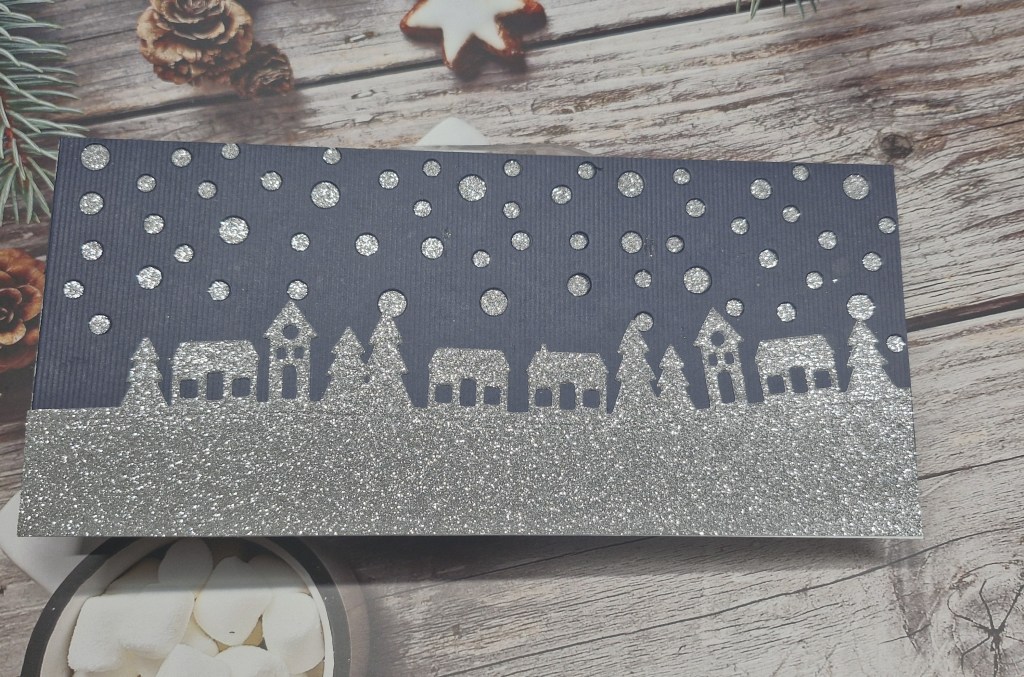
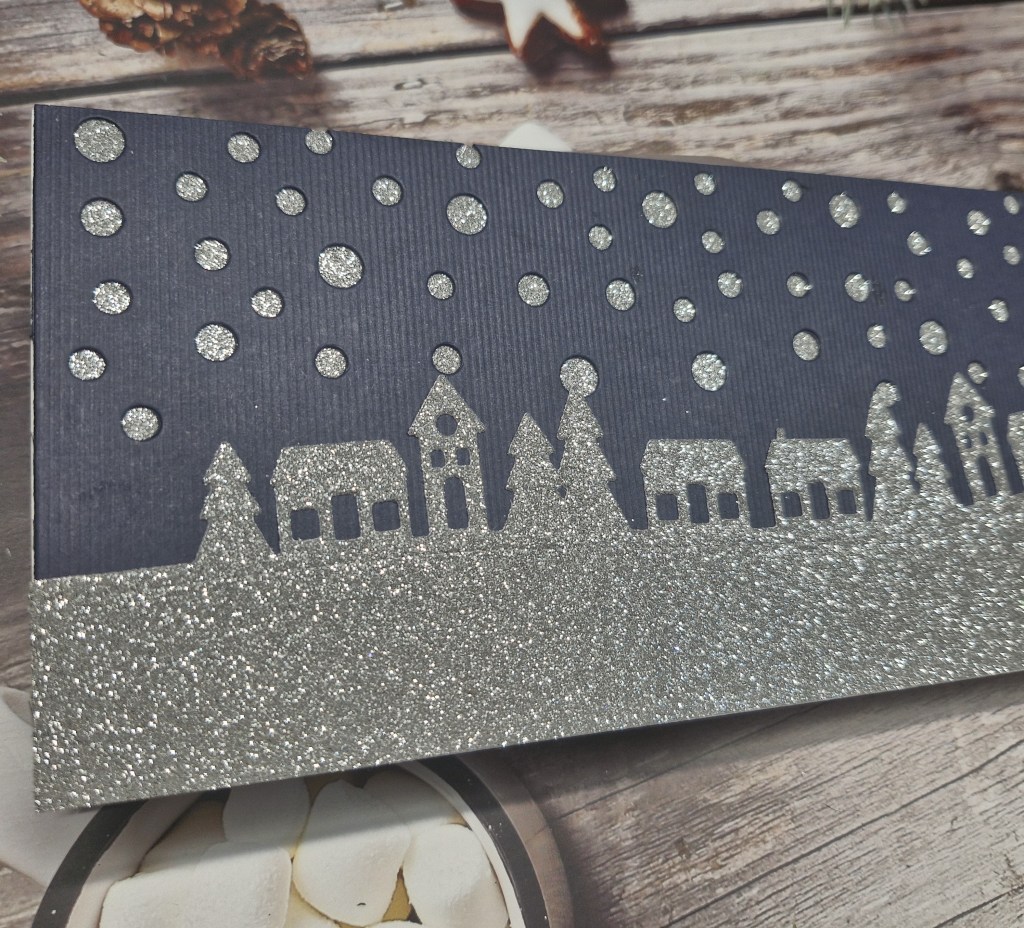
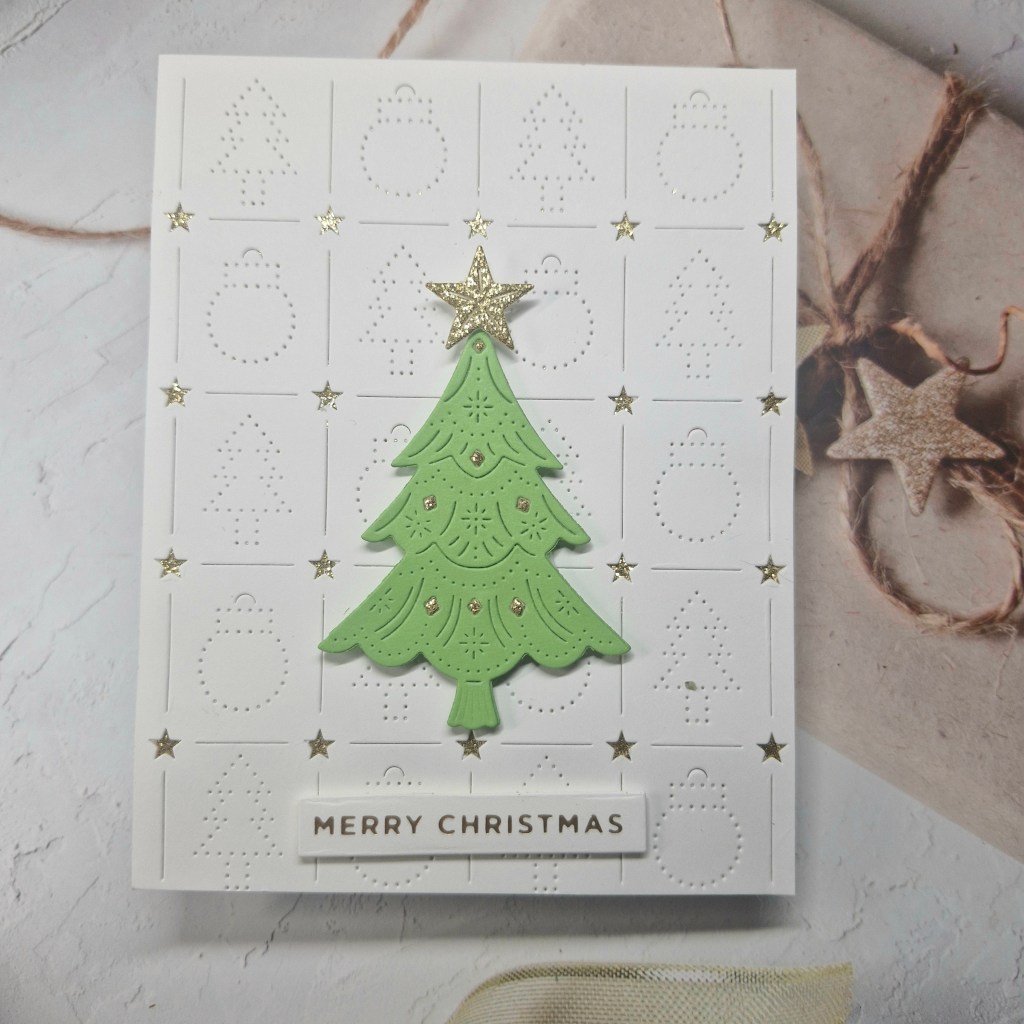
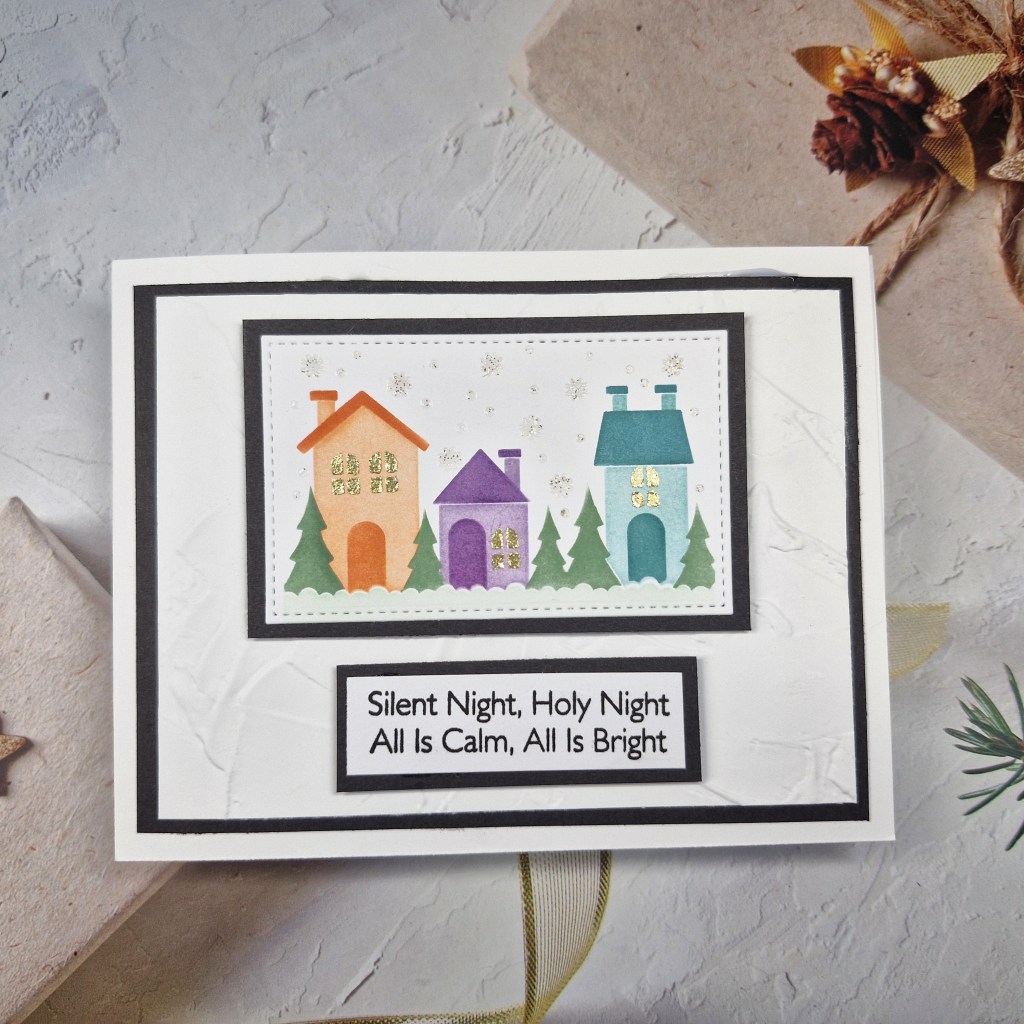
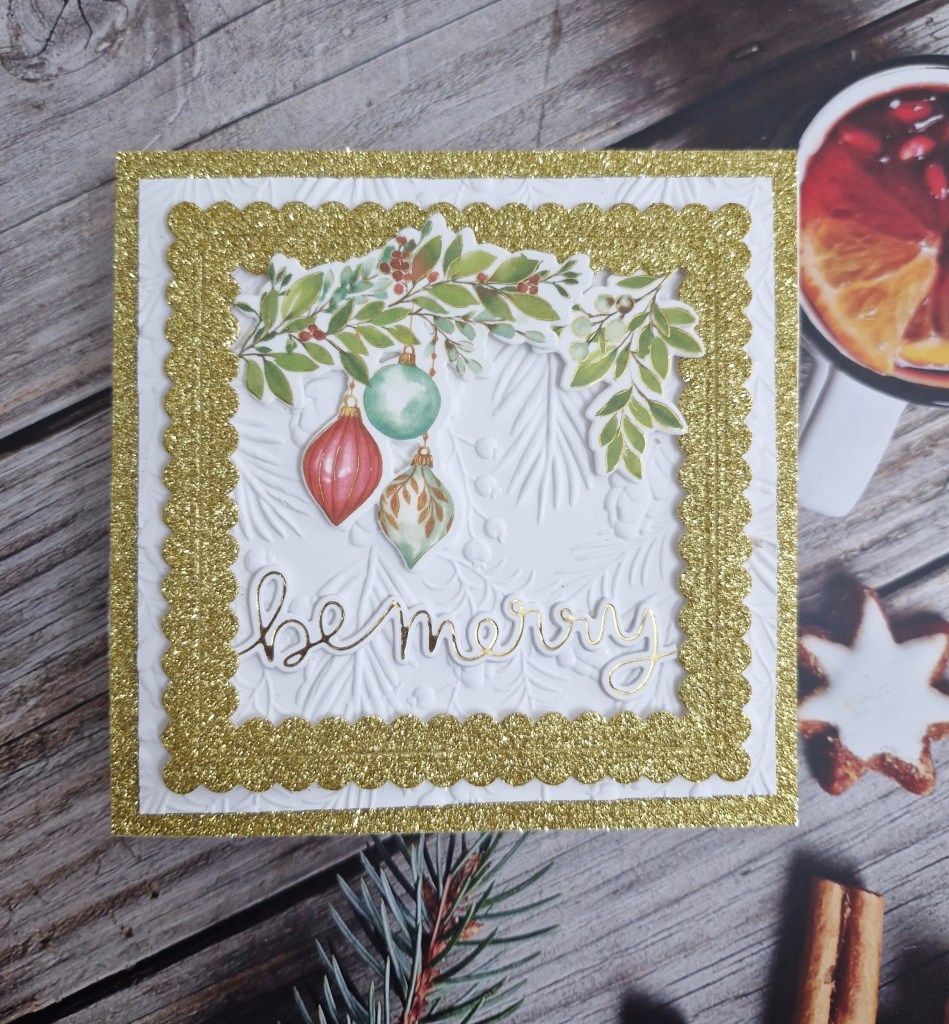
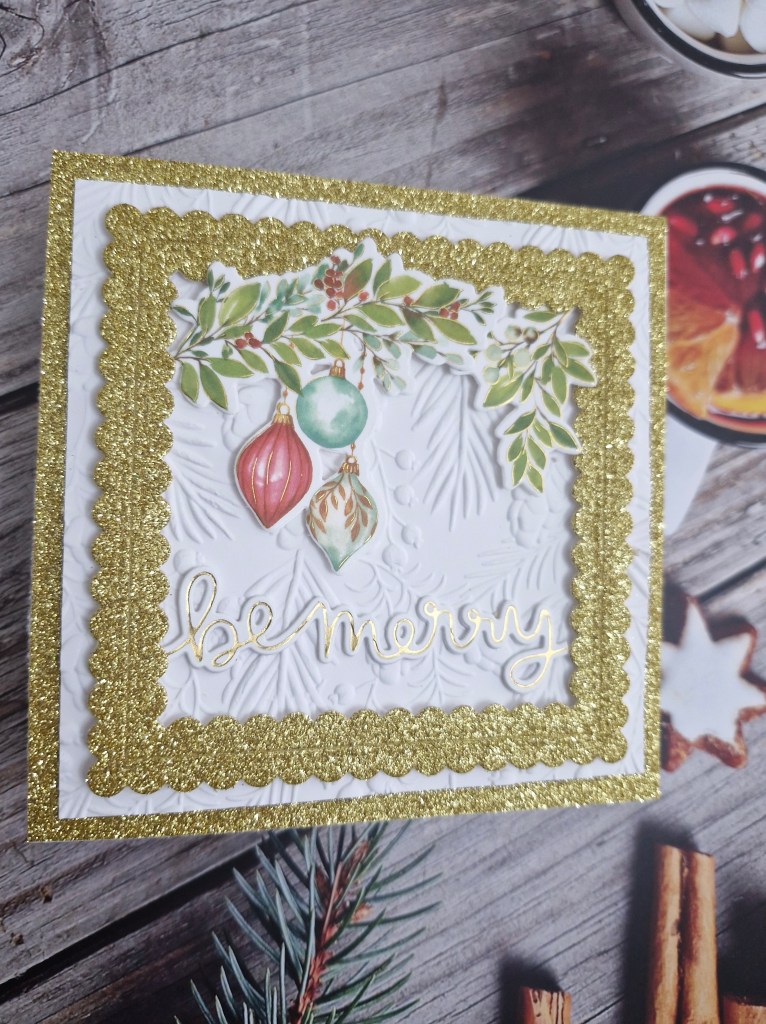
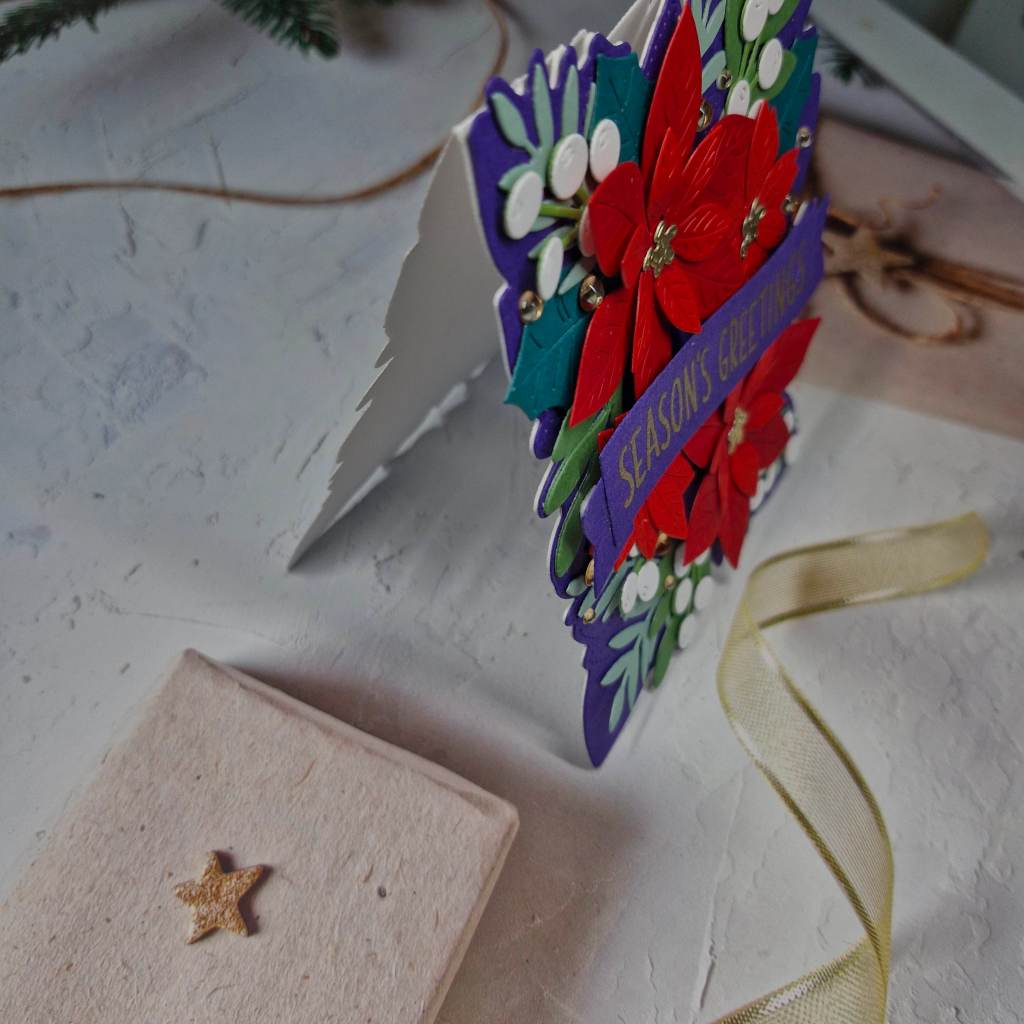
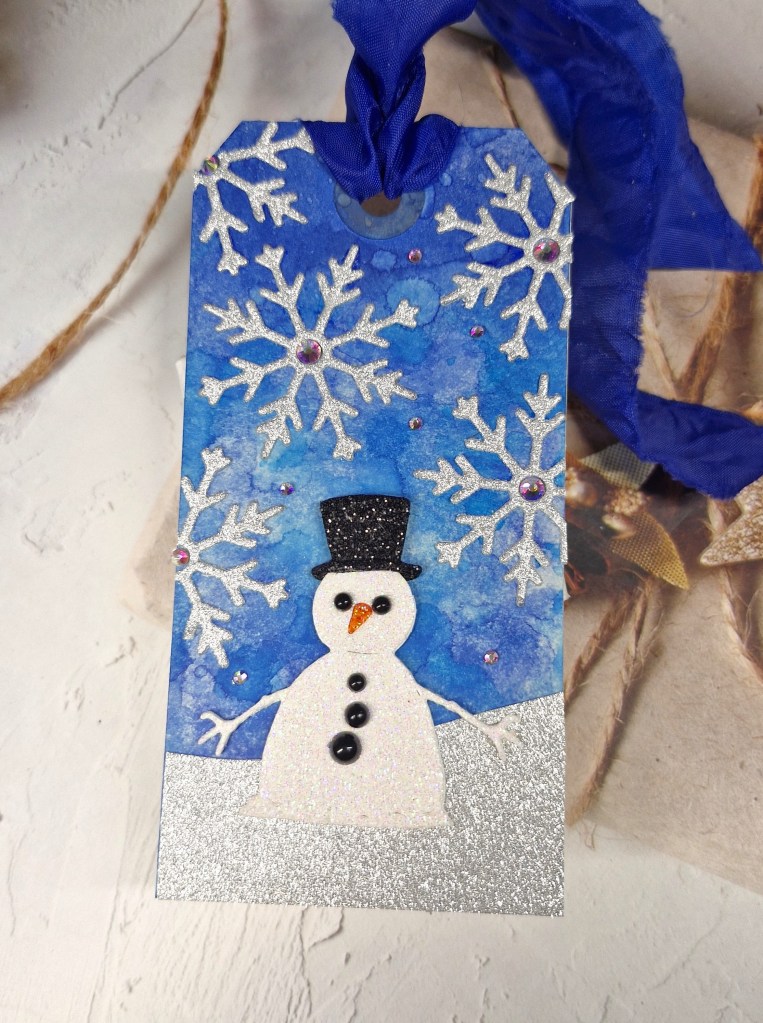
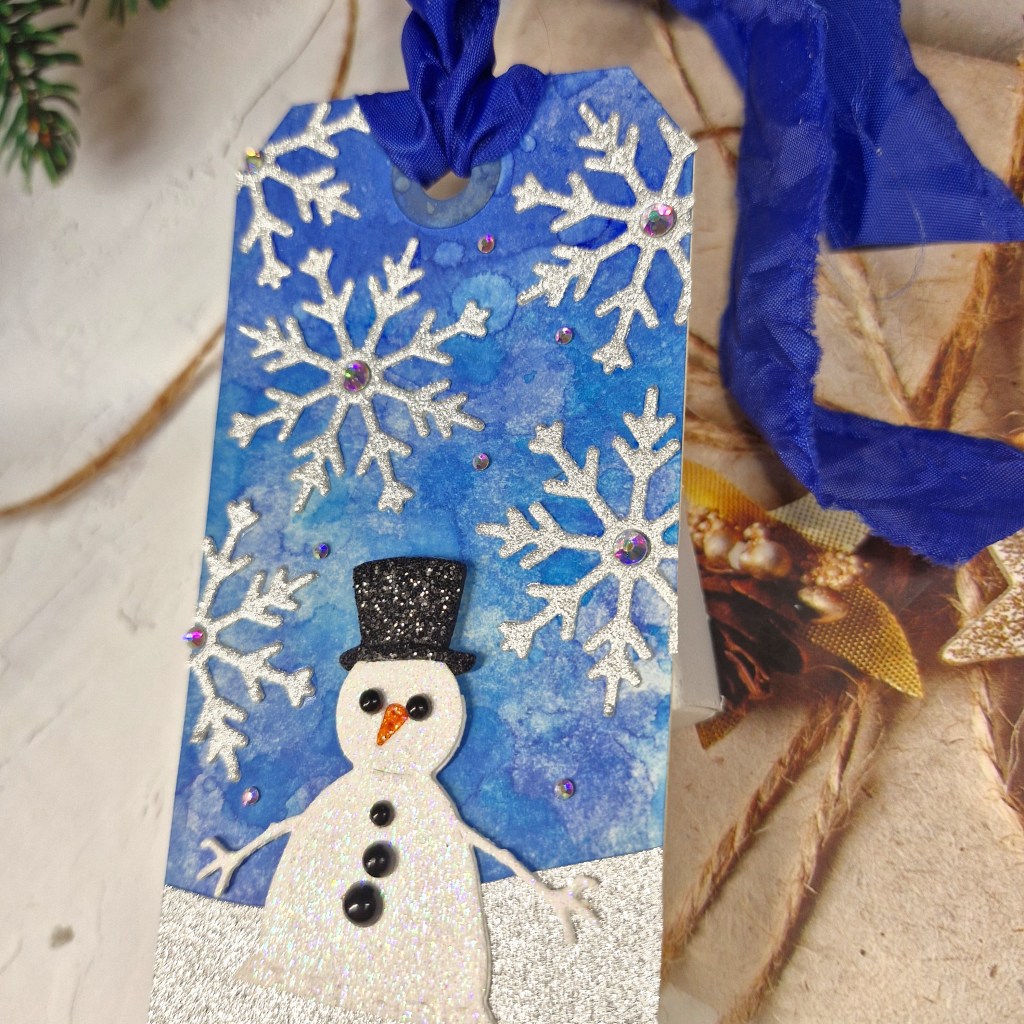
Here is my card for the first challenge of the year, with the theme being ‘anything goes Christmas‘:
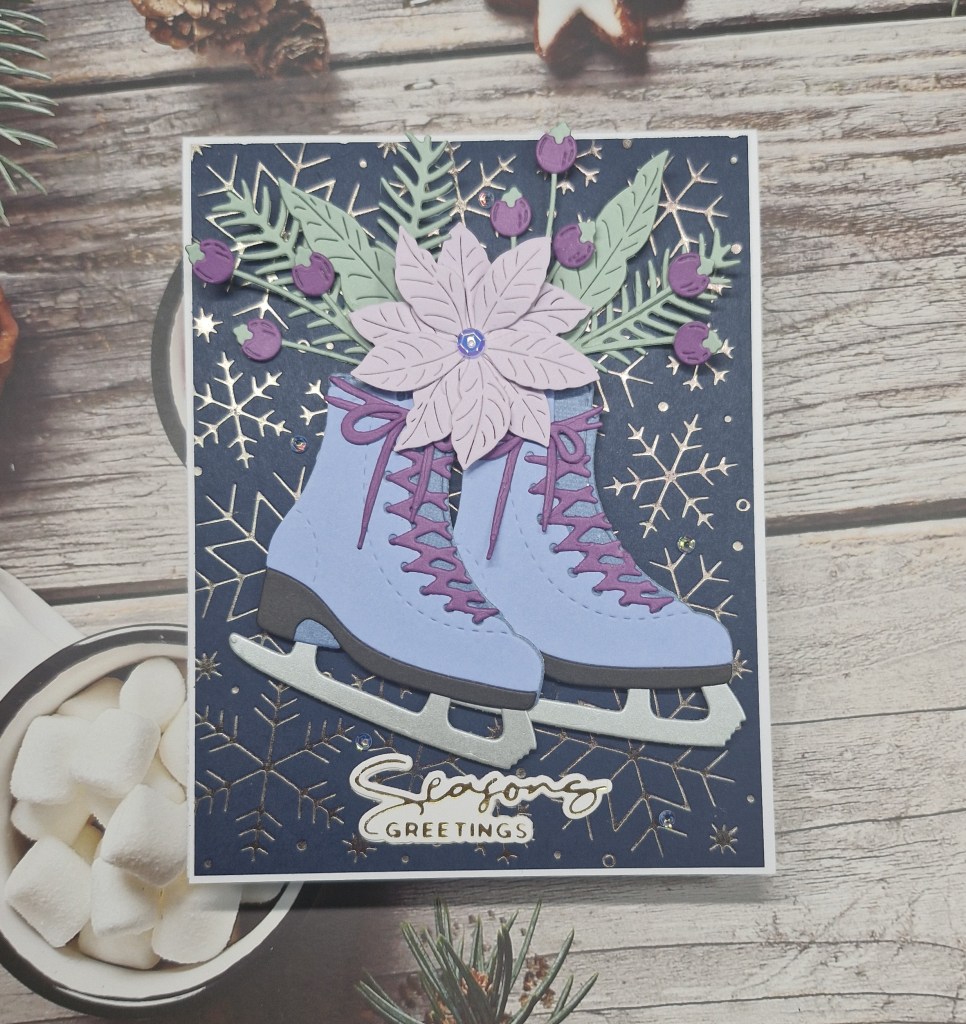
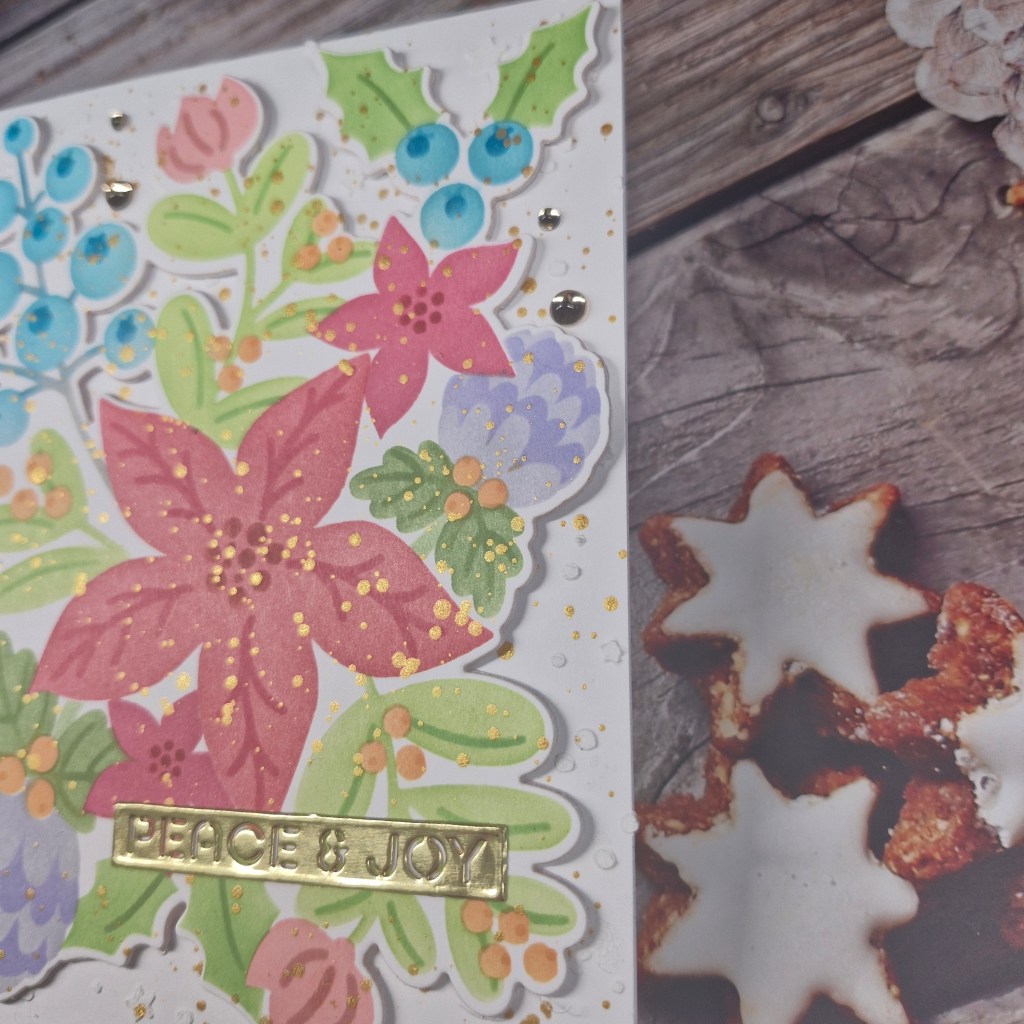
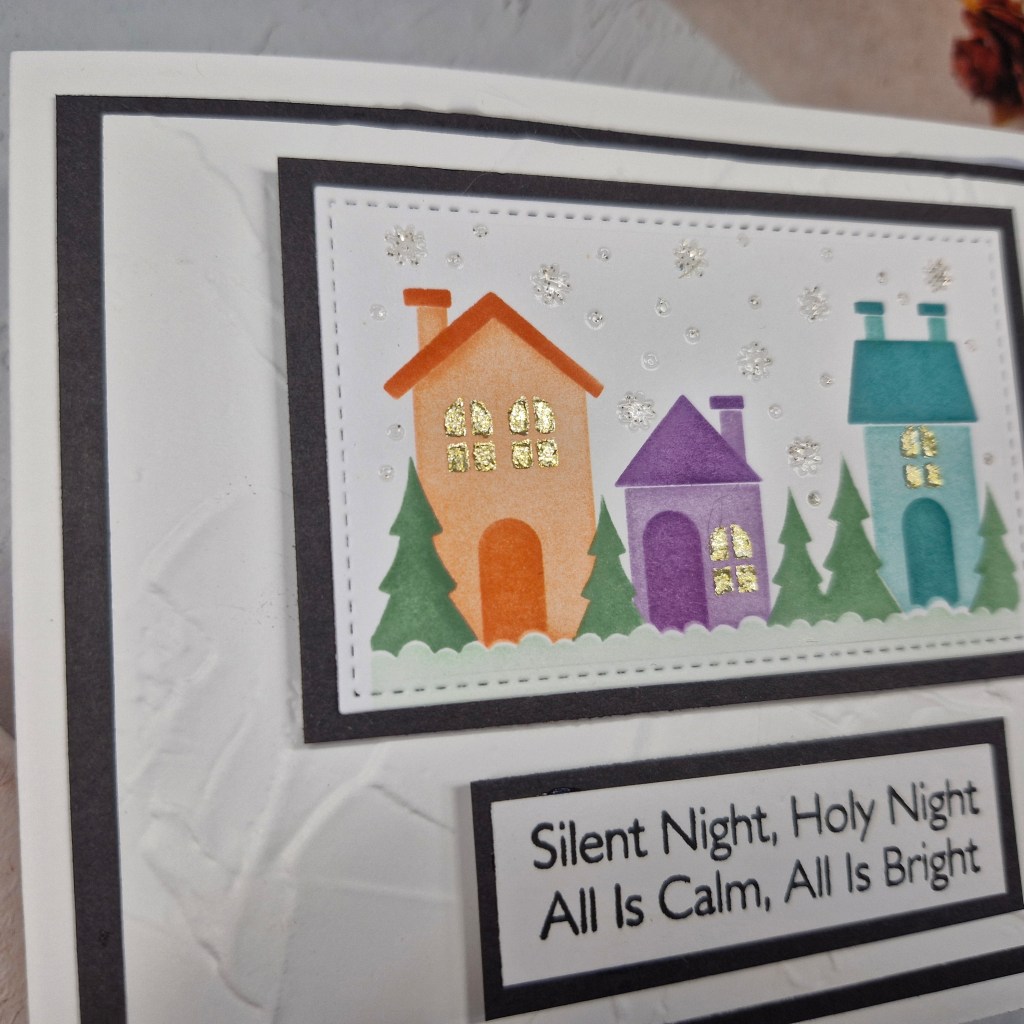
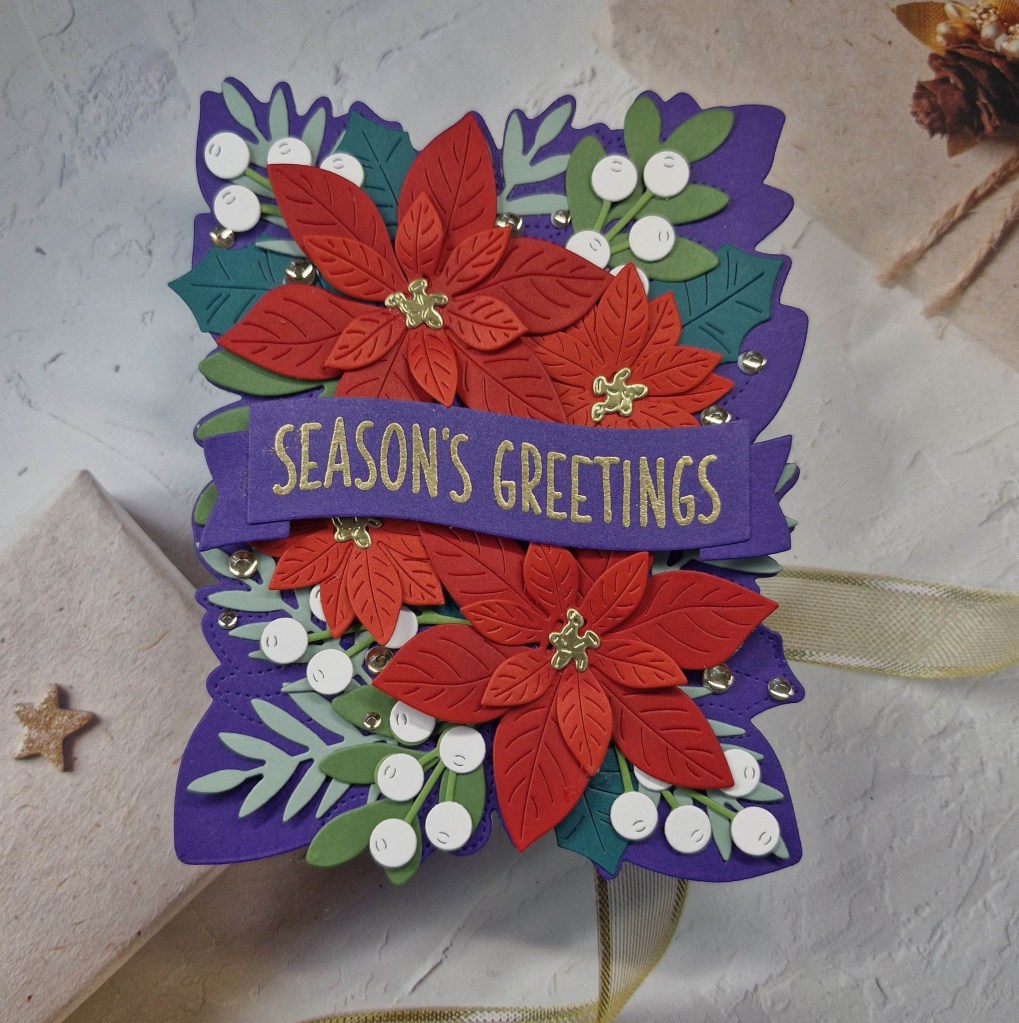
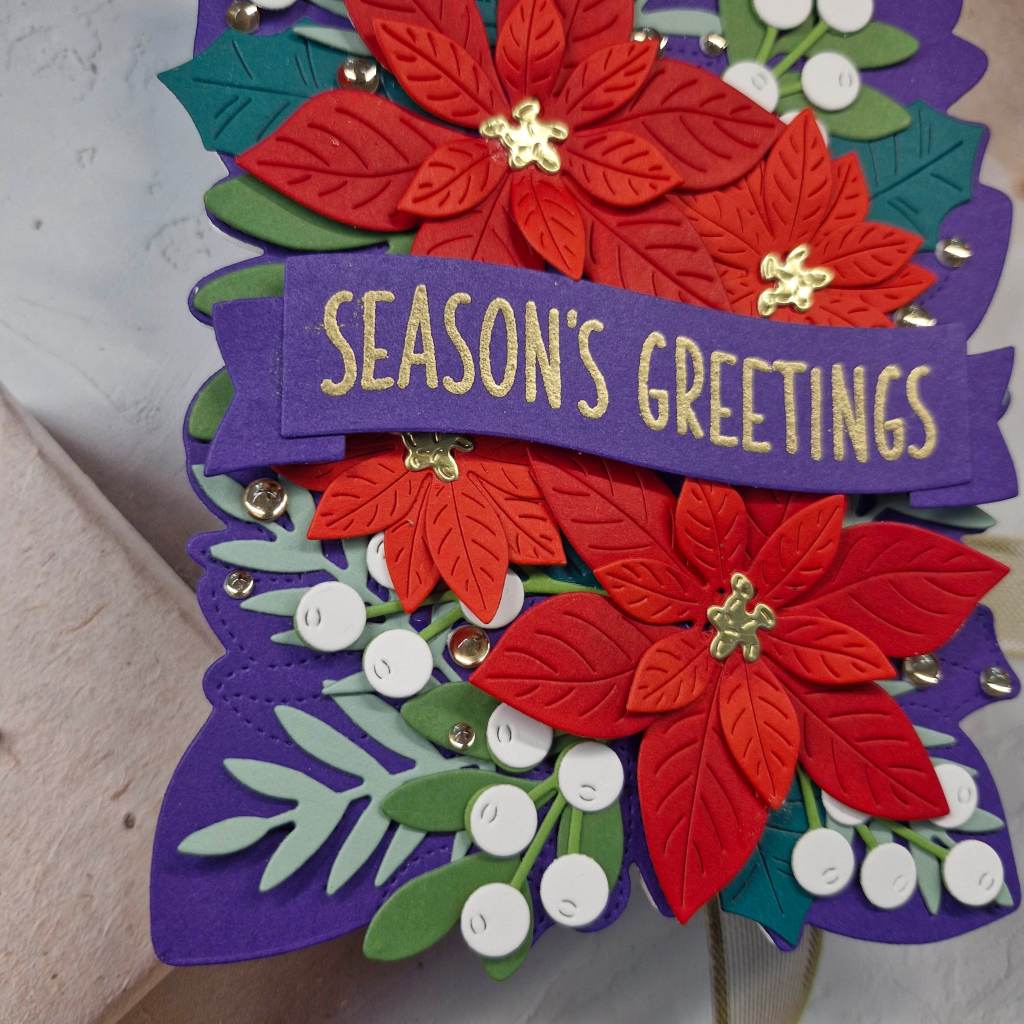
I decided to try a different colour scheme, using more purple tones, with a little bit of pink.
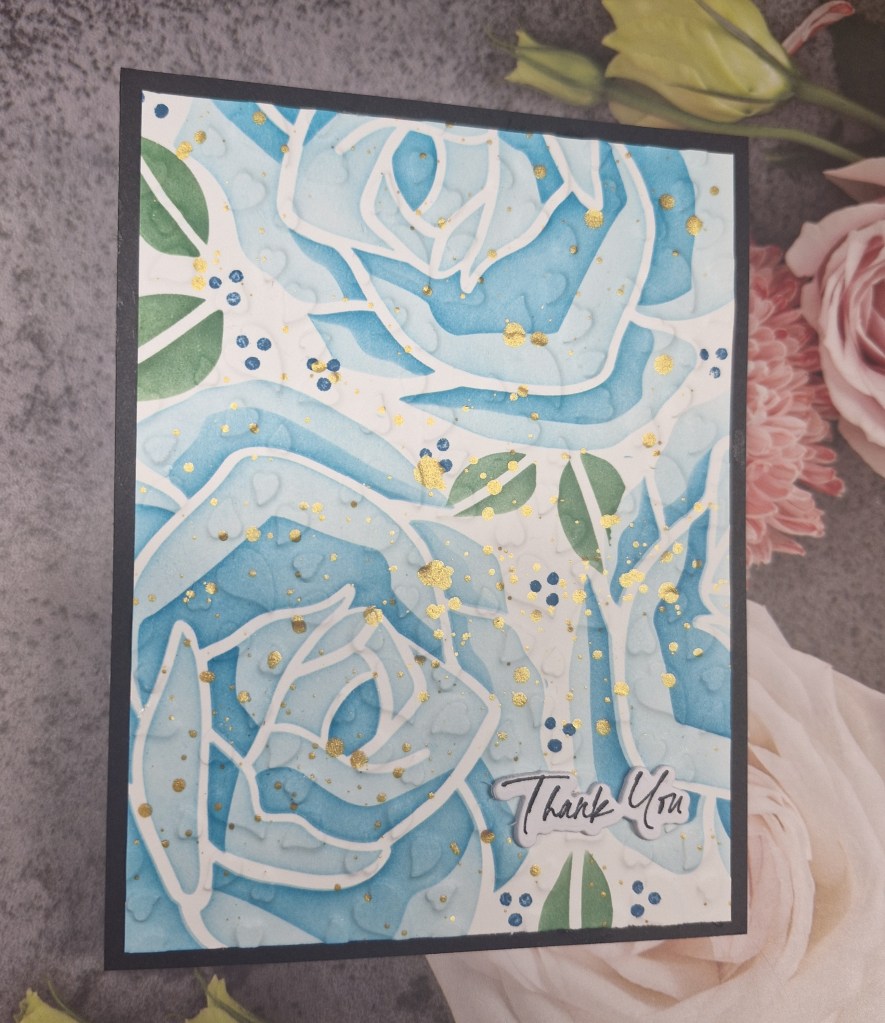
The background is hot foiled using a Lawn Fawn plate – silver onto a dark blue panel, and adhered flat to the card base.
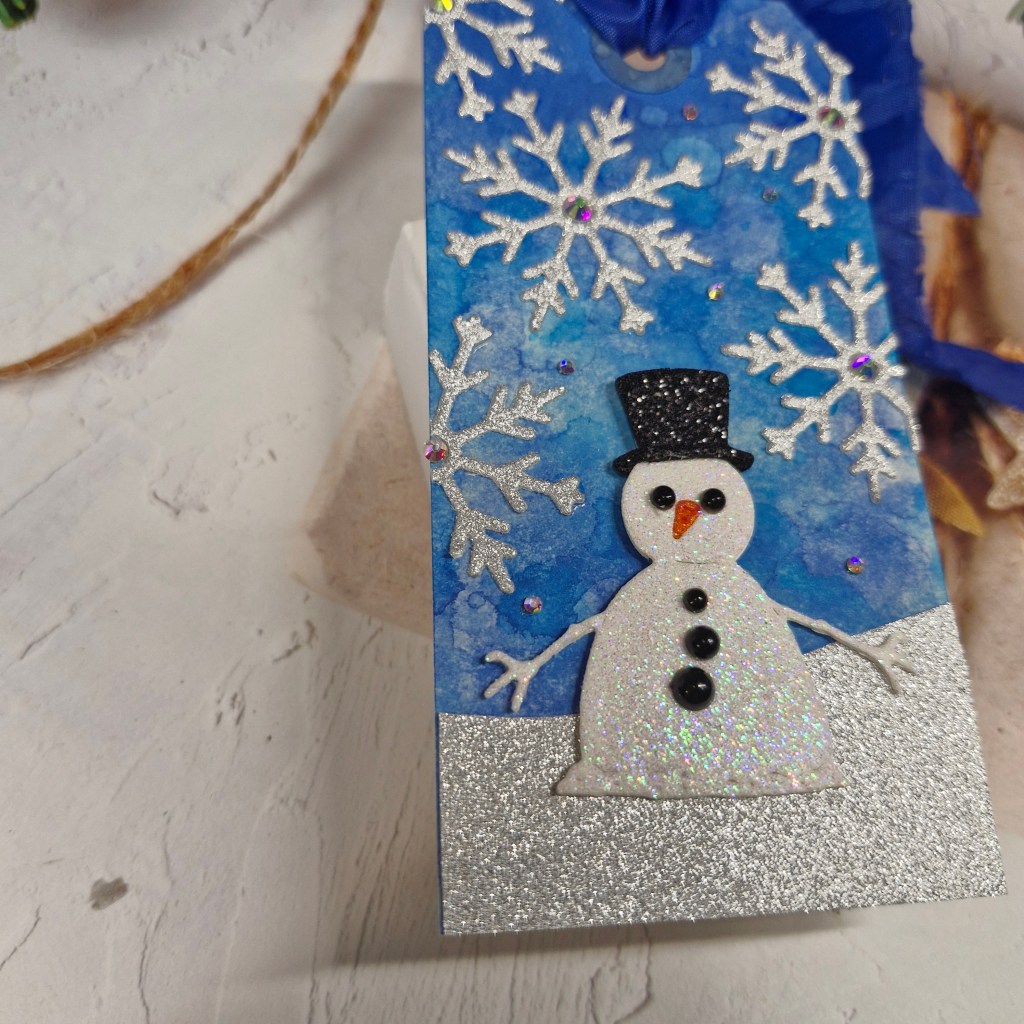
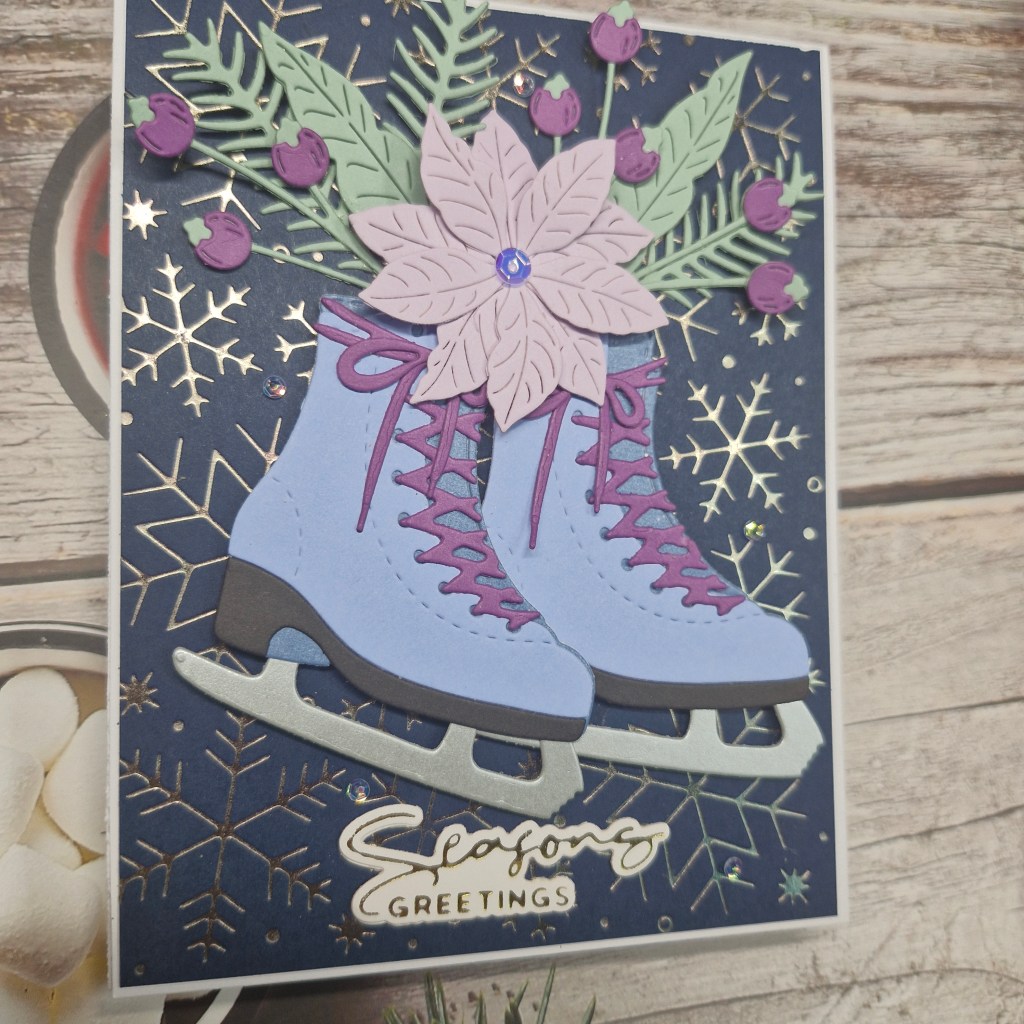
The ice skates are from Spellbinders, and die cut using different tones of purple, with matt silver for the blades, and black for the sole of the shoes.
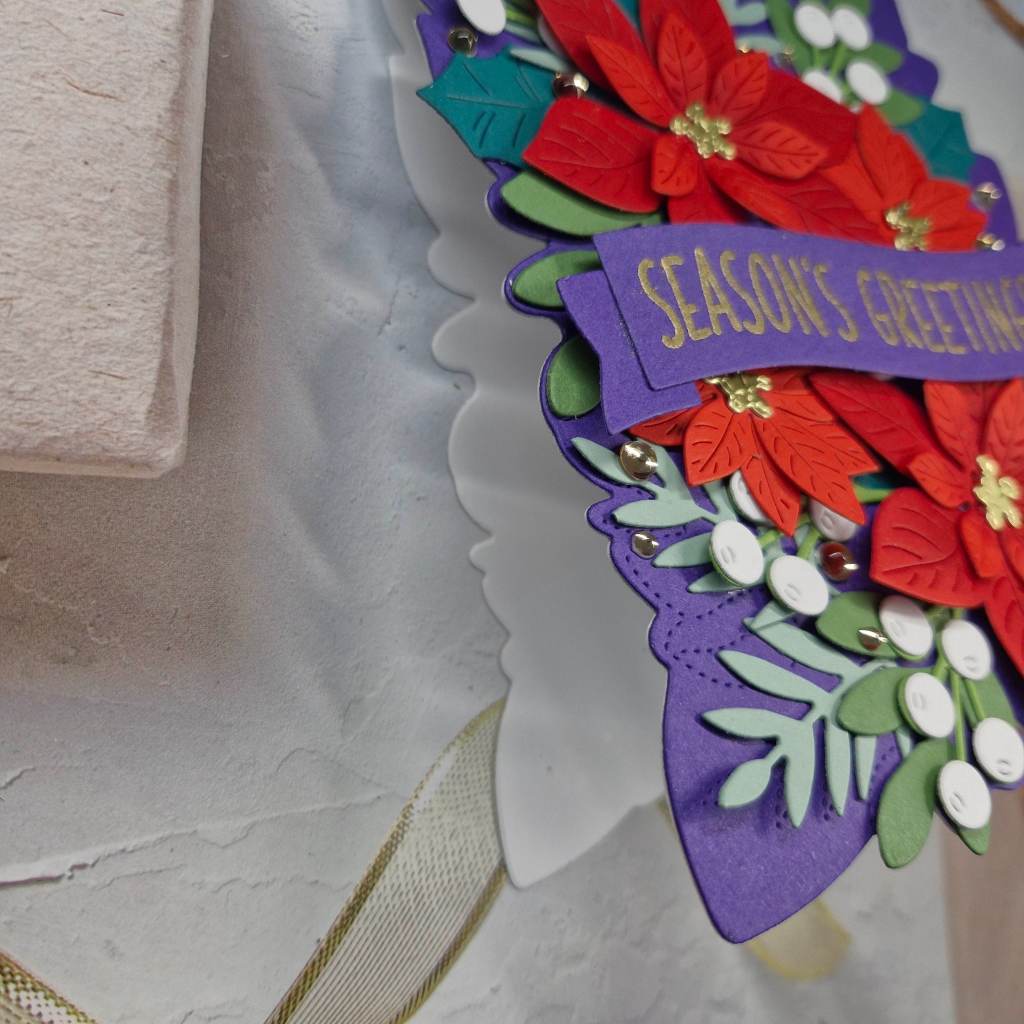
The flowers and foliage were die cut and assembled, then all arranged onto the card base. Some silver sequins added for a little more shine – to the centre of the flower and some around the background.
I hope you can come and join us and start building your stash.
I shall be entering the following challenges:
Peace On Earth – anything goes Christmas
A Perfect Time To Craft – anything goes
Dragonfly Dreams – use pinks and purples
Crafty Calendar – add a die cut
12 Months Of Christmas Link Up – anything goes Christmas – option polar bears not taken
Merry Little Christmas Challenge – anything goes Christmas