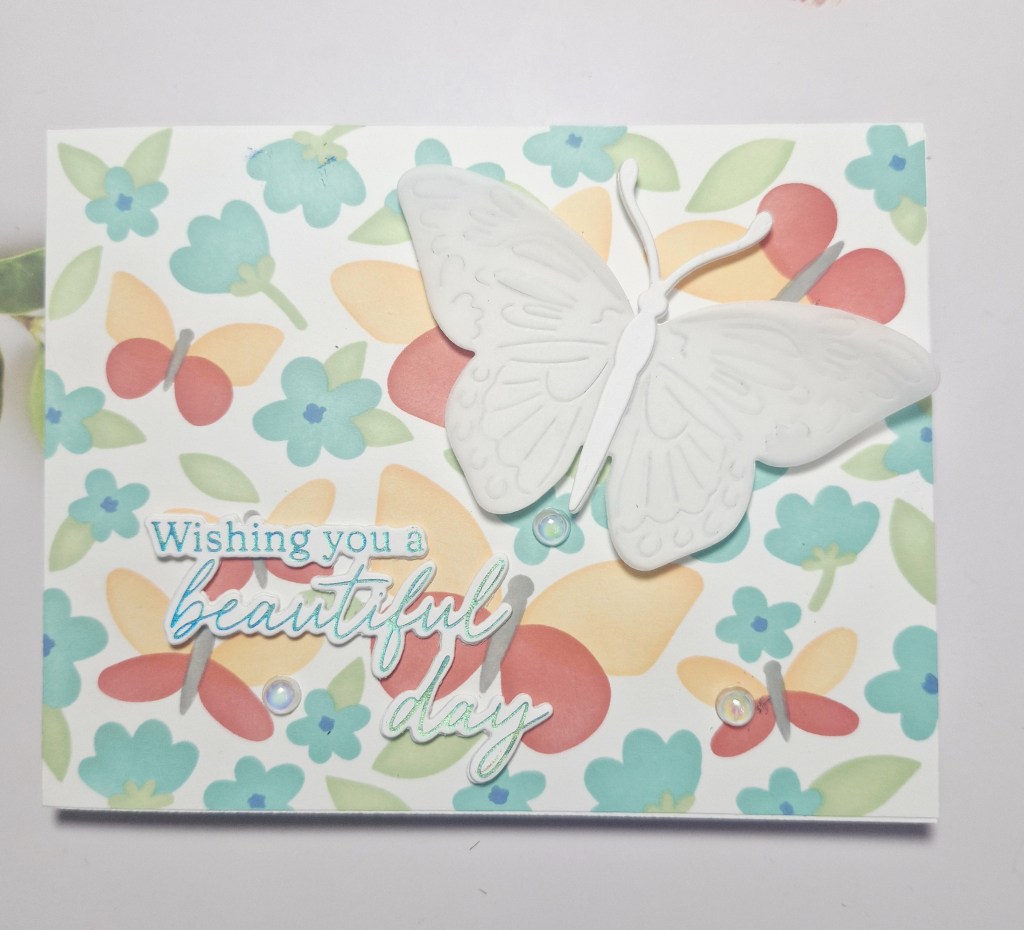
Hello again. I have a card created to share with you:
I wanted to use a layering stencil set from Waffle Flower. This background is the ‘Postage Collage Spring Breeze’ and has five layers to it. I chose the colours from Pinkfresh Studio inks and set to it.
Once the background was finished, I added it direct to a card base.
I then used the ‘Butterfly Focal’ die and cut it in white, then cut it in vellum, layering the two together, adding an extra body to the top so I was able to secure the vellum easily.
The sentiment is in blue foil, and from a Pinkfresh Studio product suite ‘Butterflies in a Cloche’, previously created when I had a foiling session. This was die cut with the matching dies, and a couple more layers added for stability.
I also added some irridescent gems for extra interest.
Hubby and I are out tonight with some friends to celebrate our 38th wedding anniversary – time sure does fly….
I shall be entering the following challenges:
Stencil Fun – stencils, option of butterflies taken
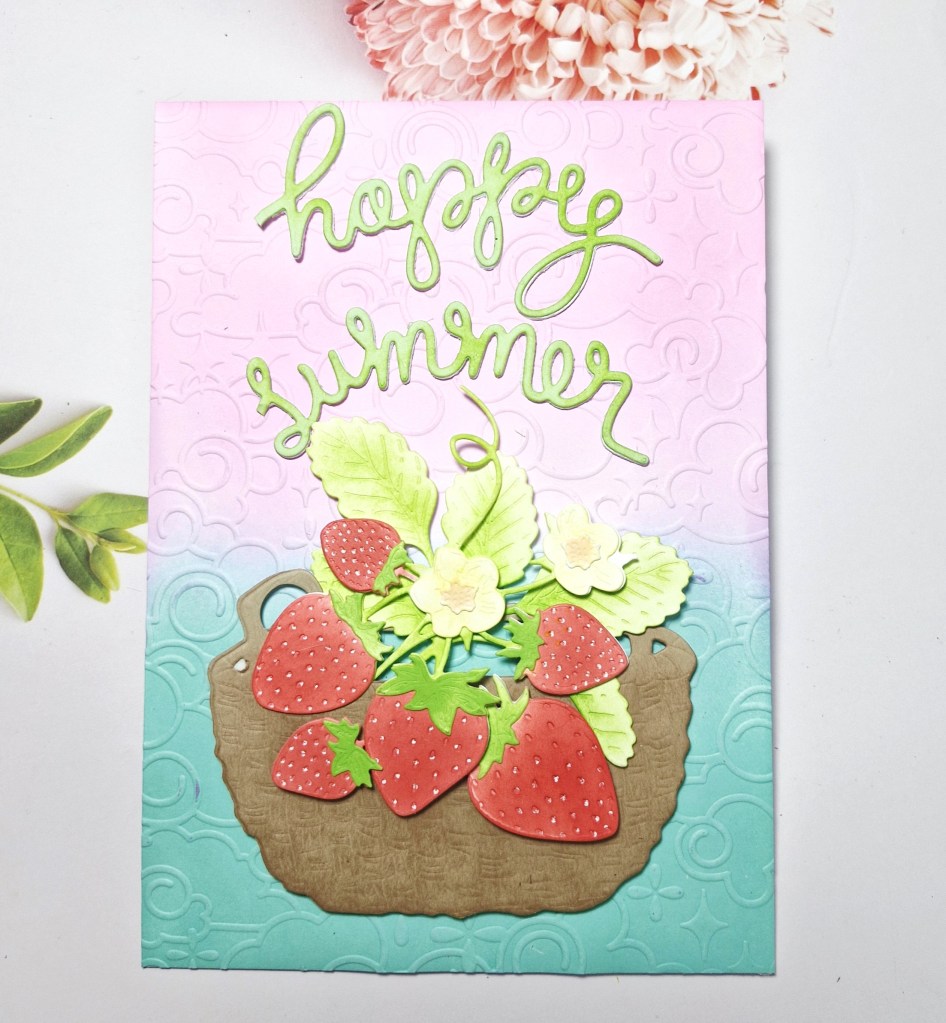
Hello again. More play time in my craft room, this time to create a card with fruity goodness and a summer feel to it:
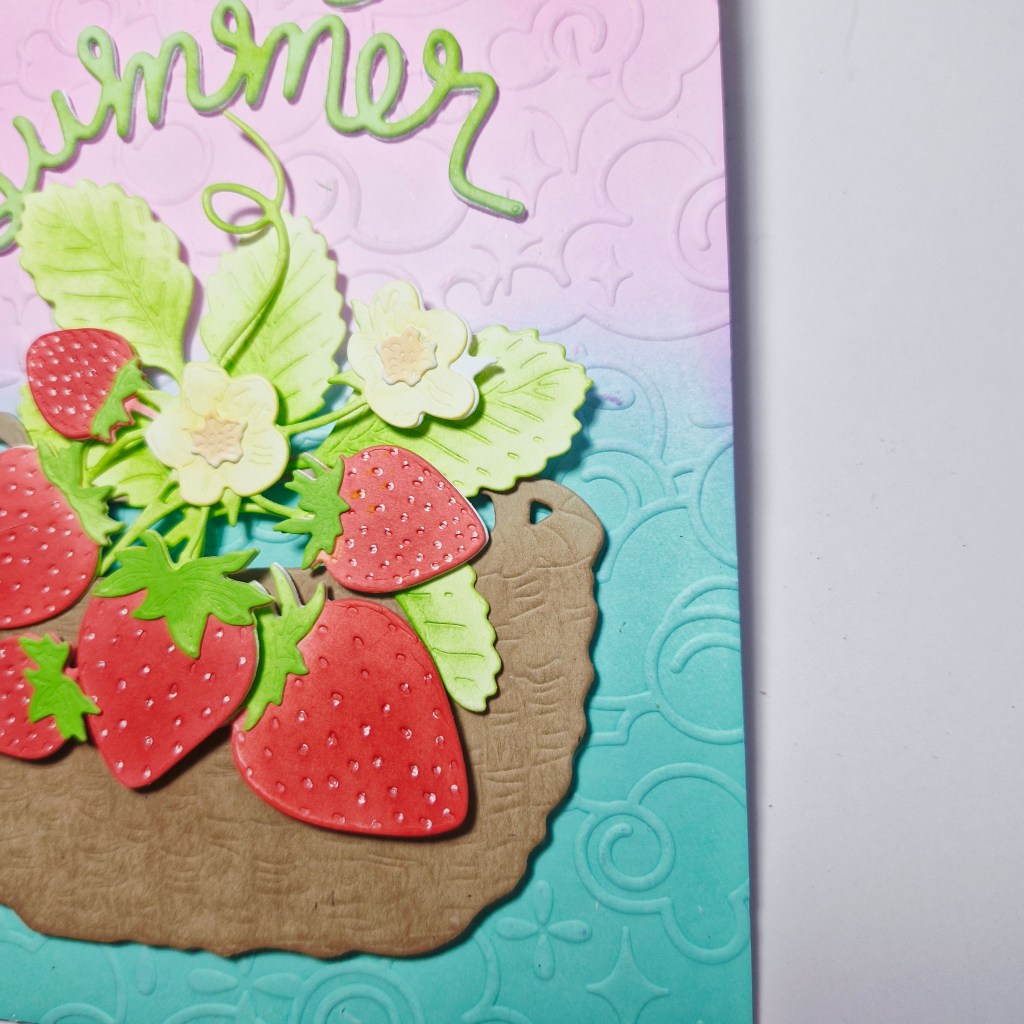
I used the Honey Bee Stamps die set called ‘Lovely Layers: Strawberries‘ and die cut all of the images from white card stock. I then ink blended each of the die cuts in the appropriate colour, using Pinkfresh Studio inks. The die cuts were then layered as required, then arranged as I thought they would look good together. I also added some white gel pen to the strawberry ‘pips’ to make them stand out a little more.
Then to decide on a way to ground the bunch of strawberries, and I used a Spellbinders/Susan Tierney die set ‘Gathering Basket‘ and die cut it out of light brown card stock, the ink blended some darker brown onto it.
The sentiment is using The Greetery ‘Summer Silly Straw‘ die cutting out of white card stock, then chopping off the straw bottom to leave the two words, and ink blending with green. I also die cut this a couple more times and glued together, to add more stability to the words.
Then I found that an A2 card base would not be big enough to get everything on, so I used a 5×7 inch card base.
The background needed something – I ink blended a white panel, then ran that panel through with a Spellbinders embossing folder ‘Cloud Nine‘, and attached to the card base.
The strawberries and basket were adhered with 3D foam, then the two words were attached.
I wanted to share a card I made using an older stamp and die set from Mama Elephant:
I was searching for another Mama Elephant set, when I came across this, called ‘Cupcake Wishes‘, and decided to have a play.
I stamped the images and coloured with Copics, then used the matching dies to cut them out. The background was created using a stencil from Lawn Fawn, and colours which I though would work well with the image.
This panel was cut down slightly and adhered to the card base. The images attached with 3D foam, then the Spellbinders sentiment die cut, and also attached with 3D foam.
I have no idea why I chose the number 8 for the candle – just on a whim.
Hello once again. Craft time has produced the following card:
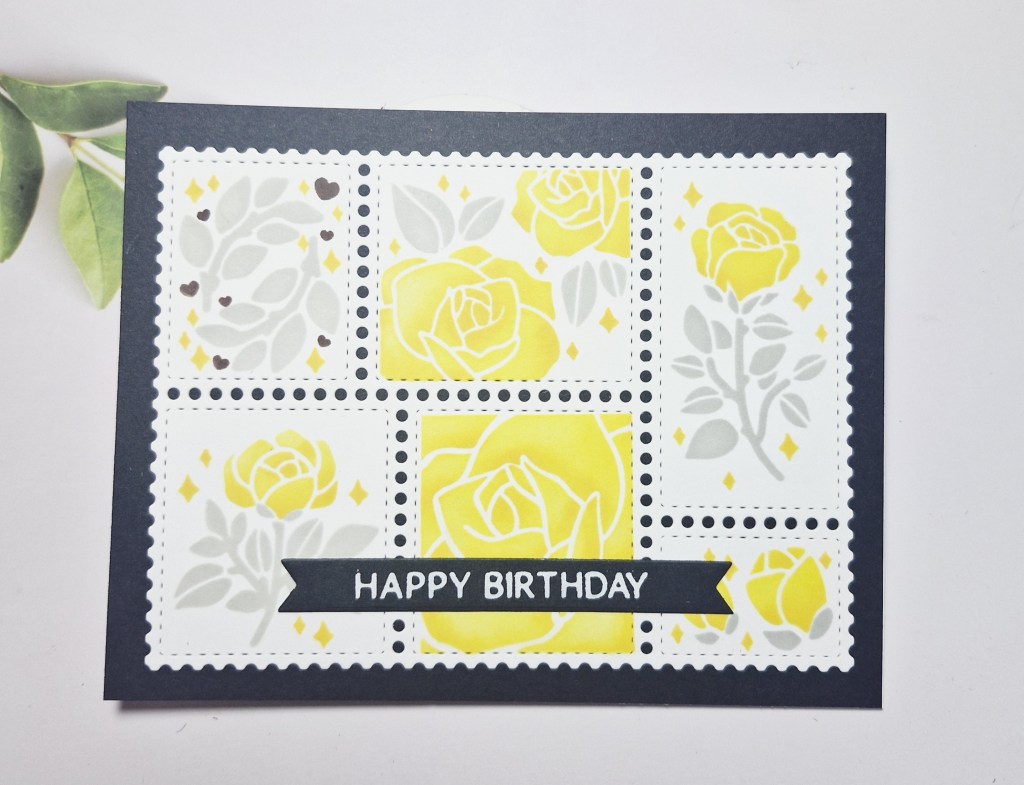
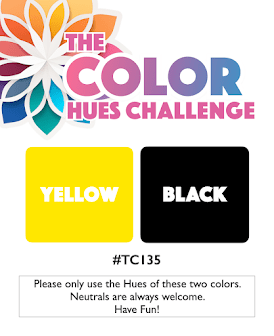
Following the current colours at Color Hues, I used Waffle Flower products.
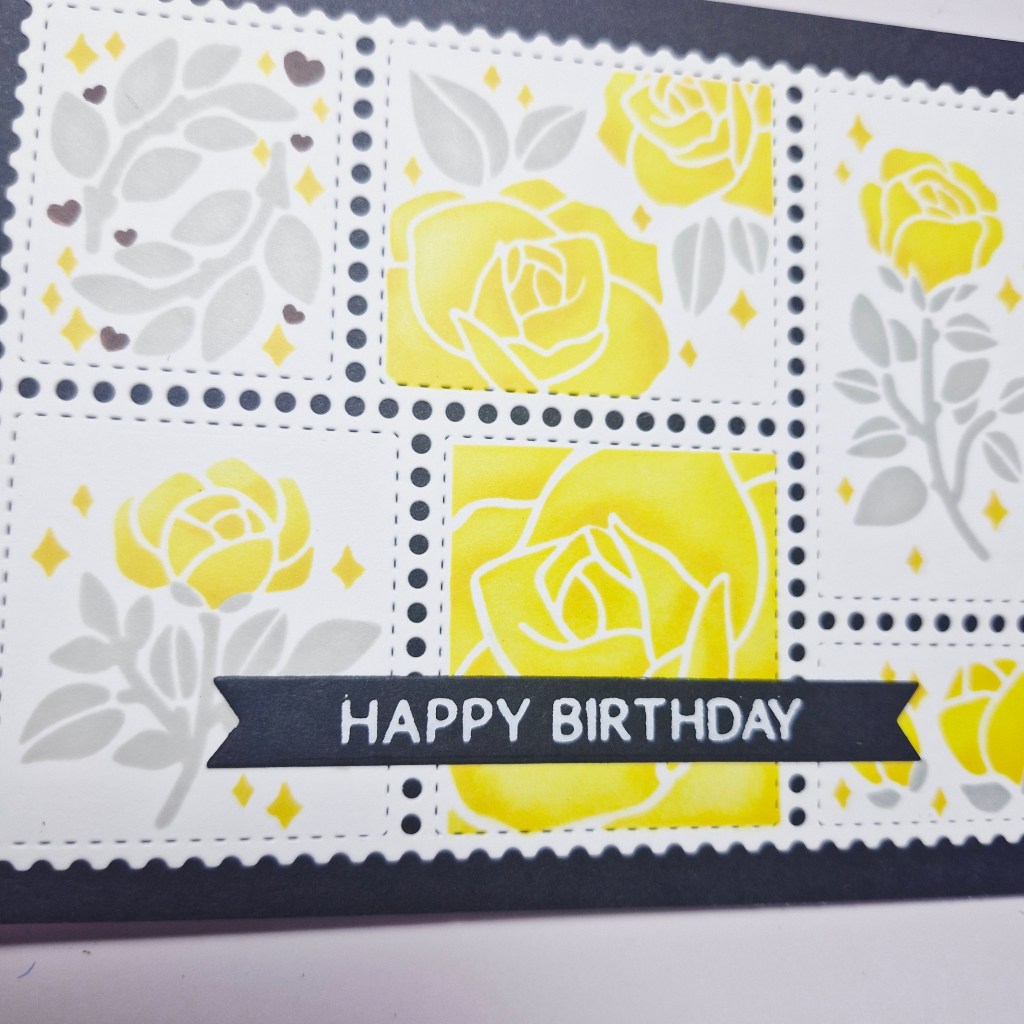
I first die cut the collage panel out of white, then used the layering stencils for the roses. I inked the florals themselves in a lighter yellow, then used a darker yellow in smaller areas to create some dimension.
The leaves were ink blended with a light grey. The sentiment is white foiling.
This panel was adhered to a black panel, then adhered to a card base.
I shall be entering the following challenges:
Color Hues – yellow and black – certain neutrals allowed
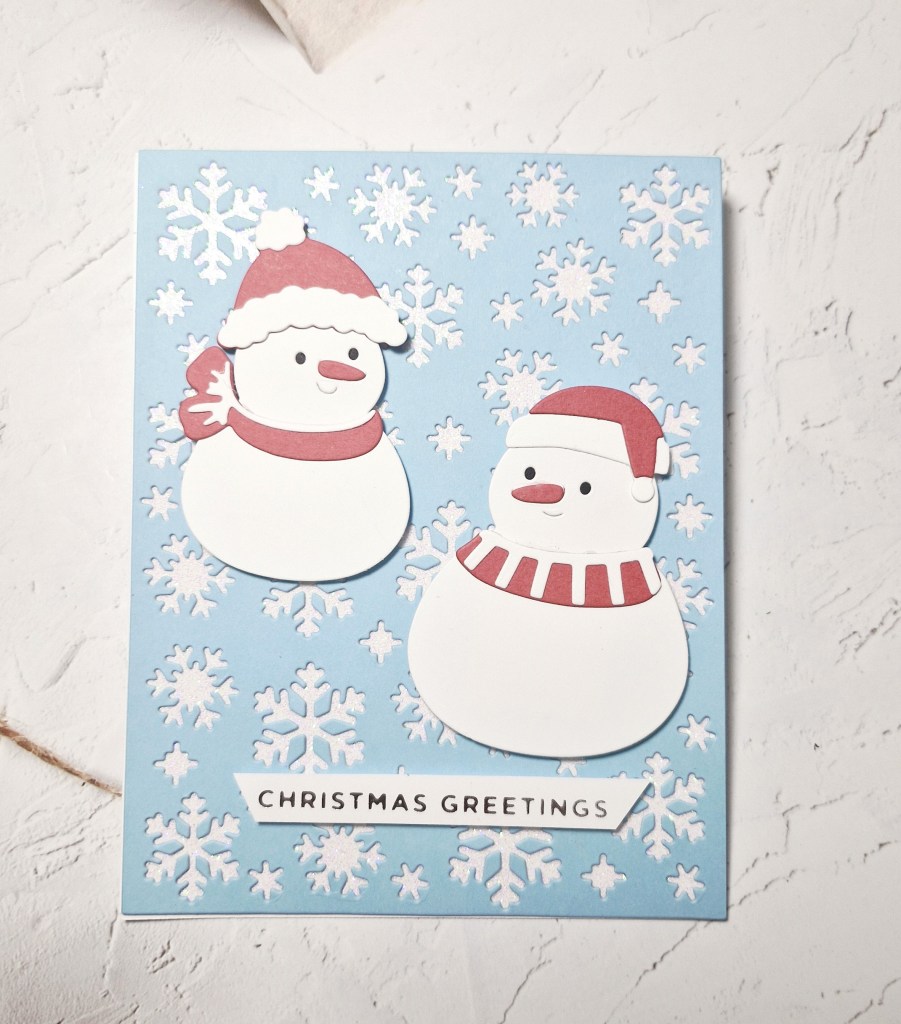
Hello there. What better why to take your mind off the extreme heat we are having in the UK – make a snowy Christmas card whilst sitting in the air con in your craft room:
This was created following the current theme at 52 CCT.
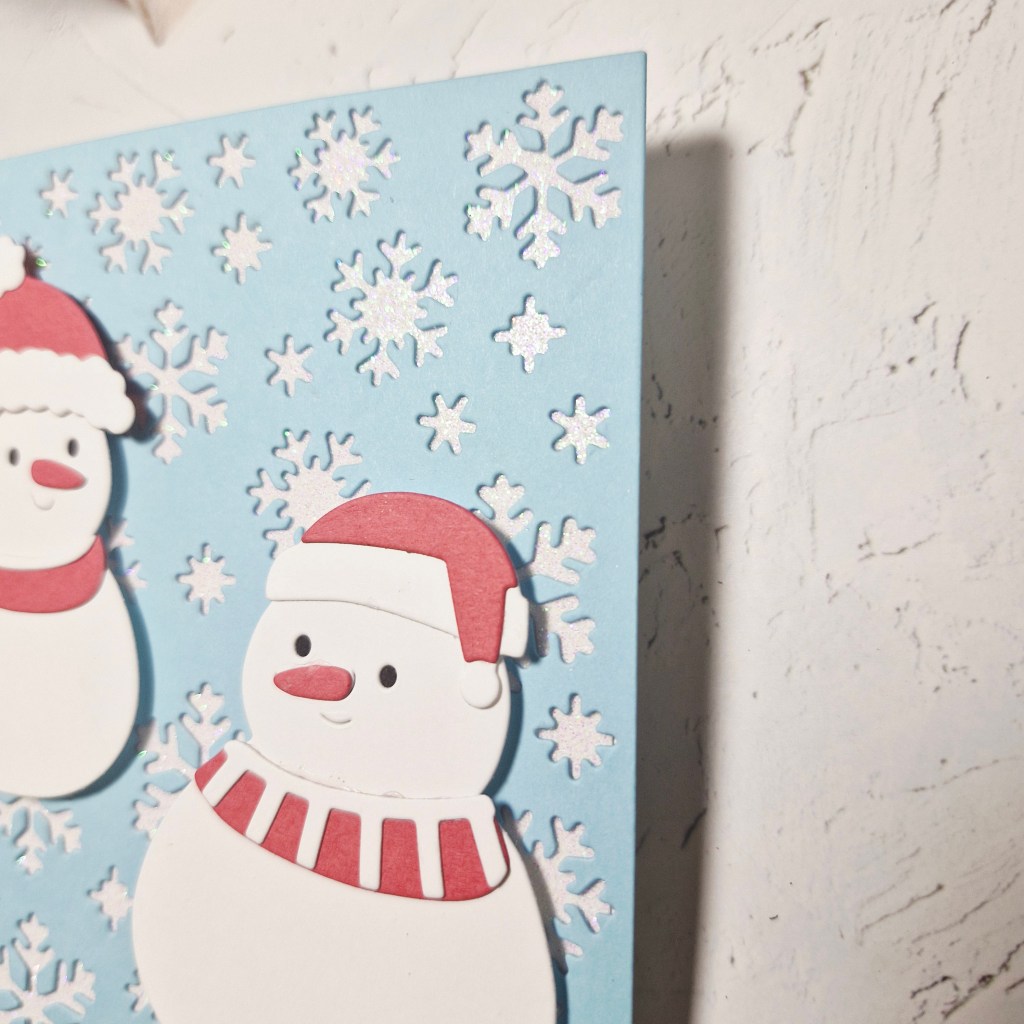
The background was created using a snowflake cover plater from Pinkfresh Studio, die cutting, pushing the snowflakes out, then backing that panel with white glitter card stock.
The two snowmen are from Waffle Flower, die cut then layered as required. The die set comes with presents for the snowman to hold, but I left them as they were -the centre of the show.
The added sentiment was foiled, then the ends cut at a diagonal.
Hello there. The Alphabet Challenge has reached the letter ‘D’, and Melanie has chosen the theme of:
D is for Double – include 2 of the same thing
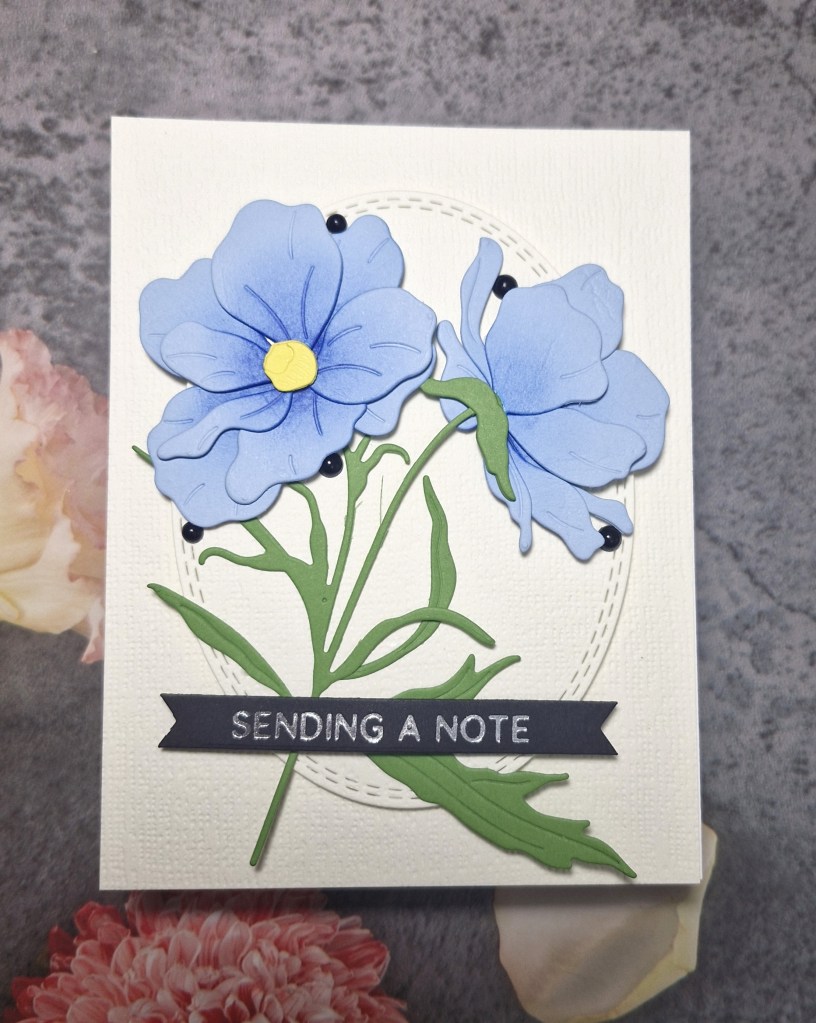
Here is my card, which has two flowers on it:
These flowers are from an Altenew die set called ‘Butterfly Ranunculus‘. I used a blue card stock to cut the petals, and added some darker blue ink blending to the middle of each layer. These were easy to put together due to the #keyhole system’ which Altenew uses. The stems were die cut, and placed to one side whilst I decided what I wanted to put on the background to show case these gorgeous flowers.
I decided to go with a cream textured card stock, placing one layer as the back panel on a card base, then die cut the stitched oval in the same card stock.
The oval was glued to the back panel, and the flowers arranged to my liking, added with 3D foam.
The silver foiled sentiment added, then some small black gems for added interest, and to bring in the black of the sentiment strip.
I hope you can come and join us with your creations following our theme. xx
Hello everyone. I am pleased to have been asked to be a special Party Guest for the new challenge at Ellibelle’s Corner Garden Party, after being selected in the Top 3 for one of her challenges with this card here.
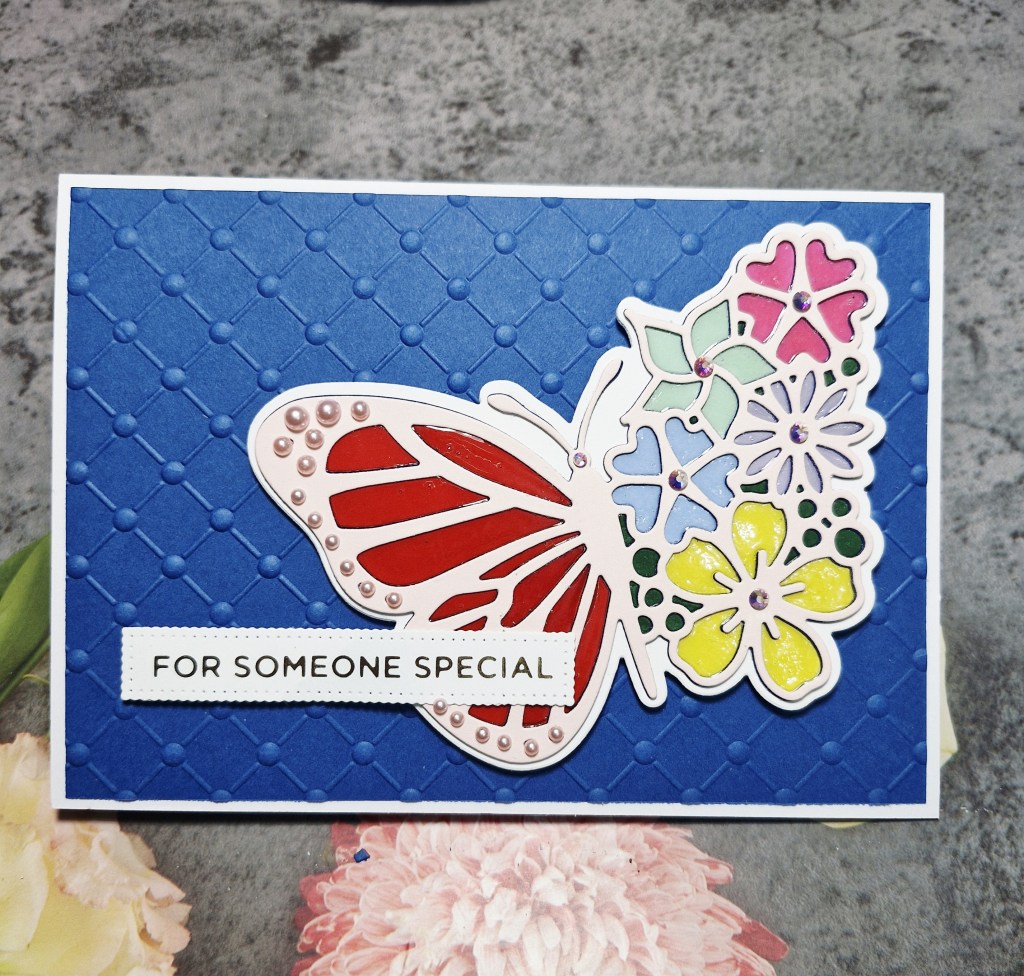
The theme for the new challenge is – anything in or from the garden. Here is my card:
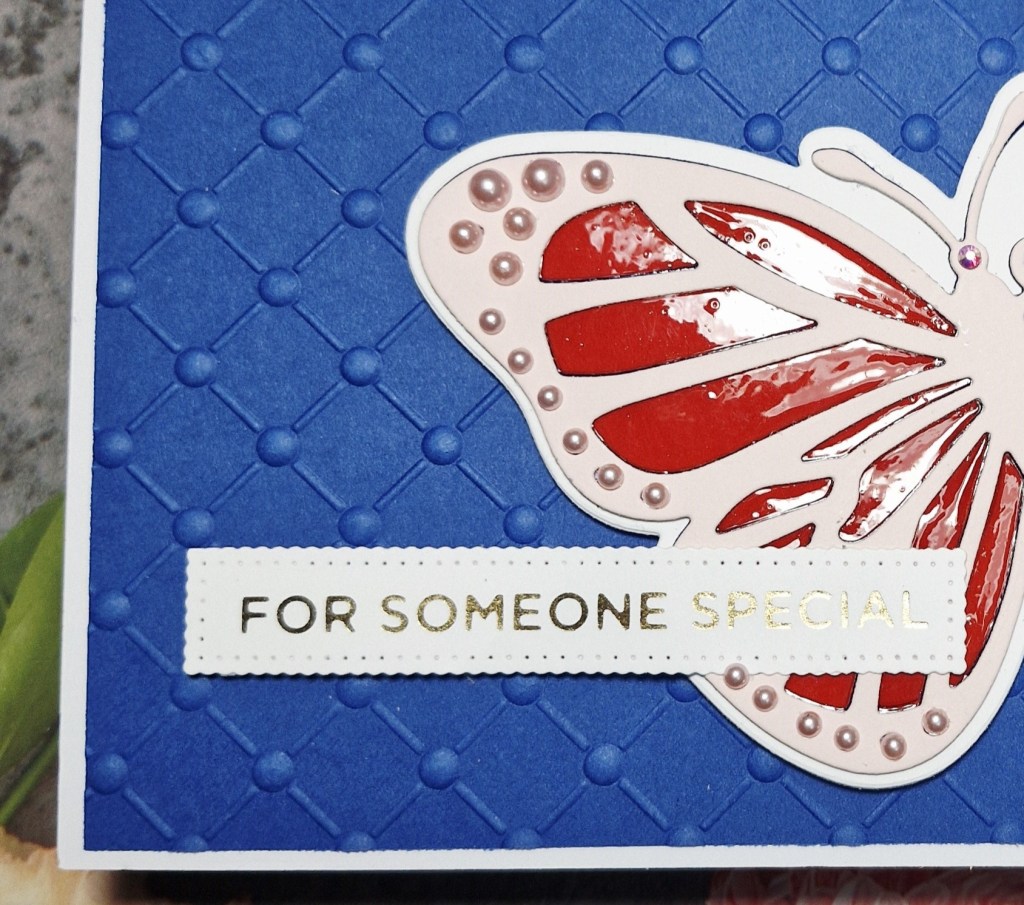
I must have been in a really fiddly and faffy mood to create this, as the butterfly – from A Pocket Full Of Happiness – takes a lot of die cutting in different colours, and then inlaying each itty bitty piece…….
I started by cutting the base outline, then the butterfly out of white card stock a couple of times, and glued it together.
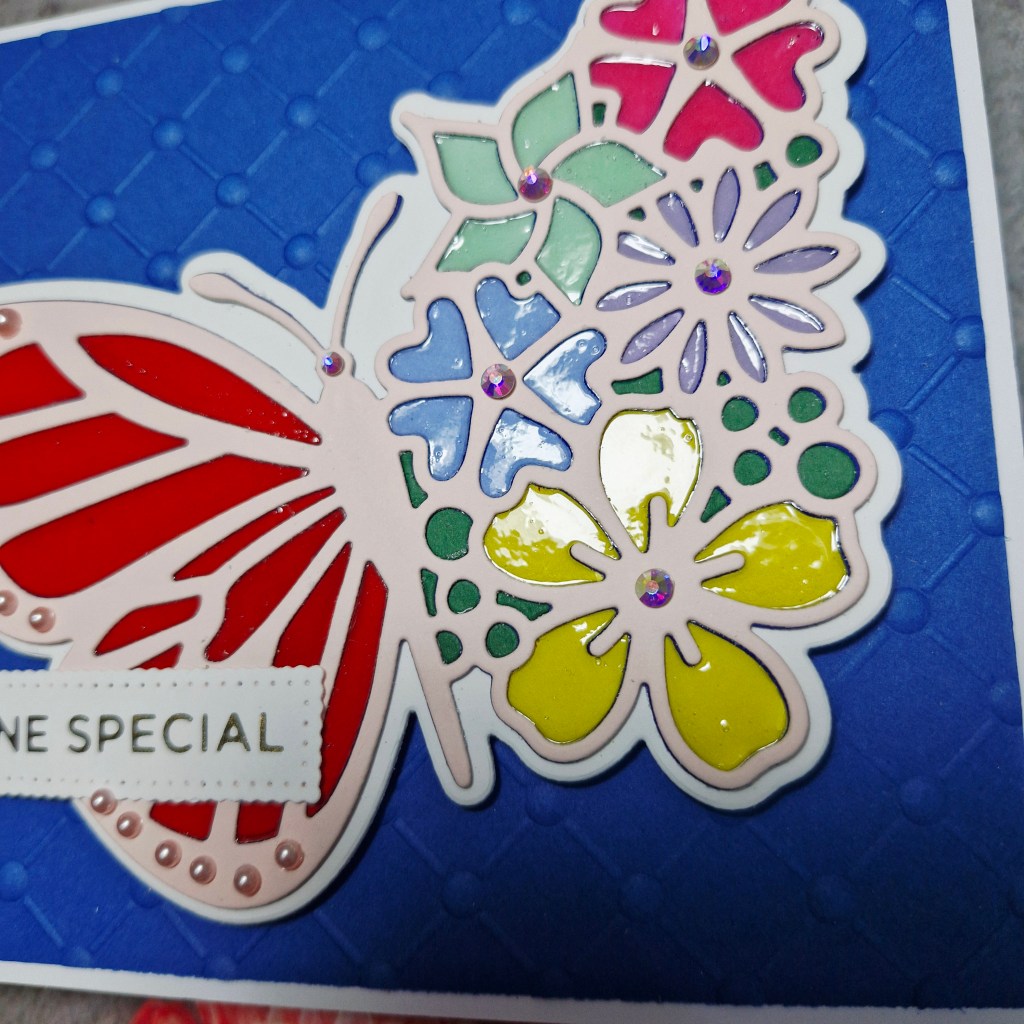
The next steps was to gather colourful pieces of card for each flower, and the wings of the butterfly and set-to die cutting. Each colour was inlaid back into the butterfly, and then glossy accents applied to create a stained glass effect.
When that was dry, I added a top layer of the die cut butterfly, this time cut out of a blush card stock and laid that on top. This also covered any of the over-flowing glossy accents.
I wasn’t happy with those tiny areas on the edge of the butterfly wing, so I added small pink gems to each and every one of them – I told you I must have been in a fiddly and faffy mood.
I wanted a bold background for the butterfly, so used some Concord & 9th card stock, trimmed it a little smaller than the card base, and used a Spellbinders embossing folder.
The butterfly was glued down, and then the foiled sentiment added.
I hope you can come and join us at Ellibelle’s Corner for her Garden Party. I hope to see you in the gallery. xx
Hello everyone. We are starting a new challenge at ABC Christmas Challenge. Our challenge is all about Christmas, and getting your stash ready for the end of the year, and we always have themes to follow for each of the letters. This time, our themes for the two letters are:
L is for Let It Snow
&
M is for Mice
Here are my cards:
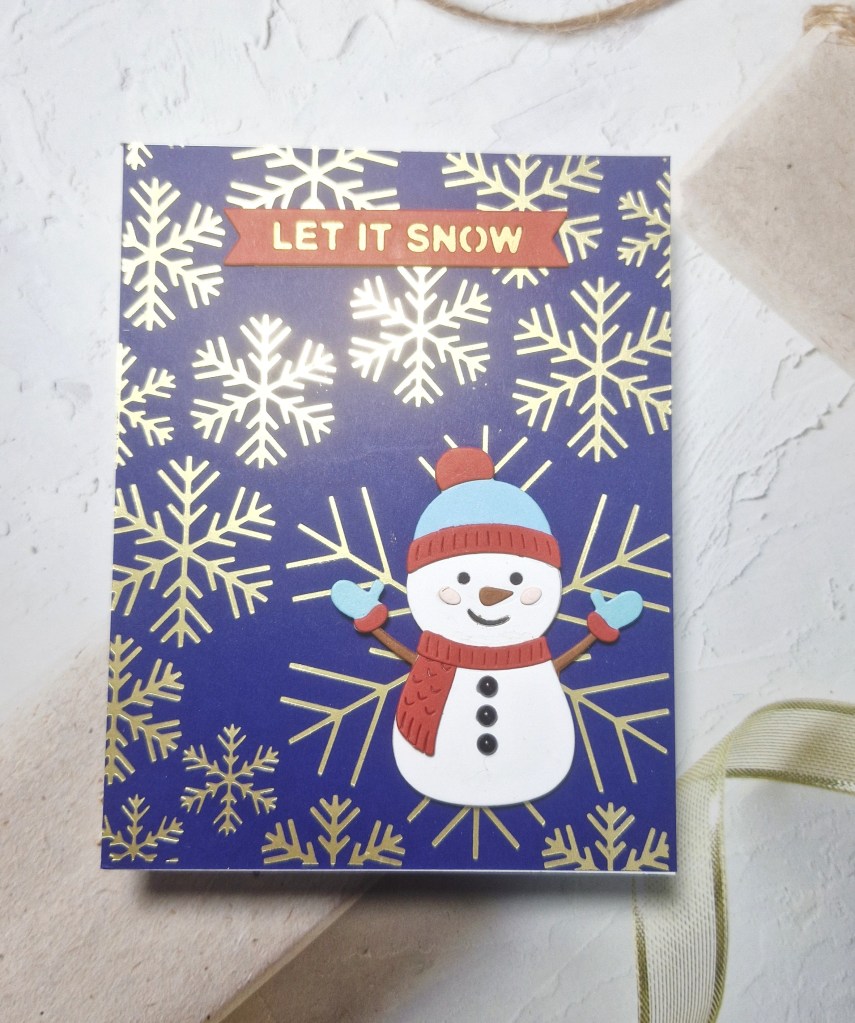
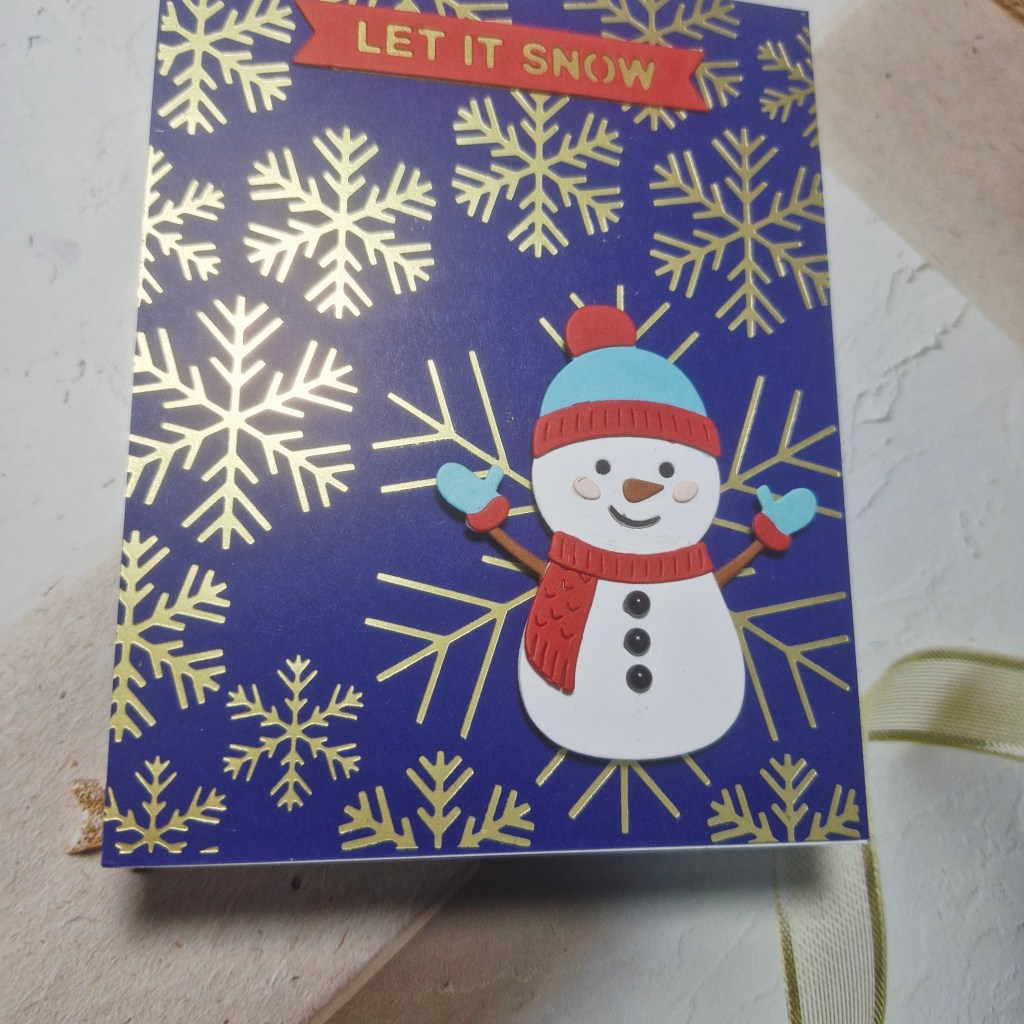
L is for Let It Snow
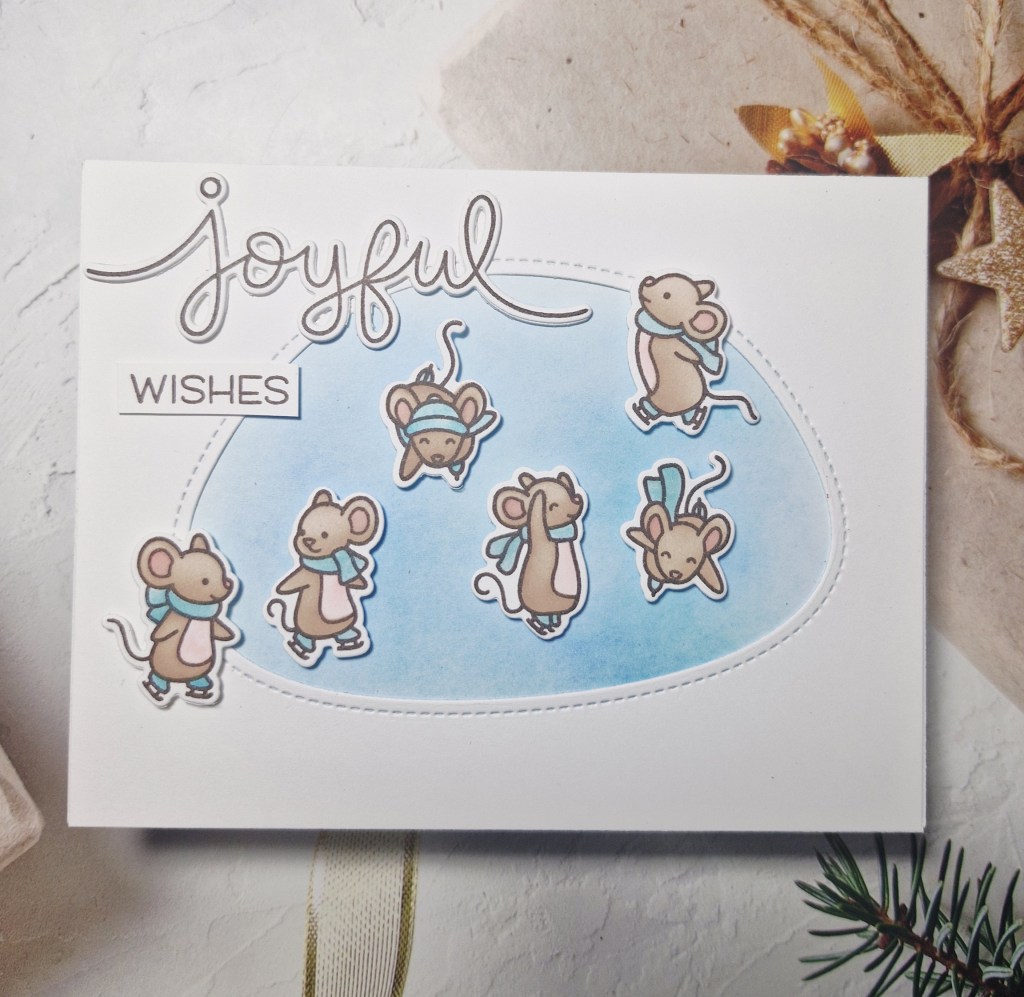
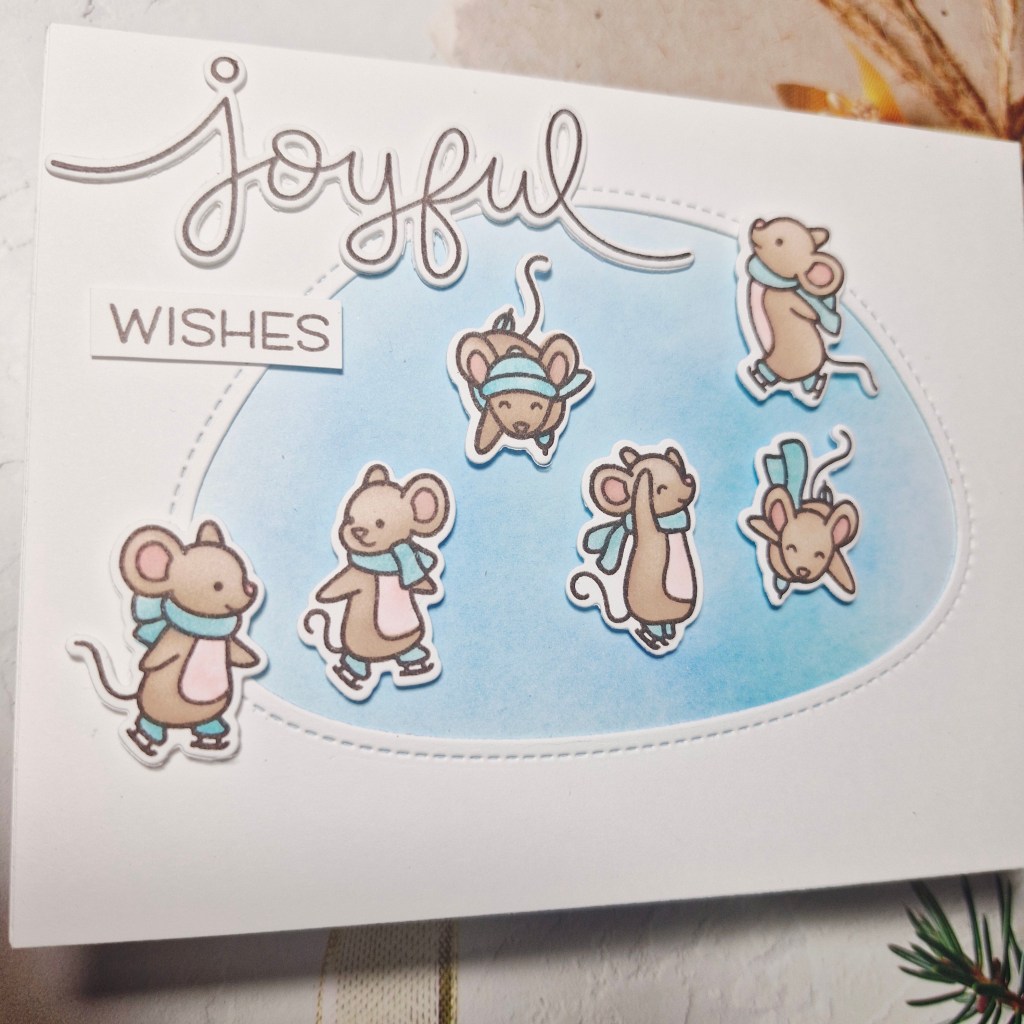
M is for Mice
For my first card, I used a Spellbinders hot foil plate and gold foil onto a dark blue panel. I also went around the edges of the panel after foiling with a lightly darker blue to create a halo effect.
The snowman is from a Simon Hurley/Spellbinders die set, and Concord & 9th card stock. The sentiment is also from the same die set, and backed with a piece of gold. Little black gems were added for the buttons on the snowman.
For my second card, I absolutely had to go with some Lawn Fawn mice and the stamp, die and layering colouring stencils called ‘Mice On Ice‘.
The images were stamped, then the stencils used to ink blend their colouring, then the matching dies to cut them out.
I also used one of their ‘Stitched Den‘ dies to create the opening in the white panel to represent iced lake, and backed that with a piece of light blue card stock which I ink blended slightly with a light blue ink.
The blue panel was adhered to the card base, the white layer added on top, then I played around with the placement of the mice until I was happy, adding them with 3D foam.
The sentiment was stamped and die cut then added as you see.
I hope you can come and join us with your Christmas creations following one of both of our themes. xx
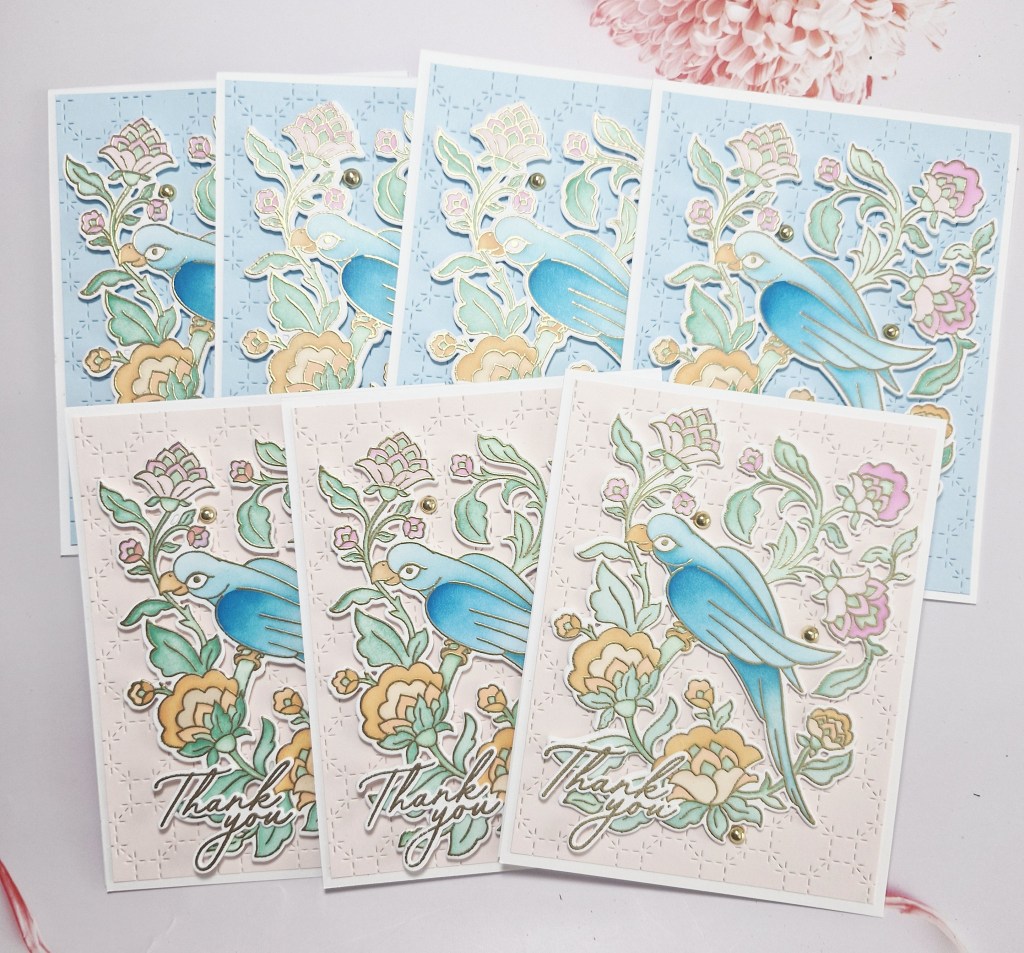
Hello there. I had the need for quite a few ‘thank you’ cards. Having recently retired from the NHS after over 40 years, I had a small leaving meal last Saturday. There was the nurse practitioner team I first started 26 years ago – now a team of 8 people. There were consultants there who I did clinics with up until my final day – who actually paid for the whole thing…….to say I was emotional is putting it lightly. Such a lovely gesture….
Anyhoo – I wanted to batch make some thank you cards for them, and decided to go down the route of complicated. These cards actually took me over 3 hours to make – why did I go with heat embossing and ink blending? Well – I enjoyed the process – but I don’t usually like to make the same card more than once. Here are the cards:
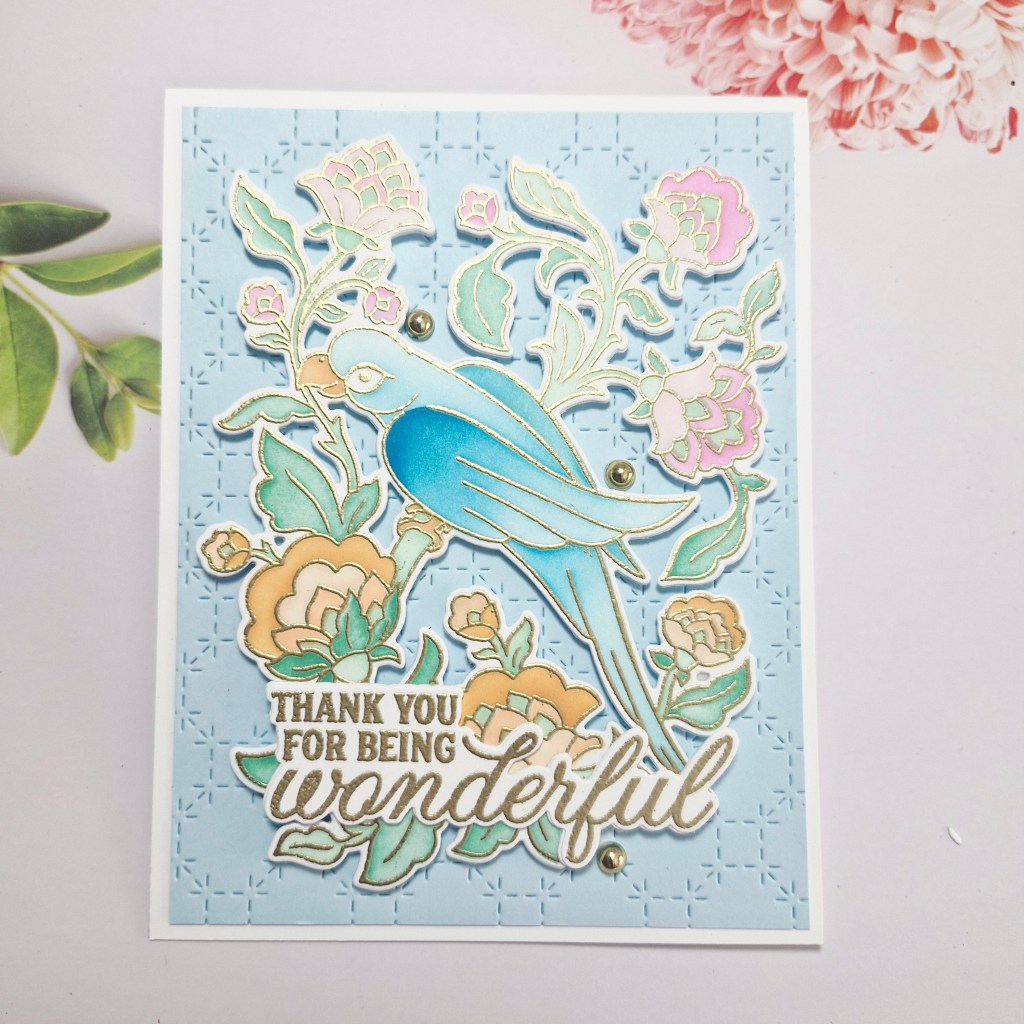
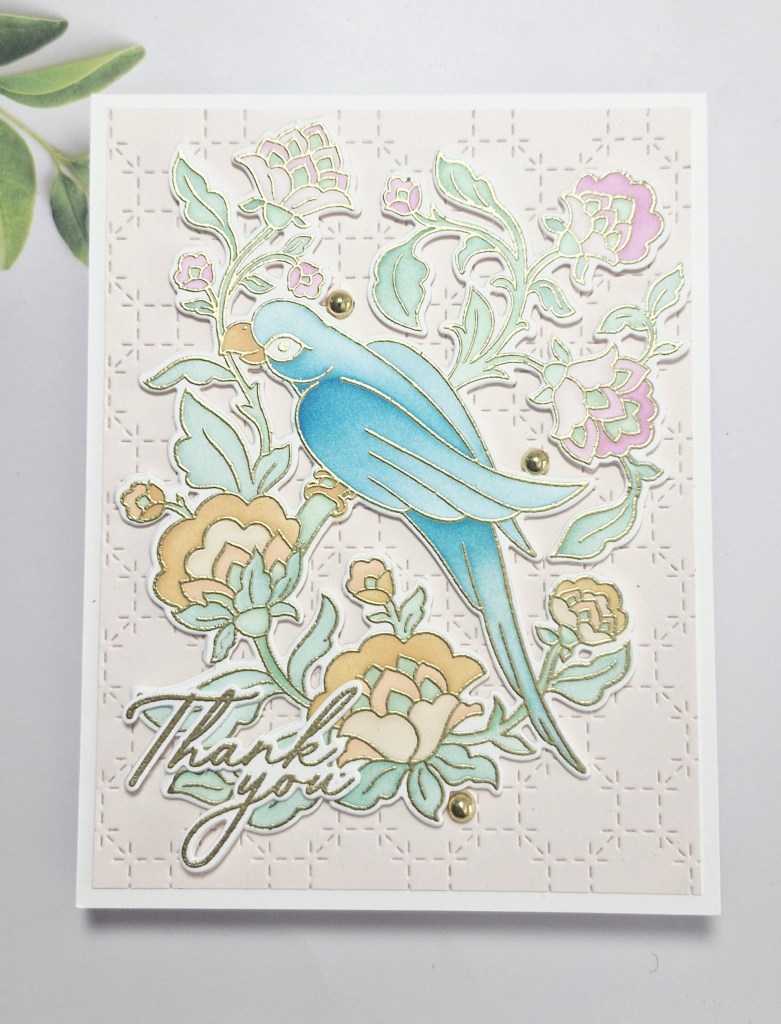
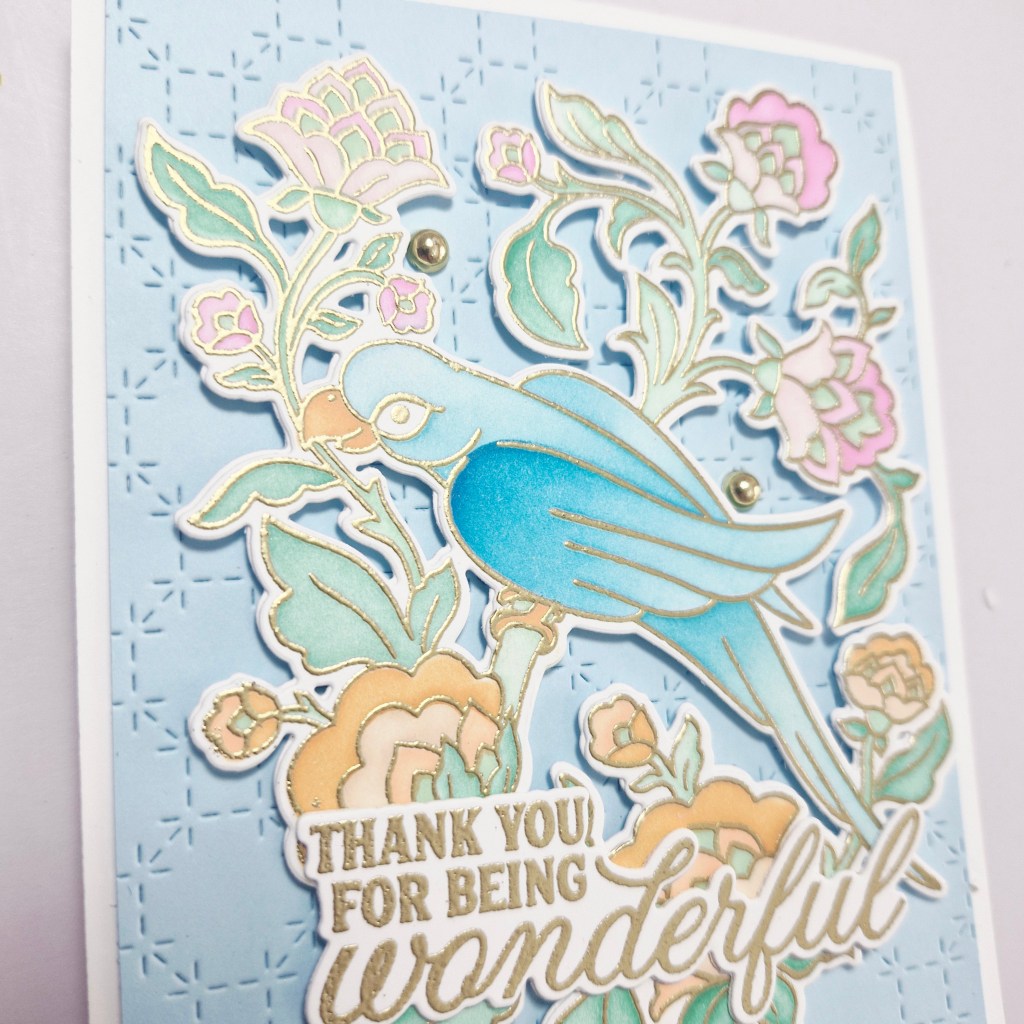
The stamp, die, and stencil set called ‘Chirpy Mithu‘, is from Pinkfresh Studio, and was part of their Create & Connect event in February this year. I hadn’t played with them yet, so I though it was time to bring them out.
I began by stamping and heat embossing the image in gold, then colouring with the provided layering stencils. Pinkfresh Studio inks were used for this. As there were seven images, and there were 6 stencil layers – this took quite a while, especially as I used different ink colours on some of the stencils.
Once coloured, I then used the die to cut them out, cutting out an extra white layer to make the image a little more sturdy.
I then used a couple of the sentiments from that same event, heat embossed those in gold, then die cut them, also adding an extra white layer.
For the background, I used a over plate to create the stitch details in two colours of card stock – just for a little variety.
The background was adhered directly onto the card base, after cutting down slightly to create a white edge. The image was added with 3D foam – another fiddly job of cutting pieces to fit – and then the sentiment was glued down.
The final touch was to add some gold gems.
I shall probably pop in and give them out one day this week.