Congrats On Your New Home

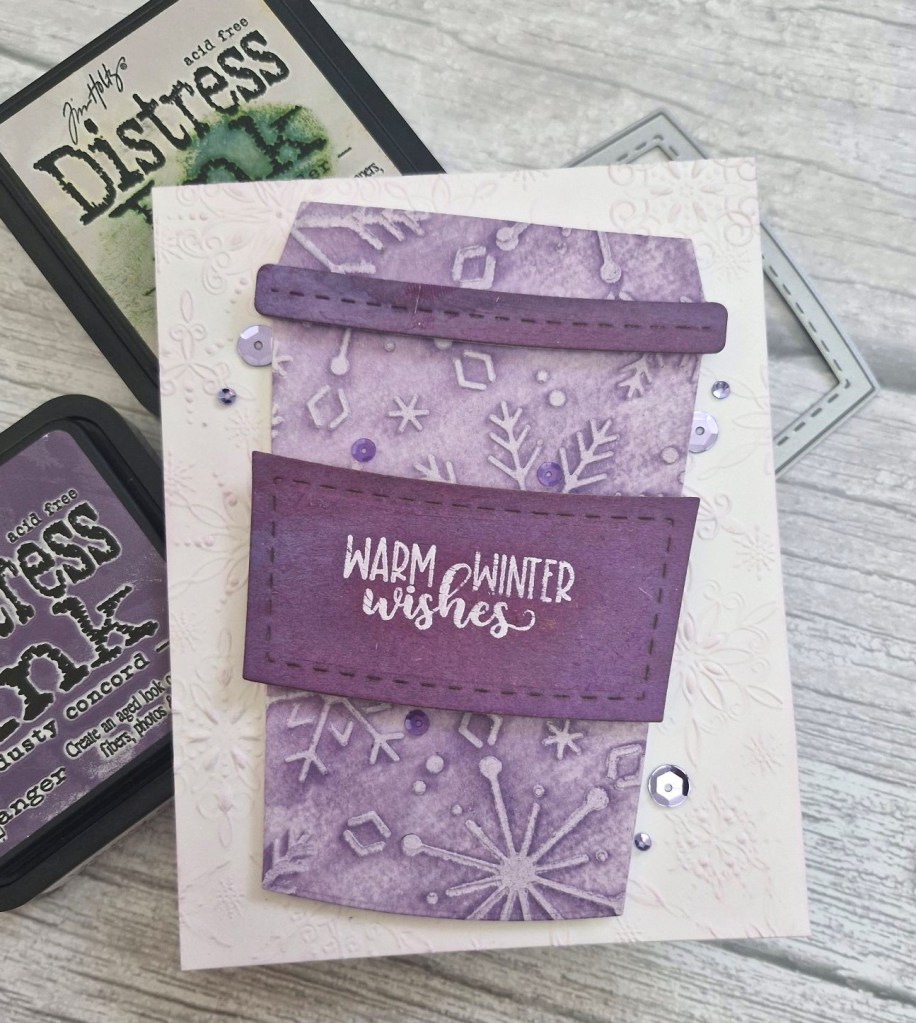
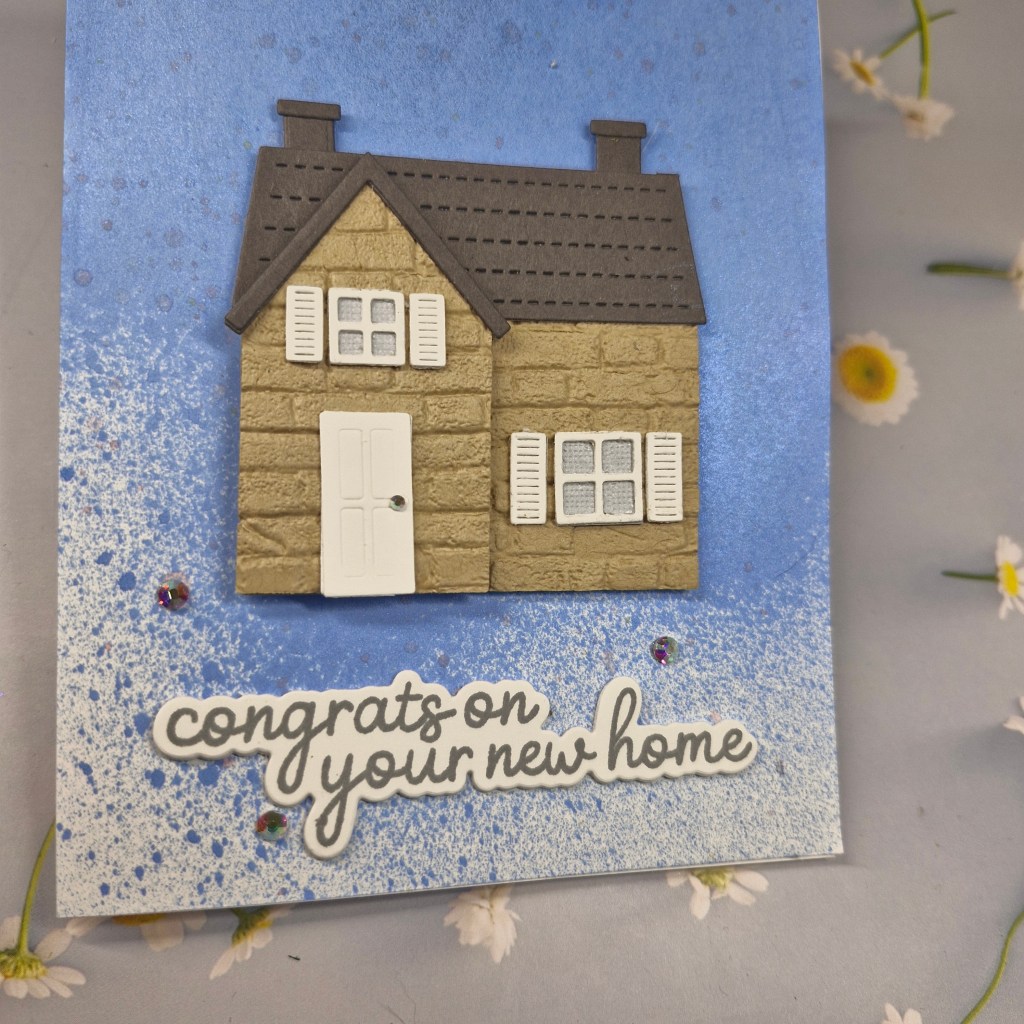
Hello again. There is a new challenge starting at The Alphabet Challenge. Dawn is hosting, and she has chosen the theme of ‘H is for Home’. Here is my card:

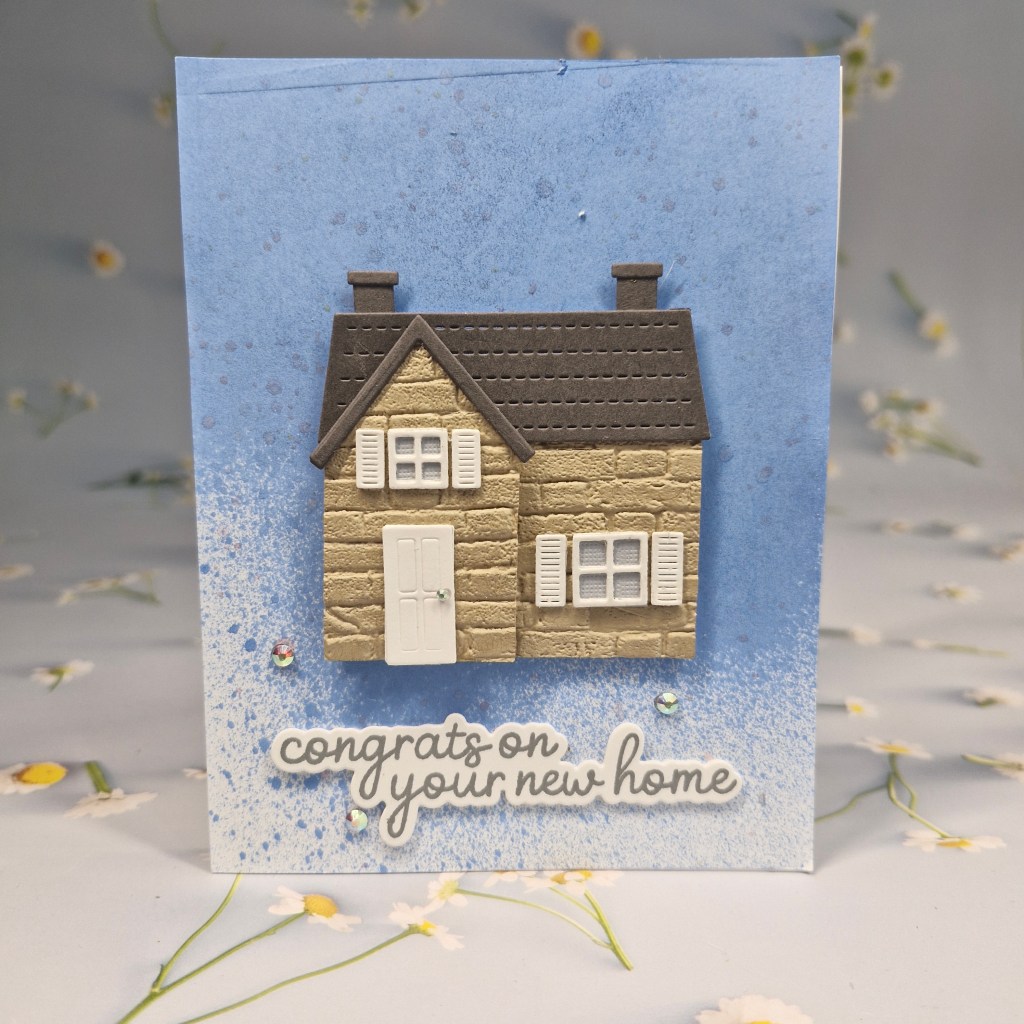
I chose to use an older Lawn Fawn die set for the house – ‘Build-a-House’. The main part of the house was die cut, then I used a small Tim Holtz ‘Mini Brickwork‘ embossing folder to create the brick effect.

All the other layers and elements were die cut and assembled, with some light grey textured card stock for behind the windows.

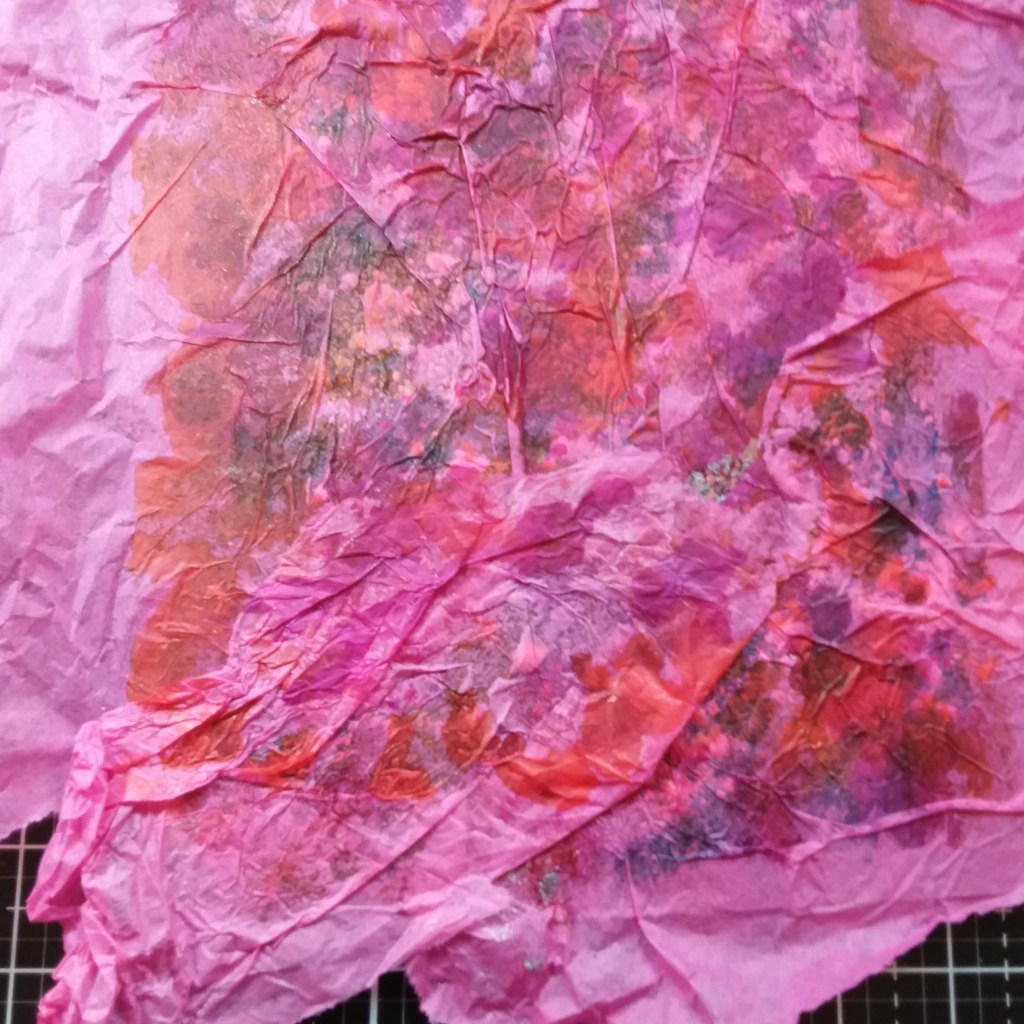
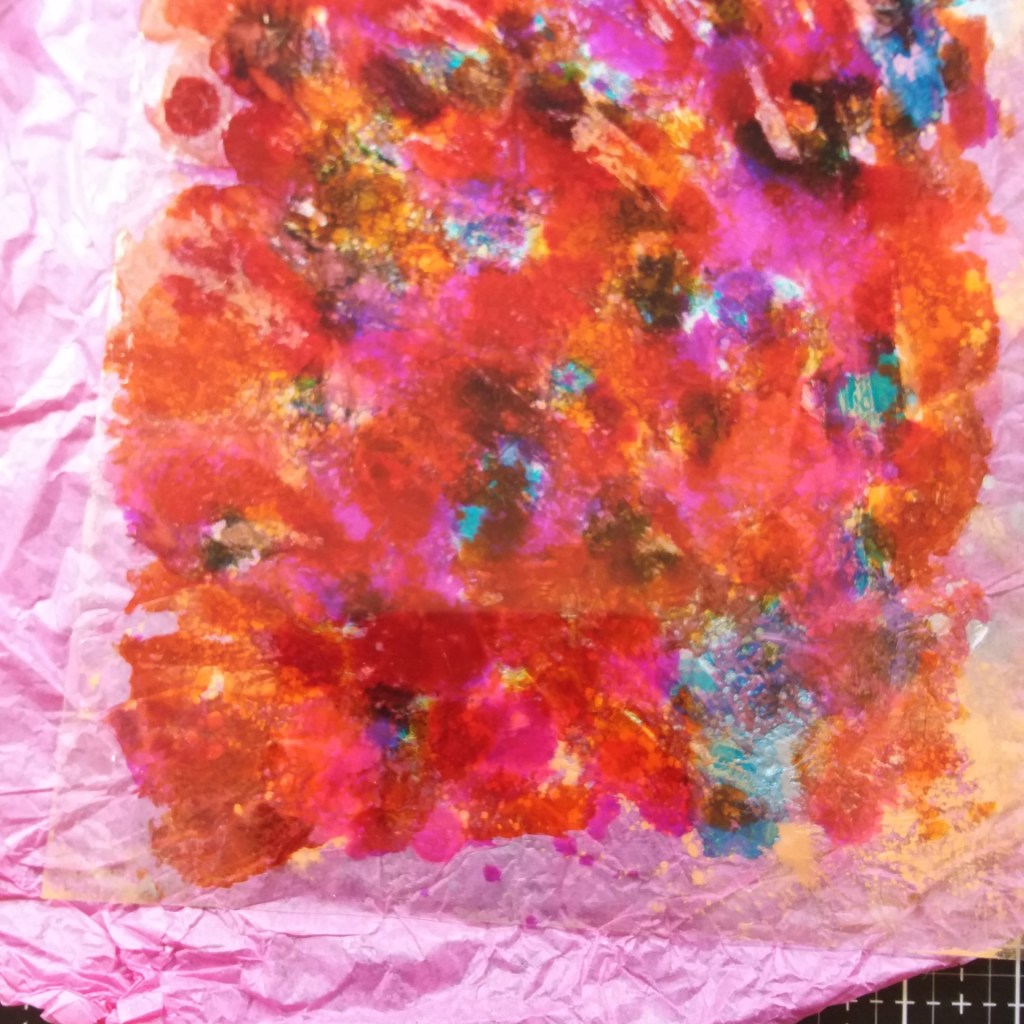
Once the house was completed, I used a Hero Arts mica spray received as part of an online event, sprayed the top of normal white card to create a less intense look – sprayed finely to not damage the card stock of over-wet it, and let that dry. I like the effect of the solid top and the flecked bottom part of the card, and I simply adhered the house to the centre.

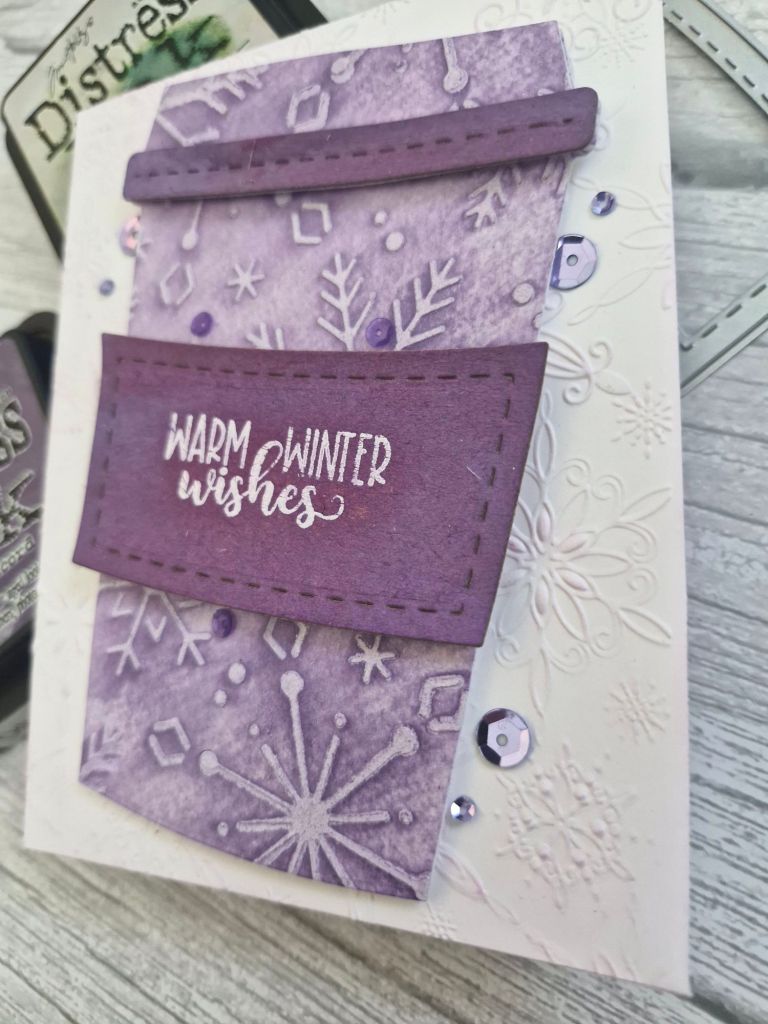
I stamped the sentiment from a Scrapbook & cards today stamp set, die cut with the matching dies, layered a couple of times for stability, and glued that down.

The final step was to add three facetted gems….

I hope you can come and join us following our theme. xx

I shall be entering the following challenges:

A Cut Aboveanything goes with die cuts

Crafts Galore anything goes

Here Is A Place To Start anything goes – option to use vellum not taken

Lil Patch Of Crafty Friends anything goes

Ally’s Angelsanything goes

Christmas Bells

Hello everyone. I little lax in posting this past week or so – good weather here in the UK so I made the most of it.

The new challenge at ABC Christmas Challenge has started. Having reached the letters ‘J’ and ‘K’, we want to see your Christmas/festive creations featuring ‘Jingle (bells)’ and/or ‘Kraft’. Here is my card covering both of the themes:

I started by stamping the Tim Holtz bells onto some water–colour card several times with Archival black ink, as I wanted to layer some of the elements.

I then used mica sprays and Distress water-colour pencils to colour in the images. Once they were dry completely, I fussy-cut one whole image, then cut parts of the ribbon from other images and layered them on top.

The background panel was created using Kraft card stock, and stamping a Hero Arts rubber background stamp in a brown ink for a tone-on-tone look. This panel was adhered to the card base, then the bells attached with 3D foam pieces.

The sentiment was stamped, a rectangle die to cut it out, then a ran the brown ink pad along each edge to make it stand out more.

It’s very difficult to photograph the mica – but those bells really do shine.

As a finishing touch, I added glue to the berries then glitter.

I hope you can come and join us with your Christmas/festive creations following one or both of our themes. xx

Addicted To Stamps & More – Christmas

My Time To Craft Christmas Christmas and use glitter

We Love 2 Createanything goes mixed media

Creative Artisteanything goes mixed media

Merry Little Christmas Challenge – anything goes Christmas

In My Thoughts

Hello everyone. I was able to create yesterday using some Brutus Monroe products:

I followed the colour scheme from the current Color Throwdown Challenge.

The scripted background is a rub-on from Brutus Monroe. I used the whole of the sheet, and cut down this panel to layer with a Kraft piece, and then layered onto the white card base.

The skeleton leaves are also from a sheet of rub-ons. I used those on a couple of pieces of card created during a crafty and inky play time. The orange is a sheet of card using Brushos, and the yellow is a crafty sheet using mica sprays.

Onto those two pieces of card, I used the two leaf rub-ons, then fussy cut them out. Yes – you heard correctly – I actually did a little fussy-cutting……!

The sentiment is also a rub-on from the same set, and using the more orange/rust coloured card. This was just trimmed with my mini guillotine.

The sentiment was added first with 3D foam at each edge, then the two leaves tucked underneath, a mixture of 3D foam and wet glue.

The idea was quite simple, the execution of the idea was a little more complex – especially the fussy-cutting – but I do like the simplicity of the outcome.

I shall be entering the following challenges:

Color Throwdownamber, rust, Kraft

Creative Fingers anything goes

A Perfect Time To Craftanything goes

Polkadoodles anything goes

Here Is A Place To Start anything goes – option of sentiment of thanks not taken

Ally’s Angels anything goes

Warm Winter Wishes

Hello once again. I had some messy and inky play yesterday to create this card:

I first created the panel for the mug. I used a Simon Says Stamp snowflake stencil, and through that I put some Altenew paste onto water colour card. Whist that was drying, I took some Distress Heavy Kraft card stock, stamped and heat embossed the sentiment in white, then sprayed with Distress Oxides in two purple colours. Again – this was set aside to dry.

Once the white snowflake panel was dry, I took purple Distress Inks, and ink blended over the top. I wanted the snowflakes to catch the ink, but also to have some purple on the background for an almost grungy look, and to be able to see the pattern from the water colour card itself. I then die cut the mug shape using a Heffy Doodle die set.

The sentiment cup holder was wiped with a dry cloth to try and get the white sentiment back, then die cut. The top of the mug was also using some of the left-over pieces from the die cutting of the mug and the holder piece.

I wanted a snowflake background, so took a Simon Says Stamp embossing folder, and as I didn’t want it stark white, I ink blended the lighter purple Ditress Ink around the edges.

The background panel was glued directly onto the card base, and the mug attached with 3D foam.

I found some purple sequins and dotted them around as you see.

I shall be entering the following challenges:

Allsortsanything goes, option to make your own background taken

The Four Seasons Challengeanything goes winter

Give A Crafter A Cookie photo Inspiration

Ally’s Angels – anything goes

Mix It Upanything goes – option to use more than one medium taken

Holly and Berries

Happy New Year to you all. The ABC Christmas Challenge has started with their Christmas themed challenges. The first is A – anything goes Christmas, B – Berries. Here is my card:

So – pink………I know – but I love the way this looks…… I am not a pink girl in general, but I just thought I’d try this out.

The pink background is dry embossed using a Spellbinders embossing folder, then splattered with white and silver acrylic shimmer paint. Whilst this was drying, I die cut a previously created panel of green mica spray with the Hero Arts holly dies.

The holly was layered onto the pink background using glue for the bottom sprig, and 3D foam for the uppermost sprig.

For the berries, I chose some red sequins.

So many shimmer and shine elements, and then I added a foiled greeting strip too…

I hope you can come and join us with your Christmas/festive creations following out themes. xx

I shall be entering the following challenges:

Creative Inspirationanything goes

Crafts Galore anything goes

Daisy Chain no designer paper

Ellibelle’s Corneranything goes

The Crafty Addictsanything goes

Love To Craft anything goes

Merry Little Christmas Challengeanything goes Christmas

Mix It Up Challengeanything goes – option of mixed media taken – acrylic paint, foiling, mica sprays


Slimline Holly Christmas

The ABC Christmas Challenge has reached the letters ‘U‘ and ‘V‘. We want to see you Christmas/festive creations with the themes of ‘U for Use It Up’ and/or ‘V for Vertical‘. Here is my card:

Onto a black slimline card base I placed a piece of black glitter card, added a white frame, then a narrower black frame.

The holly was die cut from a piece of card created when playing with some techniques. I used a green mica spray and when that was dry, I stamped with a red rubber stamp and heat embossed in gold. You can see the detail of the gold heat embossing here:

I then used a slimline holly die from Sue Wilson, and arranged as you see – some hanging over the edge. That did take a while to adhere to the black glitter card, but I put something heavy on top and left it overnight.

I wanted a sentiment which would stand out from the background but not take over from the holly and the glitter background, so chose a gold foiled sentiment from Pinkfresh Studio.

I resisted adding even more bling with sequins as I think this card has enough shine and shimmer.

I hope you can come and join us with our Christmas/Festive projects following our themes. xx

I shall be entering the following challenges:

Peace On Earth Christmas Challengeanything goes Christmas

Love To Craft anything goes

Merry Little Christmas Challengeanything goes Christmas

Christmas Bingo 3 items from one column – ‘B’ column – black/free/no stamping

Sparkles Forum Christmas ChallengeChristmas flowers/foliage

Coffee Cup Shaker

Hello. I have a card to share using a new die set from Time For Tea Designs:

I die cut the coffee cup in a piece of card which had been sprayed with mica stain, this would act as the base which would be seen through the acetate.

I then taped the coffee cup and window die together, and die cut both 5 times to create the walls of the shaker. I didn’t use 3D foam for the edges – I think stacked die cuts look cleaner when viewed from the side.

I glued four of the die cuts to the base, added sequins into the ‘well’, added acetate to the back of the top ink smooshed layer and stuck down. I wanted a brown-ish coffee cup, but not solid brown. The lid was die cut and added.

I stamped the sentiment, cut into a strip, and glued to the top of the acetate.

There are a few dies in this set I didn’t use – a gift card holder and slots, and a coffee cup wrap piece – but I thought the wrap piece would cover up too much of the cup and shaker for this project.

I wanted a background patterned paper which was quite colourful, so the coffee shaker would stand out, and chose one which had colours which seemed to be reflected in the sequin mix.

I shall be entering the following challenges:

Day Of The Month Card Club National Espresso Day

Cut It Up Challenge coffee – include a die cut

Creative Fingers anything goes

Lil Patch Of Crafty Friends anything goes

A Robin Christmas

Hello there. A little playing in my craft room yesterday created this card:

I searched through the Color My Life app for a die set I knew I had which contained Robins – but couldn’t remember the make and where I had stored it. I found it was a Creative Expressions die set from Lisa Horton – and an old one as the date on the back was 2017 – but at least I had remembered I had it somewhere.

I first die cut the robins using brown, Kraft and red card stock. I added their little hats – red and a white glittery card stock, then set aside.

The leaves and holly were die cut from a previous created mica sprayed piece of card, which I had also splattered with white Liquitex acrylic paint. The white glittery oval is die cut from a Gina K master Layout’s die set.

I then turned to the card base, added a brown layer, and a white dry embossed panel – a Spellbinders embossing folder – and then played with the layout of all my elements until I was happy, adding a previously foiled sentiment.

Here is a look at all the glitter and shine:

I shall be entering the following challenges:

Sparkles Forum Christmas festive things with wings

Daisy Chain Challenge Christmas is coming

Winter WonderlandChristmas and Robin Red Breast

Allsorts Challenge wings and/or tails

Make My Monday Challenge things with wings

CYHTPembossing folder – twist of thanks not taken

Heart Caught in Crystal

Hello once again. I have a card to share utilising a technique I haven;t tried for ages – years in fact. It is the ‘caught in crystal’ technique I first saw from Sue Wilson.

The current challenge at CASology made me think of that technique again – so I went hunting through my stash for products I could use. Here is one of the results:

I started with a piece of acetate and added some glue, smoothed it out a little, then added alcohol inks, mica powders, ink sprays – well, I added a whole load of stuff to the background, but tried to keep it a deep red/purple look, as I knew I wanted to use this Simon Says Stamp ‘Streaming heart’ die – a recent purchase.

I then added some pink tissue paper – I didn’t have any white, so used the pink. Once dry it looked like this on the tissue paper side:

And on the shiny acetate side it looked like this:

It’s very difficult to picture the shine and metallic look to this – but I promise there is some in there somewhere………..I chose which area of the acetate piece I wanted showing through the die-cut heart, cut out a square piece, and glued it down beneath the white heart piece.

The sentiment is from an Altenew set called ‘Wishing You’ – I wanted a short but sweet sentiment.

I shall be entering the following challenges:

CASologyCrystal

As You Like It Challengeanything goes

Mowing Along With The Timesall things new (heart die)

Crafters Cafe Blog ChallengeCAS

Stamplorations CAS January ChallengeCAS option metallic

Aud Sentimentsanything goes with a sentiment

The Crafter's Cafe Challenge Blog